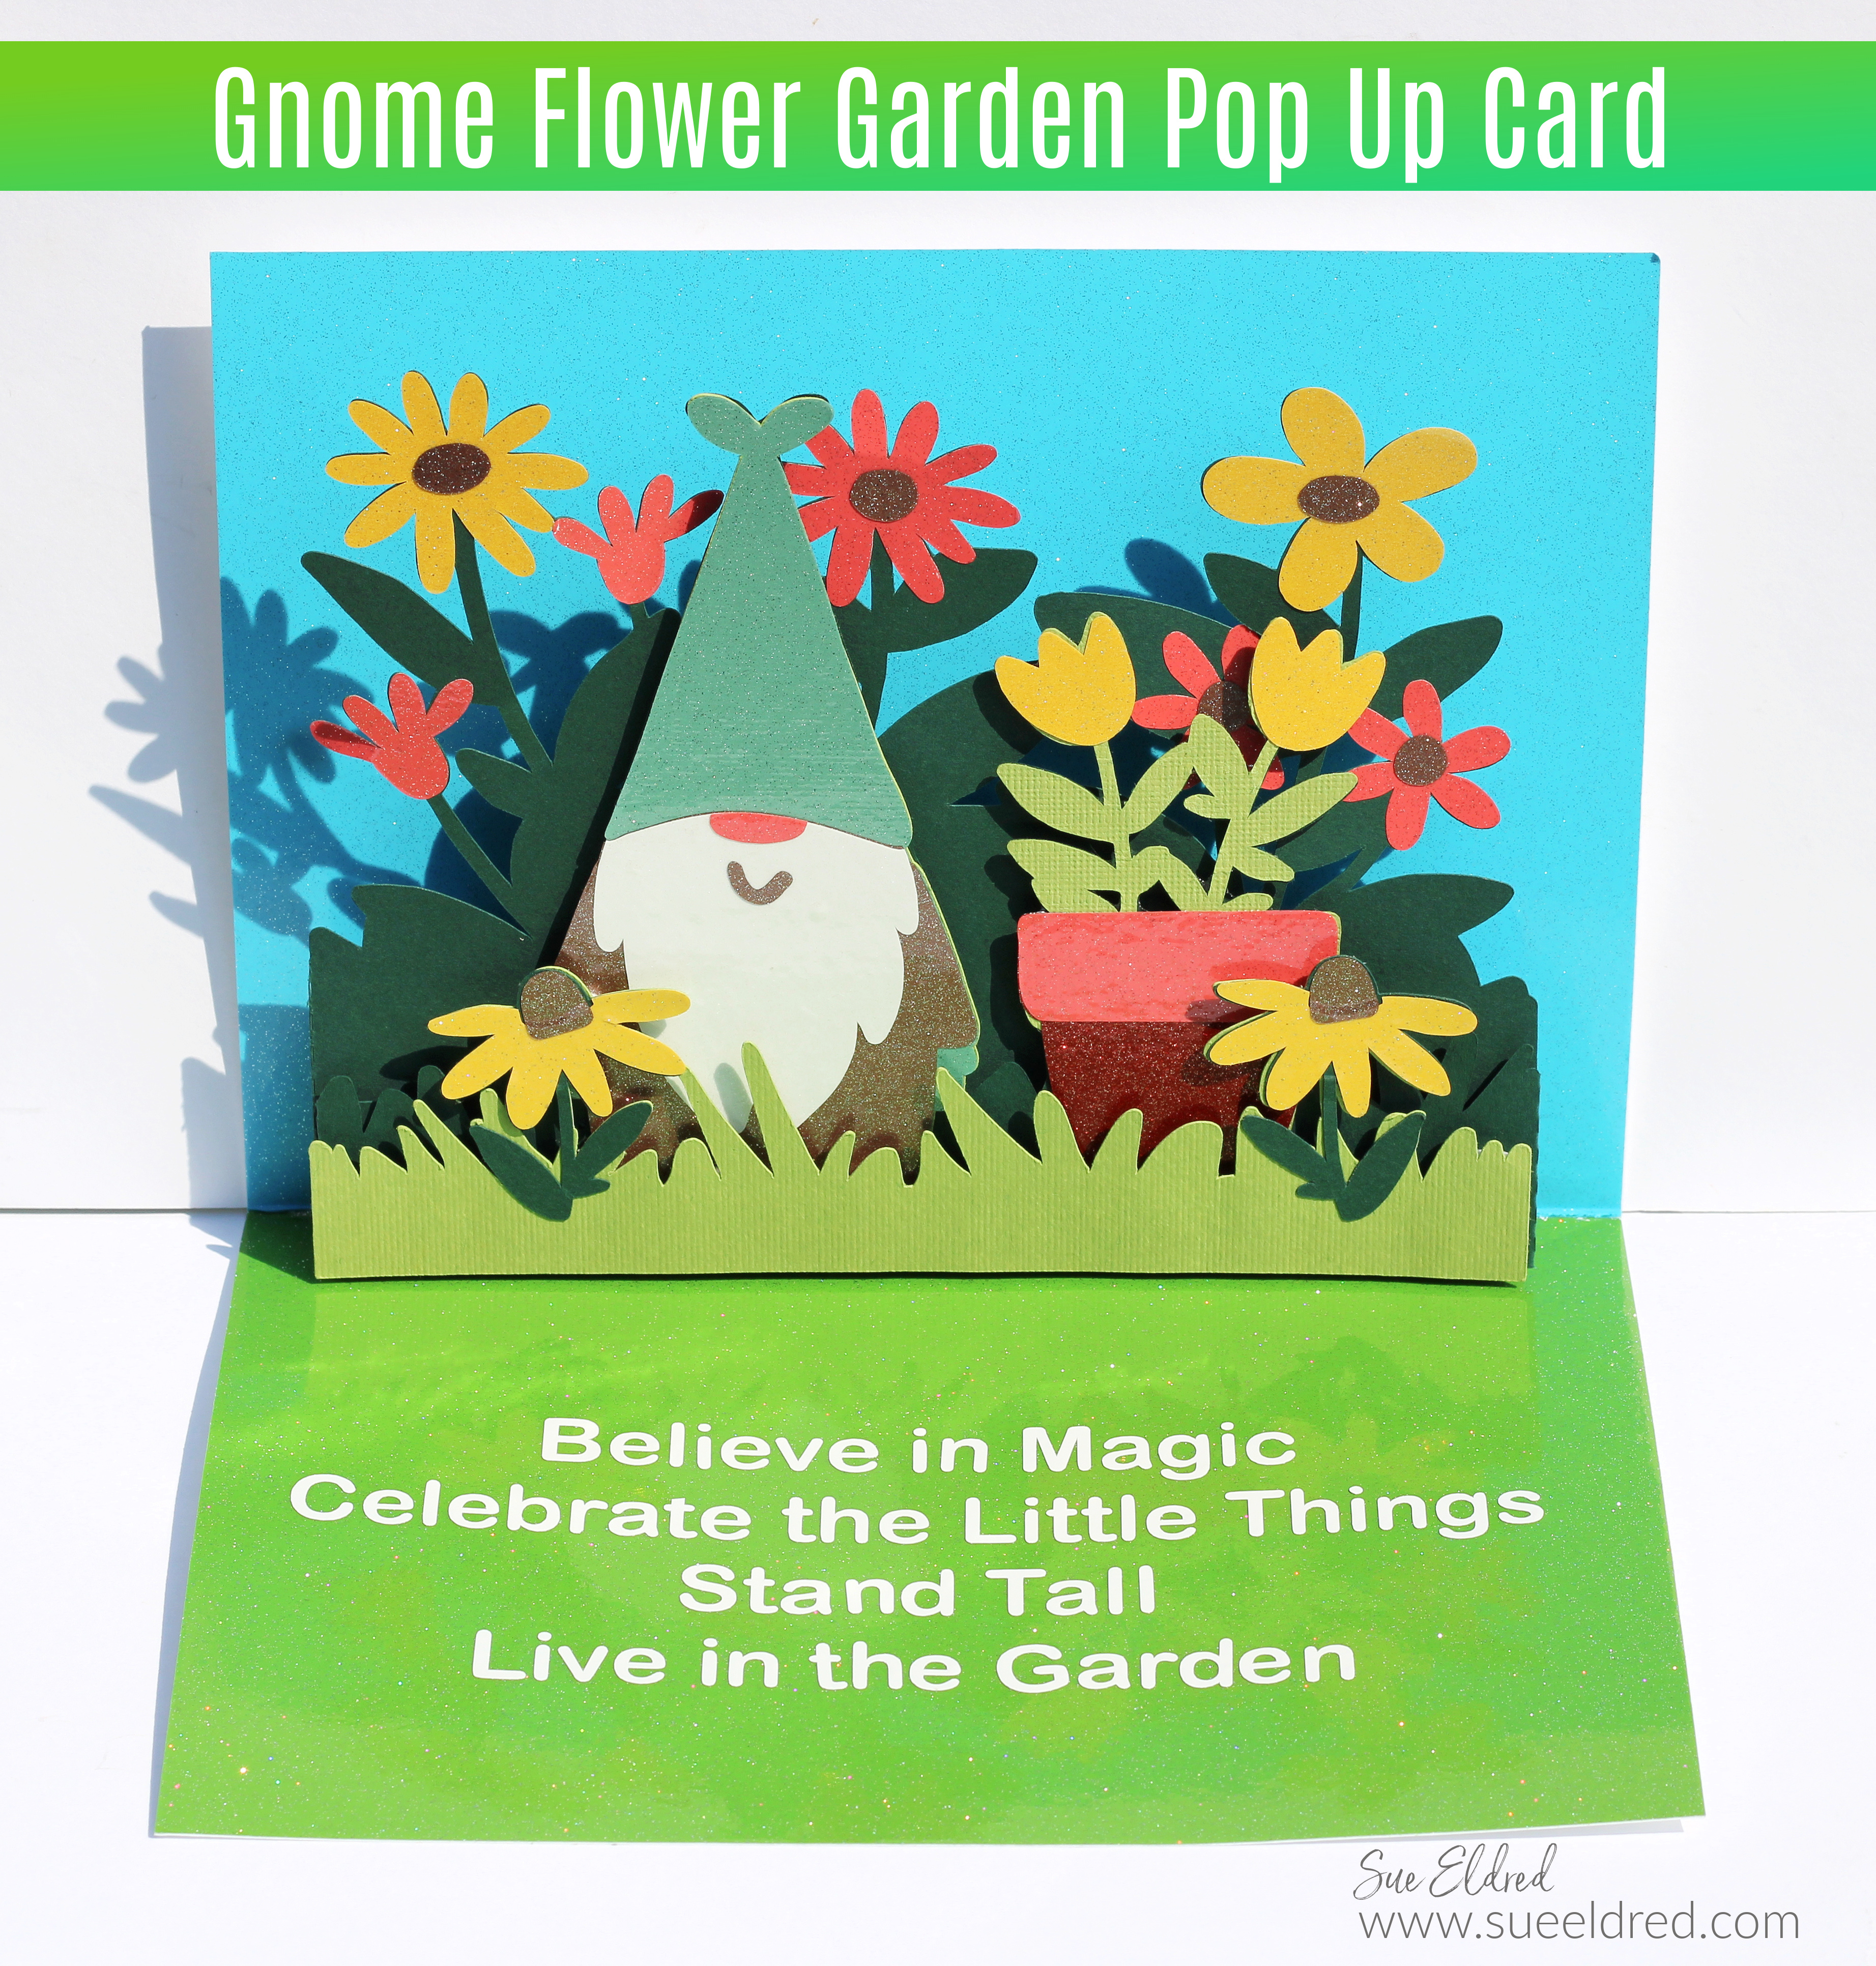
3D Gnome Flower Gard Card
I found this cute 3D Gnome Flower Garden SVG Design at the Silhouette Store.
I knew it would be a fun Summer Card to make.
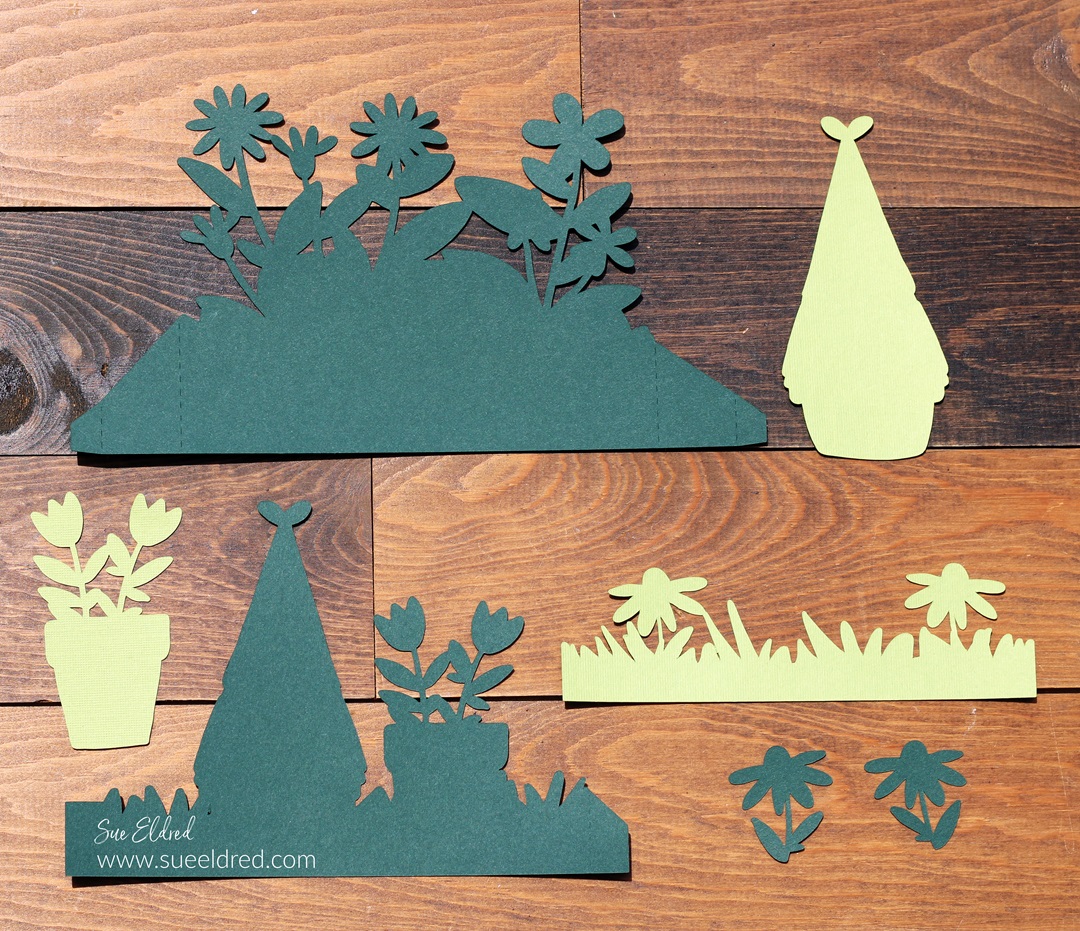
- I used my Silhouette Cameo Electronic Die-Cutting Machine to cut the base of the pop-up card out of cardstock.
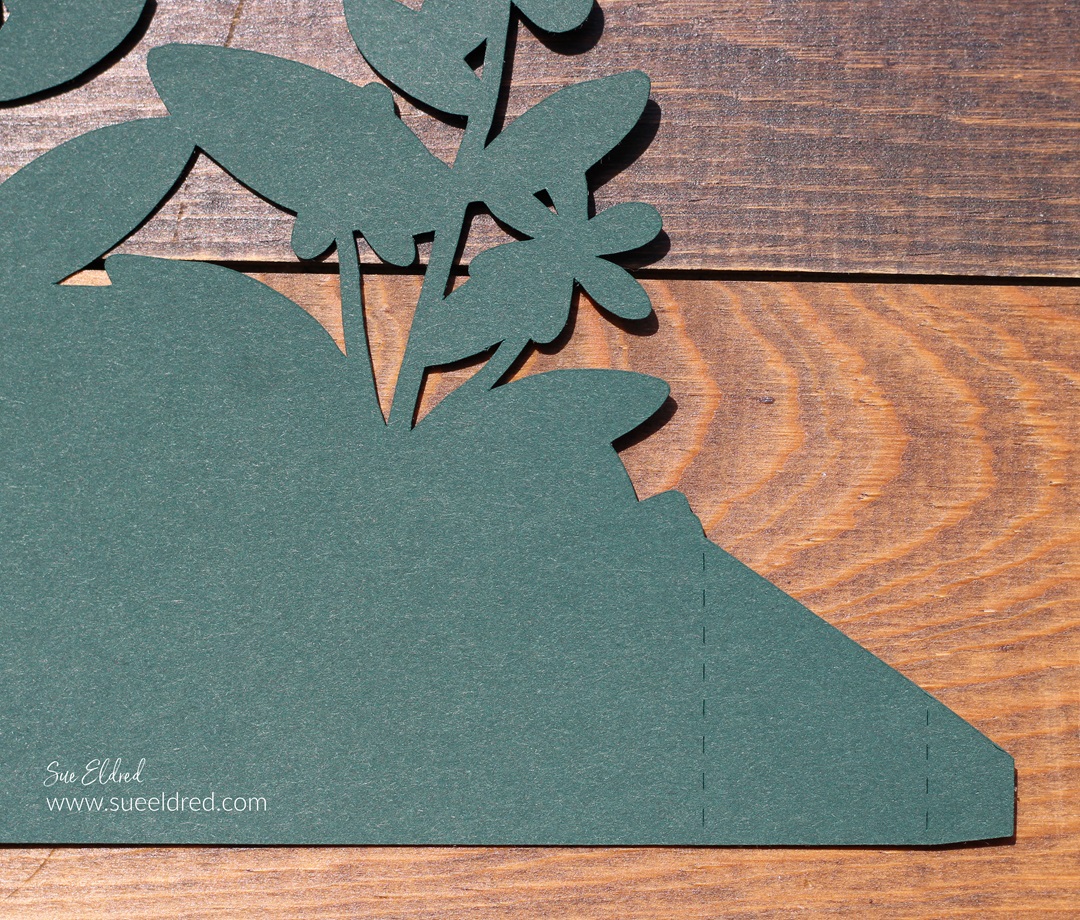
- I noticed the perforation lines on the layers but didn’t give it much thought. I figured that’s how I was supposed to create the dimension.
- If you’re a card maker like me, you’ve learned that sometimes you’ve got to adapt.
- I was preparing to assemble the pop-up card when I realized the perforations were for making a 3D Gnome Flower “Box” card. So… I adapted. (Keep reading to see my adaptation.)
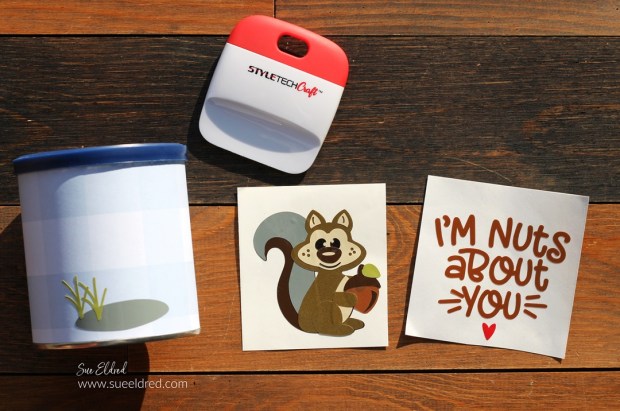
Add some Glitter and Glam to your cards with Ultra Metallic Vinyl from StyleTechCraft.
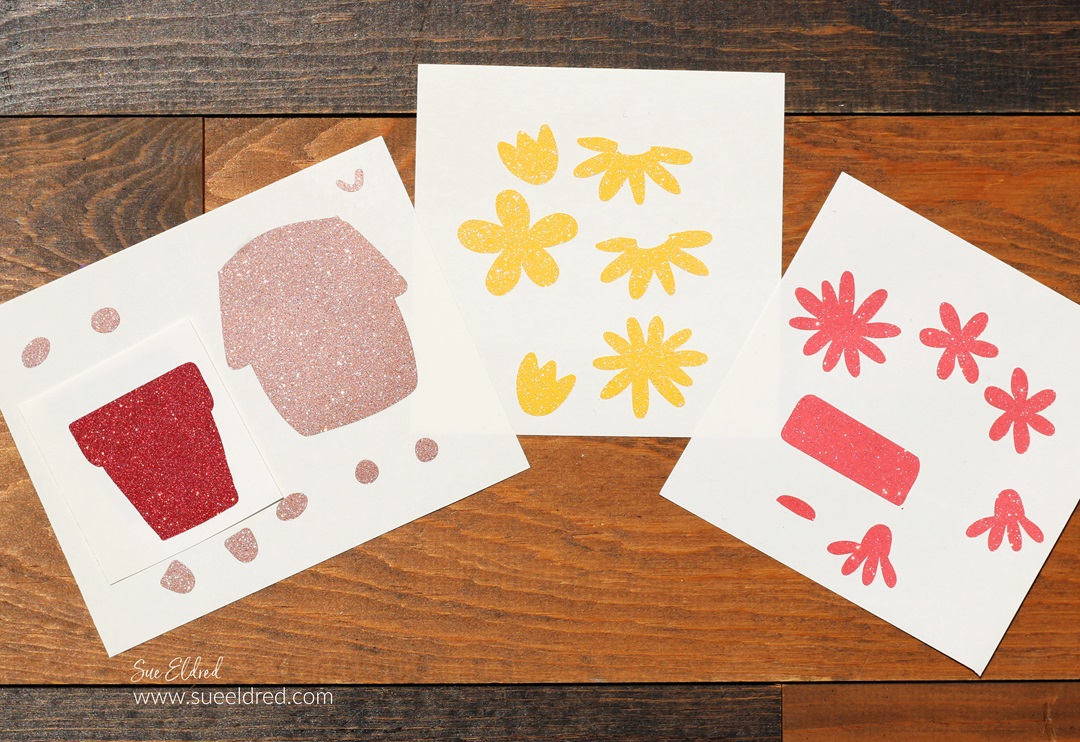
- I cut the layering pieces of the card using StyleTech Craft Ultra Metallic Vinyl.
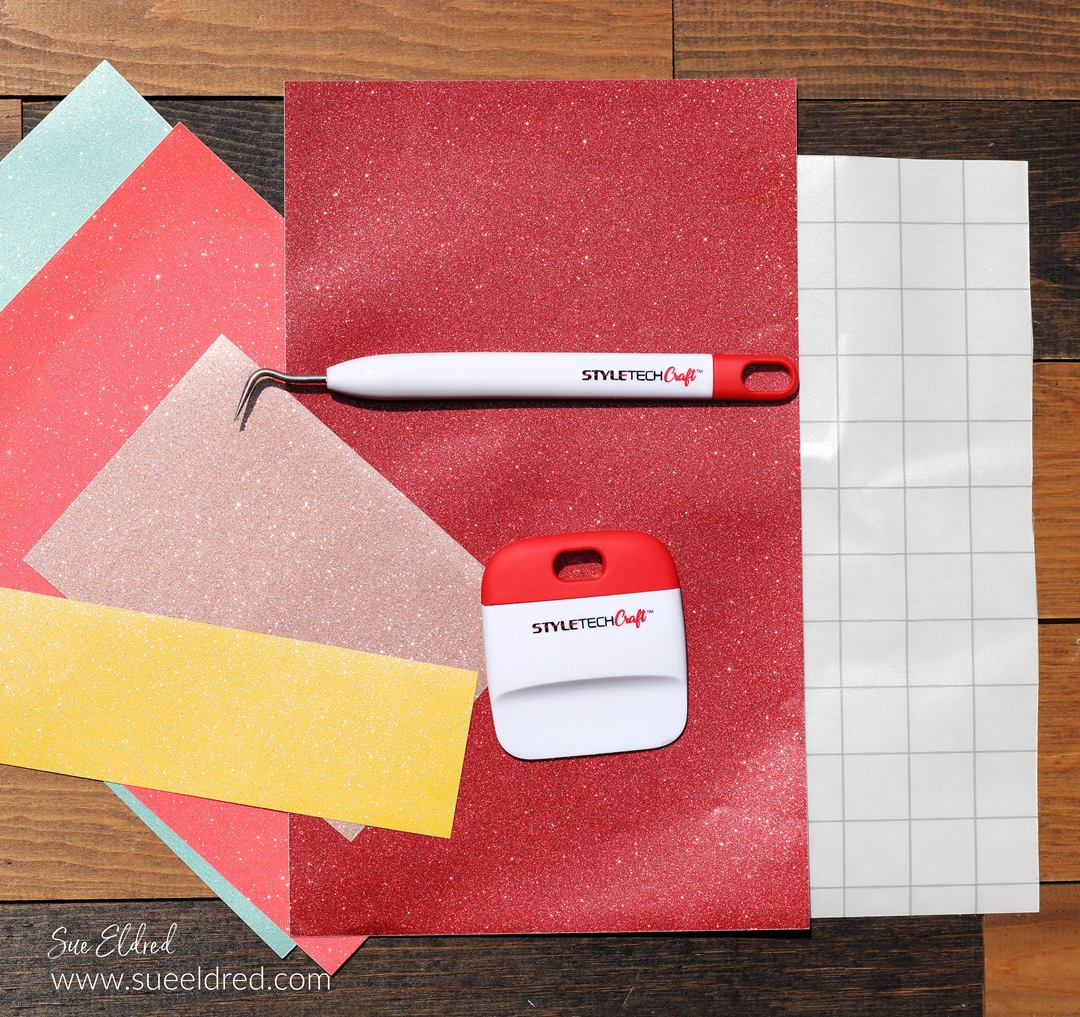
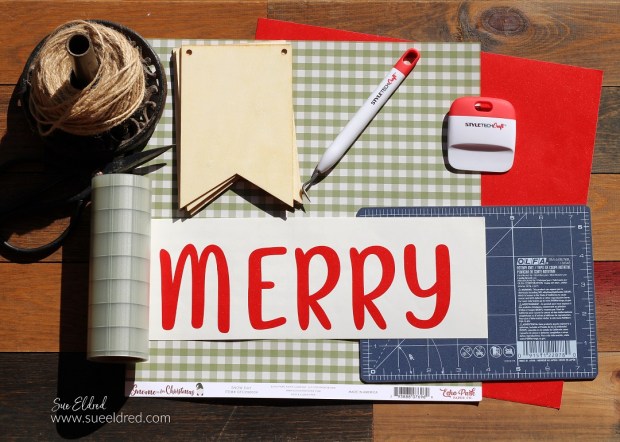
Materials Used: (*affiliate links)
- StyleTechCraft Ultra Metallic Vinyl*
- StyleTechCraft White Glossy Craft Vinyl*
- StyleTechCraft Vinyl Transfer Tape*
- StyleTechCraft Vinyl Tools*
- Silhouette Cameo Electronic Die Cutting Machine*
- 3D Gnome Flower Box SVG Cut File from The Silhouette Store
- Green Cardstock
- Thin 3D Foam Squares*

StyletechCraft products brought to you by ATSM Craft*
*Disclosure: This blog uses ads and affiliate links. If you choose to make a purchase using one of the links, I receive a small commission (at no additional cost to you) that helps offset the costs of maintaining this blog. Thanks for your support!
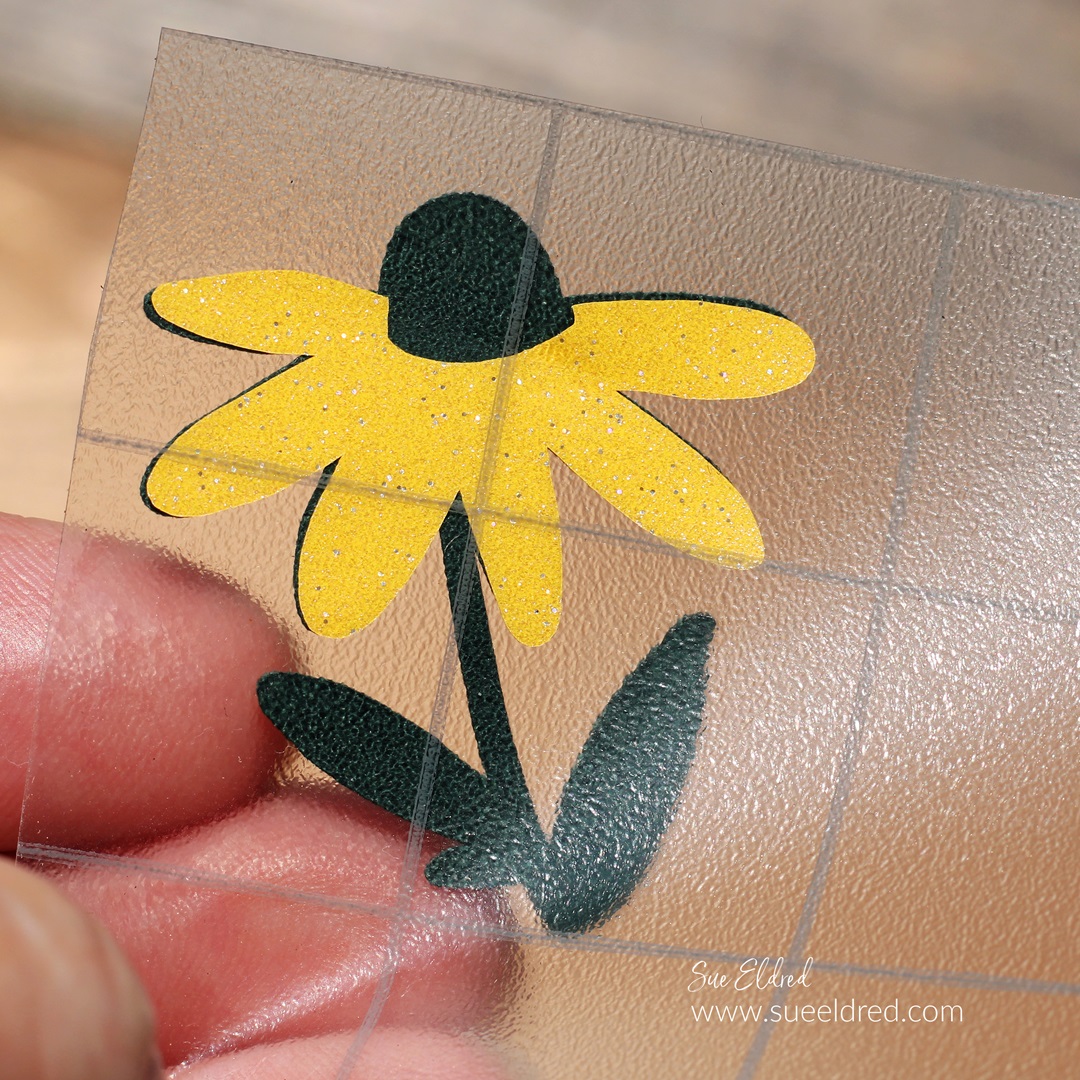
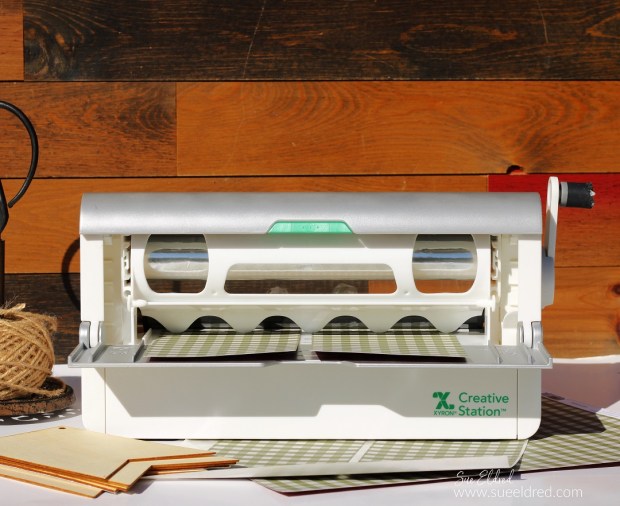
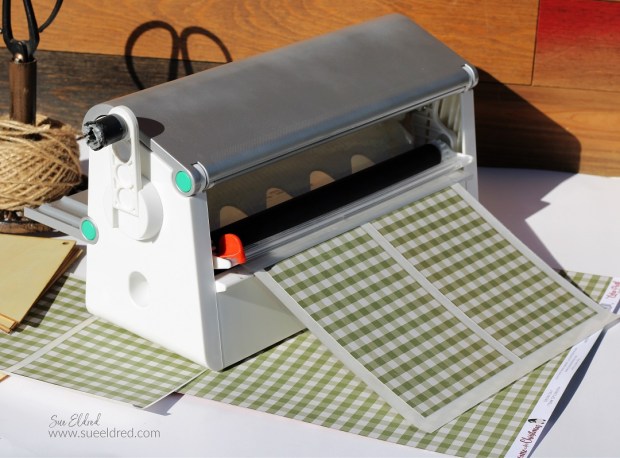
- Add the vinyl to the cardstock using clear transfer tape.

- Here are the three main card layers with the vinyl added.
- I wasn’t as accurate as I wanted to be. (I needed to take more time.) I will say that it’s not as noticeable on the finished card.
Here’s how I made the layers a pop-up card.
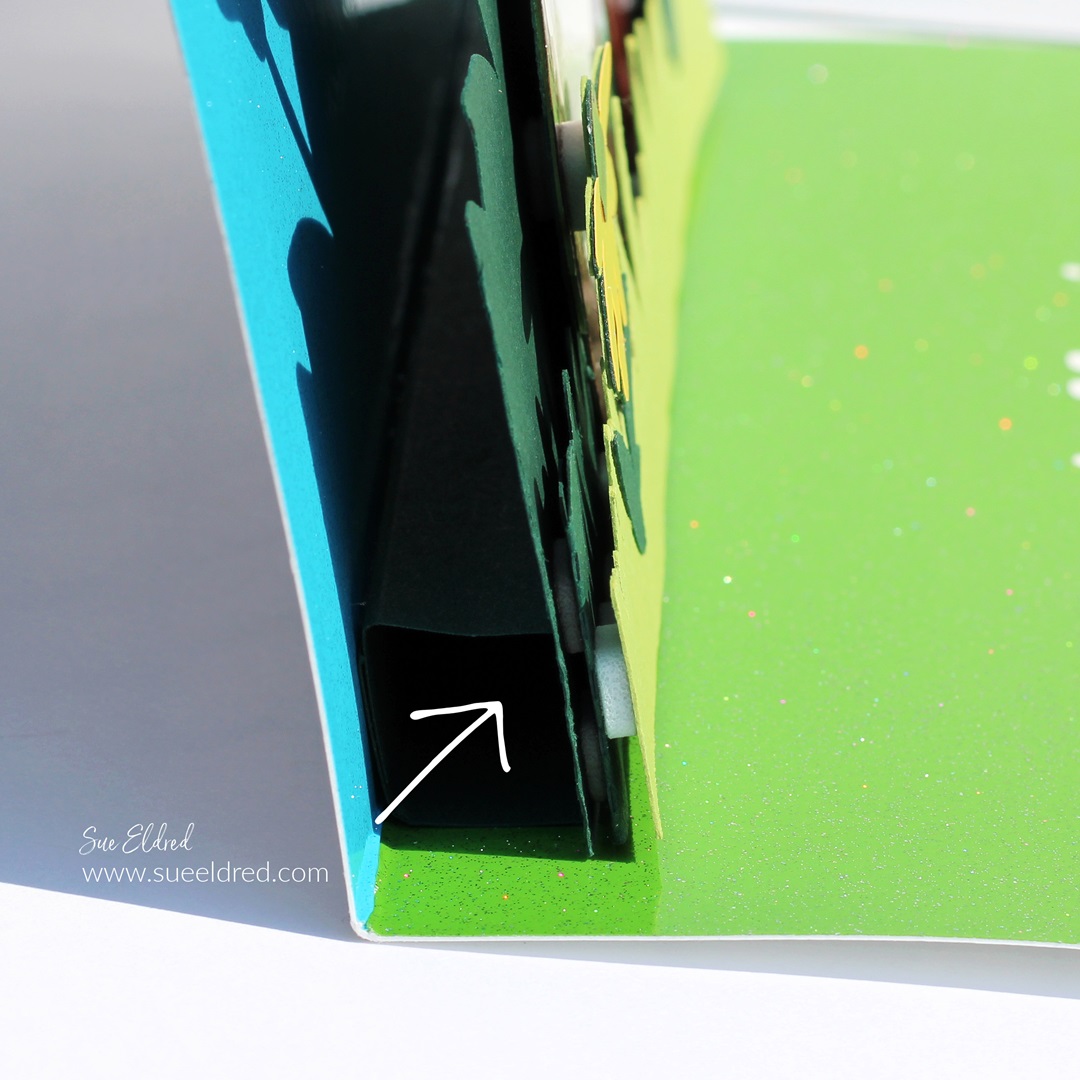
- I put the three layers together using 3d foam squares for added dimension.
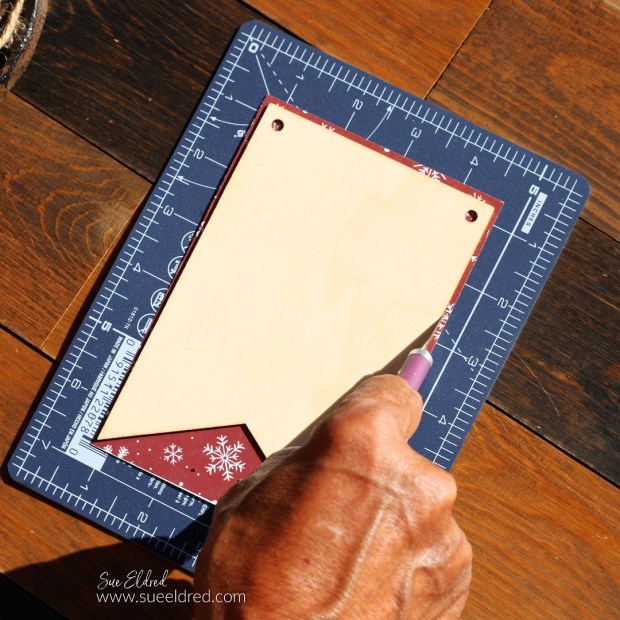
- I made a 1/2″ four-sided cube that was approximately 5″ long. (I used a scoring board tool for consistency.)
- I added adhesive to three sides of the cube and adhered it onto my layers and card.
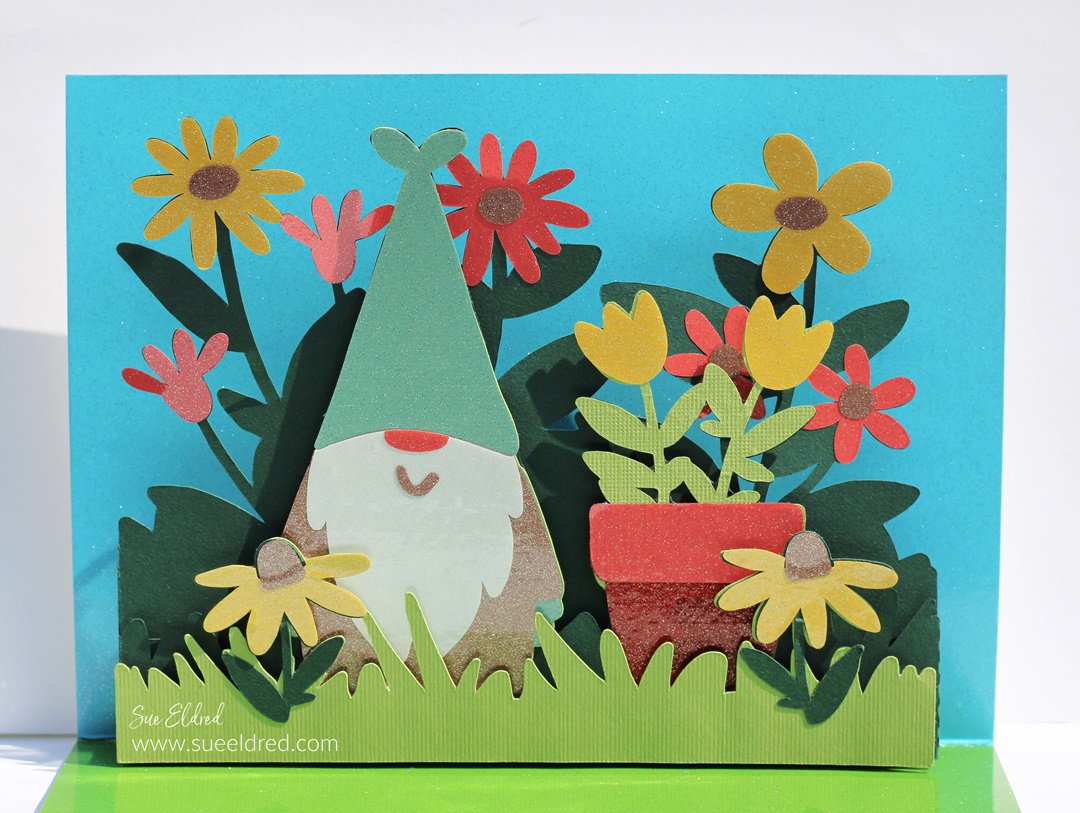
Isn’t this little Garden Gnome the cutest?
Do you see what I mean?
It’s not as noticeable once it’s all put together.
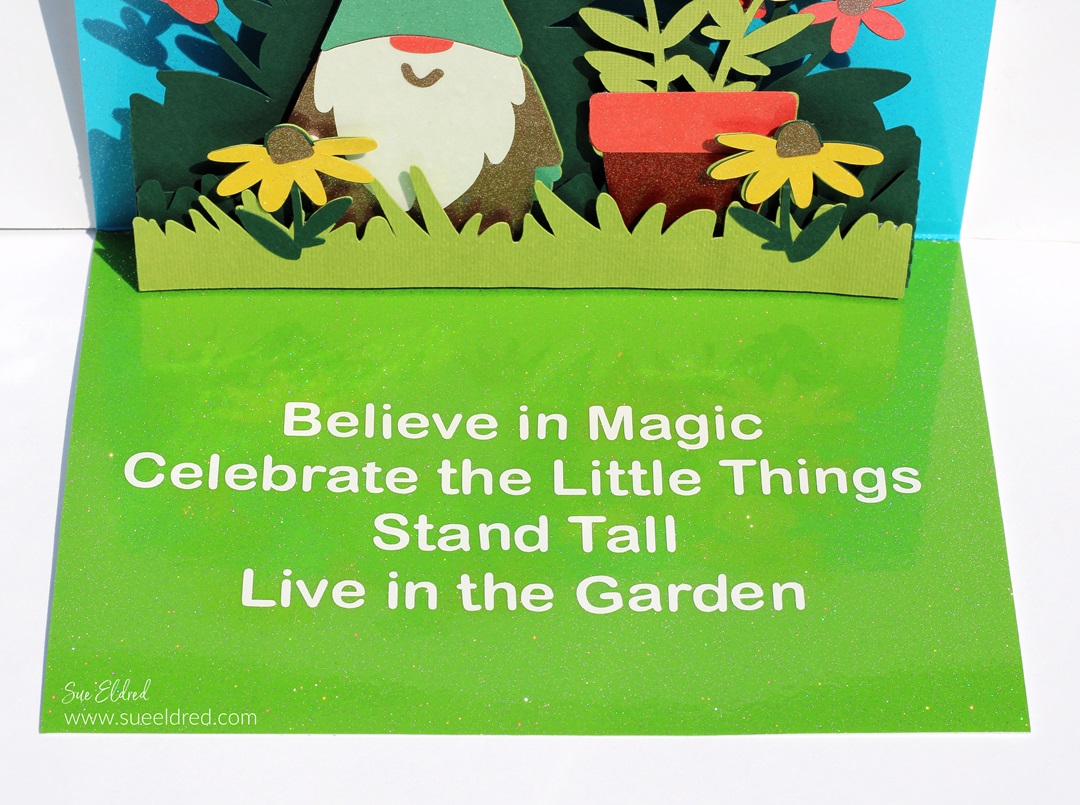
- I added Ultra Metallic Vinyl to the inside of a white cardstock card for my card base.
- I used the Silhouette Cameo to cut the words using StyleTechCraft Glossy White Vinyl.
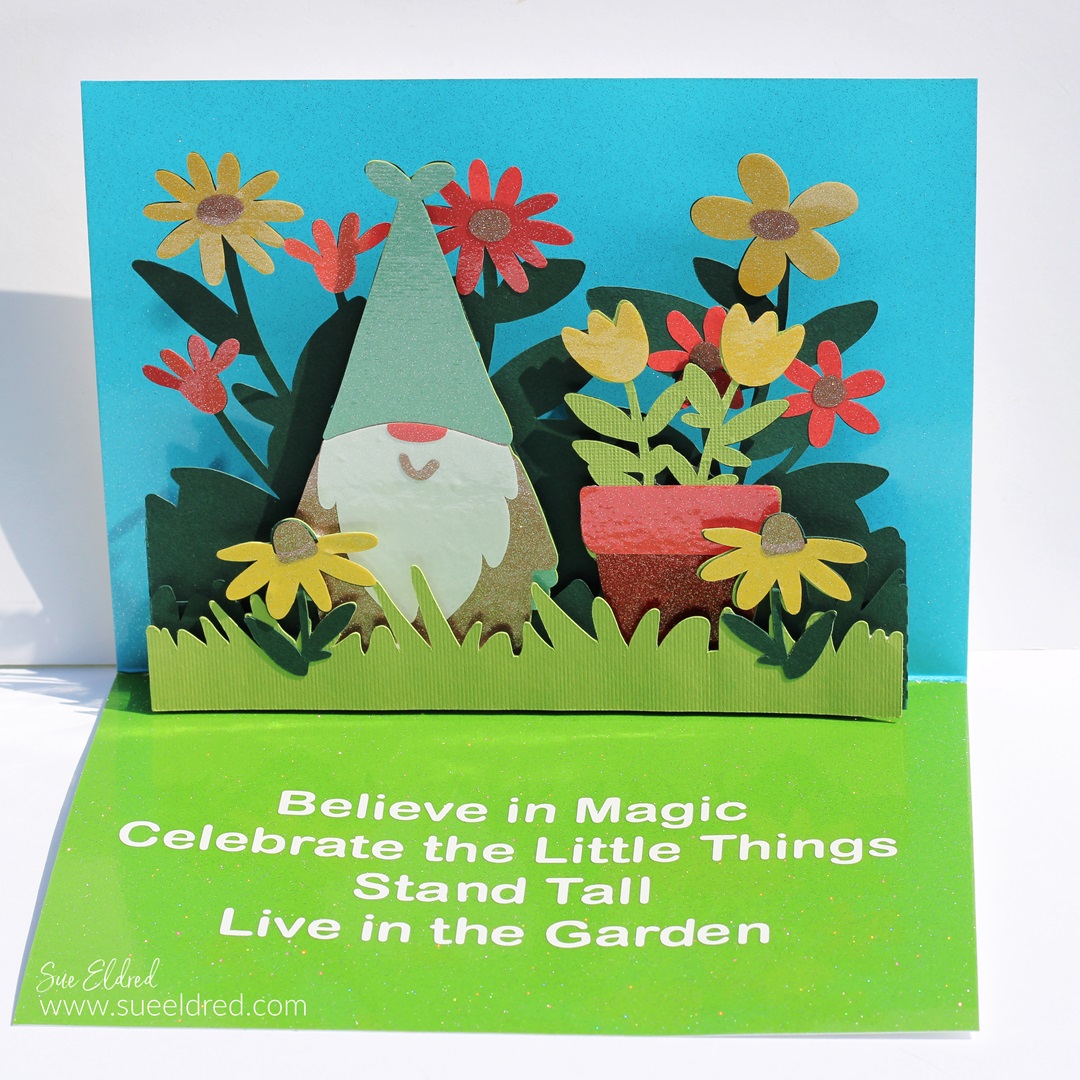
Believe in Magic, Celebrate the Little Things, Stand Tall, Live in the Garden!