My top 3 Favorite Sizzix/Eileen project of 2024
Every year the Eileen Hull Teams are asked to pick our three
favorites Sizzix/Eileen Hull projects for the year.
Generally, they’re all my favorites, but these are my top favorites.
(Click on the pictures or links below ↓ to go to the original post with all the details.)
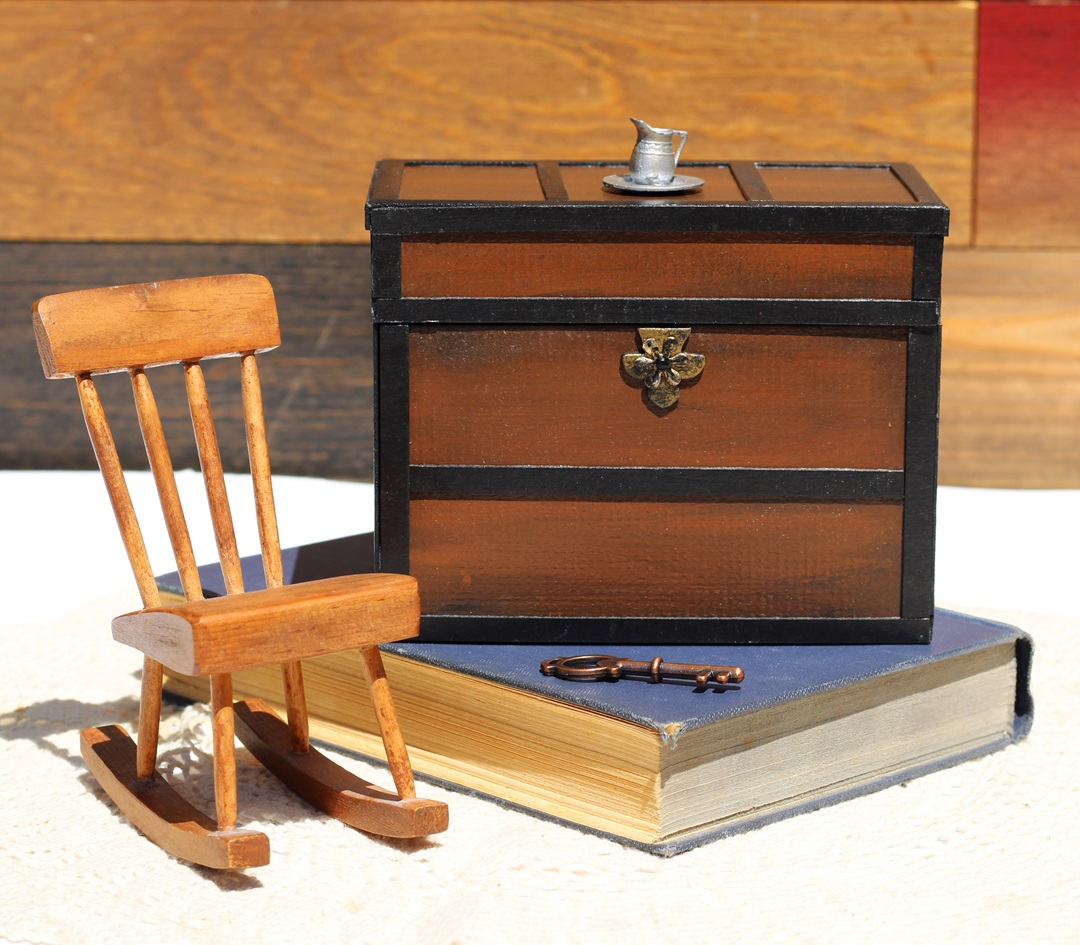
The Steamer Trunk
The first project up is the Steamer Trunk.
Being a fan of all things vintage, it’s my most
favorite project that I’ve made in a while.
It was made using Eileen’s Treasure Box Die*
and the Stacking Drawer Die*.
You can read more about it here.

*Disclosure: This blog uses ads and affiliate links. If you choose to make a purchase using one of the links, I receive a small commission (at no additional cost to you) that helps offset the costs of maintaining this blog. Thanks for your support!

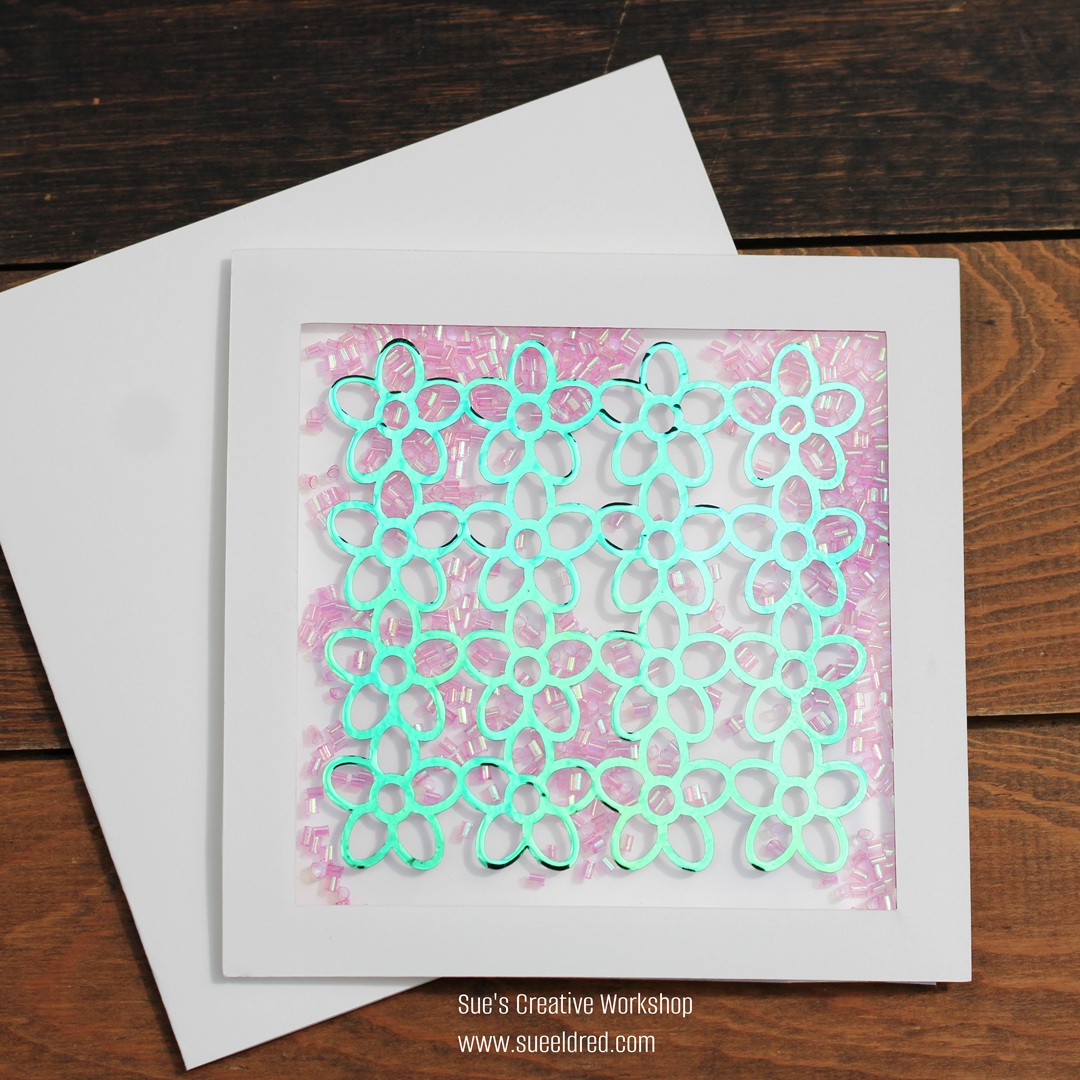
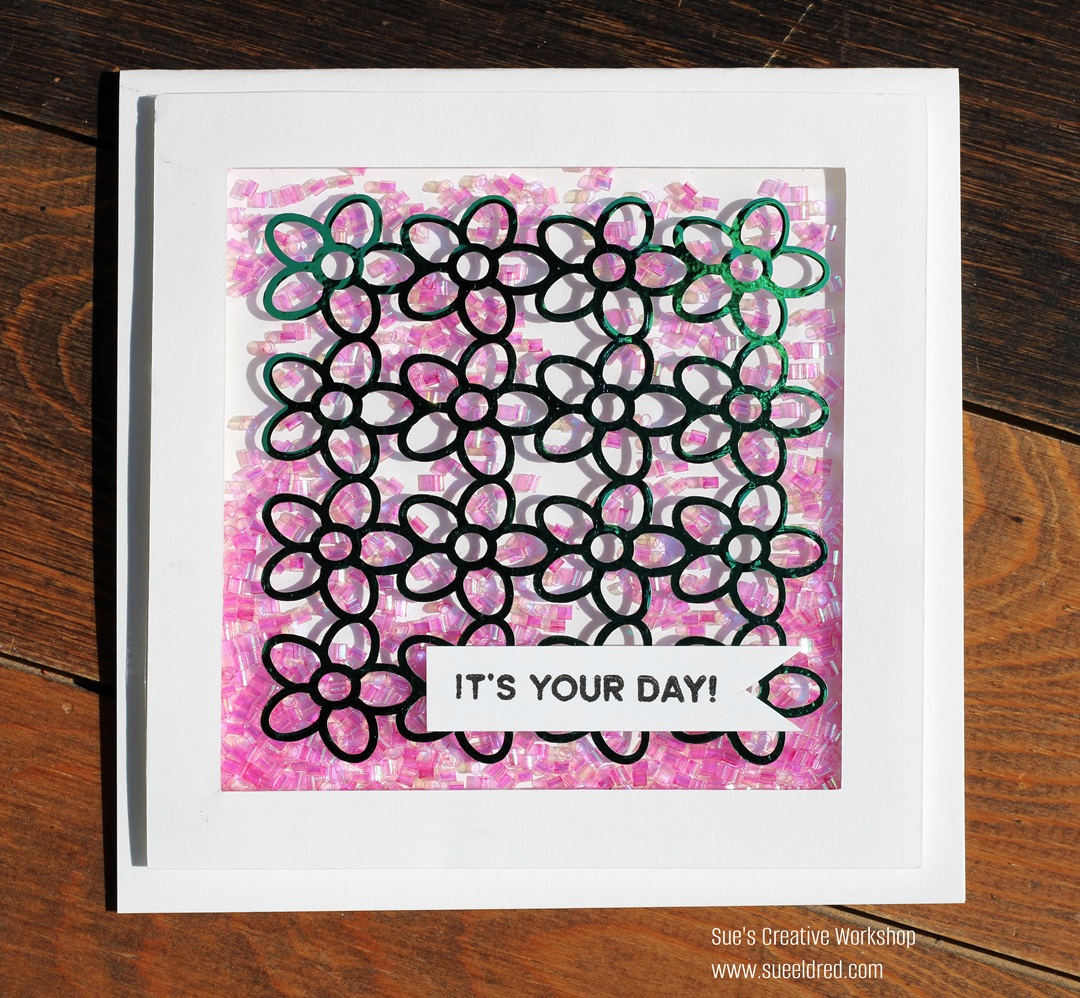
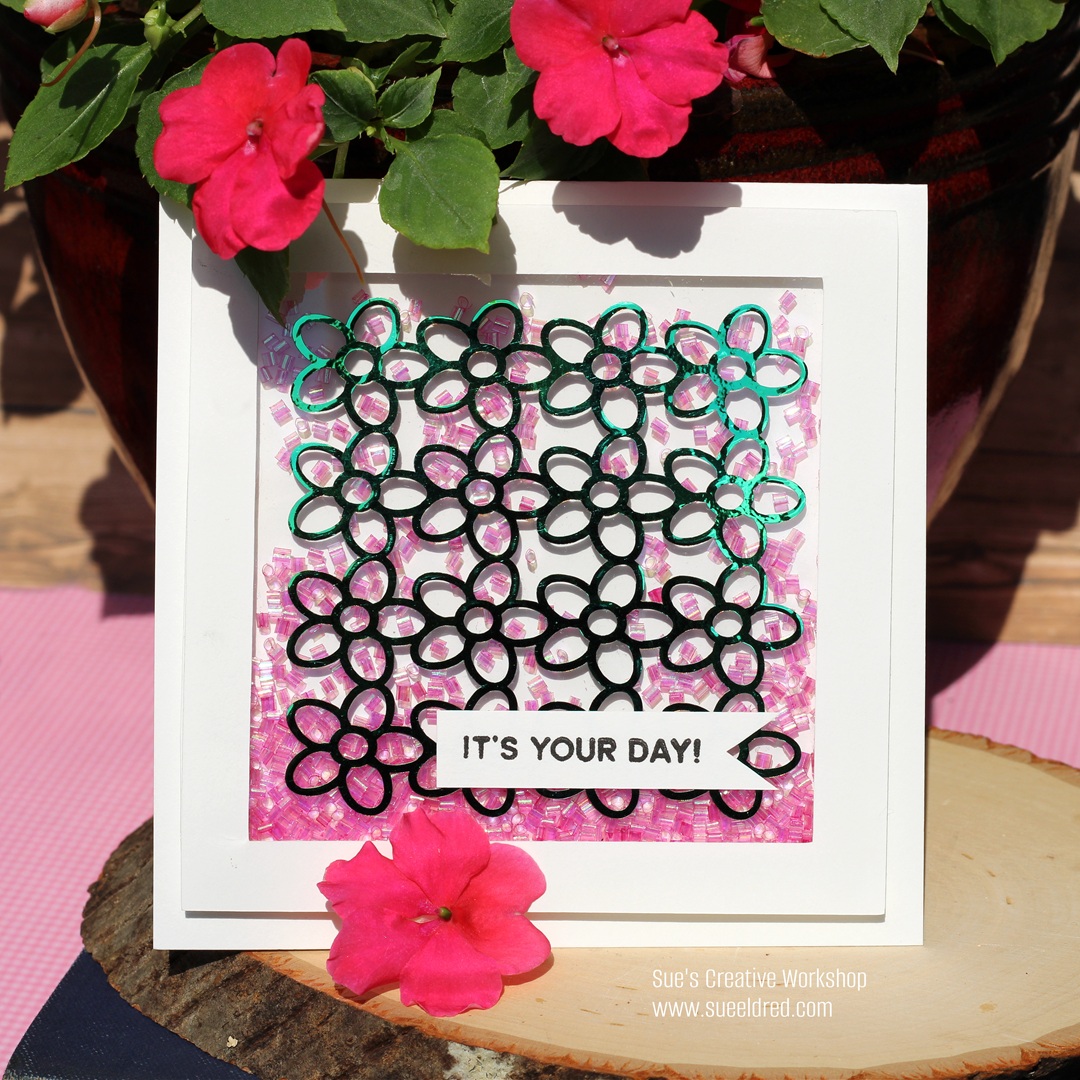
Embossed Wedding Card
This simply elegant Wedding card was made using the
Sizzix® 3D Textured Impressions® A5 Embossing Folder-Lace by Eileen Hull*.
You can read more about it here.
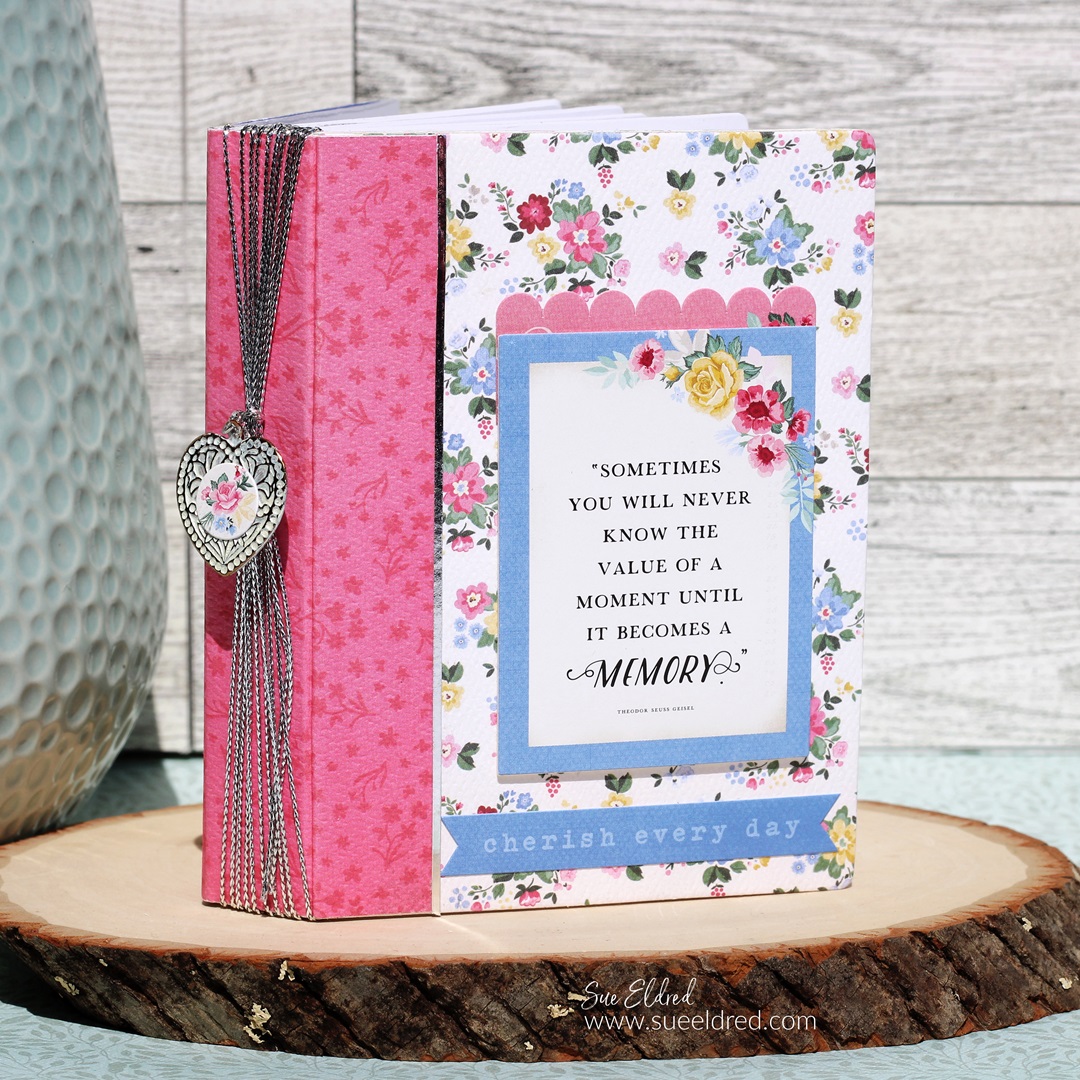
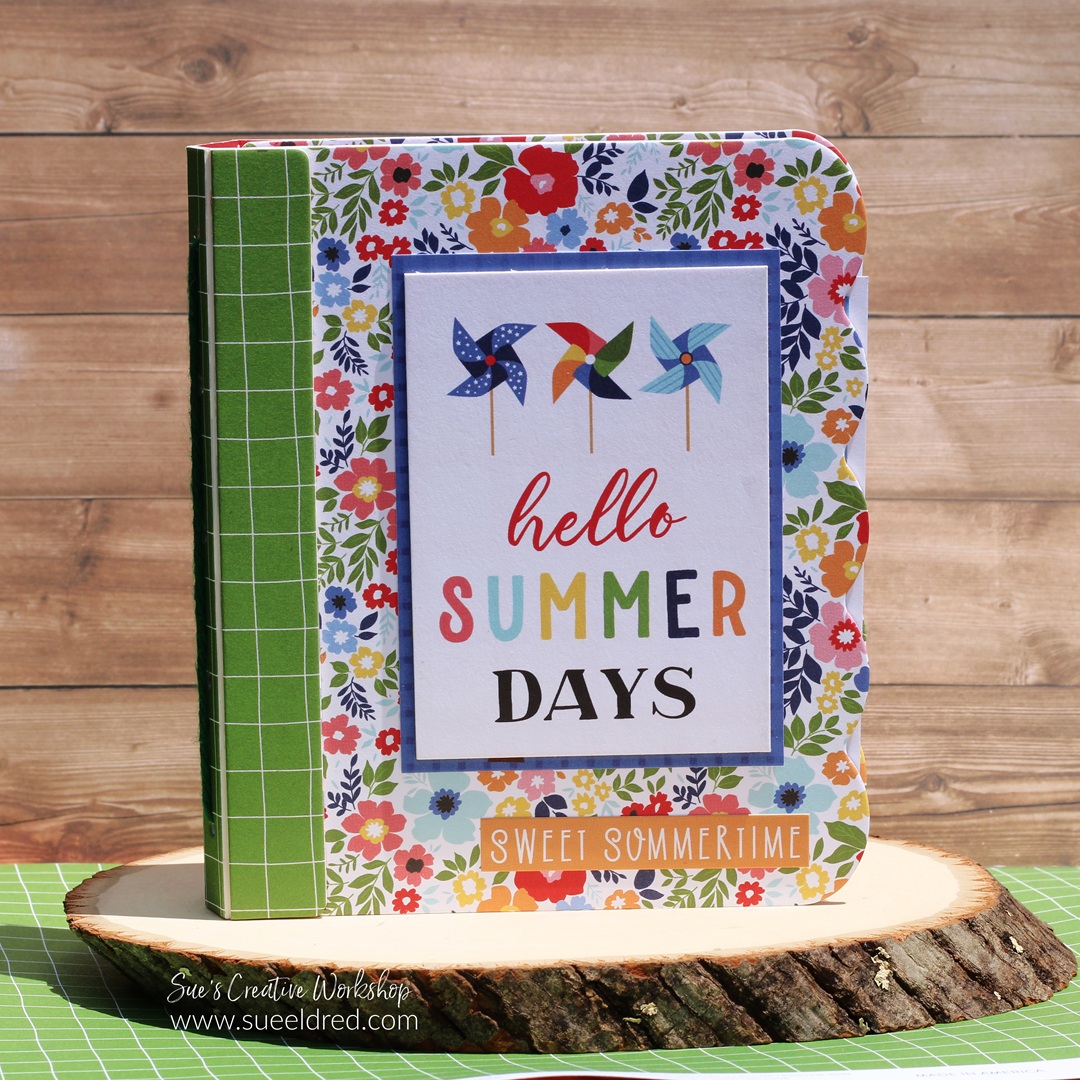
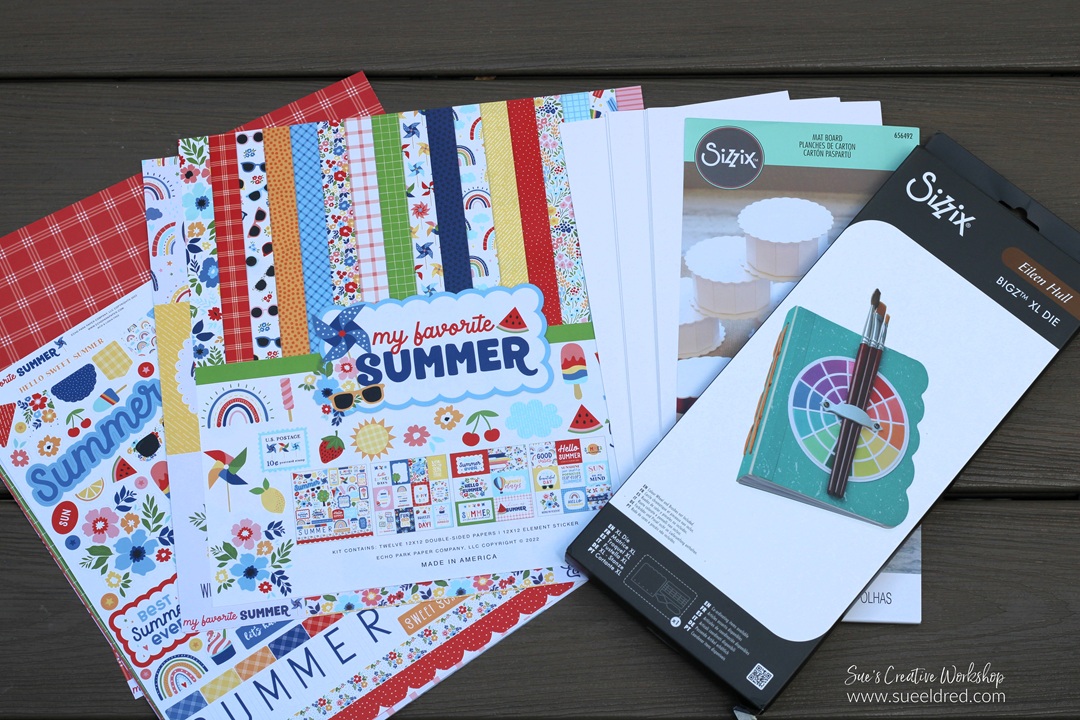
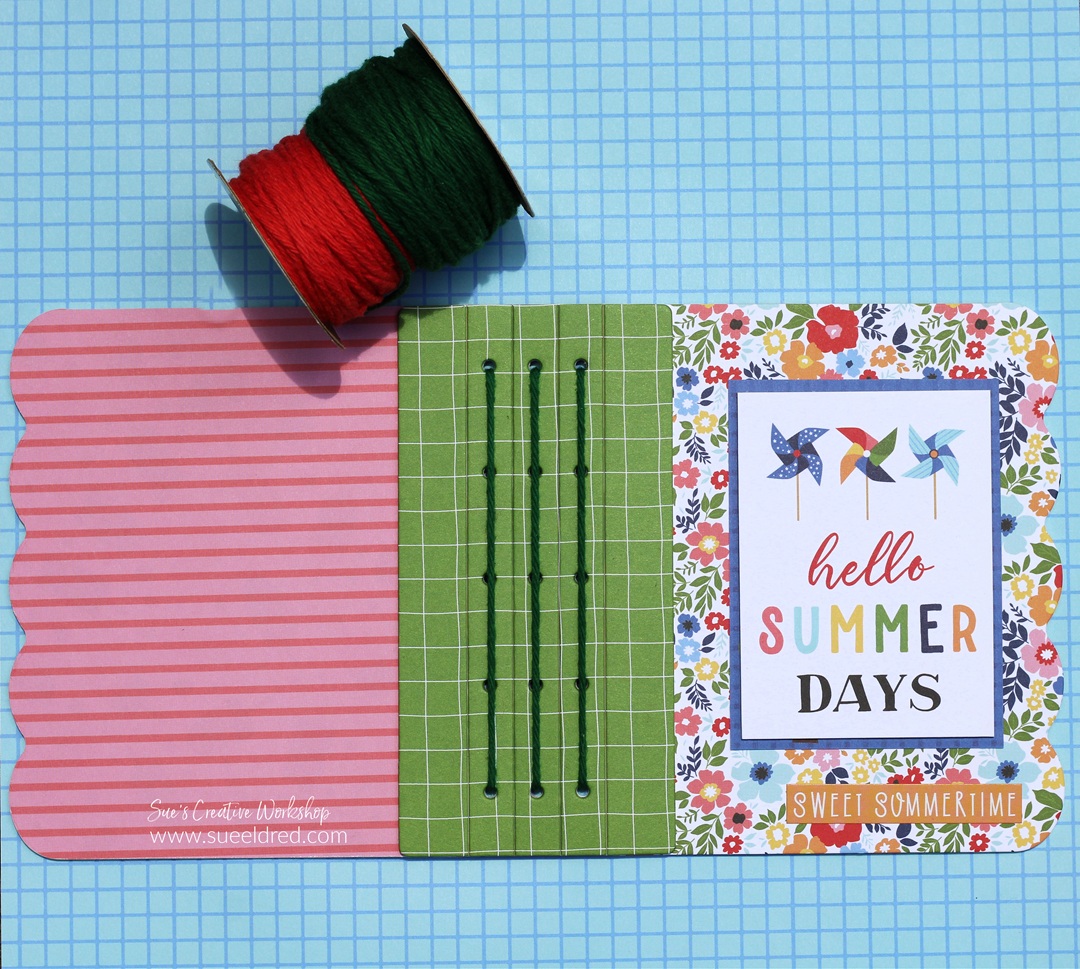
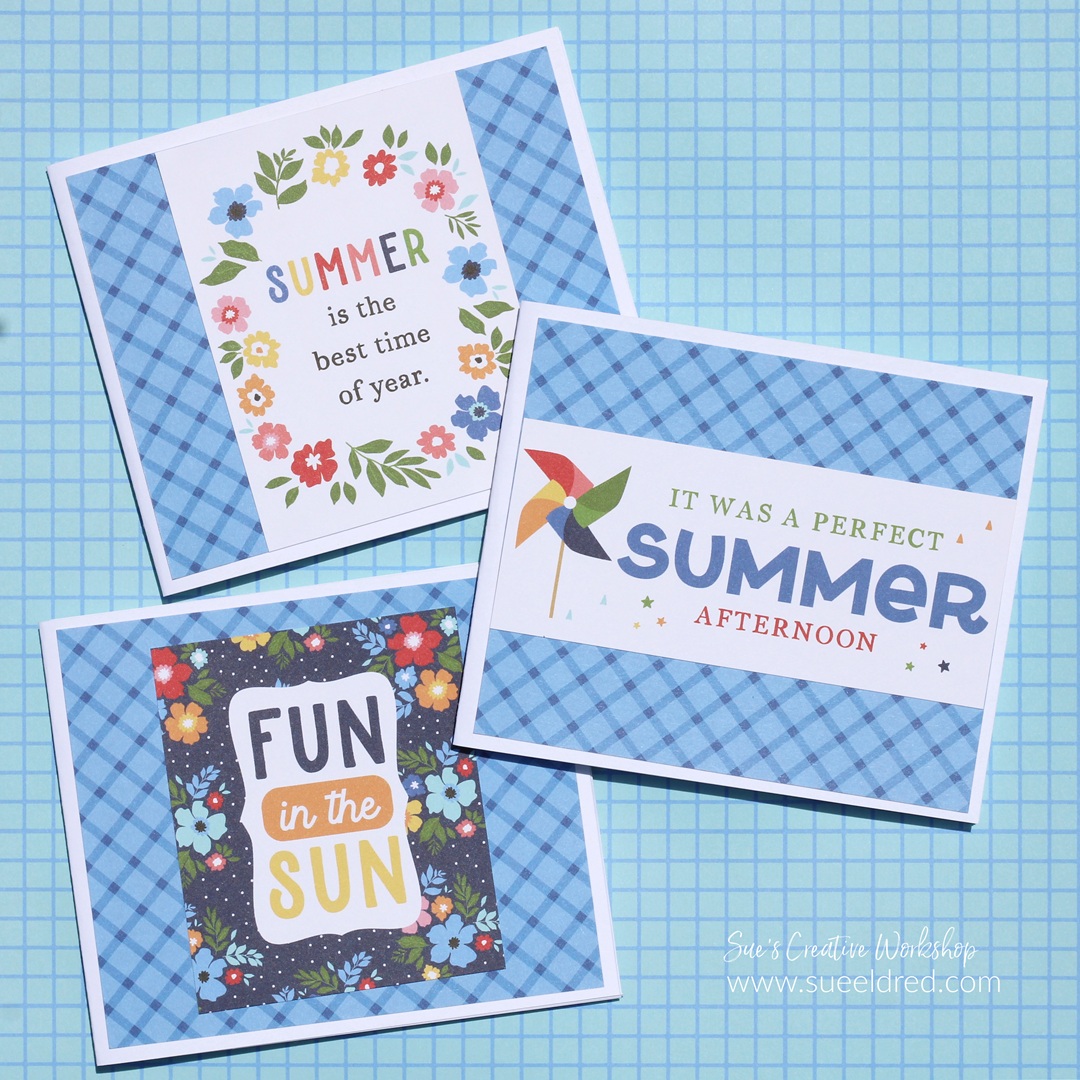
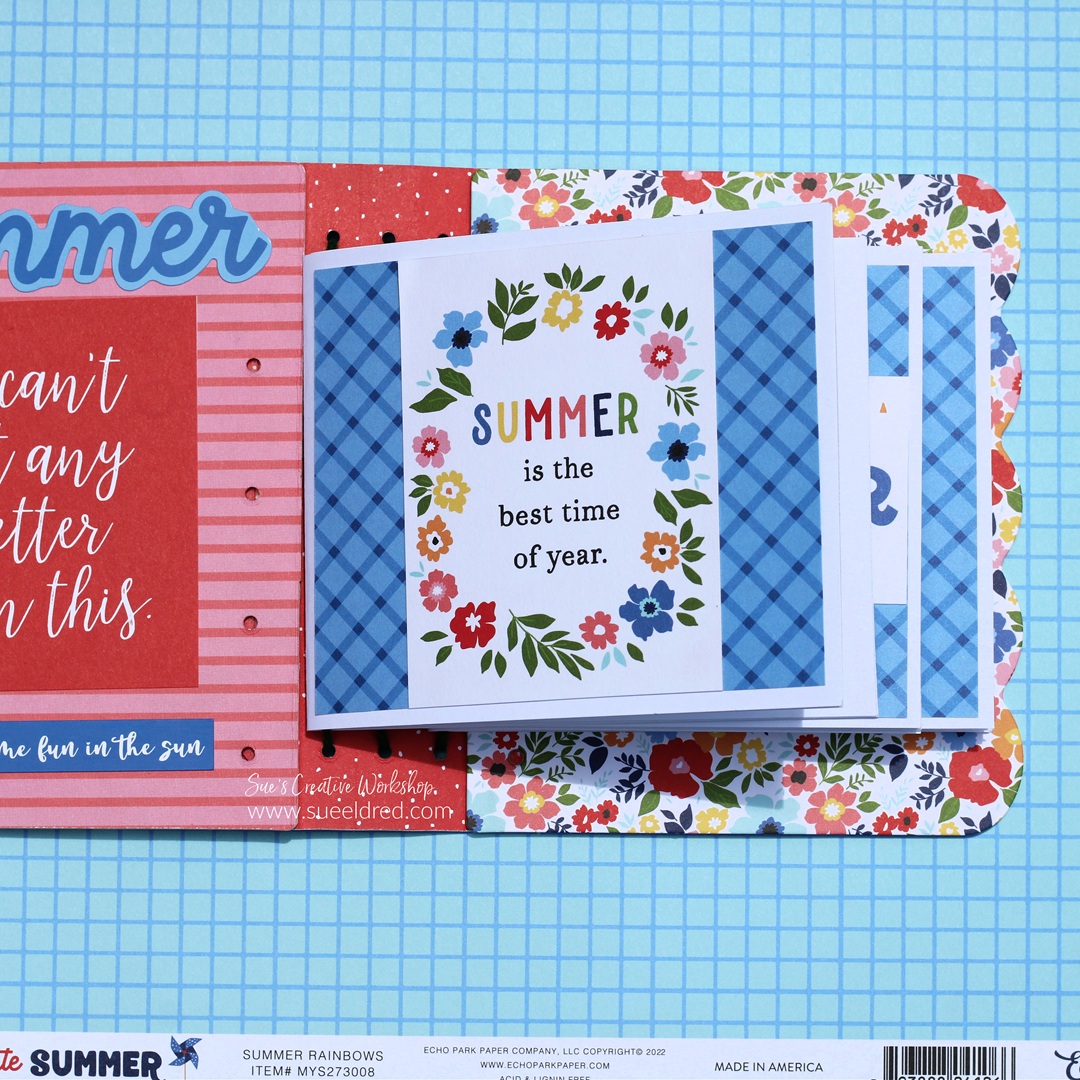
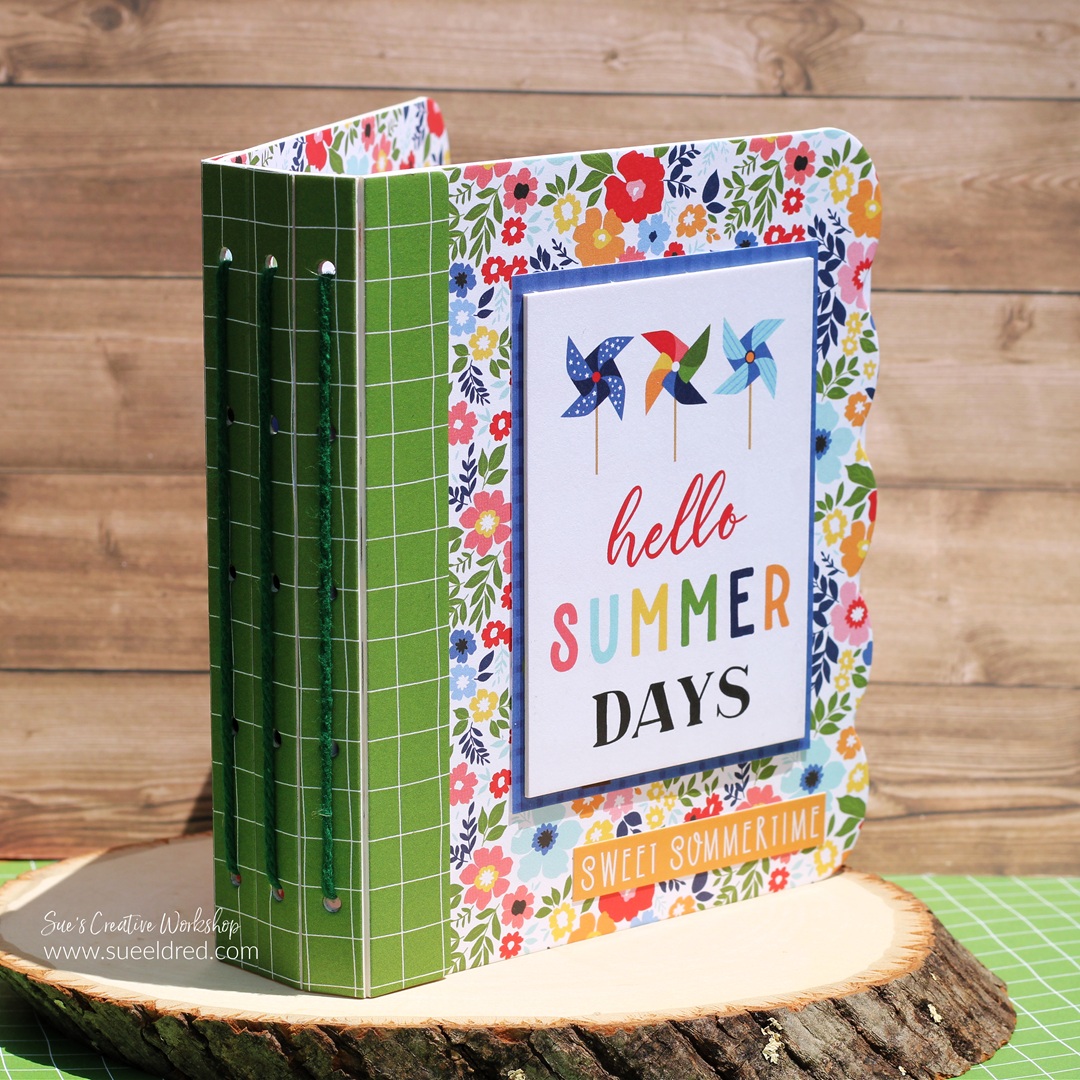
Summer Blooms Mini Album
If you’re looking for the perfect sized pocket-sized mini-album
to make, the Sizzix Notebook Die by Eileen Hull* is great.
You can read the full project tutorial here.

Disclosure: This is a sponsored post. As a member of the Eileen Hull Inspiration Team, I have been provided product in exchange for my creative ideas. The view and opinions are my own.