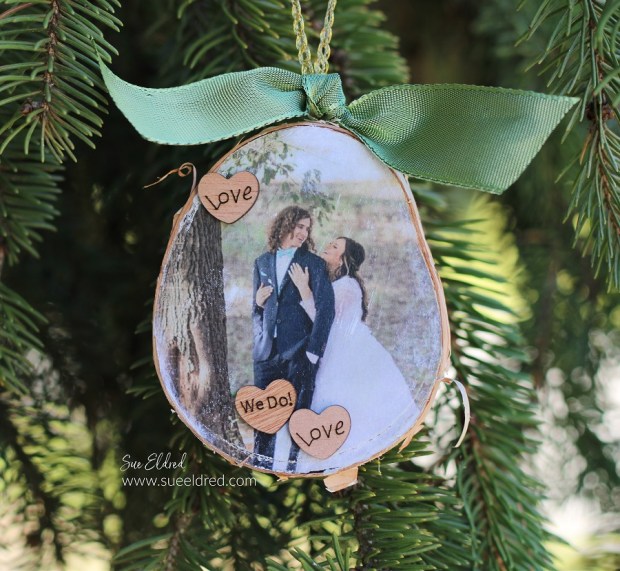
This Fall, I was invited to a lovely outdoor wedding by the lake for this special couple.
After seeing their wedding photos, I knew I wanted to make them a Photo Transfer
Ornament for their first Christmas together.
I swiped the little wood hearts used on the front of the ornament off the center
of the table where I was sitting. (with good intentions, of course)
Photo Transfer Ornaments are a great way to celebrate special occasions during
the Holidays. And they make great personalized gifts.

Materials Used: (*affiliate link)
- Photocopy of the Picture you plan on using.
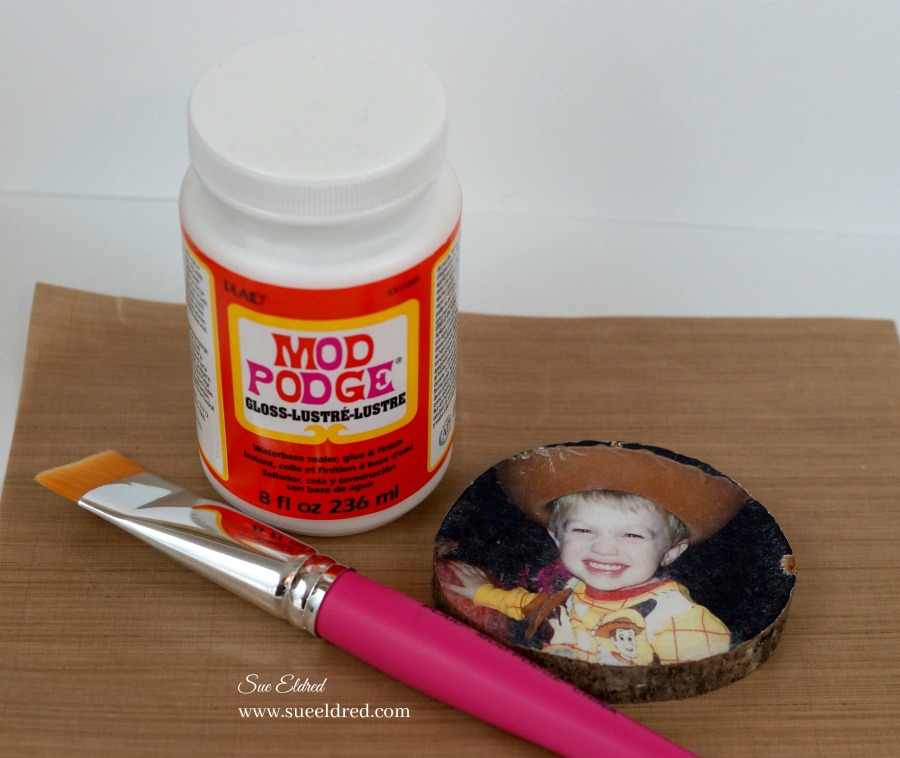
- Mod Podge Photo Transfer Medium*
- Unfinished Natural with Tree Bark Wood Slices*
- Paintbrush
- Scissors, Pencil
- Sponge
- Mod Podge Gloss Finish*
- Screw Eye Hook
- Twine and Ribbon

*Disclosure: This blog uses ads and affiliate links. If you choose to make a purchase using one of the links, I receive a small commission (at no additional cost to you) that helps offset the costs of maintaining this blog. Thanks for your support!

Directions:
- Very Important… You must use a photocopy made from a dry toner type copier. (Do not use the actual photograph, trust me, it will not work.) Try your local office supply store that makes copies.
- Lay the wood slice over the photocopy and trace around the wood slice. Cut around the traced lines.

- Using a paintbrush
, brush over the image with a medium application of Mod Podge Photo Transfer Medium*
. The transfer medium will be opaque.
- Carefully lift the image, making contact only slightly with the image edge. Flip the coated image over and position it over the wood slice. Lightly press from the center out to release any air bubbles. Wipe away any excess medium that may have been squeezed out.
- Allow drying overnight.
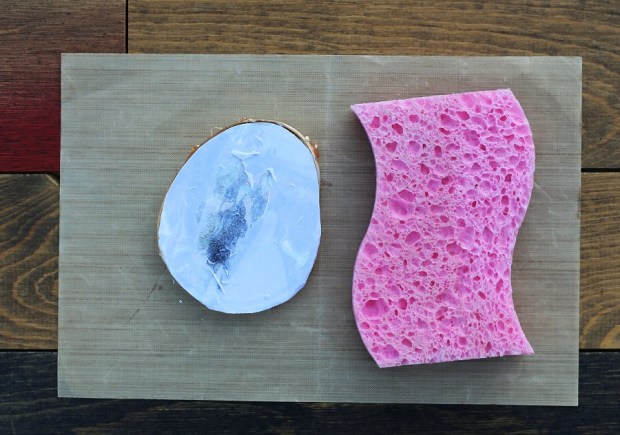
- Wet a sponge with water, squeeze excess water from the sponge then dampen the exposed backside of the image transfer. Immediately as the paper is wet, an image will appear. Allow the wet image to rest a couple of moments to soften the paper.
- Using your damp sponge or a fingertip, begin to lightly rub over the damp paper to peel away layers. Be careful not to be rough with the wet paper as it may be fragile. After removing several layers of paper, stop and allow the transferred image to dry. Once dry, white areas will appear where paper remains. Repeat steps to moisten and lightly rub the surface to remove the remaining paper layers. Allow to dry.

- Brush a coat of Mod Podge Matte Finish*
or Mod Podge Gloss Finish*
over the project surface to bring out the colors and to seal and protect.
- Add a screw eye on the top of the wood slice for twine and ribbon.