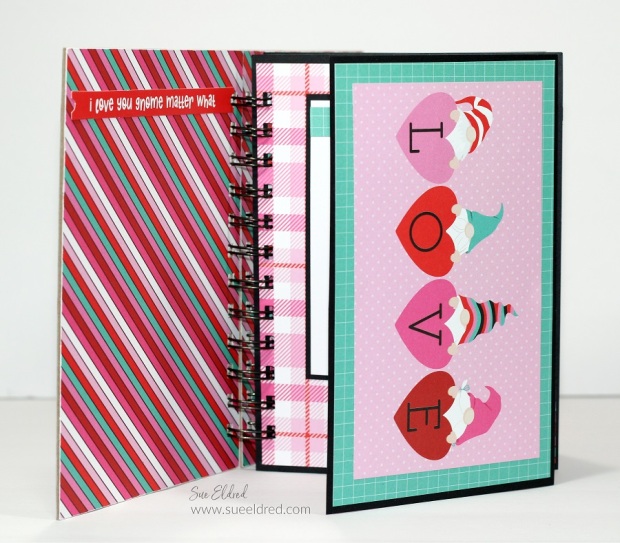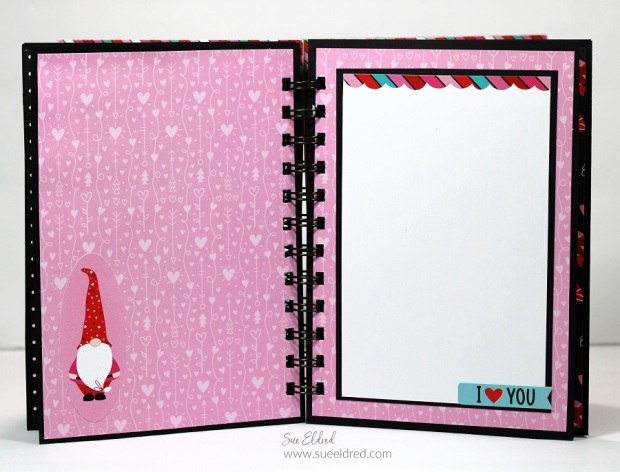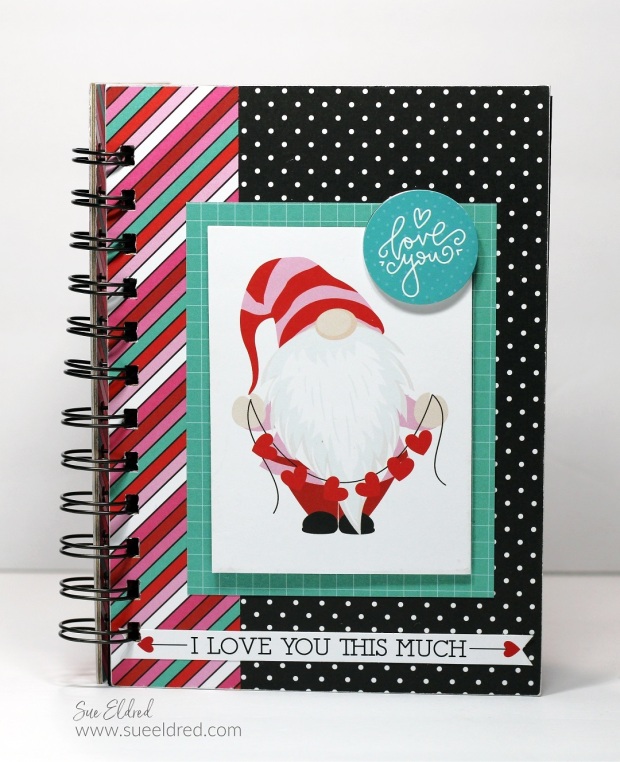
Tulla & Norbert’s Love Story Album
I thought I would share with you a fun little album I made for Xyron using
Tulla & Norbert’s Love Story Collection by Photo Play Paper.
A great album to add your photos.
![]()
“This post is sponsored for Xyron. I have been provided product and compensation in exchange for my creative ideas. The views and opinions are my own.
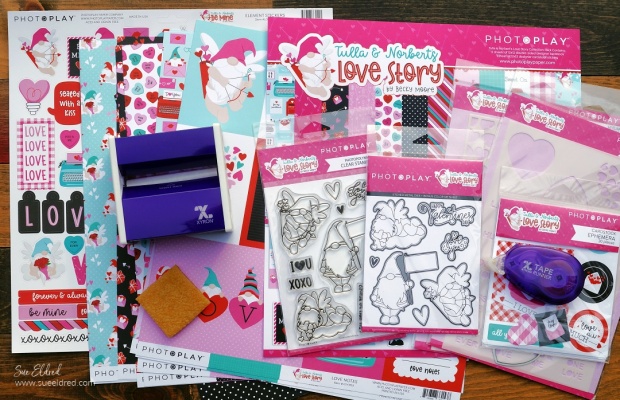
Materials Used:
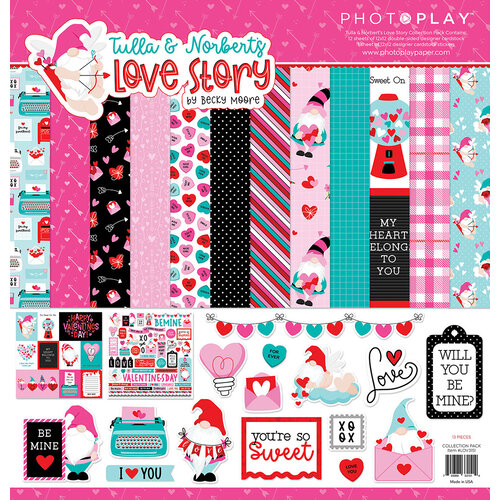
- LOV3151 Tulla & Norbert’s Love Story Collection Pack*
- LOV3159 Tulla & Norbert’s Love Story Cardstock Ephemera
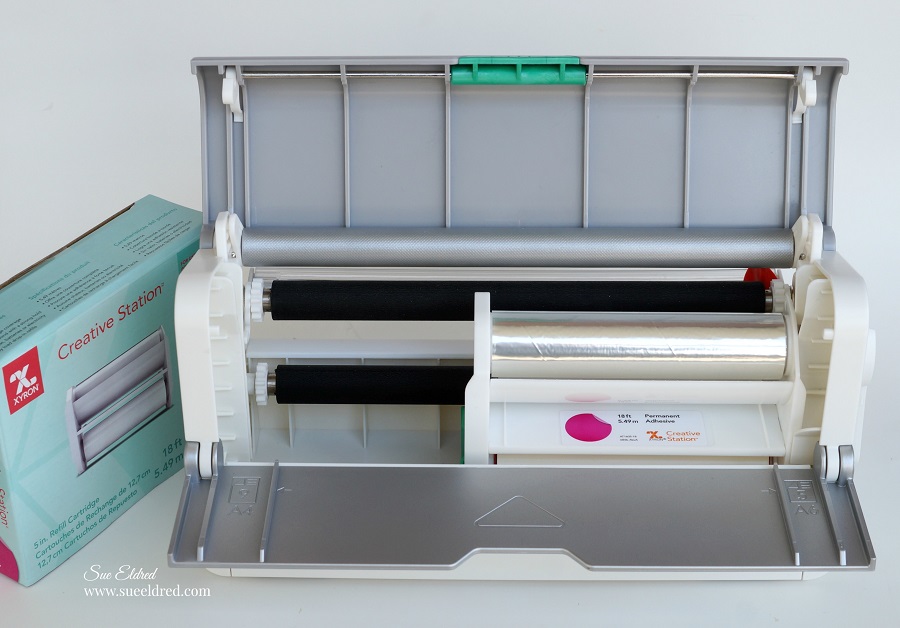
- Xyron Creative Station®*
- Xyron 9” Permanent Adhesive Refill for Creative Station*
- Xyron Tape Runner*
- 3″ Xyron Disposable Sticker Maker*
- Xyron Adhesive Eraser*
- Sizzix Mat Board*
- Book Binding Machine*
- Book Binding Coil*
- Cardstock: Black, White
- Paper Cutter*
- Scoring Board and Scoring Tool*
- 1” Circle Punch*
- 1/8” Hole Punch*
- Red and White Twine*
- Turquoise Ribbon
- White Thread and Small Red Button

*Disclosure: This blog uses ads and affiliate links. If you choose to make a purchase using one of the links, I receive a small commission (at no additional cost to you) that helps offset the costs of maintaining this blog. Thanks for your support!
Directions:
- For the cover, cut the matboard into two 5” x 7” pieces.
- Cut two 5” x 7” pieces of black dot scrapbook paper and two 5” x 7” pieces of diagonal stripe paper.
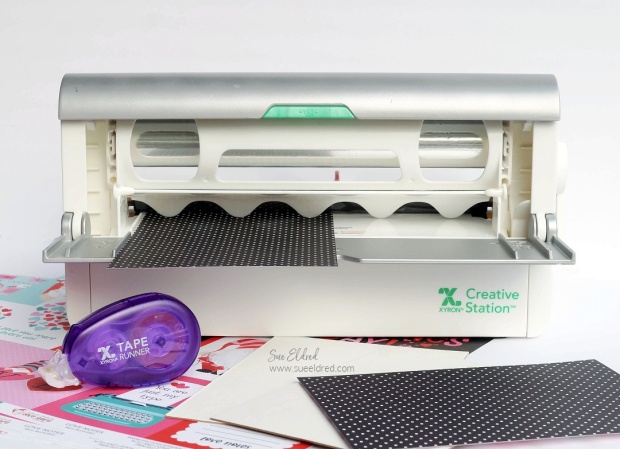
- Place the scrapbook paper into the Xyron Creative Station®* design side up. Crank the handle to run the scrapbook paper through the machine. As the scrapbook paper goes through the Xyron Creative Station, it adds a complete layer of adhesive to the back of the scrapbook paper. (You will need to add adhesive to all four pieces of scrapbook paper.)
- Remove the clear protective coating. Peel the paper from the white backing and stick it directly onto the matboard. Each piece of the mat board* will have black dots on one side and diagonal stripes on the other.
- The Black Dot Scrapbook paper will be on the front and back cover with the diagonal stripe paper on the inside.
- Cut two 1 ½” x 7” strips of diagonal striped paper. Run the strips through the Xyron Creative Station®* to add adhesive to the back.
- Stick onto the edge of the front and back cover. Pay special attention to the placement on the back cover so that the pieces line up on the right side.
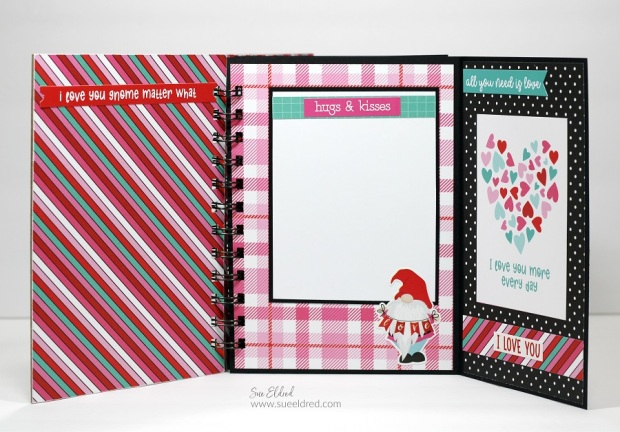
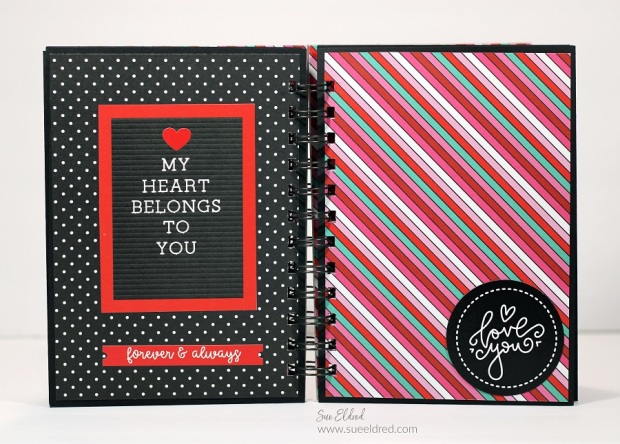
- For the inside pages, cut six 5” x 7” pieces of black cardstock.
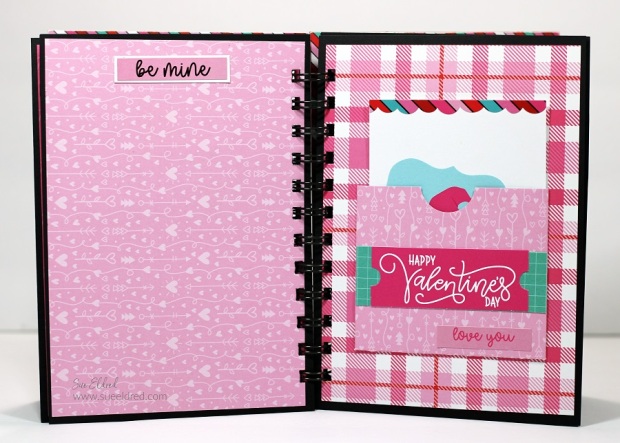
- Cut two 9¼” x 7” pieces of black cardstock. Score the cardstock at 5” lengthwise to create a page that has a flap.
- Adhere a variety of Tulla & Norbert Love Story scrapbook paper onto the front and back of each section of the black cardstock using the Xyron Tape Runner*.
- Using a Book Binding Machine*, bind the album together.
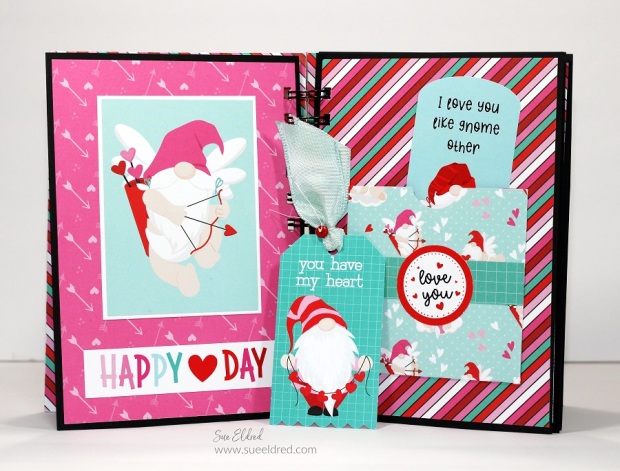
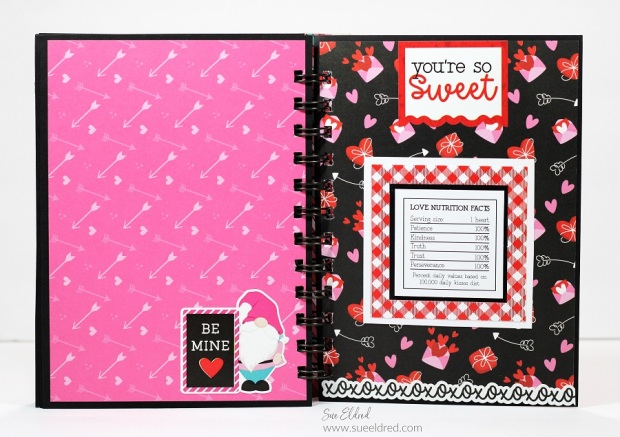
- Cut apart the 3” x 4” journaling cards to adorn the front cover and some of the inside pages.
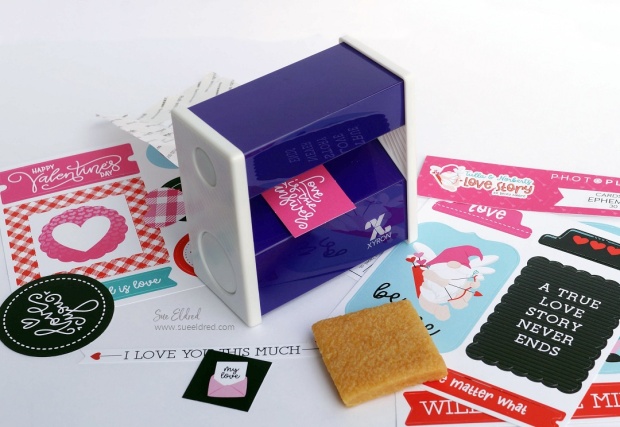
- A great way to add adhesive to the Tulla & Norbert’s Love Story Ephemera is to place them into the 3″ Xyron Disposable Sticker Maker*. Just pull, rub, and stick. To remove any excess adhesive around the die-cut pieces, use the Xyron Adhesive Eraser*.
- Create fun page flaps and pockets to add your album using stickers, die-cuts, ribbon, and twine*.