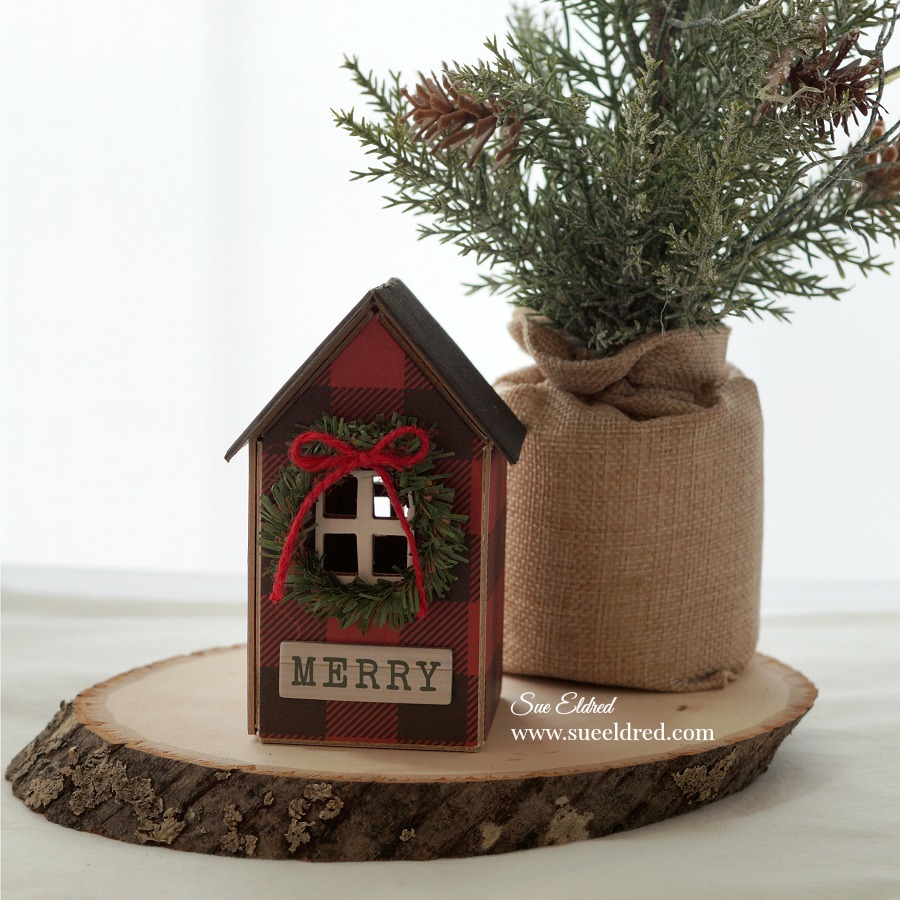
How to make a Plaid Tidings Embroidery Hoop Ornament
I guess you might say I’ve gone a little overboard on the Buffalo Plaid this year.
How can I help myself, I just love it all.
I got a little inspired by a Christmas ad I saw for clothes and decided to make this ornament.
It’s another quick and easy Holiday Ornament to make.
A perfect little gift for your Plaid Loving friends like me.
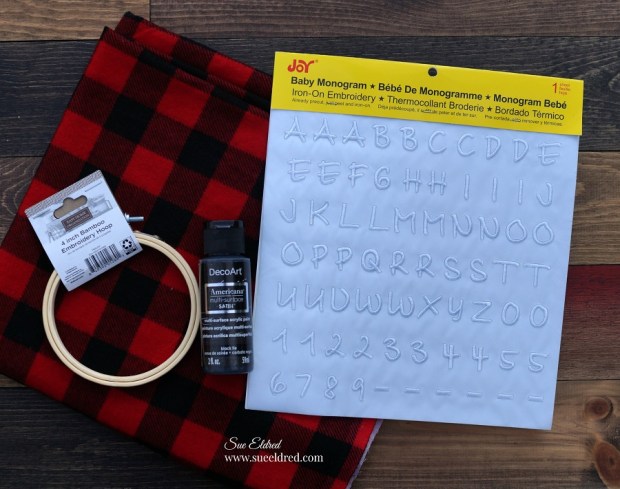
Supplies Needed: (*affiliate link)
- Joy White Iron On Embroidered Letters, Baby Monogram
- Black & Red Buffalo Plaid Flannel Fabric
- Iron*
- Scissors*
- 4″ Round Embroidery Hoop*
- DecoArt Americana Multi-Surface Satin Acrylic Paint, Black Tie*
- Craft Pine Stems*
- Beacon 3-in-1 Advanced Craft Glue*
- Ribbon and Red Jute Twine*
- Jingle Bell

Disclosure: This blog uses affiliate links. If you choose to make a purchase using one of the links, I receive a small commission (at no additional cost to you) that helps offset the costs of maintaining this blog. Thanks for your support!
Directions:
- Paint the embroidery hoop with black acrylic paint.
- Cut a piece of flannel that is larger than the hoop.
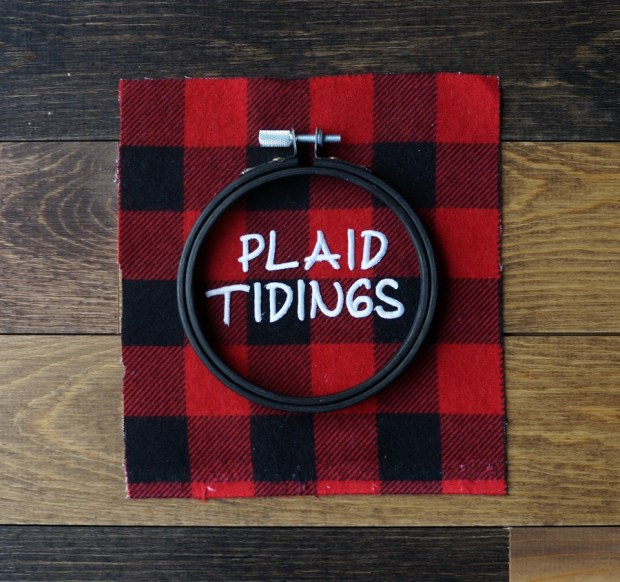
- Arrange the Joy® Baby Monogram Embroidered Iron On Letters shiny side down onto the flannel and inside the hoop to make sure they fit.
- Set iron to cotton setting, approx. 350° or follow fabric care label.
- Cover letters with a fine cloth. With firm pressure iron cloth over the letters for 25 seconds.
- Turn flannel over and iron the back of the letters for 25 seconds.
- Allow 1 minute to cool before handling.
- Insert the flannel into the embroidery hoop and tighten.
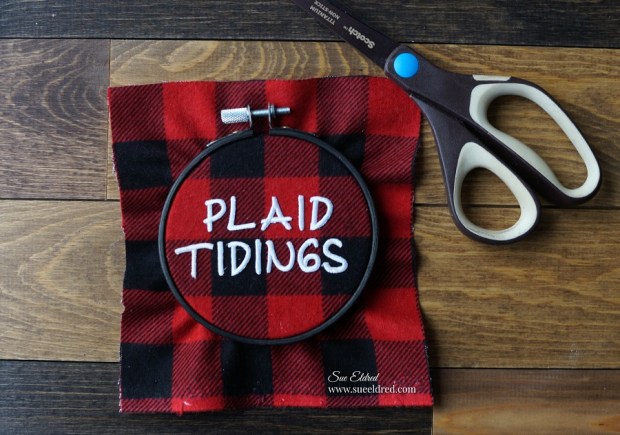
- Trim the excess flannel from around the embroidery hoop.
- Glue pine craft stem around the outside edge of the hoop.
- Embellish the hoop with ribbon and jingle bell.
- Add a piece of red twine to hang.
You can find a wide selection of Joy® embroidered iron-on letters and alphabet sheets in different sizes at your local craft stores!

“This is a sponsored post. As a member of the Joy® Design Team I have been provided product and compensation in exchange for my creative ideas. The views and opinions are my own.