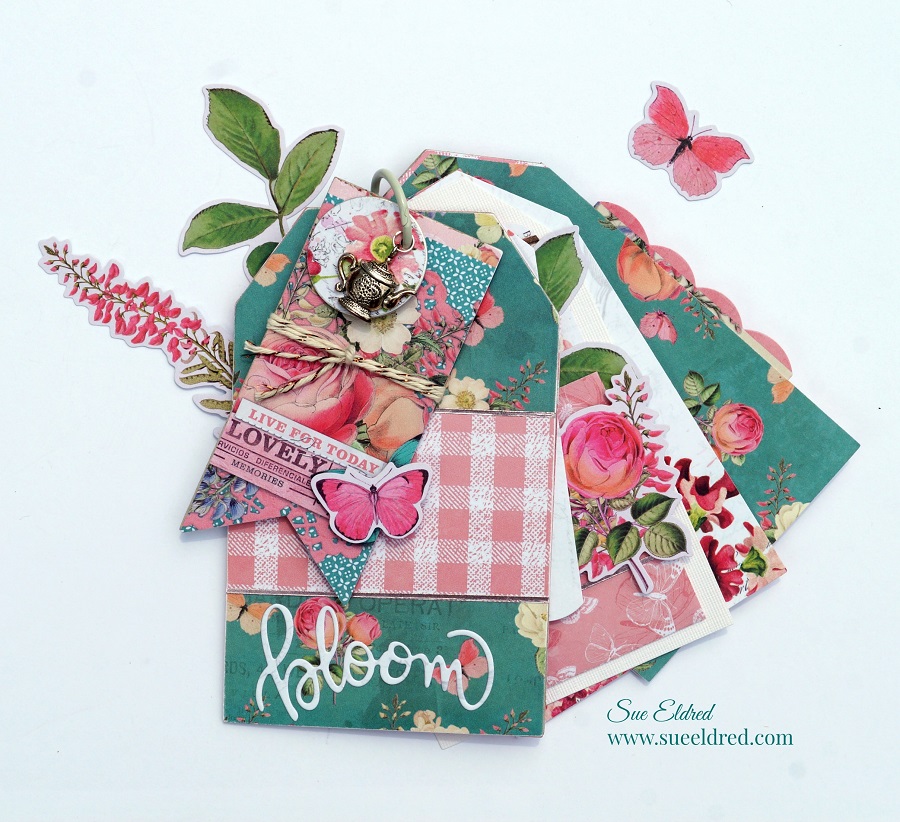
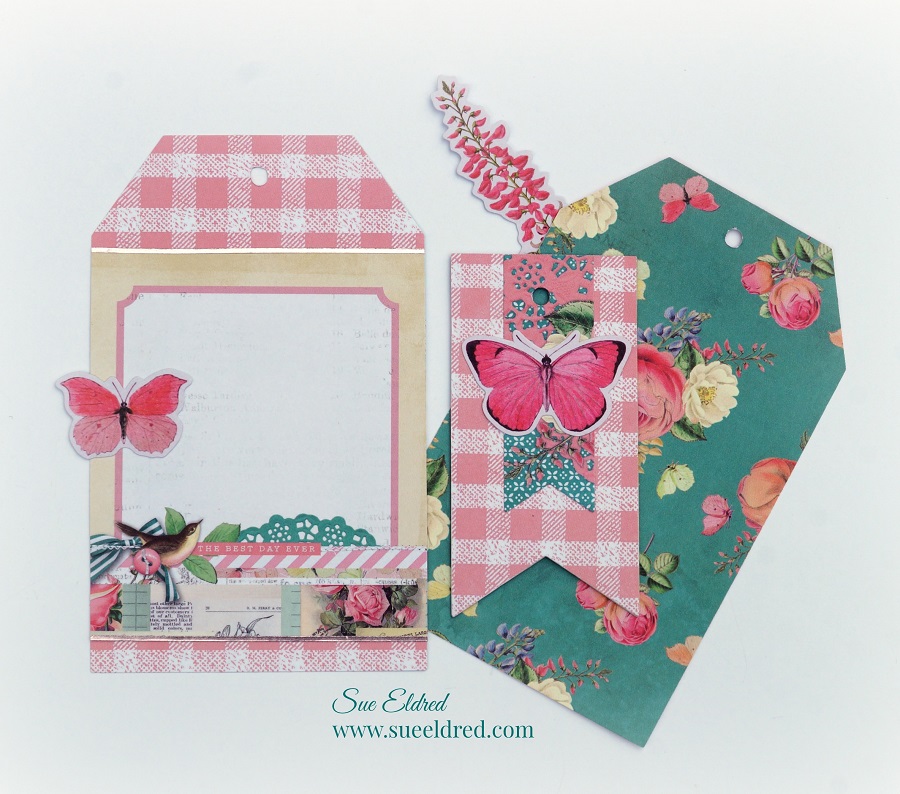
Framed Vintage Inspired Library Pocket Floral Collage
Lately, my style has leaned towards “Clean and Simple”.
But sometimes I like to get inky and create a project with a vintage feel.
The Framed Library Pocket Floral Collage uses the Library Card Die Set from
the Maker’s Movement and beautiful papers from Kaisercraft’s Flower Shoppe Collection.

Disclosure: This is a sponsored post for the Maker’s Movement. I have been provided product and compensation in exchange for my creative ideas. The view and opinions are my own.

Materials Used: (*Affiliate Link)
- MOD277 Maker’s Movement Library Card Die Set
- MOD203 Maker’s Movement Nested Stitched Rectangles Die Set
- Crossover II Fabric & Paper Cutting System*
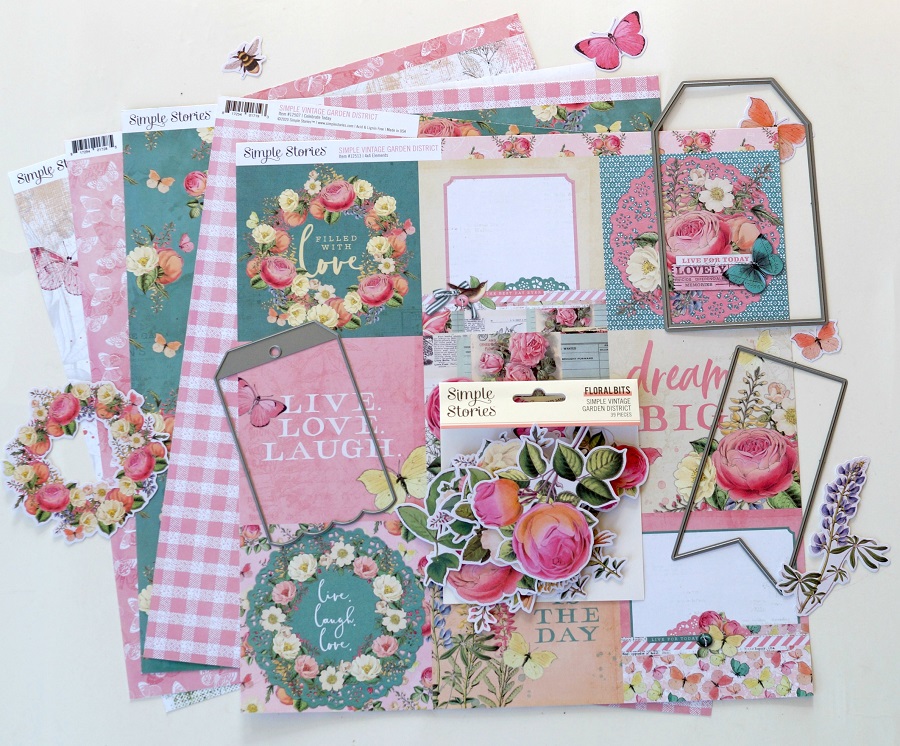
- P2941 Kaisercraft Flower Shoppe Collection-Garden Path*
- P2939 Kaisercraft Flower Shoppe Collection-Sunroom*
- P2943 Kaisercraft Flower Shoppe Collection-Full Bloom*
- 12DR471 BoBunny Dusty Rose Double Dot 12″ x 12″ paper
- Simple Stories-Simple Vintage Garden District Floral Bits & Pieces
- Ranger Distress Inkpad: Vintage Photo*
- Ink Applicator*
- Ribbons, Trims and Embellishments
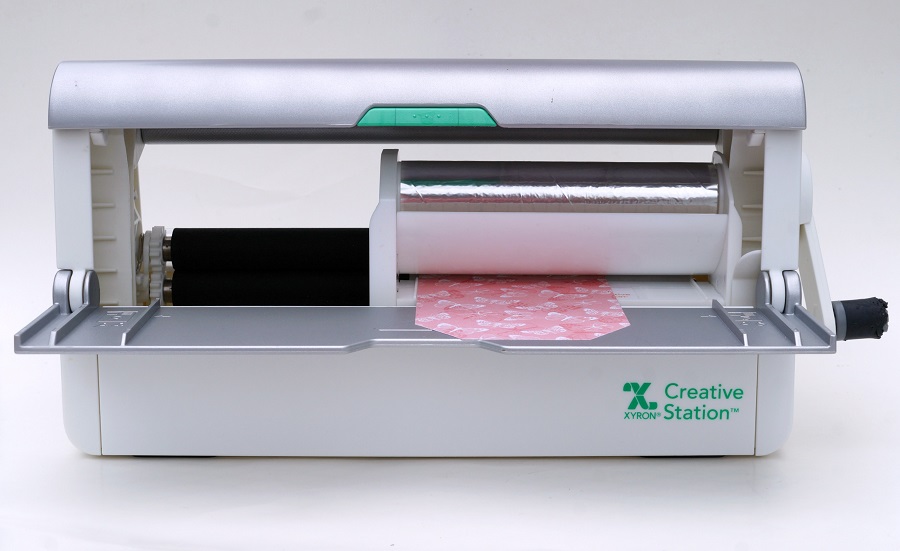
- Xyron Tape Runner*
*Disclosure: This blog uses affiliate links. If you choose to make a purchase using one of the links, I receive a small commission (at no additional cost to you) that helps offset the costs of maintaining this blog. Thanks for your support!

A few project details:
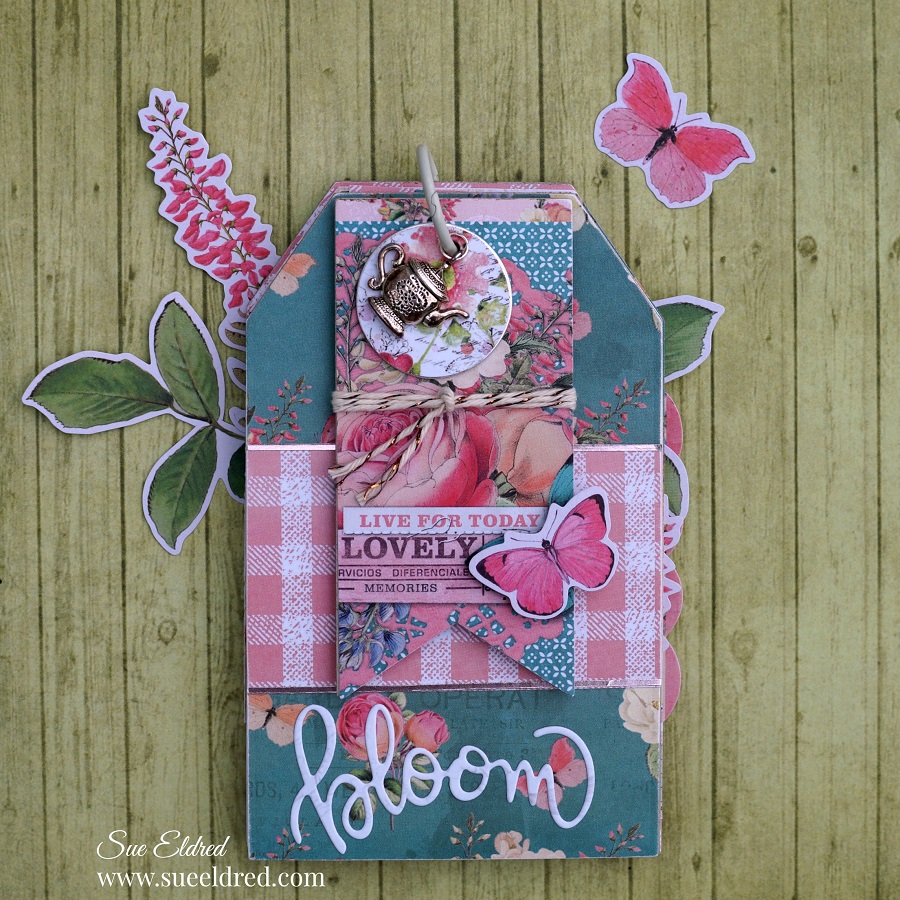
- I cut a thin frame out of woodgrain scrapbook paper and the nested rectangle dies.
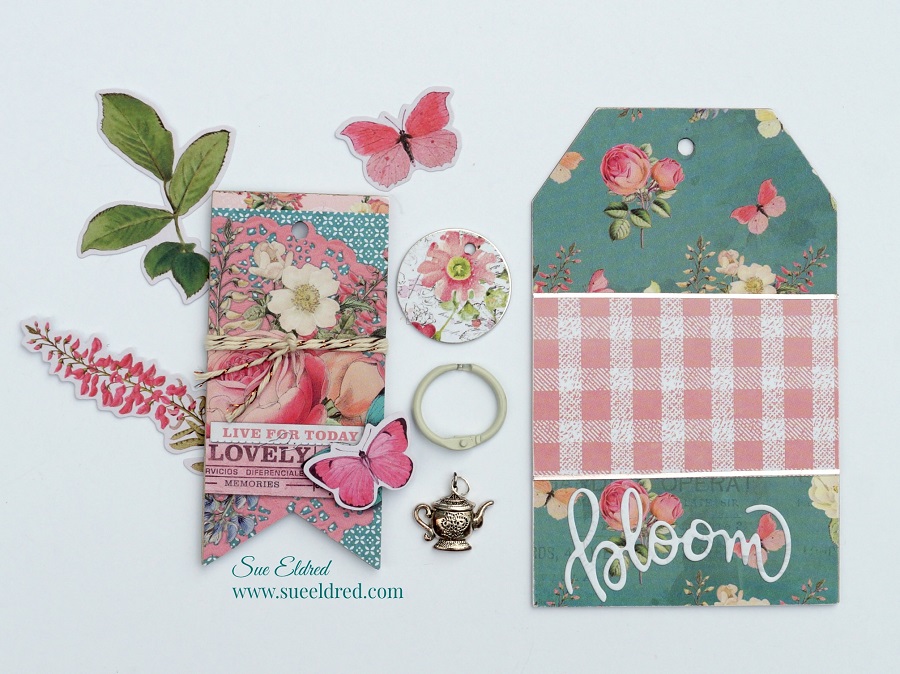
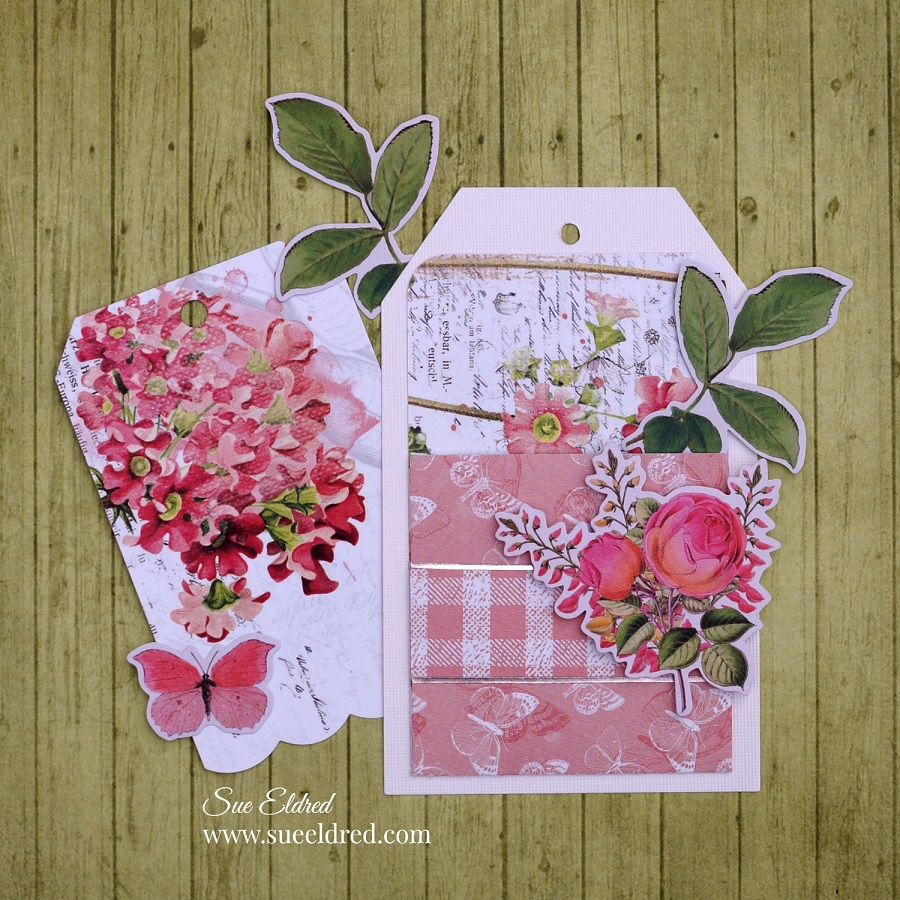
- I used a combination of ribbon and trims to wrap around the library pocket.
- I filled the library pocket with floral bits & pieces. Some popped up with 3D foam squares, others backed with thin mat board scraps.
- The edges of the pieces were lightly inked using an ink applicator and Vintage Photo Distress Ink.

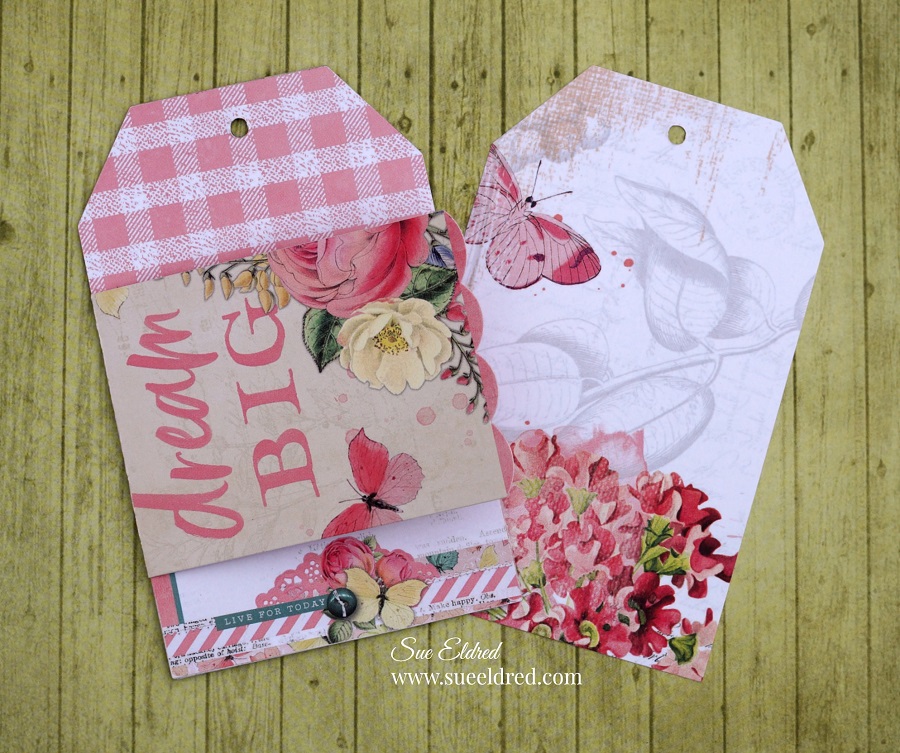
A soft and delicate Vintage-Inspired Collage for Spring.