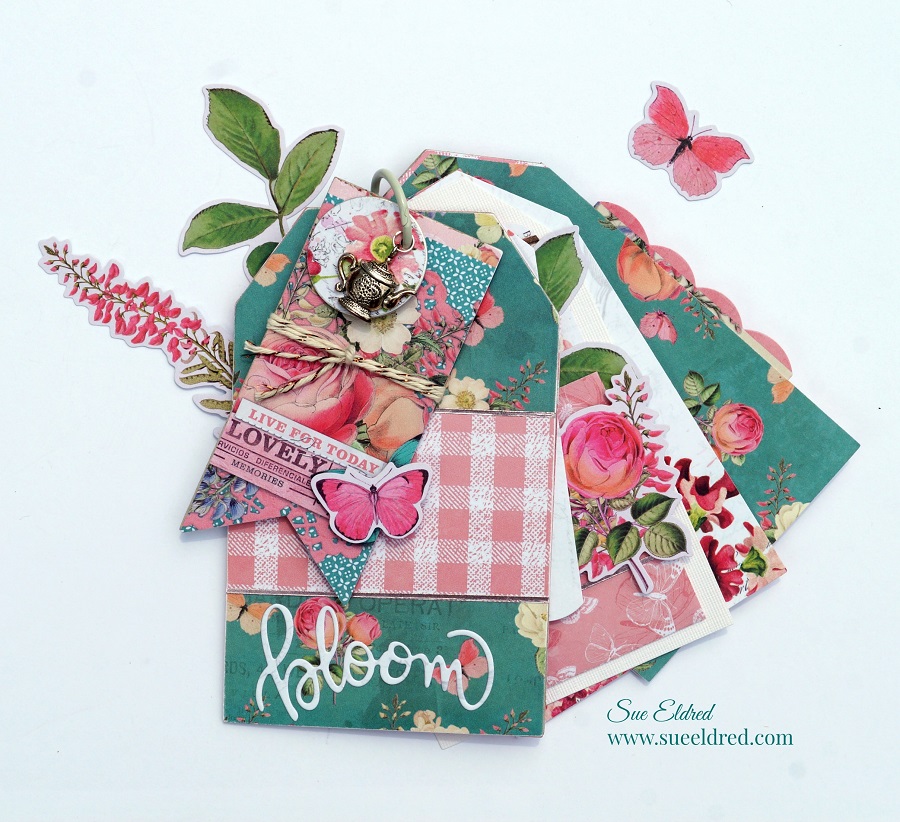
How to make a Simple Vintage Garden Tag Album.
In keeping with the pretty in pink theme, I created
a sweet little tag album made with the Simple Vintage Garden District Collection
from Simple Stories and several tags dies from The Maker’s Movement.
(To say I love this collection would be an understatement.)
*FTC Disclosure… “This is a sponsored post for The Maker’s Movement. I have been provided product and compensation in exchange for my creative ideas. The views and opinions are my own.”
Here’s what I used: (*affiliate link)
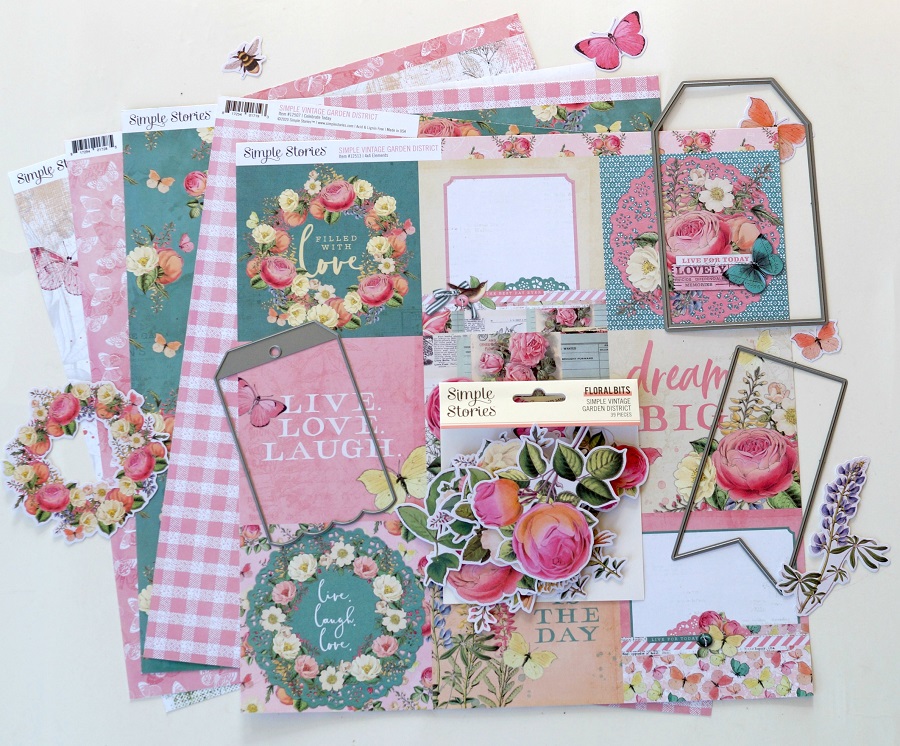
- Simple Vintage Garden District Scrapbook Collection from Simple Stories*
- Simple Vintage Garden District Floral Bits and Pieces Ephemera*
- MOD282 Large Nested Tags Die Set
- MOD283 Nested Fishtail Banner Die Set
- MOD277 Library Card Die Set
- MOD278 Nested Square Tags Die Set
- MSD217 In Full Bloom Stamp and Die Set
- Crossover Fabric & Paper Die-Cutting System*
- Xyron Creative Station*
- Xyron 5″ Permanent Adhesive Refill Cartridge*
- Xyron Tape Runner*
- Thin Chipboard
- 1 1/4″ Metal Rimmed Circle Tag*
- 1 1/4″ Circle Punch*
- Crop-A-Dile Multi Purpose Hole Punch*
- Small Book Ring, Twine, and Teapot Charm


*Disclosure: This blog uses ads and affiliate links. If you choose to make a purchase using one of the links, I receive a small commission (at no additional cost to you) that helps offset the costs of maintaining this blog. Thanks for your support!

Directions:
- Cut two large tags out of thin chipboard using the Crossover II Die Cut Machine for the front and back cover of the tag album.
- You may need to run it through the roller twice before picking it up the tag to make sure it cut all the way through.
- Cut additional tags using decorative scrapbook paper for the inside pages.
The Crossover II Fabric & Paper Cutting System* has adjustable rollers and pressure settings. It adjusts for multiple layers and allows you to be able to cut a variety of thicknesses. It can cut fabric, faux leather, craft foam, chipboard, felt and, several other materials.
- You will need to use four tags for the front and back of the tag album cover.
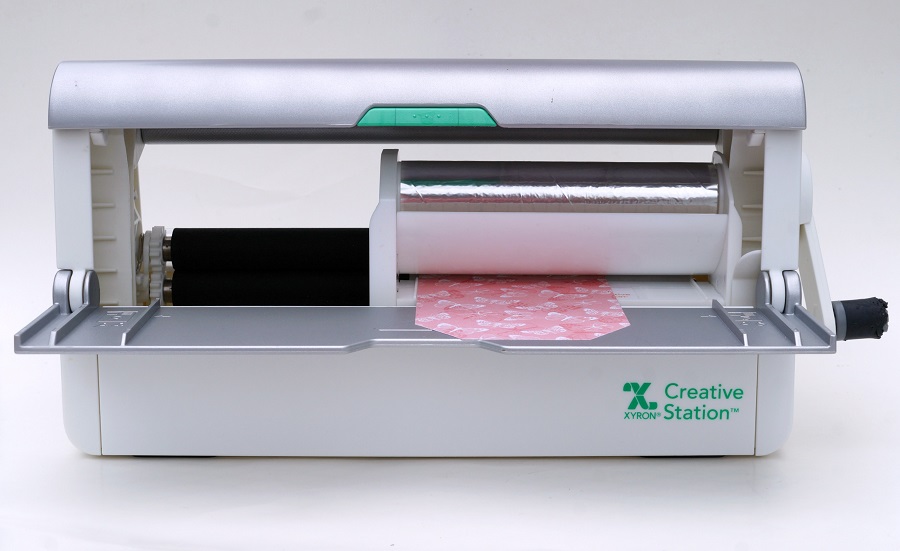
- Place the tag design side up on the Xyron Creative Station*
crank the handle to run the tag through the machine. As it moves through the Xyron Creative Station it adds adhesive to the back of the tag.
- Remove tag from the protective liners and adhere to the front and back of each chipboard tag.
(FYI…I used the 5″ Permanent Adhesive Refill Cartridge* in the Xyron Creative Station.)
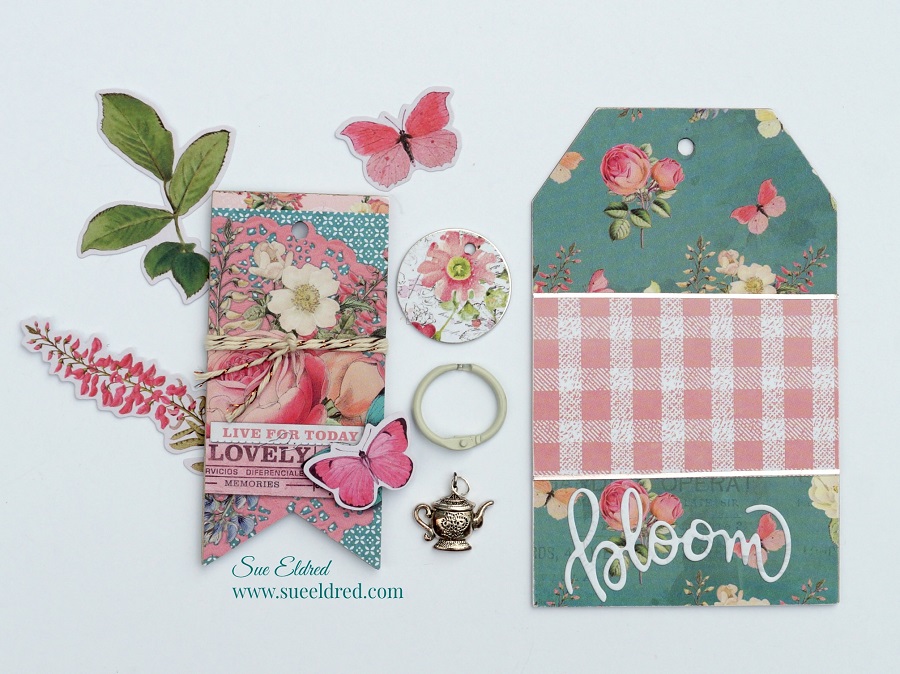
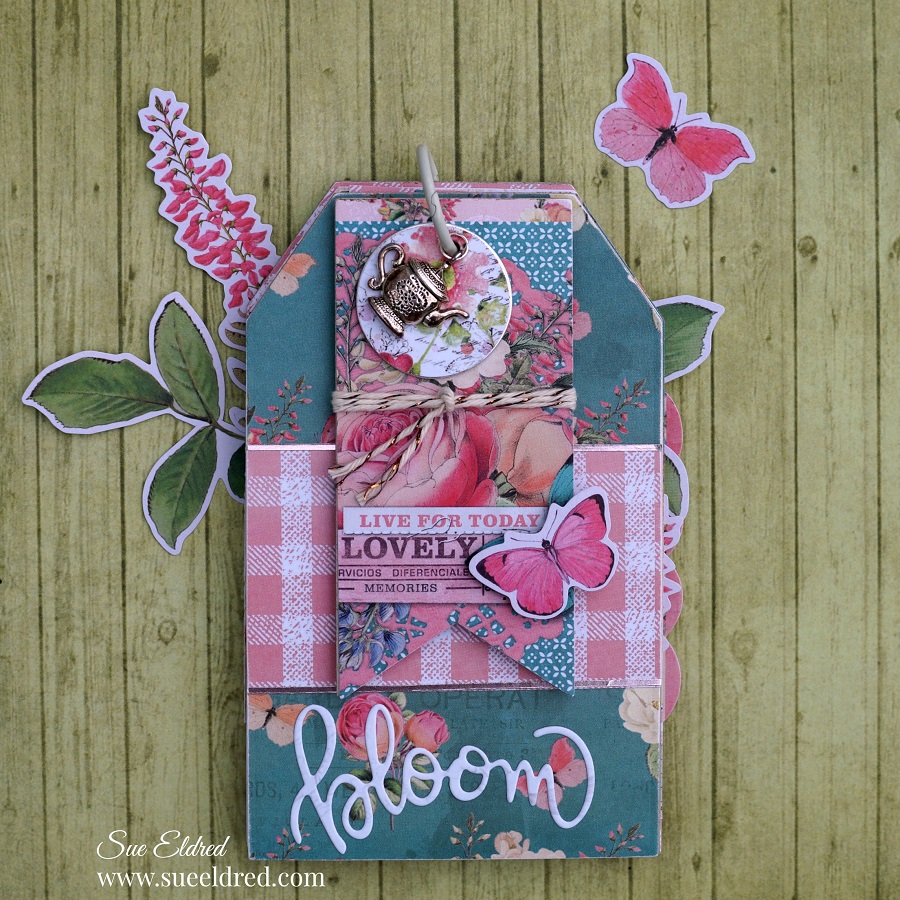
I used a lot of dimensions to create the front cover.
- Cut a small banner from thin chipboard, cover it with decorative scrapbook paper the same way as the front and back covers.
- Cover the small metal rimmed tag with circles cut from scrapbook paper.
- Use twine to tie around the banner and a small teapot charm to hang from the book ring.
- Create a “bloom” word sticker using the Xyron Creative Station and a small piece of off white scrapbook paper. Use the bloom word die from the “In Full Bloom” stamp and die set and cut it using the adhesive paper.
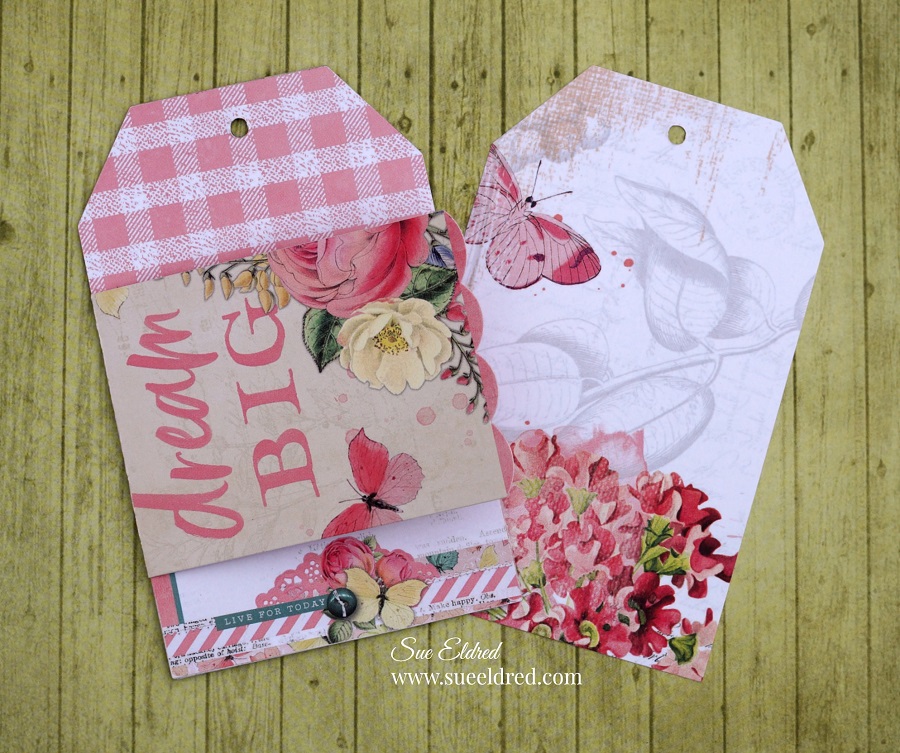
- Decorate and embellish the inside pages using pieces from the ephemera set, and banners.
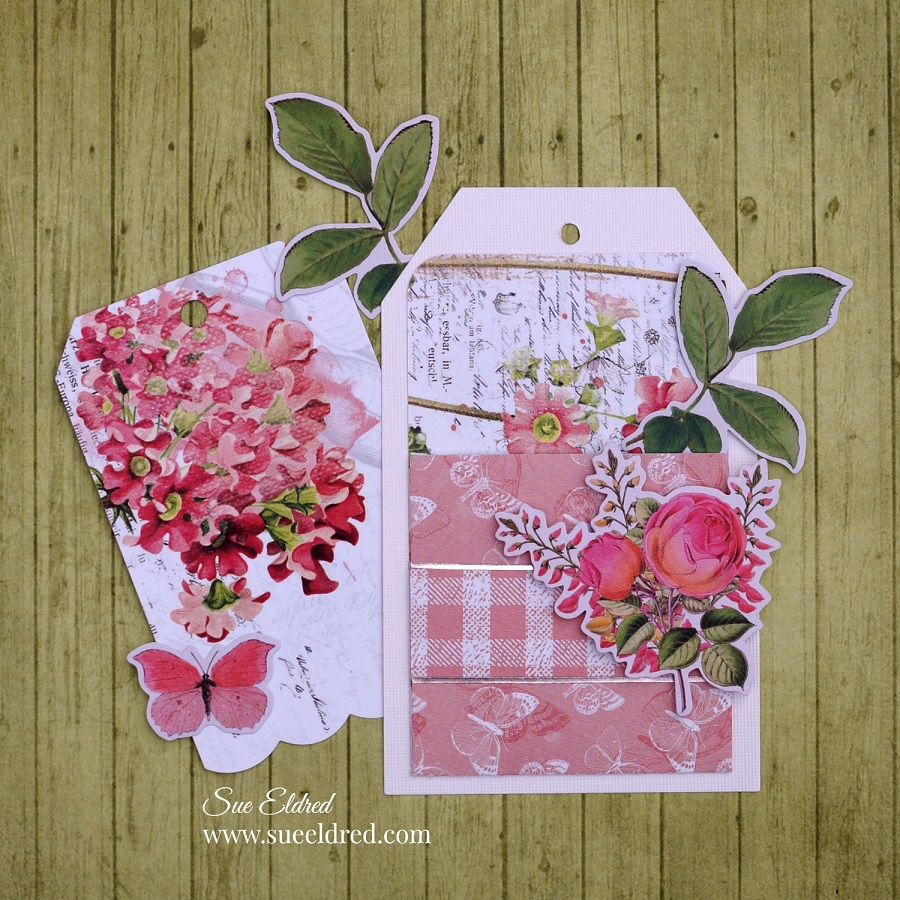
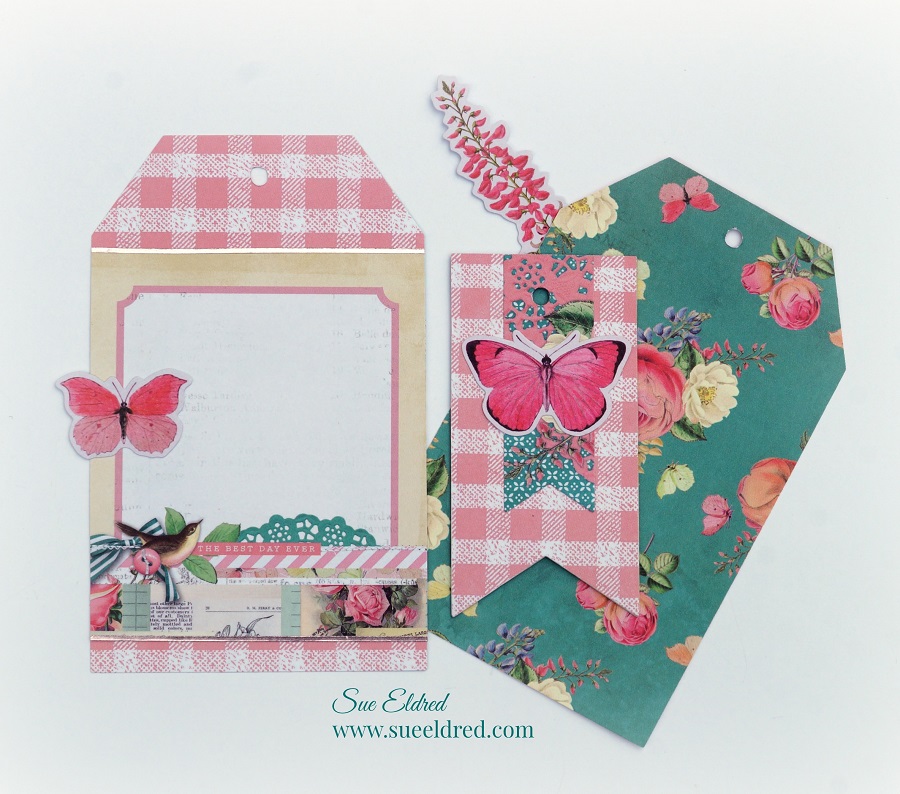
- This page was created using the Library Pocket Die Set and the Nested Square Tags Die Set.
- Using pieces from the Simple Vintage Garden District 4″ x 4″ elements sheet*, I created a hinged tag that I adhered sideways. The scalloped edge sticks out the side of the album, adding additional interest and dimension.
Fill your tag album full of fun memories and use it as a sweet gift for someone special.

