Creepin’ it Real Halloween Card

Creepin’ it Real…

When it comes to Halloween, I’m not into scary and gore.  (I’m too big of a chicken.)

I’m all about the C-A-N-D-Y!

I love Halloween Parades and seeing the little kids in their cute costumes.

I’m into “Halloween cute”.

The Trick or Treat Stamp Set and Die Set from Maker’s Movement is “Halloween Cute”.  

Sweet little Halloween characters with just the right amount of attitude.

*Disclosure… “This is a sponsored post.  I have been provided product and compensation in exchange for my creative ideas.  The views and opinions are my own.”

Trick of Treat Yo’self Treat Box

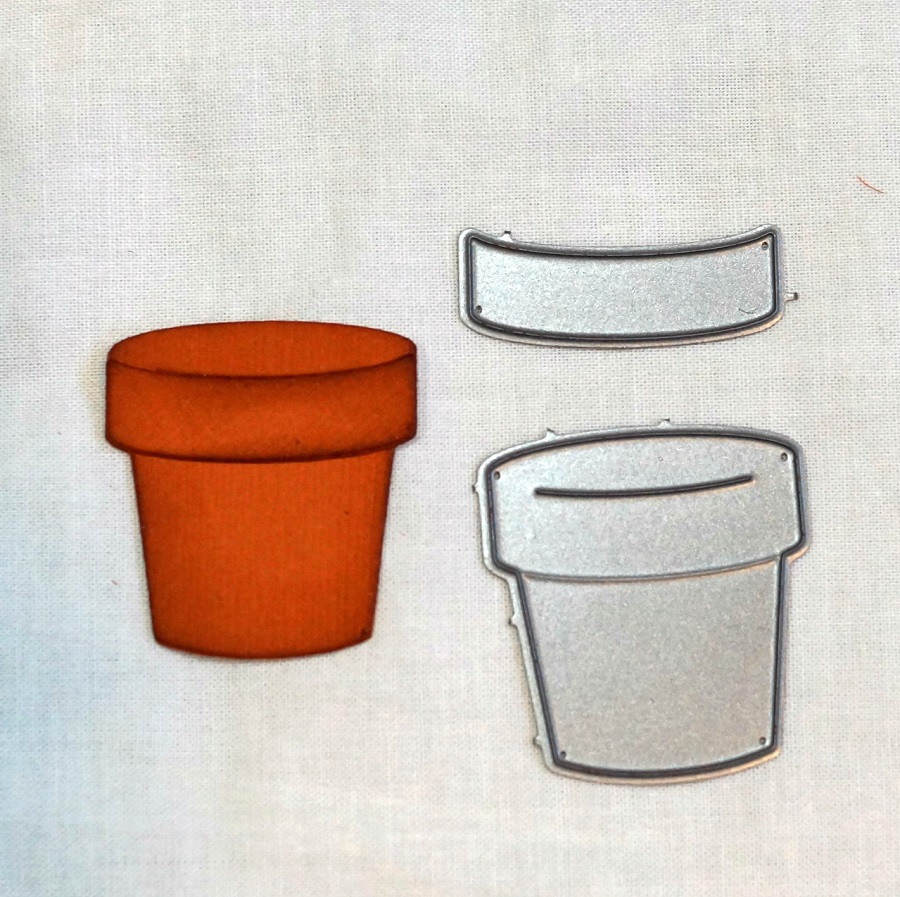
I made a couple extra of the Halloween cut outs to make a few treat boxes.

FYI…the Kraft Paper Window Boxes are from Clear Bags.

Shop Your Fav Brands at Scrapbook.com

*Disclosure… This blog uses ads and affiliate links.  If you choose to make a purchase using one of the links, I receive a small commission (at no additional cost to you) that helps offset the costs of maintaining this blog.  Thanks for your support!

Cheery Little Birthday Card

A Cherry Little Birthday Card

Who doesn’t love receiving a Cheery Little Birthday Card?

I know I do.

This week the Xyron Design Team is all about Lawn Fawn…

and I had a blast.  I loved using their dies to make this fun card.

Here’s what I used:                     (*affiliate link)

*Disclosure:  This blog uses affiliate links.  If you choose to make a purchase using one of the links, I receive a small commission (at no additional cost to you) that helps offset the costs of maintaining this blog.  Thanks for your support!

  • When working with small dies, I like to run the paper through my Xyron 3″ Sticker Maker*.
  • Rub and peel the top cover off the paper.

  • Run the paper and die through your die cutter for the perfect little sticker.
  • Just the perfect amount of adhesive and so easy to use.

  • Look how cute this terra cotta pot turned out.
  • Ink the edges of the paper pieces with Vintage Photo Ink* for a realistic looking pot.

The card was so easy to put together using the Xyron Sticker Maker* for all my little pieces.

A really fun card to make.

A special thank you to Lawn Fawn for sending the dies and paper used on this project.

“This is a sponsored post.  As a member of the Xyron Design Team I have been provided product and compensation in exchange for my creative ideas.  The views and opinions are my own.

Day #3 of The Twinery & Serendipity Stamps Blog Hop

The Twinery & Serendipity Stamps Blog Hop Card

Todays is Day #3 of The Twinery & Serendipity Stamps Blog Hop and my chance to join in.

I love Serendipity Stamps and using twine in my card making.  This was a great chance to use both.

“Thanks” Card Directions:

  1. Stamp flower images and leaves onto watercolor paper using black permanent ink.
  2. Water color or color images using markers.
  3. Cut around flowers and leaves.
  4. Paint a thin coat of Diamond Stickles Glue over images for added sparkle.
  5. I started my card by using a 2 1/2″ wide double-sided tape from Kool Tak on a 5″ piece of cardstock.
  6. Closely lay strands of twine onto the super sticky tape to cover the entire piece of paper.
  7. Cut out with a 4″ scalloped square die cut.
  8. Apply die cut square onto cardstock layers.
  9. Glue Flowers and leaves onto front of the card using a fabric glue.  Embellish with adhesive pearls.  Die cut “thanks” from blue cardstock and add to front of card.

Finished Card Size:  5″ x 5″.

Serendipity Stamps Products Used:

The Twinery Colors Used:

  • Peach Stripe, Honeydew Stripe, Denim Stripe, Lilac Stripe, Flax Stripe, Natural.

Today’s Hop:

Don’t forget to leave comments along the way for the chance to win some awesome prizes.