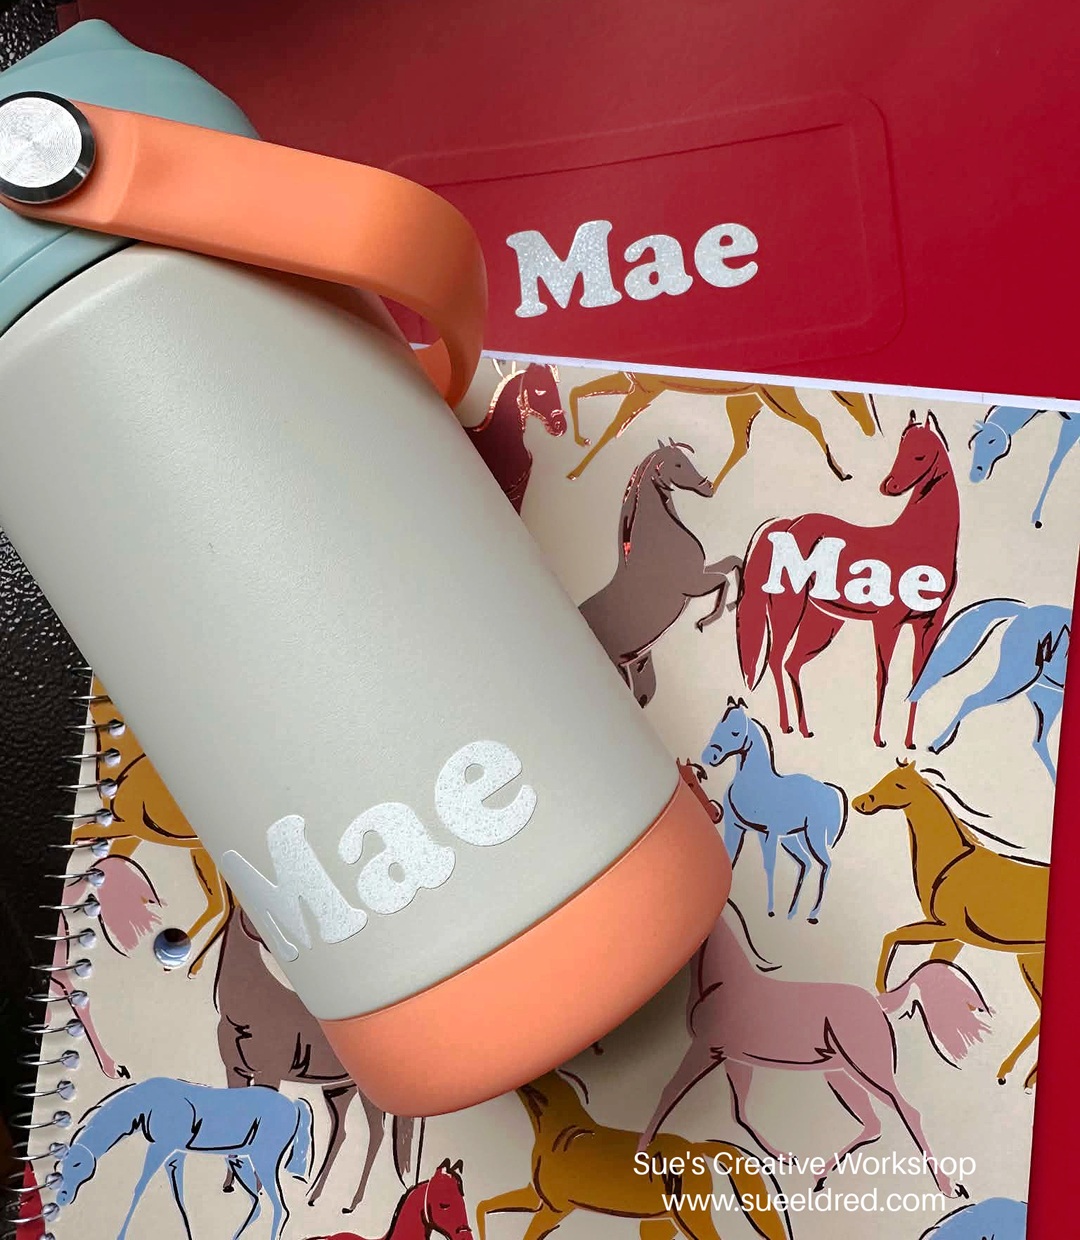
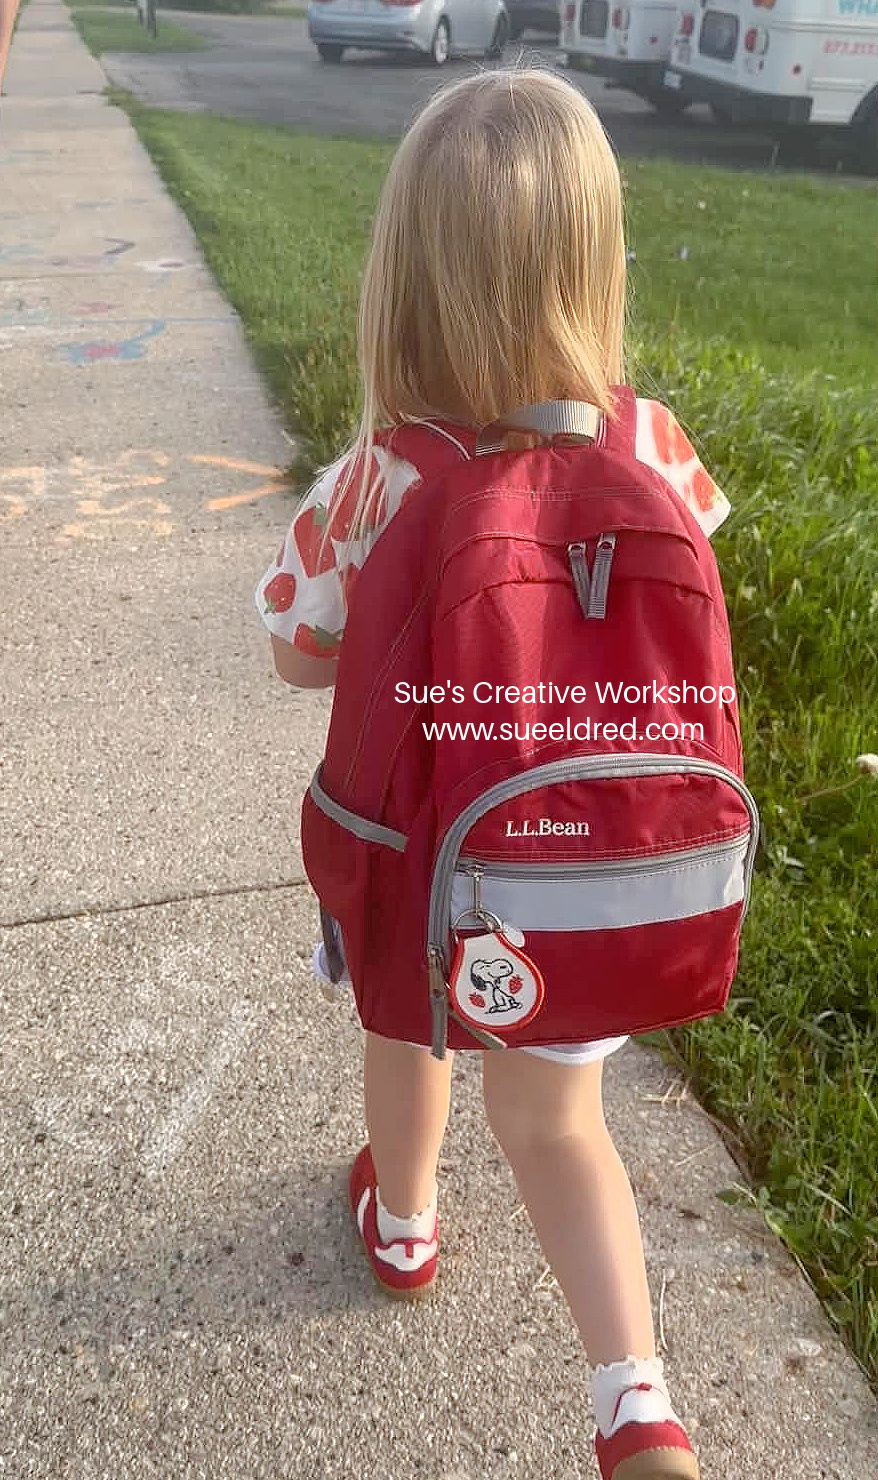
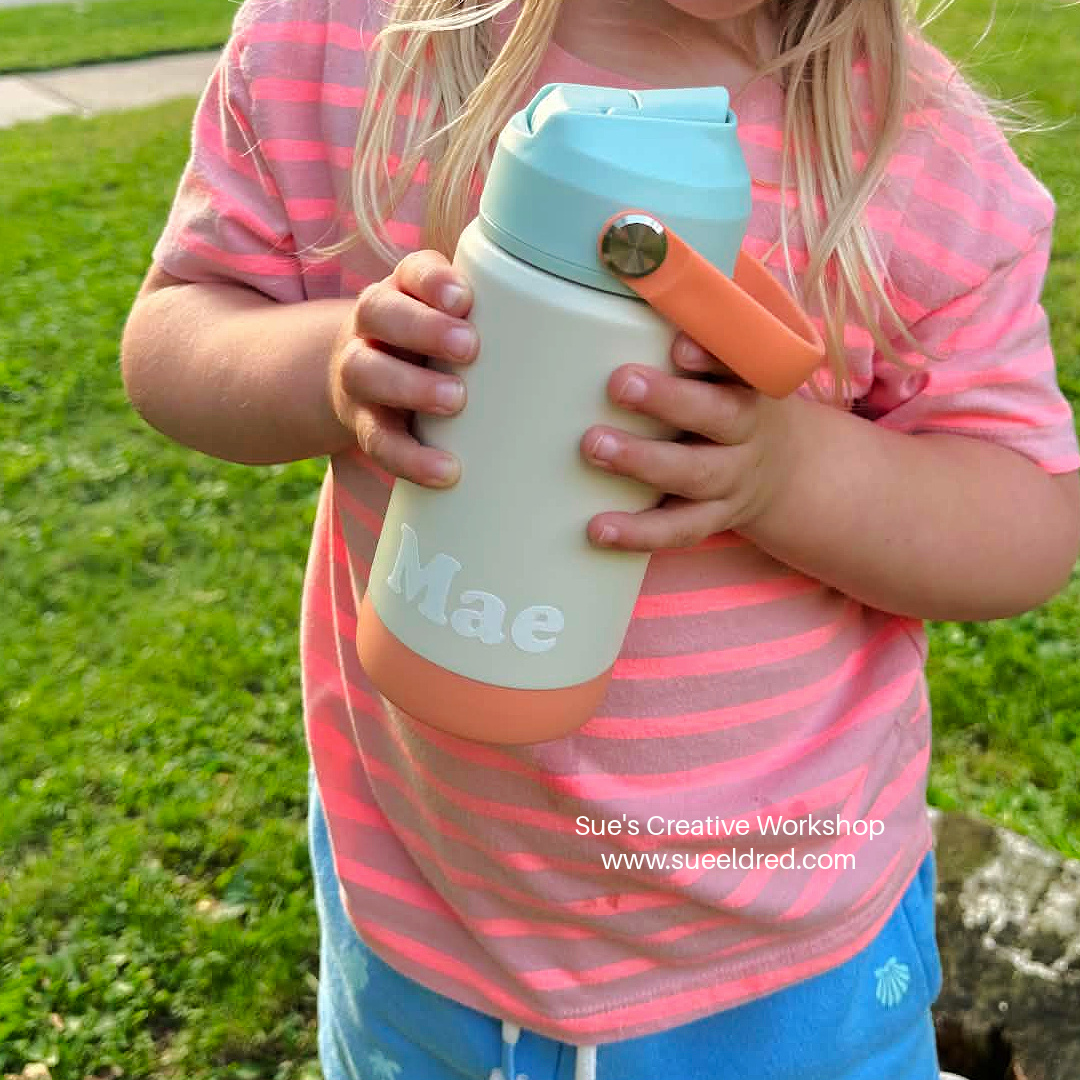
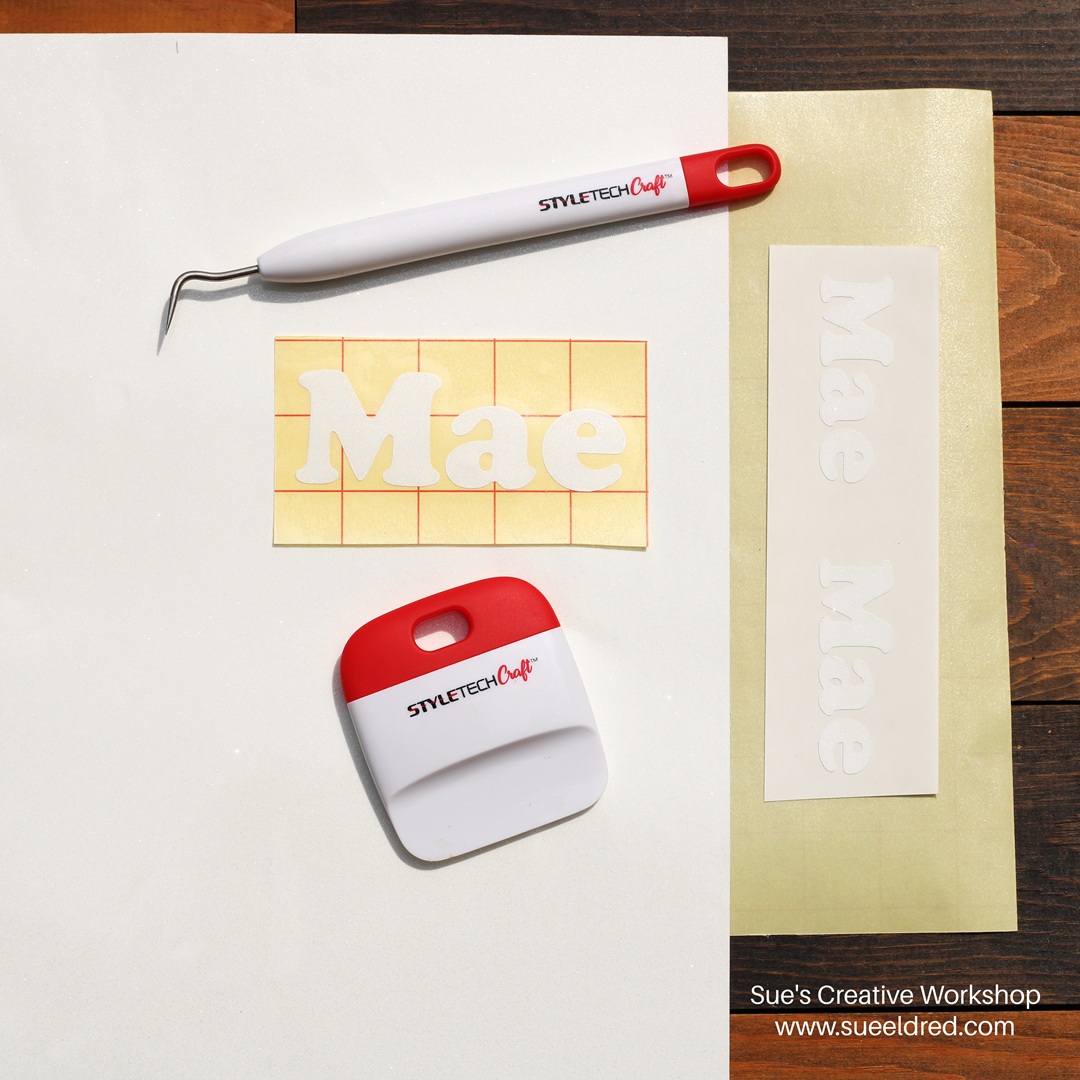
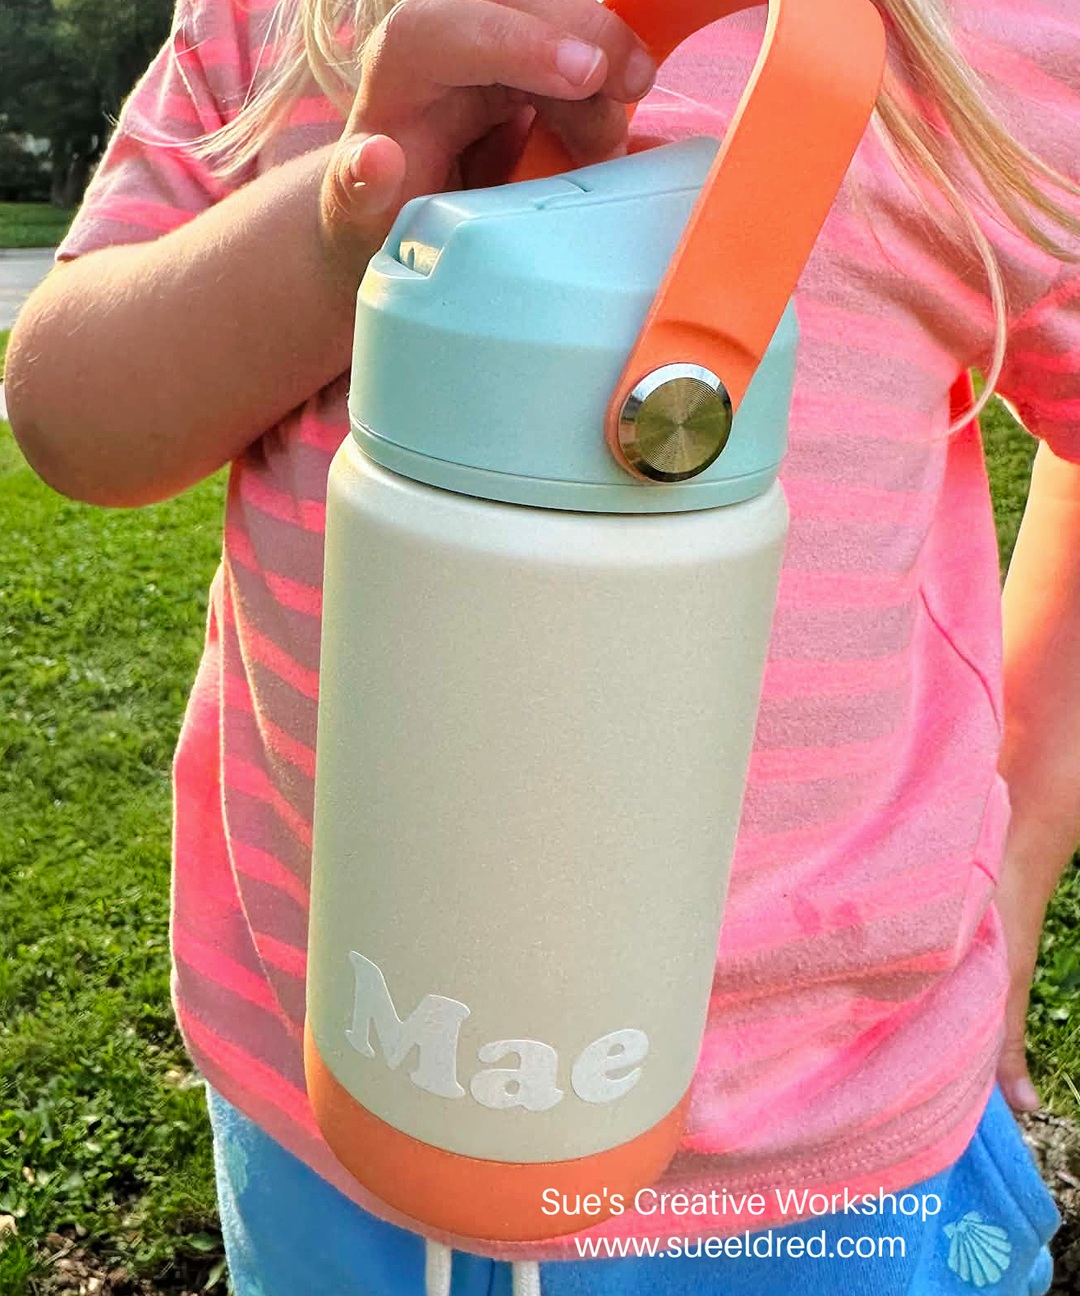
She had never used vinyl, but was pleased at how easy it was to use.
Now she’s thinking of upcoming seasonal uses for vinyl. (That’s my girl!)
*Disclosure: This blog uses ads and affiliate links. If you choose to make a purchase using one of the links, I receive a small commission (at no additional cost to you) that helps offset the costs of maintaining this blog. Thanks for your support!
I use vinyl all around the house for various purposes, I think a little creativity and some vinyl can make everyday things extra special.
“This is a sponsored post. As a member of the StyleTechCraft Design Team I have been provided product and compensation in exchange for my creative ideas. The views and opinions are my own.
*Disclosure: This blog uses ads and affiliate links. If you choose to make a purchase using one of the links, I receive a small commission (at no additional cost to you) that helps offset the costs of maintaining this blog. Thanks for your support!
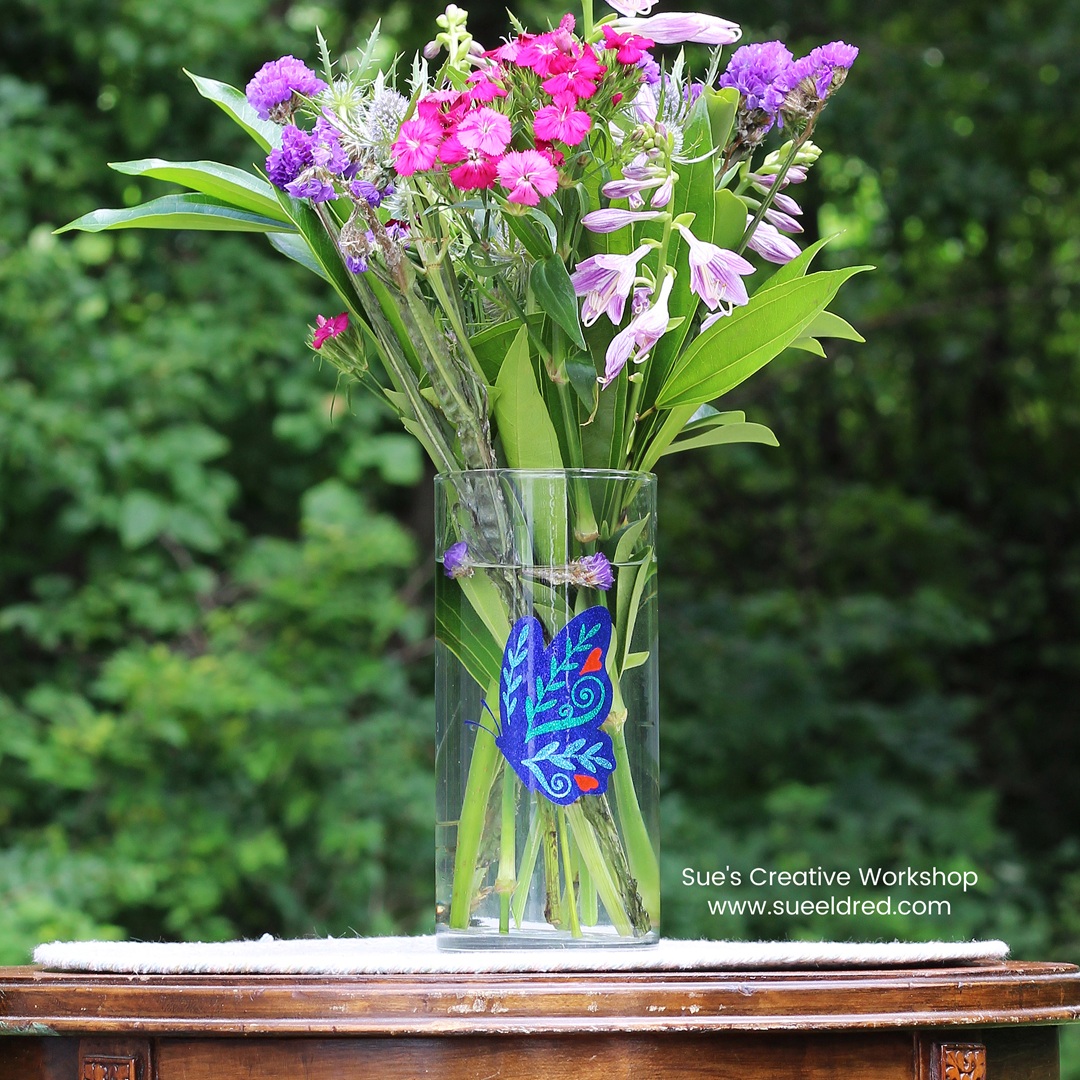
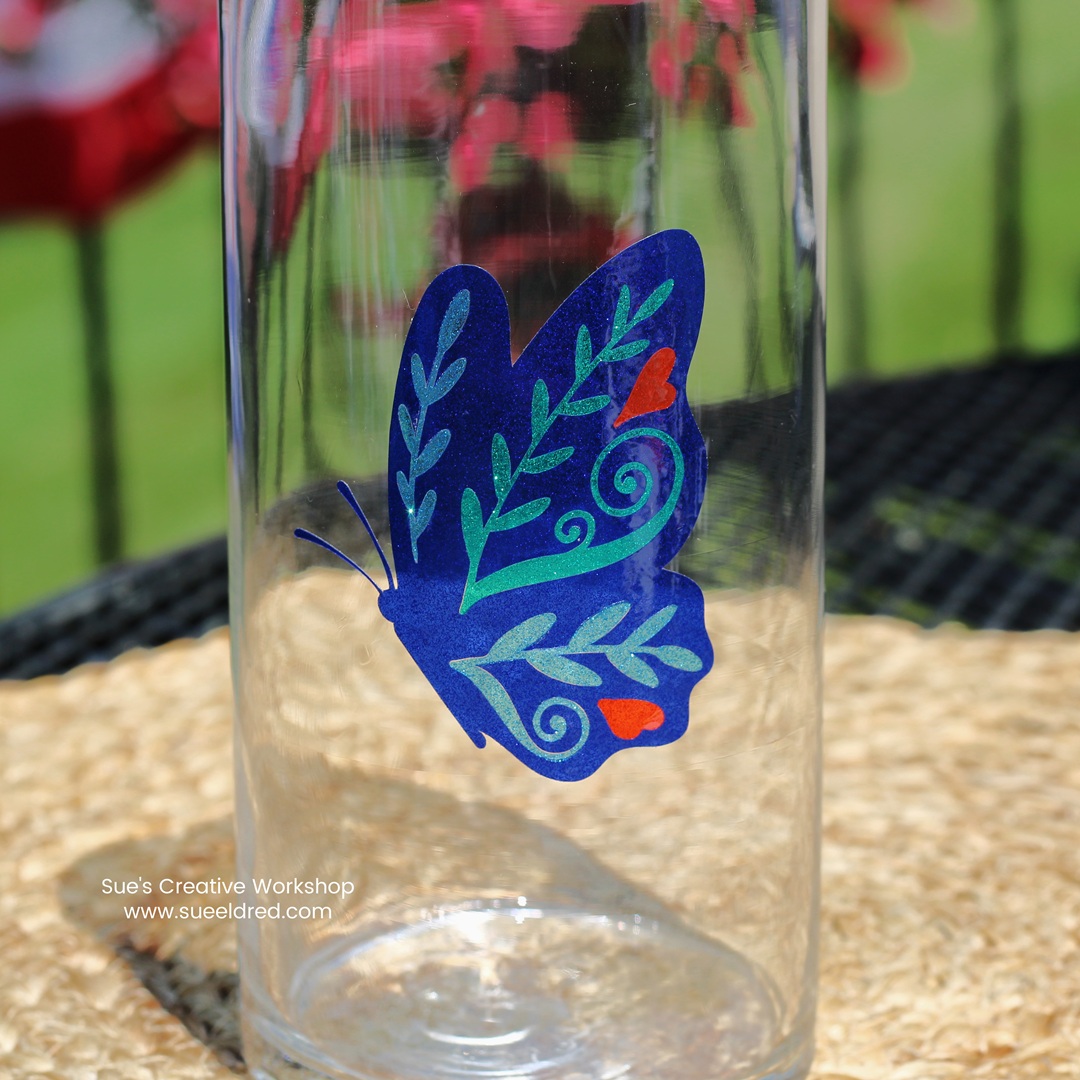
To Make the Butterfly Vase:
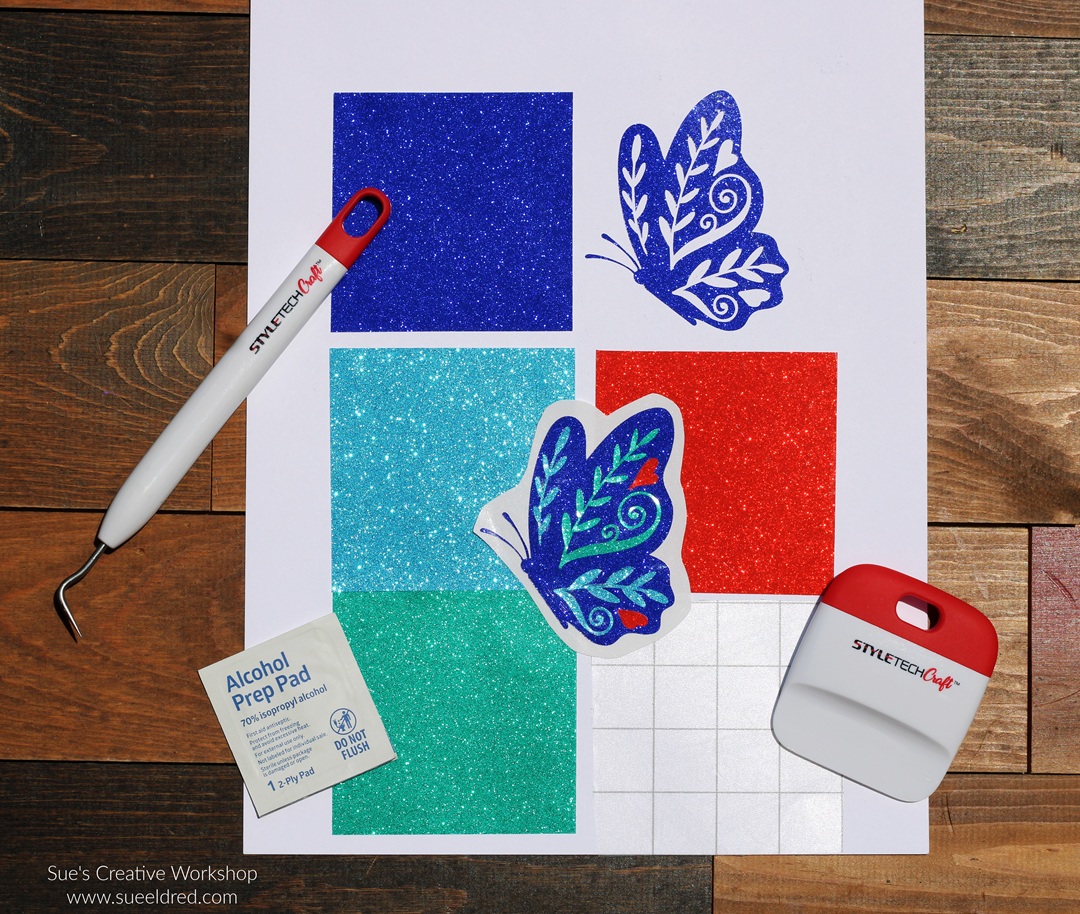
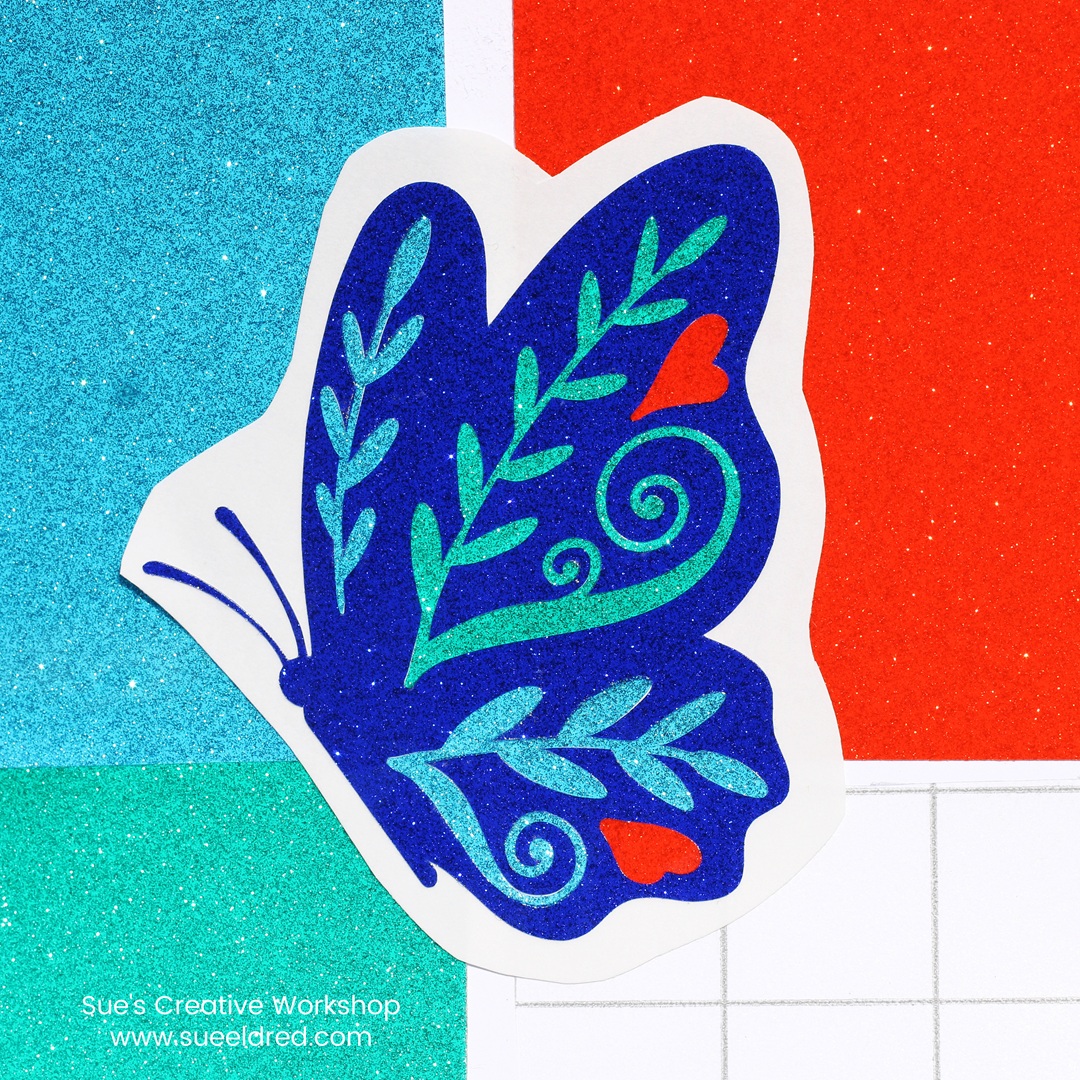
I used my Silhouette Electronic Die-Cutting Machine* to cut the butterfly image. I cut it four times, one each in the different colors of StyleTechCraft Transparent Vinyl Royal Blue, Sky Blue, Teal, and Orange.
I inlaid the inner butterfly pieces onto the design instead of layering the vinyl. I used a pick tool to carefully place the image inside the design.
To help the vinyl stick to the glass, clean the glass vase with rubbing alcohol* or an alcohol wipe. This will remove any oils or residue left on the surface.
Place the transfer paper over the image and gently rub with a vinyl scraper tool to transfer the image.
Place the image on the glass and gently rub to transfer the image onto the glass. Remove transfer paper.
The great thing about StyleTechCraft Transparent Glitter Vinyl is that it has glitter
on both sides of the vinyl. And it comes in some pretty amazing colors too!
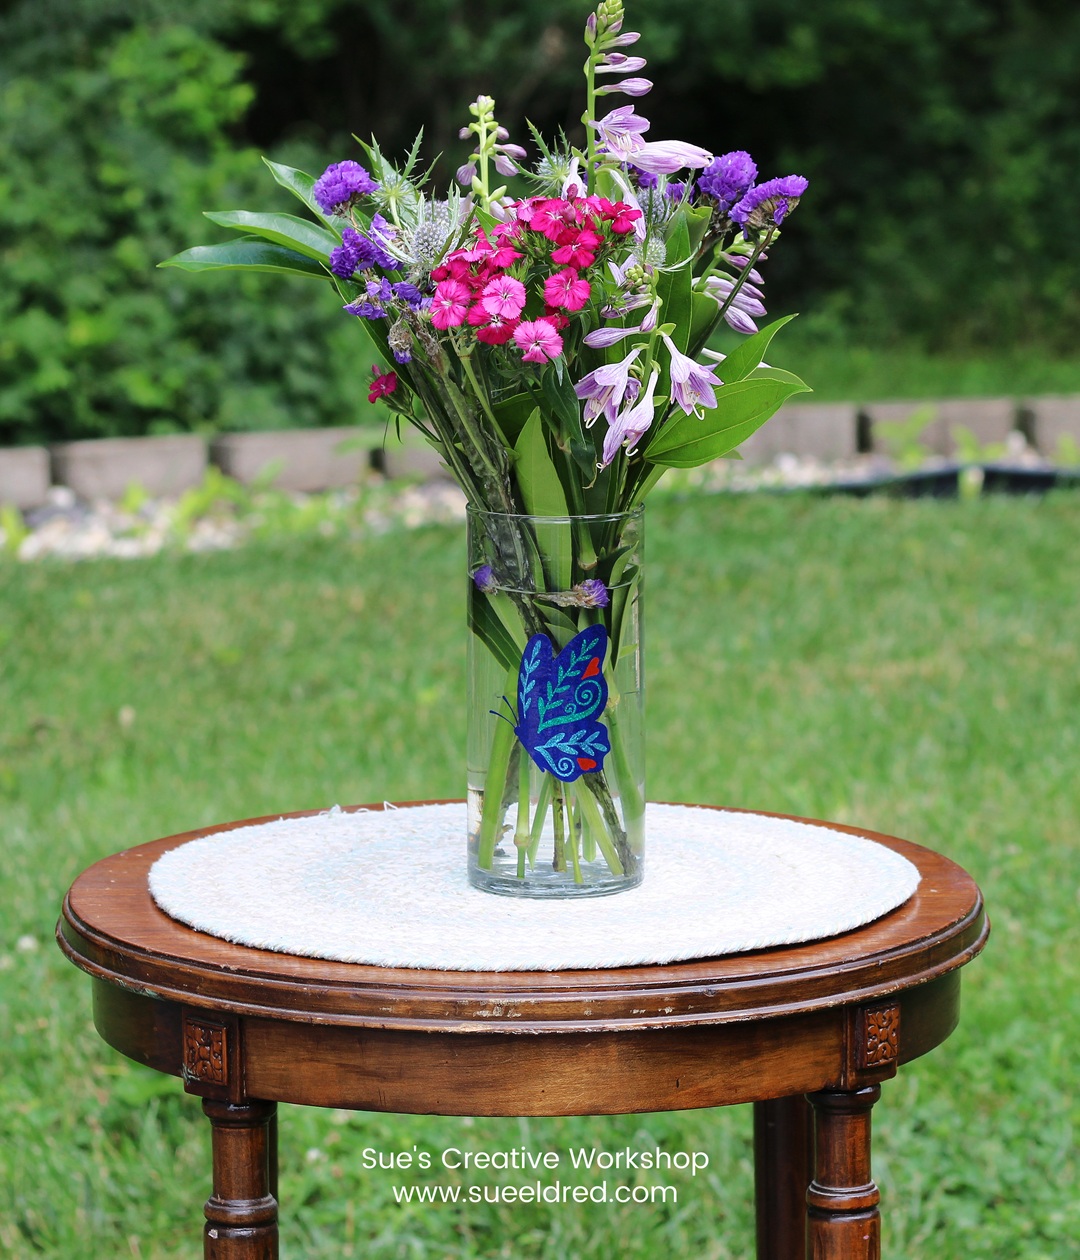
Now you have a sparkling butterfly vase that adds a touch of whimsy and brightness
to any room—simple to make, fun to display, and uniquely yours!
“This is a sponsored post. As a member of the StyleTechCraft Design Team I have been provided product and compensation in exchange for my creative ideas. The views and opinions are my own.
Ready to add some extra sparkle to your 4th of July celebration?
I always enjoy making new decorations for the holidays,
and with the USA celebrating 250 years,
I knew this was a milestone worth going big for!
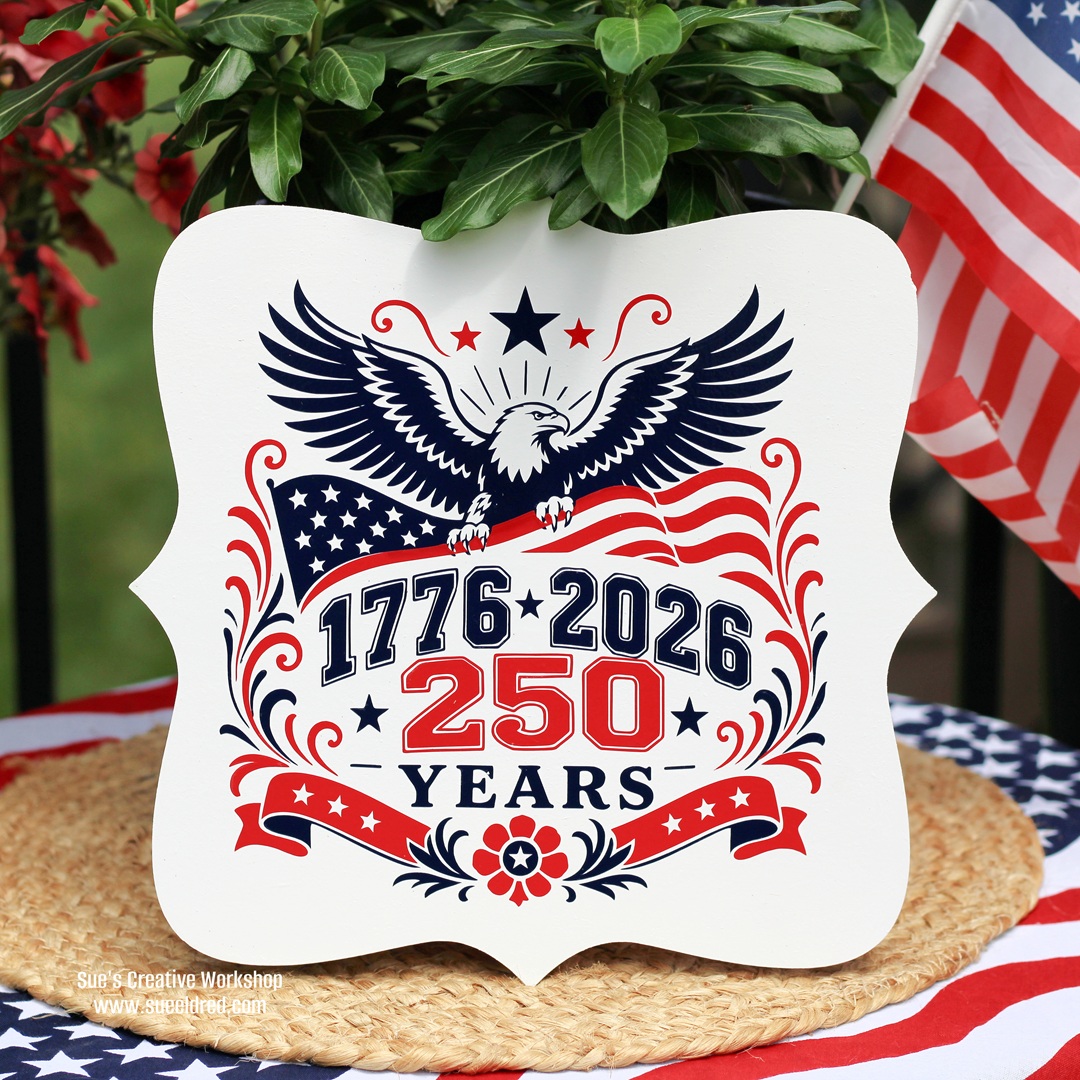
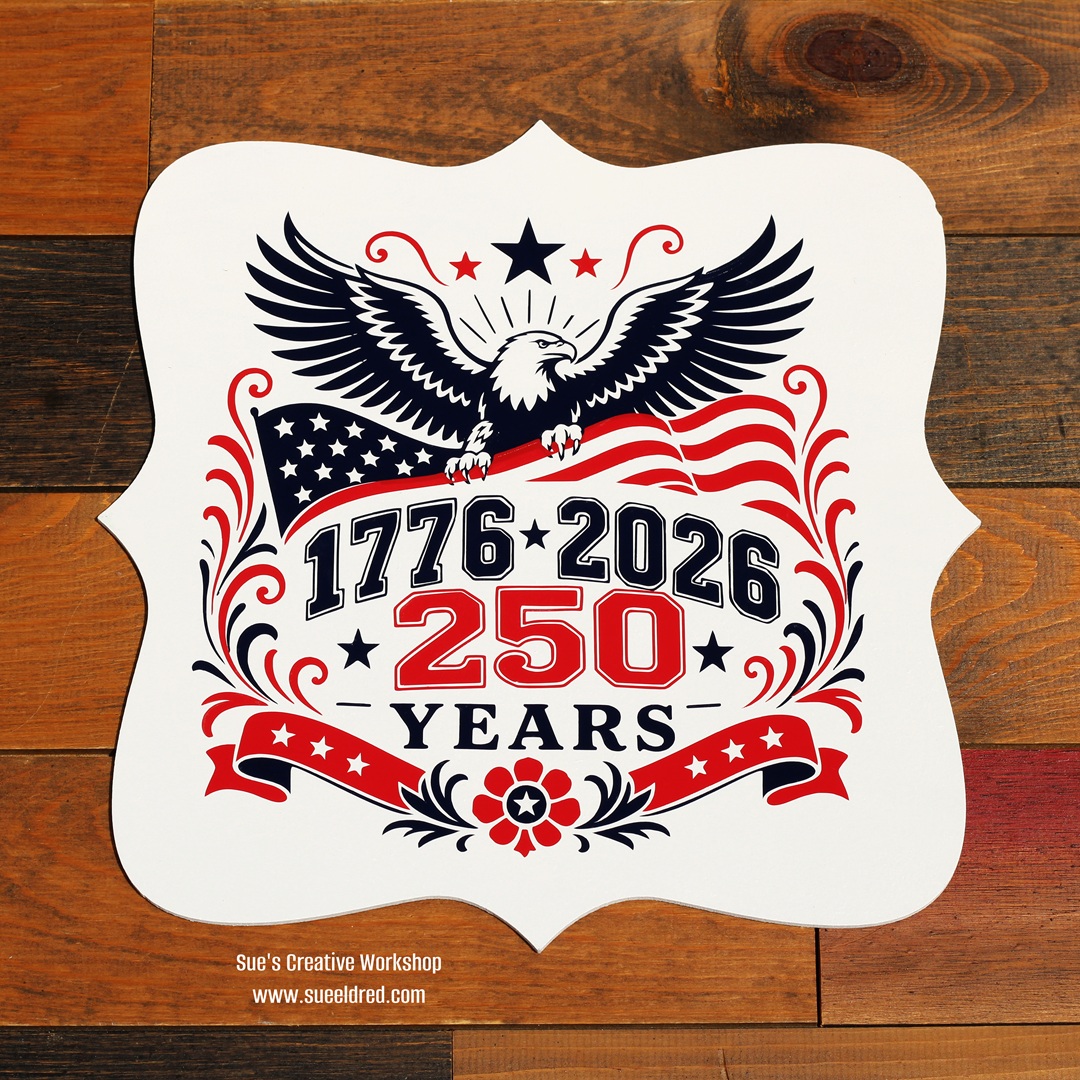
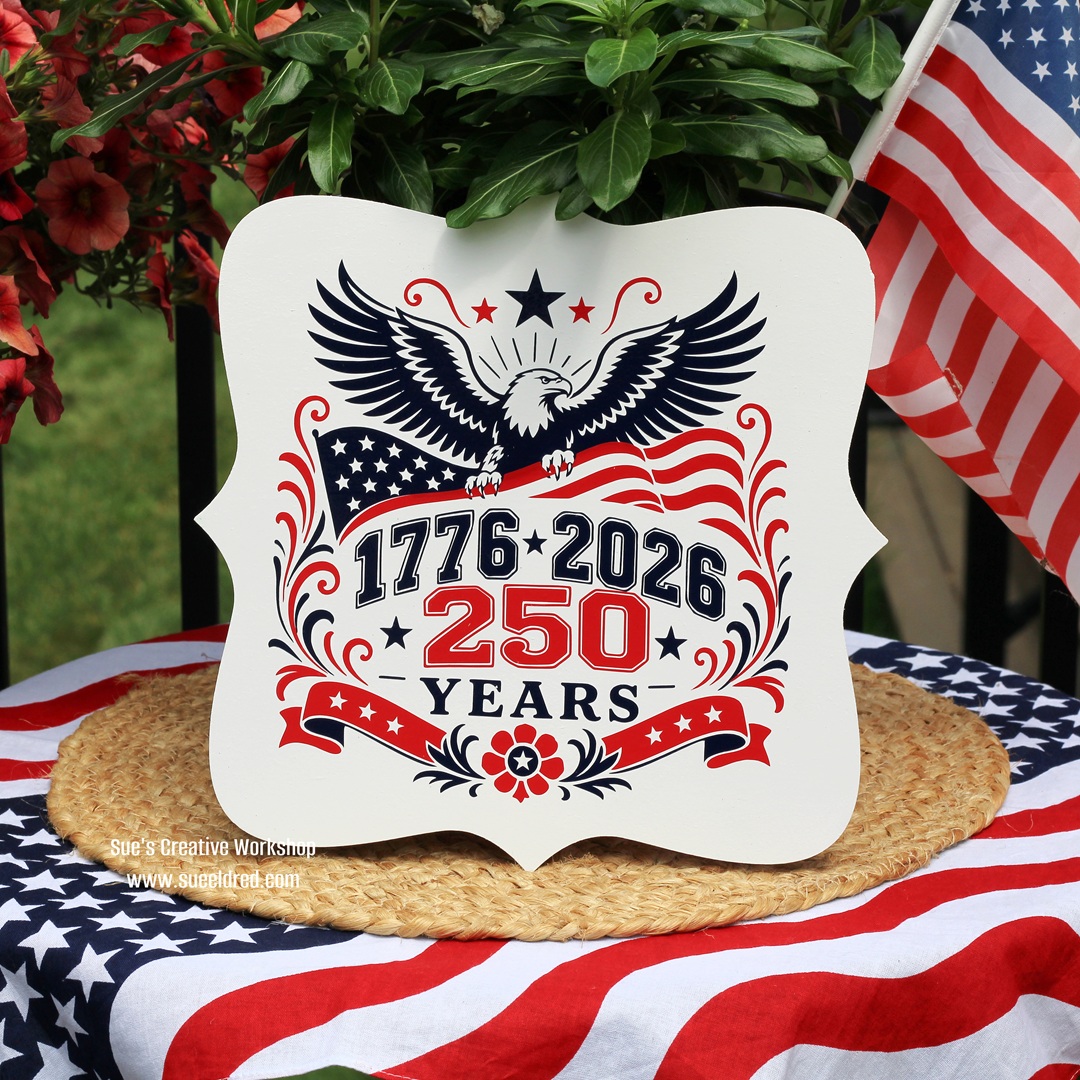
This year, I decided to make a patriotic sign using StyleTechCraft vinyl
and my Silhouette Cameo Electronic Die Cutter.
Not only is it a fun way to show off some red, white, and blue,
but it’s also a great project to mark such a special anniversary.
“This is a sponsored post. As a member of the StyleTechCraft Design Team I have been provided product and compensation in exchange for my creative ideas. The views and opinions are my own.
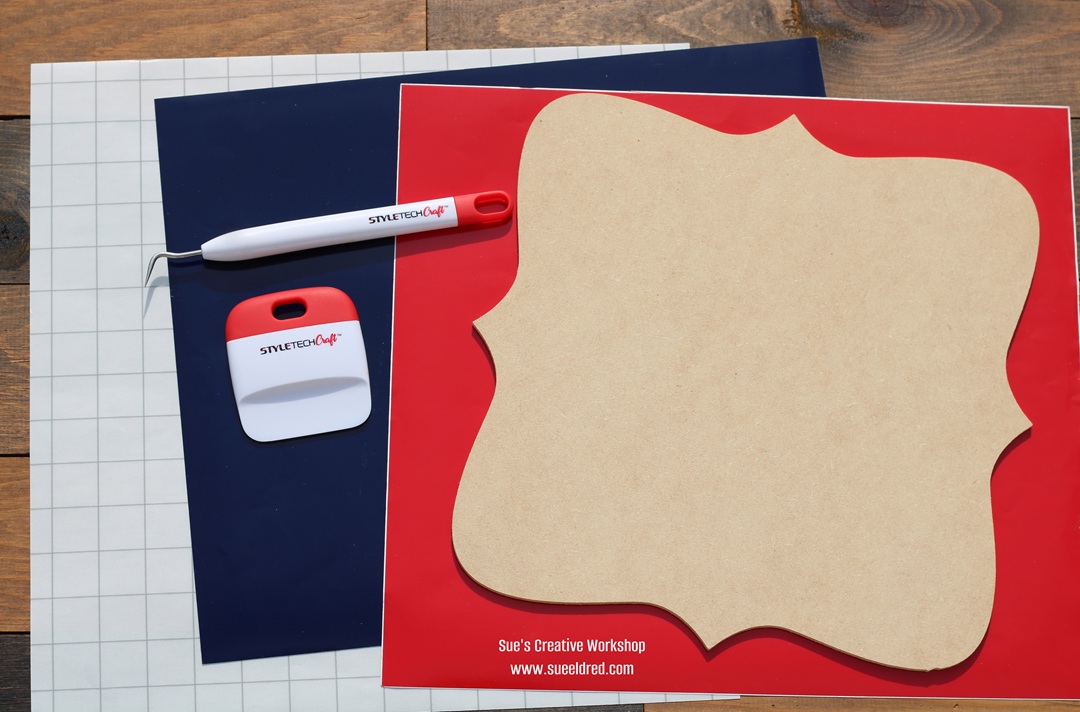
To make my Patriotic Sign I used: (*affiliate links)
*Disclosure: This blog uses ads and affiliate links. If you choose to make a purchase using one of the links, I receive a small commission (at no additional cost to you) that helps offset the costs of maintaining this blog. Thanks for your support!
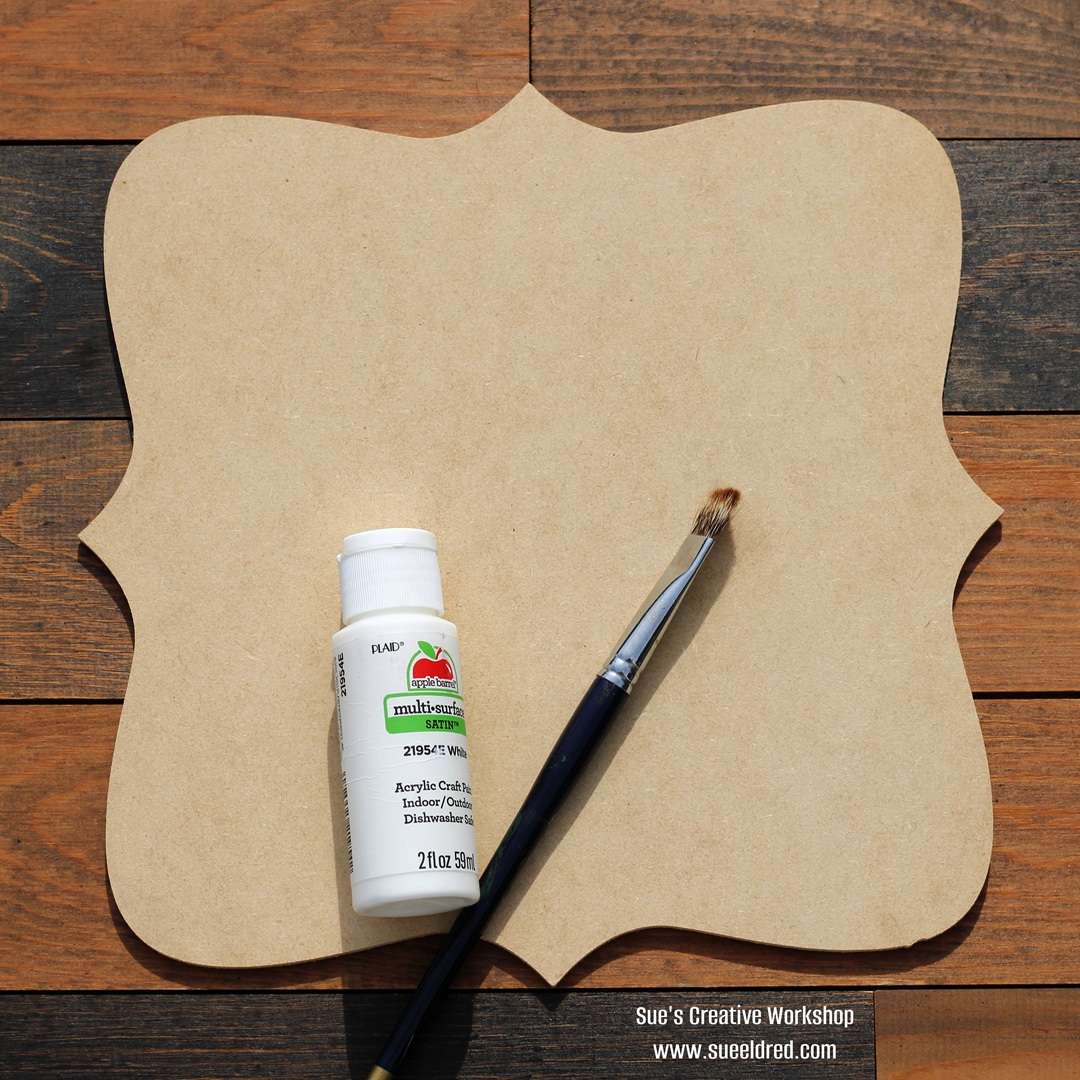
To begin,I painted an 8″ plain decorative wood sign with white paint.
For faster results, white spray paint also works well.
You can find several different sizes of wood signs on Amazon*. (click on the link)
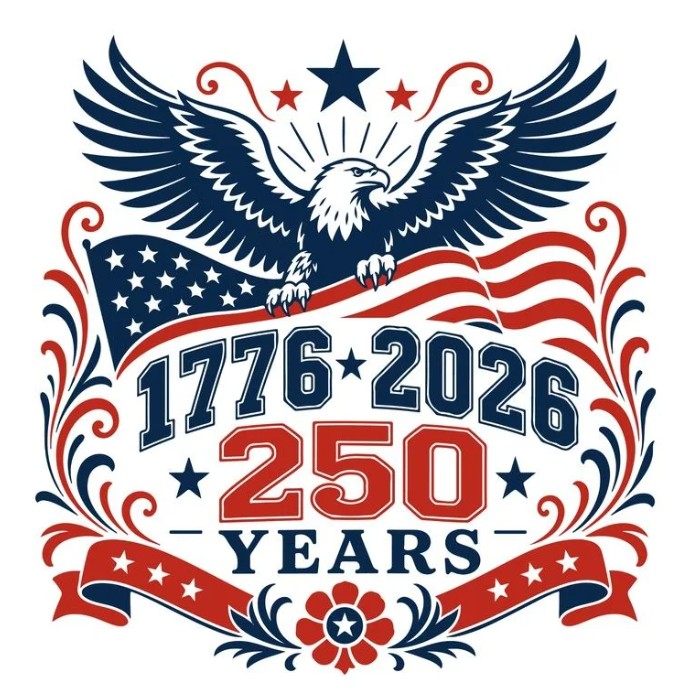
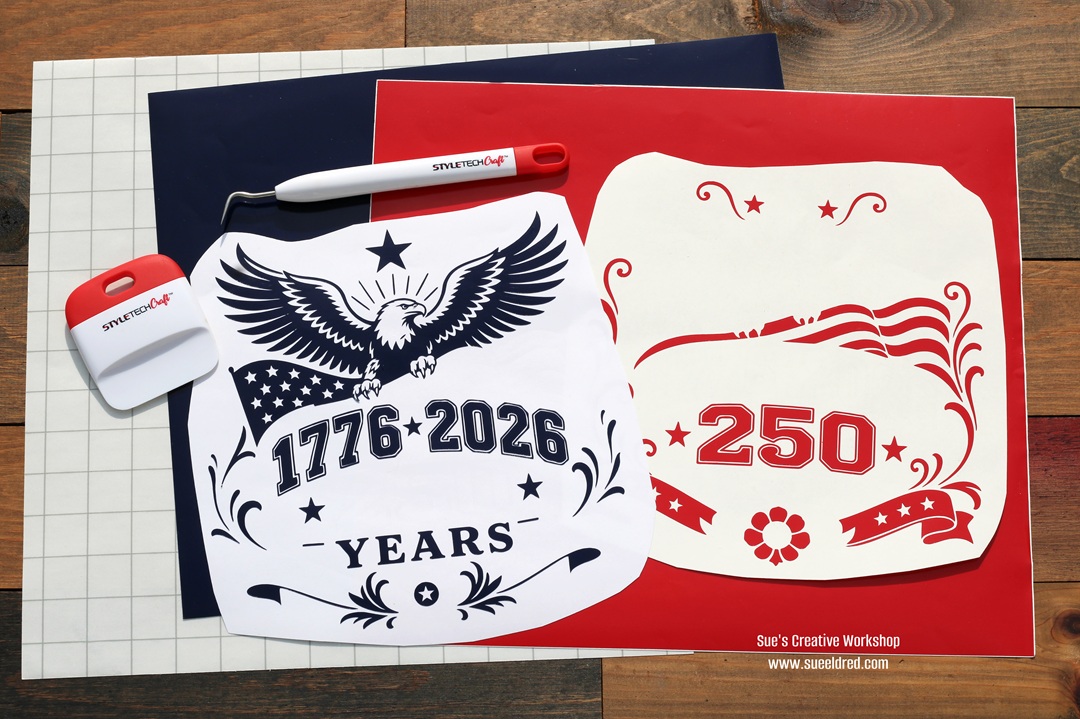
I cut it twice, once with navy vinyl and once using red vinyl.
Once the design was cut, I weeded the design using a vinyl craft pick*. Weeding vinyl is the process of removing excess vinyl from a cut design, leaving only the intended shapes, letters, or images.
Using the design image as reference, remove the parts from the blue design that will be red and vice versa with the red design.
Be careful around the numbers, as the thin shadow line is tricky to weed out.
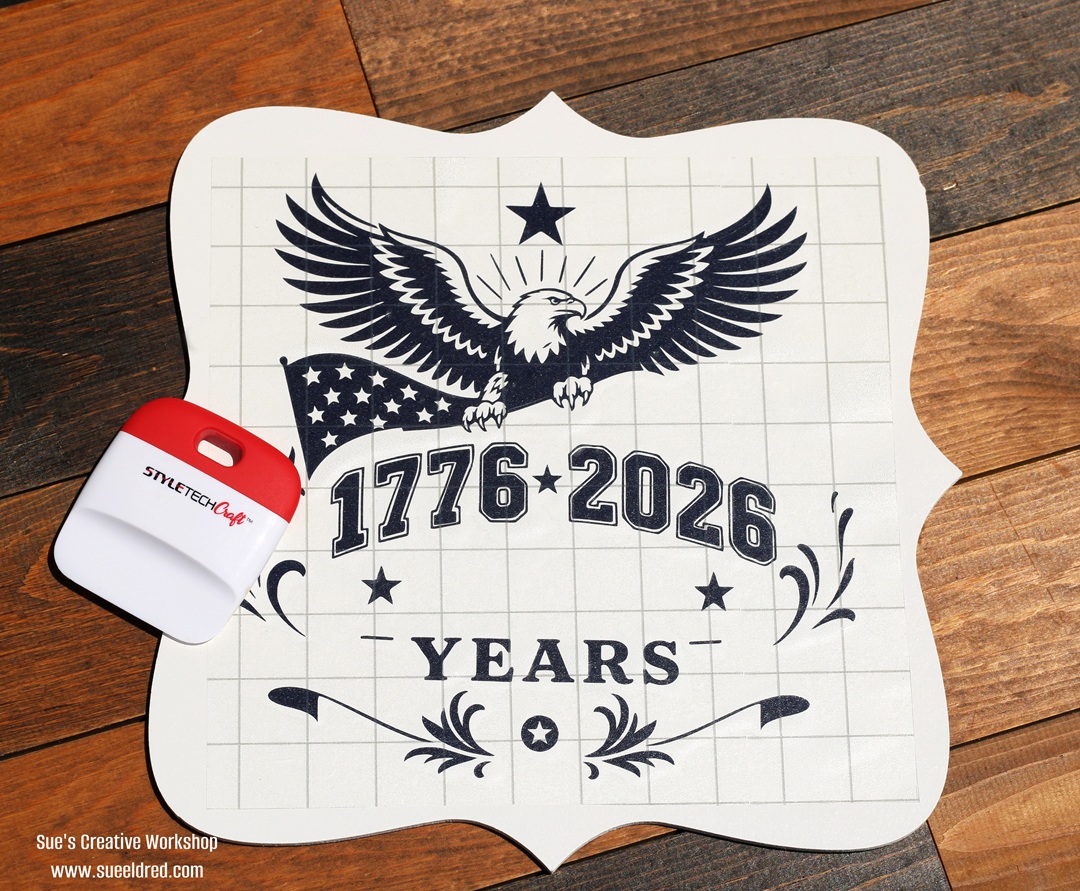
Place the navy blue design onto the sign first using transfer paper. I gently rubbed over the transfer paper and sign using a vinyl scraper tool*.
After the words have transferred to the sign, remove the transfer paper.
Here’s my tip: When transferring the red design, take it slow and line up small sections
one section at a time. I tried to transfer the entire design all at once and ended up having
to redo parts of it-trust me, working in smaller sections will save you time and frustration?
I hope this fun patriotic sign project helps you celebrate America’s 250th in style!
If you enjoyed this craft, be sure to check out some of my older posts for even more
holiday decoration ideas and inspiration.
Click the images below to discover more 4th of July projects featuring StyleTechCraft vinyl.
*Disclosure: This blog uses ads and affiliate links. If you choose to make a purchase using one of the links, I receive a small commission (at no additional cost to you) that helps offset the costs of maintaining this blog. Thanks for your support!
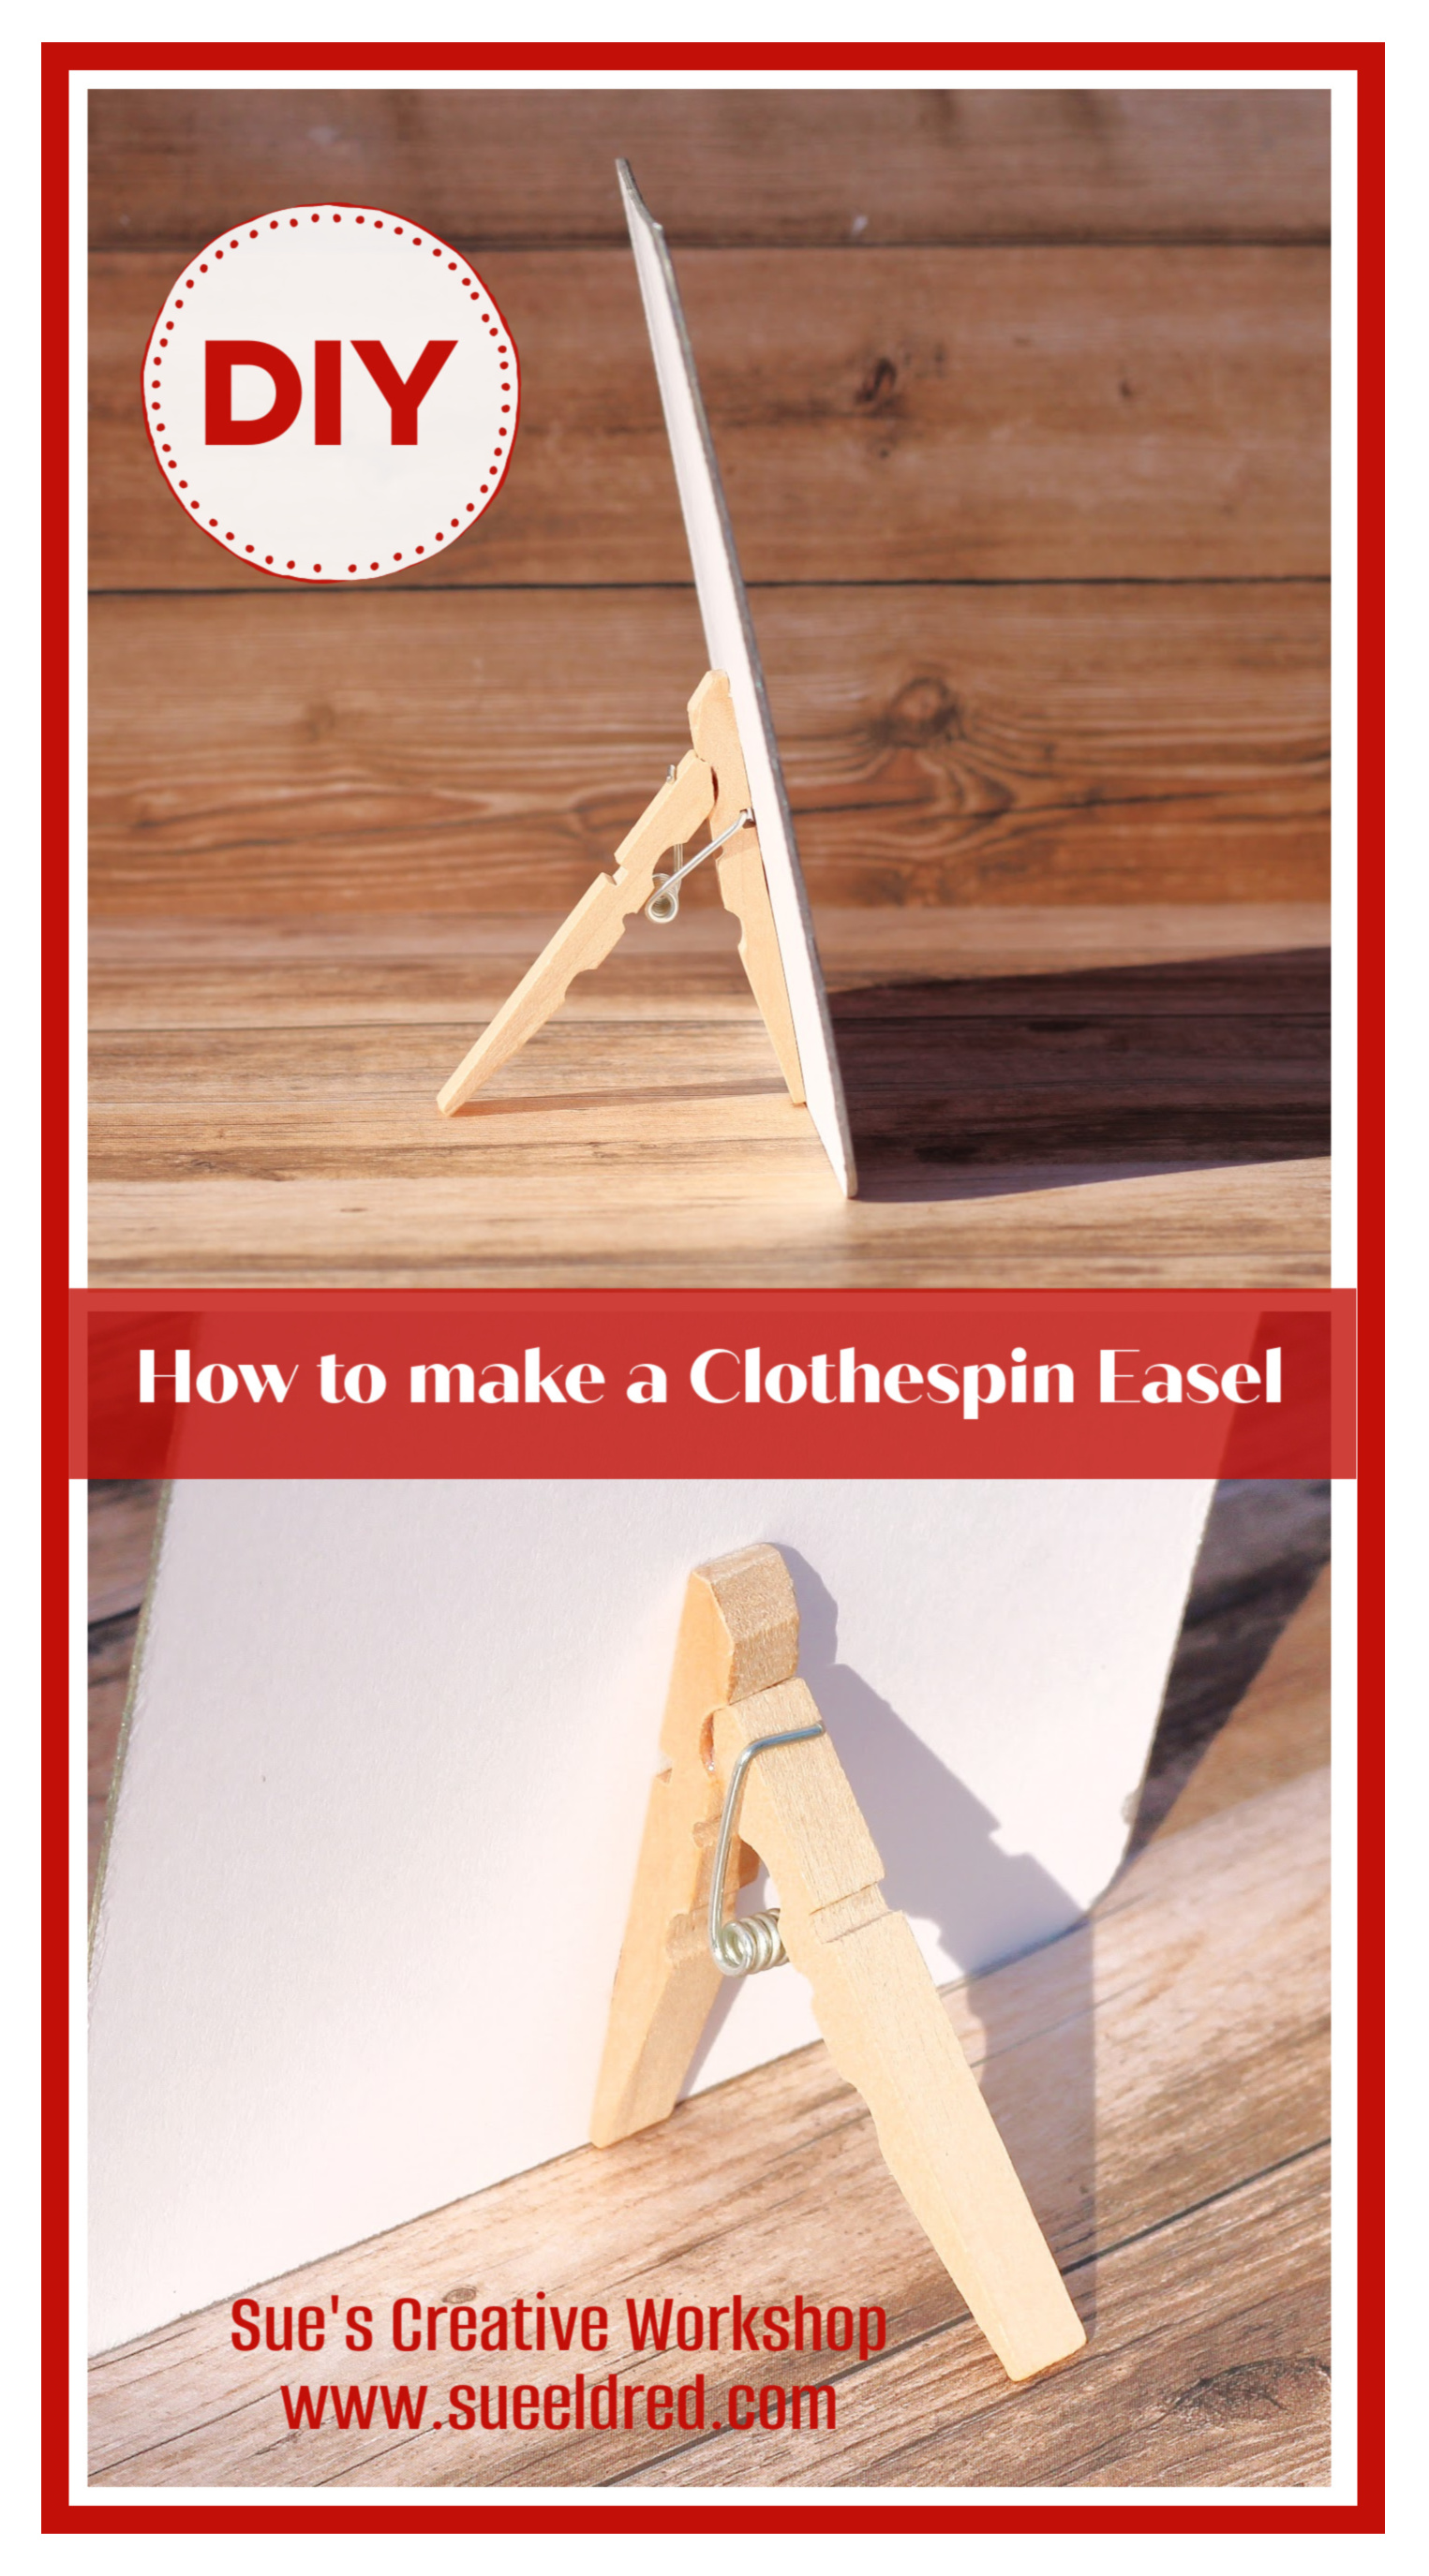
Pull the clothespin open just enough so that the round metal spring comes slightly out of its groove. (Some clothespins work better than others so you might need a little luck.)
To keep the clothespin from snapping shut…glue the top ends of the clothespin together.
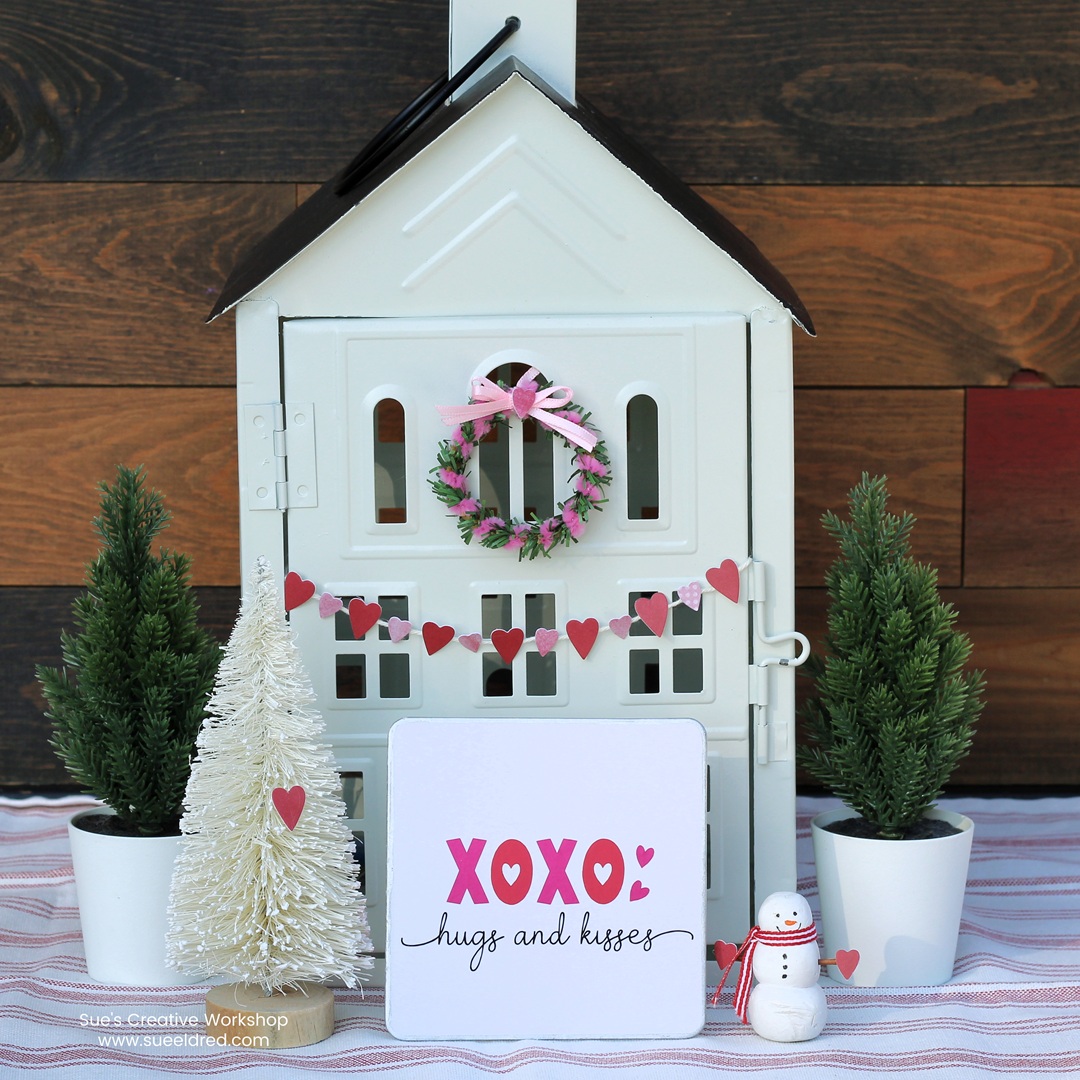
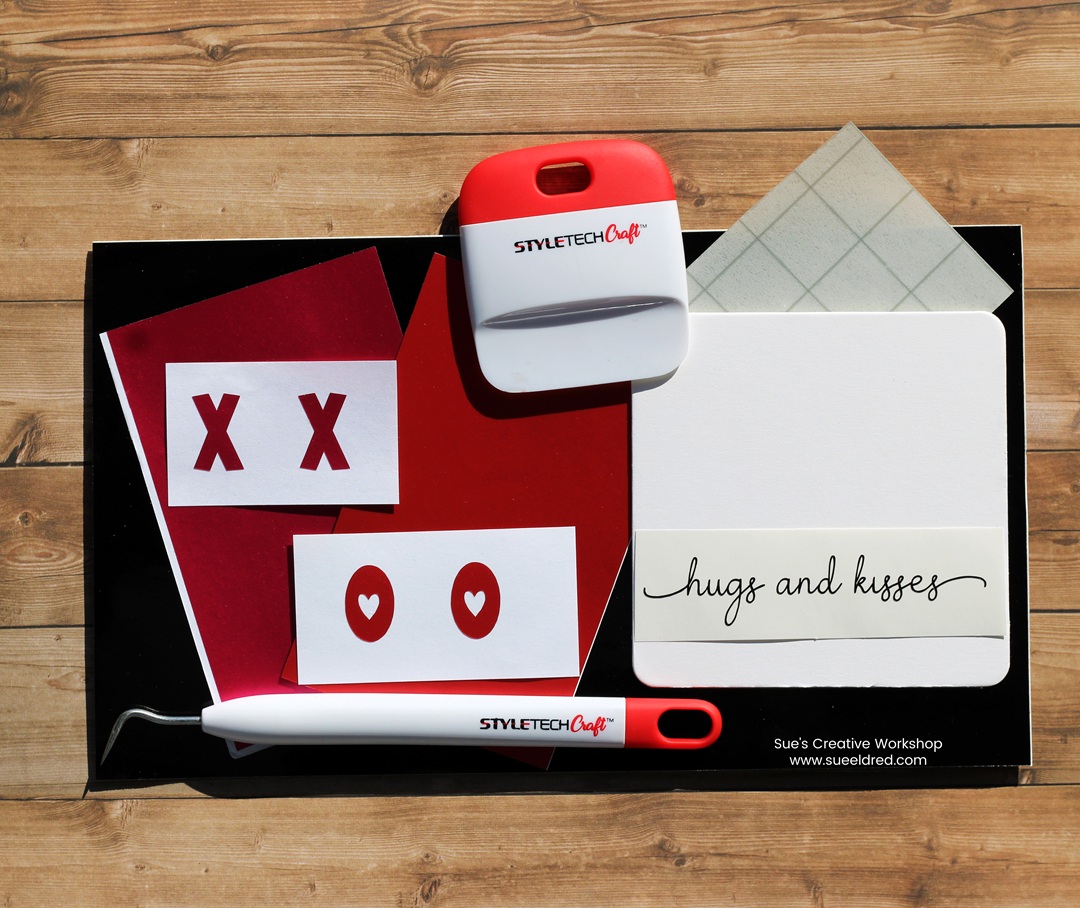
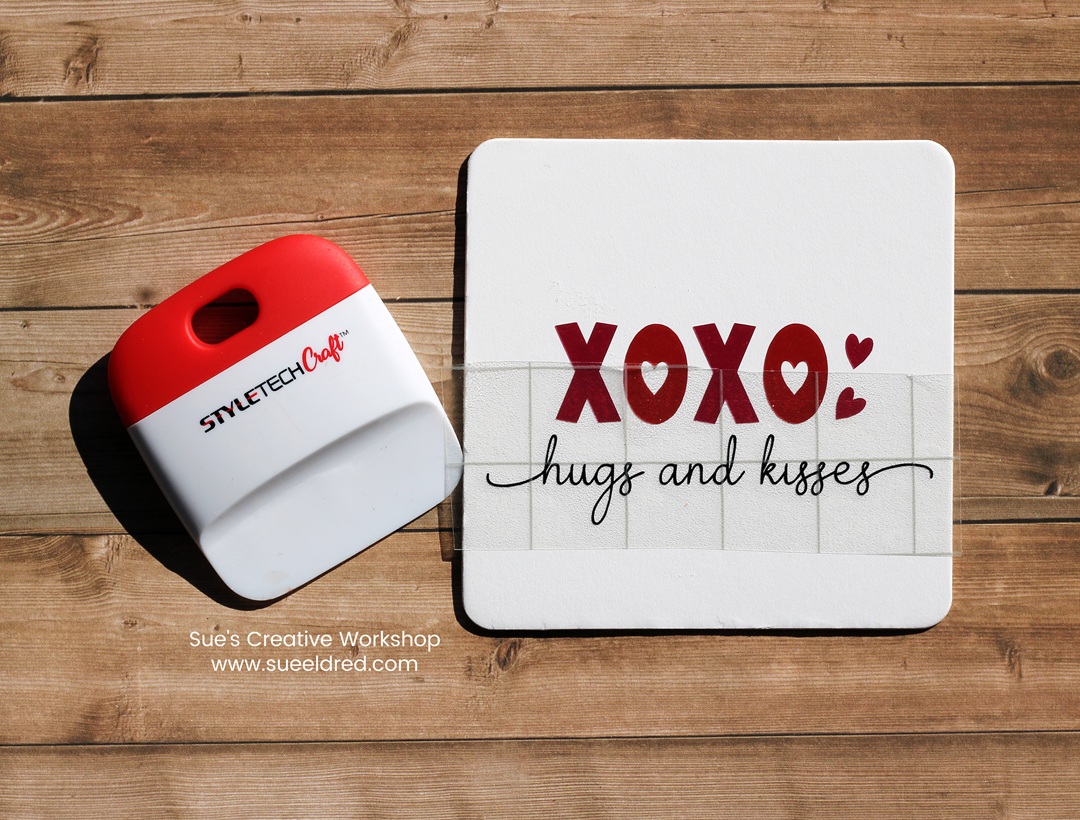
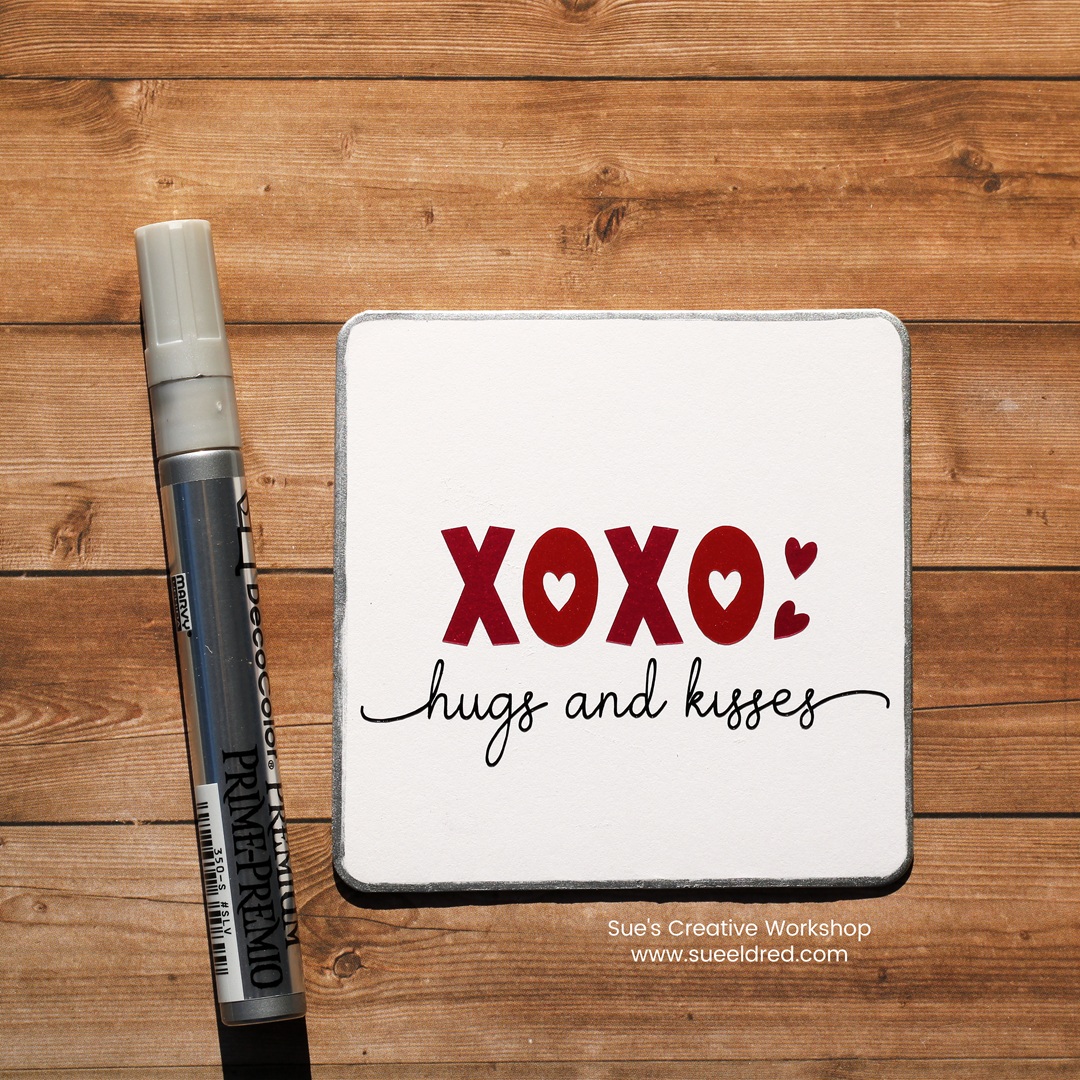
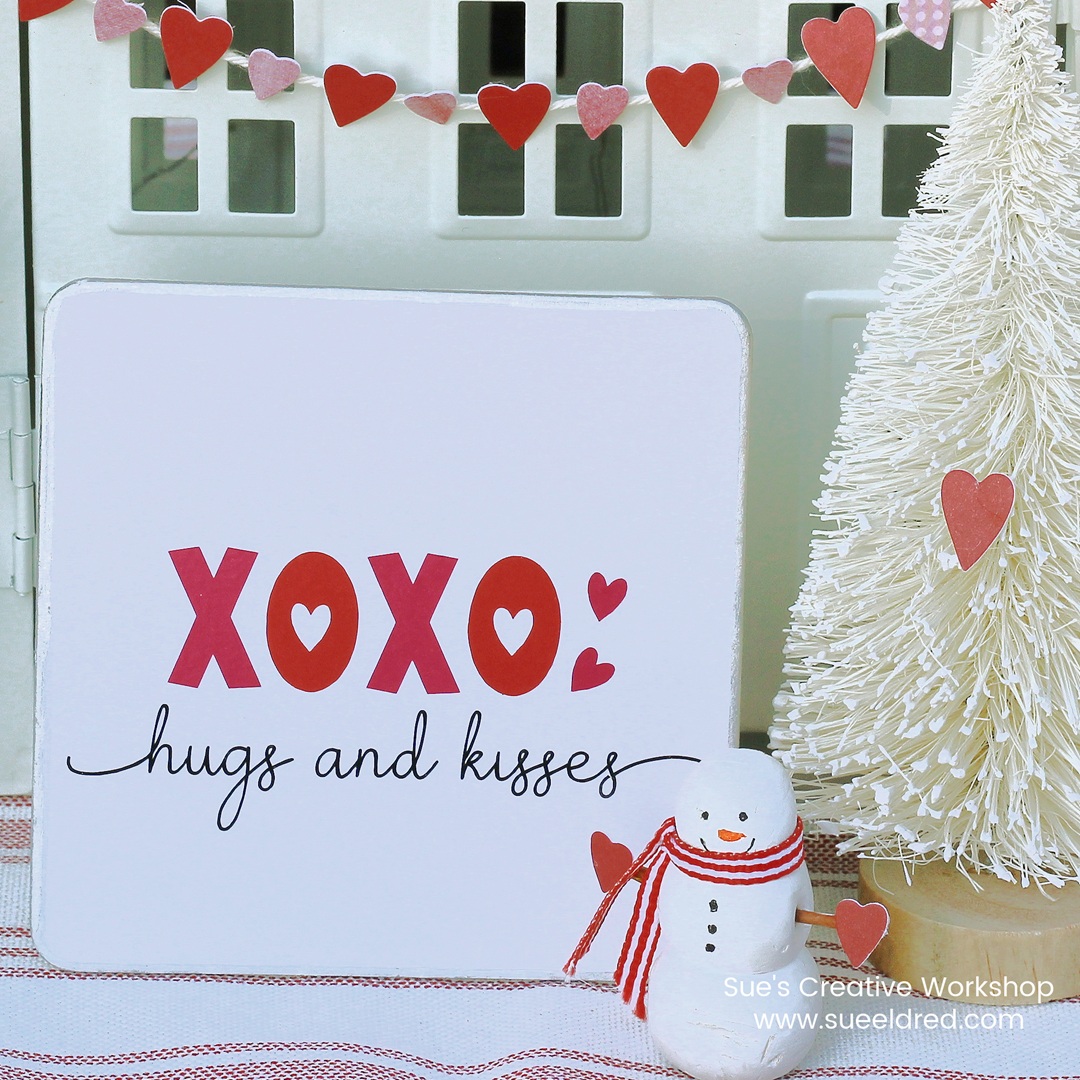
These little coasters make sweet Valentine’s Day decorations or thoughtful handmade gifts. Happy crafting!
“This is a sponsored post. As a member of the StyleTechCraft Design Team I have been provided product and compensation in exchange for my creative ideas. The views and opinions are my own.
*Disclosure: This blog uses ads and affiliate links. If you choose to make a purchase using one of the links, I receive a small commission (at no additional cost to you) that helps offset the costs of maintaining this blog. Thanks for your support!
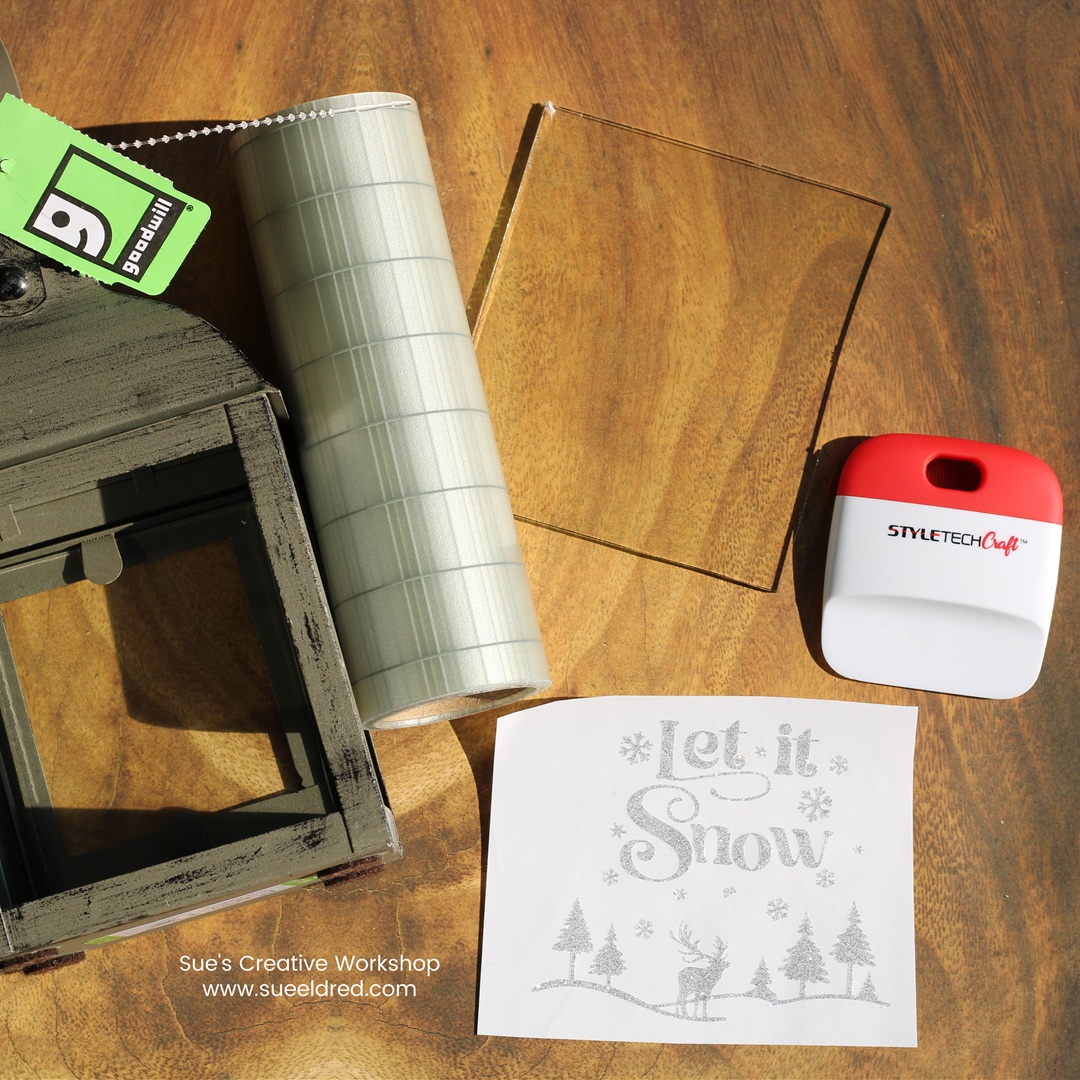
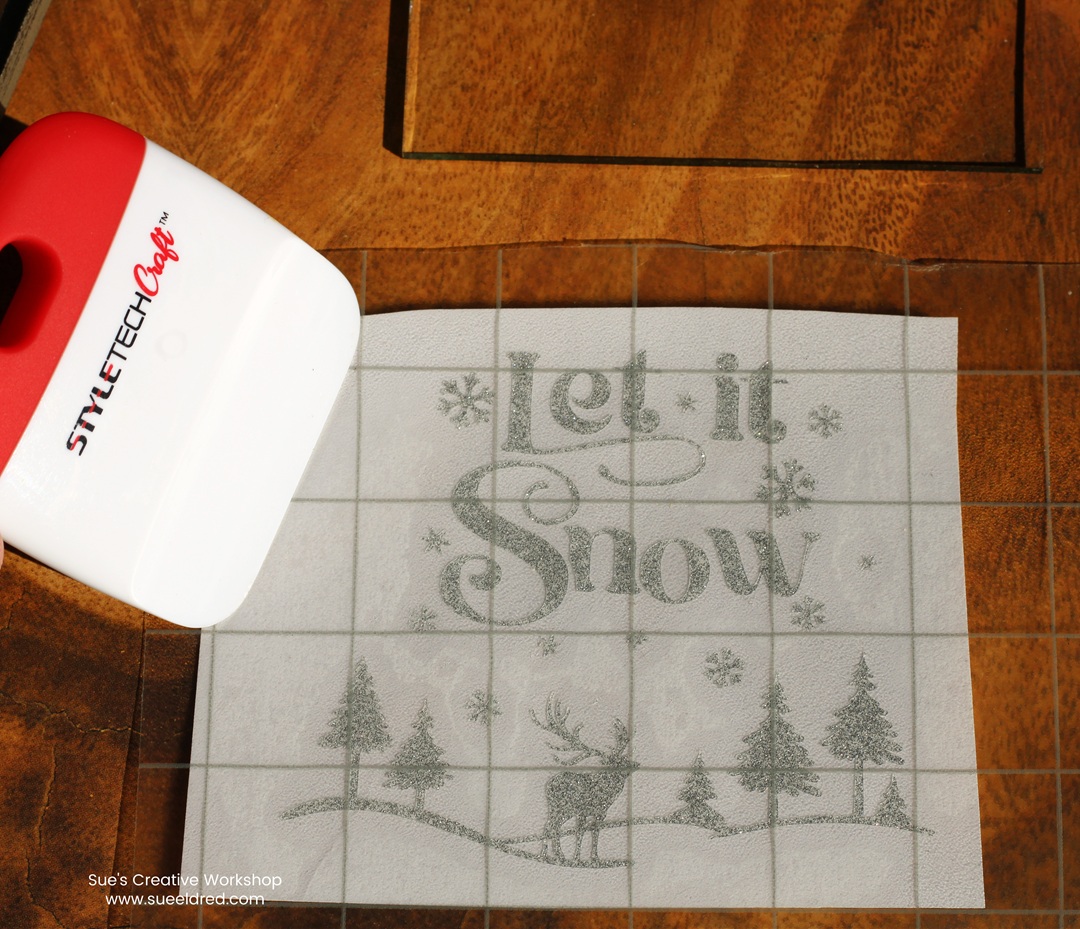
Lift the design from the white protective liner and place it onto the glass.
Rub over the vinyl design with the scraper tool and remove the transfer tape.
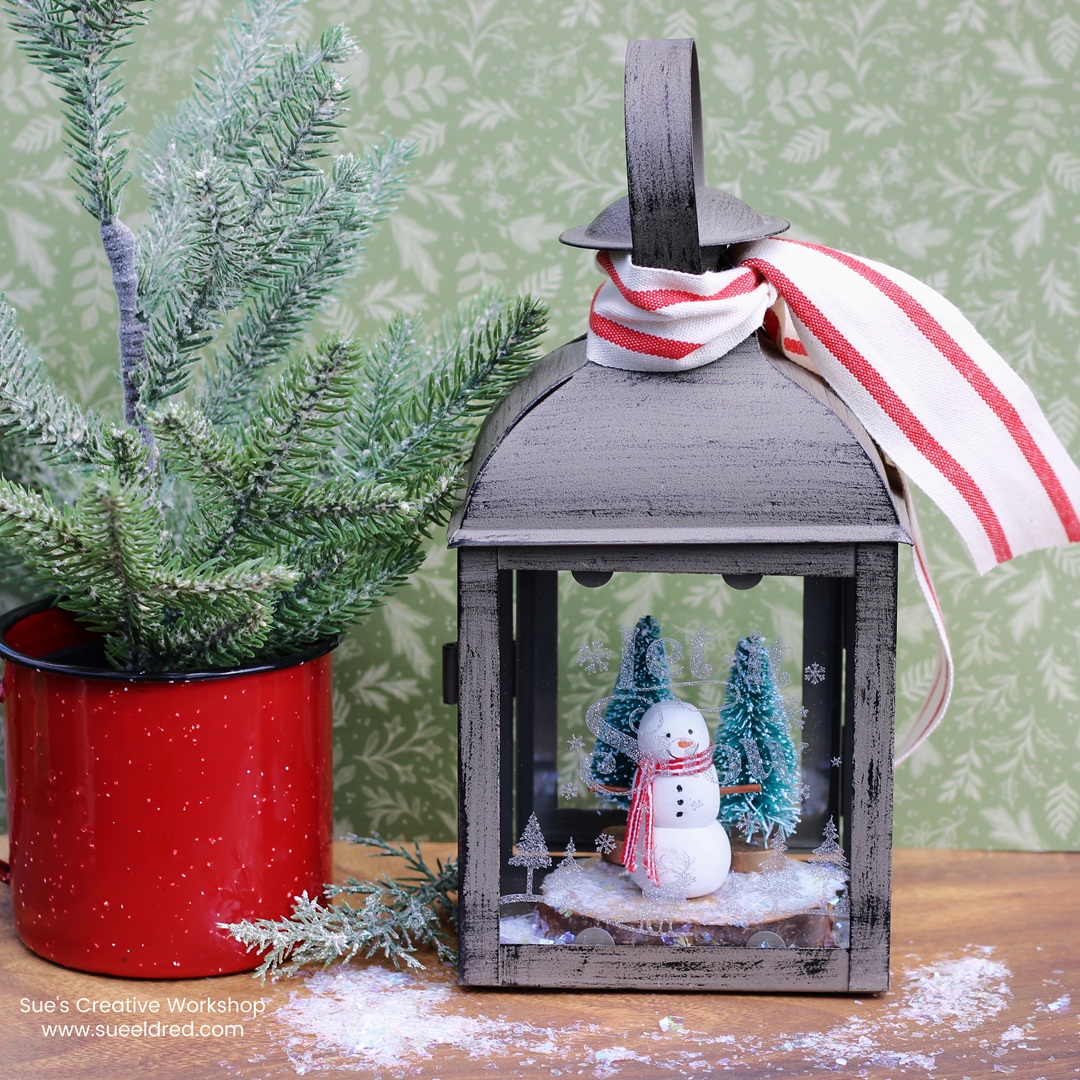
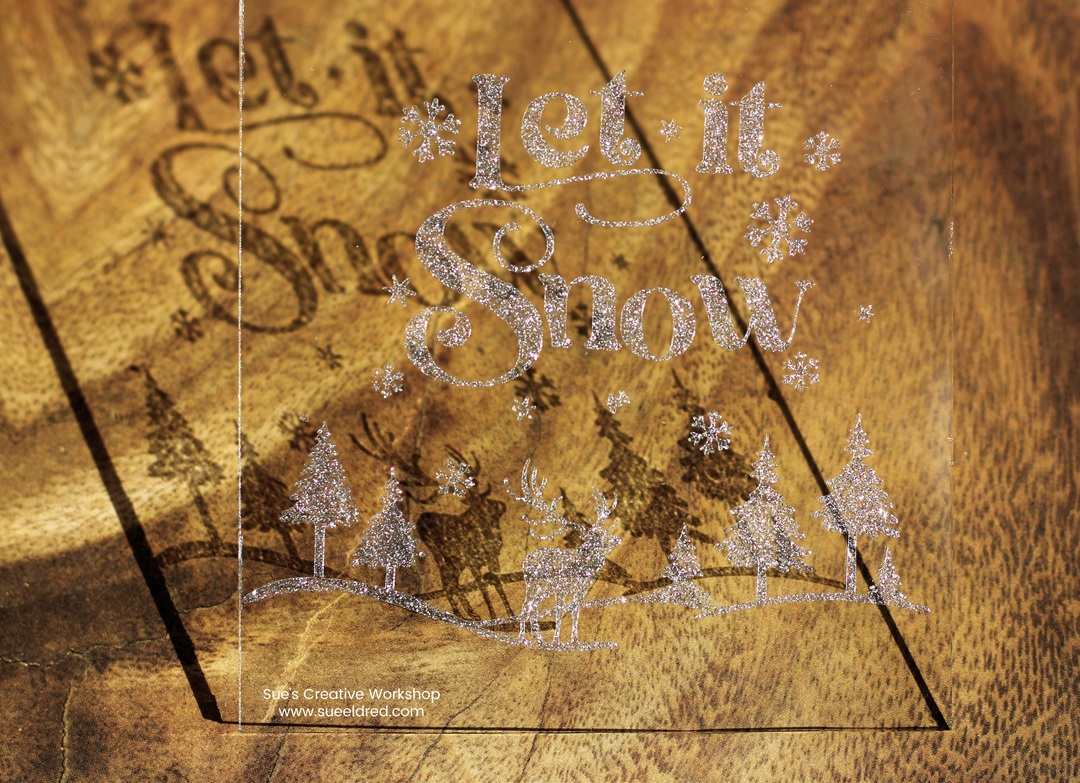
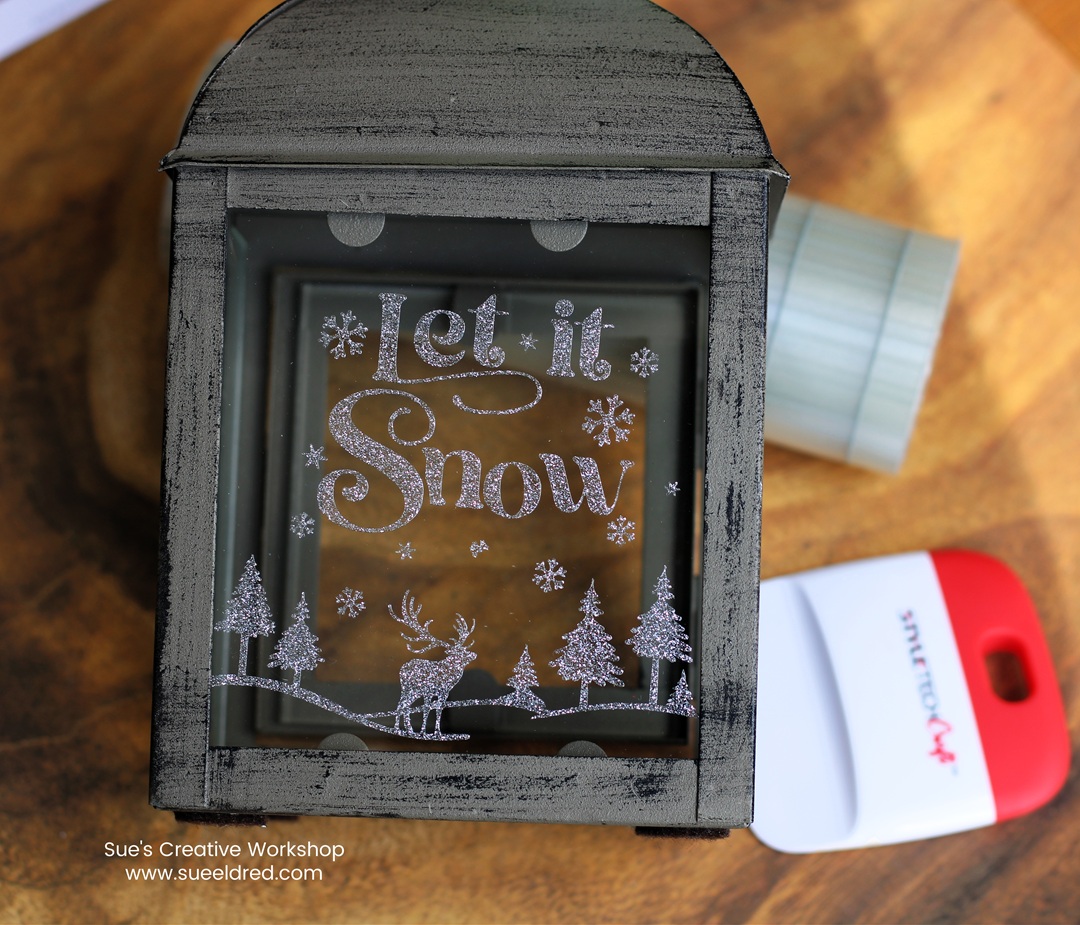
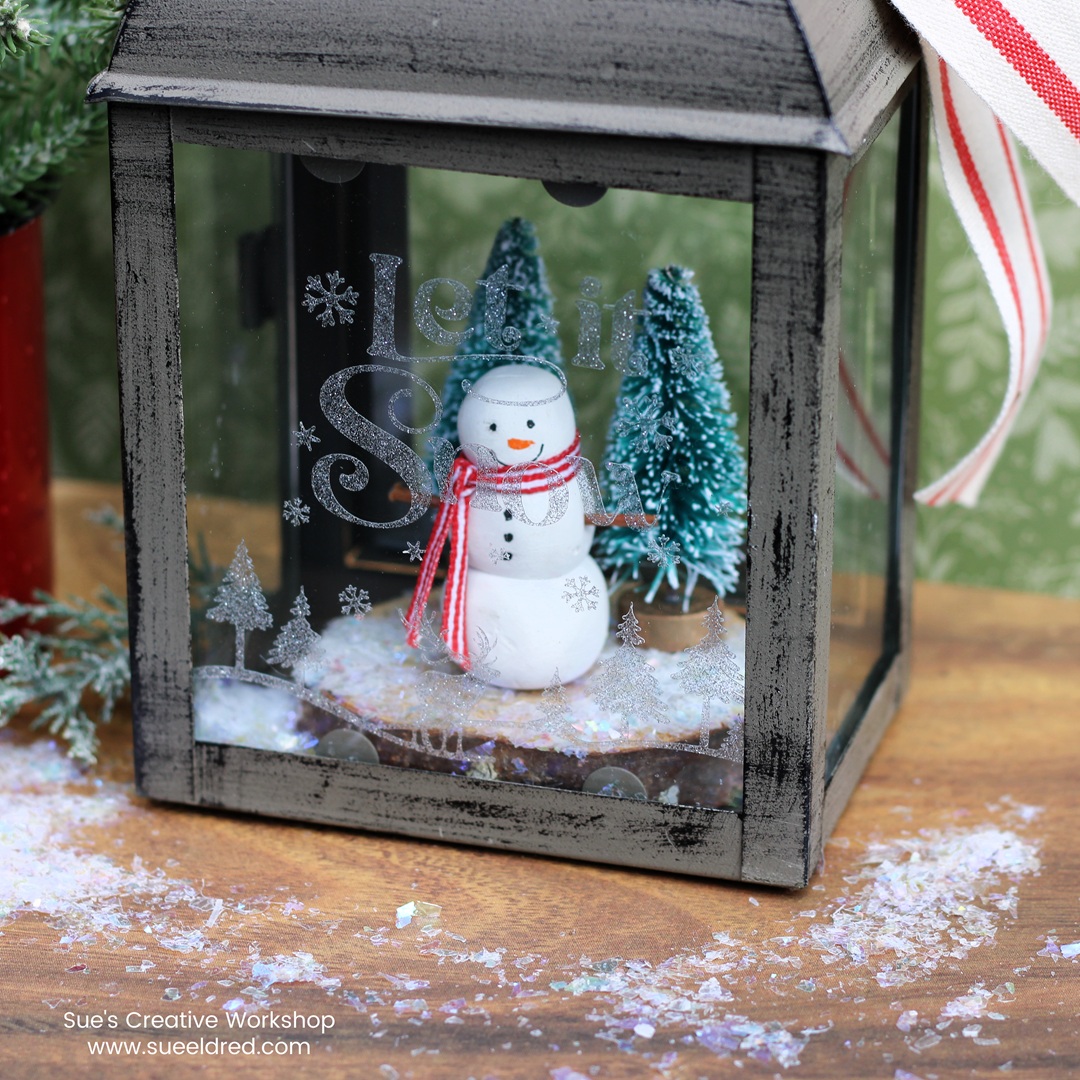
The silver glitter vinyl creates a frosted effect, creating the appearance
of etched glass without the mess or commitment.
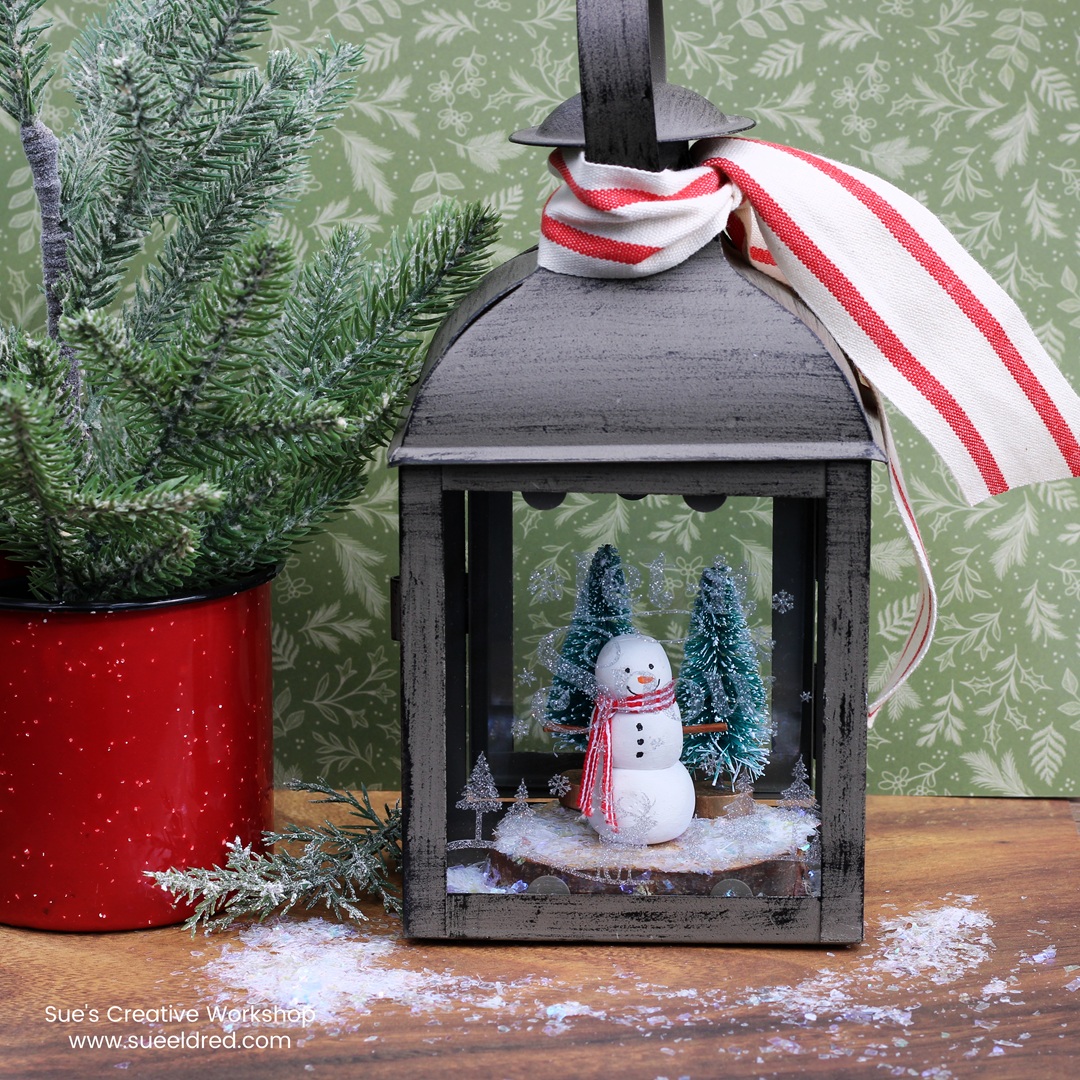
I had so much fun arranging a simple snowy scene inside the lantern,
complete with a cute little snowman and sparkling faux snow.
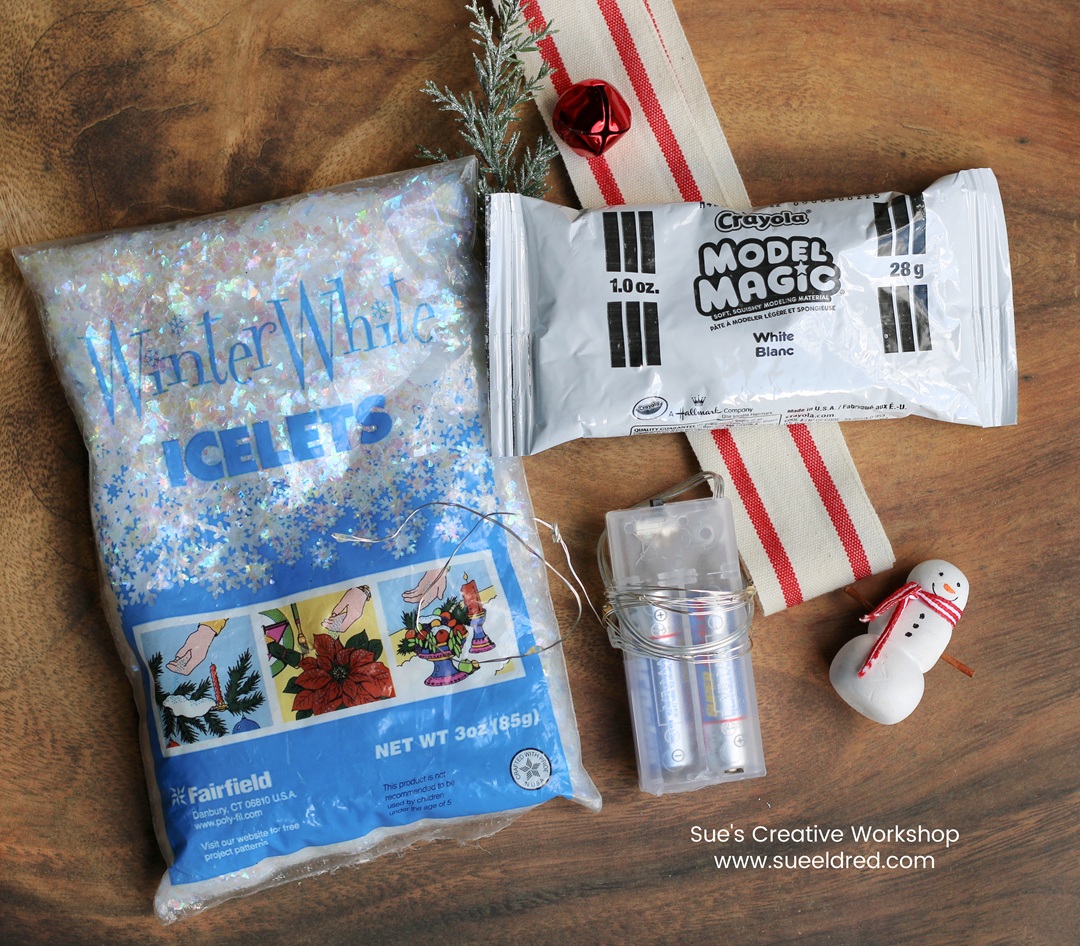
Here’s what I used inside the Lantern: (*affiliate links)
Optional: AddFairy Lights* to the inside of the lantern.
Thanks for following along with my latest holiday DIY.
Let your creativity shine, and don’t forget—the best decorations
are the ones that make you smile every time you see them.
“This is a sponsored post. As a member of the StyleTechCraft Design Team I have been provided product and compensation in exchange for my creative ideas. The views and opinions are my own.
*Disclosure: This blog uses ads and affiliate links. If you choose to make a purchase using one of the links, I receive a small commission (at no additional cost to you) that helps offset the costs of maintaining this blog. Thanks for your support!
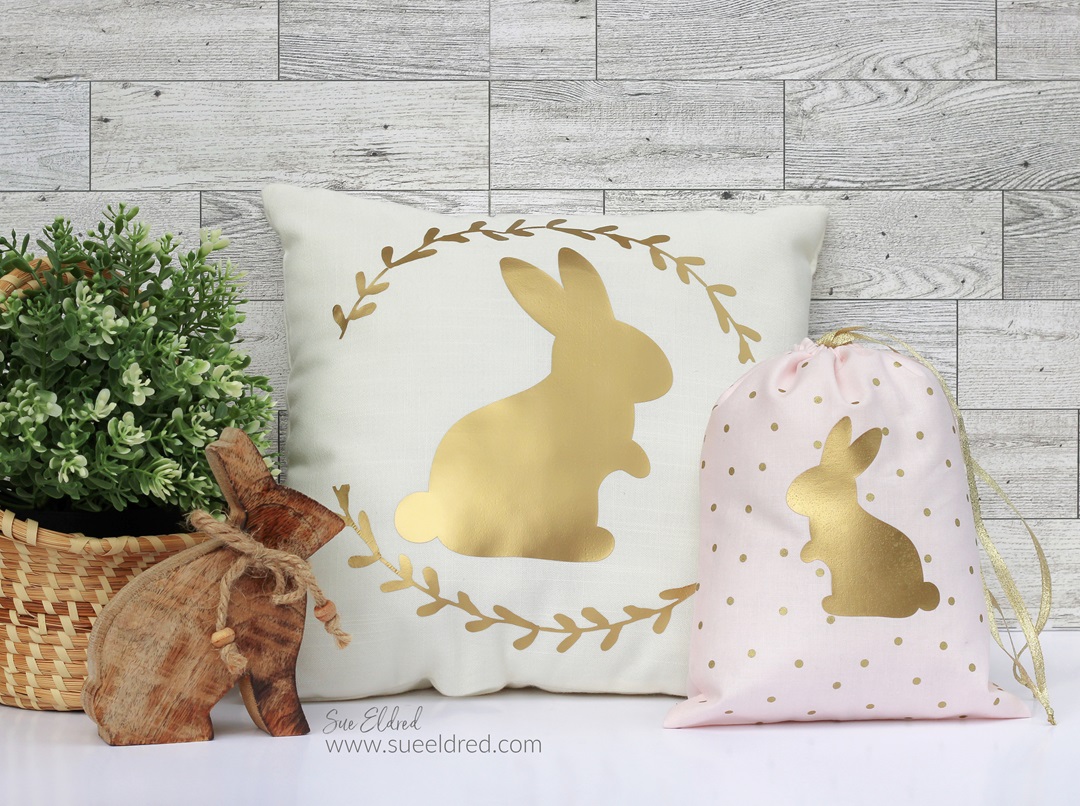
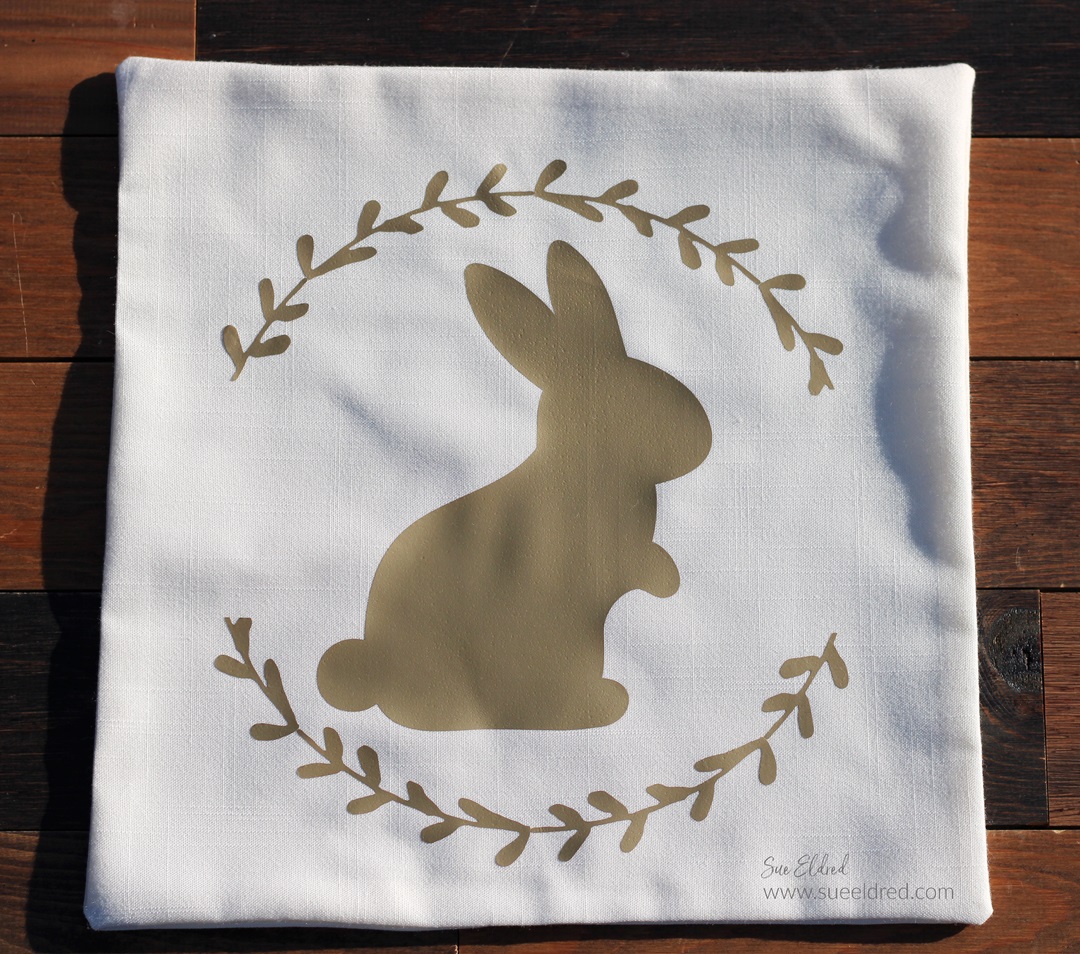
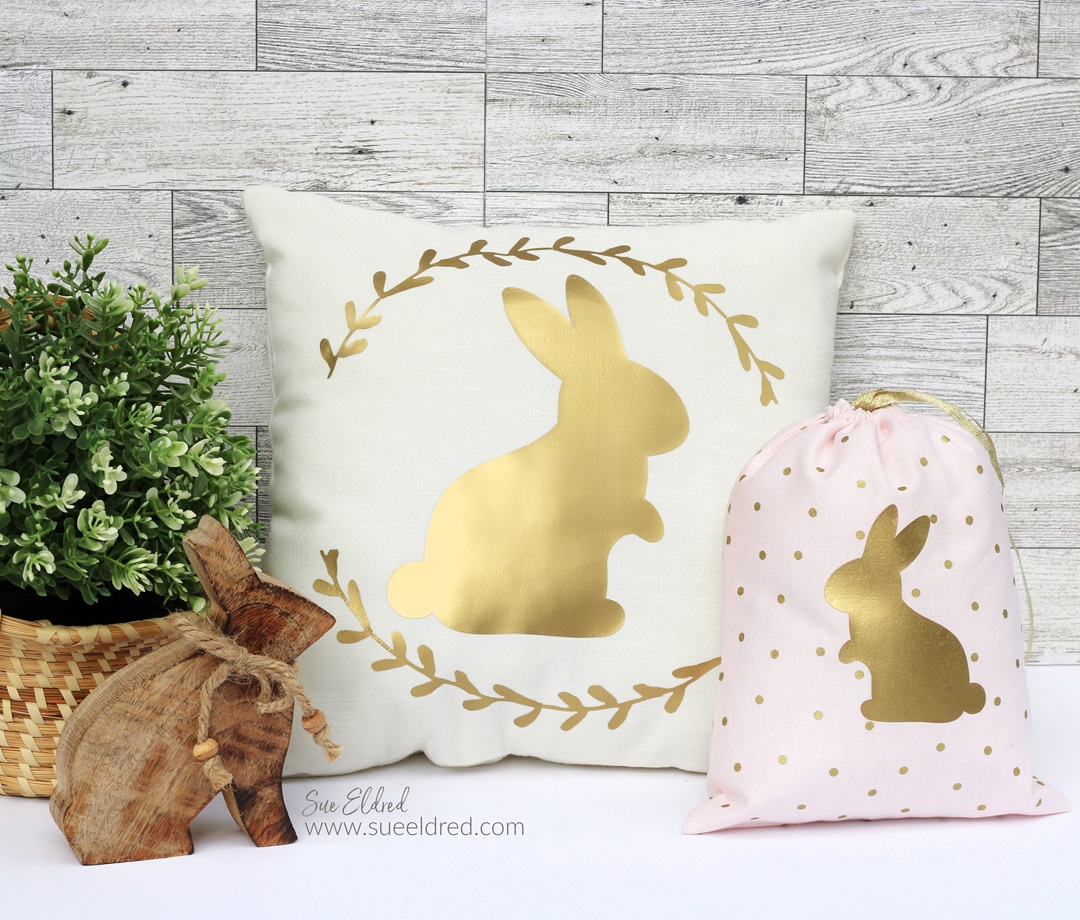
How to make the Gold Silhouette Bunny Pillow:
Choose your fabric. Cut the fabric into two squares or rectangles of equal size. (I cut my cream fabric to 14″ x 14″ to make a 12″ pillow.)
Place the two fabric pieces together right-side in.
Sew the edges together, leaving a 2-inch opening along one side.
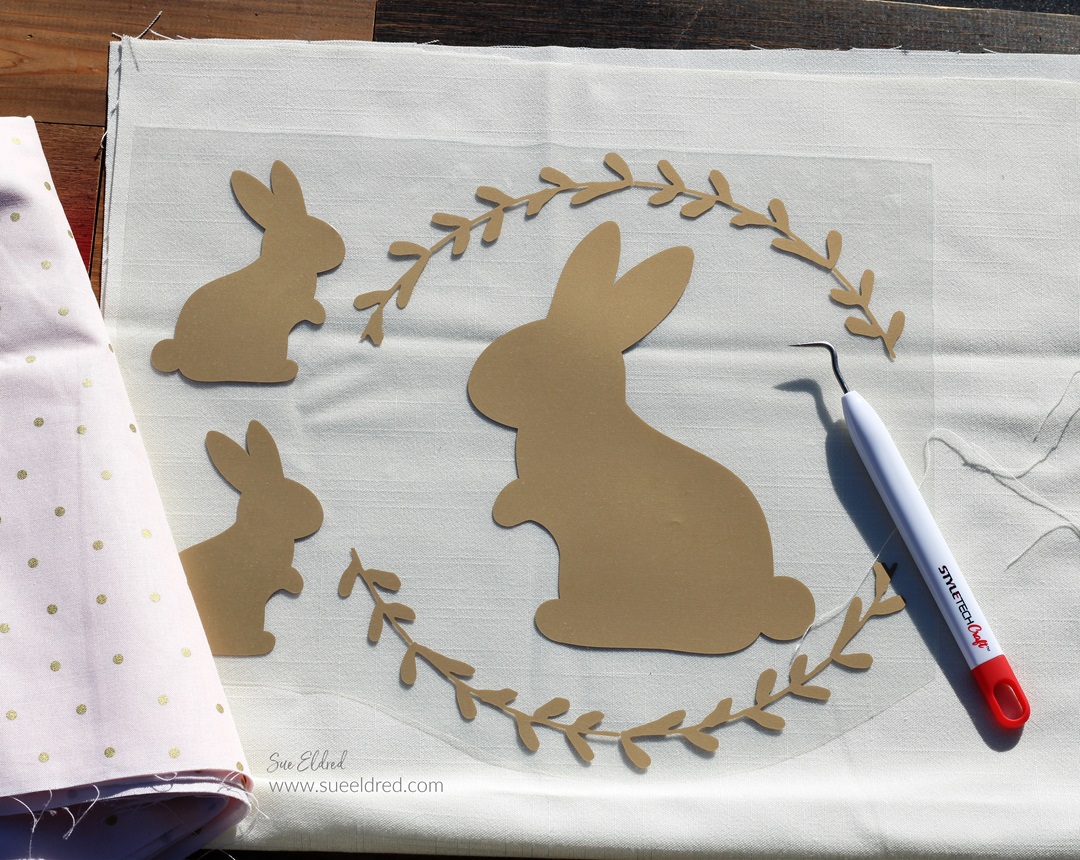
After you’ve cut the design, weed the excess material away from the design, leaving only the parts you want to transfer.
Position the design on your fabric. Use an iron or a heat press to apply heat and pressure to the design, following the manufacturer’s instructions.
Peel off the transfer tape.
Stuff the pillow with Poly-Fil®* and sew the opening closed.
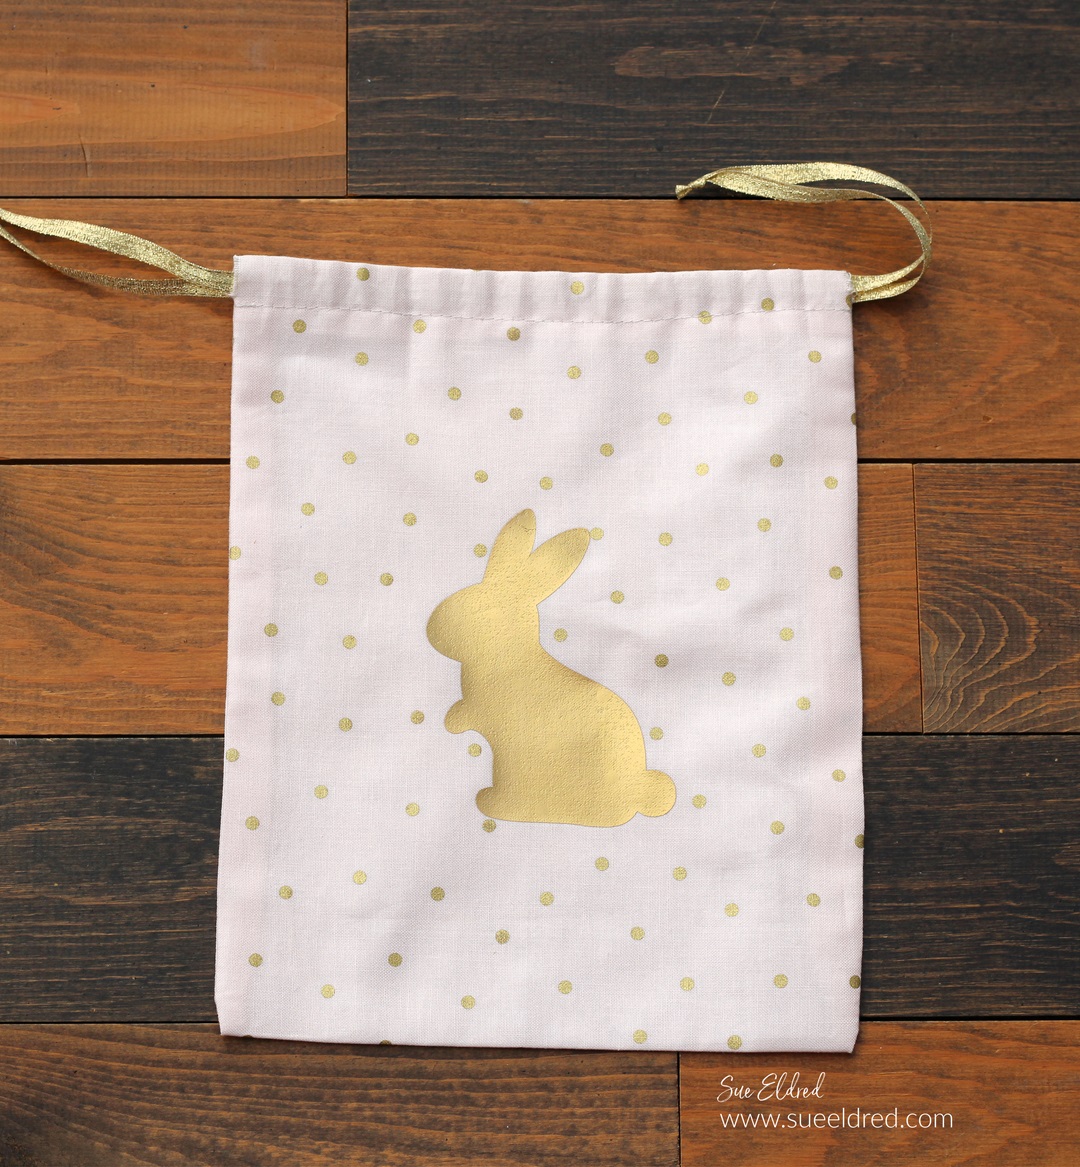
I knew a head of time that I wanted to make a couple of small treat bags. I decreased the size of the bunny and cut it at the same time as the pillow design.
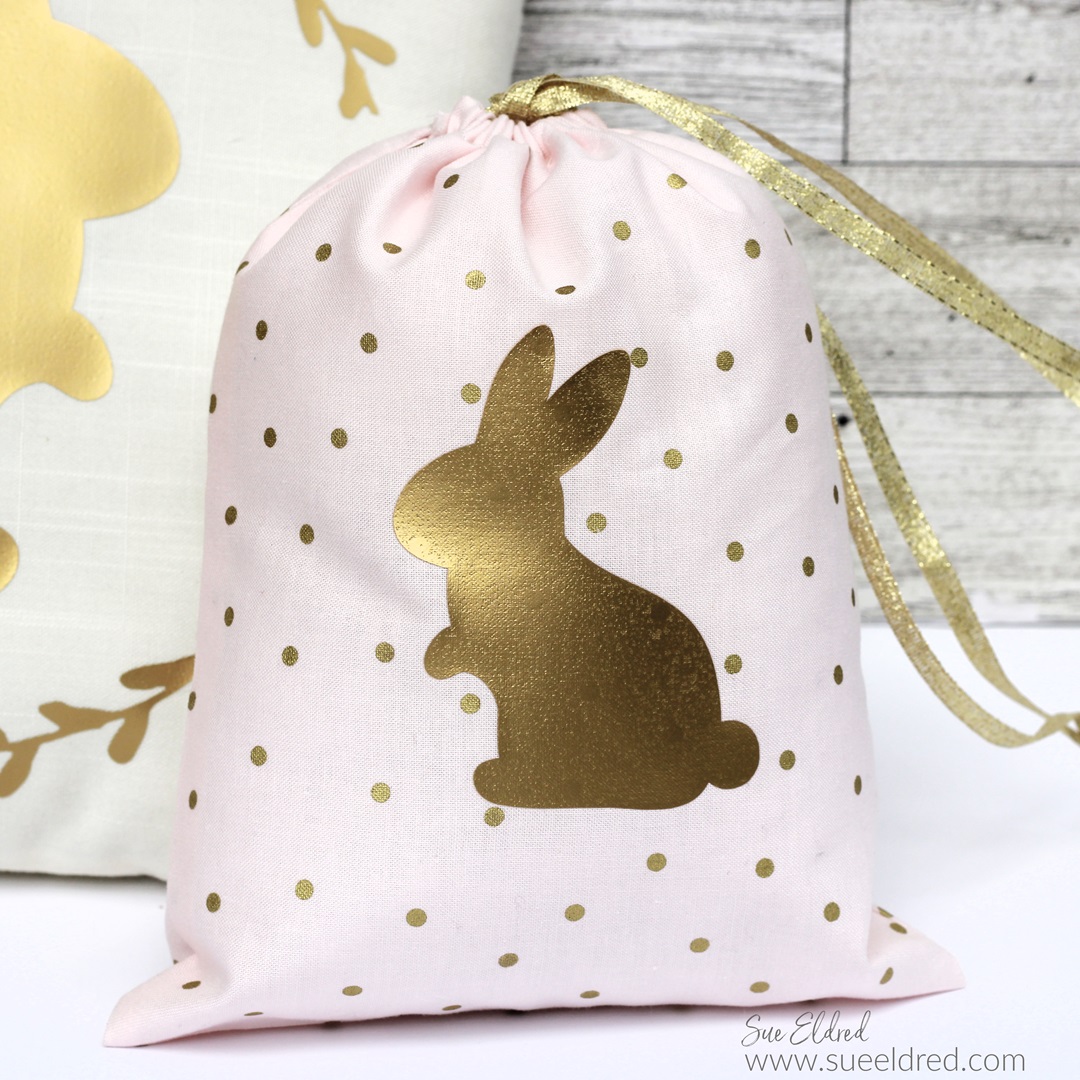
How to make the Bunny Treat Bag:
Cut a piece of gold polka dot fabric approx. 10″ x 14″.
On both ends of the fabric, fold down approx. 1″ and sew a seam across the top. That should leave you with a 3/4″ pocket.
Fold the material in half and sew the remaining sides closed.
Trim excess material on the seams and turn the fabric inside out to reveal the bag.
Iron the gold HTV bunny on the front of the bag. (see above directions)
Cut two small slits on the top pocket of the bag on each end.
Cut two 24″ pieces of gold ribbon.
Attach a small safety pin to the end of a piece of ribbon. Thread the ribbon through the top of the bag, remove the safety pin, and knot the ribbon.
On the opposite end of the bag, thread the second piece of ribbon through.
Pull both ends of the ribbon to gather and close the bag.
With all the warm weather we’ve had lately, Spring Fever has hit me pretty hard.
I’ve completely rid my decor of anything resembling Winter.
I’m ready for Spring, Bunnies, and Flowers!
“This is a sponsored post. As a member of theStyleTechCraft Design Team I have been provided product and compensation in exchange for my creative ideas. The views and opinions are my own.
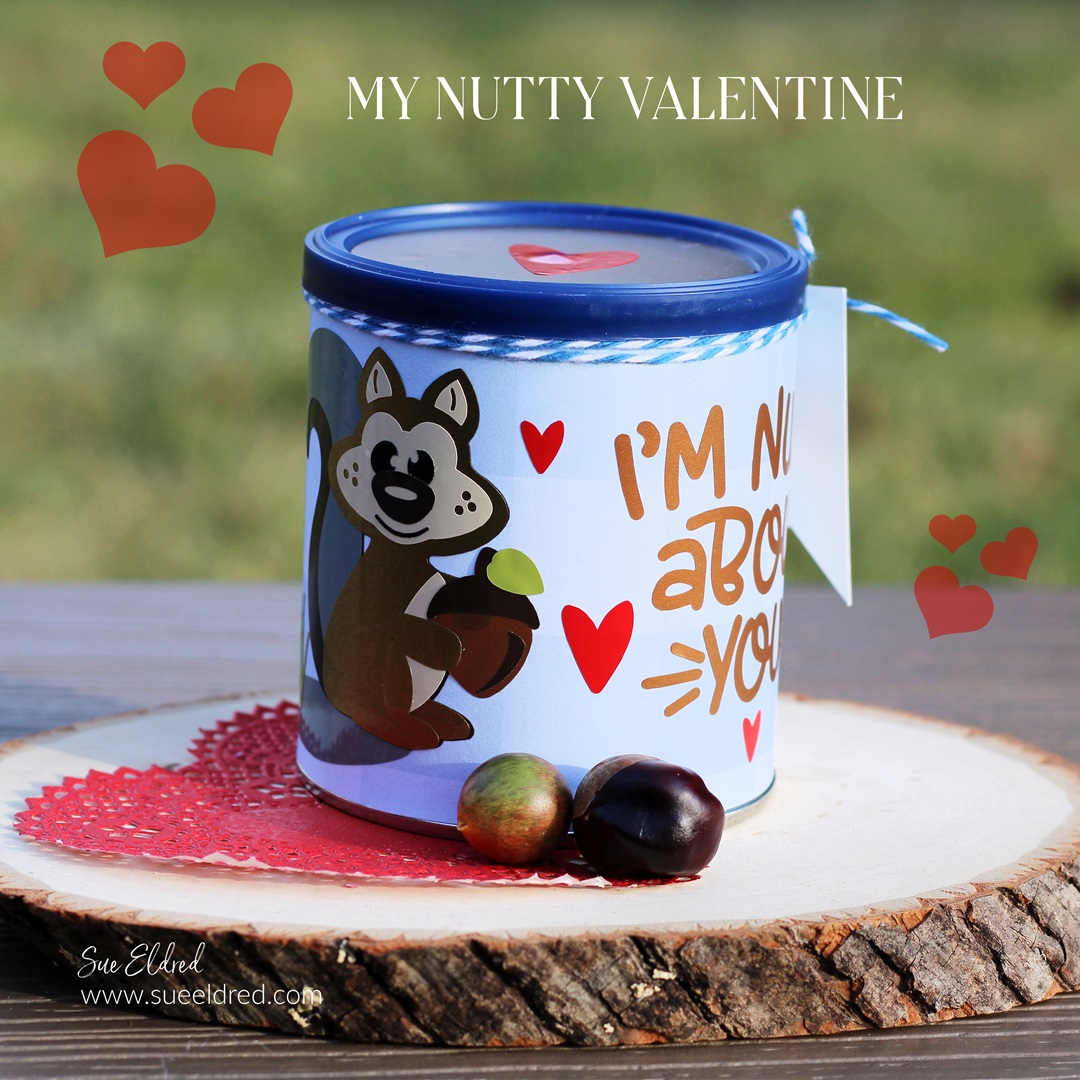
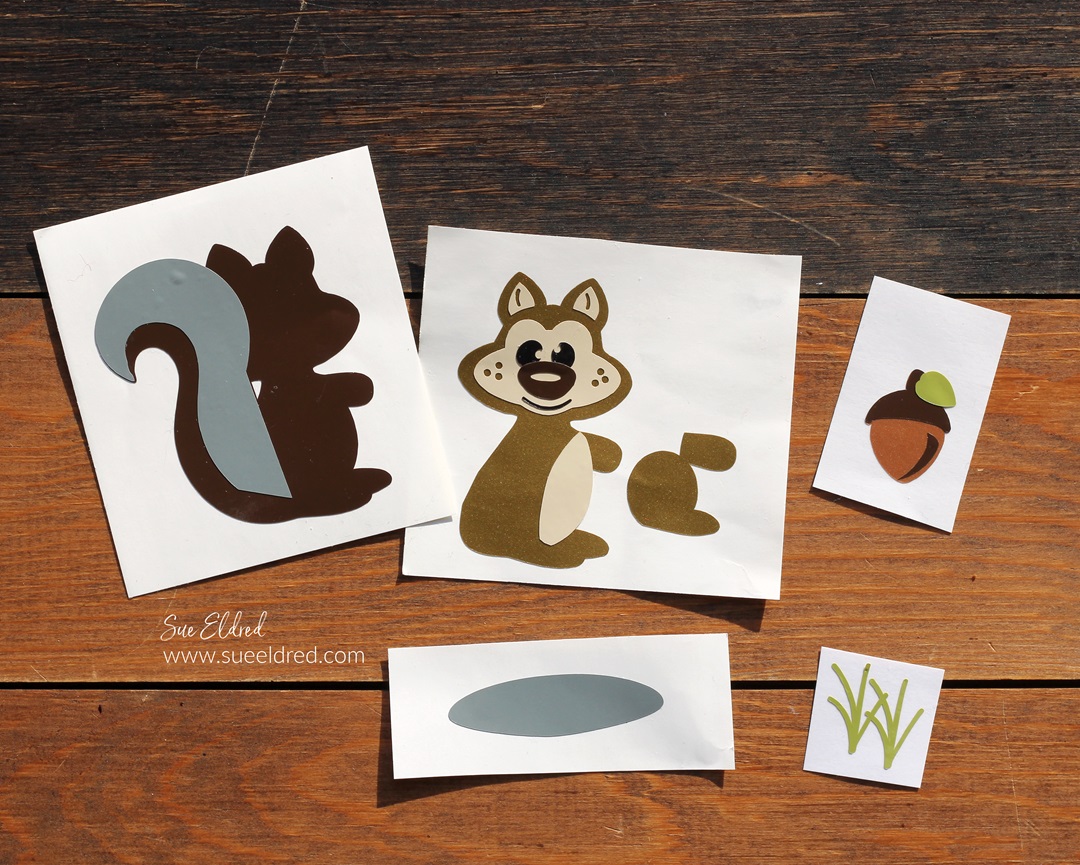
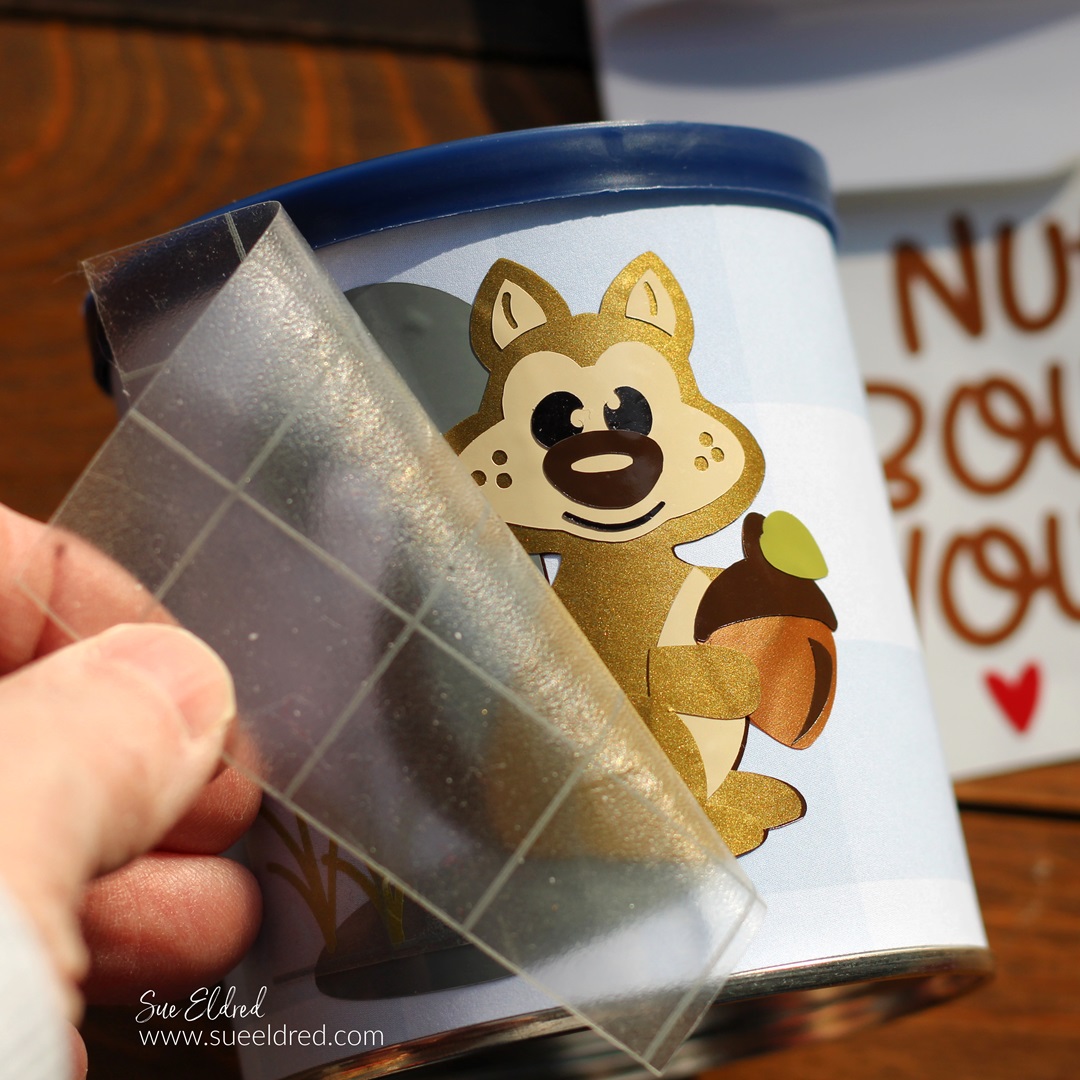
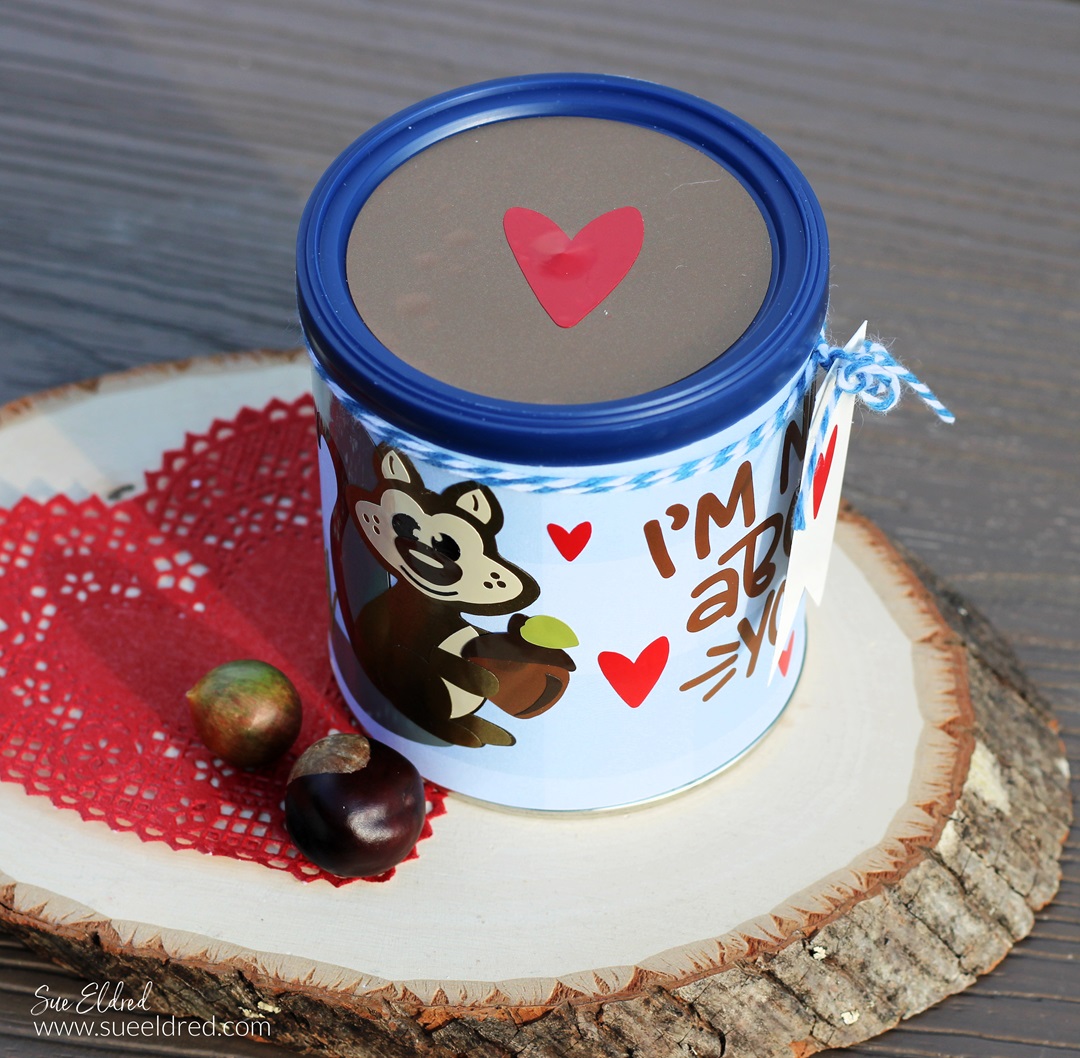
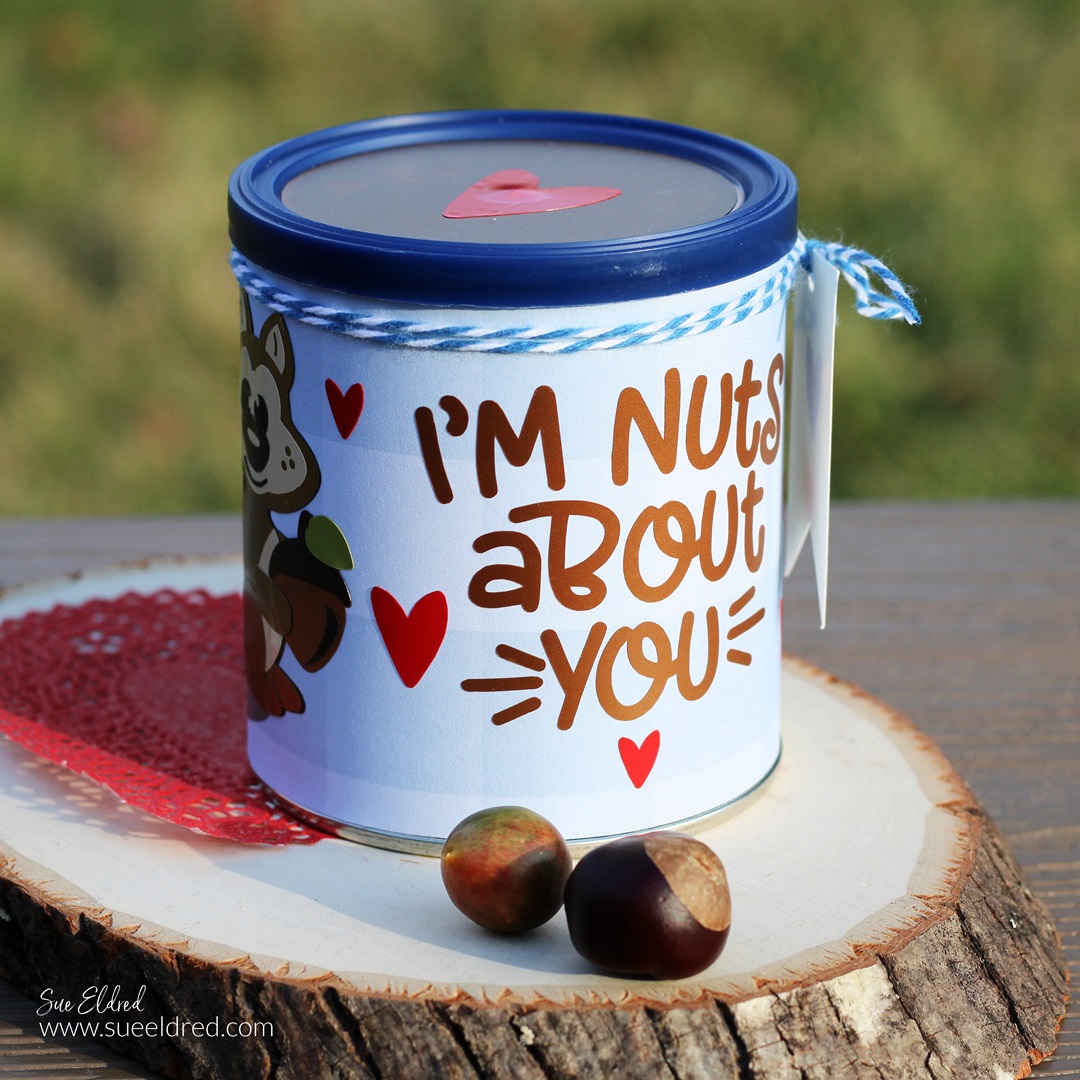
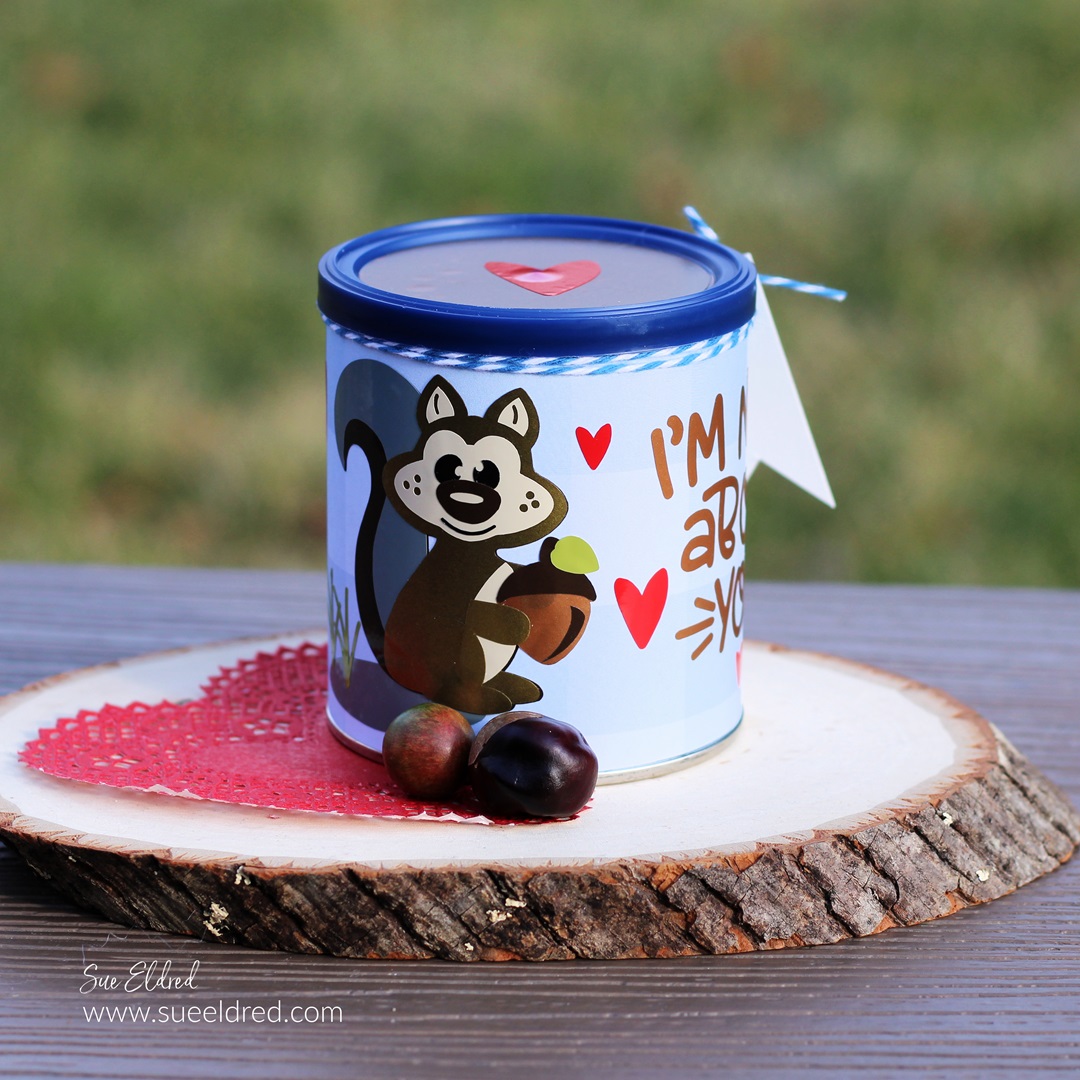
My husband is a peanut-loving guy who I’m nuts about.
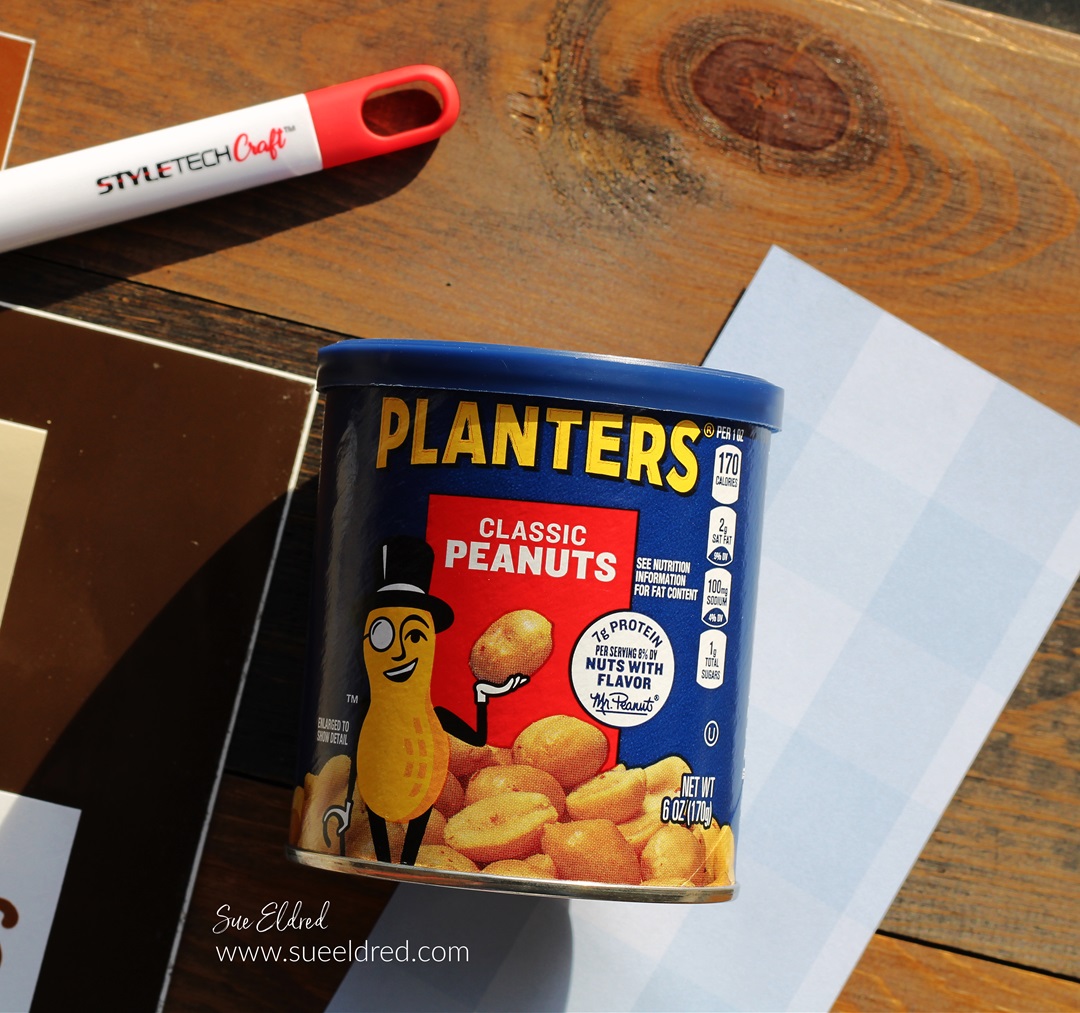
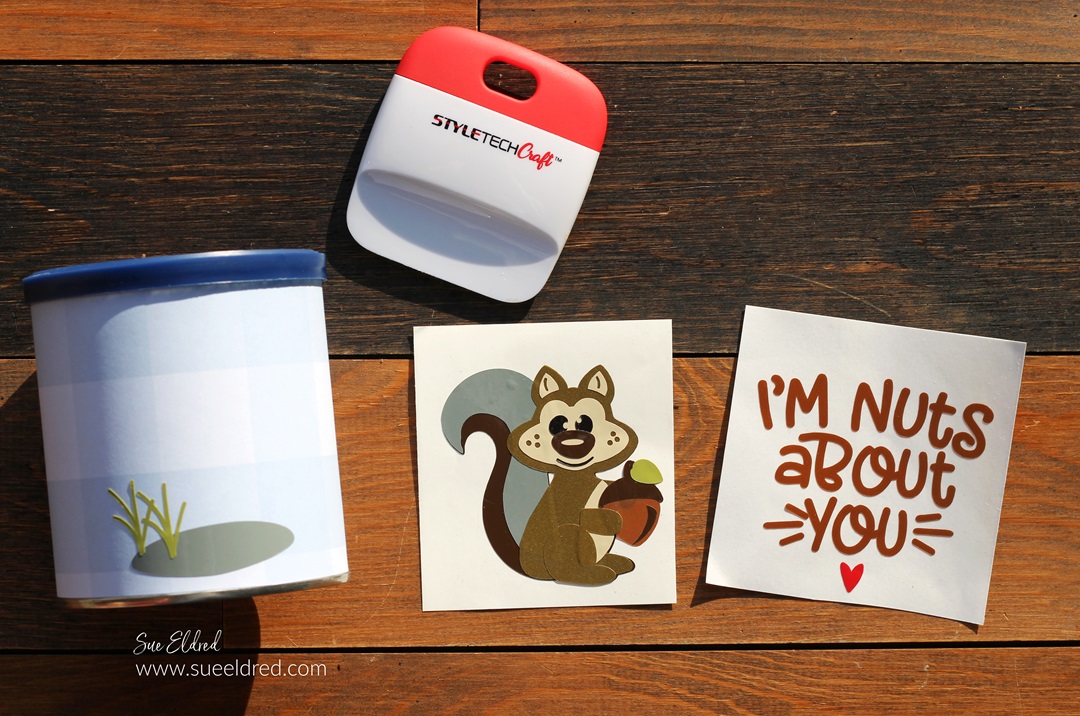
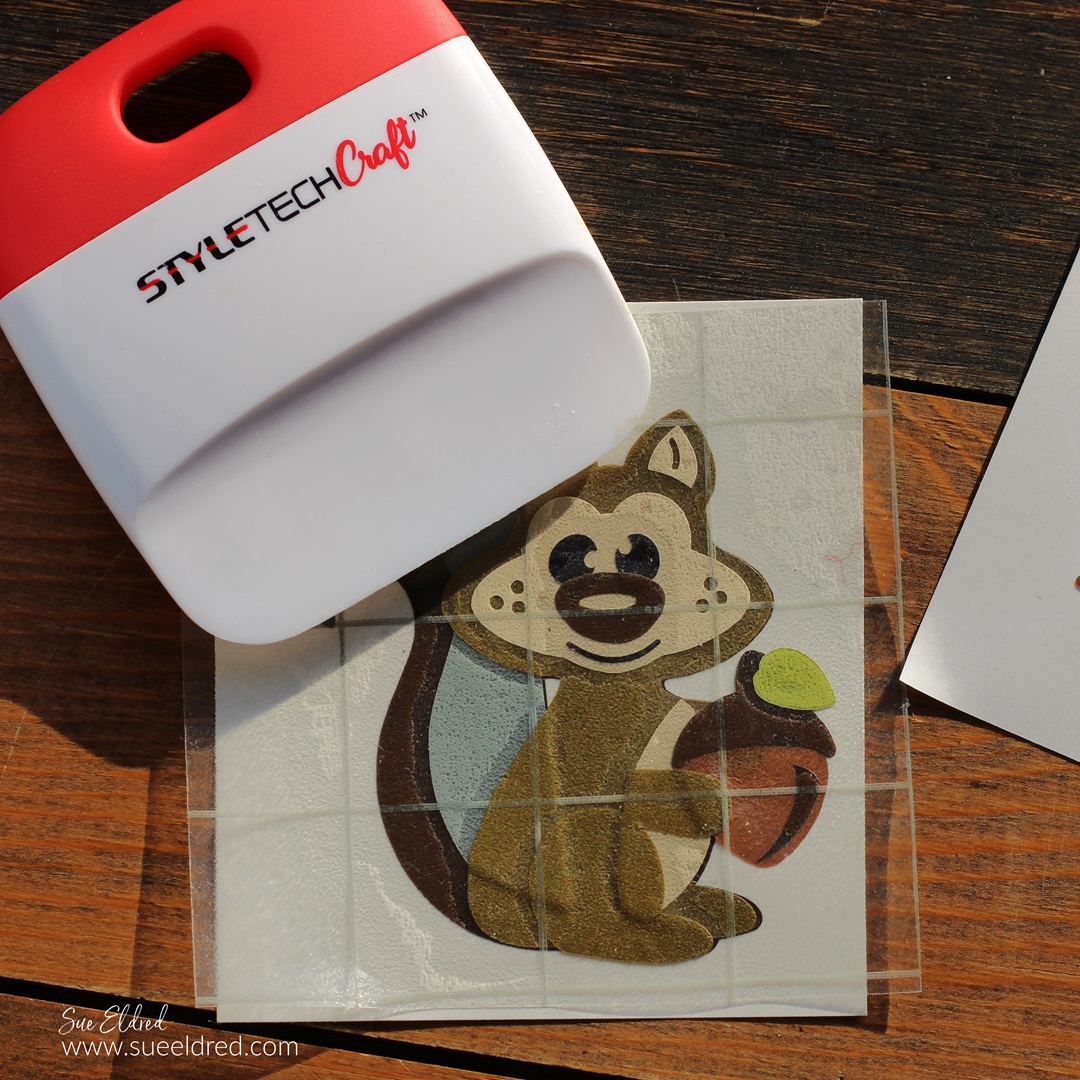
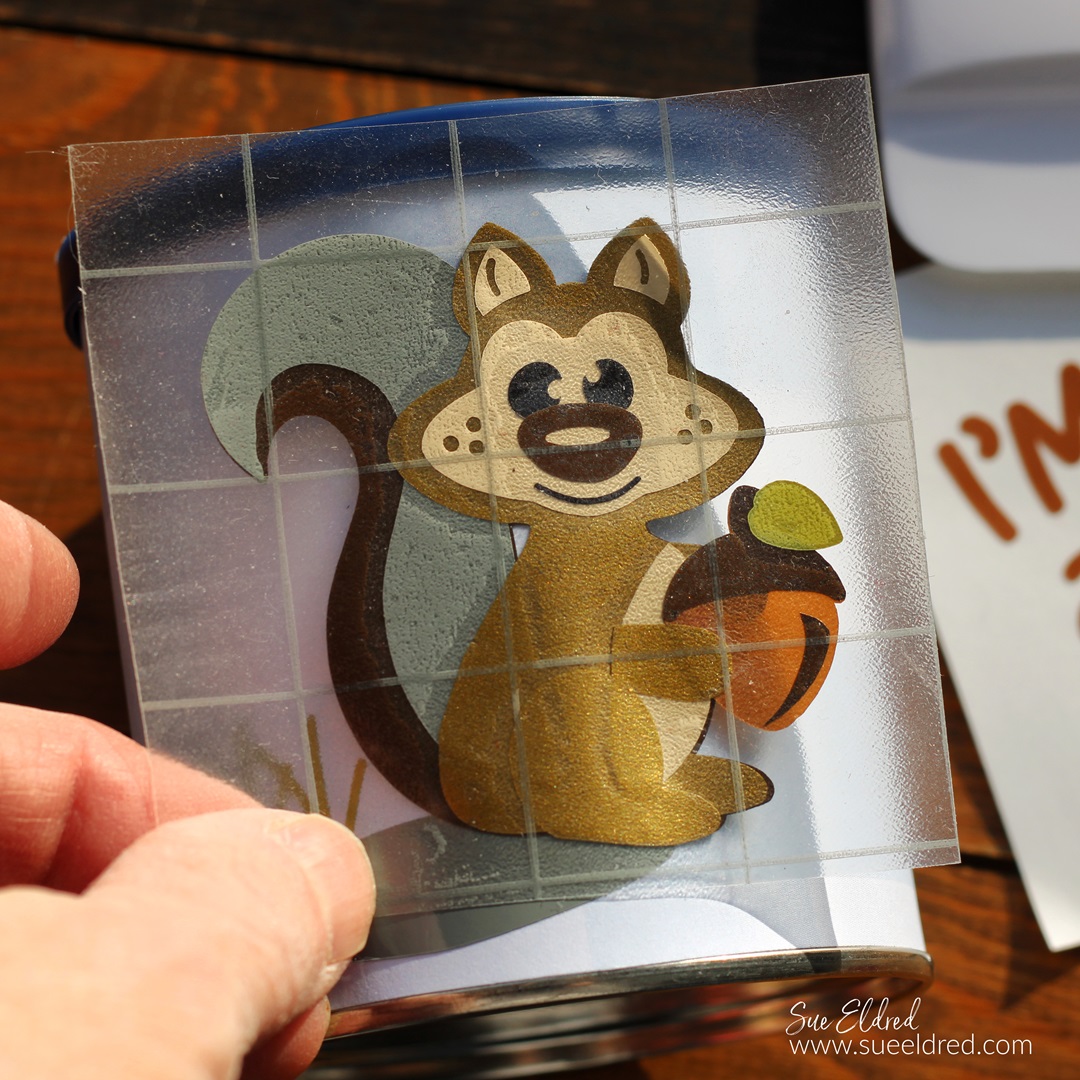
So, I thought I would make something fun with a can of peanuts*.
*Disclosure: This blog uses ads and affiliate links. If you choose to make a purchase using one of the links, I receive a small commission (at no additional cost to you) that helps offset the costs of maintaining this blog. Thanks for your support!
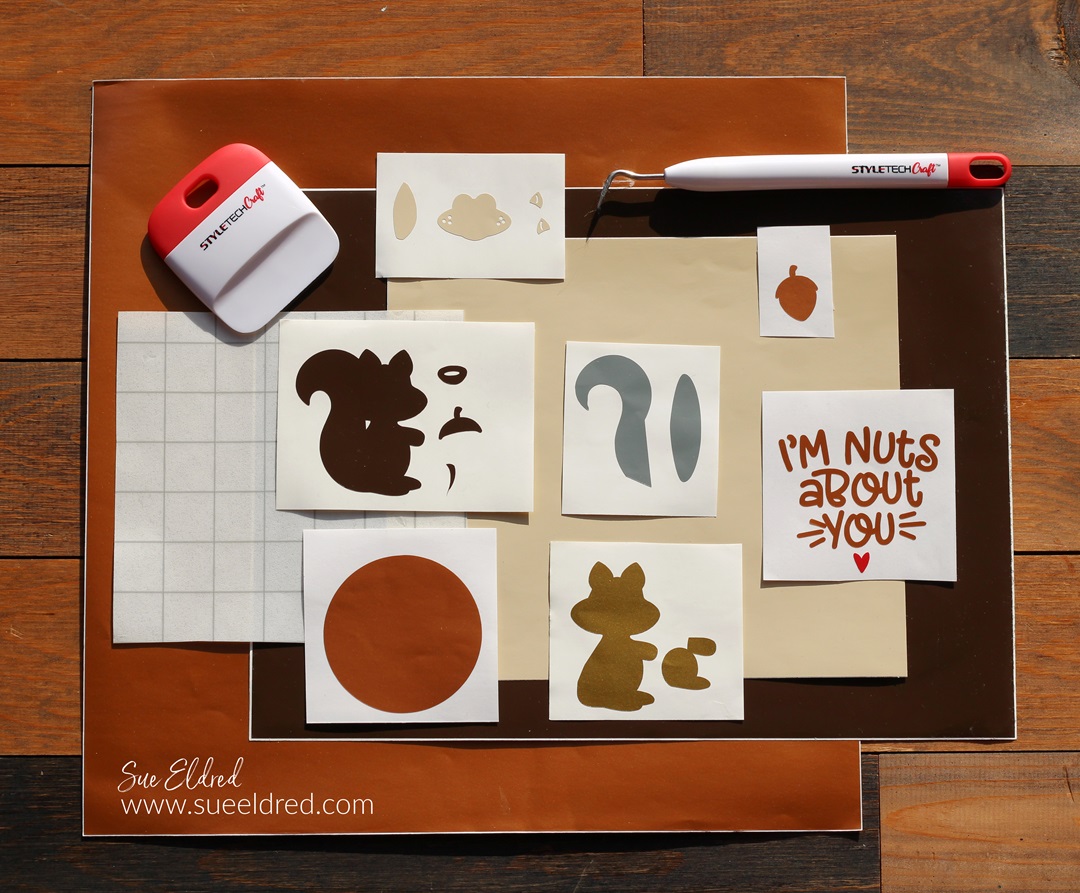
Materials Used: (*affiliate links)
Nuts About You SVG Cut File from The Silhouette Store
And just so my husband knows, I added “I’m Nut’s About You” on the side of the can.
A Cute Alternative to the Traditional Valentine’s Gift.
“This is a sponsored post. As a member of the StyleTechCraft Design Team I have been provided product and compensation in exchange for my creative ideas. The views and opinions are my own.
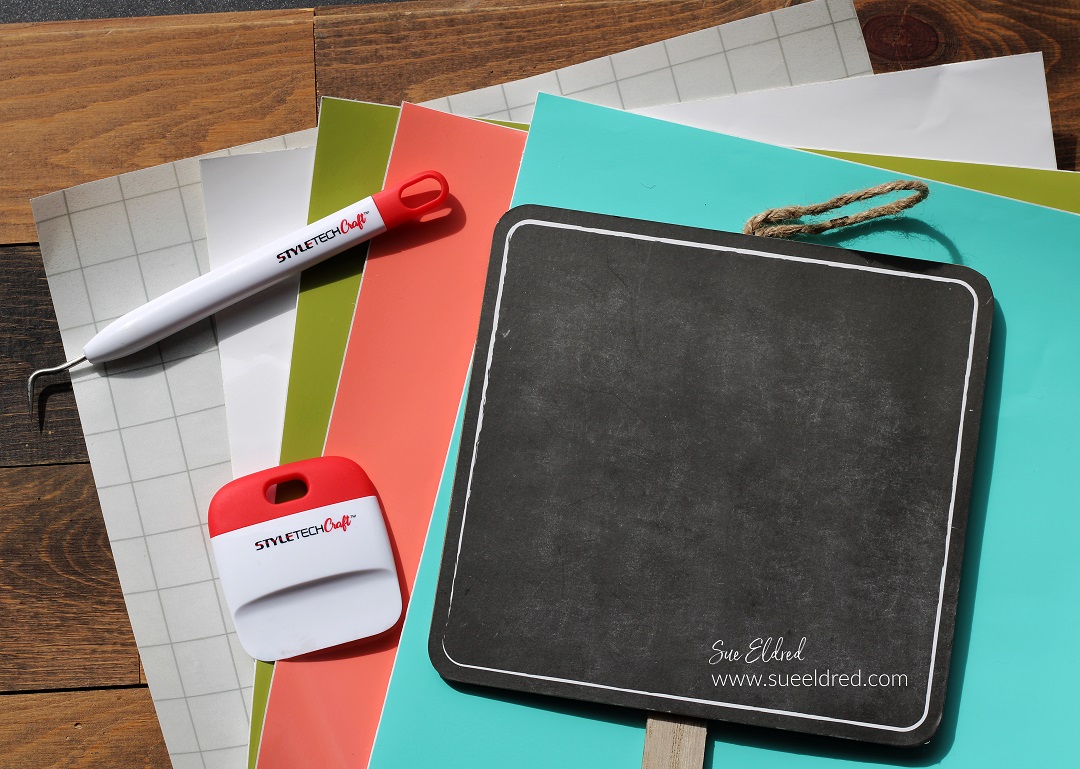
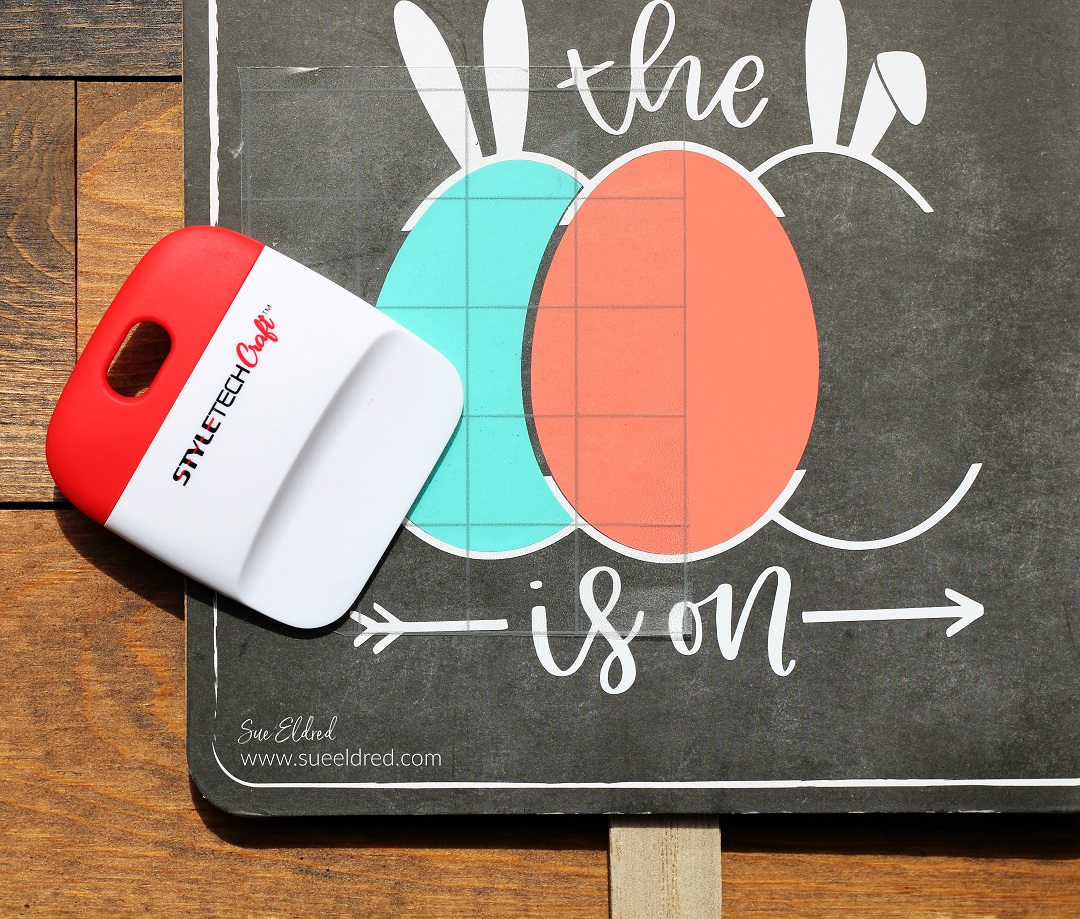
“The Hunt is On” SVG File from The Silhouette Store
*Disclosure: This blog uses ads and affiliate links. If you choose to make a purchase using one of the links, I receive a small commission (at no additional cost to you) that helps offset the costs of maintaining this blog. Thanks for your support!
Directions:
Remove the twine hanger from the back of the sign.
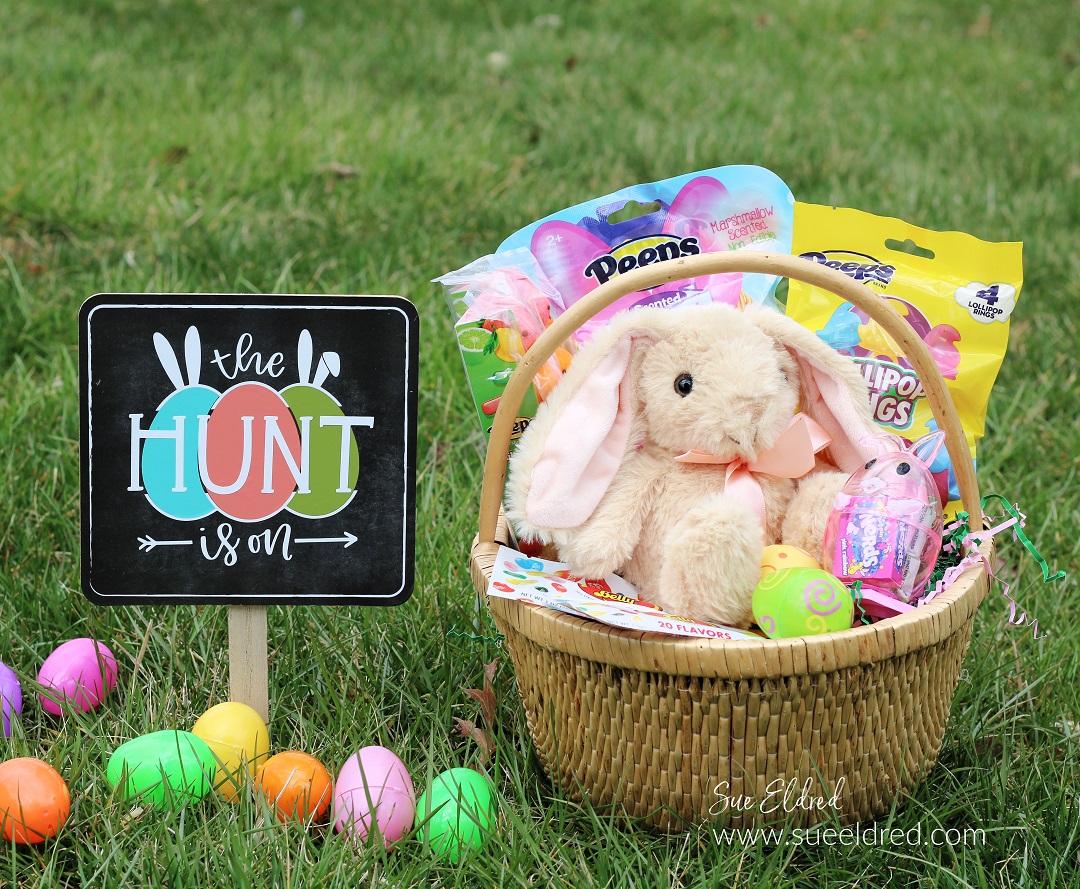
Even if you’re not having an Easter Egg Hunt, the sign makes a cute centerpiece/decoration.
I’m off to fill some eggs. Happy Easter!
“This is a sponsored post. As a member of the StyleTechCraft Design Team I have been provided product and compensation in exchange for my creative ideas. The views and opinions are my own.
*Disclosure: This is a sponsored post. This blog uses ads and affiliate links. If you choose to make a purchase using one of the links, I receive a small commission (at no additional cost to you) that helps offset the costs of maintaining this blog. Thanks for your support!
*Disclosure: This blog uses ads and affiliate links. If you choose to make a purchase using one of the links, I receive a small commission (at no additional cost to you) that helps offset the costs of maintaining this blog. Thanks for your support!
Rub over the transfer paper with a vinyl scraper tool and lift the words from the white paper backing.
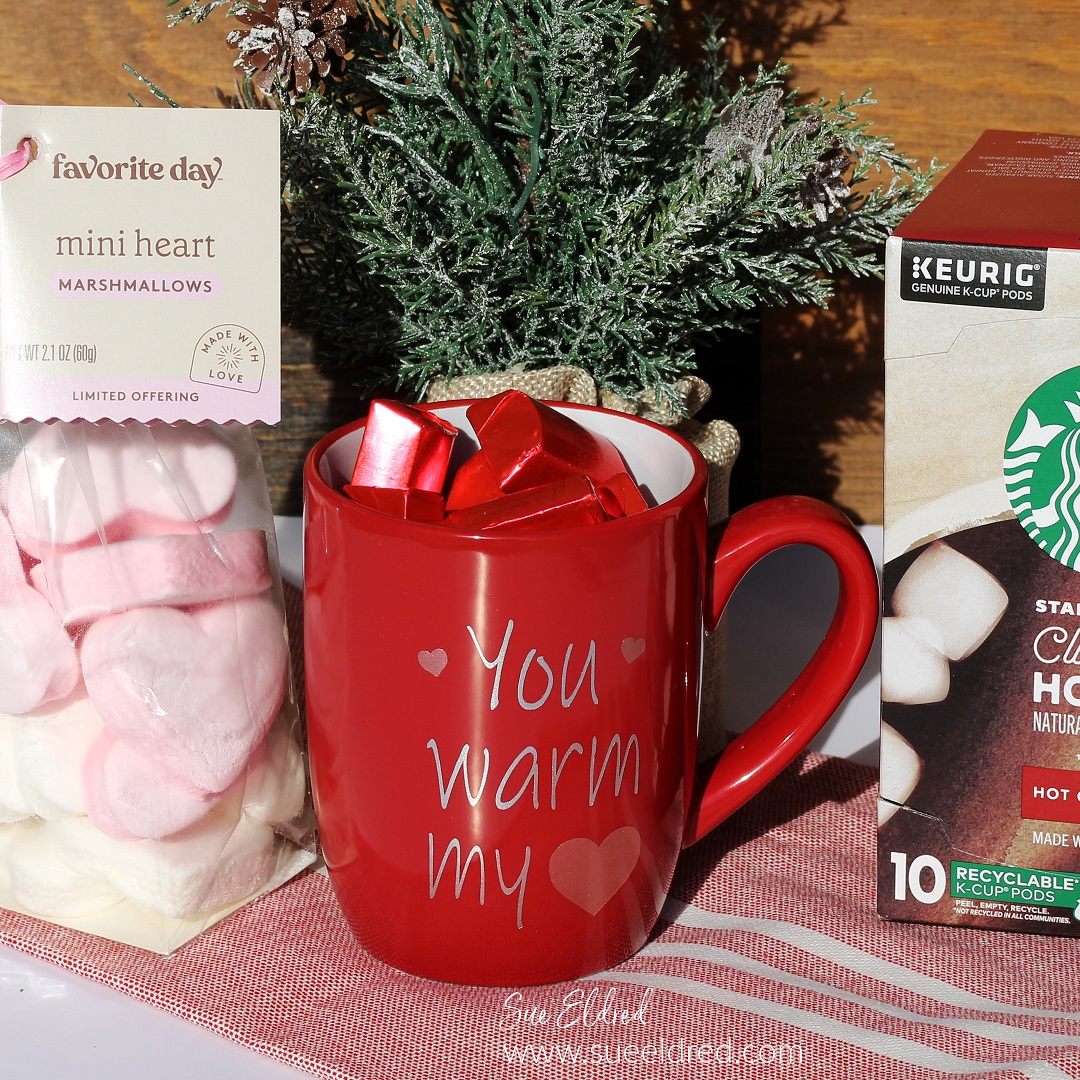
Lay the transfer paper onto the mug. Since it has a curved surface, start from the center of the words and rub one side at a time using a vinyl scraper tool. The tool allows you to smooth the image and eliminate air bubbles.
Line up hearts over the words and apply the vinyl hearts onto the mug.
Allow the vinyl to cure on the mug for four days before use. (Hand Wash Only)
For a Special Valentine Gift Box
Add a package of heart marshmallows (I found at Target), chocolates, and a box of Hot Cocoa Mix
for a sweet and thoughtful Valentine’s Gift.
“This is a sponsored post. As a member of the StyleTechCraft Design Team I have been provided product and compensation in exchange for my creative ideas. The views and opinions are my own.