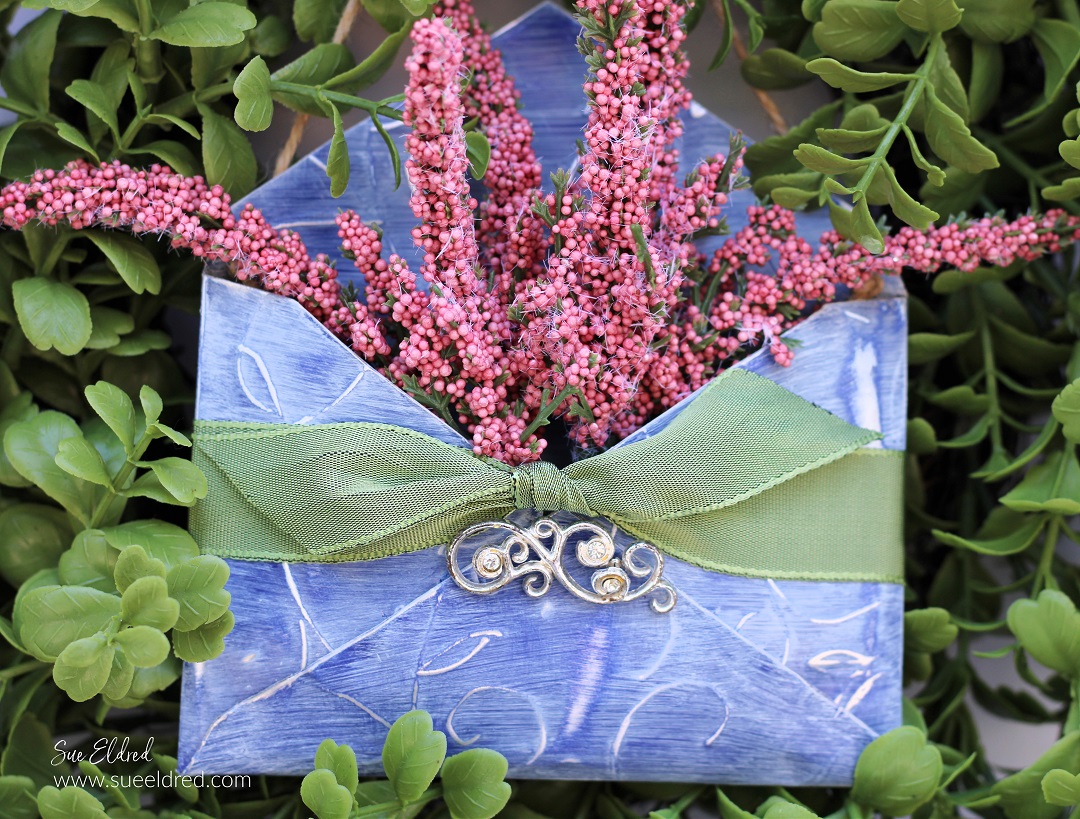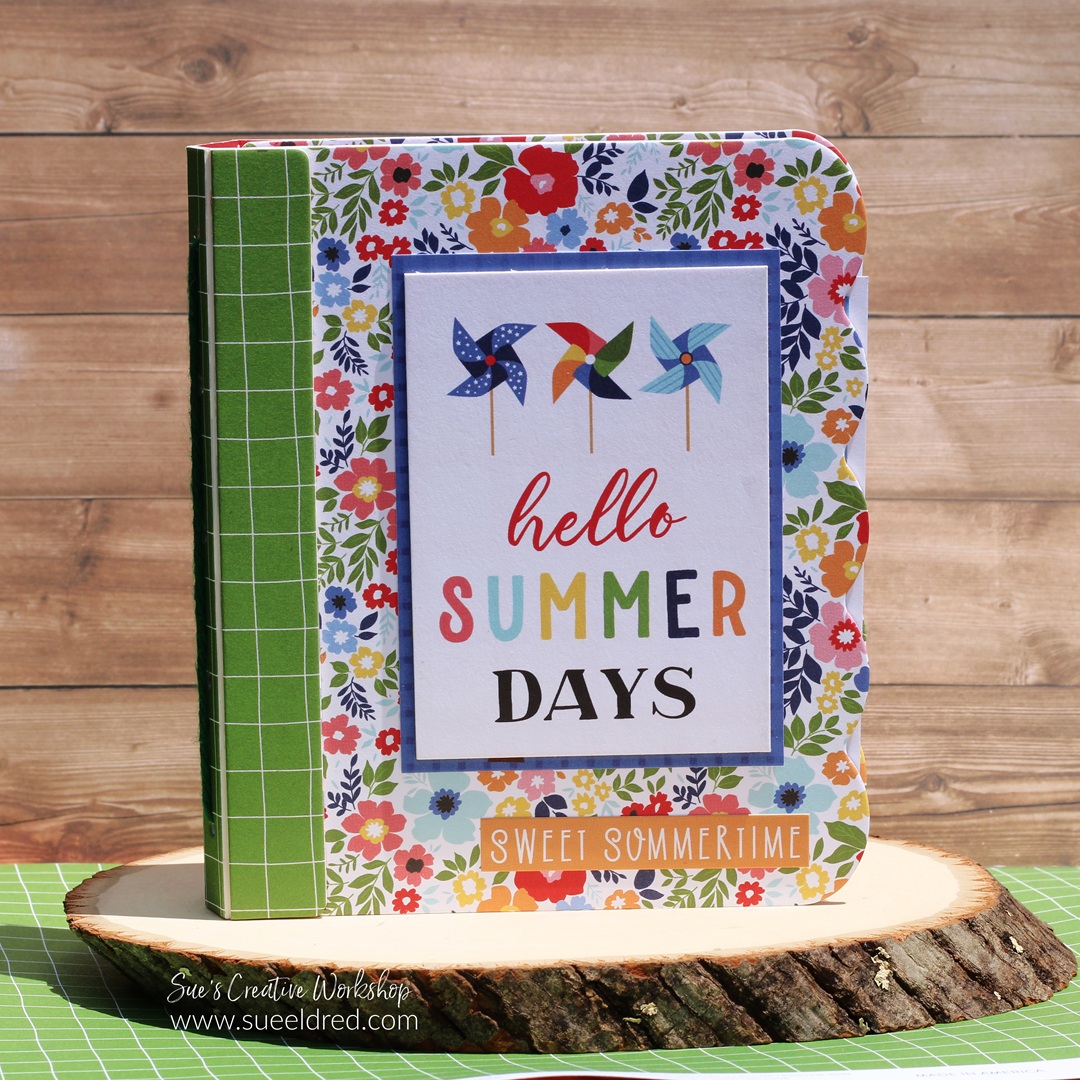
Hello Summer Days
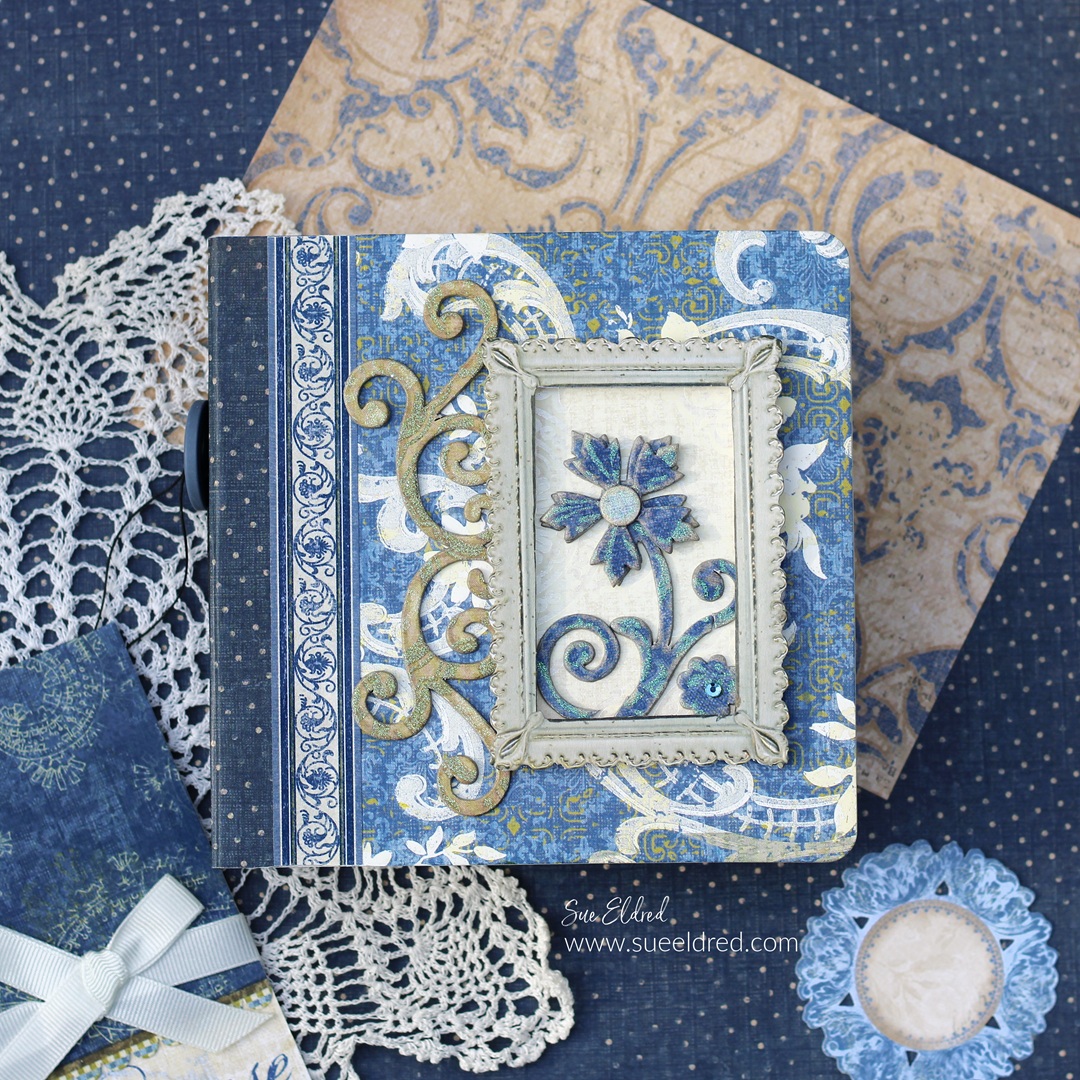
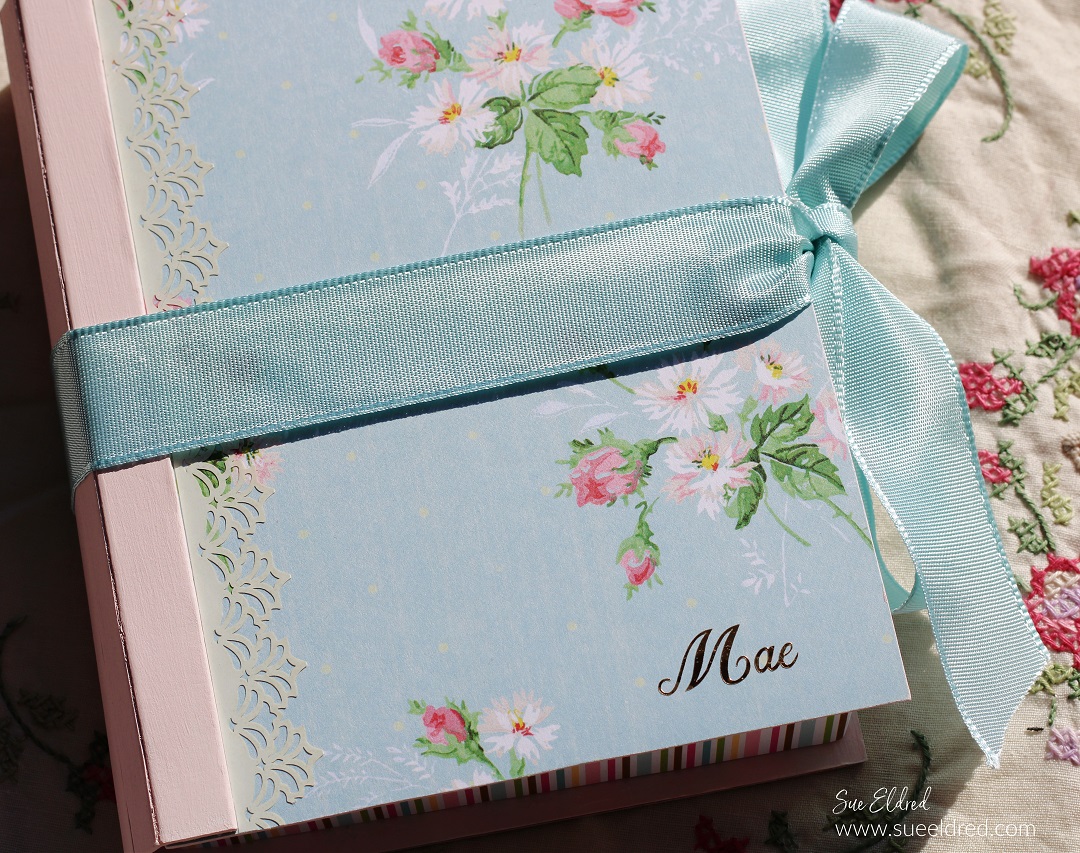
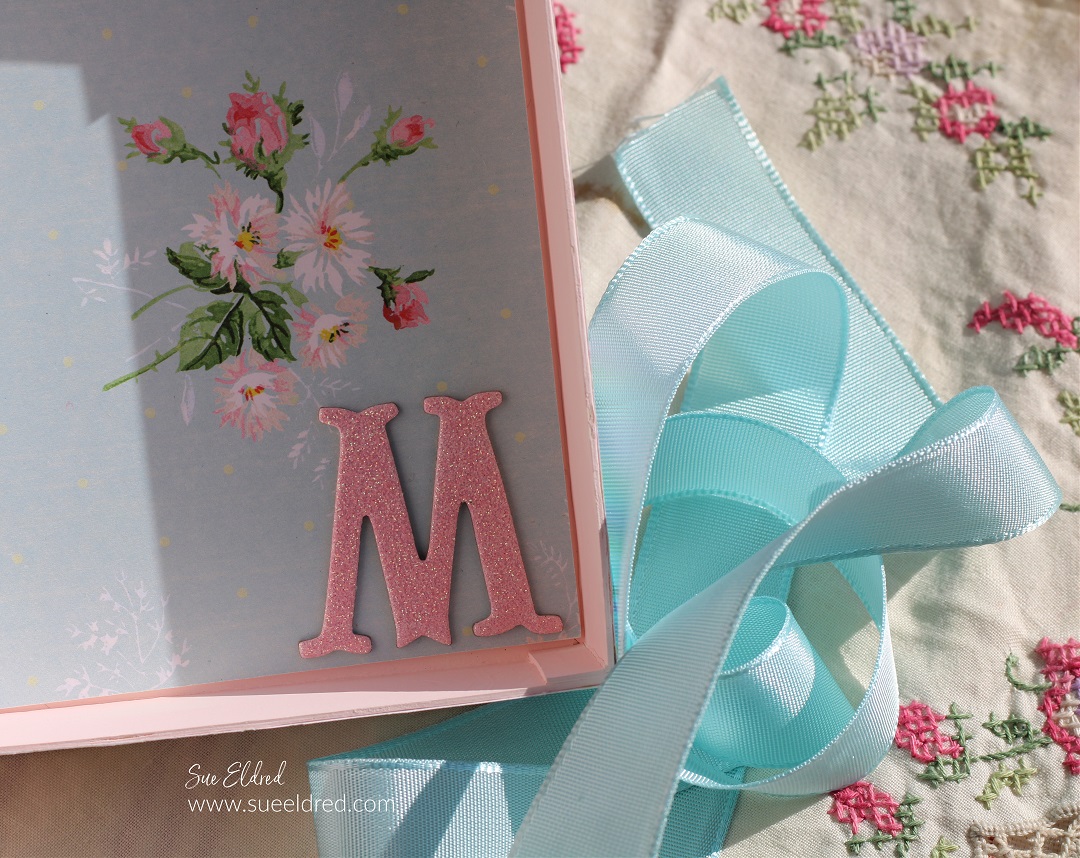
I wanted to share a fun little album that I put together using
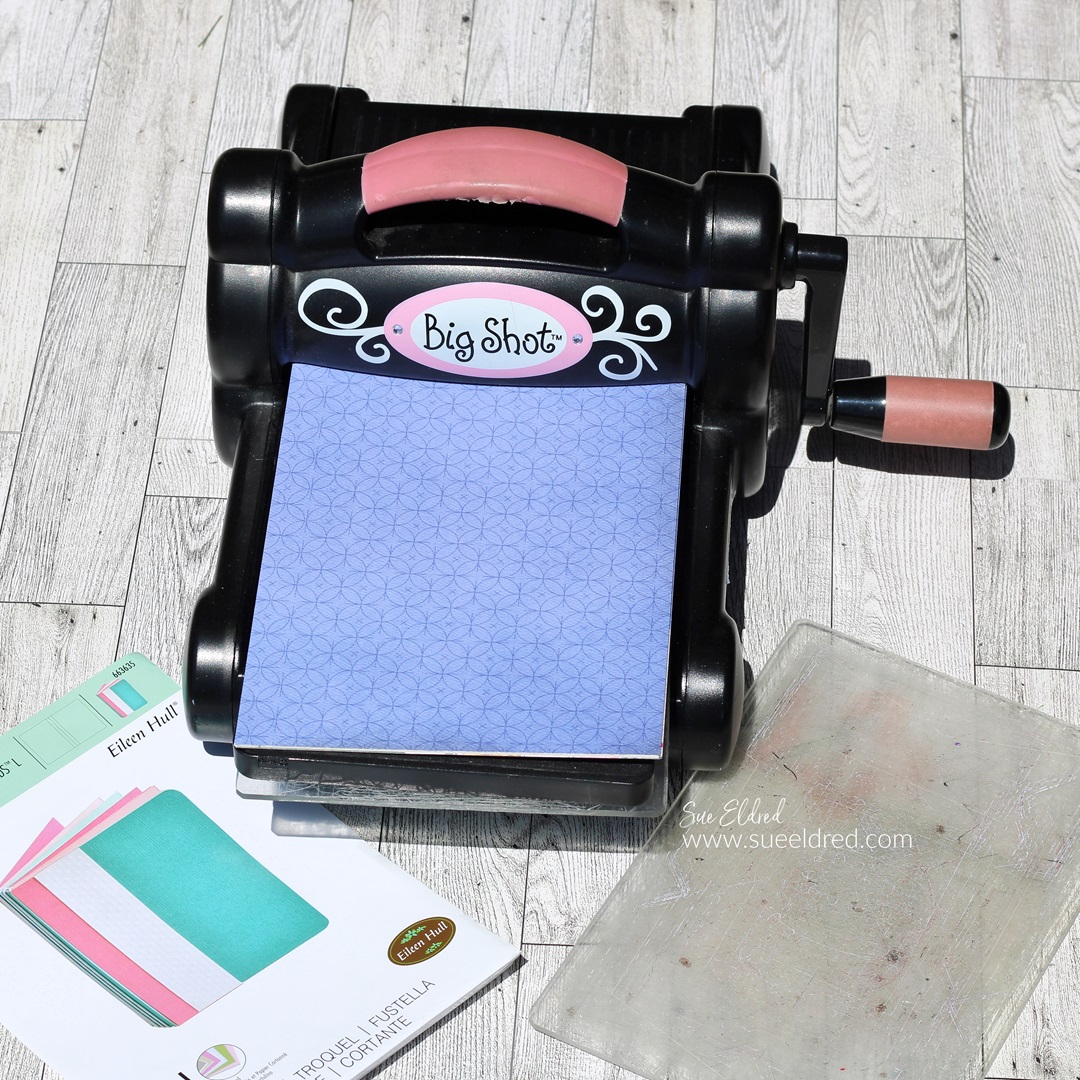
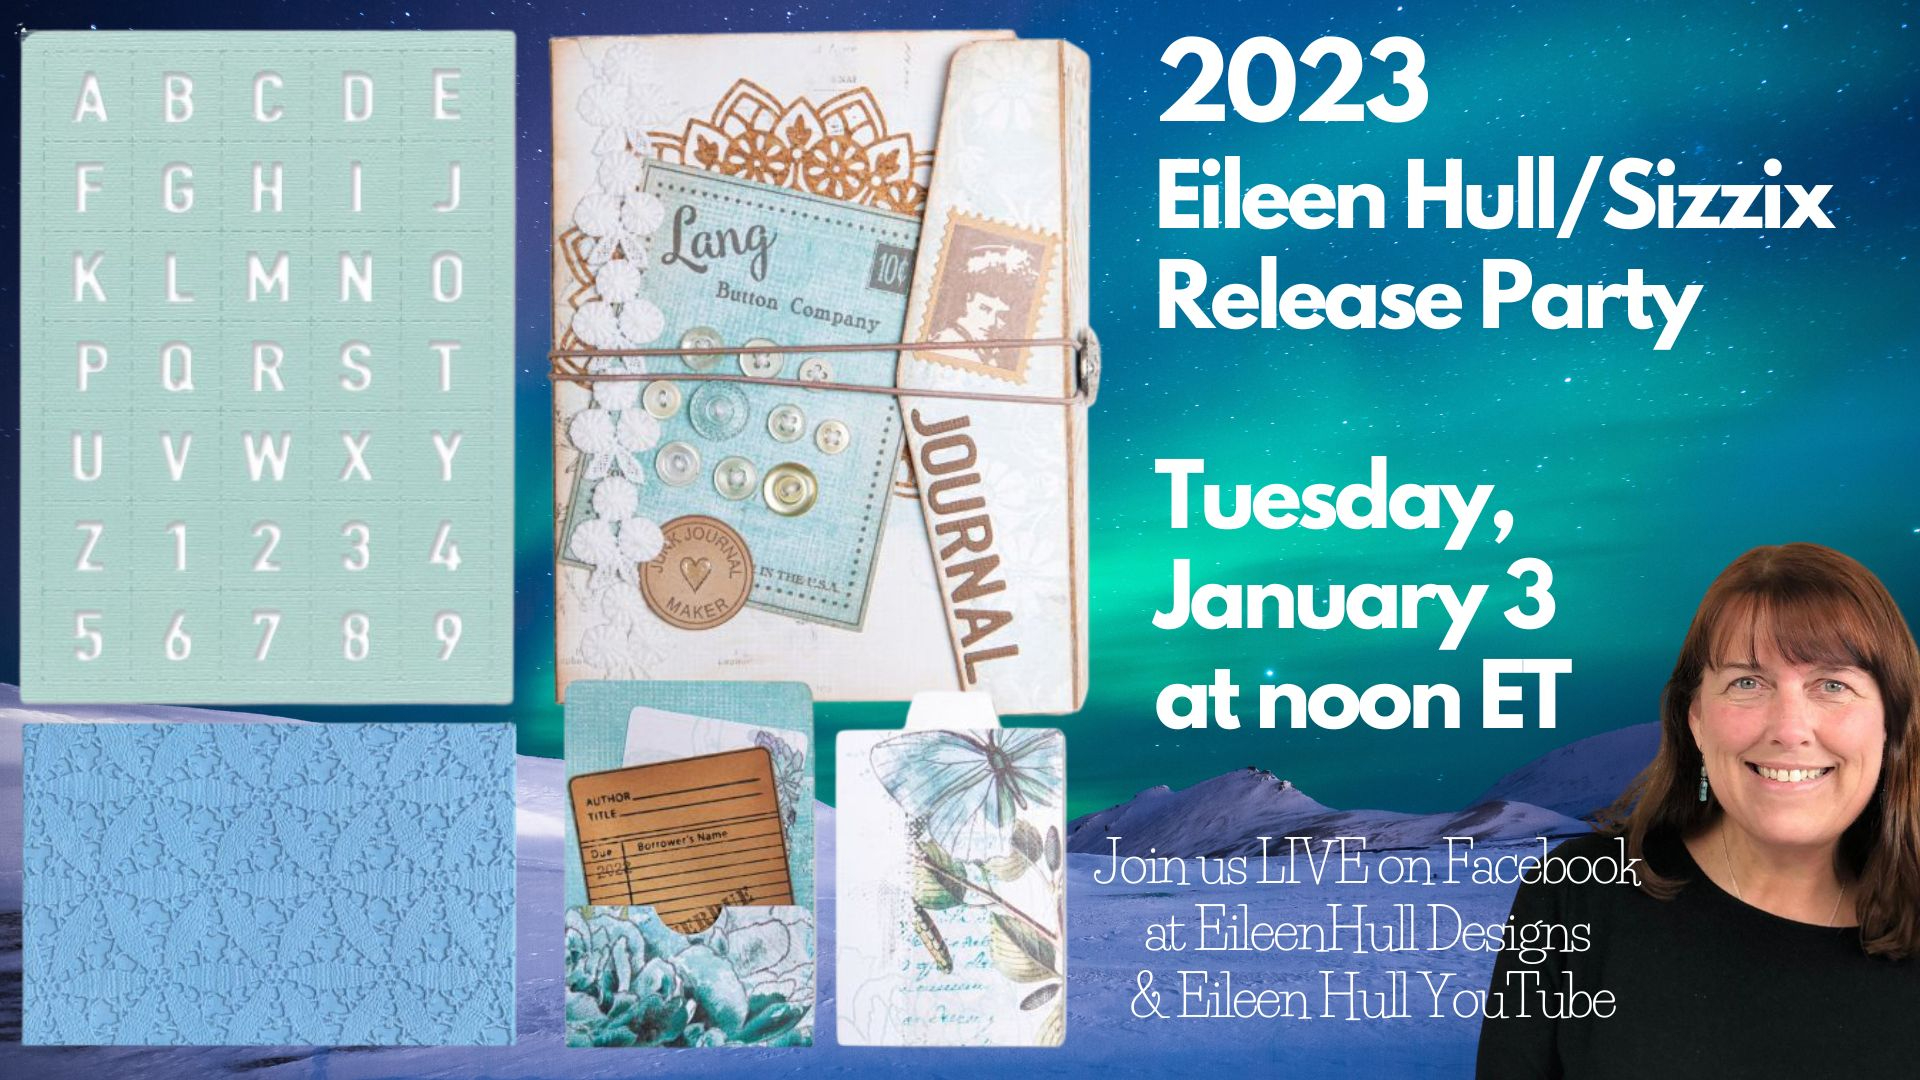
the New Sizzix Hardbound Journal by Eileen Hull* and the
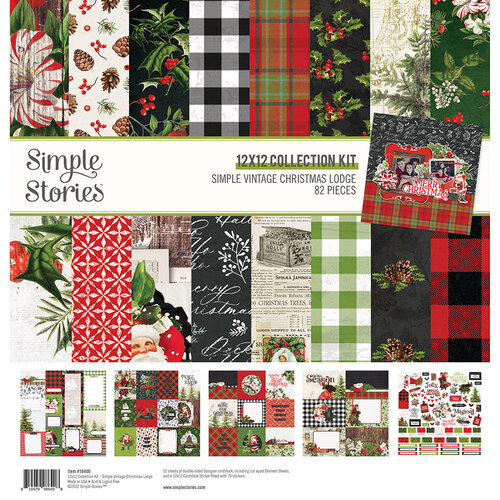
“My Favorite Summer” Scrapbook Collection* by Echo Park.
It’s a simple little album that went together quickly.
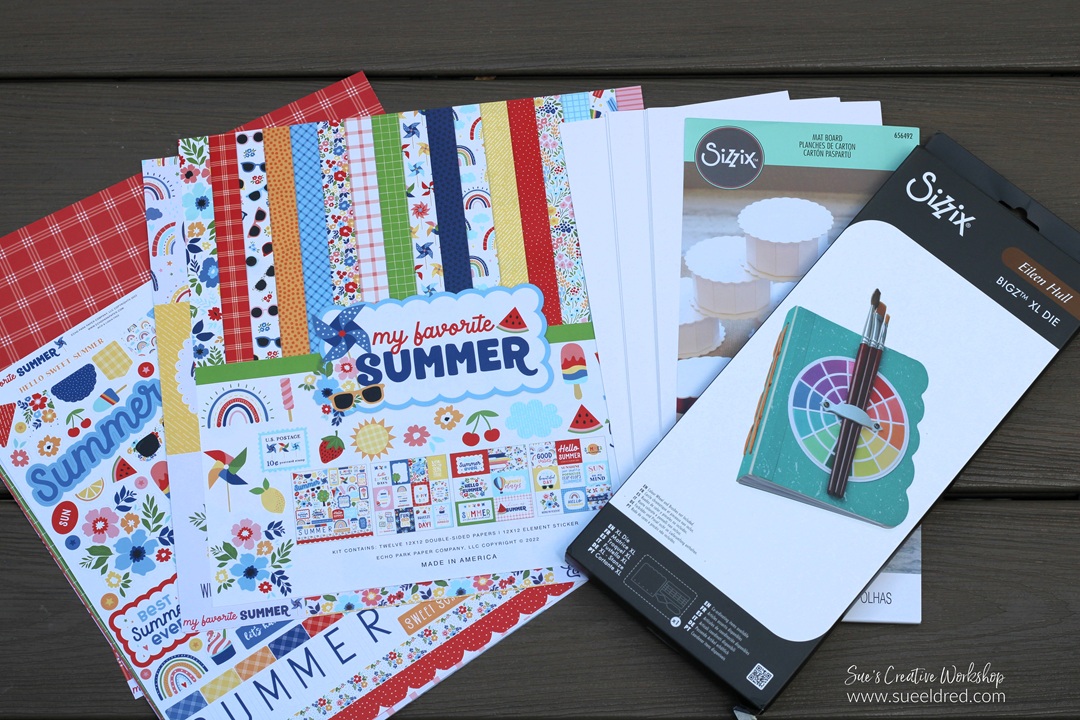
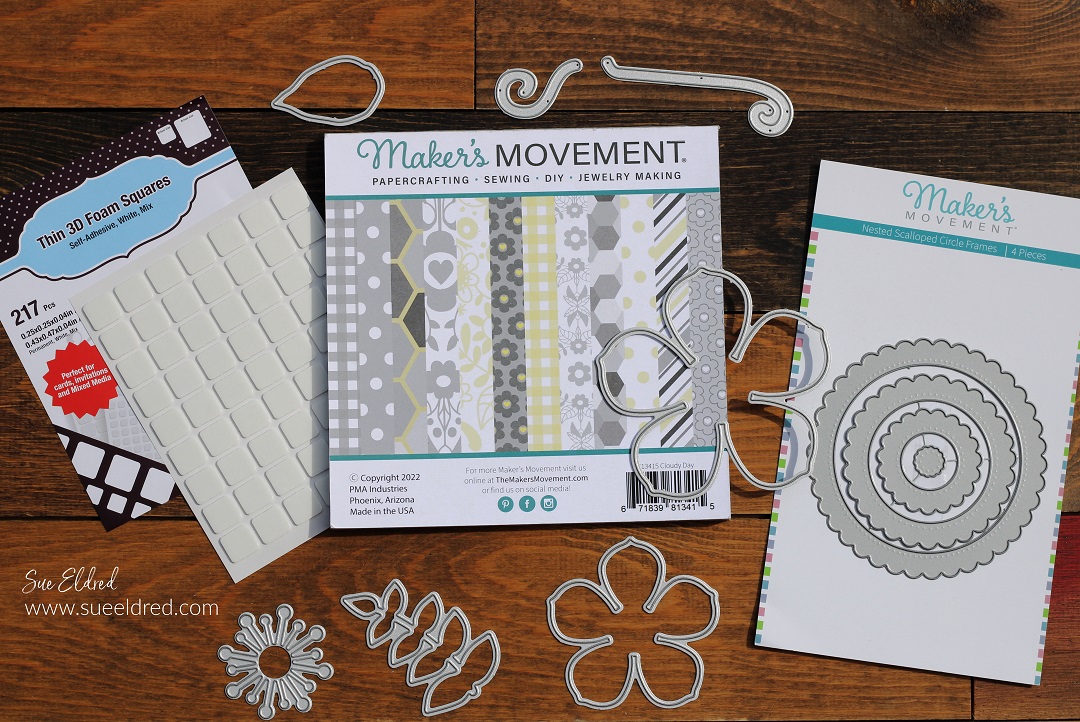
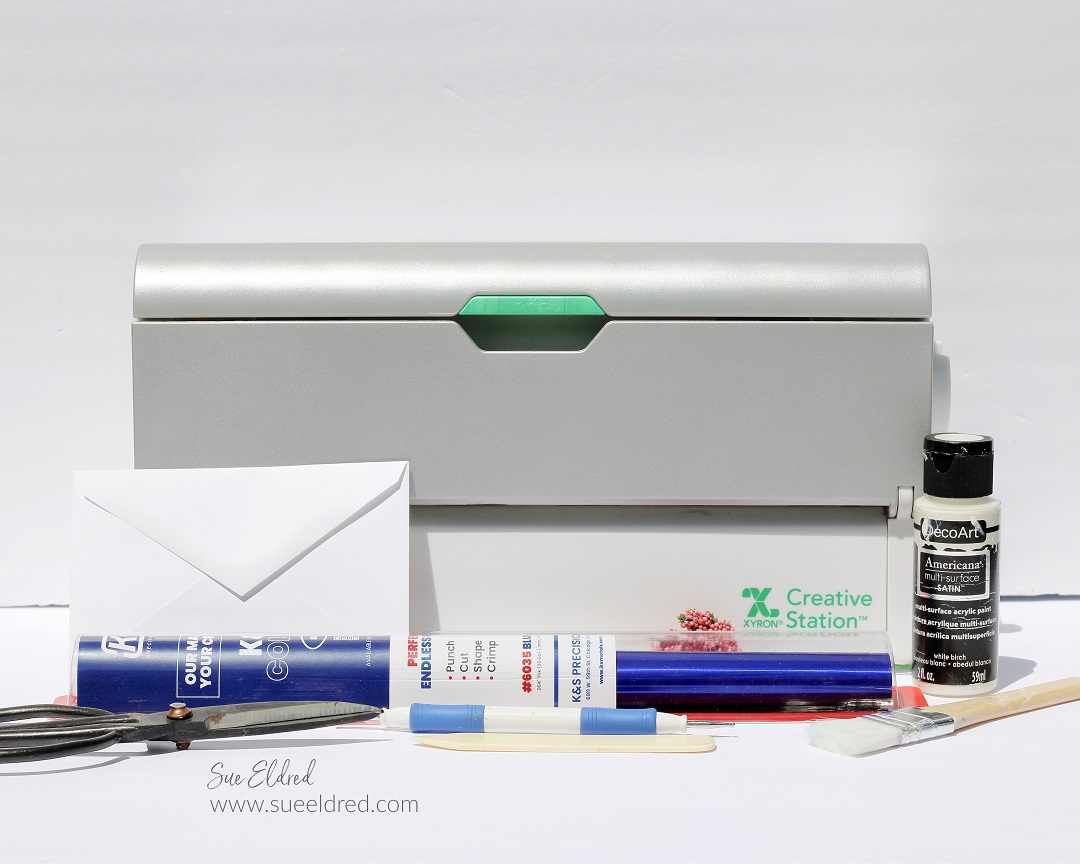
Materials Used: (affiliate links)
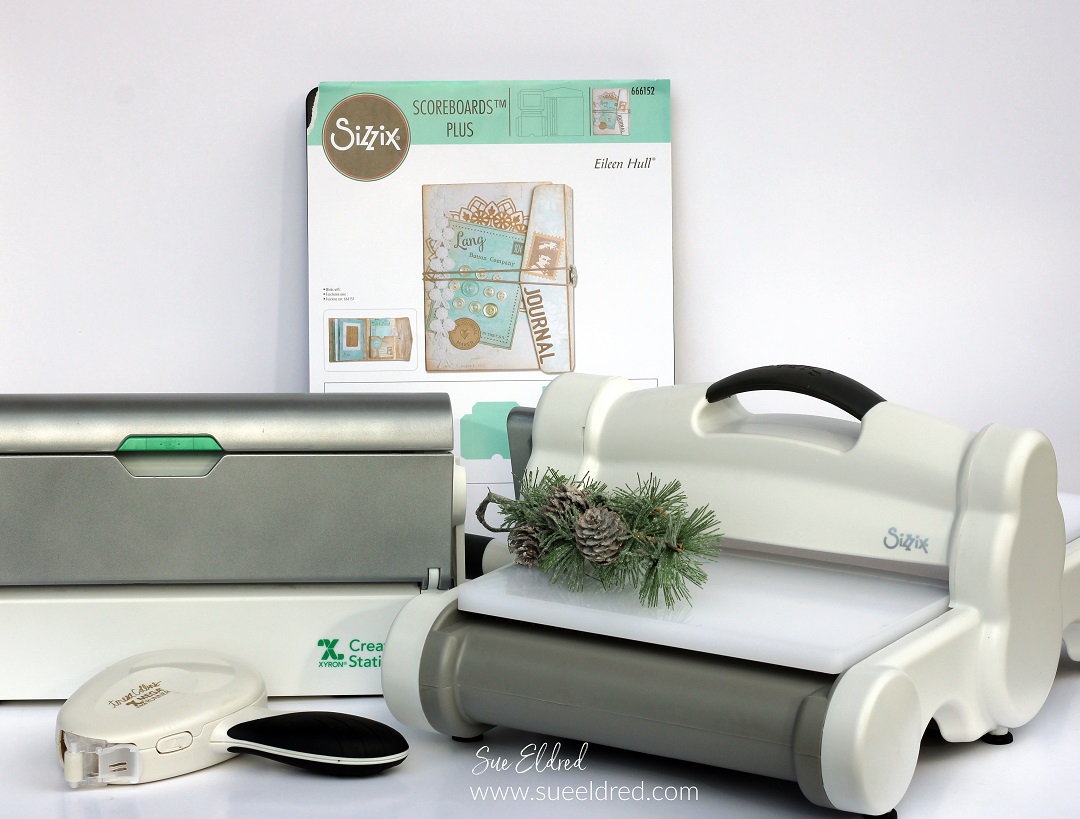
- Sizzix ScoreBoards XL Die – Hardbound Journal by Eileen Hull*
- Echo Park “My Favorite Summer” Scrapbook Collection*
- Sizzix Matboard*
- Sizzix Big Shot Die-Cutting Machine*
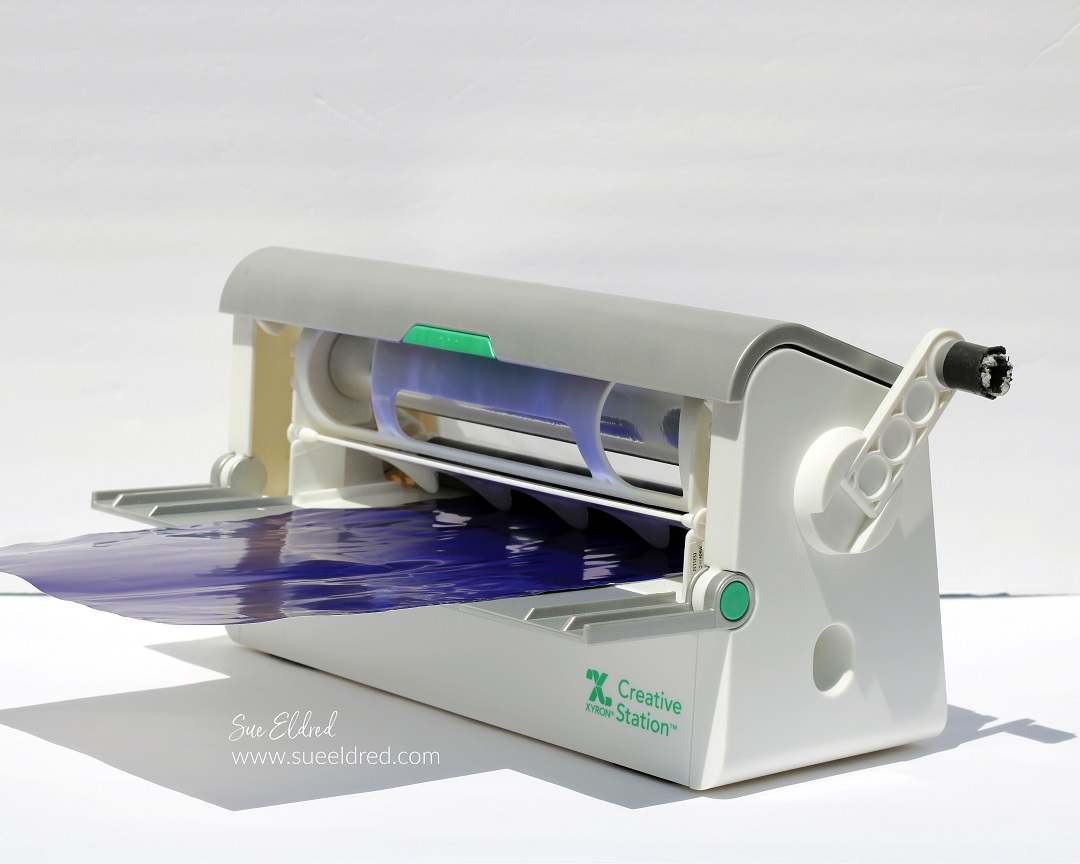
- Xyron Creative Station*
- Scor-tape*

*Disclosure: This blog uses ads and affiliate links. If you choose to make a purchase using one of the links, I receive a small commission (at no additional cost to you) that helps offset the costs of maintaining this blog. Thanks for your support!
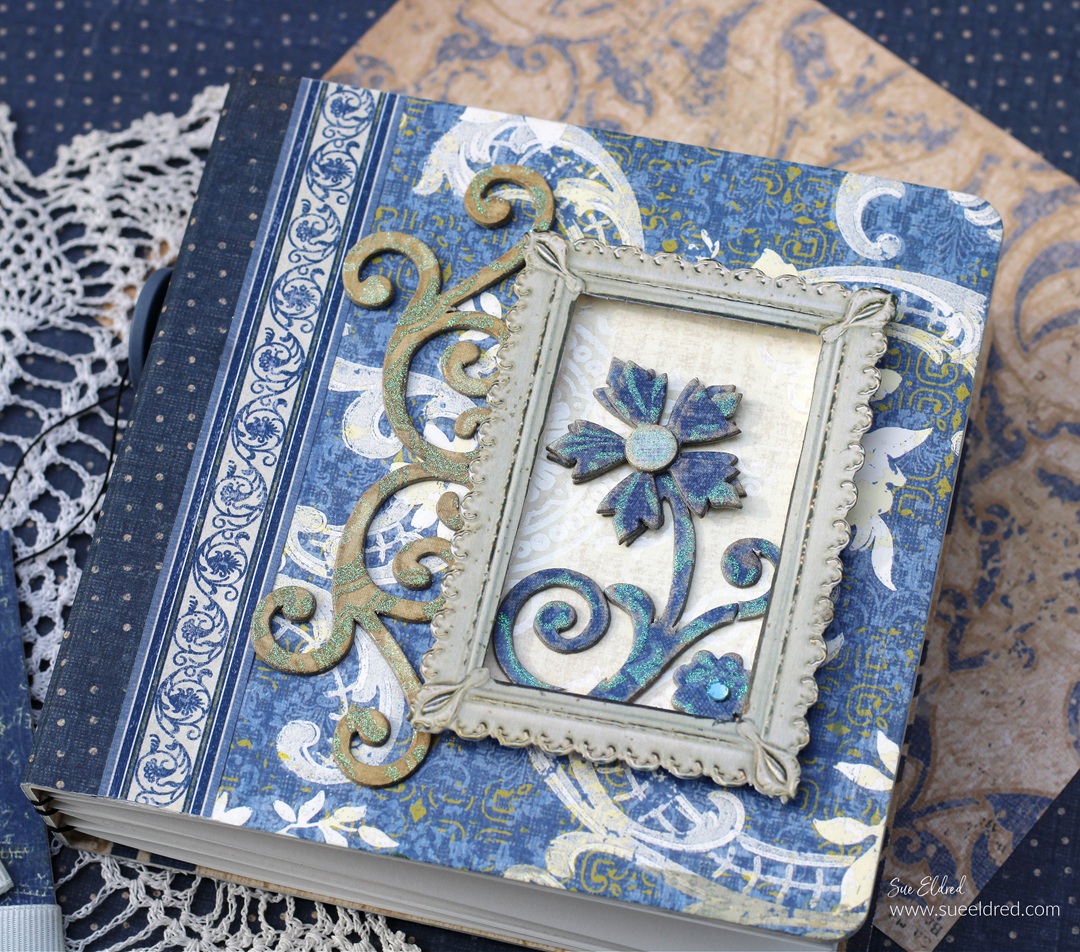
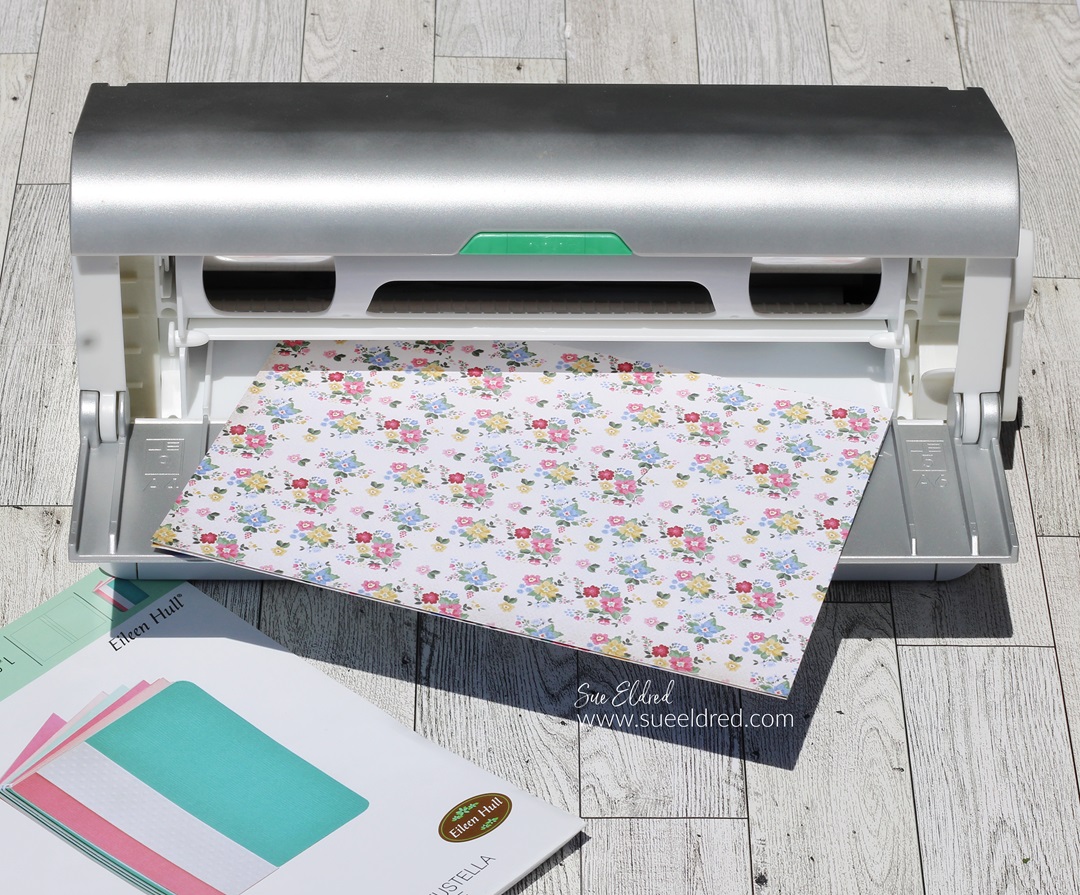
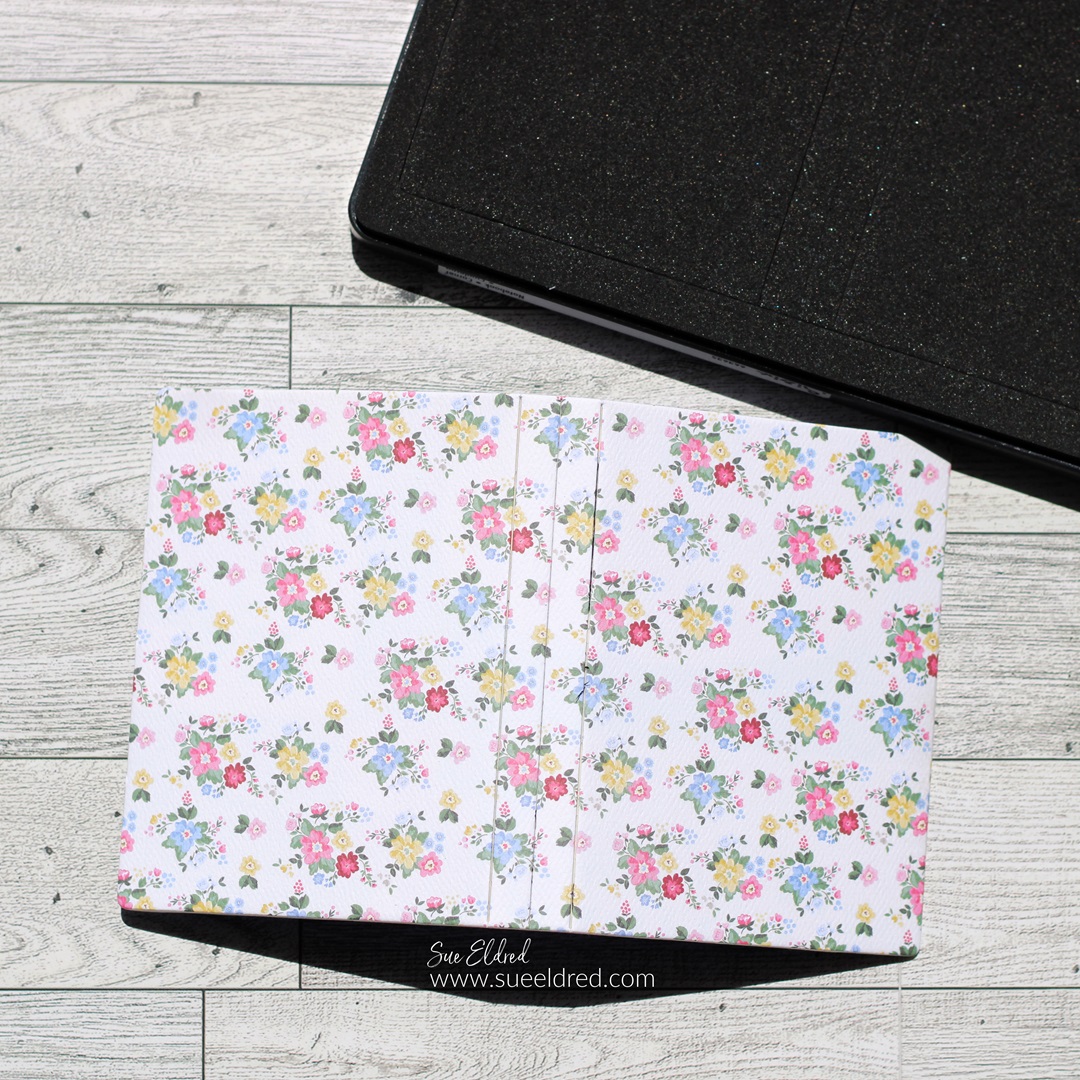
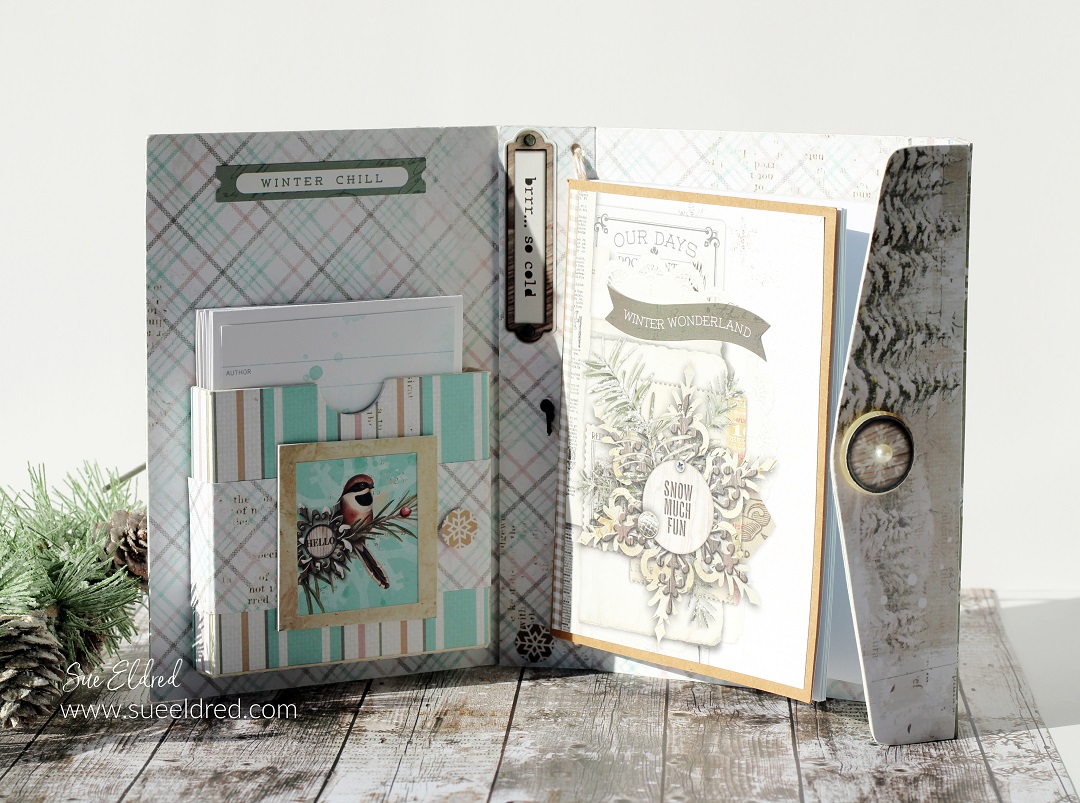
- I used the Xyron Creative Station* to add adhesive to the back of my scrapbook paper before adhering it to both sides of the Matboard*.
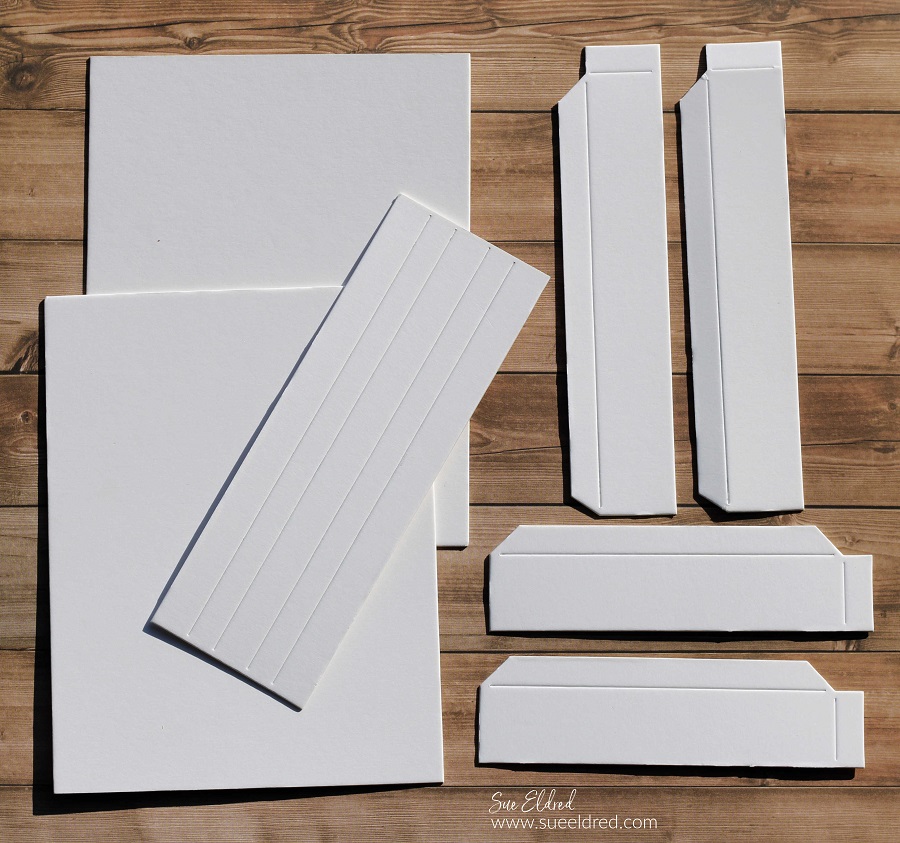
- I die-cut the pieces of the album using the Sizzix ScoreBoards XL Die – Hardbound Journal by Eileen Hull* and the Sizzix Big Shot Die-Cutting Machine*.
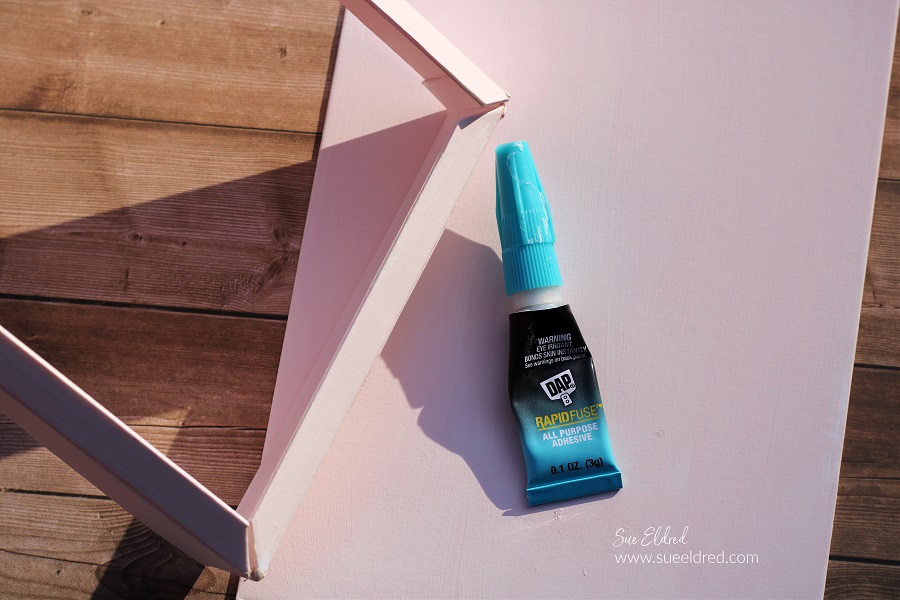
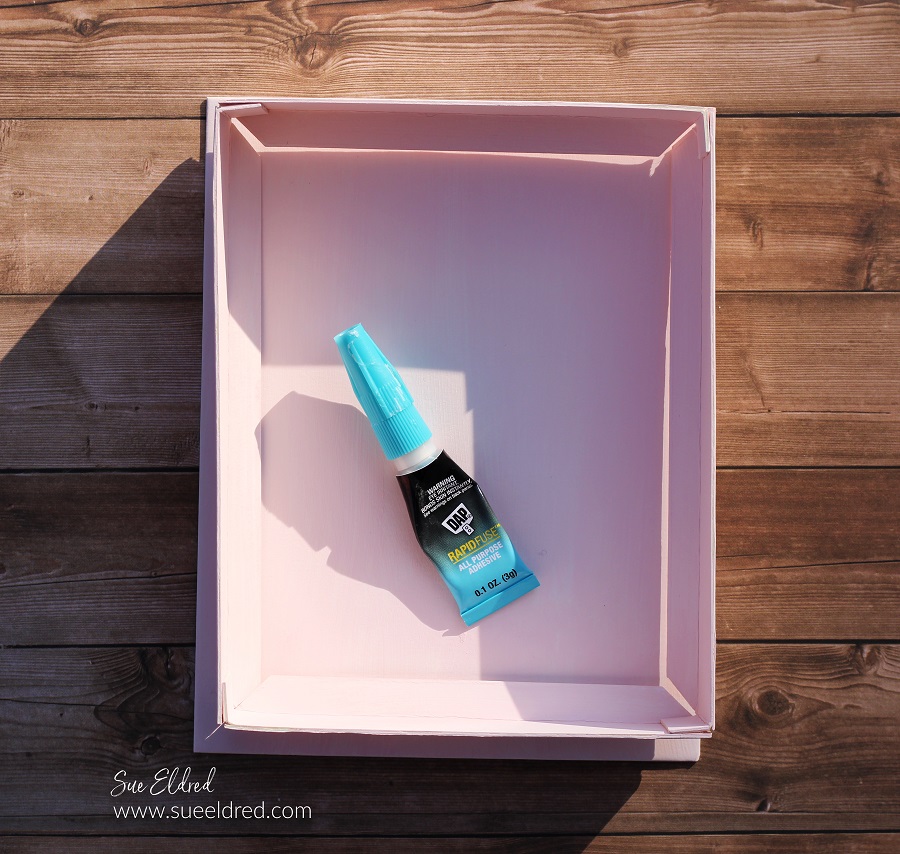
- I used Scor-tape* to adhere the sides to the spine.

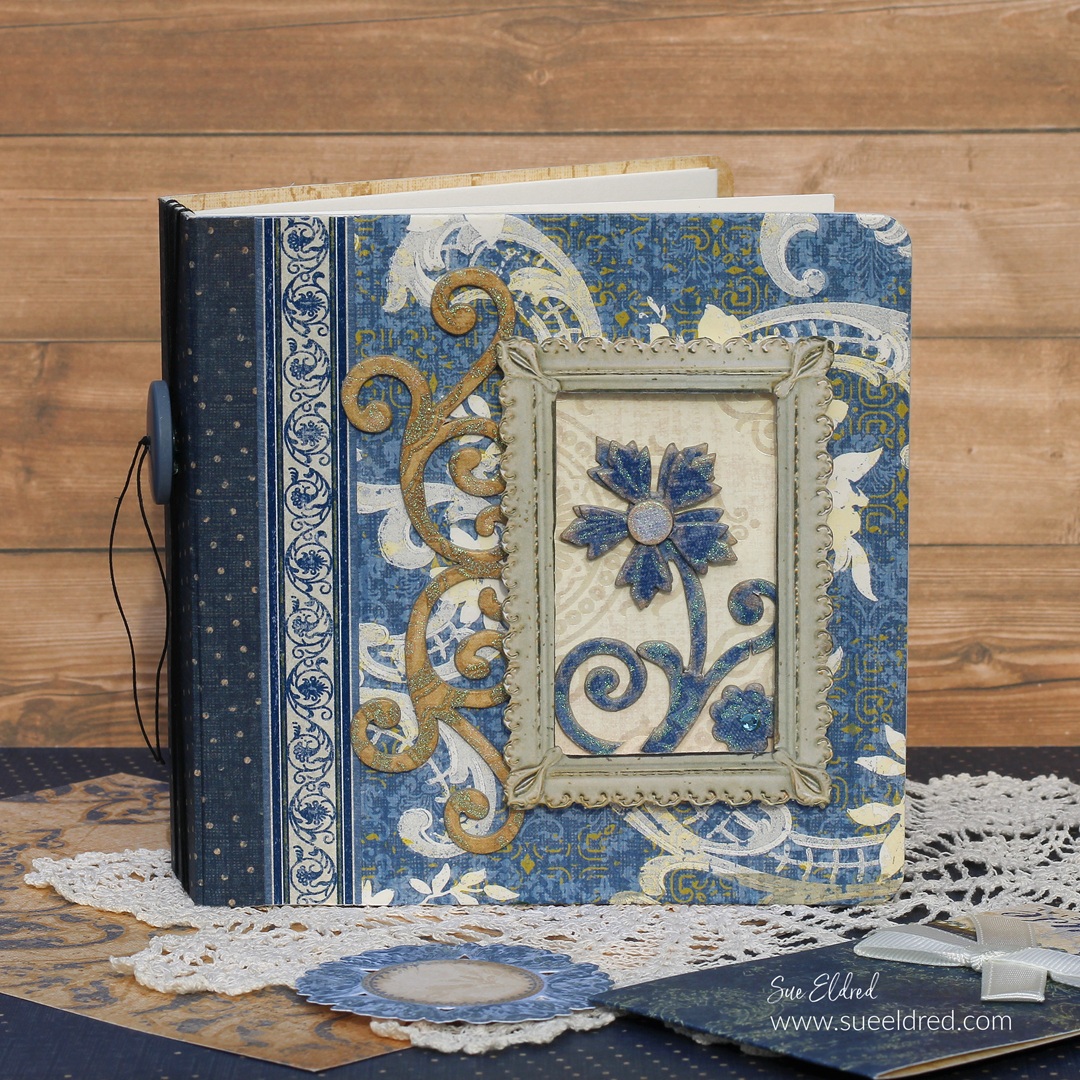
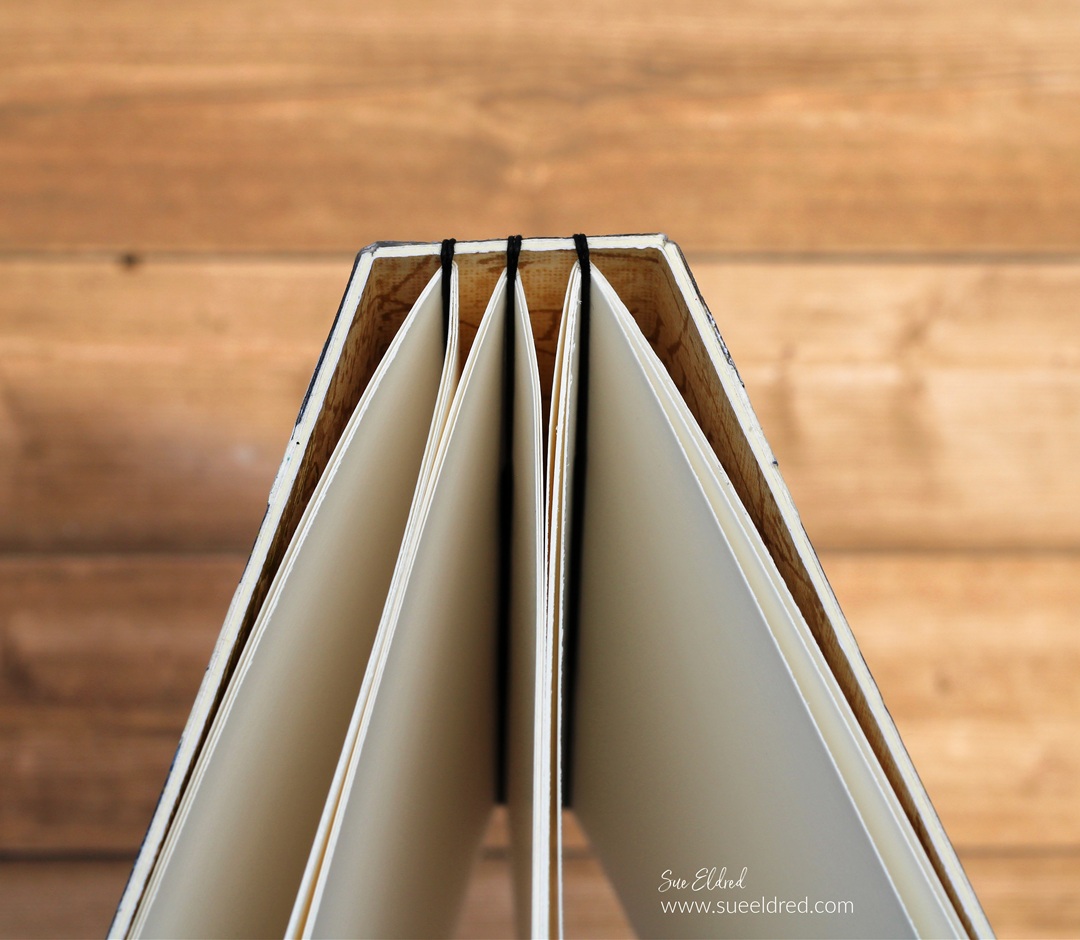
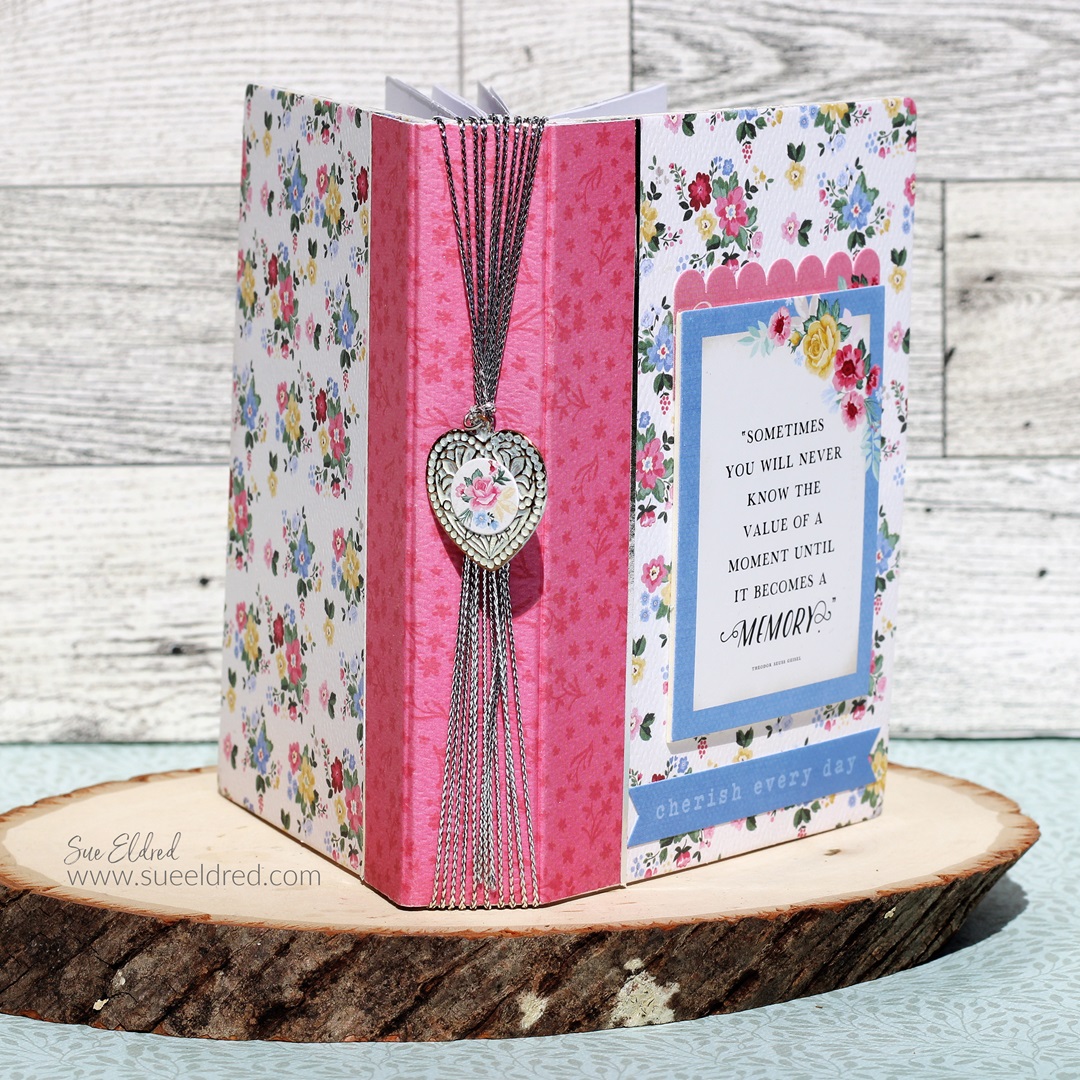
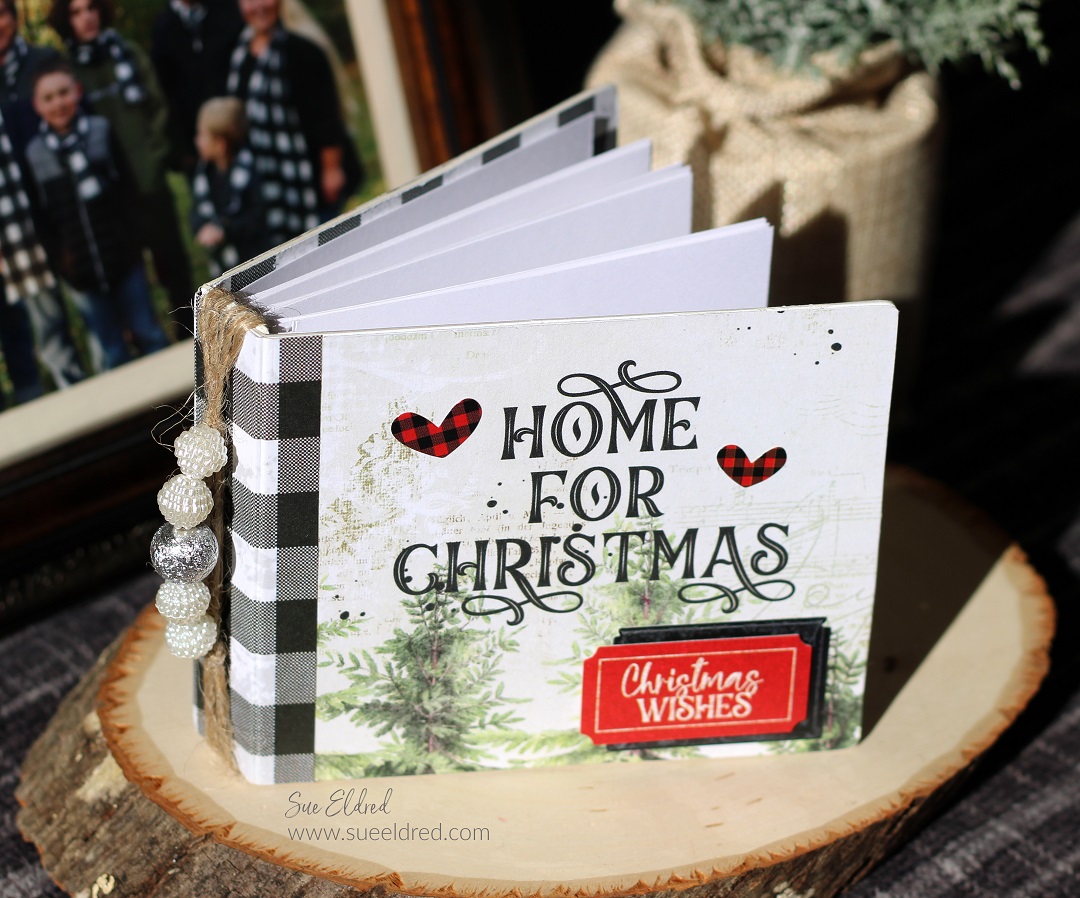
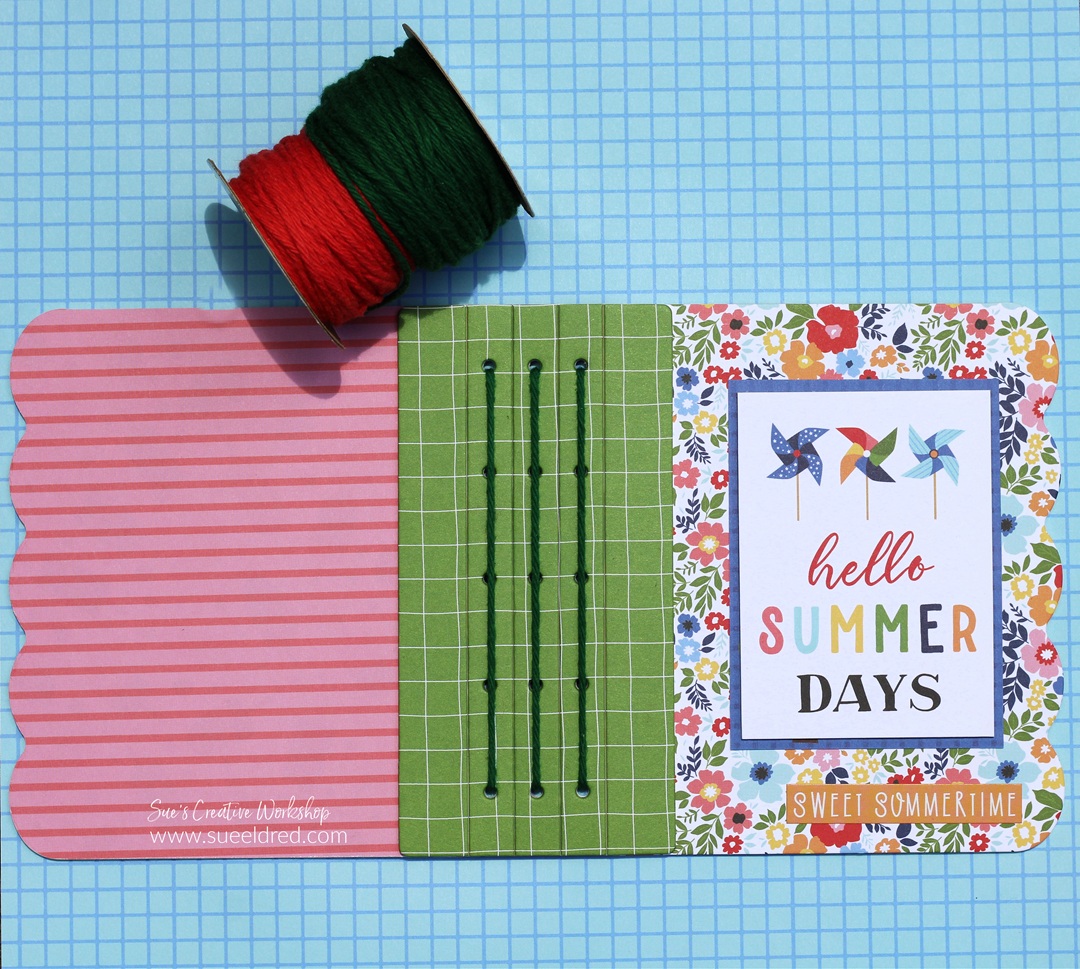
- I used twine and looped it through the top and bottom holes.
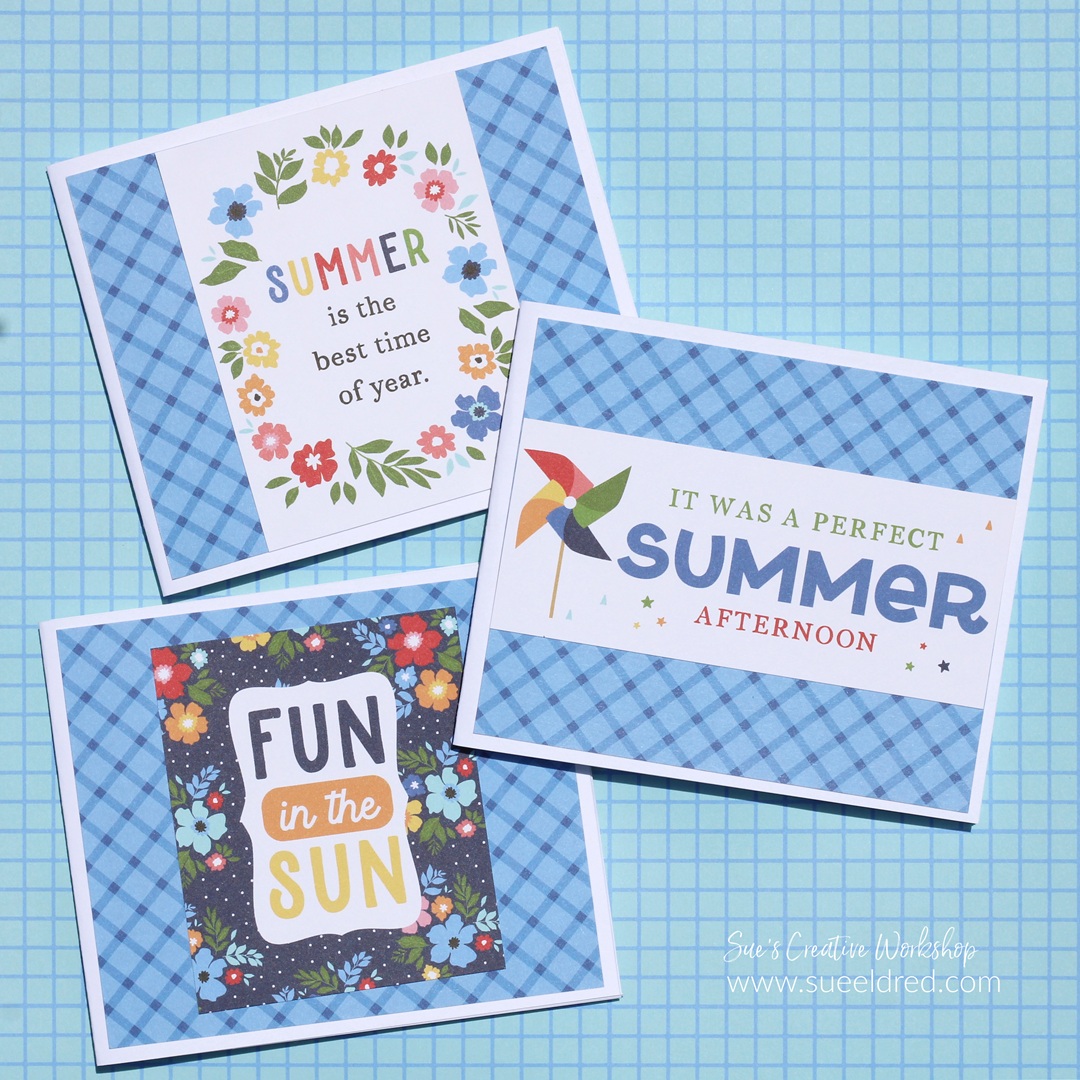
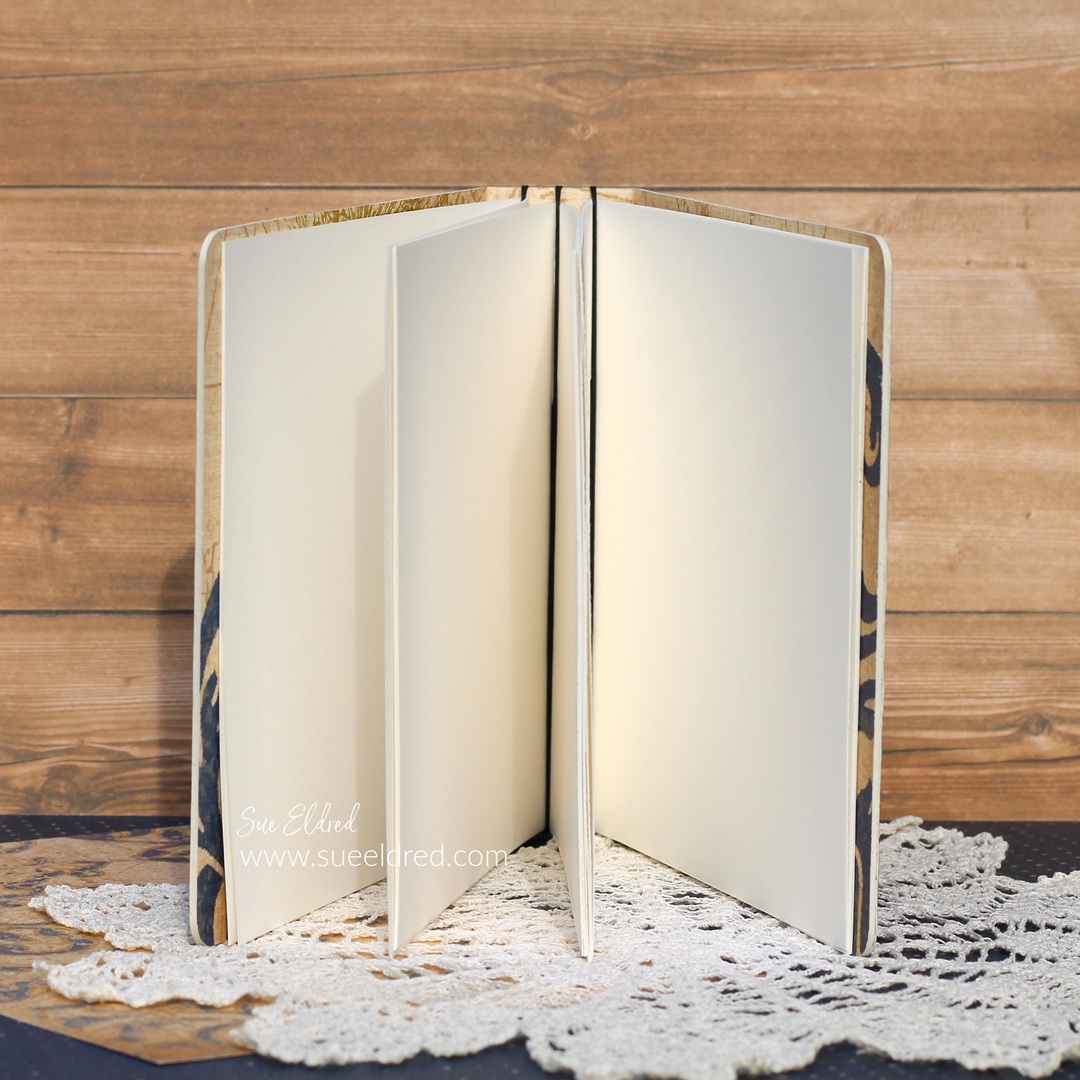
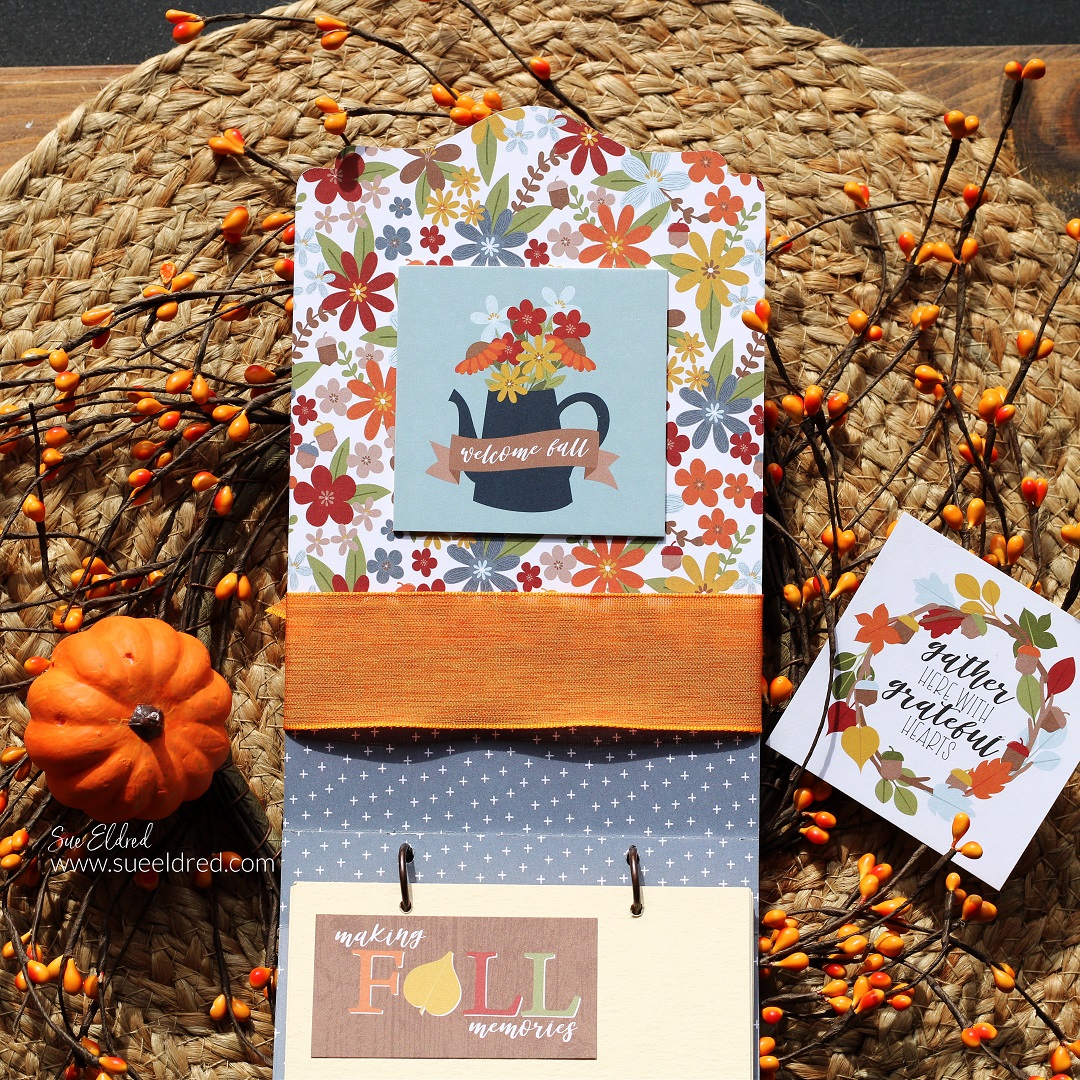
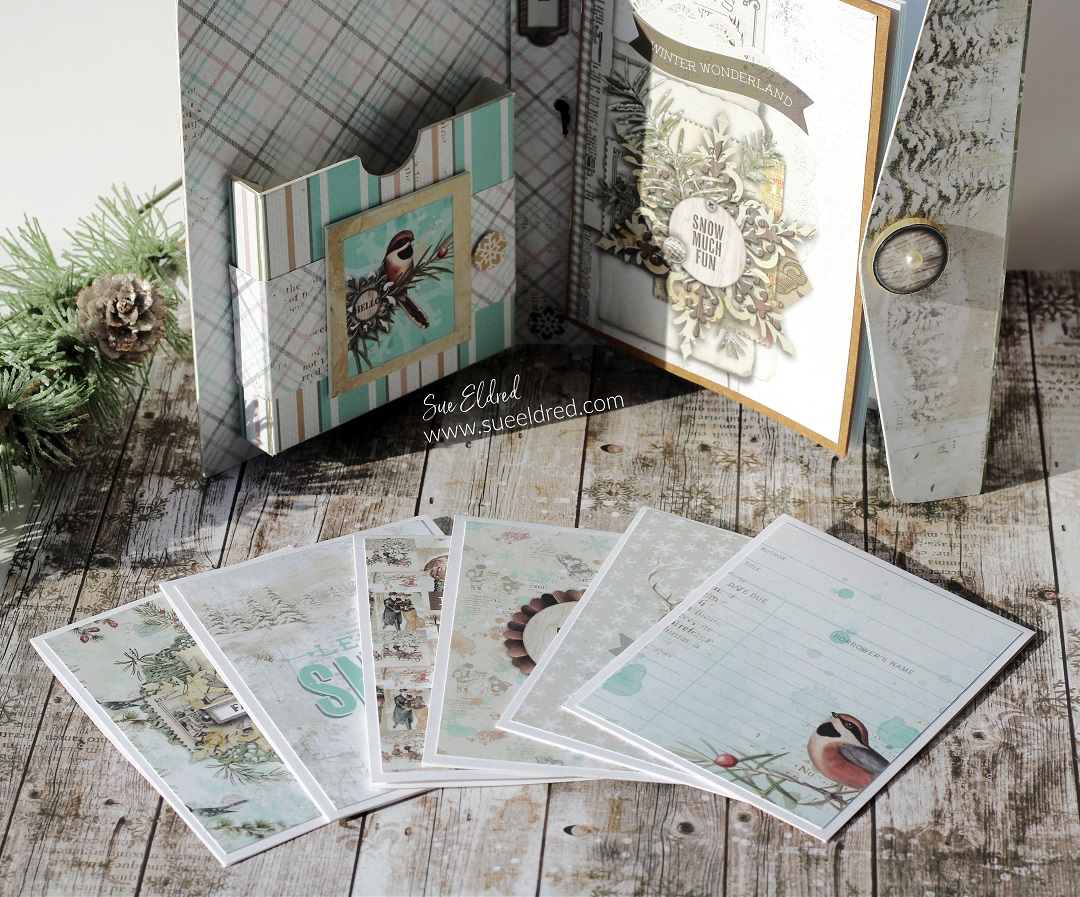
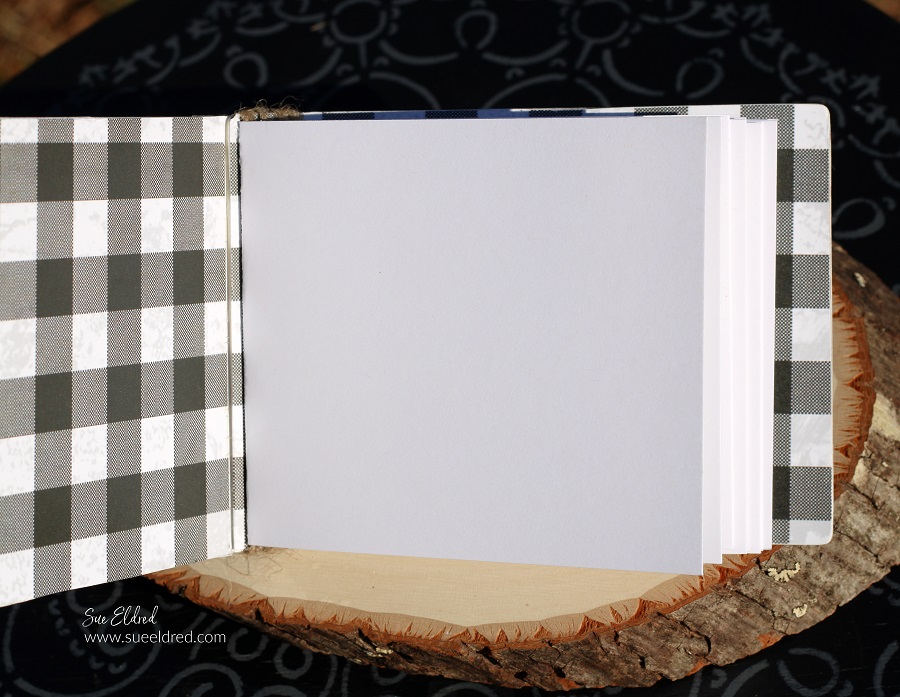
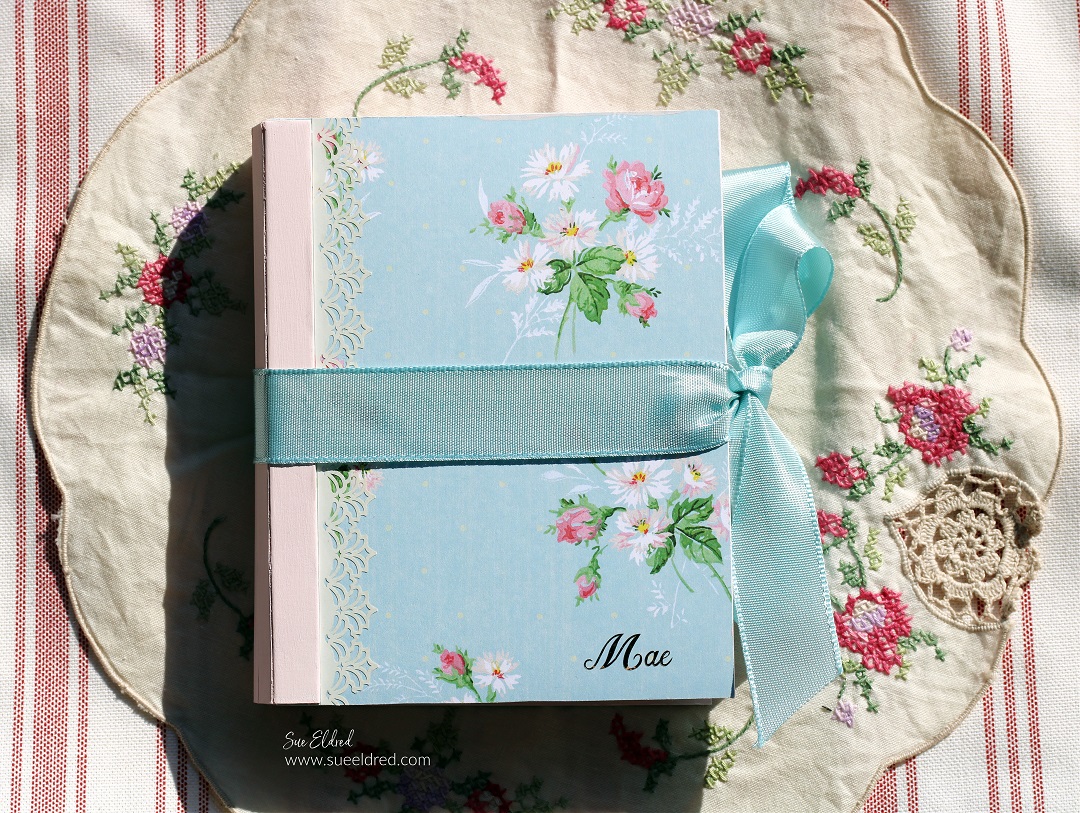
- I made three little “signature books” to add to the inside of the album.
- The book measured 4 1/4″ x 5″.
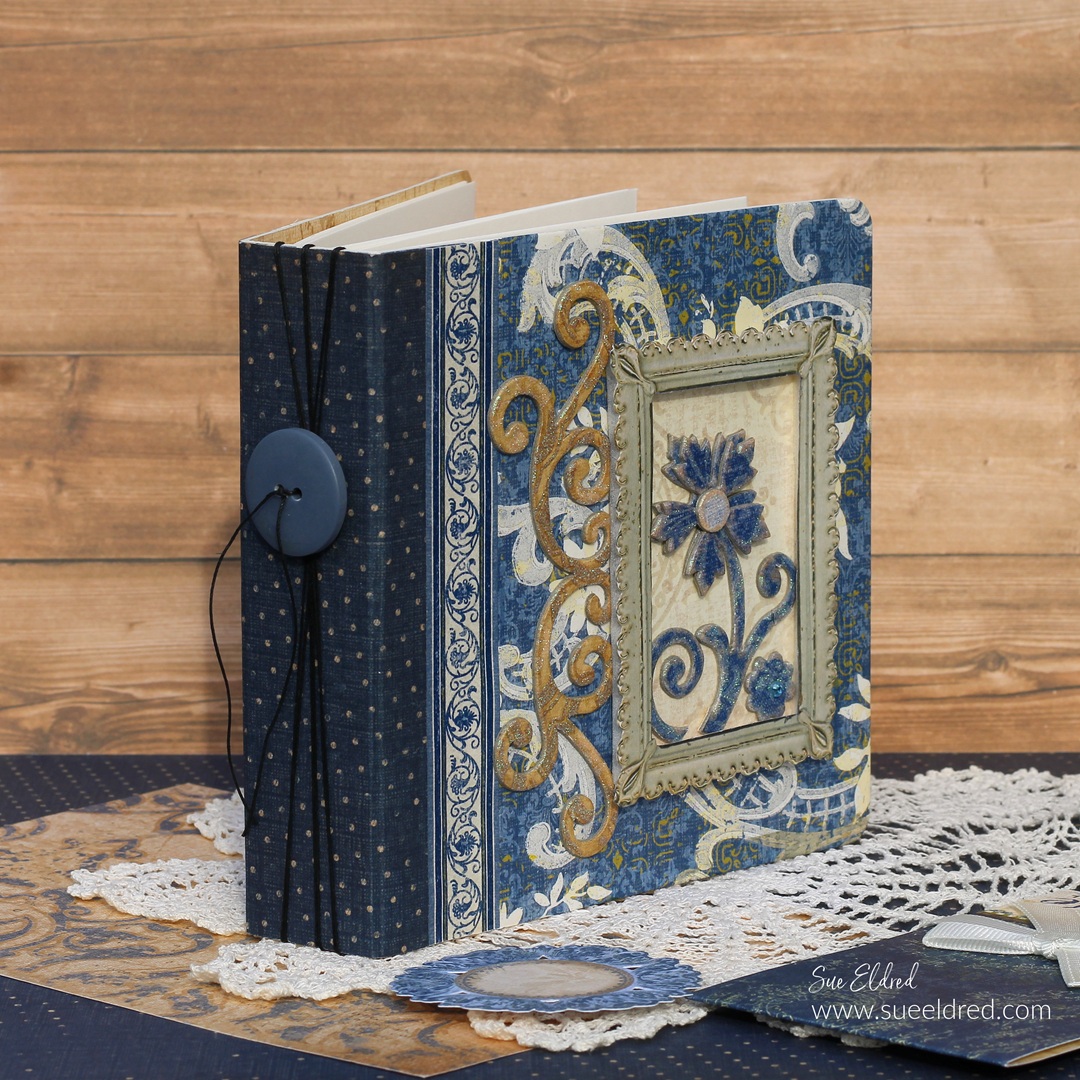
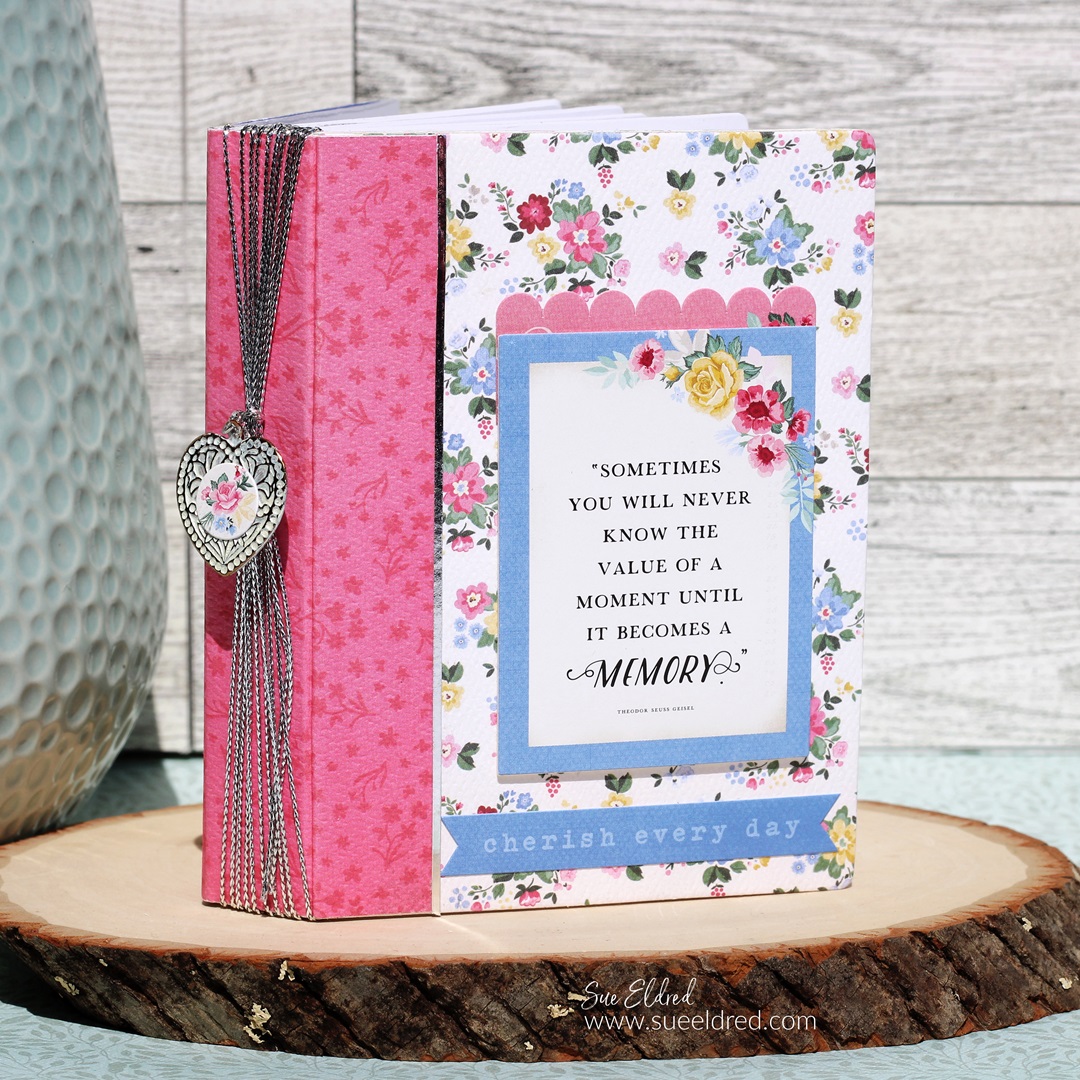
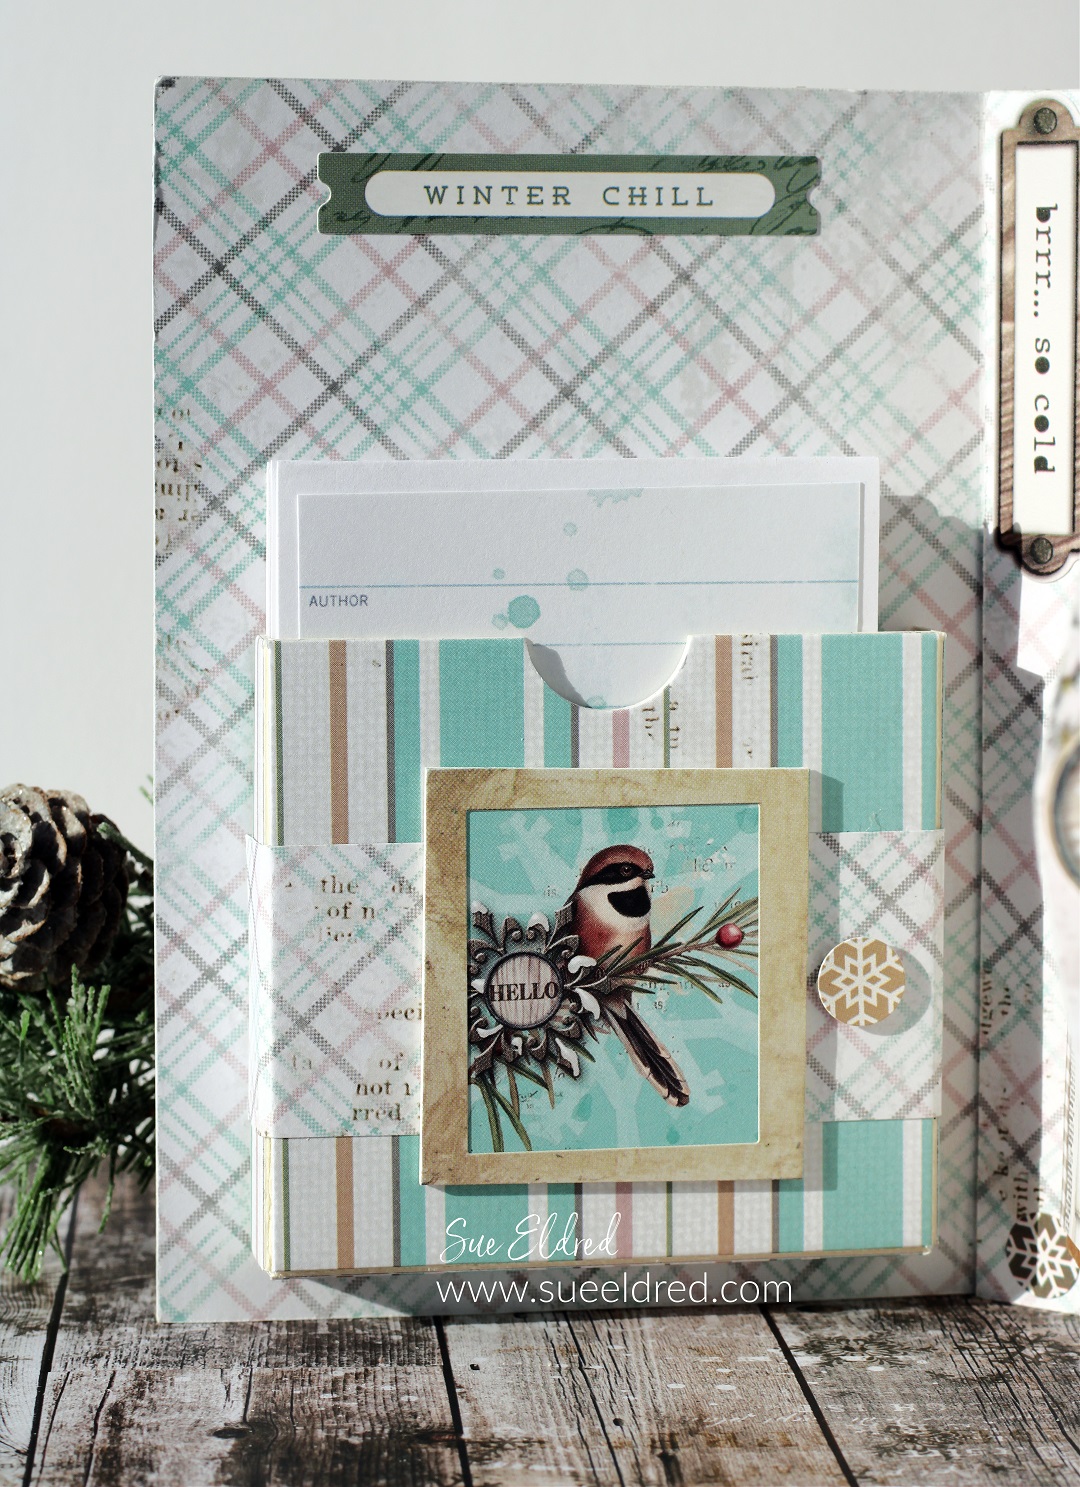
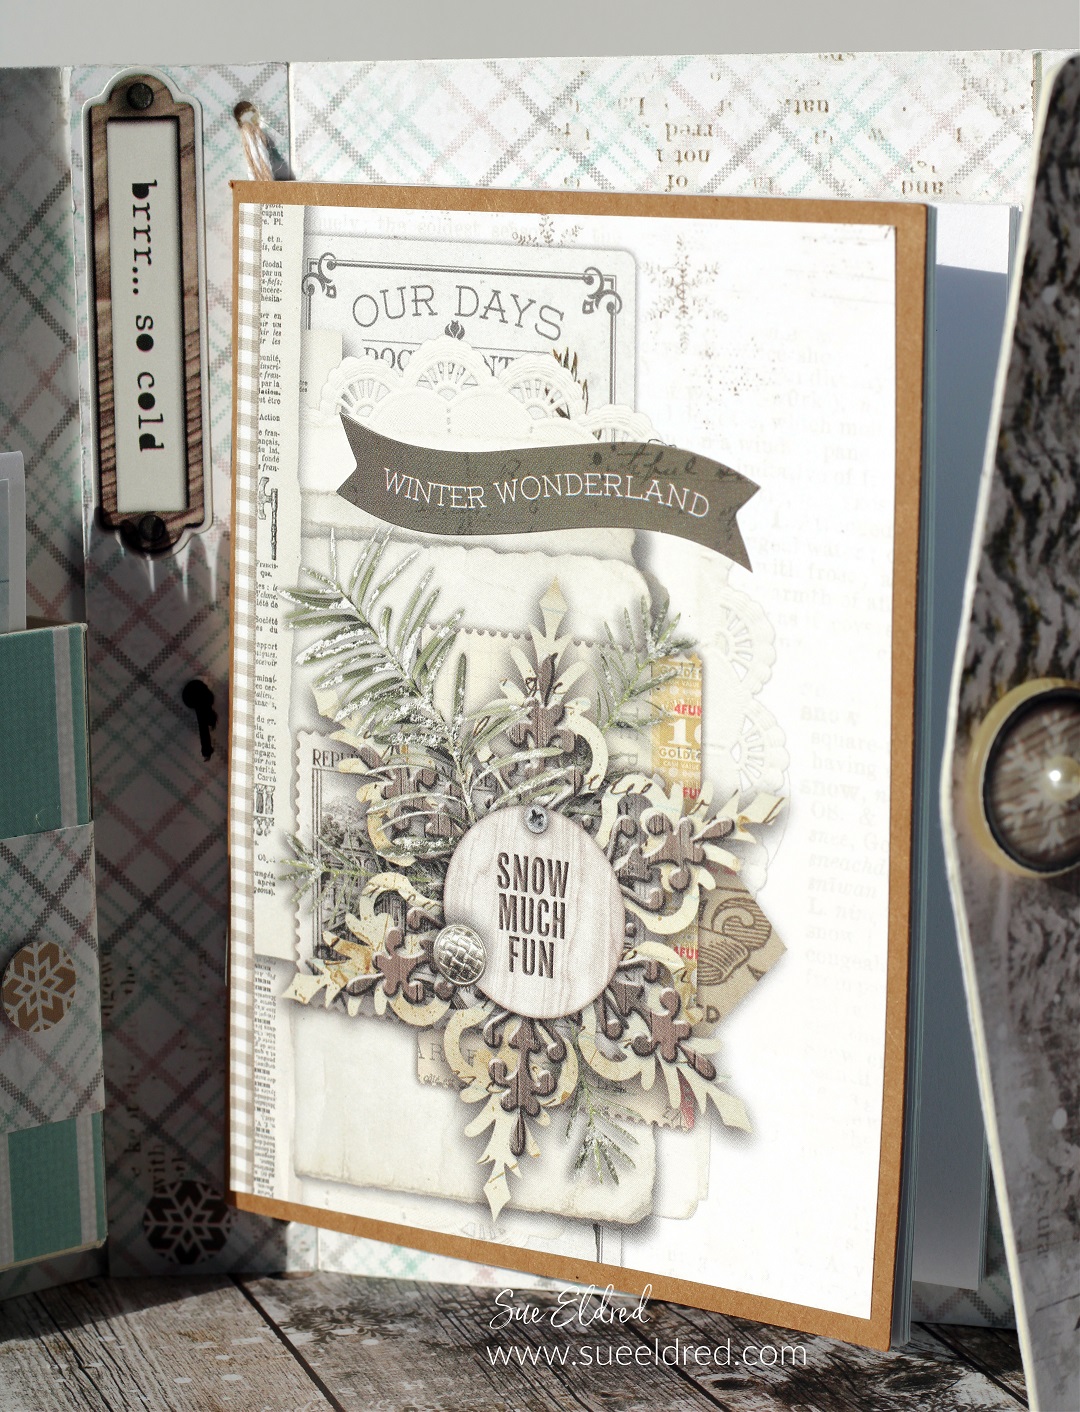
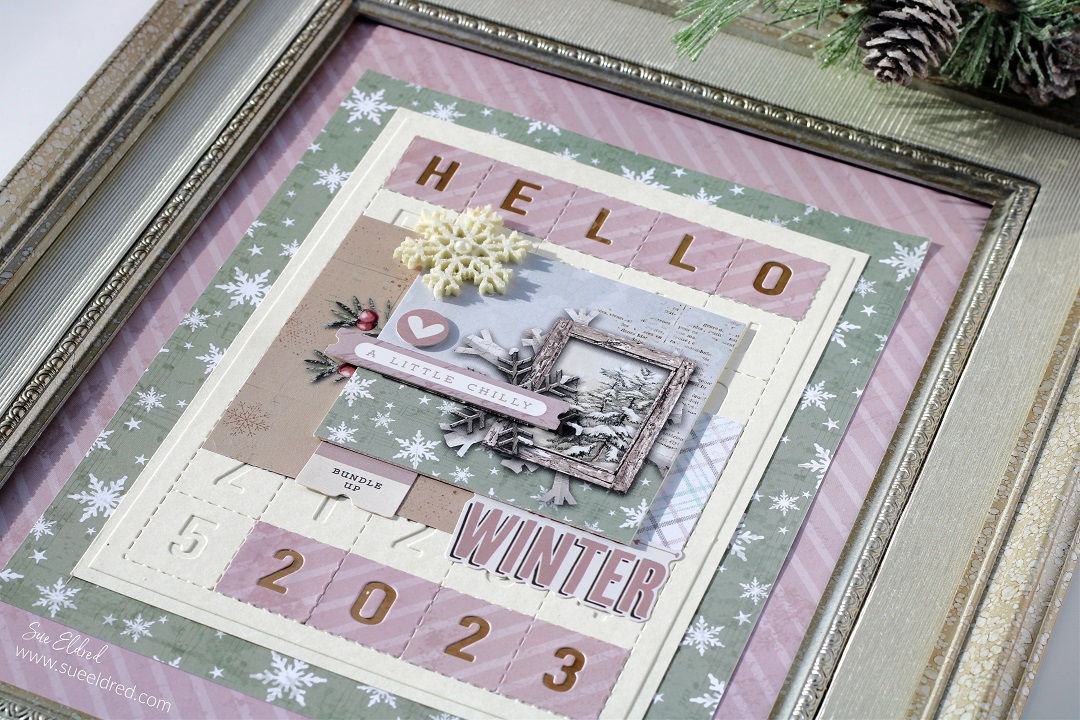
- I decorated the books with the Echo Park “My Favorite Summer” Scrapbook Collection*.
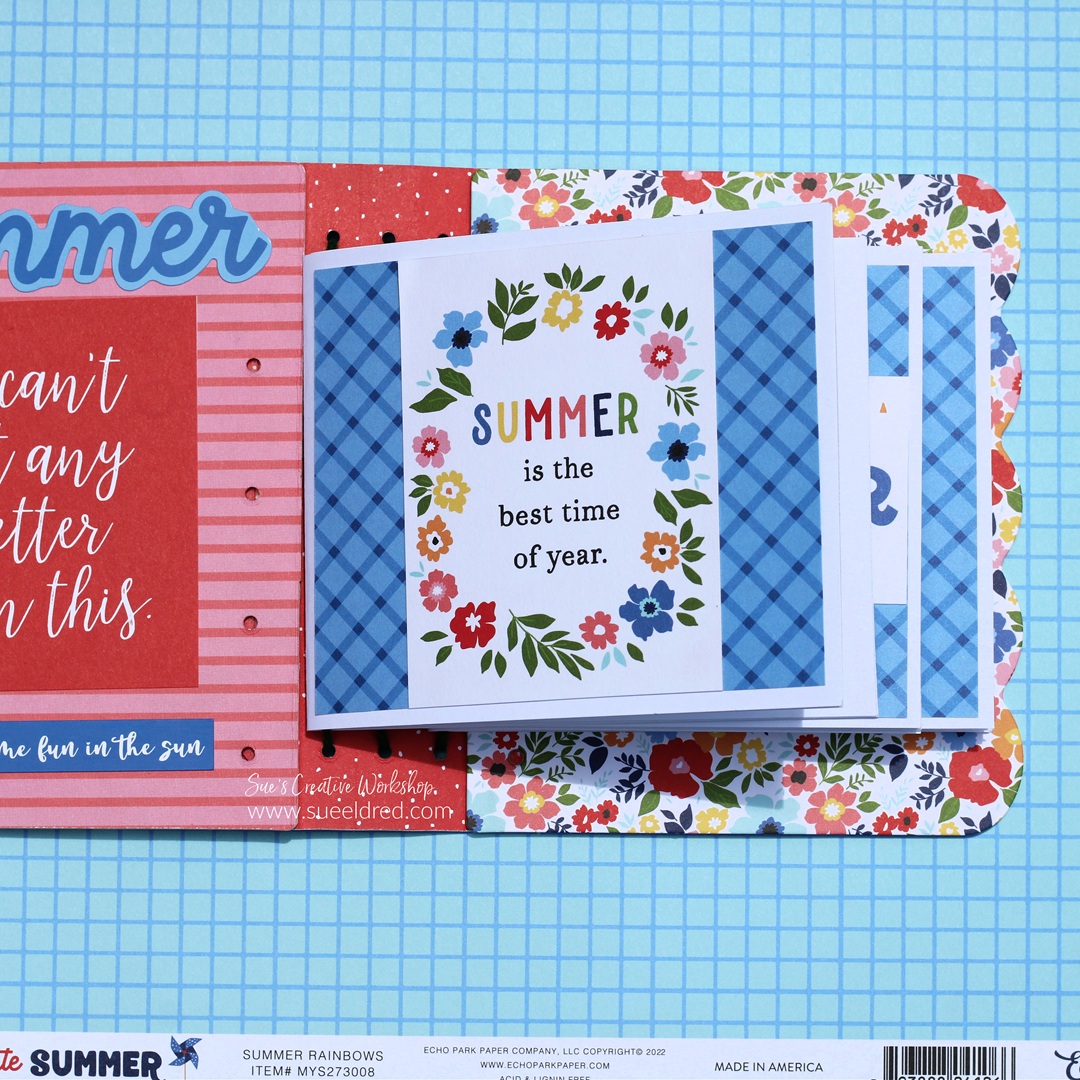
- Slide the little books onto the twine.
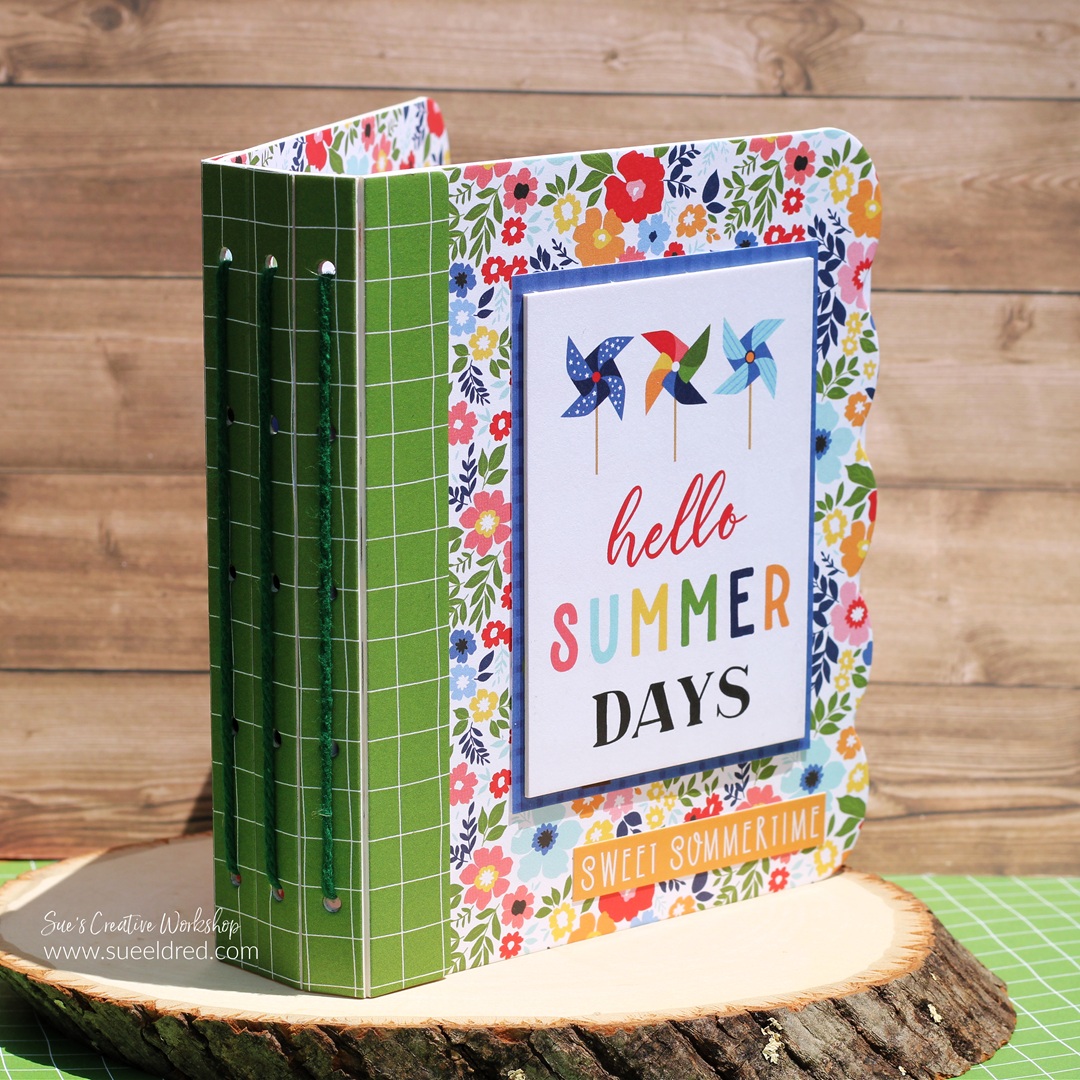
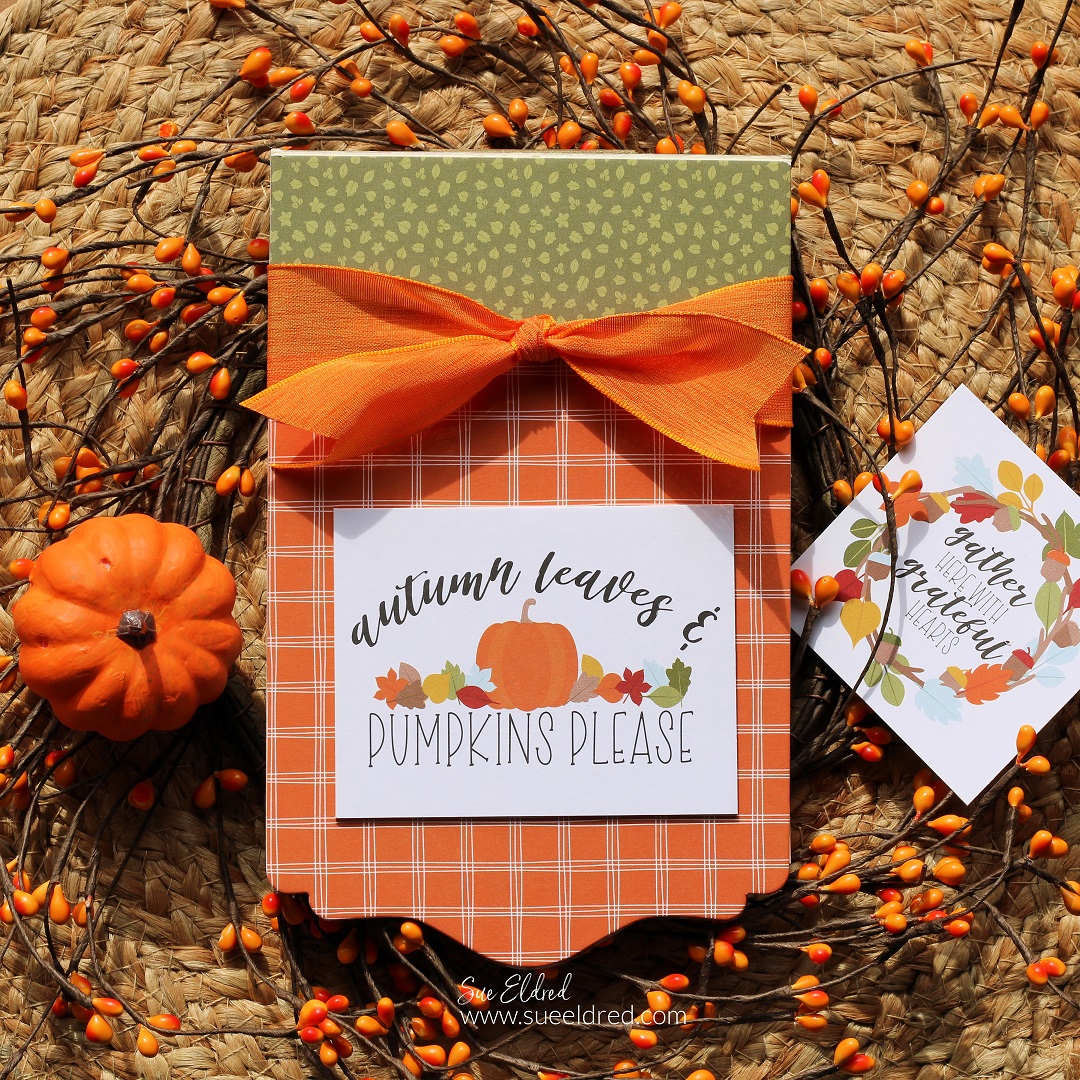
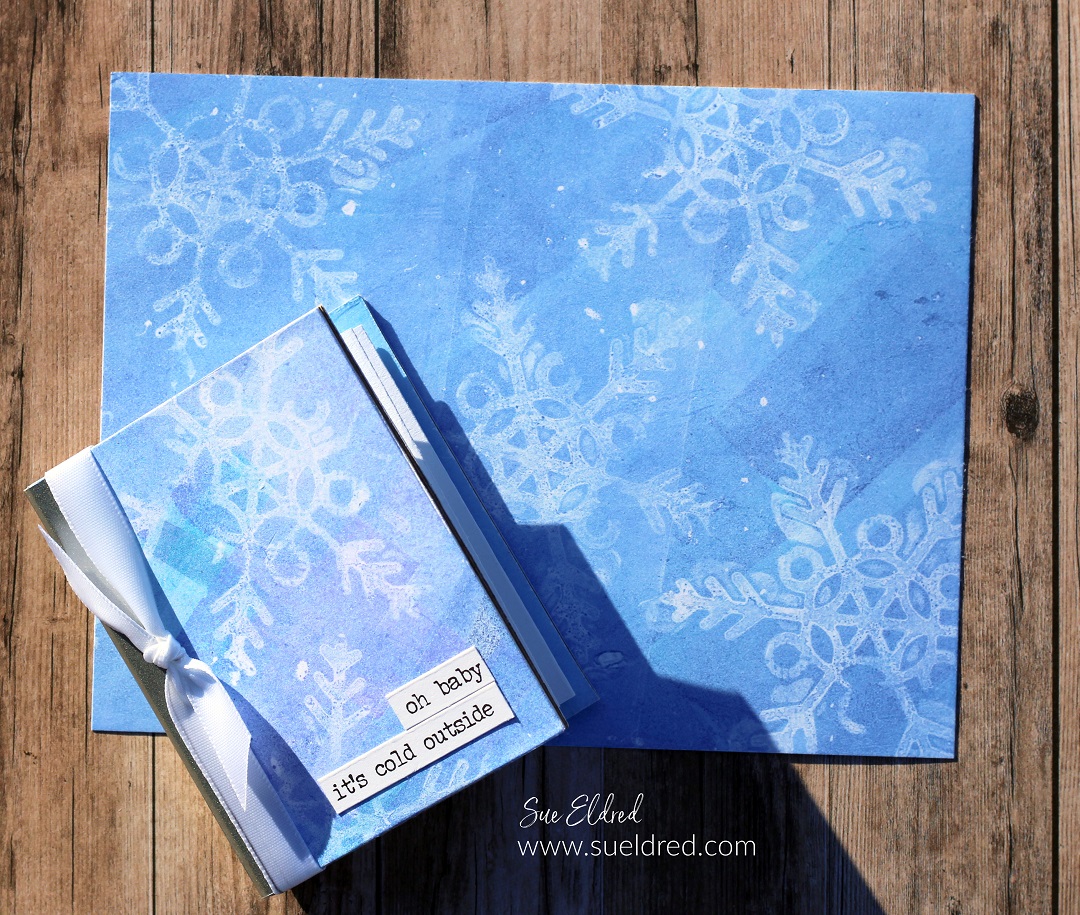
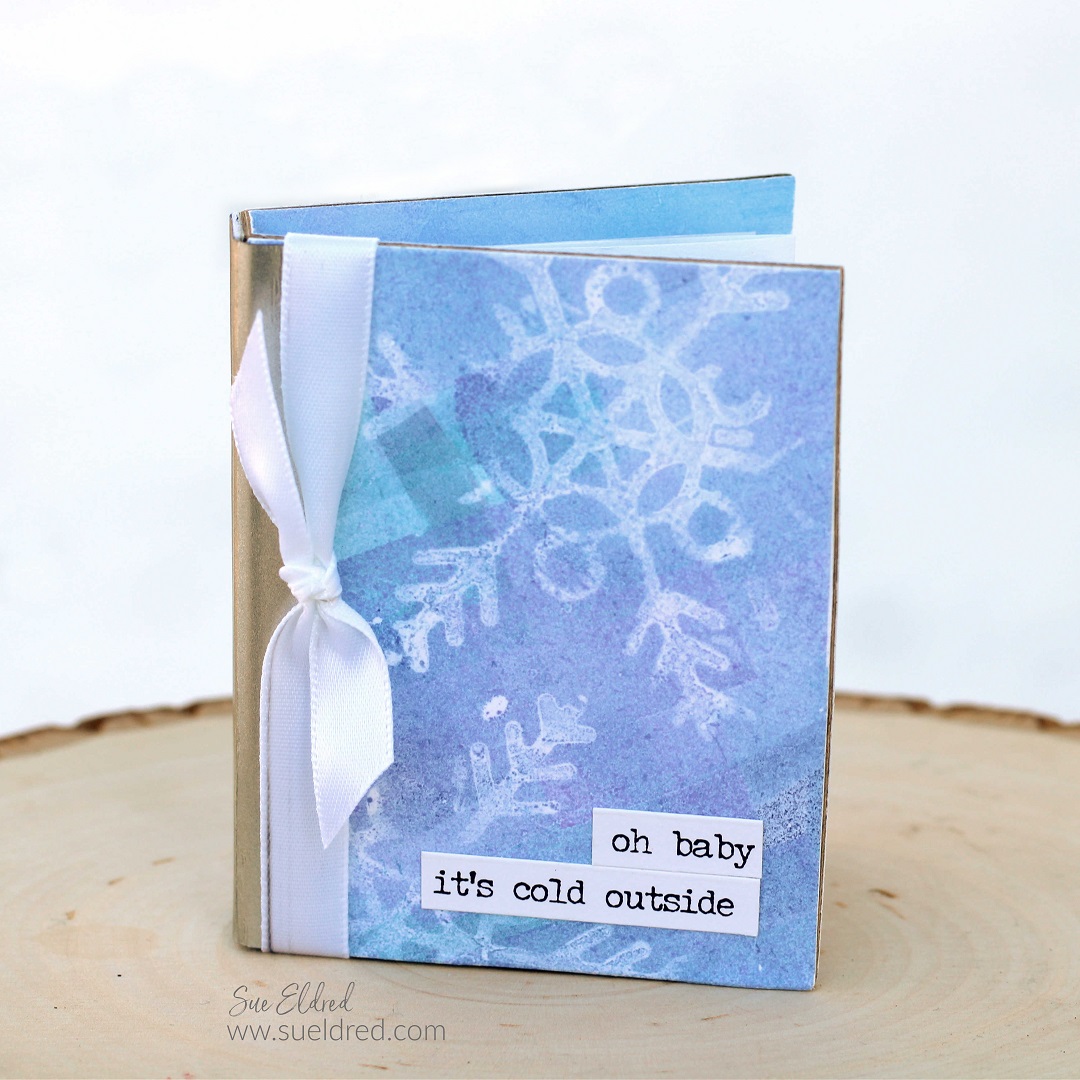
This was one of the quickest albums I’ve made in a long time.
It’s a great little album for adding Summer memories.
![]()
Disclosure: This is a sponsored post. As a member of the Eileen Hull Inspiration Team, I have been provided product in exchange for my creative ideas. The view and opinions are my own.