
I wanted to share a little more about how I made Mae’s Treasure Box.
I am getting my first granddaughter, Mae, sometime in May.
(To say I’m excited is a bit of an understatement.)
Mae’s Treasure Box is a little box that her mom can slip into the top drawer
of her dresser and add all the little snippets of babyhood that she wants to save.

As some of you may know…
I currently have three adorable, sweet, and loving grandsons in my life.
I wouldn’t trade them for the world. But after all the trucks and blue stuff,
I’m excited that I’m finally getting a little “pink” in my life.

The “treasure box” was made using Eileen Hull’s New Book Box Die*.
I dug deep into my hoard of paper and found this sweet blue and pink floral paper.
It reminds me of Vintage Florals from the ’40s or ’50s.
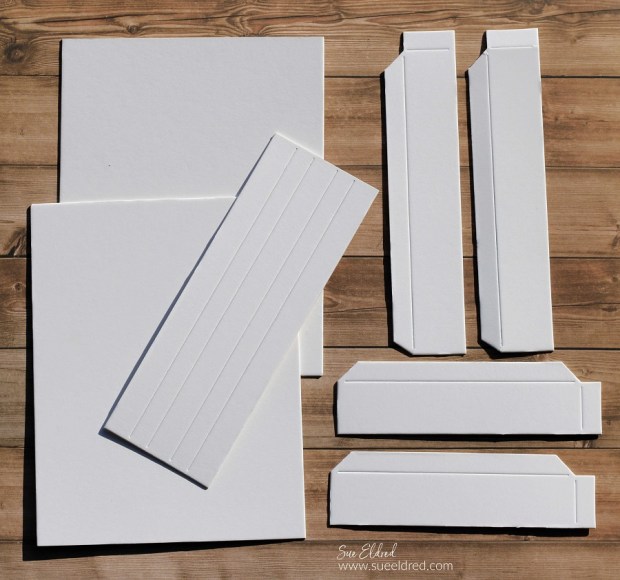
To make the treasure box:
- Die-cut the pieces using Sizzix Mat Board*, a Big Shot Die-Cutting Machine*, and Eileen’s New Book Box Die*. You will need to cut two long side pieces, two short side pieces, one spine, and two rectangle pieces.

- I used the Xyron Creative Station* to add adhesive to the back of my paper before sticking it to the matboard. (Usually, I adhere the paper to the matboard before die-cutting.)

*Disclosure: This blog uses ads and affiliate links. If you choose to make a purchase using one of the links, I receive a small commission (at no additional cost to you) that helps offset the costs of maintaining this blog. Thanks for your support!

- Paint the spine and box sides with Pink Chiffon Deco Art Americana Acrylic Paint*. It is one of the sweetest shades of pale pink.
- Lightly sand over the dried paint to smooth the finish.
- Gently fold the pieces on the score lines.
- I applied Americana Decor Clear Cream Wax* over the acrylic paint and buffed the wax to give it a nice shine.
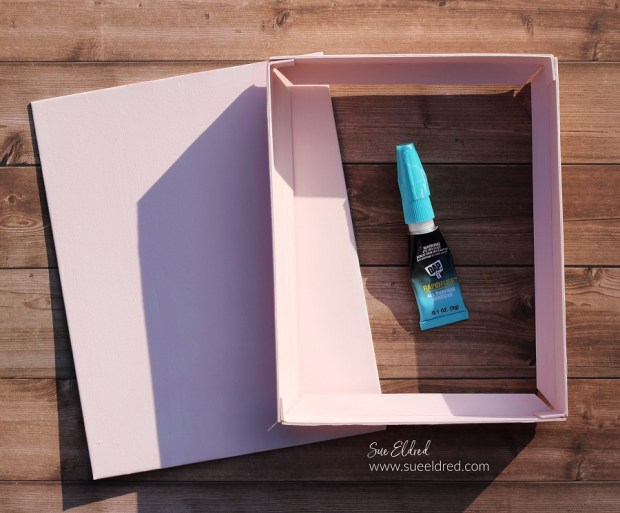
- I used Rapid Fuse Liquid Adhesive* to put the box together.
- Glue the long and short sides together using the tabs at the end.

- Apply adhesive to the bottom tabs.

- Glue the sides to the bottom rectangle.

- I added an extra piece of Mat Board* covered with matching paper to fit inside the box to cover up the side tabs.
- I glued a pink glittery chipboard letter M on the inside corner of the box.

- Glue the spine to the front cover and around the side of the box.
- I added a strip of paper lace trim next to the spine.
- I cut the name “Mae” using StyleTechCraft Gold Chrome Vinyl* and a Silhouette Cameo Die-Cutting Machine*.
- And a long piece of blue satin ribbon for tying the box shut.
![]()
Disclosure: This is a sponsored post for Eileen Hull and Sizzix. As an Eileen Hull Educator, I have been provided product in exchange for my creative ideas. The view and opinions are my own.

Love it 💕 and congratulations 👶🏻
Thank You. I’m super excited.
Beautiful, Sue! Congratulations on the new addition to your family!
Thanks Pat. I’m very excited to be getting my first granddaughter.