
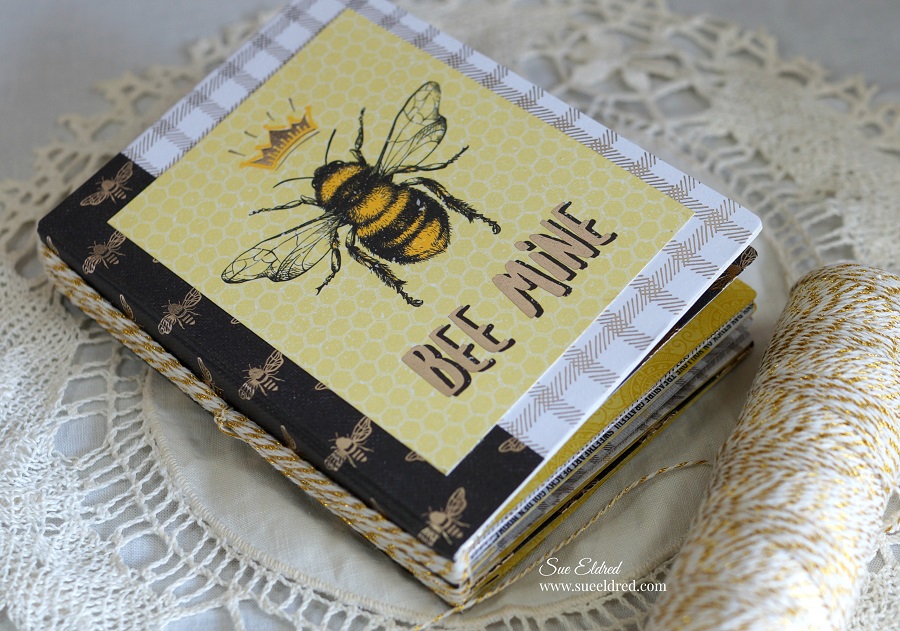
If you love making mini albums you’re going to love Eileen Hull’s NEW Tiny Book Die from
Sizzix*. I do believe this is the smallest mini album I’ve made so far. (measures 2 ¼” x 3″)
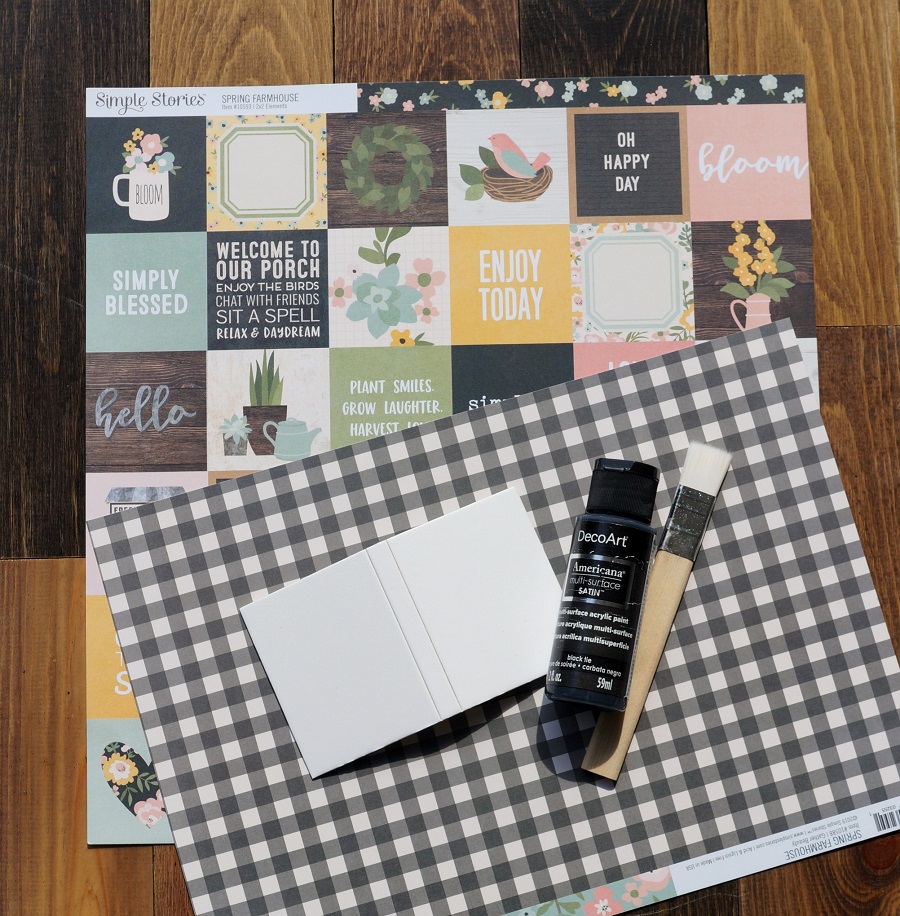
The tiny book was made using Eileen’s NEW Tiny Book Die* and the Spring Farmhouse paper
collection from Simple Stories.

*Disclosure: This blog uses affiliate links. If you choose to make a purchase using one of the links, I receive a small commission (at no additional cost to you) that helps offset the costs of maintaining this blog. Thanks for your support!

Directions:
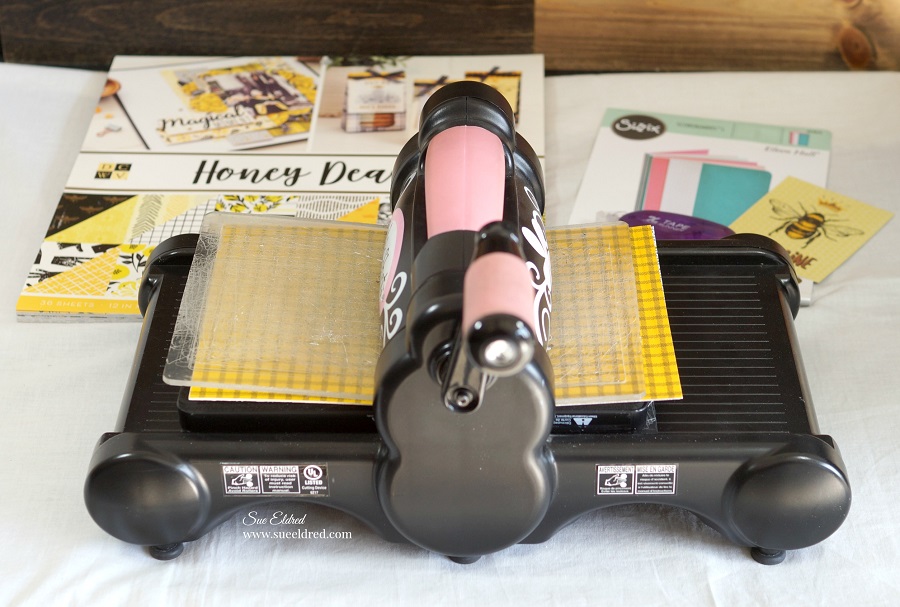
- The tiny book base was cut out of Sizzix, White, Little Sizzles Mat Board*
using a Big Shot Die Cutting Machine*
.
- After if was cut out, the cover was painted black with DecoArt “Black Tie” Americana Multi-Surface Satin Acrylic Paint*
.
- For the inside pages: Cut two 2 3/4″ x 11 1/4″ strips of scrapbook paper.
- Score the strips every 2 1/4″. Fold on score lines.
- Cut off one section from one of the strips. Glue the strips together.
- Option: You can use the extra section to embellish the inside of the book.
- Fold again so that the pages both begin and end with valley folds.
- Glue folded pages to the inside front cover.

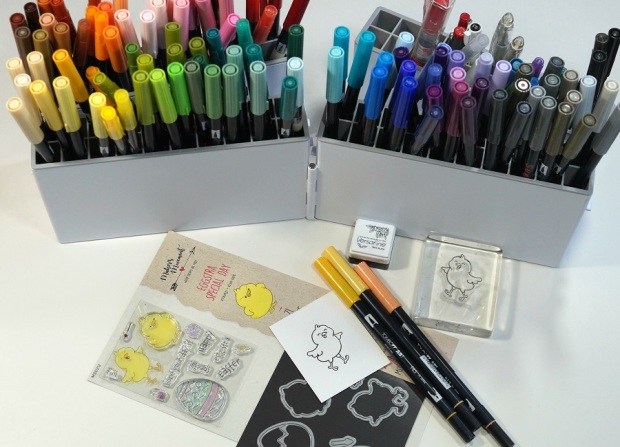
- Cut apart and use the small squares from the Spring Farmhouse 12″ x 12″ Element Sheet to decorate the inside and outside of the tiny book.

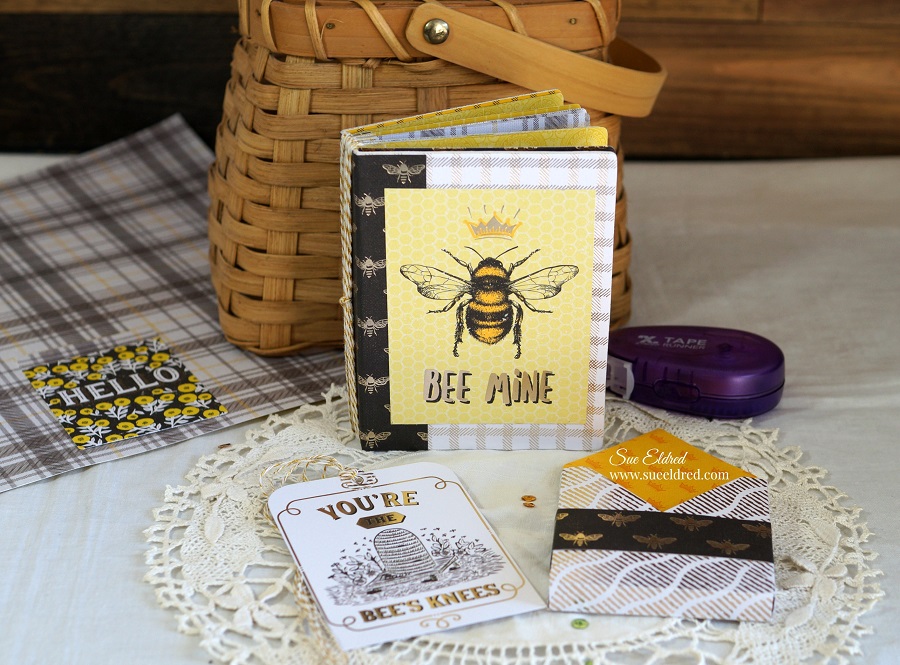
There is also another NEW die that Eileen created that works perfectly with the tiny book die.
It’s called the Tiny Book Case Die*. (see link below↓)
It’s adorable. The perfect size for storing your tiny book.
Add a gift card for the perfect gift combo.

The Tiny Book fits perfectly in Eileen’s NEW Tiny Book Case!
Sizzix 664424 Tiny Book Case Die*


