
How to make a Egg-stra Special Shaker Tag

Supplies Used on the Egg-stra Special Shaker Tag: (*affiliate link)
-
- MSD212 Egg-stra Special Day Stamp and Die Set
- MOD282 Large Nested Die Tag Set
- Crossover II Fabric & Paper Cutting System*
- MMT215 Something Sweet Shaker Sprinkles
- MMT212 Clear Acetate Sheets
- MMT211 Double Sided Adhesive Craft Foam
- VersaFine Instant Dry Pigment Ink, Onyx Black*
- Tombow Markers: #62 Pale Yellow*
and #991 Light Ochre*
- Derwent Academy Heavyweight Acrylic Paper Pad*
- #105590 Welcome Home 12 ” x 12″ paper* (Simple Stories: Spring Farmhouse)
- 6312 Blue Skies 12″ x 12″ Paper* (Doodlebug Design-Simply Spring)
- 12MD611 Mint Dot Paper (Bo Bunny: Double Dots)
- 6318 Sunday Dress 12″ x 12″ Scrapbook Paper* (Doodlebug Design-Hoppy Easter)
- 6319 Bunny Babies 12″ x 12″ Scrapbook Paper* (Doodlebug Design-Hoppy Easter)
- Xyron Tape Runner*
- Ribbon and Button
- Purple and White Twine*
- Crop-A-Dile*
- Craft Wire Cutters*

Disclosure: This blog uses affiliate links. If you choose to make a purchase using one of the links, I receive a small commission (at no additional cost to you) that helps offset the costs of maintaining this blog. Thanks for your support!
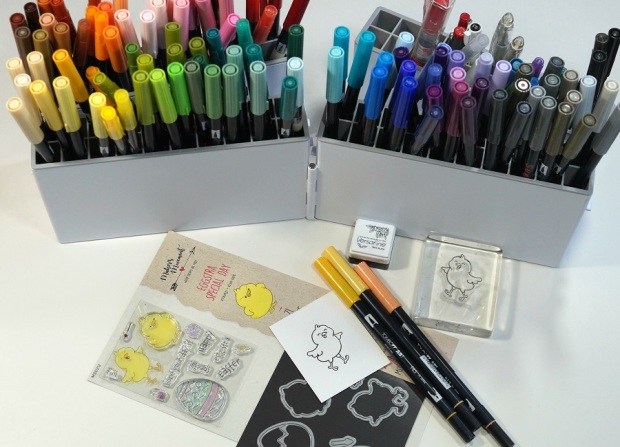
- Stamp the chick image with black ink onto white cardstock.
- Stamping on non-porous white cardstock helps the markers blend easier.

- Color in the edge of the chick with the light ochre marker. Use the pale yellow marker to blend and fill in the rest of the chick.


- Line up chick die with the stamped image. (cutting side down) I use a piece of removable tape on my die to hold it in place as I run in through the Crossover II Fabric & Paper Cutting System*.

- Cut apart the Nesting Tag Dies with craft wire cutters*
.

Counting the Nesting Tag dies as 6 being the largest and 1 being the smallest…
- Using the largest (#6) Nesting Tag Die, and the 4th largest Nesting Tag Die, center and tape the two dies together to create a tag frame.

Shaker Tag pieces:
- Cut a large (#6) “blue skies” tag from the largest nested tag die.
- Cut a large (#6) green dot tag. Cut a wavy line die on the bottom of the tag using a wavy line die. (From the MSD209 Some Bunny Loves You Stamp and Die Set.)
- Adhere bottom of the wavy cut tag onto the blue skies tag.
- Cut a acetate tag from the 5th largest nesting tag die.
- Cut a large purple gingham egg, a floral cracked egg and several small eggs from coordinating scrapbook paper.

- On the back of the tag frame, add a thin line of adhesive around the inside opening of the tag.
- Remove the protective coating from both sides of the acetate and place it on top of the adhesive.
- Cut thin strips from the double-sided foam sheets. Remove one side of the protective layer from the foam strips and place around the inside edges of the tag.
- Add shaker bits inside tag.
- Remove the second side of the protective layer from the foam strips and adhere to the blue skies layer on the inside of the tag.

- Glue the small floral cracked half egg onto purple gingham egg.
- Add foam to the back of chick and egg and add to front of the card.
- Punch a hole on the top of the tag using the crop-a-dile, add purple and white twine.
- Adhere ribbon bow to top of the tag.

*FTC Disclosure… “This is a sponsored post. I have been provided product and compensation in exchange for my creative ideas. The views and opinions are my own.”
