
I wanted to share with you today one of my favorite projects from my Holiday Workshop
last Saturday. It is the “Holly Jolly Flip Album” using paper from Canvas Corp Brands
Farmhouse Christmas Collection and a 5″ x 7″ Black Acrylic Frame from Deflecto Craft Solutions.
It’s a fairly simple project and the ladies were able to complete the album in just a couple of hours.
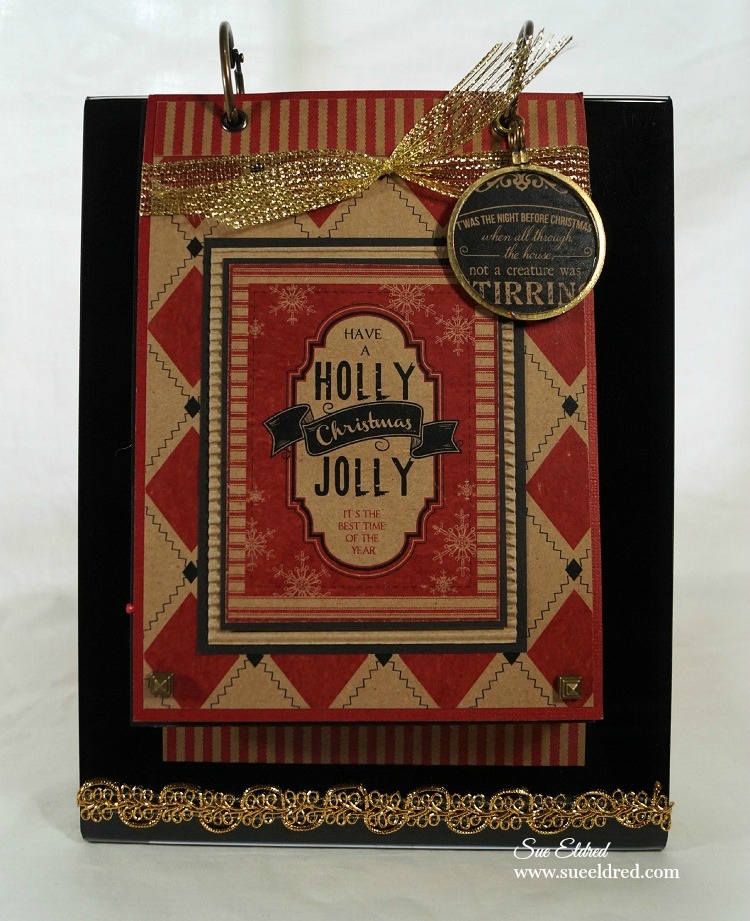

Holly Jolly Flip Album
Here’s the complete supply list:
- Deflecto Craft Frame, Black Border, 5 x 7 Inches (69575CR)
- Canvas Corp Brands Binding Rings-Medium: Antique Brass
- Canvas Corp Brands CCP2915 Better Not Pout Tags on Kraft 12 x 12 paper
- Canvas Corp Brands CCP2914 Red & Black Stitched Diamonds on Kraft 12 x 12 paper
- Canvas Corp Brands CCP2370 Red & Kraft Ribbon Stripe 12 x 12 paper
- Canvas Corp Brands CCP2913 Farmhouse Christmas Patchwork on Kraft 12 x 12 paper
- Canvas Corp Brands CCP2912 Snowflakes on Kraft Reverse 12 x 12 paper
- Canvas Corp Brands CCP2722 Kraft Damask 12 x 12 paper
- Canvas Corp Brands Optical Lens: Antique Brass
- Canvas Corp Brands Fluted Corrugated Paper: Black, Kraft
- Canvas Corp Brands Trims: Red Waxed Cotton Cord, Jute Cord Natural Twine
- Canvas Corp Brands 17960 Tickets: Journal
- Canvas Corp Brands Mini Kraft Bags
- Red and Black Cardstock
- Offray Charade Metallic Craft Ribbon, 5/8-Inch Wide by 25-Yard Spool, Gold
- Decorative Trimmings 01317-003 Trim Aztec Gold
- Scrapbook Adhesives by 3L 01617 Thin 3D Foam Squares Mix-Black
- We R Memory Keepers Eyelets Cool Metal
- Drill
- We R Memory Keepers Crop-A-Dile Eyelet and Snap Punch, Blue Handle
- 1 11/16” Hole Punch
- Paper Cutter
- Double Stick Tape Runner
- Craft Glue
- Beacon Adhesives Fabri-Tac
- Ruler
- Jump Ring
Directions:
- Mark and measure hole placement on black acrylic frame.
- Drill 3/8” holes into frame.
- Cut a 7” x 9” piece of Red & Kraft Ribbon Stripe paper and insert into frame.
- Album Cover: Cut the “Holly Jolly Christmas” section from the Better Not Pout Tags on Kraft. Layer it onto black cardstock, kraft corrugated paper and then another back cardstock layer.
- Cut a 4 3/4” x 6 3/4” piece of Red & Black Stitched Diamonds and adhere it onto a piece of 5” x 7” Red Cardstock layer. Add a 3/4” x 4 3/4” strip of Red & Kraft Ribbon Stripe. Adhere “Holly Jolly” layers onto the Red & Black Stitched Diamonds.
- Punch a 1 11/16” circle from the Better Not Pout Tags and glue onto the back of the Optical lens by adding craft glue along the outside edges of the lens. Add jump ring to Optical Lens.
- Mark and measure holes to line up with black acrylic frame on the Album Cover and punch holes. Add eyelets to holes with the Crop-a-dile.
- Tie a piece of gold ribbon around the front of the album cover.
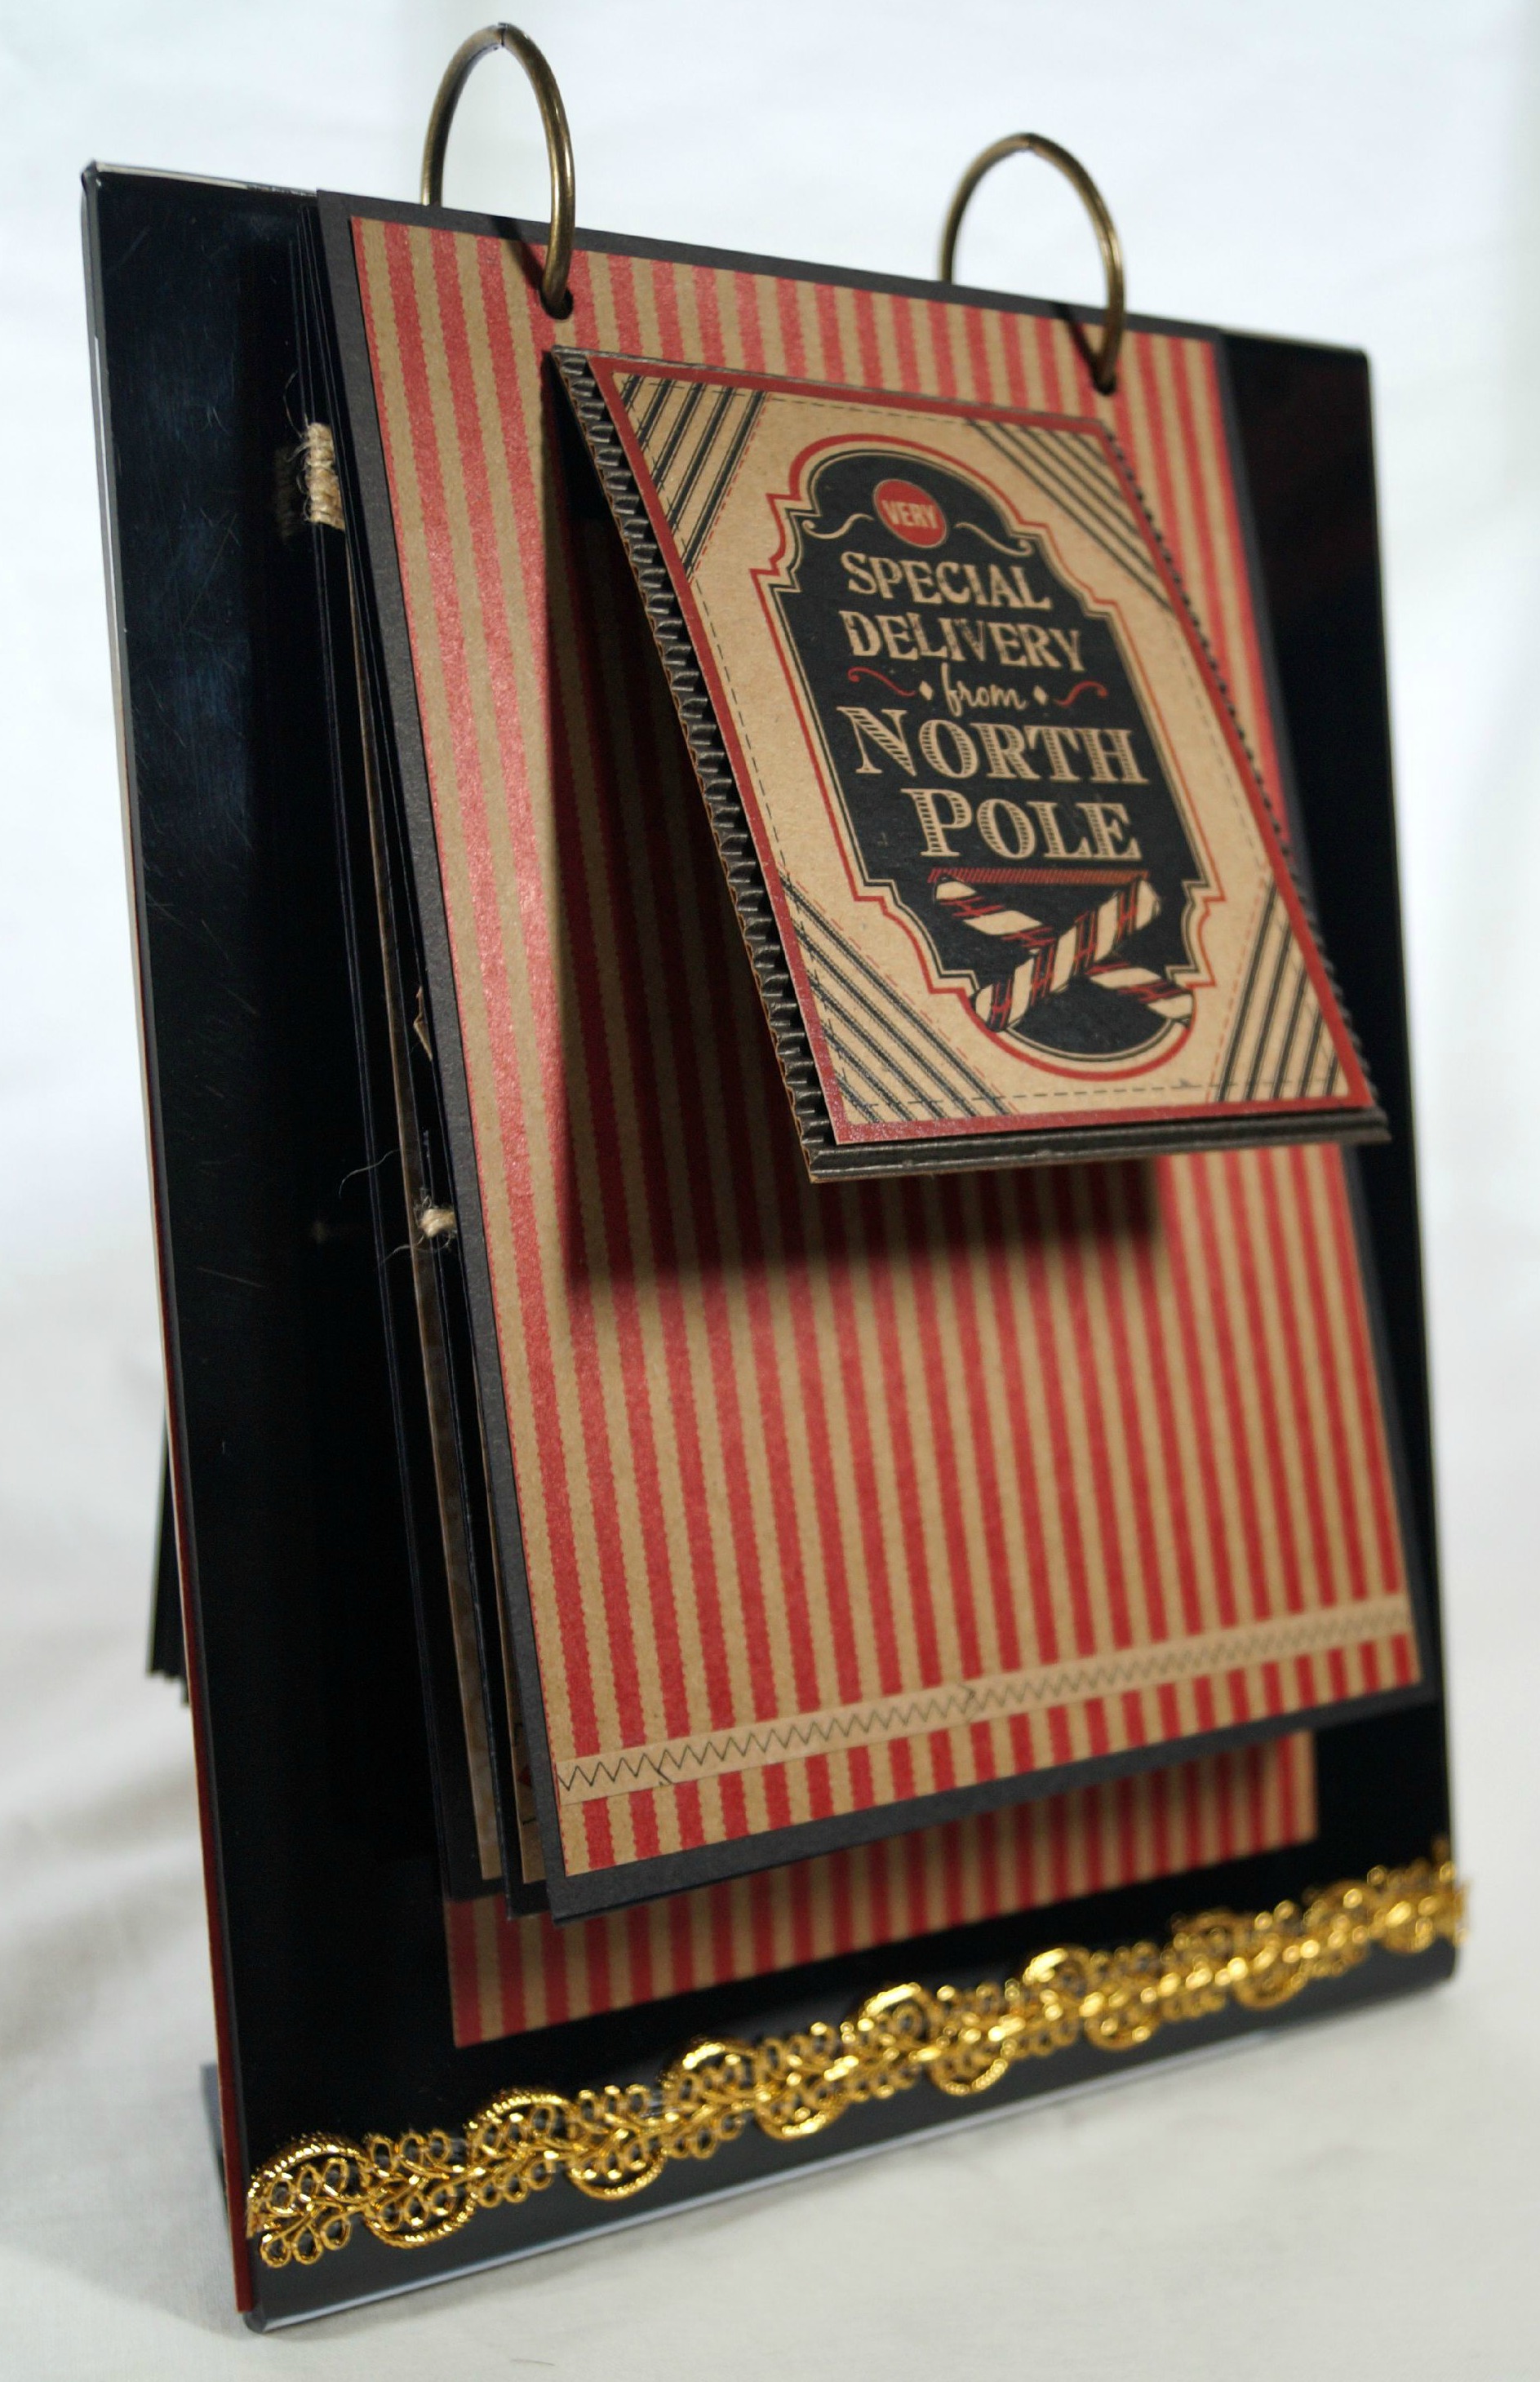
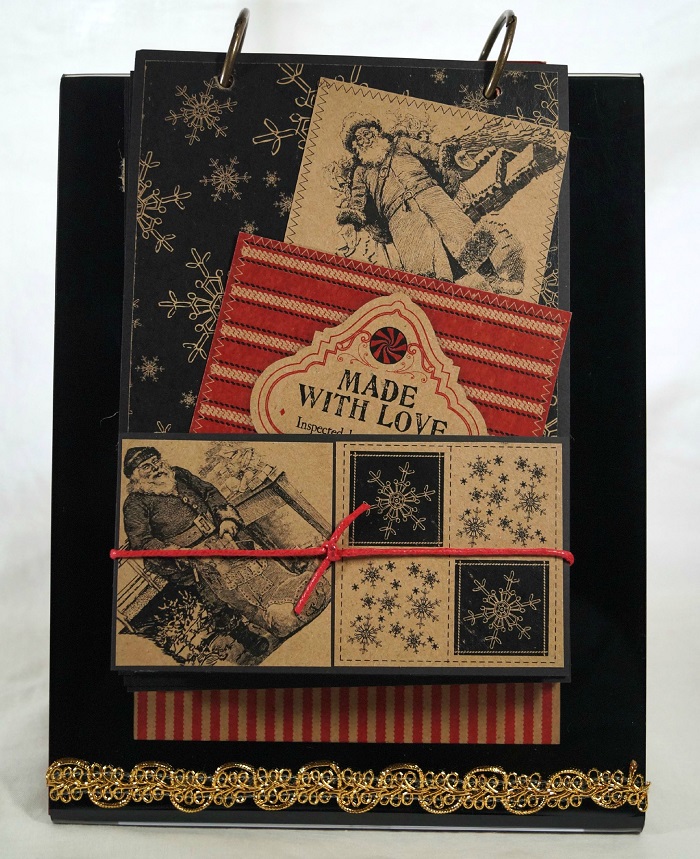
- Cut several pieces of black 5” x 7” cardstock layers to use as the pages of the album. Decorate album pages using additional scrapbook paper layers, strips, flips, pockets, trim, cords, tickets and mini bags.
- Align, measure and punch holes in the top of the album pages.
- Add album cover and pages to the black acrylic frame using medium book rings. Add Optical lens to ring.
- Embellish the stand by adding gold decorative trim with Fabri-Tac glue.
“This is a sponsored post. As a member of the Deflecto Design Team I have been provided product in exchange for my creative ideas, views and opinions.”


