5 Creative Ways to Use Vinyl for Holiday Crafts

Creative Ways to Use StyleTechCraft Vinyl

Looking for festive ways to add personality to everyday items around your home?

Here are five fun and creative ideas to get you started!

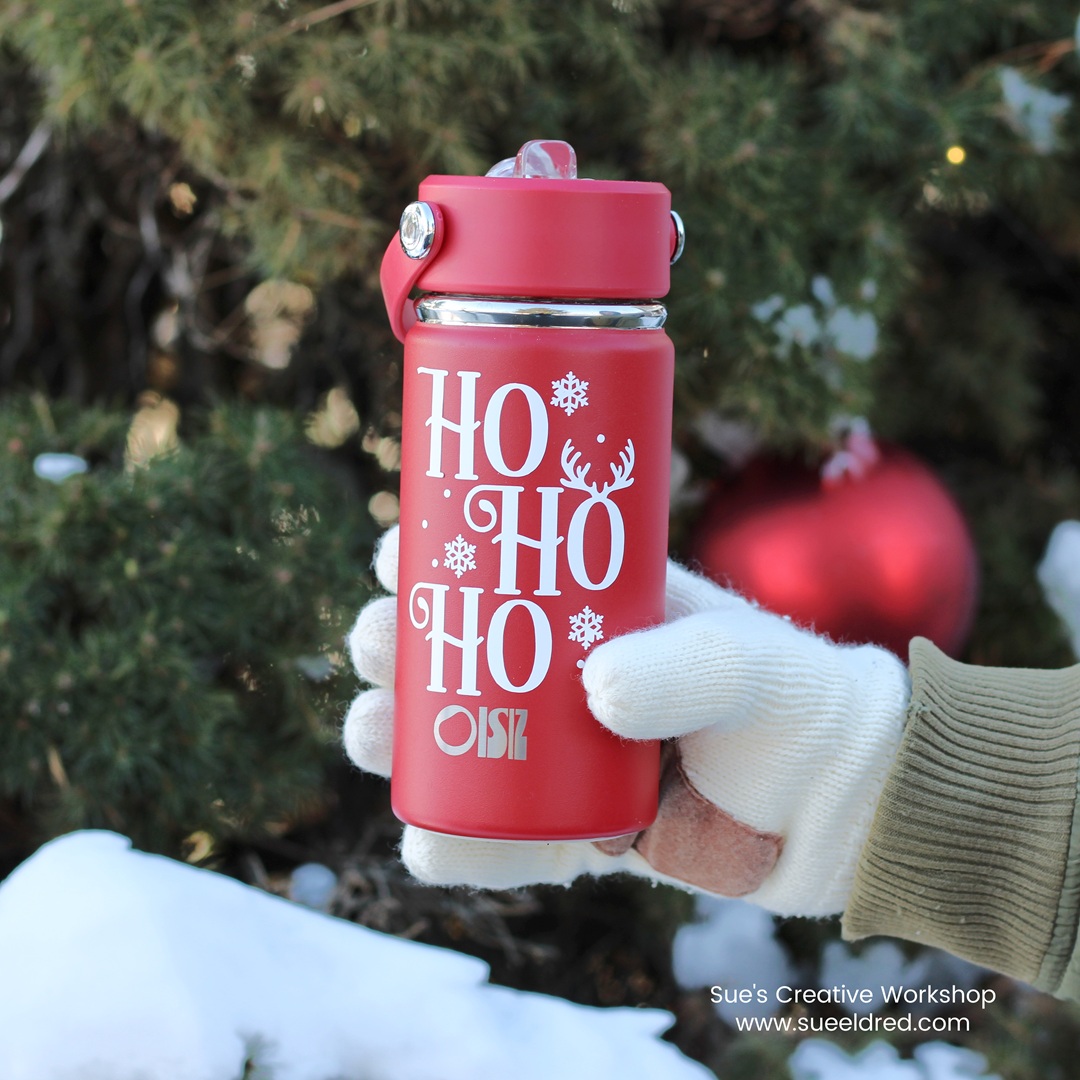
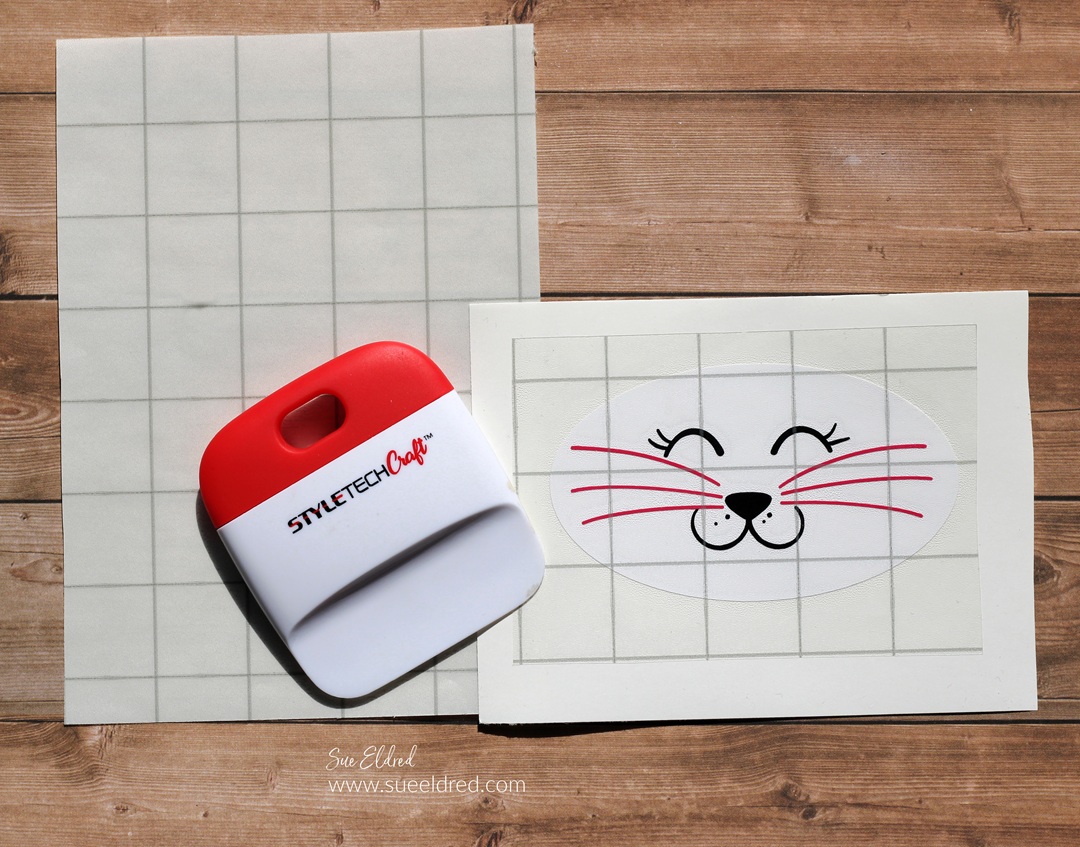
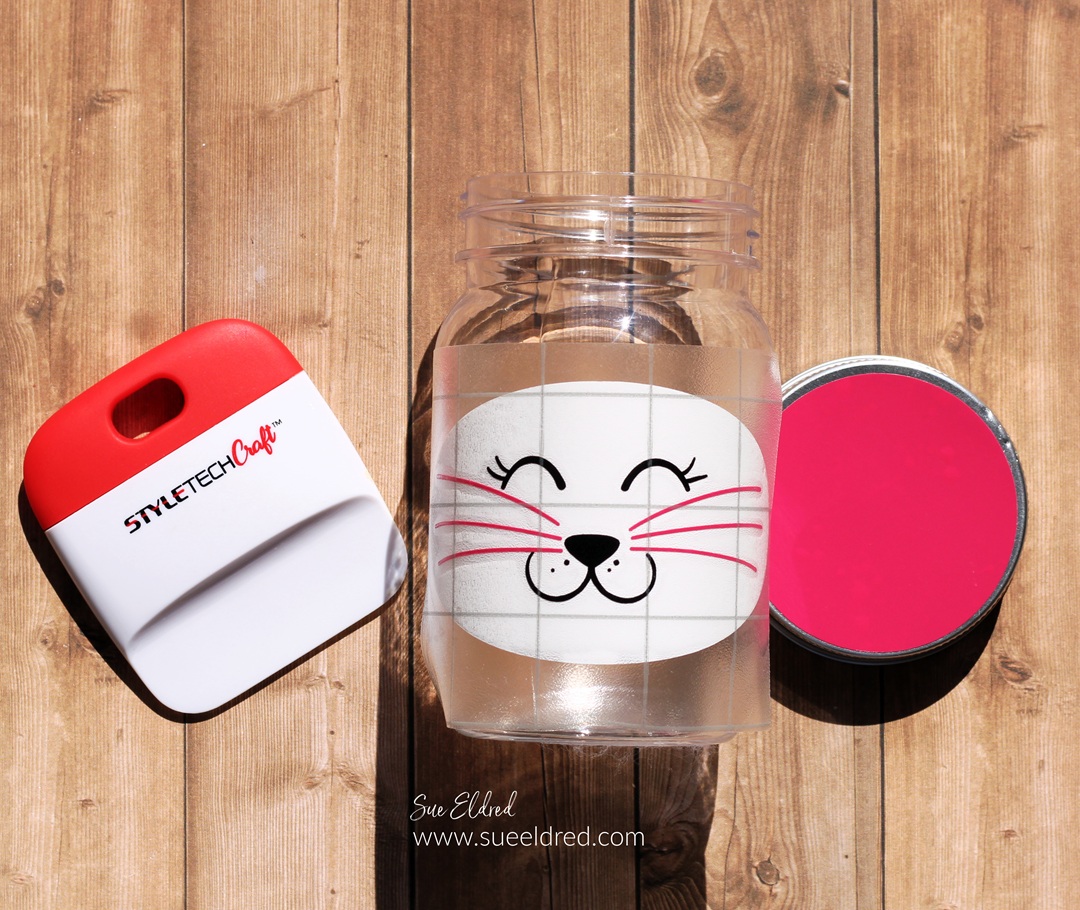
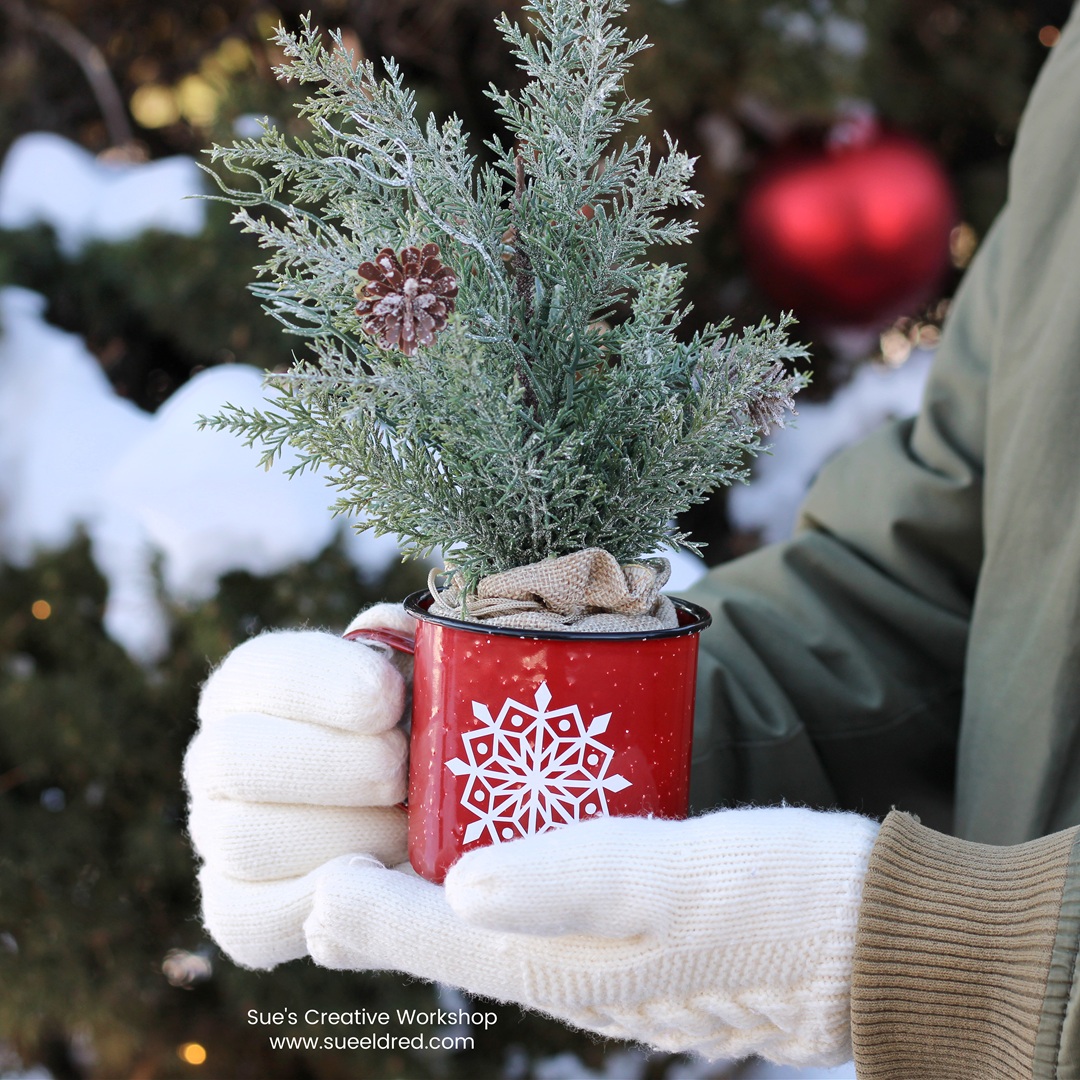
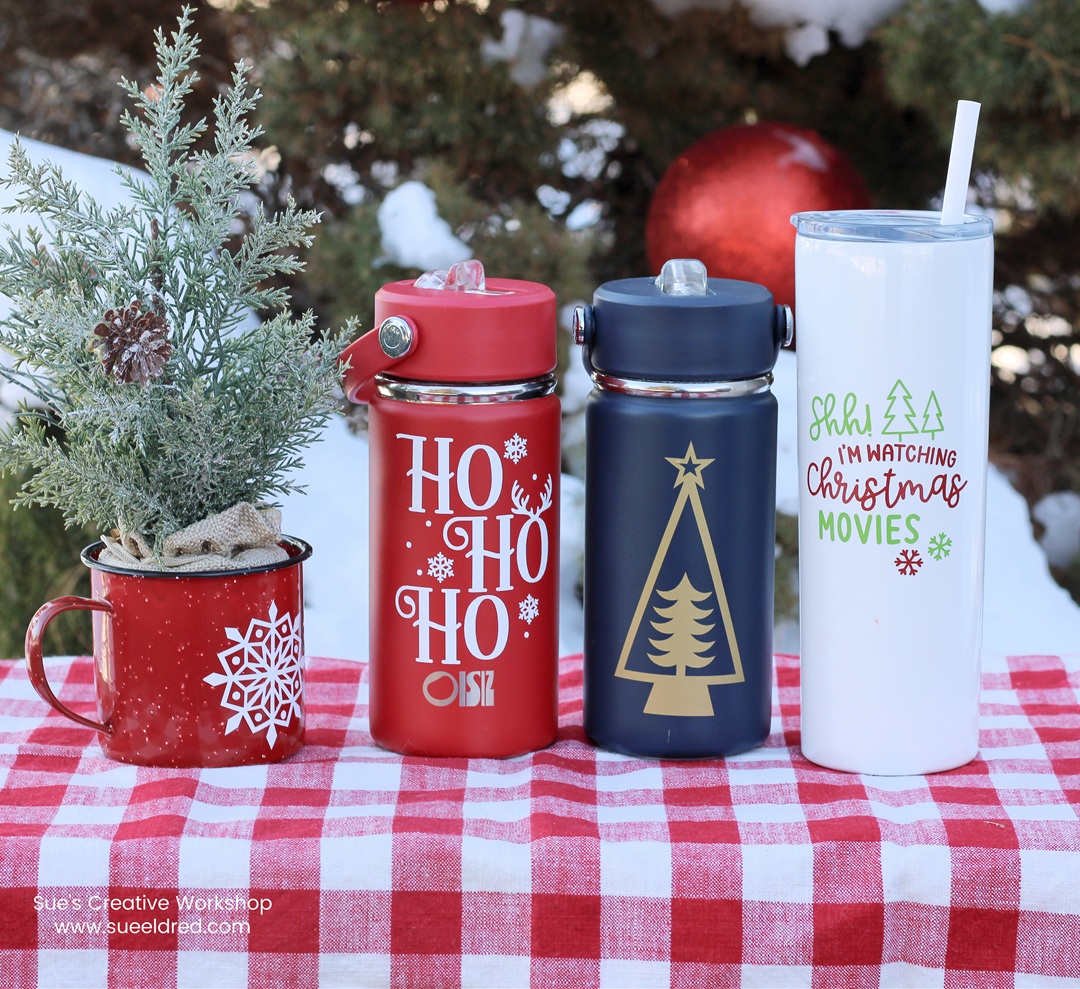
1. Dress Up Your Daily Water Bottle
We use our water bottles every day—at work, at the gym, or on the go—so why not give them a touch of seasonal cheer?  StyleTechCraft Removable Vinyl is perfect for adding temporary holiday designs that peel off easily once the season is over.

*Disclosure:  This blog uses ads and affiliate links.  If you choose to make a purchase using one of the links, I receive a small commission (at no additional cost to you) that helps offset the costs of maintaining this blog.  Thanks for your support!

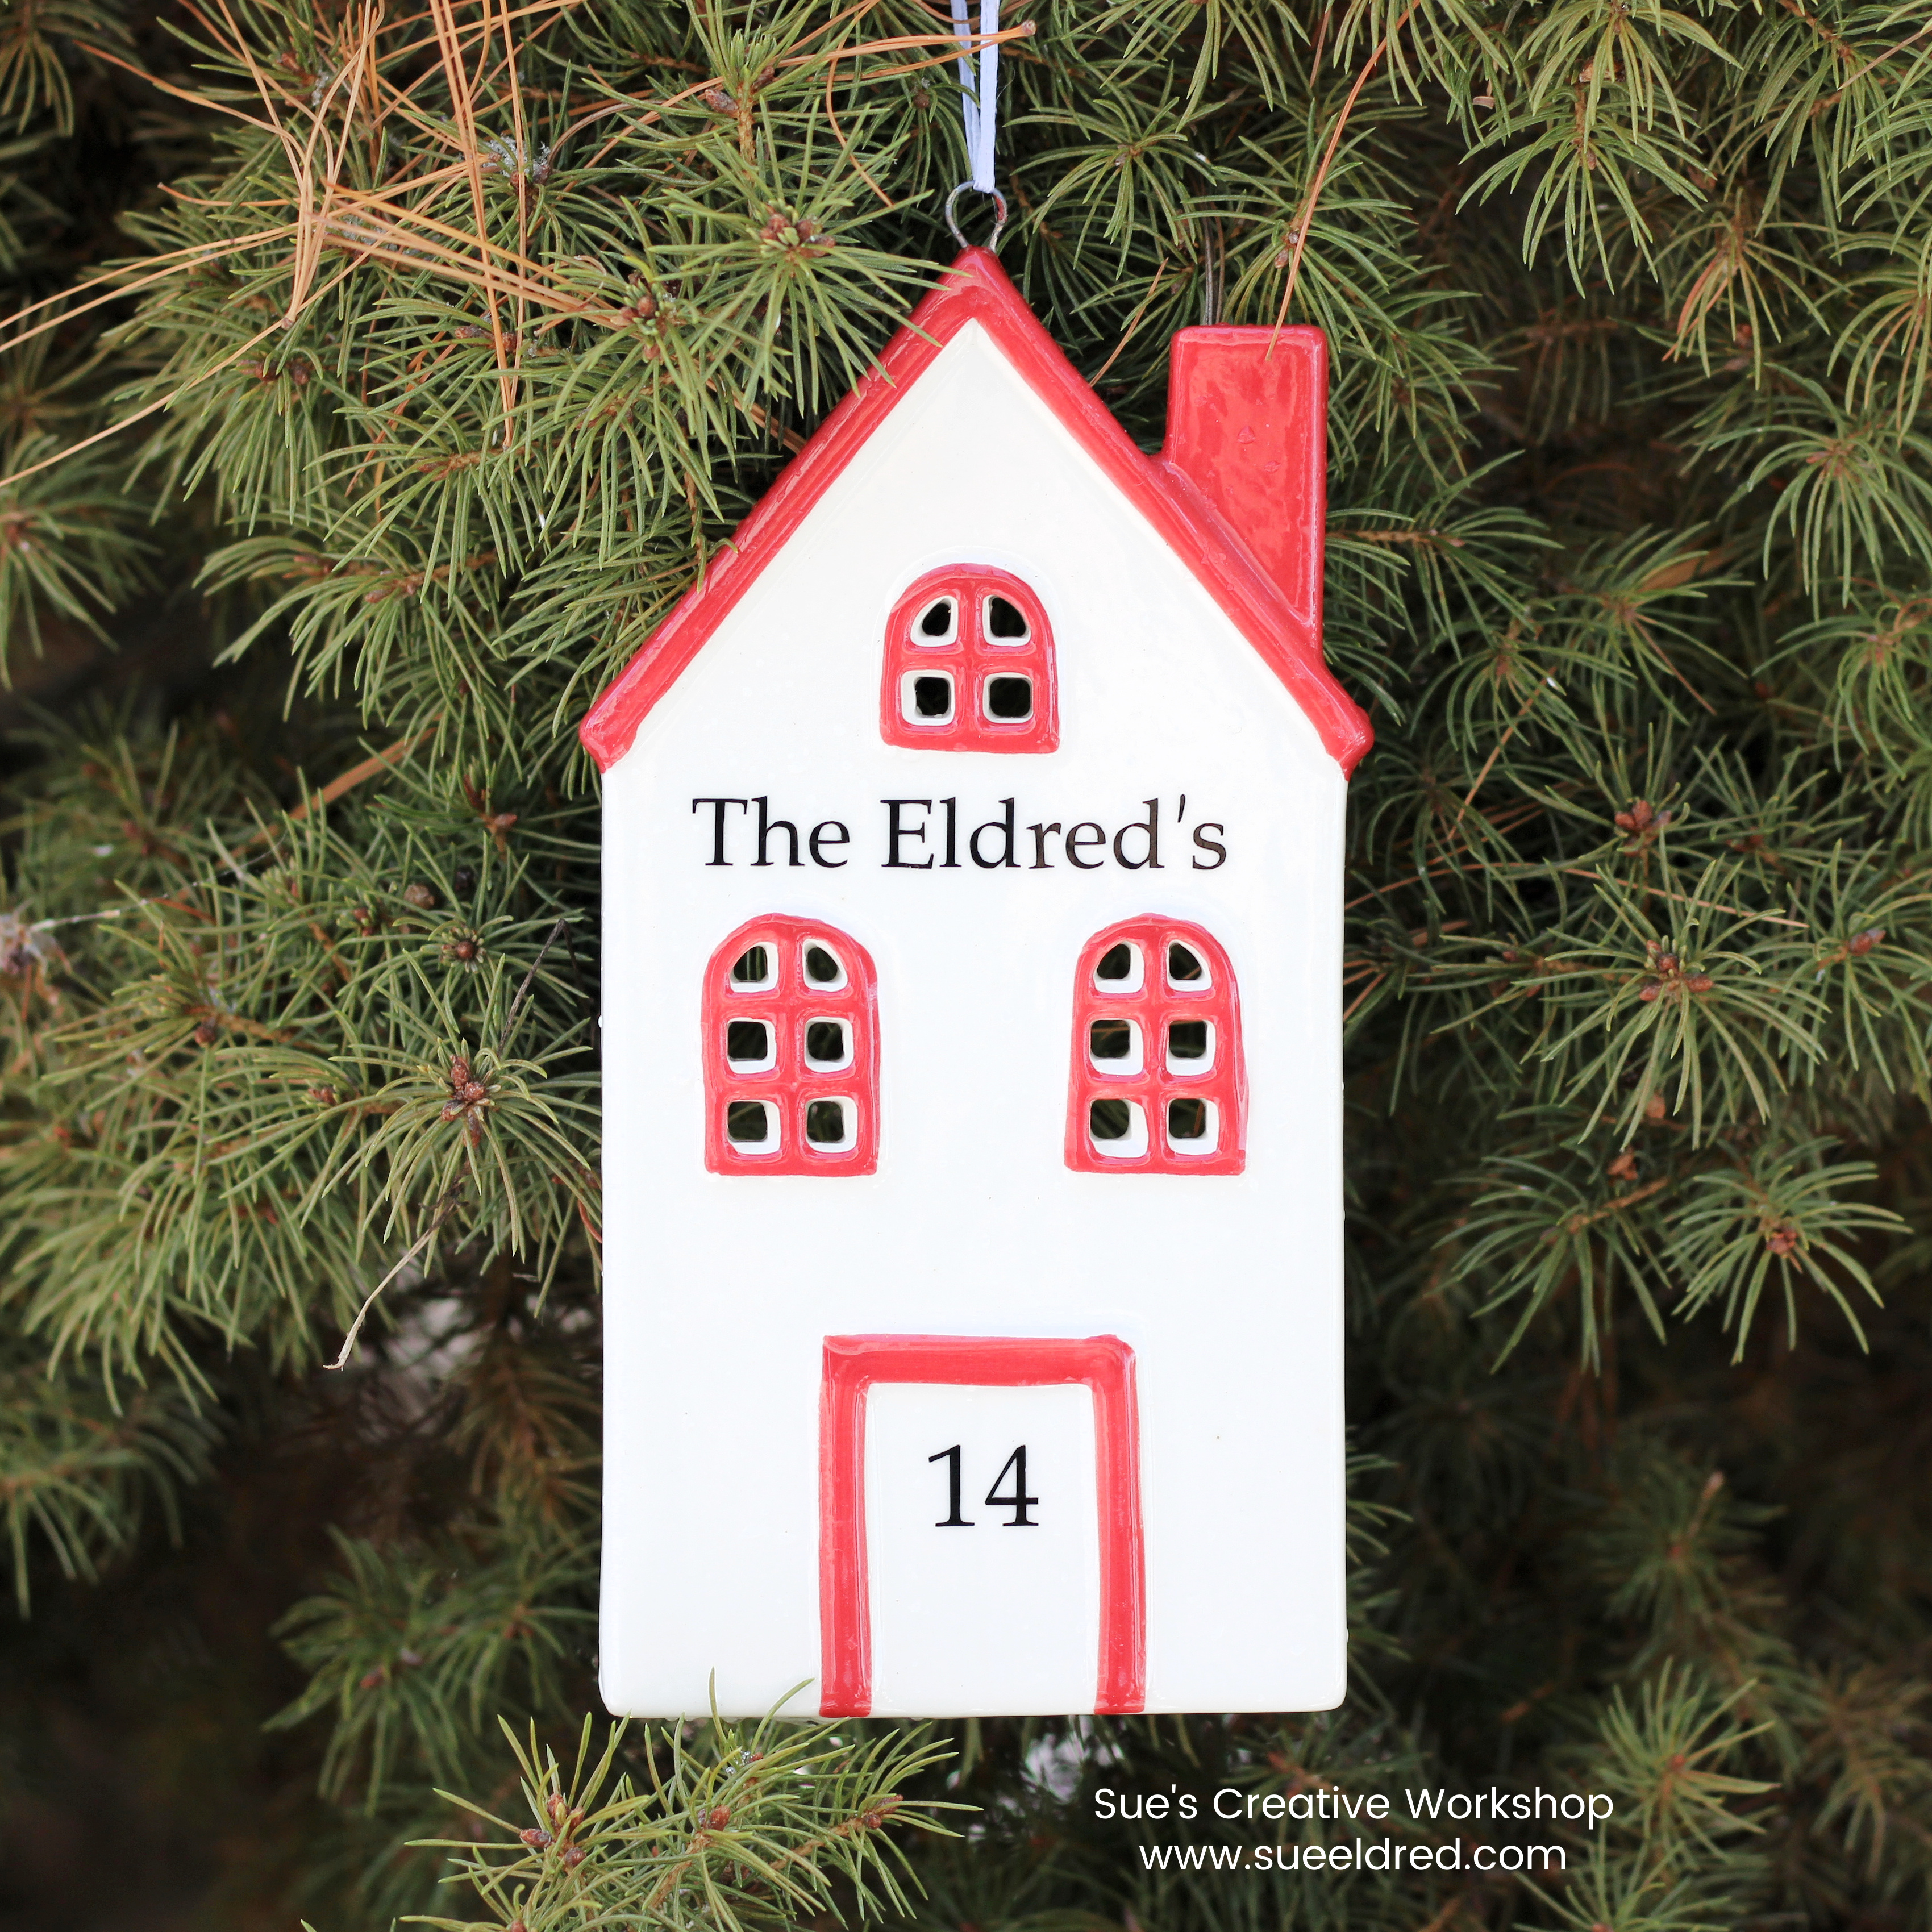
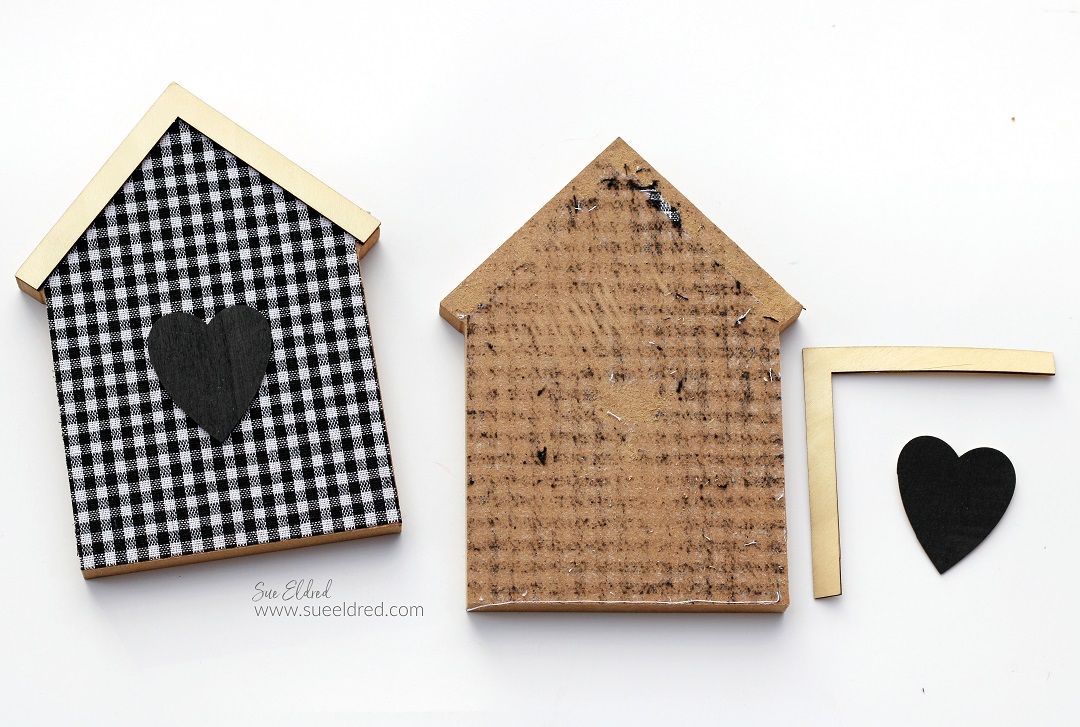
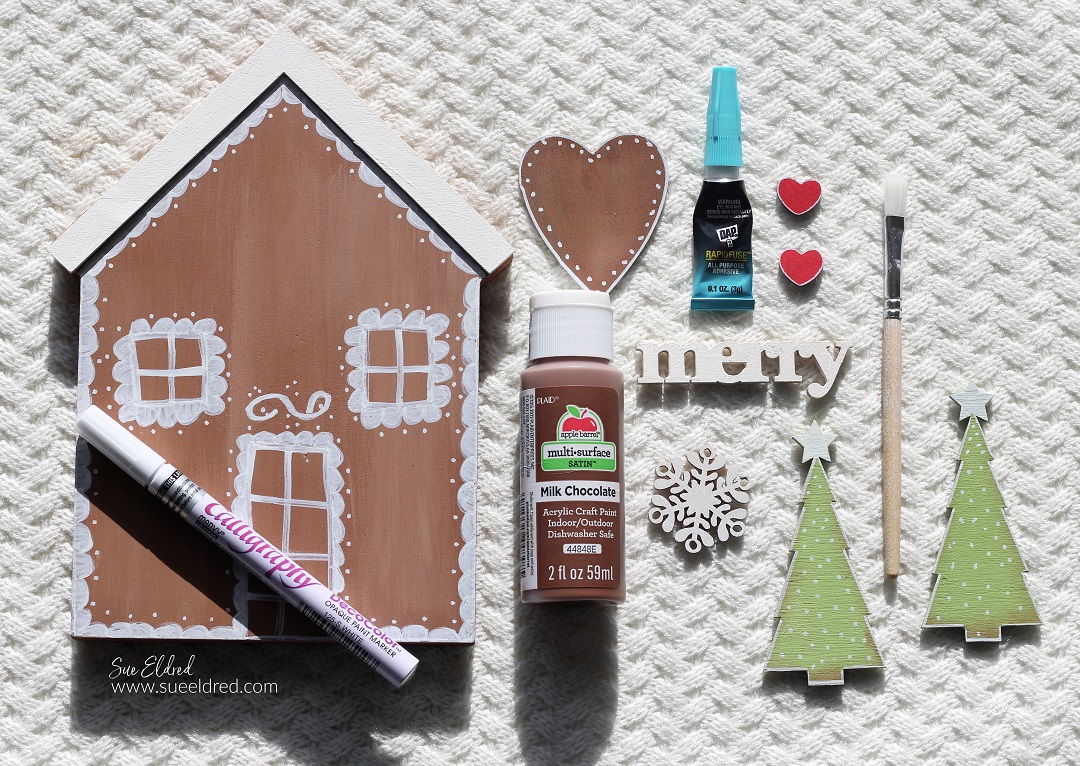
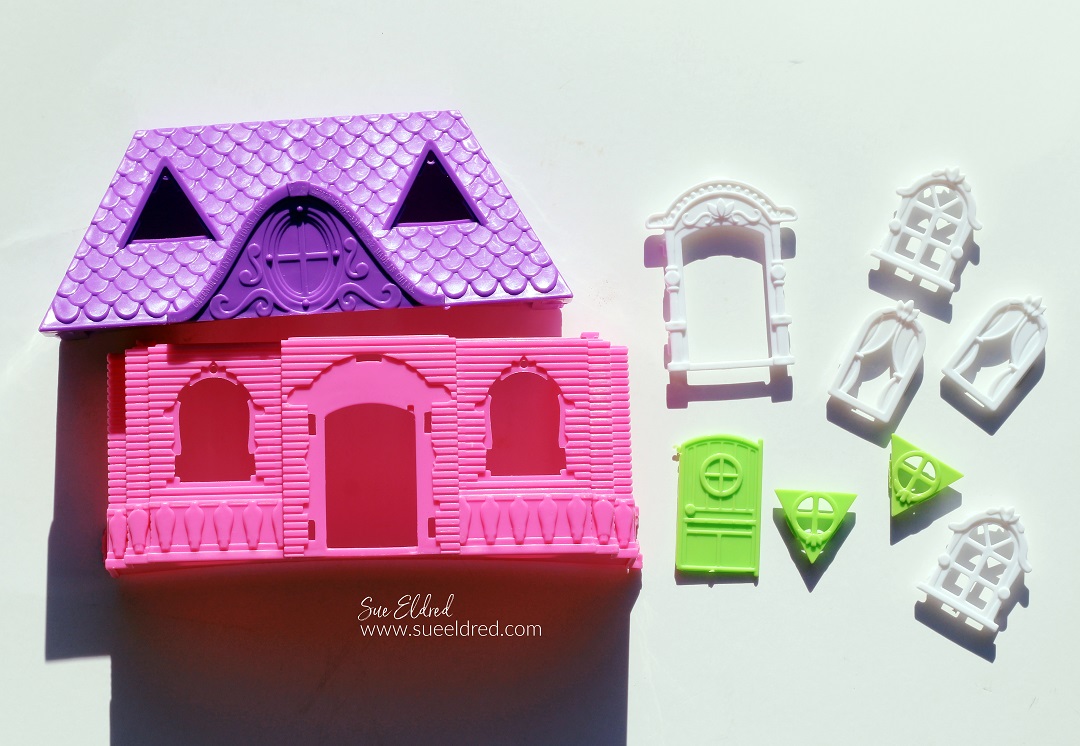
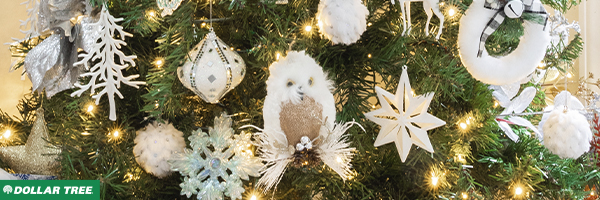
2. Personalize Ornaments with Adhesive Vinyl
Inexpensive ornaments become keepsakes with StyleTechCraft Adhesive Craft Vinyl.  Add a name, date, or meaningful phrase to create a one-of-a-kind decoration that will be cherished year after year.

(I picked up this plain house ornament at Walmart for a couple dollars.)

DIY Christmas Tree Reusable Gift Bag using StyleTechCraft HTV Vinyl

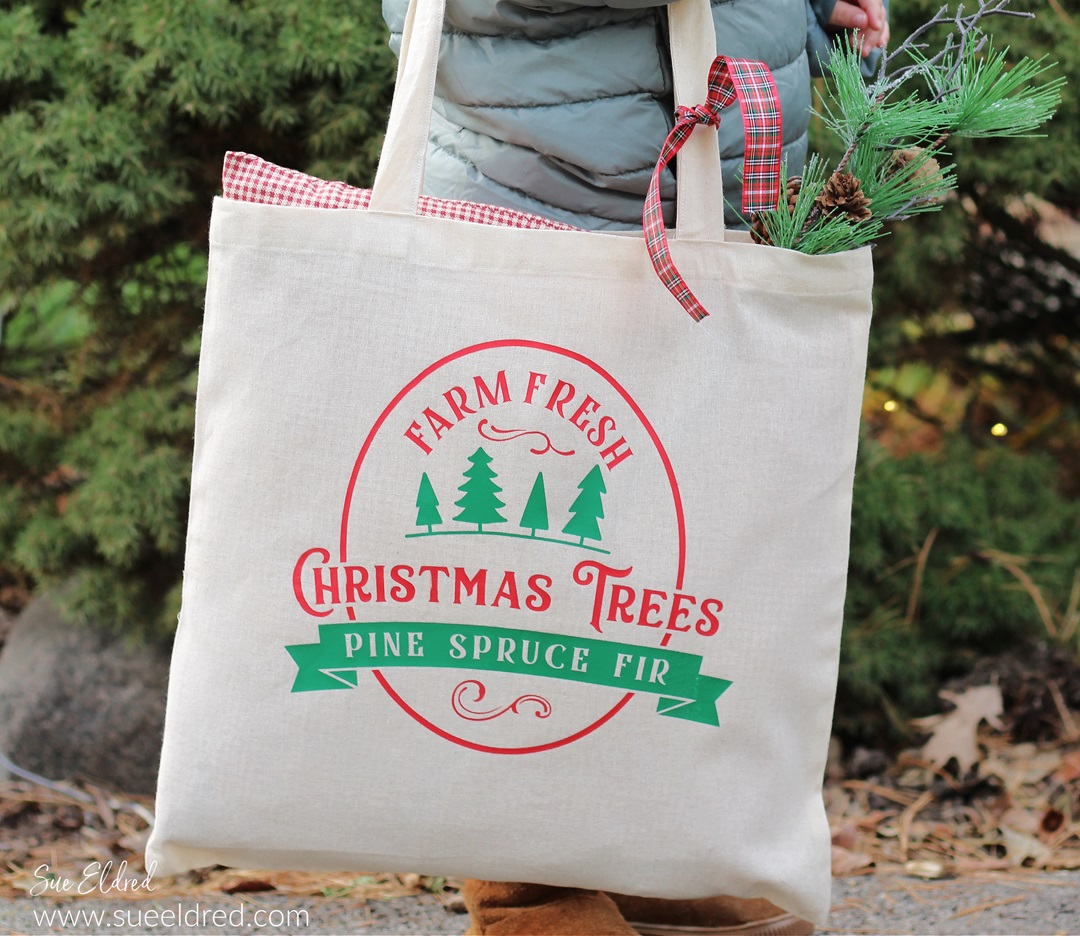
3. Turn Plain Canvas Bags into Custom Gift Bags
StyleTechCraft Heat Transfer Vinyl can transform simple canvas bags into charming, personalized gift bags.  Add names, holiday icons, or custom phrases to make your gifting extra memorable.

You can see the full project tutorial here.

How to Create a Merry Holiday Banner

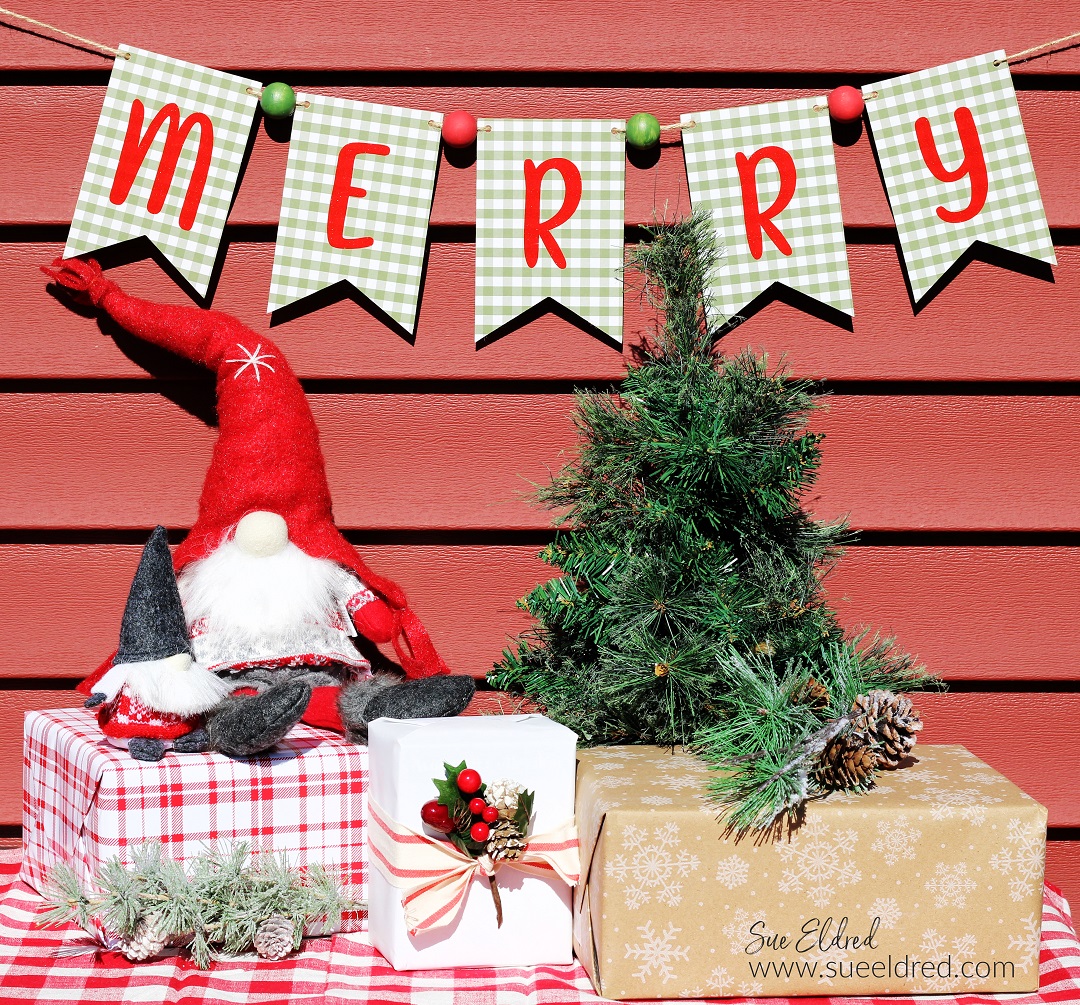
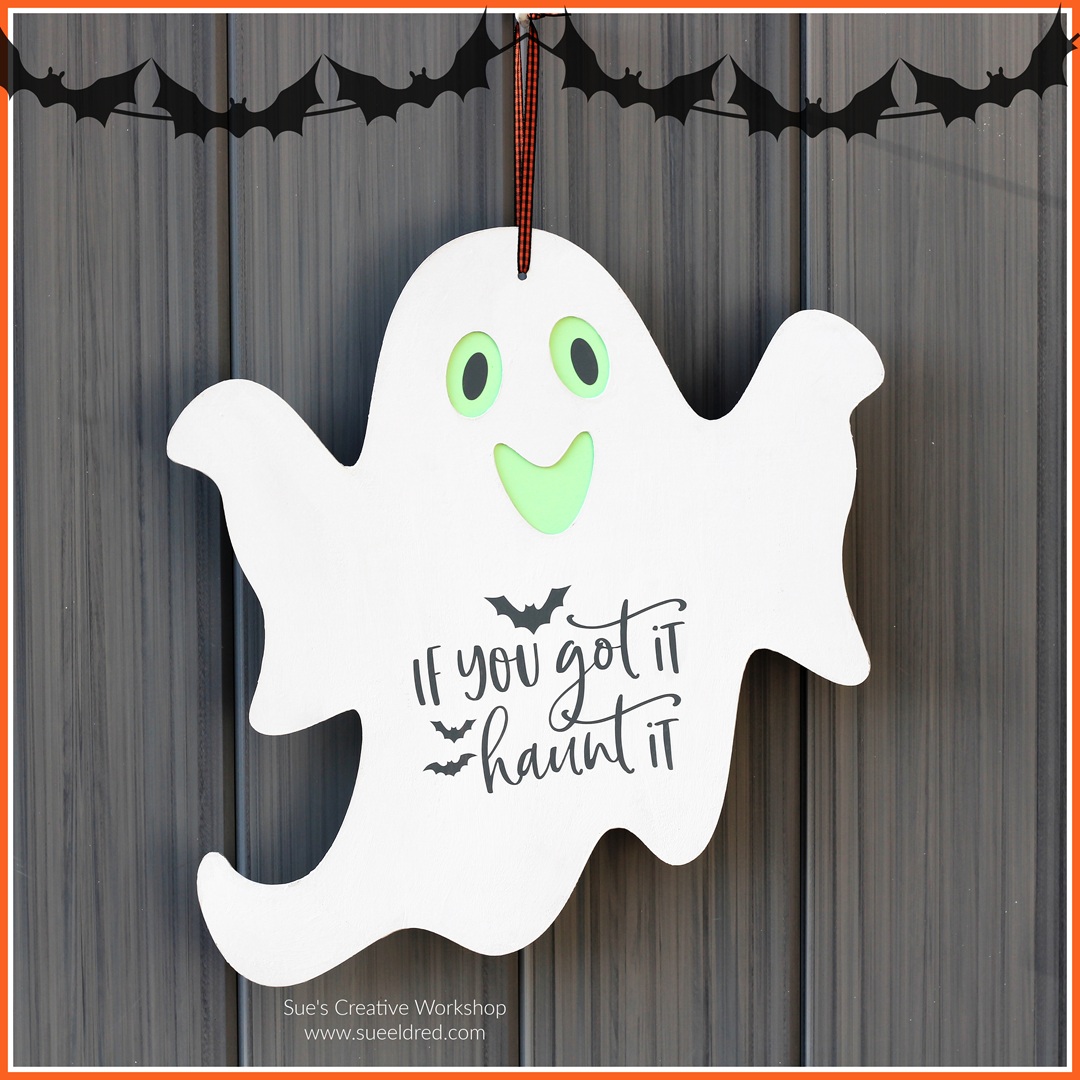
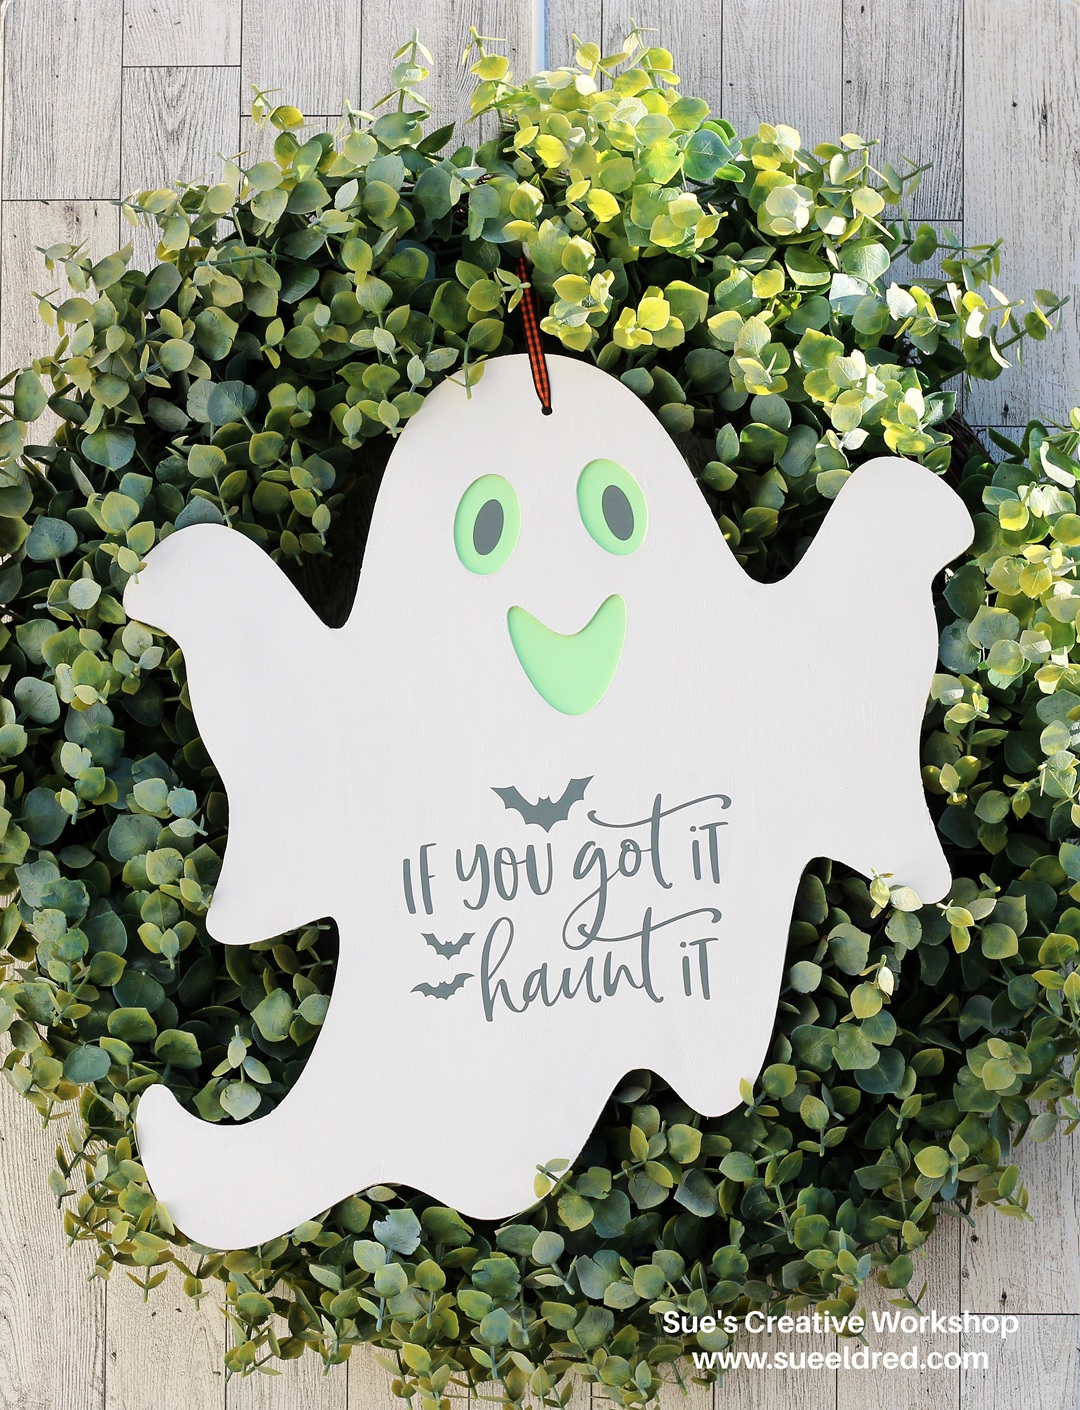
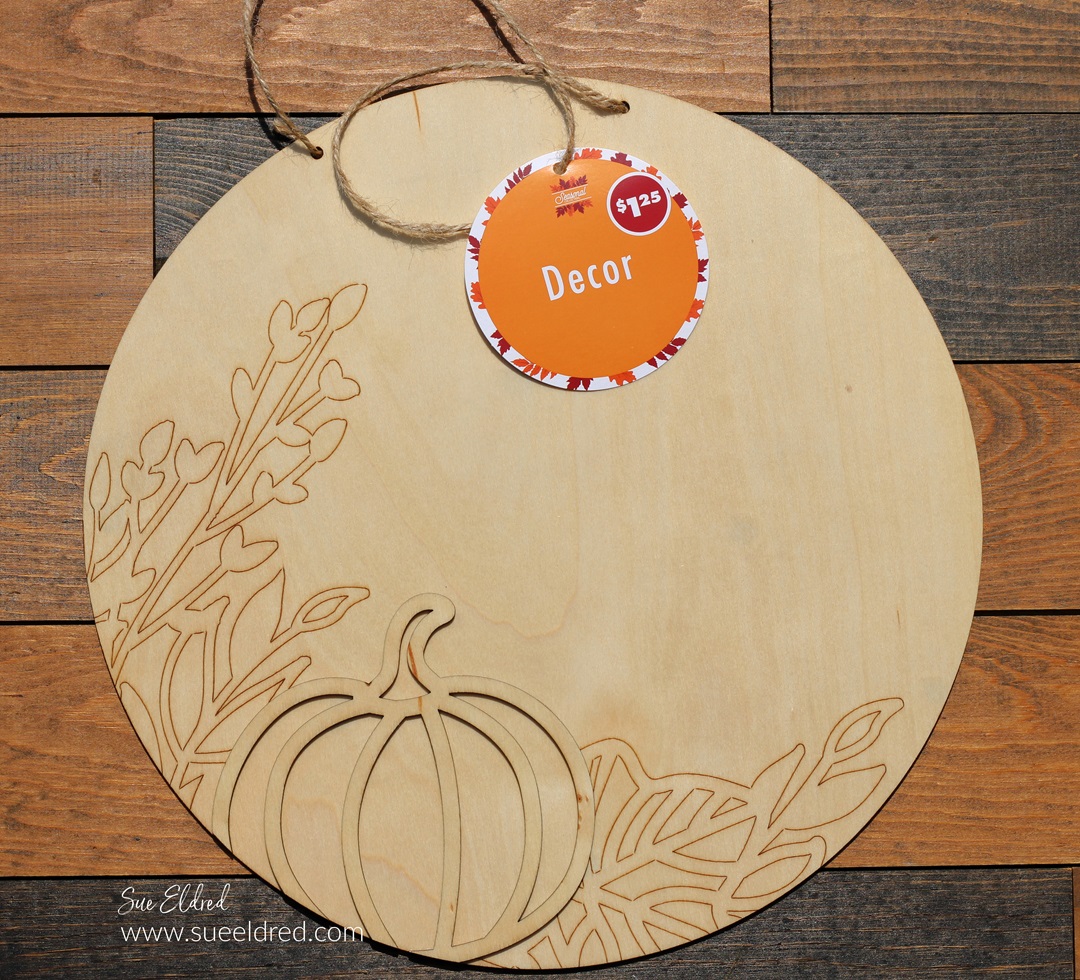
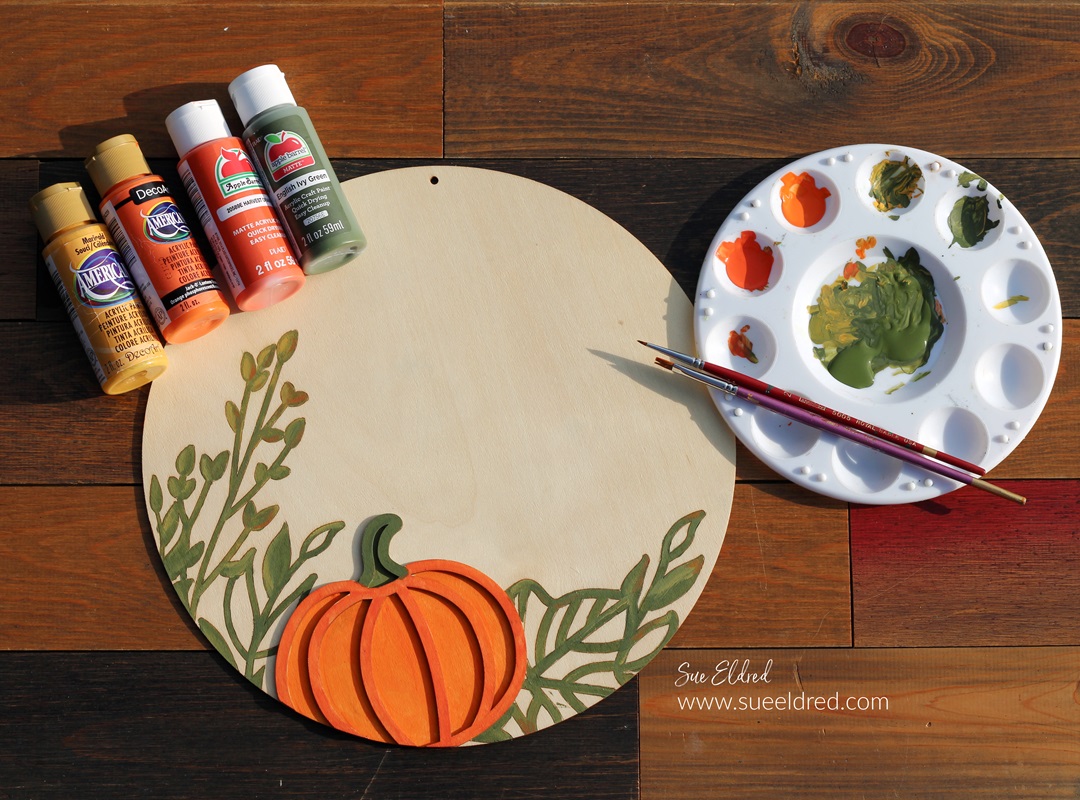
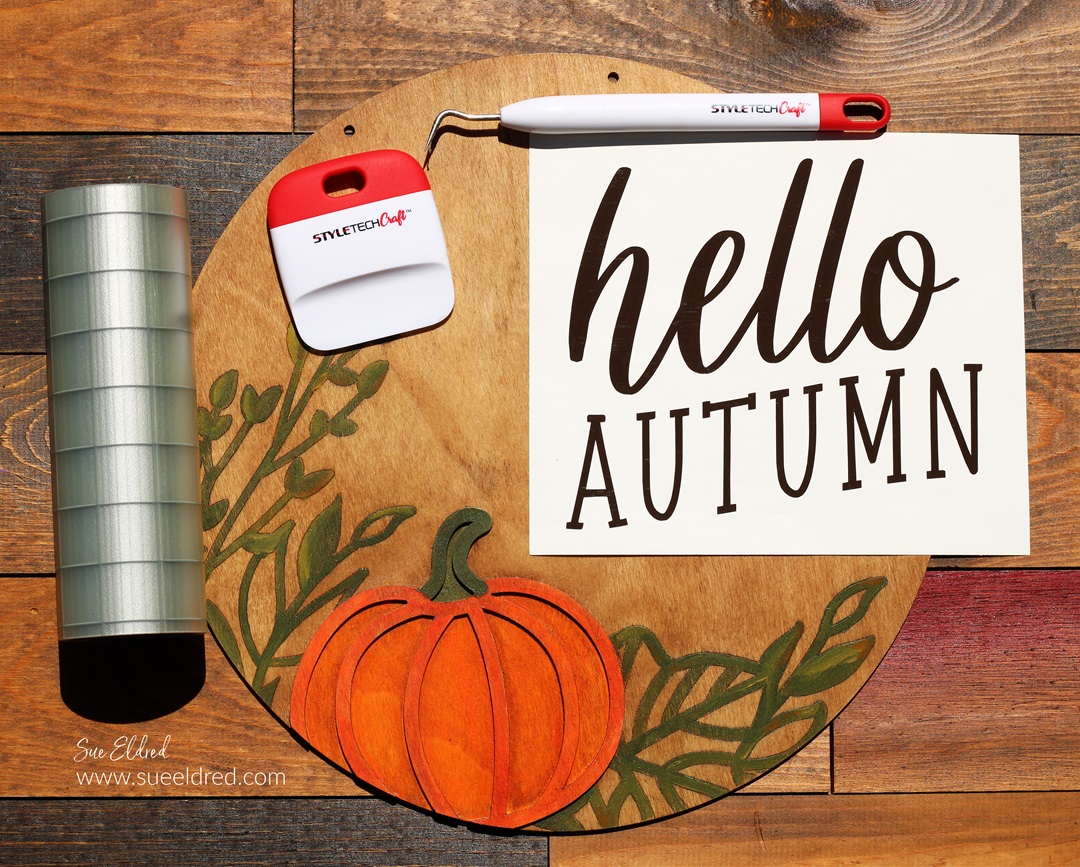
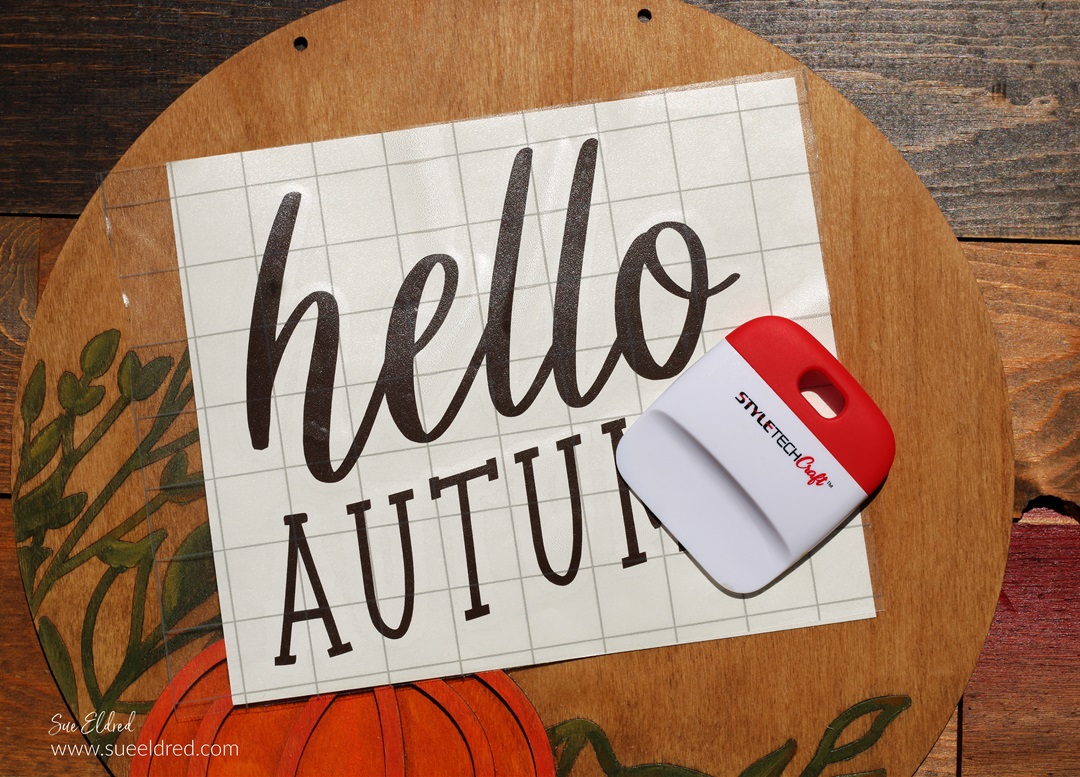
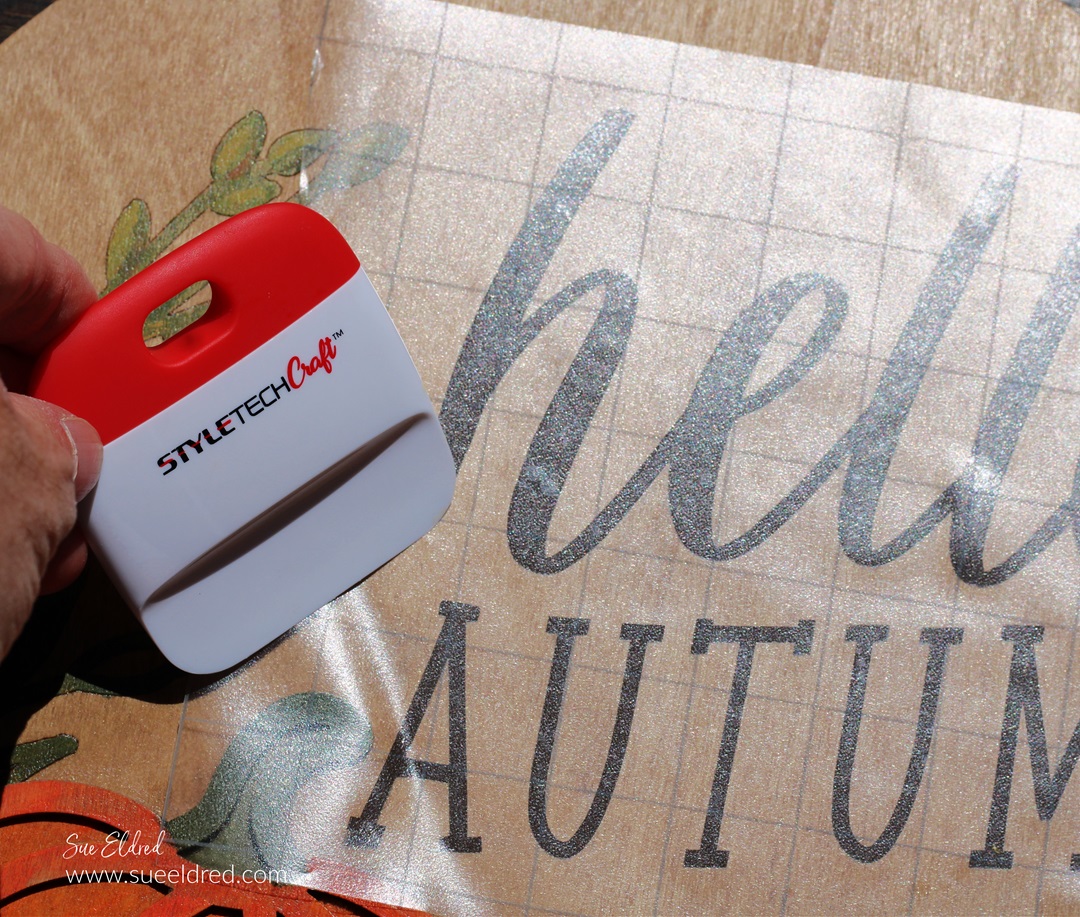
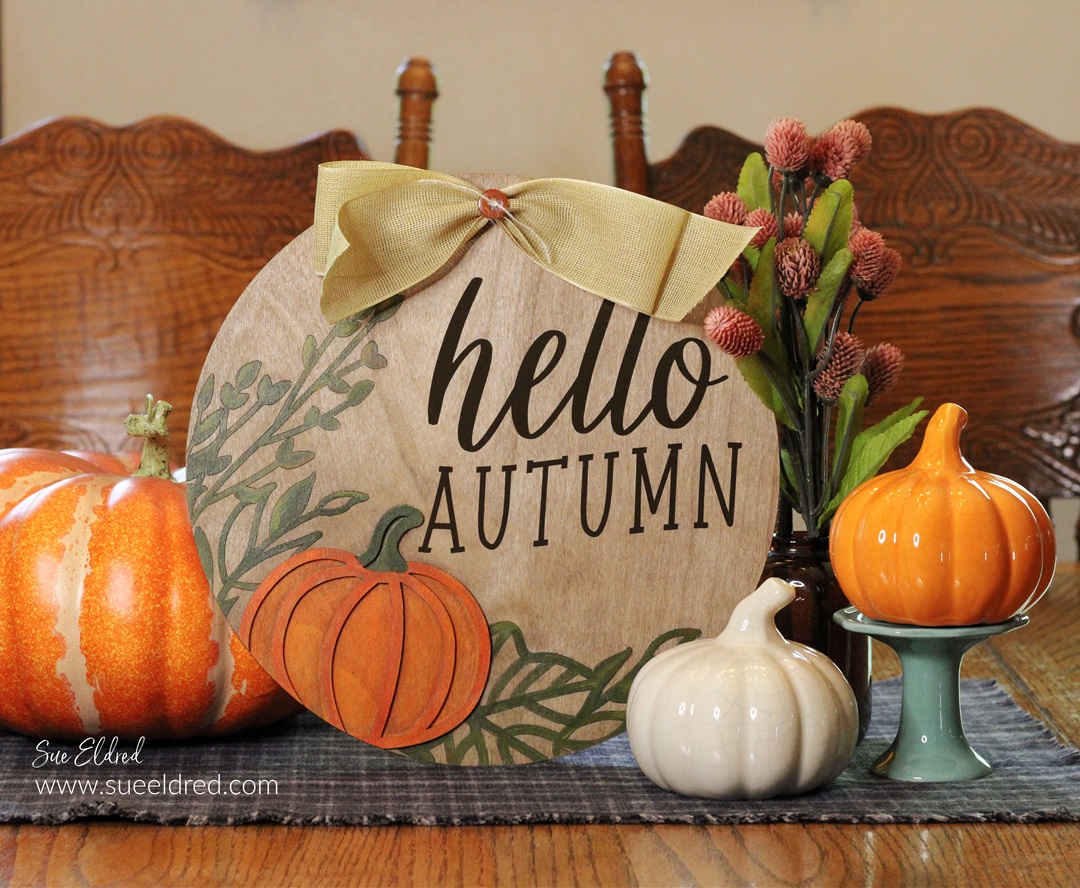
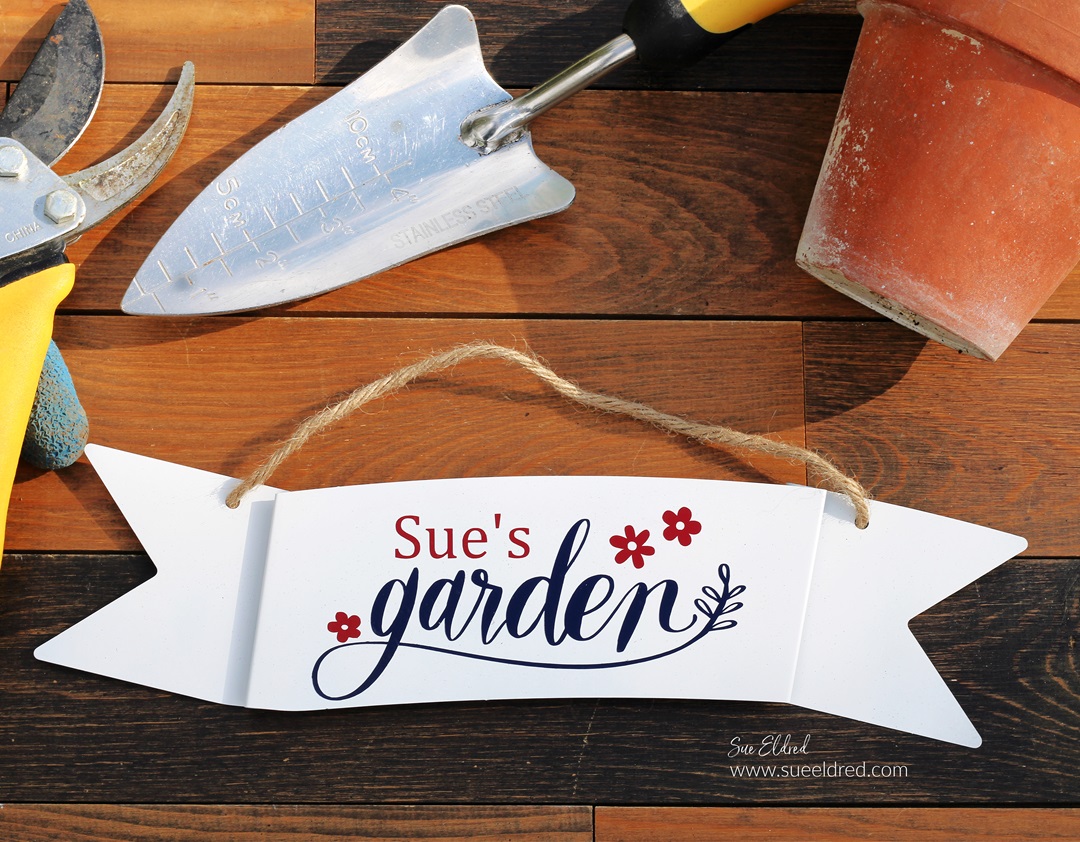
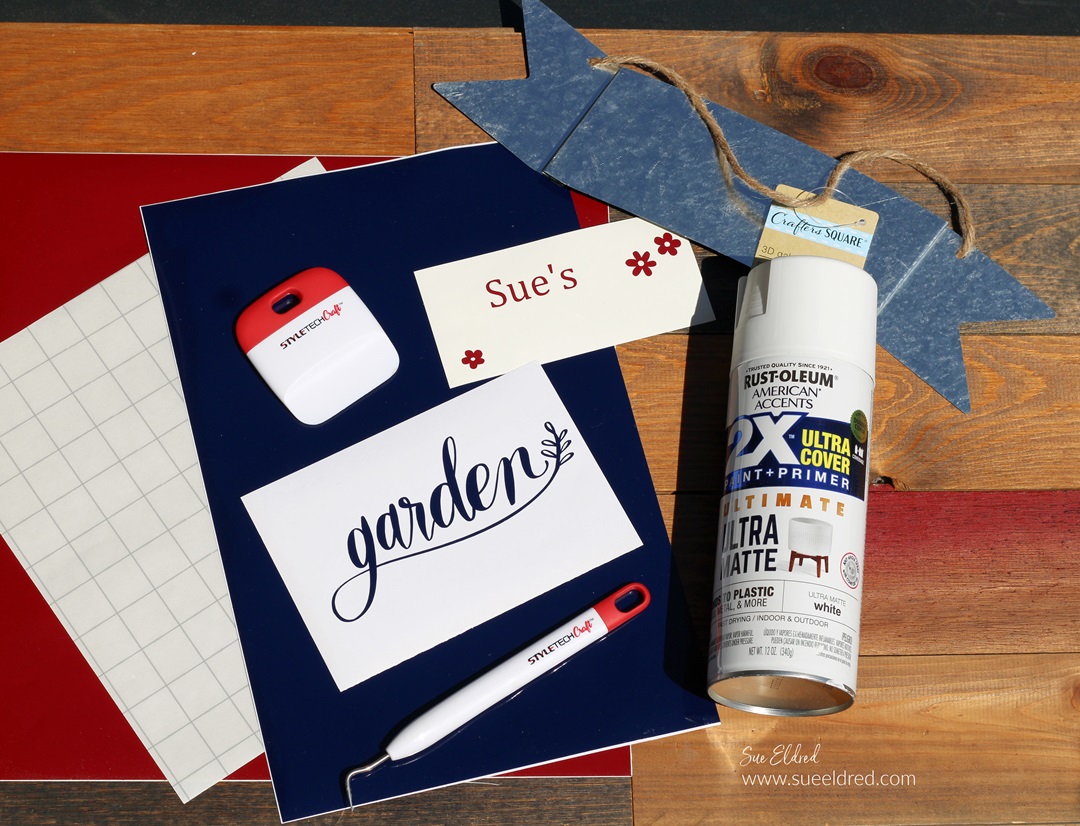
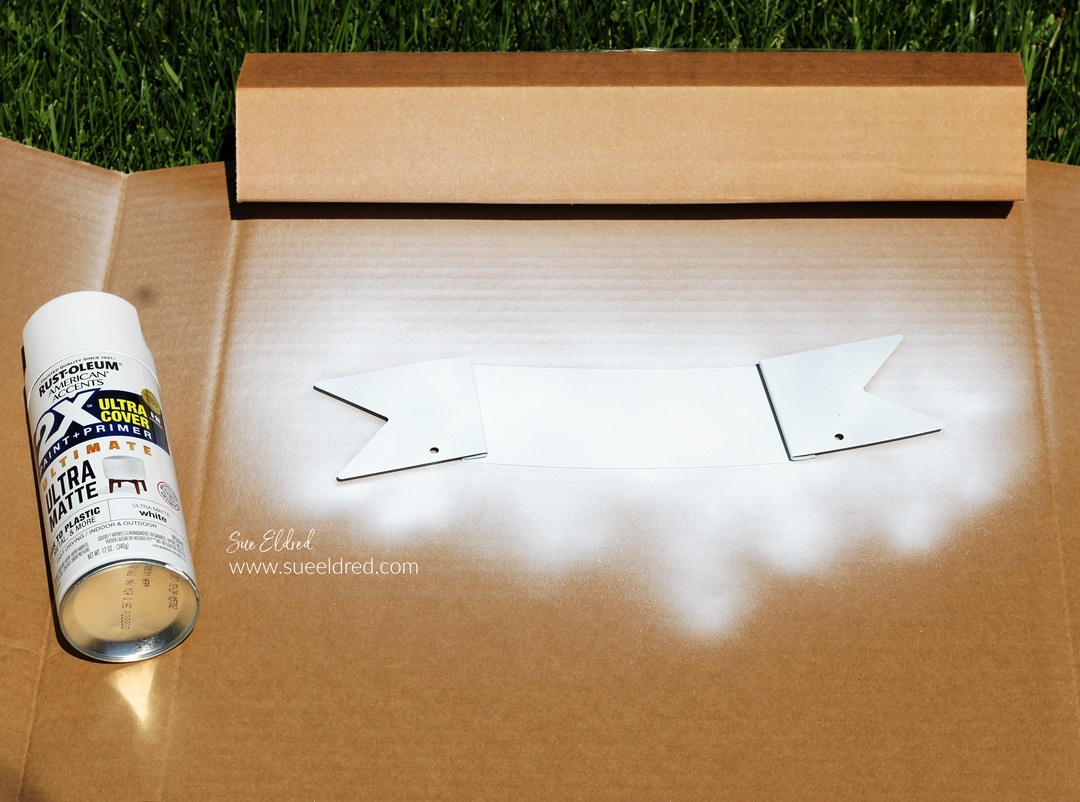
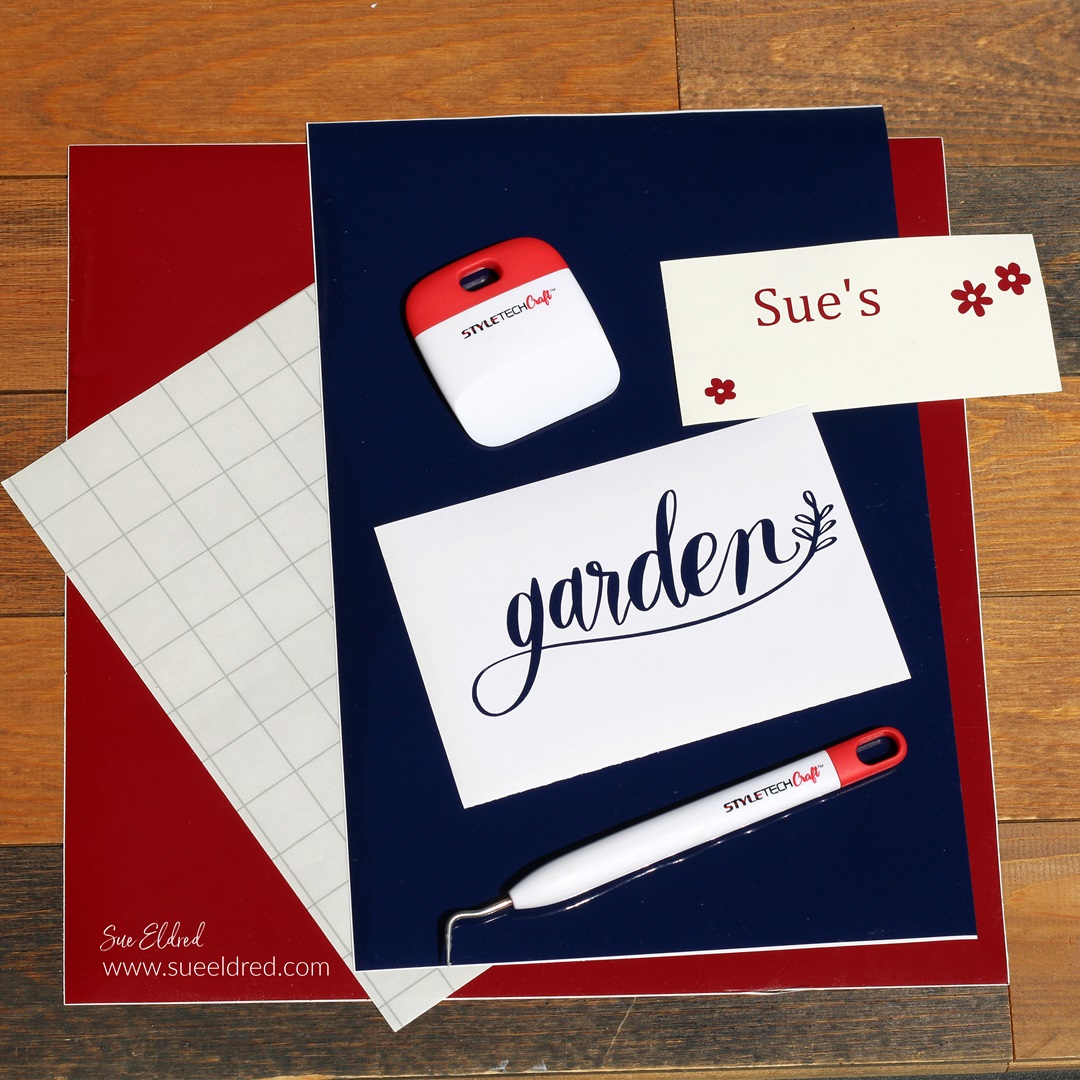
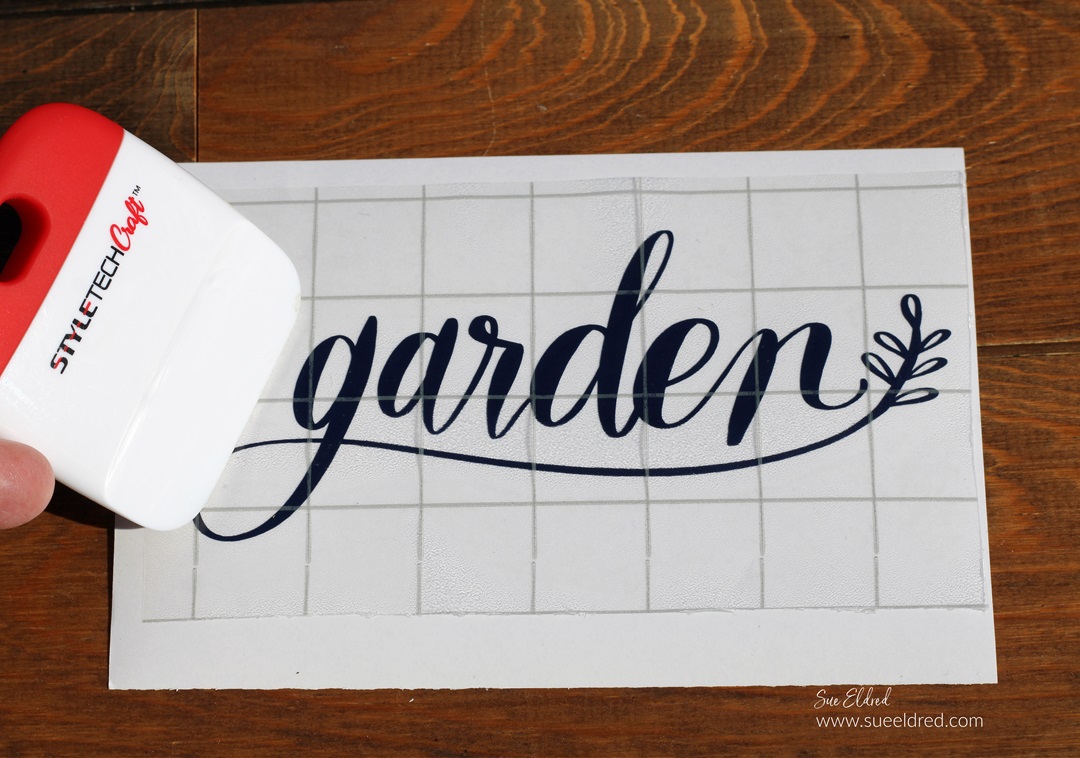
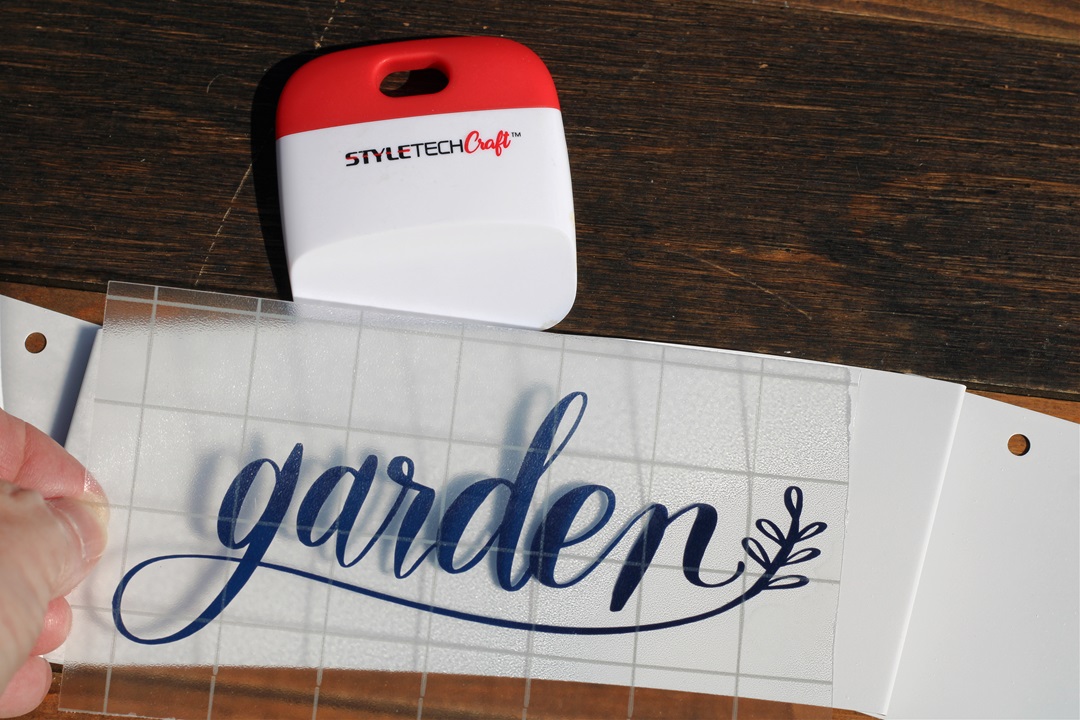
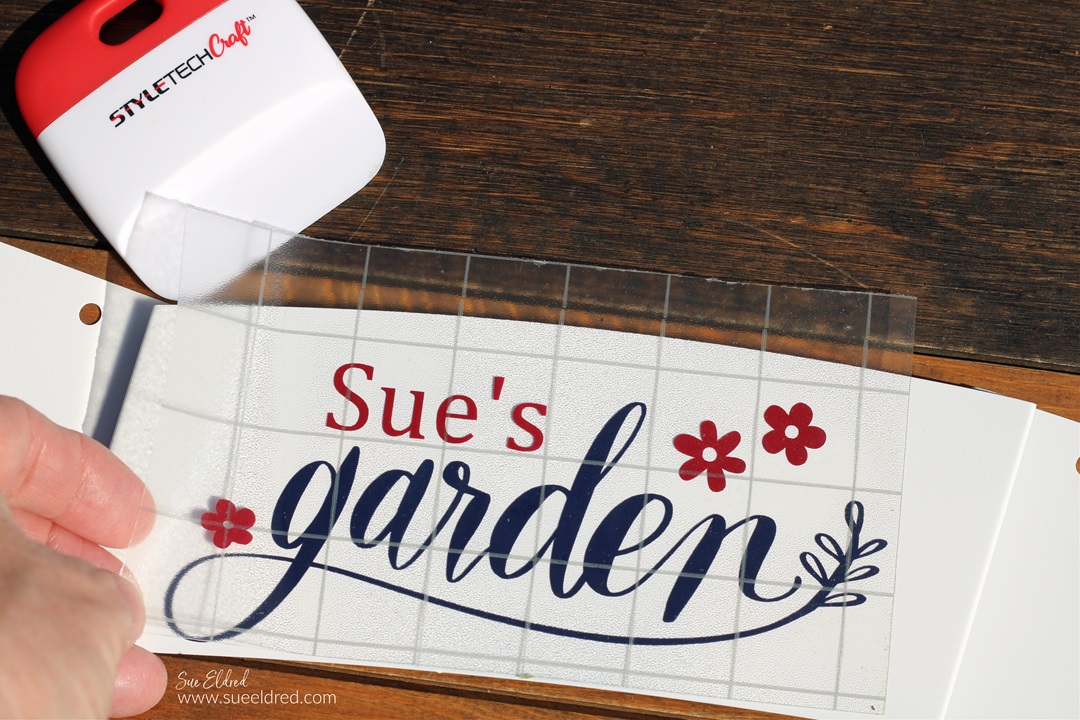
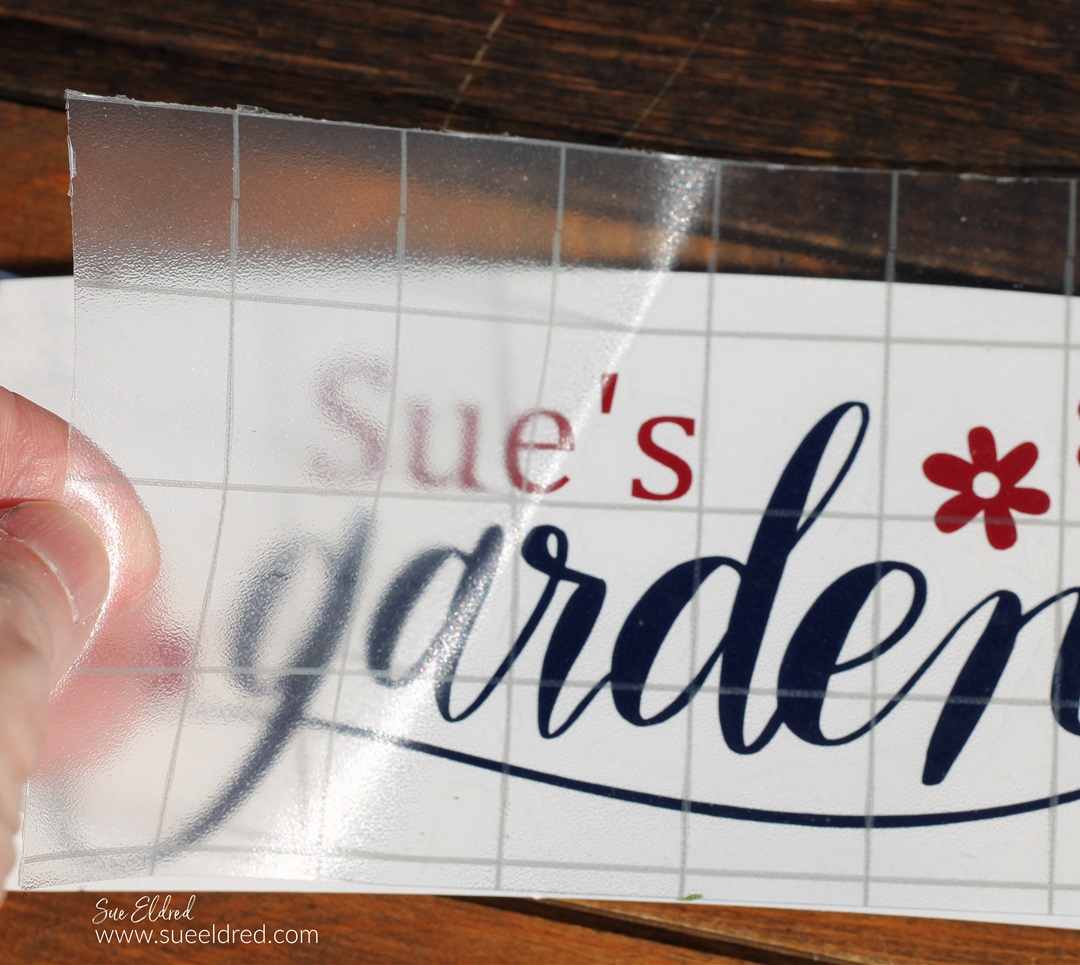
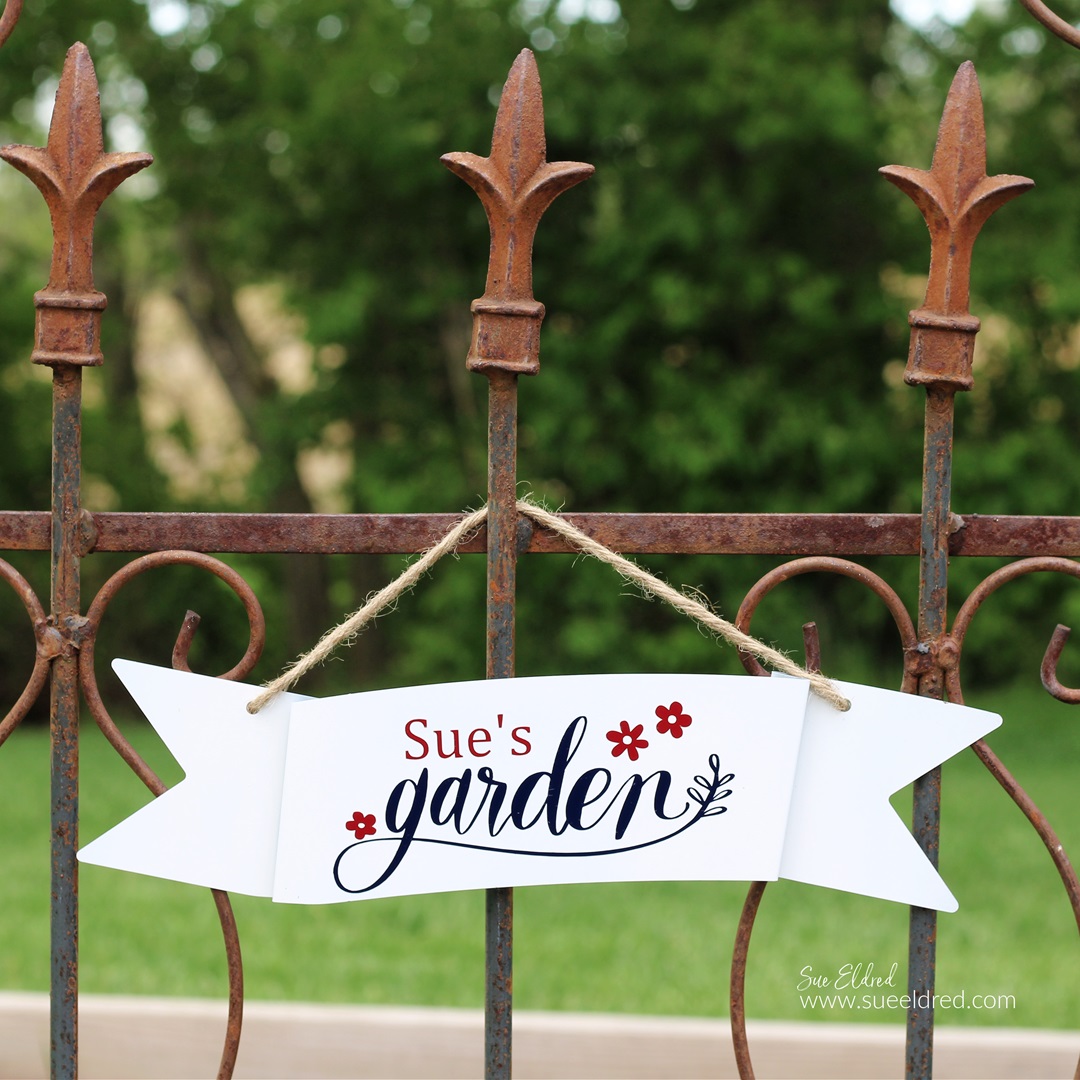
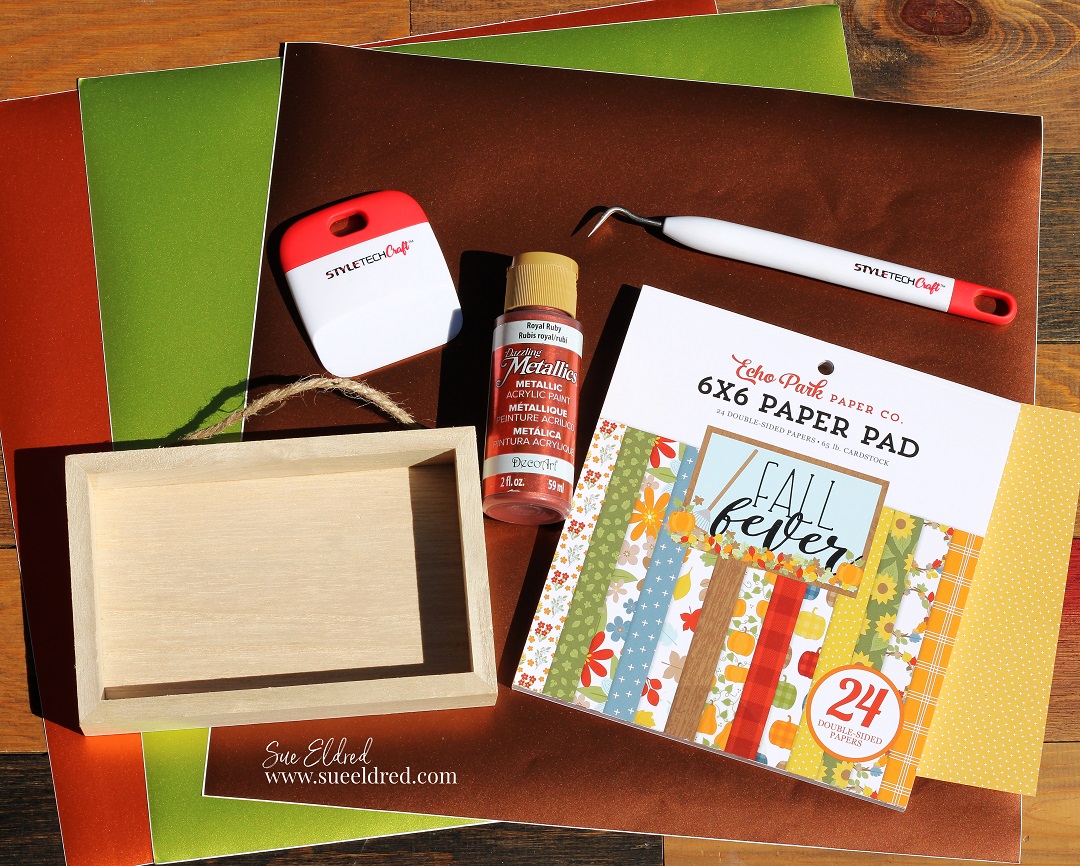
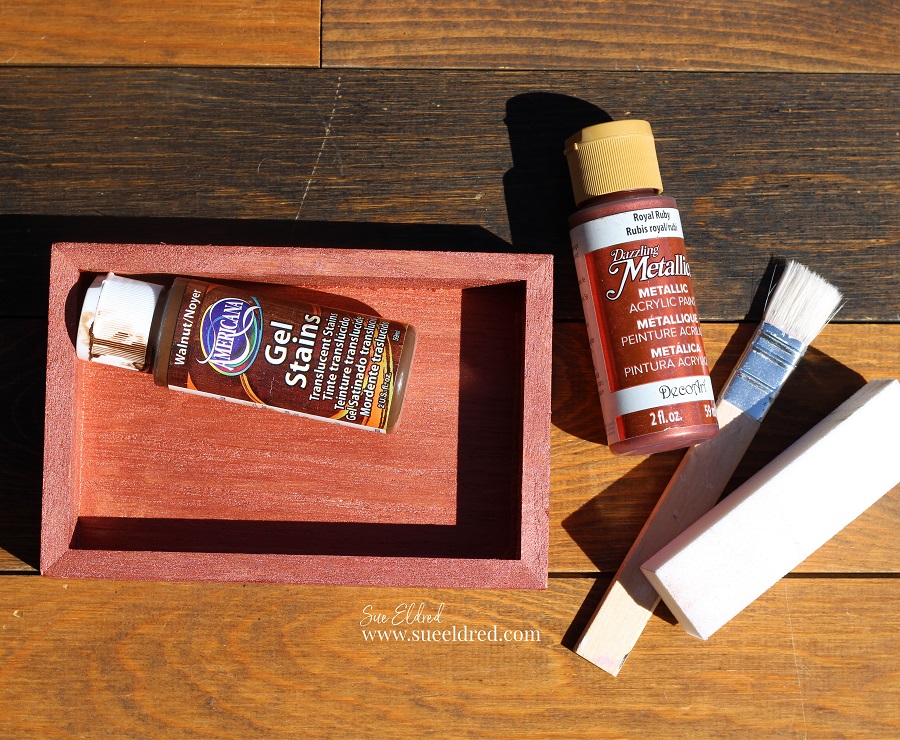
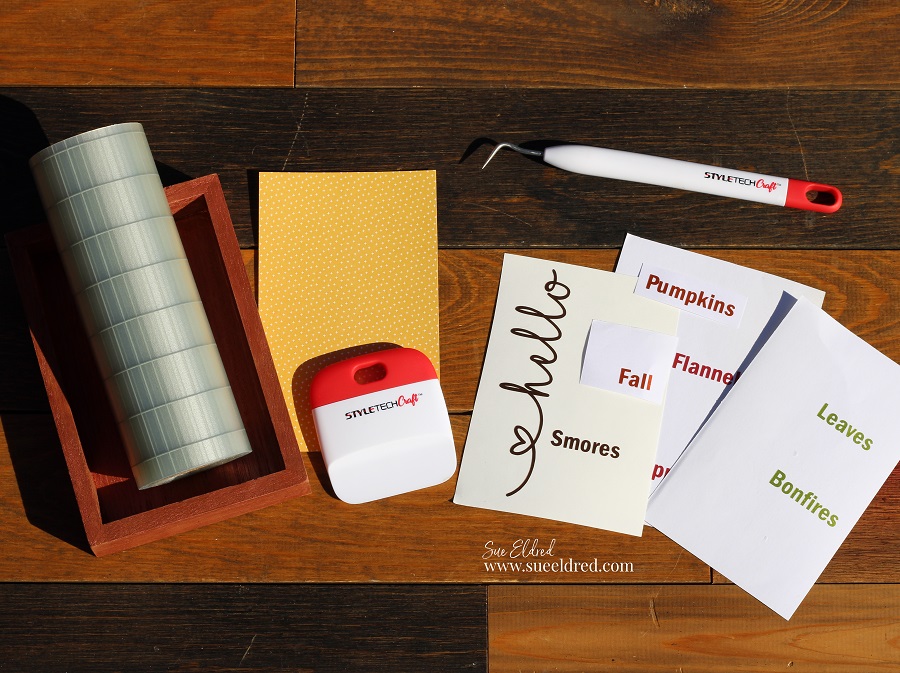
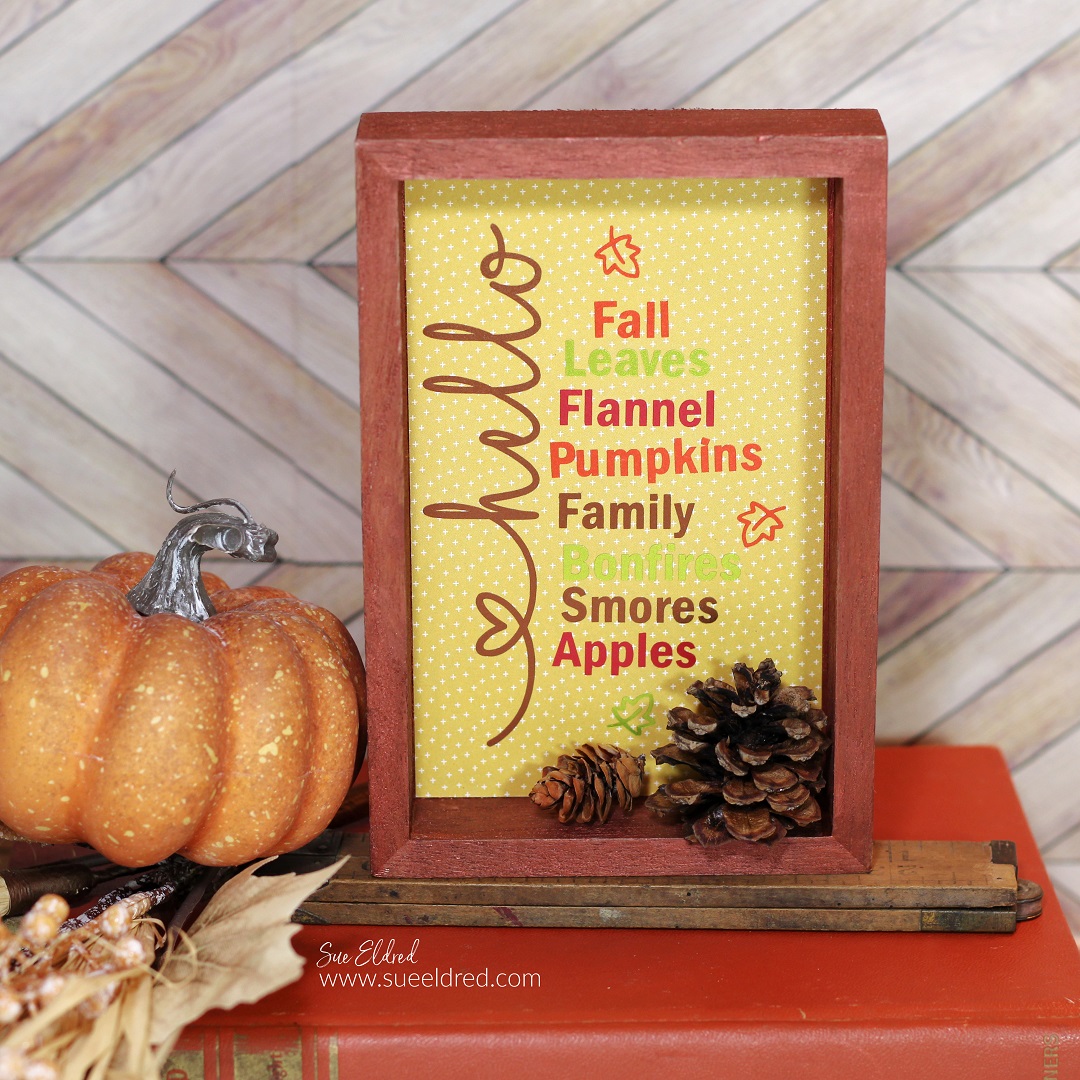
4. Create Unique Seasonal Décor
From signs and banners to table accents and wall art, vinyl is perfect for crafting seasonal decorations that suit any style.  Use holiday colors and patterns to bring warmth and personality to your home.

You can see the full tutorial on the Merry Holiday Banner project here.

Kringle's Christmas Tree Truck-A Dollar Store Holiday DIY

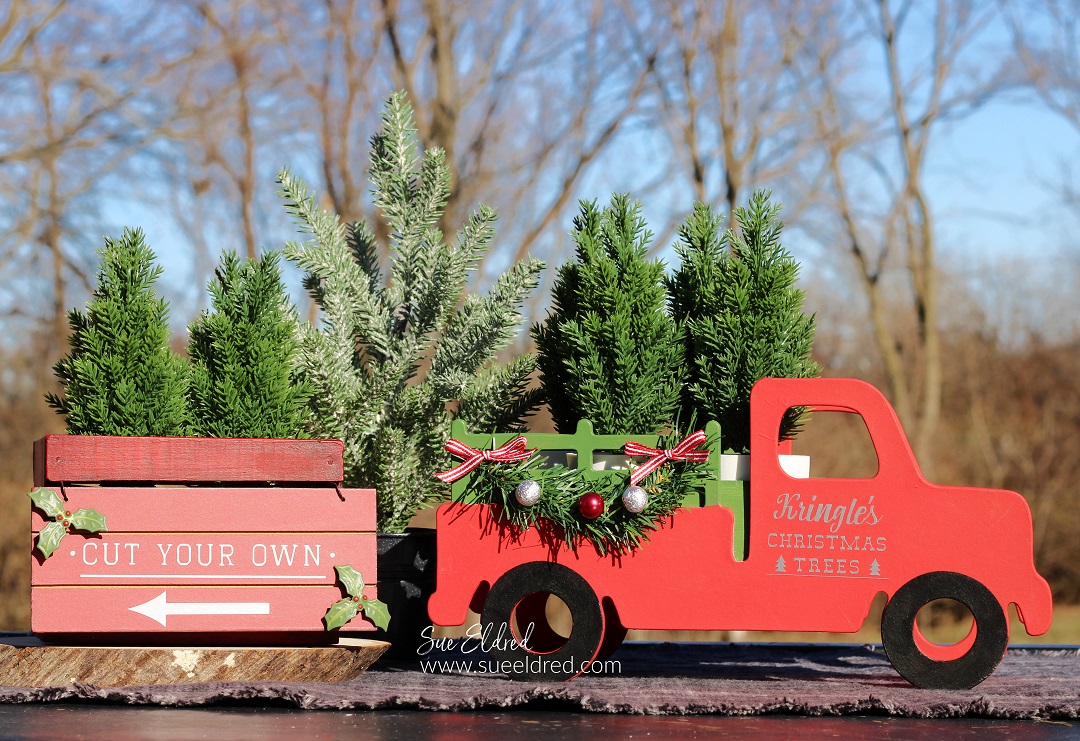
5.  Kris Kringle Christmas Tree Truck

This Kris Kringle Christmas Tree Truck is one of my all-time favorite holiday projects.  It uses a MDF Wood Trucks Wall Plaque* from Dollar Tree.  It’s an inexpensive project to make.

Check out the full step-by-step tutorial here.

Ready to add a personal touch to your holiday season?

StyleTechCraft vinyl makes it easy to transform ordinary items into festive, customized creations. Grab your vinyl, fire up your cutting machine, and start crafting memories that will last long after the decorations come down!

“This is a sponsored post.  As a member of the StyleTechCraft Design Team I have been provided product and compensation in exchange for my creative ideas.  The views and opinions are my own.

Halloween Ghost with Glow in the Dark Eyes

How to make a Halloween Ghost with Glow-in-the-Dark Eyes.

I picked up this cute wooden ghost cutout at my local Dollar Tree.

I knew it would make a fun Halloween Decoration when added 

with StyleTechCraft Glow in the Dark Vinyl.  

Materials Used:  (*affiliate links)

*Disclosure:  This blog uses ads and affiliate links.  If you choose to make a purchase using one of the links, I receive a small commission (at no additional cost to you) that helps offset the costs of maintaining this blog.  Thanks for your support!


My wood ghost was from Dollar Tree.

Here’s where things got a little tricky.  

  • I planned to use black vinyl with an orange vinyl to offset the words.   

  • Once I put the black vinyl letters onto the orange vinyl, I quickly realized that I didn’t like the way it looked on the white ghost.  It actually stood out too much.
  • I recut the words “If you got it Haunt it” using dark gray vinyl instead and ditched the idea of the orange offset.  (much better)

The fun little ghost would look cute in the middle of a wreath hanging from a door.          

StyleTechCraft’s Glow in the Dark Vinyl, once it’s charged,

has an awesome green glow that lasts for about 6 hours.  

“This is a sponsored post.  As a member of the StyleTechCraft Design Team I have been provided product and compensation in exchange for my creative ideas.  The views and opinions are my own.

DIY Carrot Patch Spring Decoration

Make this cute DIY Easter Carrot Decor craft project

and add a little whimsy to your spring home decor!

This project uses Dollar Tree craft supplies and StyleTechCraft vinyl

to make the cutest little U-Pick carrot patch.

Materials Used:  *Affiliate Links

Extreme Values Everyday at Dollar Tree – Shop Now!

*Disclosure:  This blog uses ads and affiliate links.  If you choose to make a purchase using one of the links, I receive a small commission (at no additional cost to you) that helps offset the costs of maintaining this blog.  Thanks for your support!

Directions:

  • Paint the Mini Crate* with brown acrylic paint.
  • To give the crate an aged look, dry brush the edges with black acrylic paint.  Wipe off any extra paint with a damp rag.
  • Seal the crate using Mod Podge Gloss*.  (This makes the crate look like it has been varnished.)
  • Cut a piece of foam to fit inside of the crate.  
  • Paint the foam with black acrylic paint.

  • Cut the carrots from the garland.

  • Poke holes into the foam that are large enough for the tips of the carrots to fit down into.
  • Hot glue the tips of the carrots in the holes.

StyletechCraft products brought to you by ATSM Craft*

  • Continue adding the additional pieces of the sign.  (Did you know that the transfer tape is reusable?)

  • Add a couple strips of double-sided foam tape* to the back of the matboard.  
  • Adhere here it to the front of the mini crate.

This little U-Pick Carrot Patch is perfect for displaying on a mantel,

on styled shelves, or in a tiered tray.  There are so many ways to style it!

“This is a sponsored post.  As a member of the StyleTechCraft Design Team I have been provided product and compensation in exchange for my creative ideas.  The views and opinions are my own.

Cute DIY Bunny Treat Container

How to make a Cute Bunny Treat Container

With Spring and Easter around the corner, it’s time to start all things bunnies.

The Bunny Treat Container is a fun Dollar Tree* and StyletechCraft* Spring DIY.

When I stopped at Dollar Tree the other day to pick up a

Clear Plastic Craft Jar* to make an Easter Bunny Treat Container,

I saw these cute bunny backside embellishments.  

(I’m not sure what the correct description would be.)

I knew they would be great for my little Easter Bunny.

Extreme Values Everyday at Dollar Tree – Shop Now!

Materials Used:    (*affiliate links)

StyletechCraft products brought to you by ATSM Craft*

*Disclosure:  This blog uses ads and affiliate links.  If you choose to make a purchase using one of the links, I receive a small commission (at no additional cost to you) that helps offset the costs of maintaining this blog.  Thanks for your support!

“This is a sponsored post.  As a member of the StyleTechCraft Design Team I have been provided product and compensation in exchange for my creative ideas.  The views and opinions are my own.

  • Cut a pink circle and bunny ears for the top of the jar.  (The ears for the bunny came with the Bunny Face SVG file.) I used white cardstock for the bunny ears and pink vinyl for the inside.  You could also use felt to create the bunny ears. 
  • Adhere the bunny ears to the lid with Glue Dots* or hot glue.

  • Disassemble the “bunny backside” embellishment.
  • Adhere the feet under the front of the jar.

  • Use Glue Dots* to adhere the tail to the back of the jar.

  • Add a ribbon around the top of the lid. 
  • Use Glue Dots* under the ribbon to keep it from slipping.  
  • Glue a small bow and flower embellishment to the front of the lid.  
  • Fill the jar with Spring Jellybeans* or Spring M & M’s*.  (Or your favorite treat.)

Valentine’s Day Candy Dispenser

Valentine's Day Candy Dispenser

Dollar Tree Heart Candy Dispensers

Using Dollar Tree* items and StyleTechCraft Vinyl*,

you can create an adorable, simple,

and inexpensive Valentine’s Day Treat Dispenser.

They make a fun little gift.

“This is a sponsored post.  As a member of the StyleTechCraft Design Team I have been provided product and compensation in exchange for my creative ideas.  The views and opinions are my own.

Valentine's Day Candy Dispensers

While at my local Dollar Tree* the other day, I found

these adorable Candy Dispensers.

I knew they wouldn’t last long there, so I grabbed a couple.

(FYI…they also have Easter Candy Dispensers*.)

Disclosure:  This blog uses ads and affiliate links.  If you choose to make a purchase using one of the links, I receive a small commission (at no additional cost to you) that helps offset the costs of maintaining this blog.  Thanks for your support!

Valentine's Day Candy Dispensers

I decided to make these cute little dispensers even cuter

with the help of StyleTechCraft Glossy Craft Vinyl*. 

Valentine's Day Candy Dispenser

Materials Used:  (*affiliate links)

Directions:

StyletechCraft products brought to you by ATSM Craft*

“Hello Autumn” a Fall Dollar Tree DIY

"Hello Autumn" a Fall Dollar Tree DIY

Hello Autumn Home Decor Sign

is an easy Fall Dollar Tree DIY.

With all the beautiful new Fall items on display everywhere you go,

I decided it was time to start working on my fall decorating.

"Hello Autumn" a Fall Dollar Tree DIY

I found this Harvest Pumpkin Hanging Wooden Circle Sign* at Dollar Tree*.  

It measures approximately 11″.

I knew it would be a great piece to hang on a wreath

or to use in my Fall decorating.

*Disclosure:  This blog uses ads and affiliate links.  If you choose to make a purchase using one of the links, I receive a small commission (at no additional cost to you) that helps offset the costs of maintaining this blog.  Thanks for your support!

"Hello Autumn" a Fall Dollar Tree DIY

I used acrylic paint to paint the pumpkin and leaves.  

Just follow the etched lines of the leaves.

I blended my paint for a more realistic look.

"Hello Autumn" a Fall Dollar Tree DIY

Rub over the wood sign with walnut stain* or ink.

Use Mod Podge Satin Sealer* to give the sign a satin finish.

Lightly rub over the sign with an extra fine sanding block* to smooth the grains.

"Hello Autumn" a Fall Dollar Tree DIY

Cut the words “Hello Autumn” using StyleTechCraft Brown Glossy Craft Vinyl*

and a Silhouette Cameo Electronic Die Cutting Machine*.

StyletechCraft products brought to you by ATSM Craft*

"Hello Autumn" a Fall Dollar Tree DIY

Place vinyl transfer paper over the words.

Rub over the words using a vinyl scraper tool to help

the vinyl cling to the Vinyl Transfer Tape*.

"Hello Autumn" a Fall Dollar Tree DIY

Place the Vinyl Transfer Tape* onto the wood circle.

Gently rub over the design and remove the Vinyl Transfer Tape*.

"Hello Autumn" a Fall Dollar Tree DIY

The sign has two holes on the top for hanging.

I added a simple bow to the top between the two holes.

It would look great in the center of a Large Fall Wreath.

"Hello Autumn" a Fall Dollar Tree DIY

I can’t decide whether to leave it on the table or add it to the mantle. 

(Maybe I’ll just hang it from the wreath.)

“This is a sponsored post.  As a member of the StyleTechCraft Design Team I have been provided product and compensation in exchange for my creative ideas.  The views and opinions are my own.

How to make a Farmhouse Garden Sign

How to make a Farmhouse Garden Sign

How to make a Personalized Farmhouse Garden Sign.

The “Garden sign” is a quick and easy Dollar Tree project.

Now that garden season is upon us, my mind is distracted with all things gardening.

I will start planting next week, and I can’t wait.

In anticipation of this year’s garden, I created a garden sign

using an inexpensive galvanized banner purchased at Dollar Tree*.

I made it with a traditional red, white, and blue color scheme.

How to make a Farmhouse Garden Sign

Materials Used:  (*affiliate links)

StyletechCraft products brought to you by ATSM Craft*

*Disclosure:  This blog uses ads and affiliate links.  If you choose to make a purchase using one of the links, I receive a small commission (at no additional cost to you) that helps offset the costs of maintaining this blog.  Thanks for your support!

How to make a Farmhouse Garden Sign

Directions:

Buy Your Crafting Supplies Now at Dollar Tree starting at $1.25!

How to make a Farmhouse Garden Sign

There are so many great colors of StyleTechCraft Glossy Craft Vinyl to choose from.

How to make a Farmhouse Garden Sign

How to make a Farmhouse Garden Sign

  • Remove the vinyl from its white protective layer and place onto the banner.
  • Rub over the vinyl with the scraper tool to transfer the vinyl onto the banner.
  • Gently lift the transfer paper from the vinyl.

FYI…the transfer paper is reusable.

How to make a Farmhouse Garden Sign

  • Line up the second layer over the first.

How to make a Farmhouse Garden Sign

  • Gently remove transfer paper from the banner.
  • Allow the vinyl to cure for 72 hours before using.

How to make a Farmhouse Garden Sign

The vinyl on the sign will hold up to the weather and looks great in my garden.

“This is a sponsored post.  As a member of the StyleTechCraft Design Team I have been provided product and compensation in exchange for my creative ideas.  The views and opinions are my own.

DIY Wood Gingerbread House

DIY Wood Gingerbread House

Is it me, or is there even more Gingerbread House projects this year?

I’ve been seeing so many cute ones.

So…I decided why not jump on the Gingerbread House

Trend with one of my last crafty Holiday projects this season.

DIY Wood Gingerbread House

I found this wood house shape at Dollar Tree* earlier this year.

Next, I needed to deconstruct the house.

With patience, I removed the wood heart and house trim

using a craft knife*.  After removing the gingham fabric from the

wood house, I sanded the house smooth with a palm sander*.

*Disclosure:  This blog uses ads and affiliate links.  If you choose to make a purchase using one of the links, I receive a small commission (at no additional cost to you) that helps offset the costs of maintaining this blog.  Thanks for your support!

DIY Wood Gingerbread House

In my workshop, I have a jar of wooden holiday pieces.

I thought these would be perfect for my Gingerbread House.

DIY Wood Gingerbread House

I painted the house and all the pieces using acrylic paint.

I outlined and doodled on the house and wood pieces using a white paint pen*.

It was fun and relaxing, but my doodling skills could definitely use a little work.

The Gingerbread House makes a cute addition to my Holiday Decorations.

DIY Wood Gingerbread House

With just one week until Christmas Eve…

I always wish I could have made more projects.

But, I have to remind myself there’s always next year.

Here’s to taking time and enjoying the rest of the Holiday Season.

How to make a Mini Christmas Dollhouse

Mini Christmas Dollhouse-Sue's Creative Workshop www.sueeldred.com 3502

How to make a Miniature Christmas House using a Dollar Tree Dollhouse*.

On Instagram the other day, I saw a reel by Jessica Grant on how to make a

Gingerbread House using a Dollhouse she purchased at Dollar Tree*.

(It was so adorable, you need to check it out.)

*Disclosure:  This blog uses ads and affiliate links.  If you choose to make a purchase using one of the links, I receive a small commission (at no additional cost to you) that helps offset the costs of maintaining this blog.  Thanks for your support!

Dollar Tree Dollhouse

I love miniatures, doll houses, and Christmas.

So, of course, I had to run over the next day and pick up a couple for myself.

There were two different dollhouses* to choose from.  (I bought one of each.)

How to make a Dollar Tree Dollhouse into a Miniature Christmas House.

The house was simple to dissasemble, which makes it perfect for painting.

How to make a Dollar Tree Dollhouse into a Miniature Christmas House.

I spray painted the pink house white, the roof gray, and the windows and doors gold.

It’s important to use a paint that sticks well to plastic.

Because I am an impatient crafter and couldn’t’ wait to put it together,

I have a few scratches on my house.

I sealed the paint on my house with a clear matte finish sealer*.

Mini Christmas Dollhouse

I also picked up these fairy lights*.

I’m not sure if I’m going to use them or not.

The pink of the original dollhouse shows through when the lights are on.

(I should have given the house an additional coat of paint.)

Mini Christmas Dollhouse

As a crafter, I have a stash of Christmas miniatures I’ve collected over the years.

They really came in handy this time.  (You can always check out your local craft store.)

I glued them onto the front of the house using Rapid Fuse All Purpose Adhesive*.

Mini Christmas Dollhouse

I’m in love with this Christmas Dollhouse.

It looks so real.  I want to live in that house.

Hello Fall Shadow Box Frame

Hello Fall Shadow Box Frame

How to make an Easy Fall Dollar Store DIY.

I can’t resist an Easy Fall Dollar Store Project,

while I’m sitting here hanging onto Summer for as long as I can.

Hello Fall Shadow Box Frame

Materials Used:  (*affiliate links)

StyletechCraft products brought to you by ATSM Craft*

*Disclosure:  This blog uses ads and affiliate links.  If you choose to make a purchase using one of the links, I receive a small commission (at no additional cost to you) that helps offset the costs of maintaining this blog.  Thanks for your support!

Hello Fall Shadow Box Frame

Directions:

  • Remove the picture hanger hardware and the twine hanger from the wood shadow box.
  • Paint the shadow box with Royal Ruby Metallic Paint*.
  • Lightly sand over the paint using an extra fine sanding block*.
  • I felt the Metallic Paint was a little too metallic for me, so I went over the paint with a light coat of walnut gel stain.  Wipe off the stain with a soft rag.

Hello Fall Shadow Box Frame

Hello Fall Shadow Box Frame

Hello Fall Shadow Box Frame

Add Fall Embellishments to the bottom of the shadowbox frame.

The shadow box frame makes a cute little shelf sitter to add to

your Fall Decorations.

“This is a sponsored post.  As a member of the StyleTechCraft Design Team I have been provided product and compensation in exchange for my creative ideas.  The views and opinions are my own.