Looking for a fun activity to create with the kids?
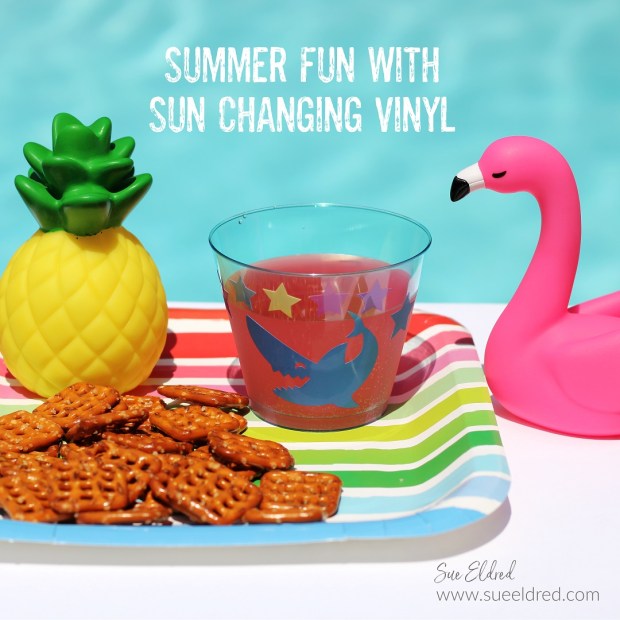
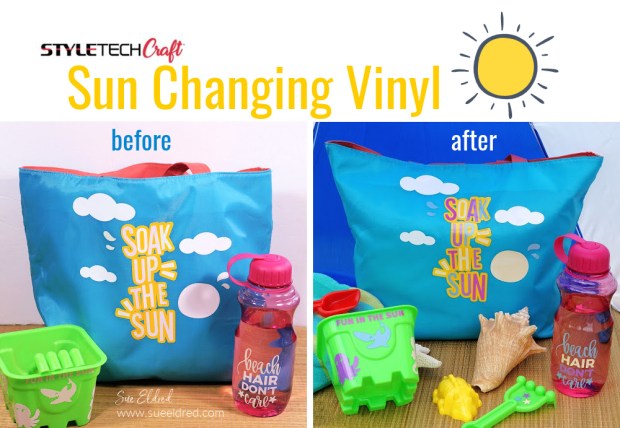
Create Cups that change with the sun.
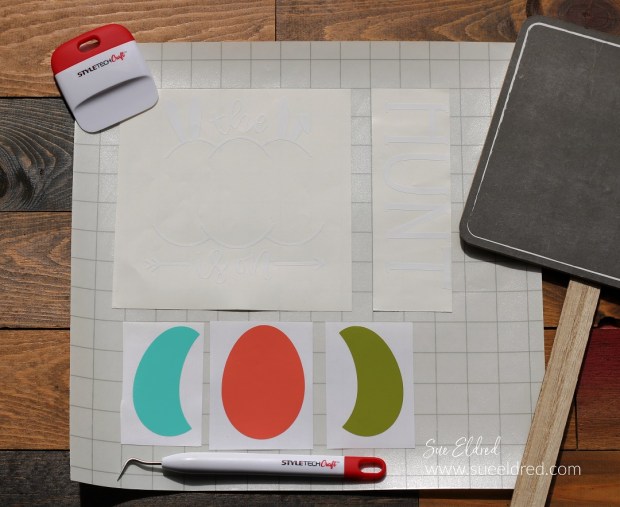
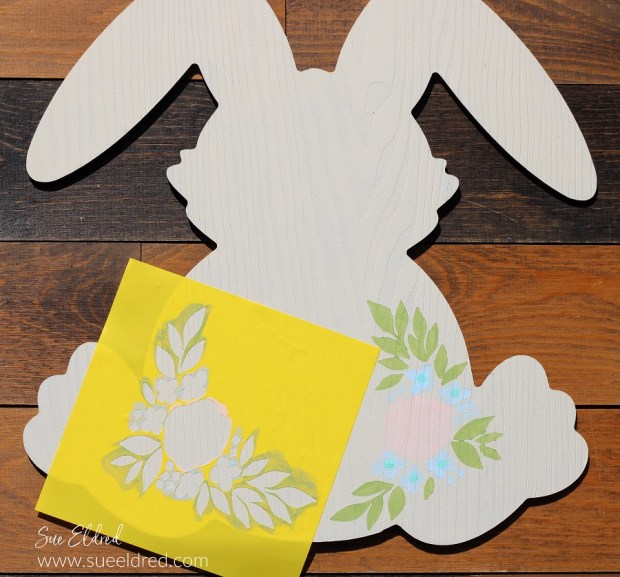
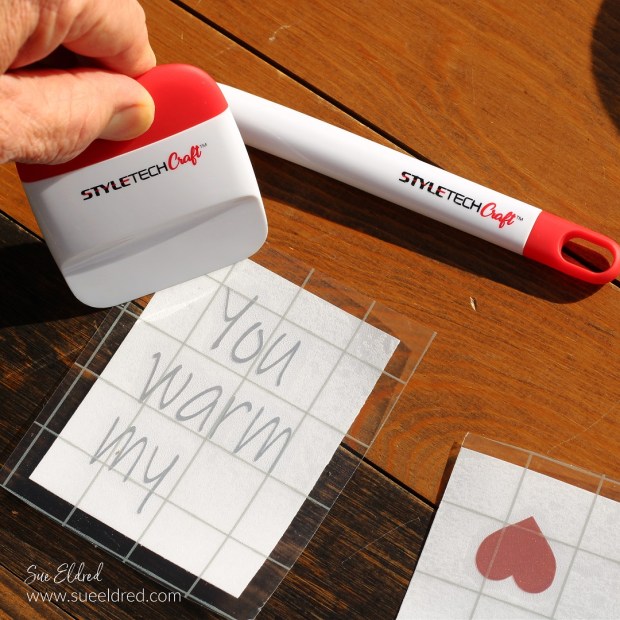
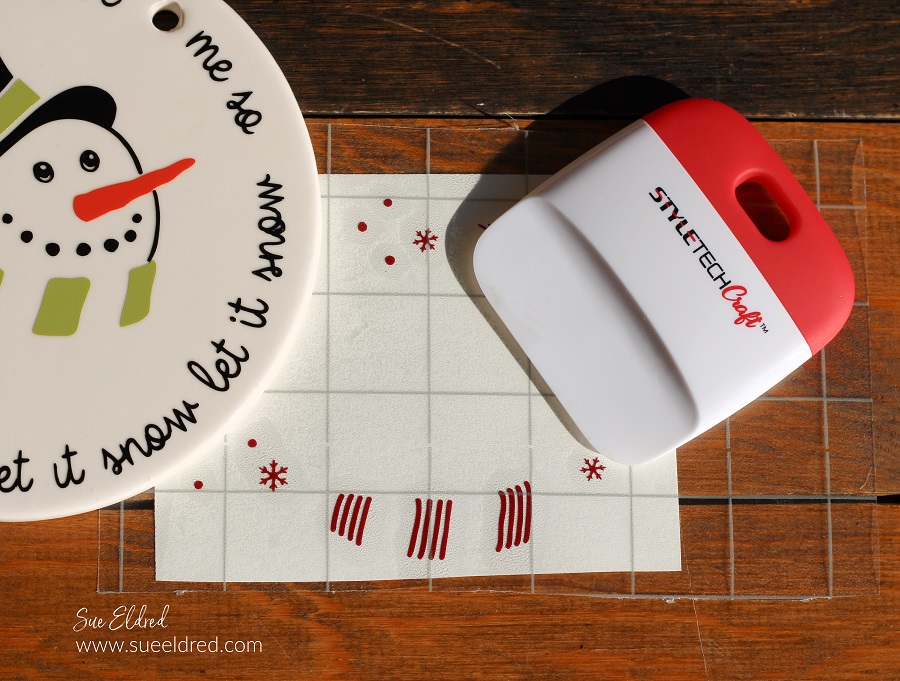
I used Sun Changing Vinyl from StyleTechCraft* and my
Silhouette Cameo Electronic Die Cutting Machine*
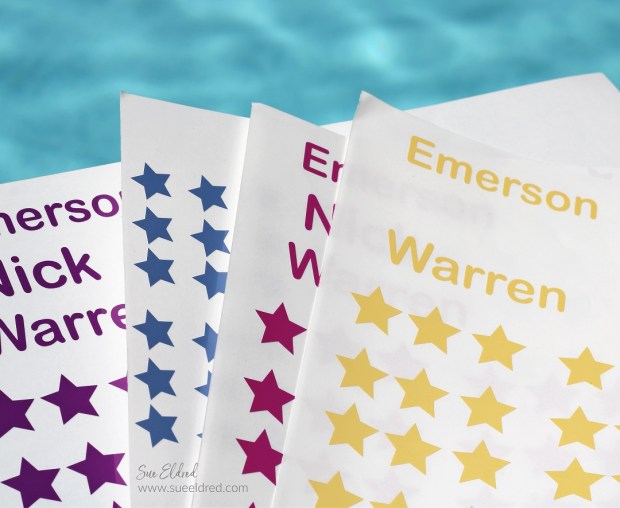
to create fun shape stickers for the kids to decorate the cups.
The Sun-Changing Vinyl* is available in four fun colors.

StyletechCraft products brought to you by ATSM Craft*
*Disclosure: This blog uses ads and affiliate links. If you choose to make a purchase using one of the links, I receive a small commission (at no additional cost to you) that helps offset the costs of maintaining this blog. Thanks for your support!
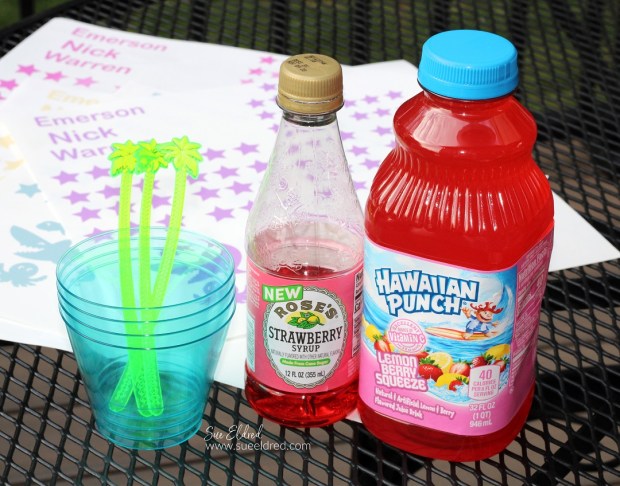
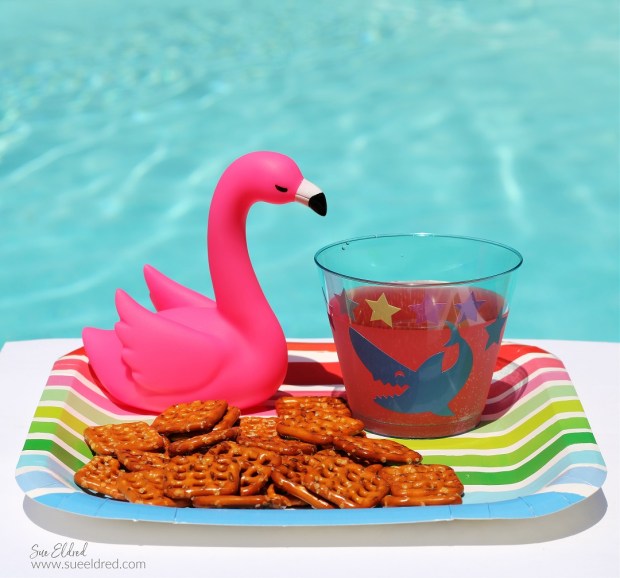
Fun kiddie cocktails are great when all the grown-ups are sitting
around the pool drinking adult beverages.
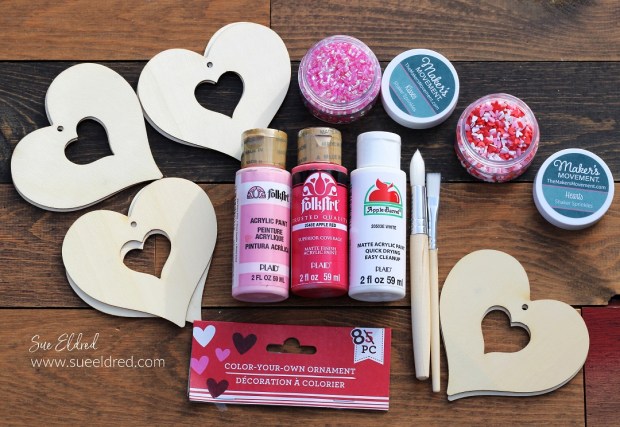
For the kids, I bought drink cups, stir sticks, plates, pretzels, and
cute little light-up flamingoes*, and pineapples* at Dollar Tree*.
It makes a day at the pool feel like a party.
Shop Summer Essentials starting at $1.25 at Dollar Tree!
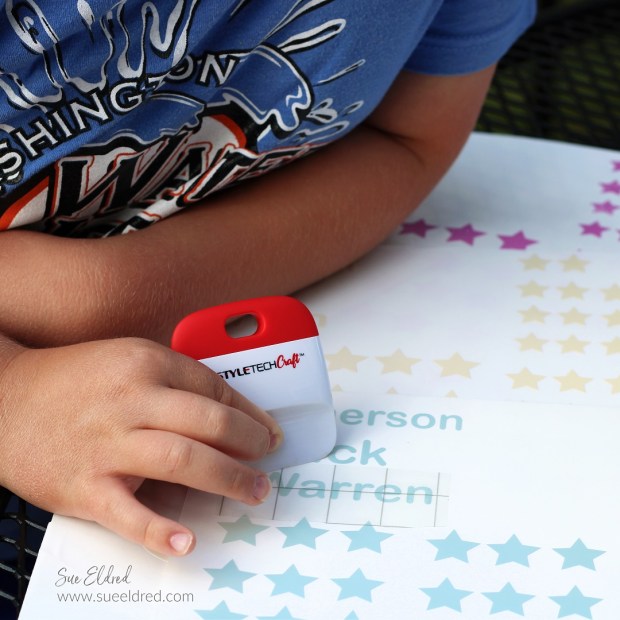
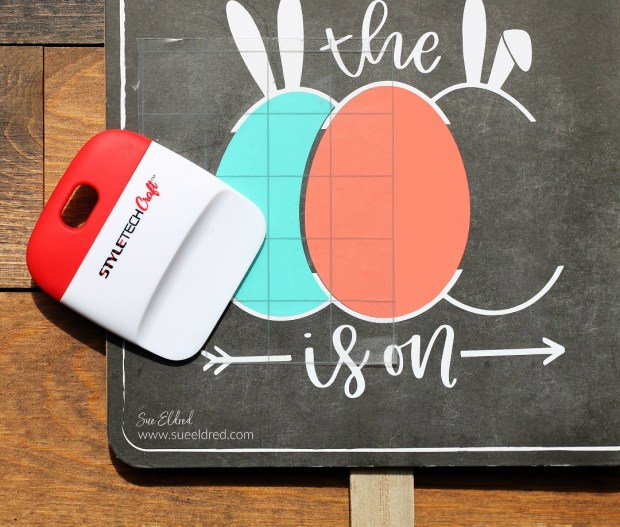
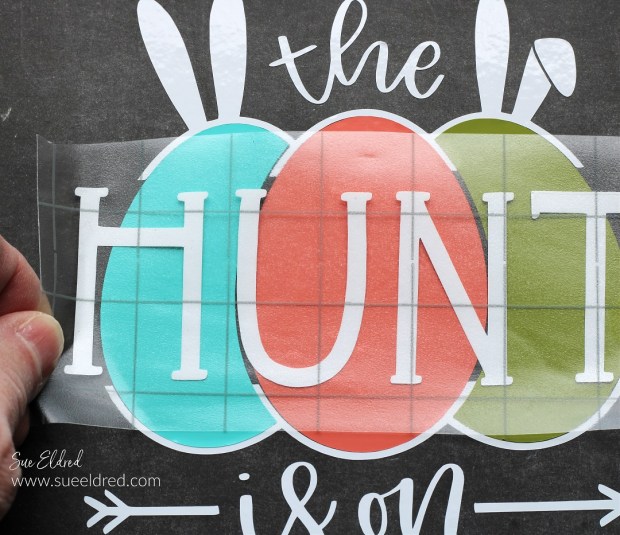
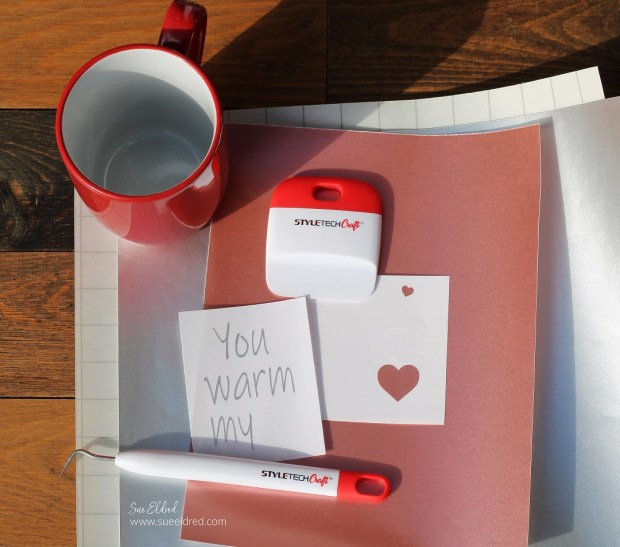
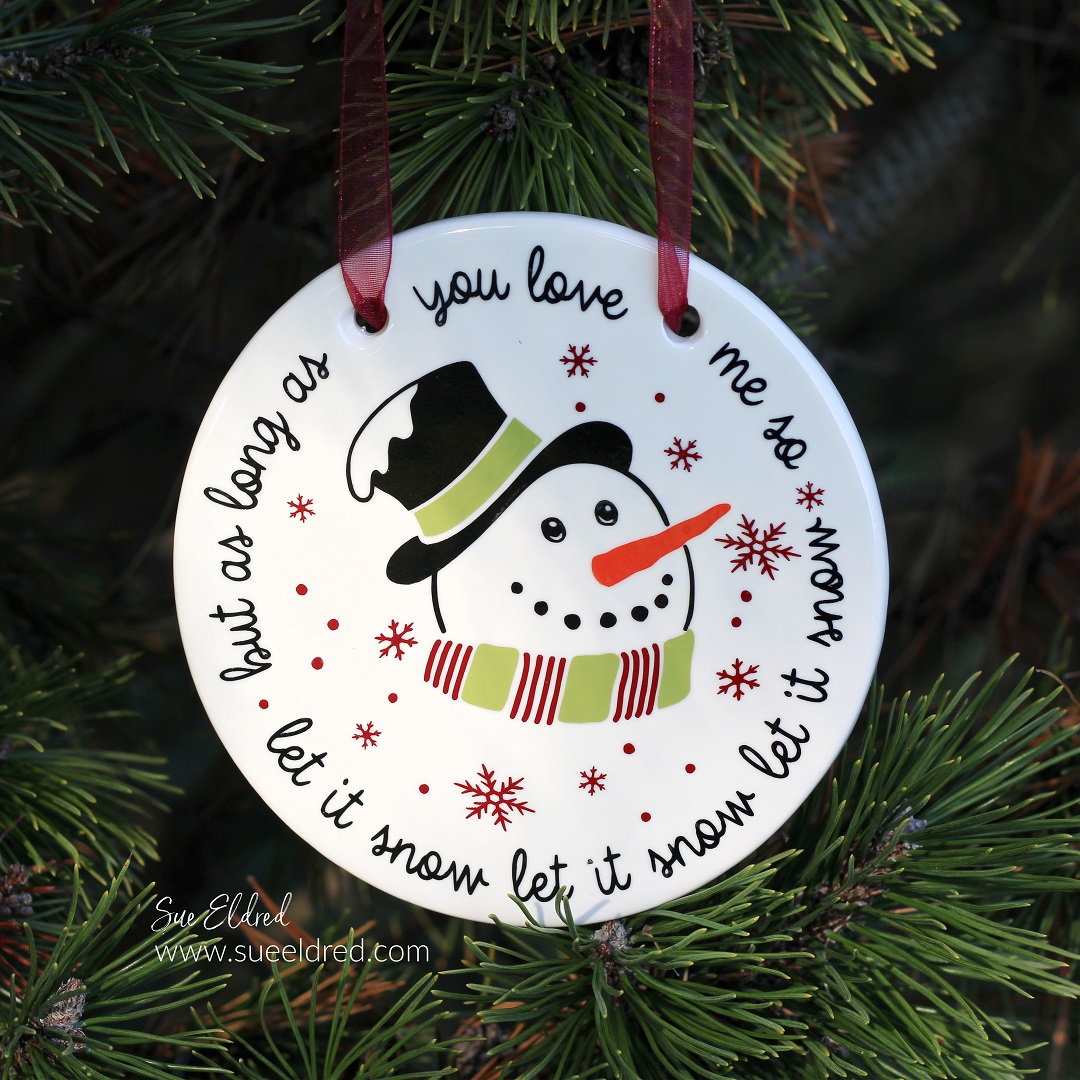
For smaller letters, we used StyleTechCraft Vinyl Transfer Tape* to add the vinyl to the cup.
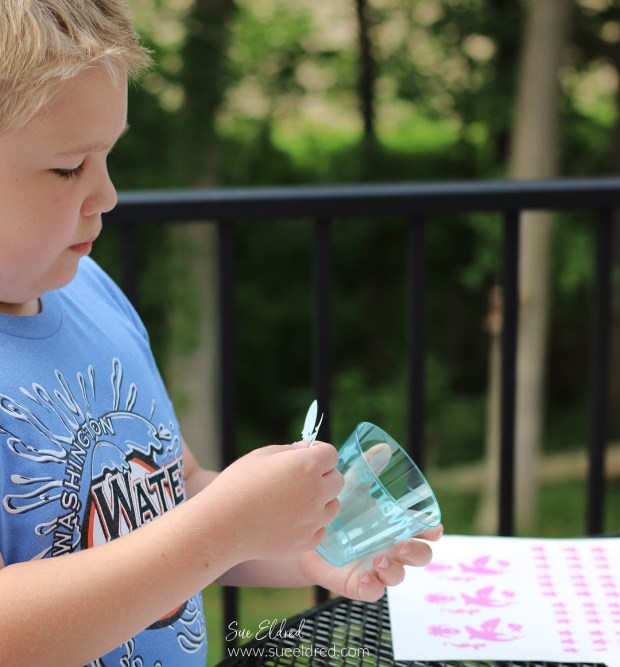
The bigger stickers they can just peel and stick.
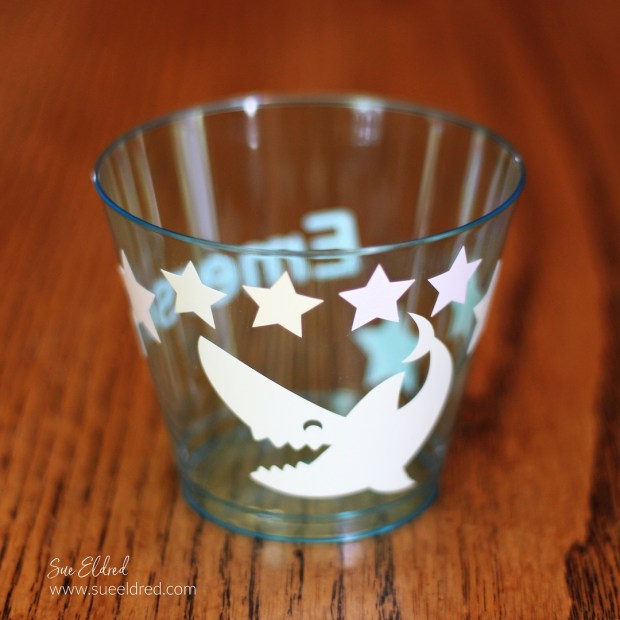
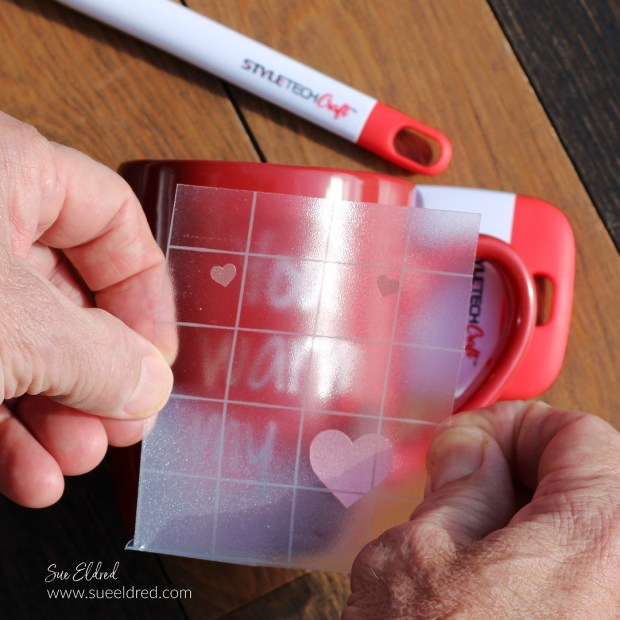
Here’s a bad photo of the cup before we took it outside.
I wanted to show you how it looked before it changed with the sun’s UV rays.
The vinyl all looks pretty much the same.
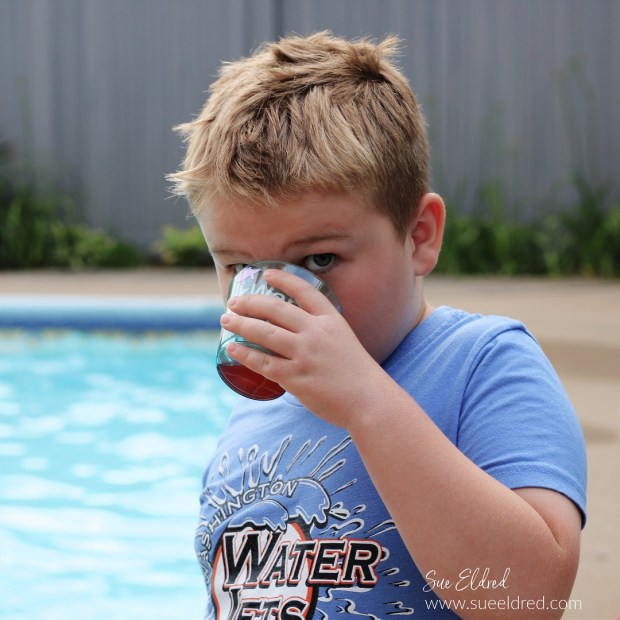
The Kids LOVE the Color Changing Cups!
Great for drinks around the pool.
The Sun Changing Vinyl is perfect for water bottles too.
It’s the perfect way to celebrate Summer Fun.
And it eliminates the endless summer cups because they can’t remember if it’s their cup or not.
Here’s another fun Color-Changing project I made a couple of years ago.
Click on the link here to view the project and tutorial.
![]()
“This is a sponsored post. As a member of the StyleTechCraft Design Team I have been provided product and compensation in exchange for my creative ideas. The views and opinions are my own.