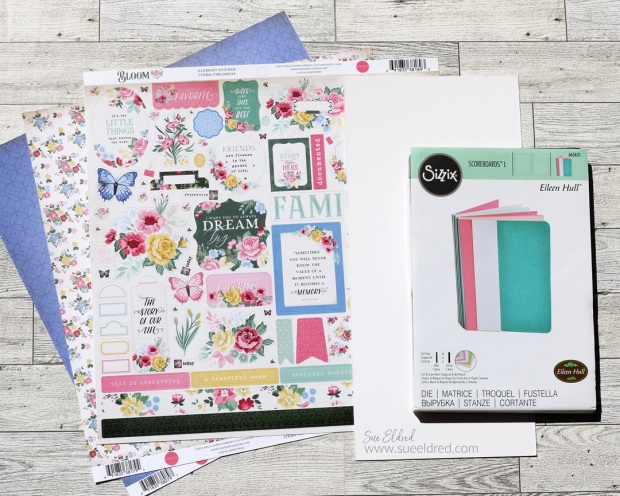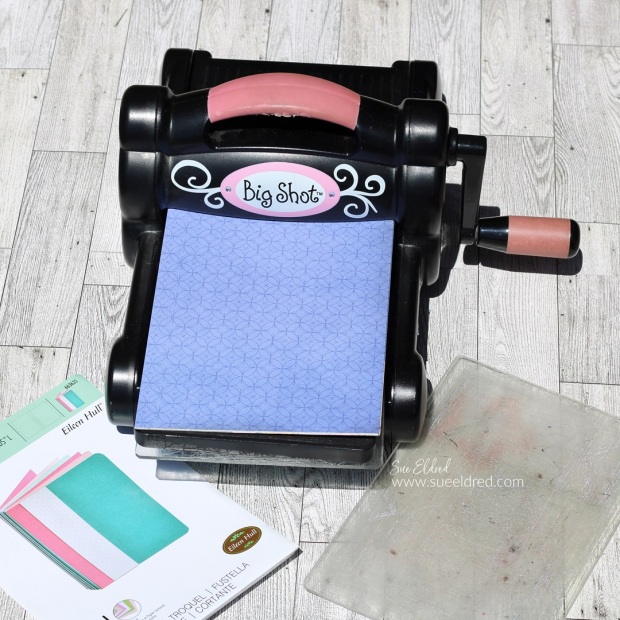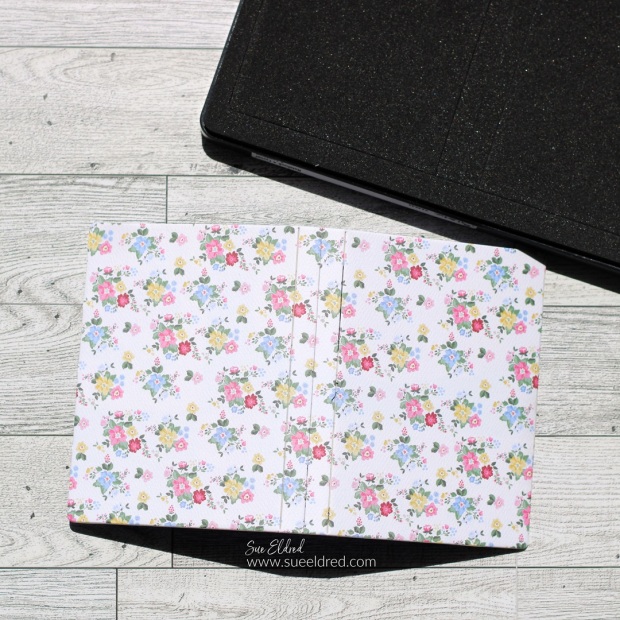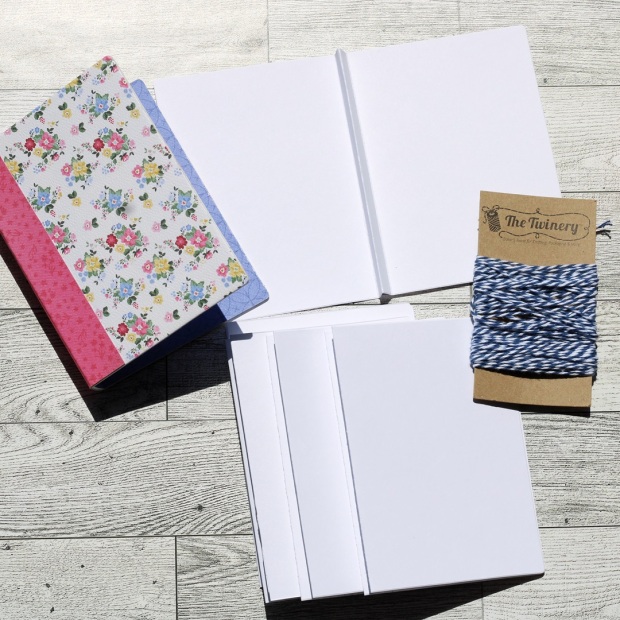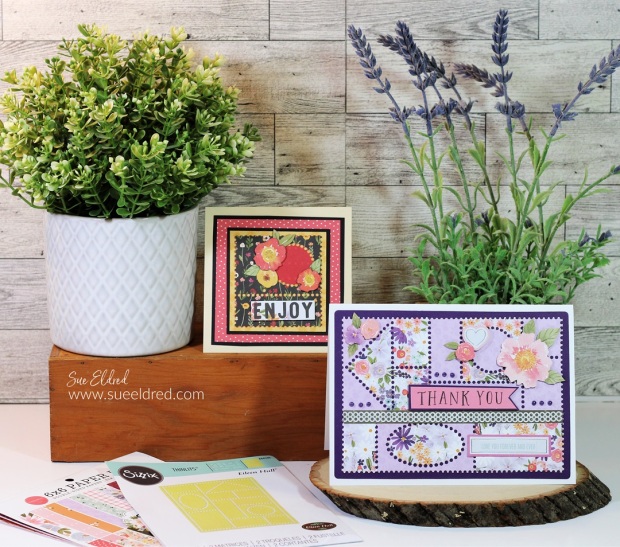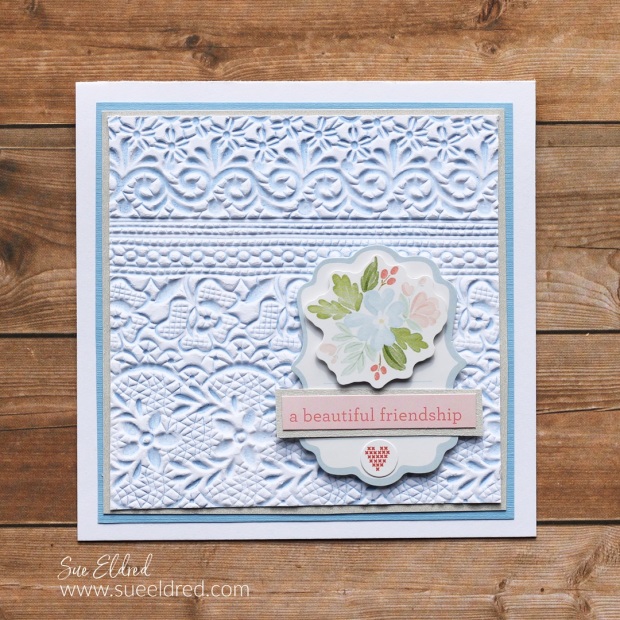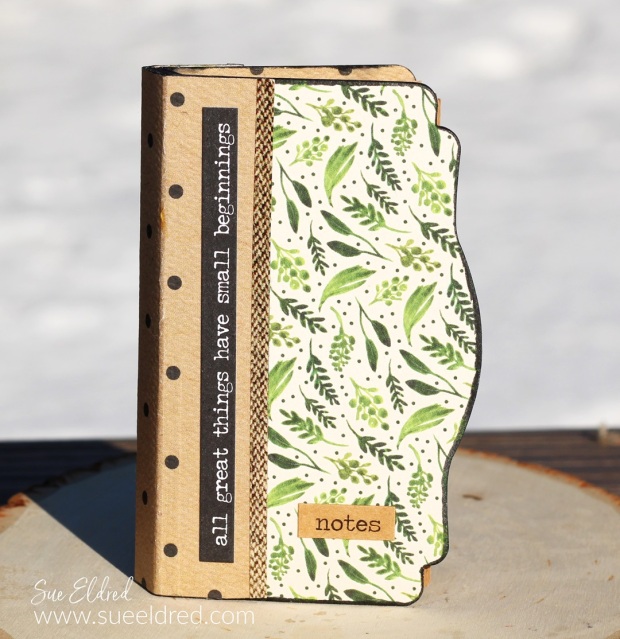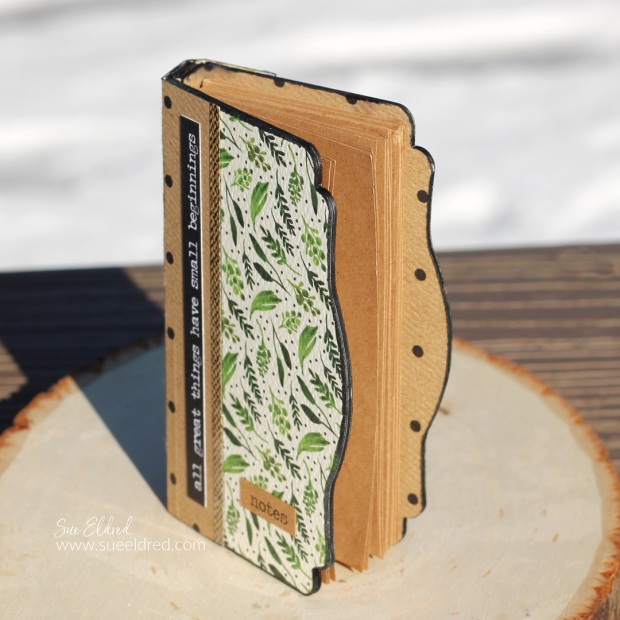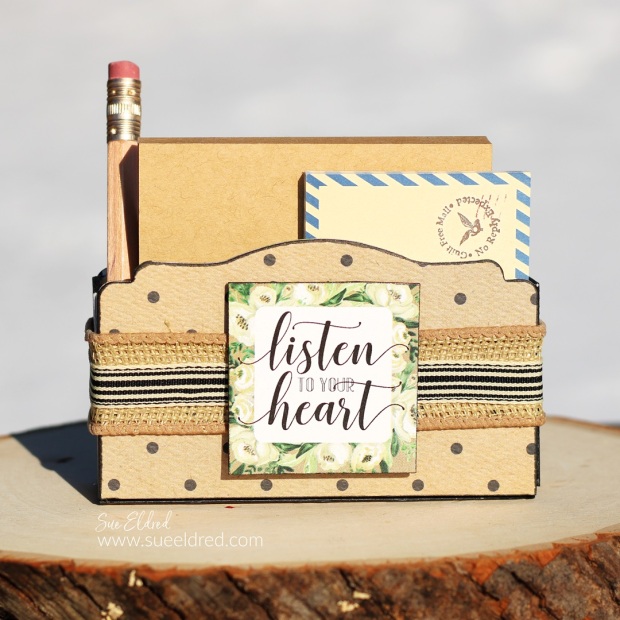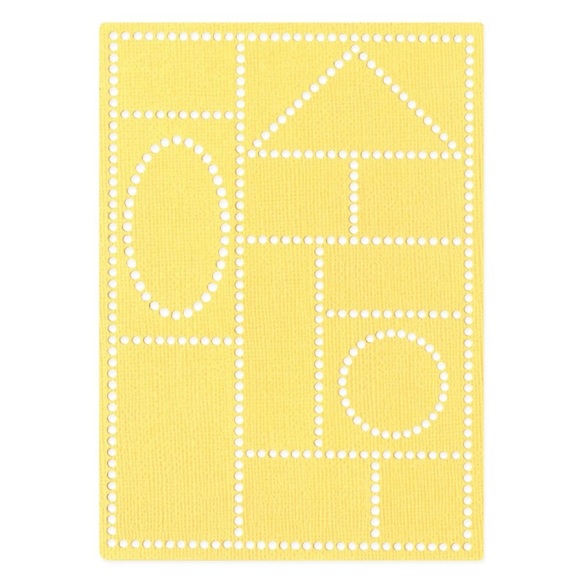
You know I love using Eillen Hull’s dies from Sizzix.
So, I thought I’d share that several of my favorite Eileen Hull dies are on Sale.
*Disclosure… This blog uses ads and affiliate links. If you choose to make a purchase using one of the links, I receive a small commission (at no additional cost to you) that helps offset the costs of maintaining this blog. Thanks for your support!
Eileen’s adorable little Camper Die* is on sale for only $14.00. (reg. $34.00)
♥ This Die set includes four houses along with a range of decorative elements to make your designs pop. The Shadowbox Elements Die set works hand in hand with the Sizzix Thinlits Shadow Box Frames #2 by Eileen Hull to create a beautifully detailed center piece within the Shadowbox.
*Disclosure: This blog uses ads and affiliate links. If you choose to make a purchase using one of the links, I receive a small commission (at no additional cost to you) that helps offset the costs of maintaining this blog. Thanks for your support!
Check out the Designers Links below for even more ideas.
There is a giveaway too! Comment on each participating designer’s blog and during the live on Tuesday and let us know what you would create with these dies, and you will be entered to win one of the items in the Chapter 2 release!
“This is a sponsored post. As a member of the Eileen Hull Educator Team, I have been provided product in exchange for my creative ideas. The views and opinions are my own.
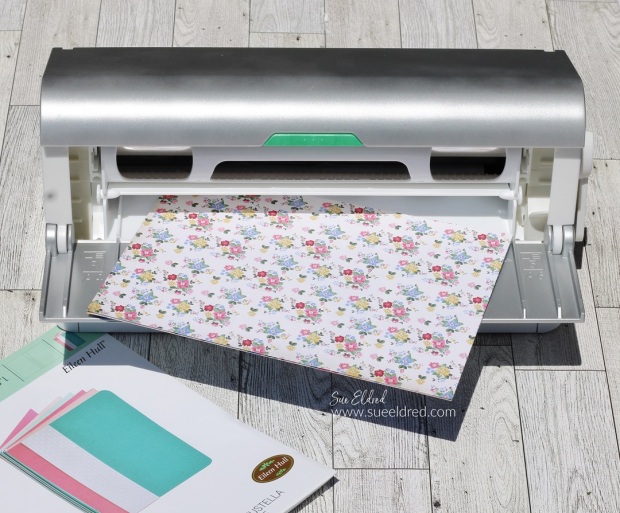
I used the Xyron Creative Station* to add adhesive to the back of my paper before sticking it to the matboard. (Usually, I adhere the paper to the matboard before die-cutting.)
*Disclosure: This blog uses ads and affiliate links. If you choose to make a purchase using one of the links, I receive a small commission (at no additional cost to you) that helps offset the costs of maintaining this blog. Thanks for your support!
And a long piece of blue satin ribbon for tying the box shut.
Disclosure: This is a sponsored post for Eileen Hull and Sizzix. As an Eileen Hull Educator, I have been provided product in exchange for my creative ideas. The view and opinions are my own.
*Disclosure: This blog uses ads and affiliate links. If you choose to make a purchase using one of the links, I receive a small commission (at no additional cost to you) that helps offset the costs of maintaining this blog. Thanks for your support!
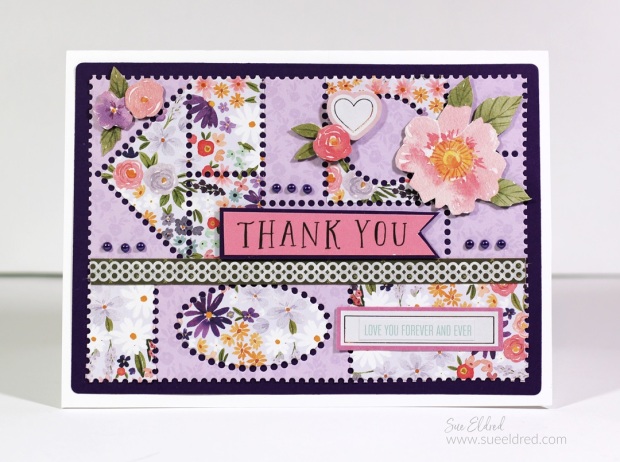
The snail mail die* is a faux postage stamp pane that fits on the front of an A-2 card.
It’s easy to create postage stamps by tearing them apart with a ruler
and the perforation marks.
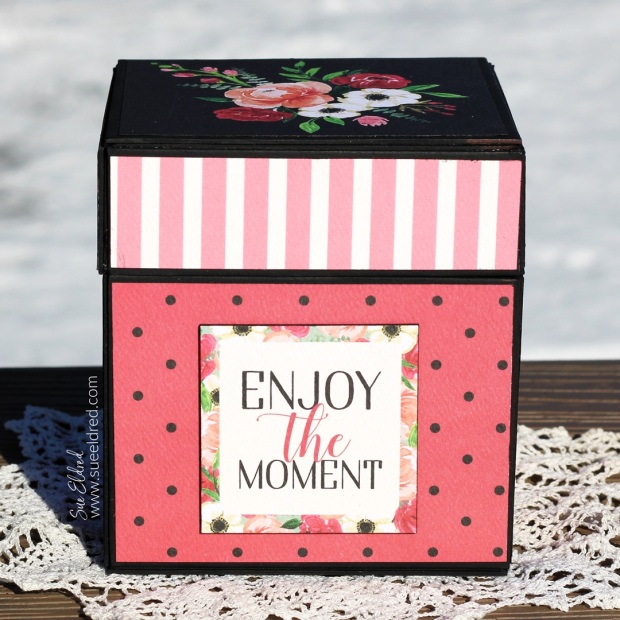
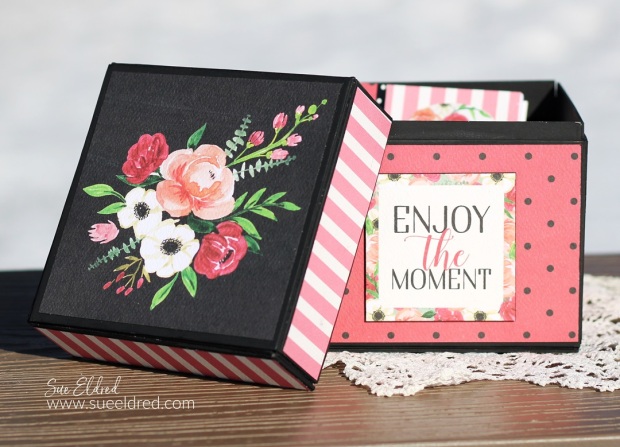
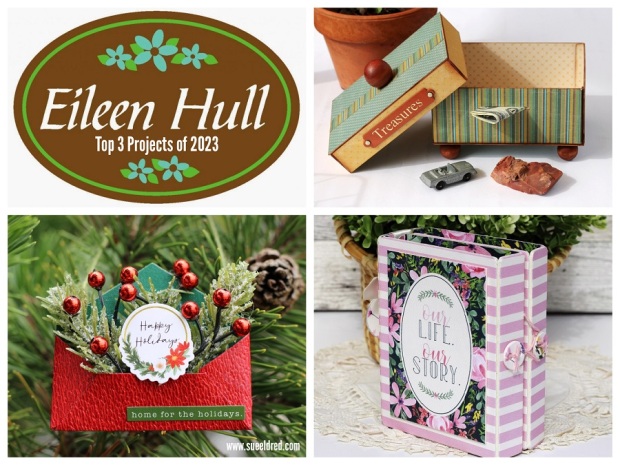
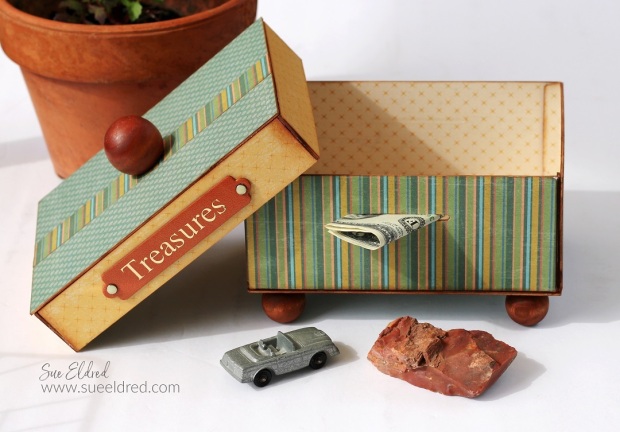
My favorite project hands-down is this sweet little treasure box
that I made for my new granddaughter that is coming in May.
I’m very excited to have a little more “pink” in my life.
I will be sharing more on how I put this box together later in the month.
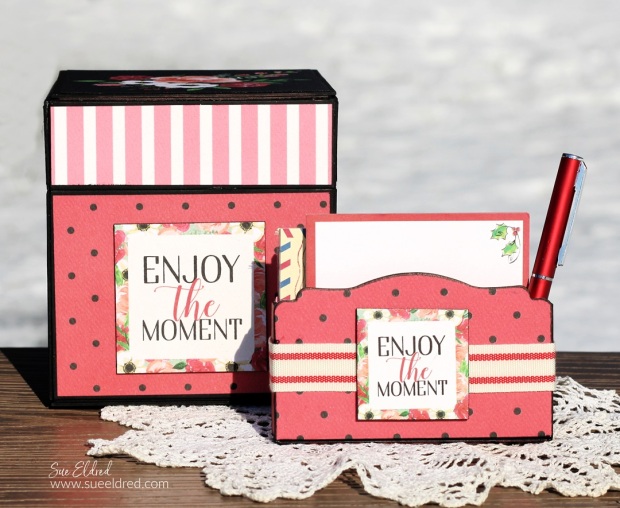
So easy to personalize with your favorite patterned paper.
And it looks good sitting on my desk.
These phone stands would make a fun gift.
Check out the Designers Links below for even more ideas.
There’s a giveaway too! If you leave a comment for each of the designers in the Release Party Hop, or during the Facebook Live or YouTube video, you will be eligible to win one of the newly released products! Tell us what your favorite new product is and what you plan to do with it! Thanks for hopping with us
*Disclosure: This blog uses ads and affiliate links. If you choose to make a purchase using one of the links, I receive a small commission (at no additional cost to you) that helps offset the costs of maintaining this blog. Thanks for your support!
I watched several Gel Press videos online before jumping right in.
I was impressed with the idea of using die-cuts to make backgrounds
and used a few of Eileen’s Dies to make mine.
Here’s how I made the Snowflake Background:
Start with several colors of acrylic paint and use a Brayer* to blend the paint onto the gel press.
There are a lot of discounted dies available from Top Designers.
*Disclosure: This blog uses ads and affiliate links. If you choose to make a purchase using one of the links, I receive a small commission (at no additional cost to you) that helps offset the costs of maintaining this blog. Thanks for your support!
is my contribution to this year’s “Comfort and Joy” collaboration.
*Disclosure: This blog uses ads and affiliate links. If you choose to make a purchase using one of the links, I receive a small commission (at no additional cost to you) that helps offset the costs of maintaining this blog. Thanks for your support!
Run both pieces of paper design side up through the Xyron Creative Station®*. As the paper moves through, it adds adhesive to the underneath side. You get complete adhesive covering.
Adhere the Christmas Scrapbook paper onto each one of the mat boards. (Underneath will be plain)
Lay covered mat board on top of the House Ornament Die*. Sandwich the die and mat board between the cutting plates. Run the die, matboard, and cutting plate through theBig Shot Die-Cutting Machine*. The Big Shot will cut out the house shape and two tiny houses you can use on a later project.
Cut two of the house shapes.
Carefully fold on the scored lines.
Cut off the top tab with the two holes on both houses. (It is for making the house into an ornament.)
You will also need to cut the bottom flap from one of the houses.
UseRapid Fuse Adhesive* to assemble the house. Glue all sides of the house together before gluing the roof tabs.
For the Roof: Cut a piece of Kraft Corrugated paper 2 1/4″ x 4″. Fold in half and glue to the top of the roof.
Place two small pieces of white mat board over the window section of the ornament house die and run through the big shot die cutting machine. Trim around the matboard to create two small windows. Cut two small pieces of gold paper or vellum to fit under the window frame and glue them into place. Glue the windows frames onto the house.
Cut a tiny piece of mat board to use as a door. Glue a small piece of corrugated paper over the door for the roof.
Use a 3″ x 4″ piece of mat board as the base for the house. Cover the mat board with scrapbook paper.
Glue the putz house, bottle brush tree, and mini snowman ornament to the base.
Decorate your Christmas Putz House with small wreaths, snowflakes, glitter and mica flakes.
*Disclosure: This blog uses ads and affiliate links. If you choose to make a purchase using one of the links, I receive a small commission (at no additional cost to you) that helps offset the costs of maintaining this blog. Thanks for your support!
Directions:
To create the embossed sweater layer, place a 3 3/4″ x 5″ piece of cream cardstock into the Sweater Embossing Folder*. Place the embossing folder onto the Sizzix Big Shot* platform. Crank the handle of the Big Shot* to run the embossing folder through the machine.
Adhere the embossed layer onto the blueberry cardstock layer. Adhere those layers onto a 4 1/4″ x 5 1/2″ cream cardstock base.
Add adhesive to the back of the wood snowflake and adhere to the front of the card. Add the adhesive pearl to the center of the snowflake.
Tie a small bow and glue it onto the top of the snowflake.
Using a computer generated font, print the words “warm & cozy” onto a piece of cream cardstock. Cut the cardstock into a strip with a v notch on each end. Place thin foam mounting squares under the cardstock strip and add to the front of the card under the wood snowflake.
FYI…This is a thick card. You will need extra postage to mail it. (It might be best to hand deliver.)
*Disclosure: This blog uses ads and affiliate links. If you choose to make a purchase using one of the links, I receive a small commission (at no additional cost to you) that helps offset the costs of maintaining this blog. Thanks for your support!
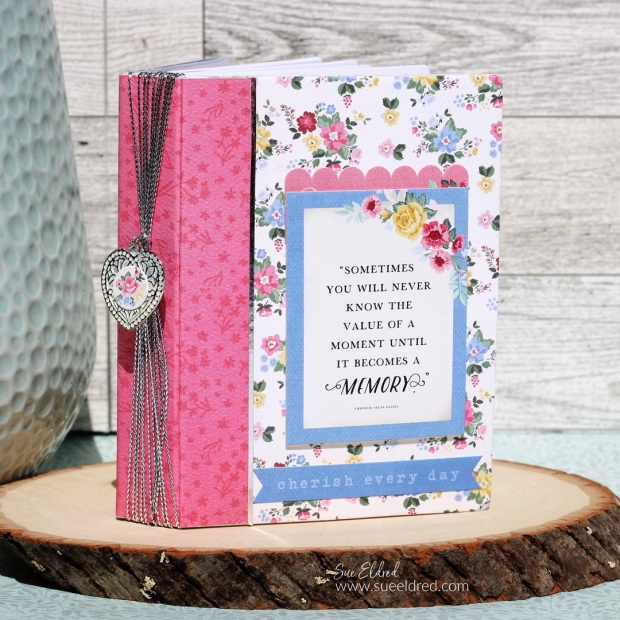
I used theXyron Creative Station*to add adhesive to the back of the paper before adhering to the mat board. I get great coverage on my albums with no wrinkles or bubbles. (Xyron is my favorite adhesive to use when making albums.)