Ready to add some extra sparkle to your 4th of July celebration?
I always enjoy making new decorations for the holidays,
and with the USA celebrating 250 years,
I knew this was a milestone worth going big for!
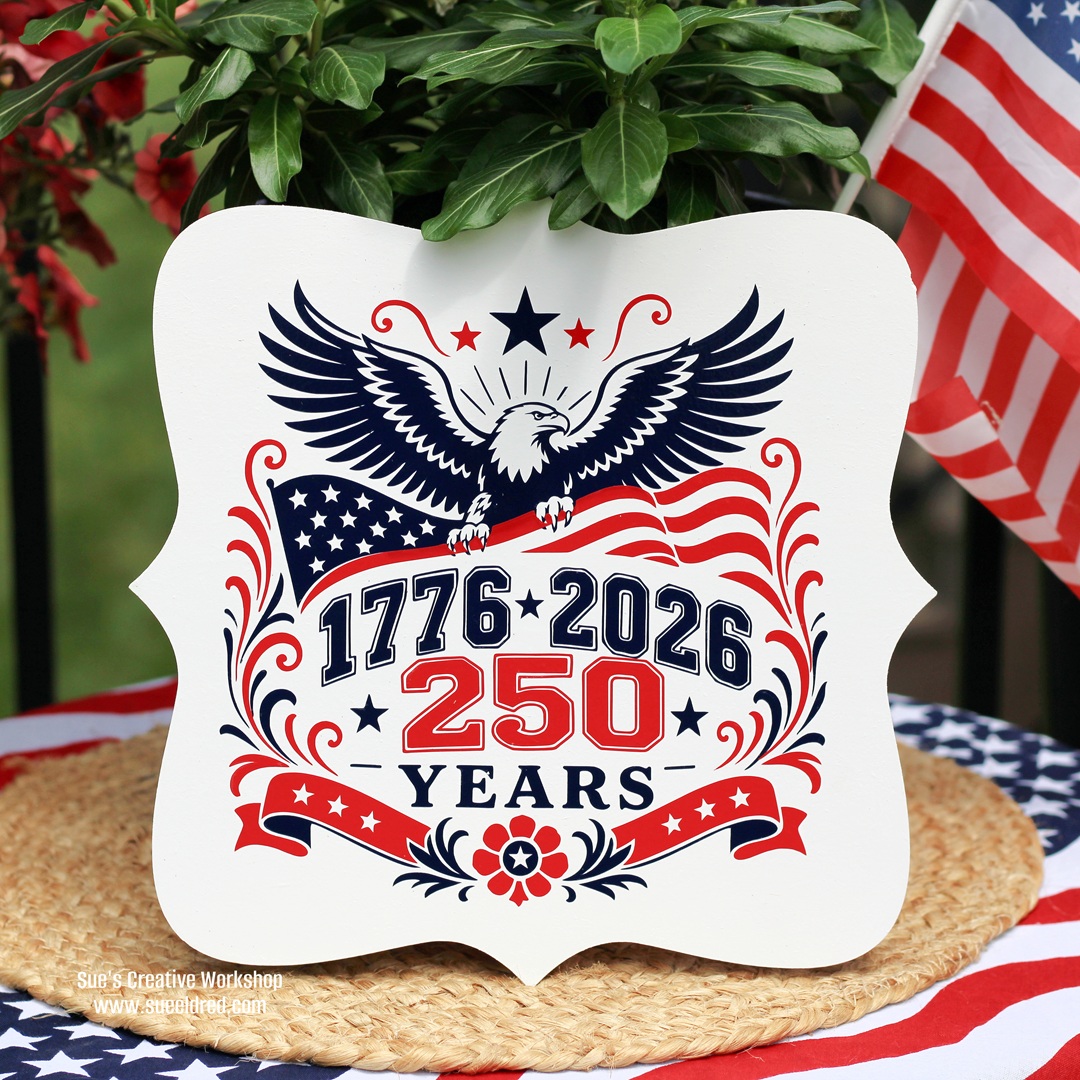
This year, I decided to make a patriotic sign using StyleTechCraft vinyl
and my Silhouette Cameo Electronic Die Cutter.
Not only is it a fun way to show off some red, white, and blue,
but it’s also a great project to mark such a special anniversary.
“This is a sponsored post. As a member of the StyleTechCraft Design Team I have been provided product and compensation in exchange for my creative ideas. The views and opinions are my own.
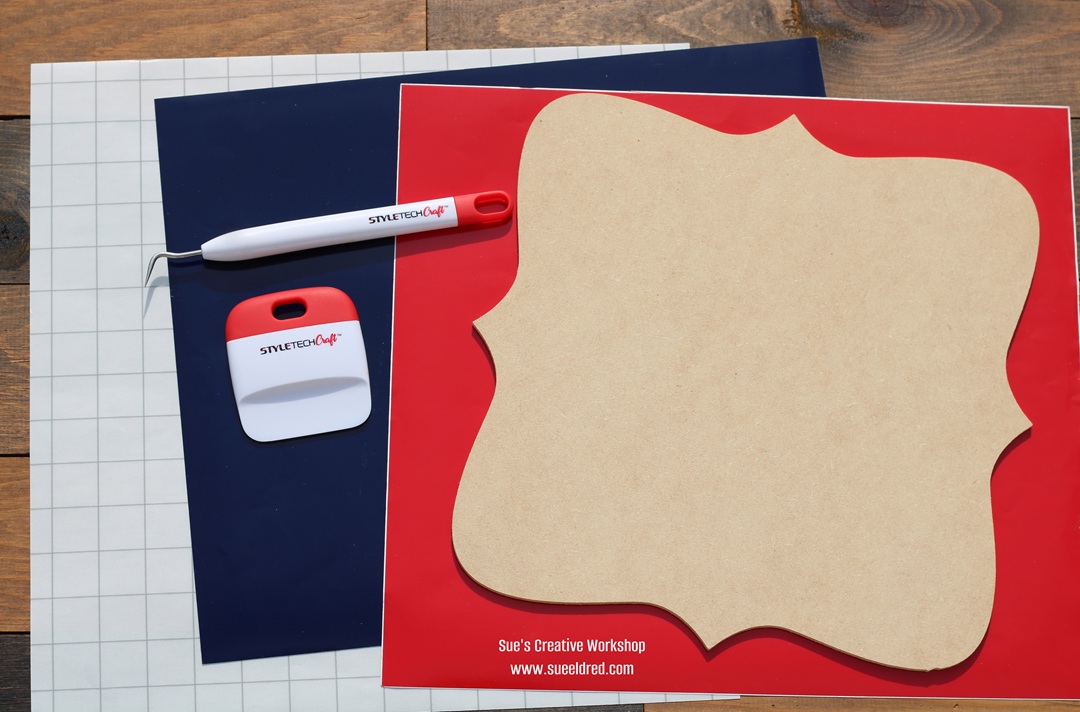
To make my Patriotic Sign I used: (*affiliate links)
- Styletechcraft Glossy Craft Vinyl
- Vinyl Craft Tools*
- StyleTechCraft Clear Transfer Tape*
- Silhouette Electronic Die-Cutting Machine*
- Eagle Holding American Flag SVG File from The Silhouette Design Store
- 8″ Decorative Wood Sign*
- White Multi-Surface Acrylic Paint*

*Disclosure: This blog uses ads and affiliate links. If you choose to make a purchase using one of the links, I receive a small commission (at no additional cost to you) that helps offset the costs of maintaining this blog. Thanks for your support!

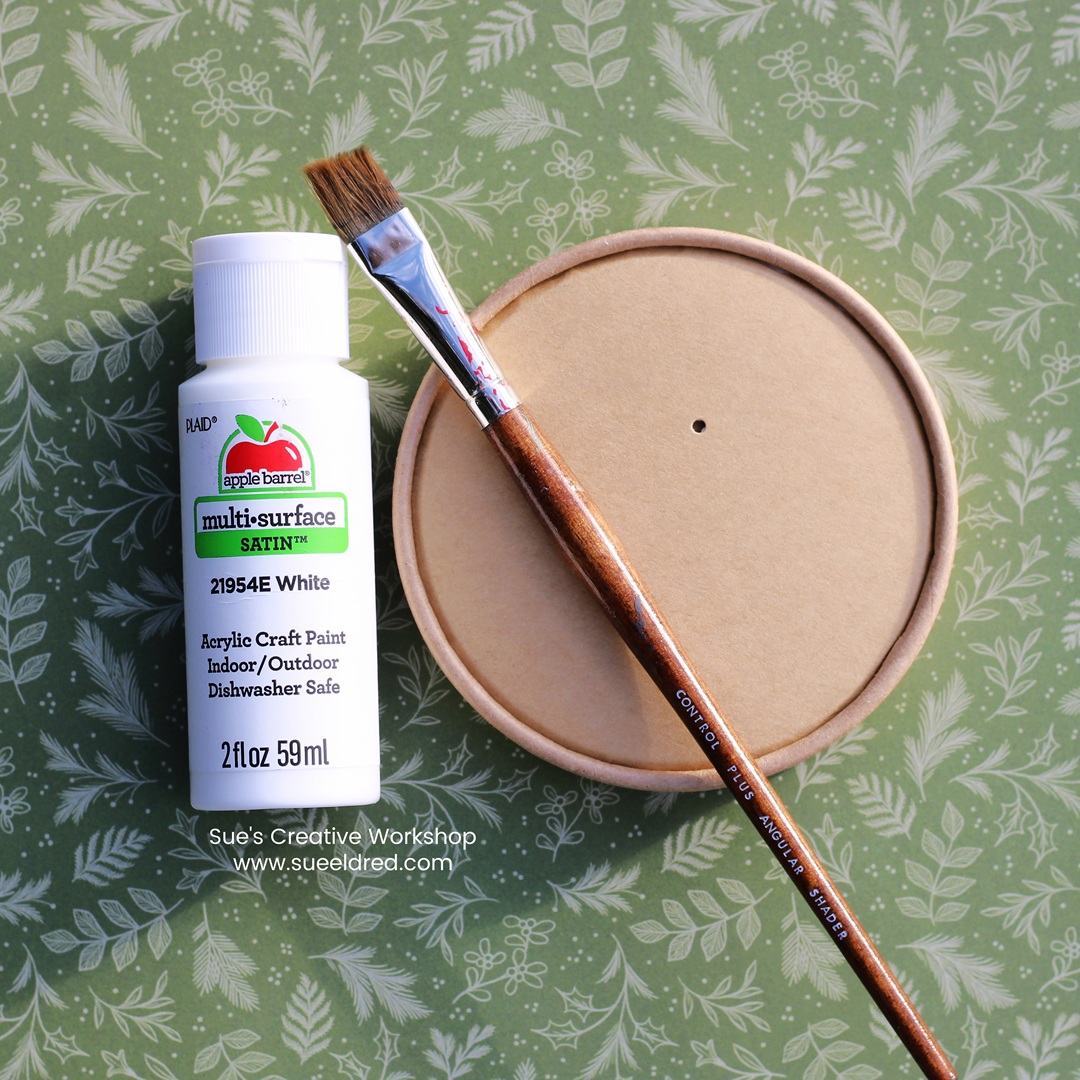
To begin, I painted an 8″ plain decorative wood sign with white paint.
For faster results, white spray paint also works well.
You can find several different sizes of wood signs on Amazon*. (click on the link)
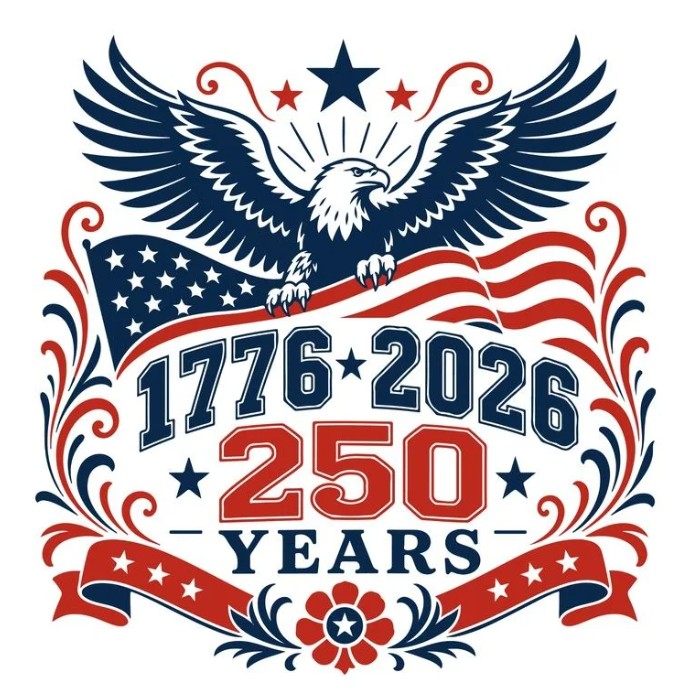
I used the Eagle Holding American Flag SVG File from The Silhouette Design Store
- Size the design to fit onto your wood sign.
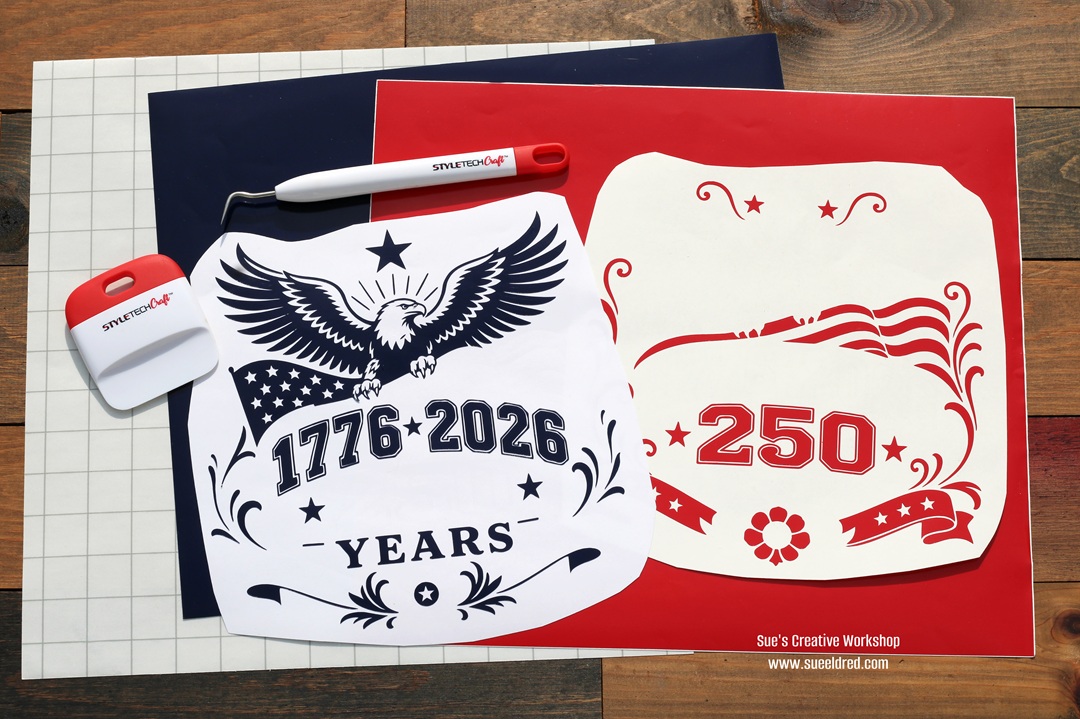
- I cut the design using my Silhouette Electronic Die-Cutting Machine* and the Eagle Holding American Flag SVG File.
- I cut it twice, once with navy vinyl and once using red vinyl.
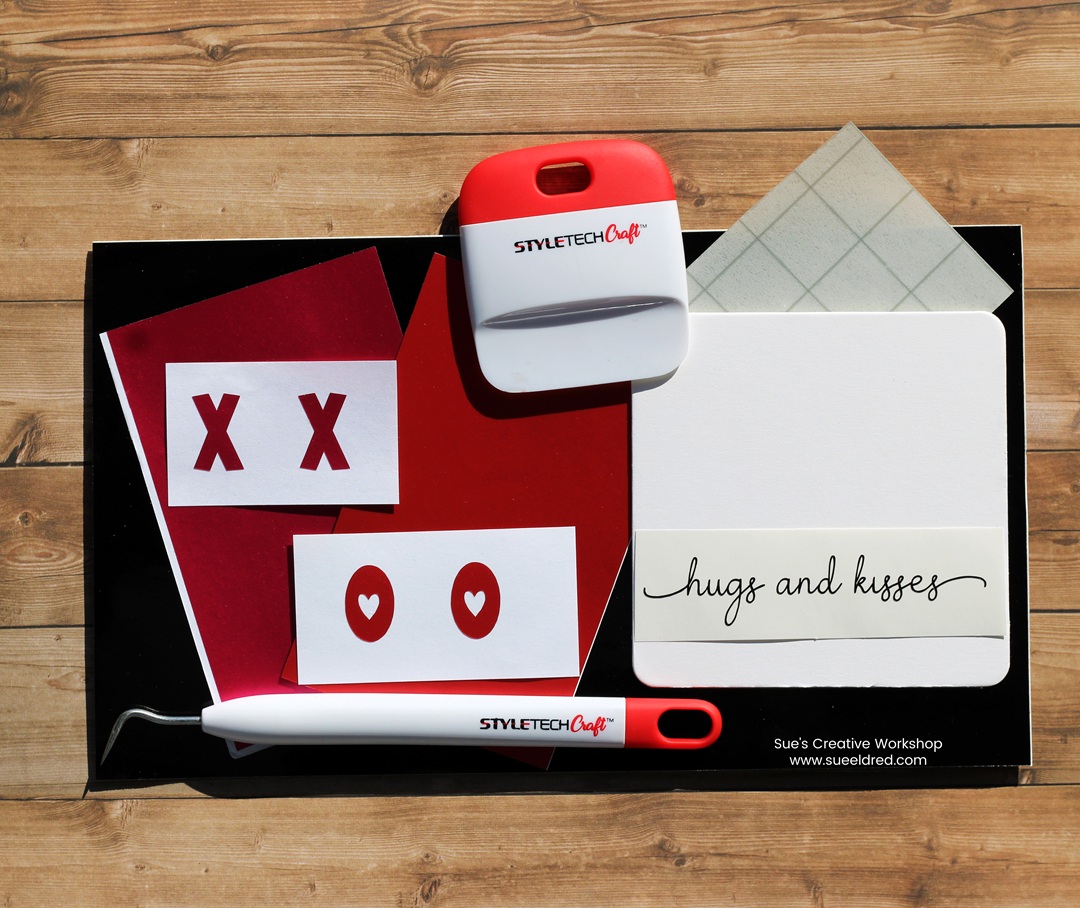
- Once the design was cut, I weeded the design using a vinyl craft pick*. Weeding vinyl is the process of removing excess vinyl from a cut design, leaving only the intended shapes, letters, or images.
- Using the design image as reference, remove the parts from the blue design that will be red and vice versa with the red design.
- Be careful around the numbers, as the thin shadow line is tricky to weed out.
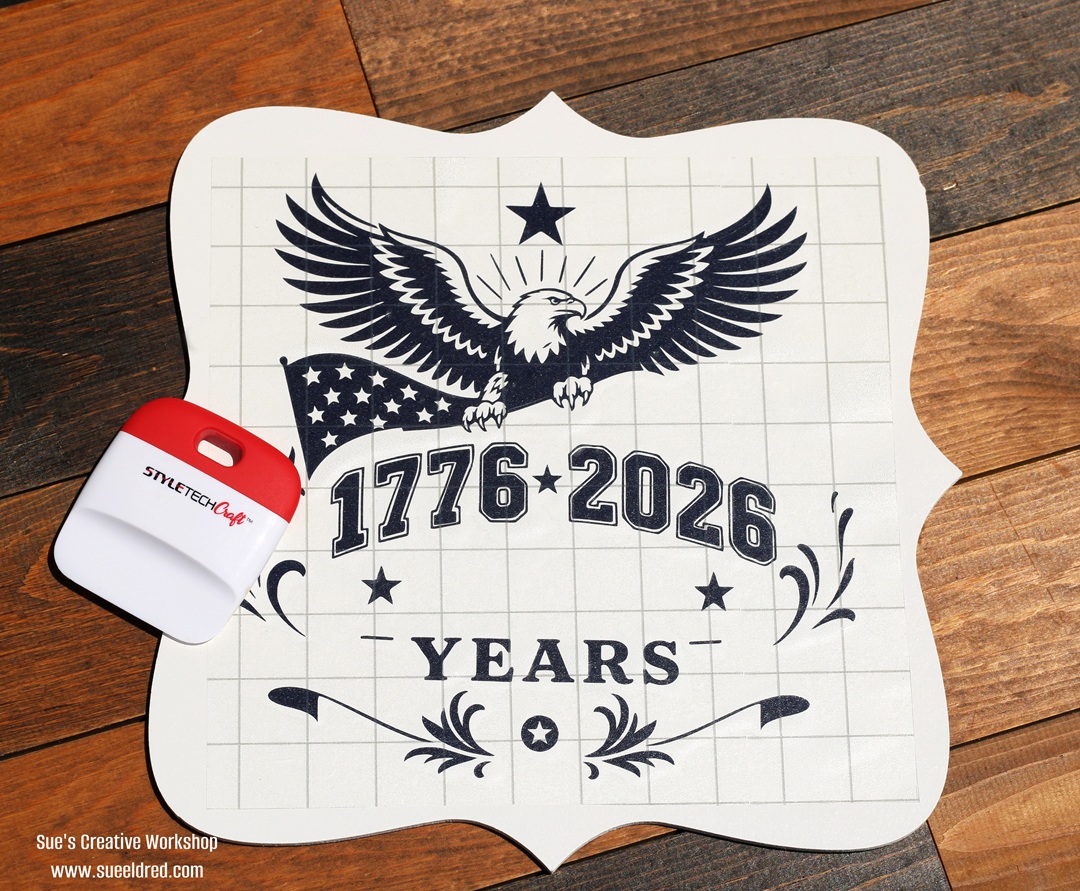
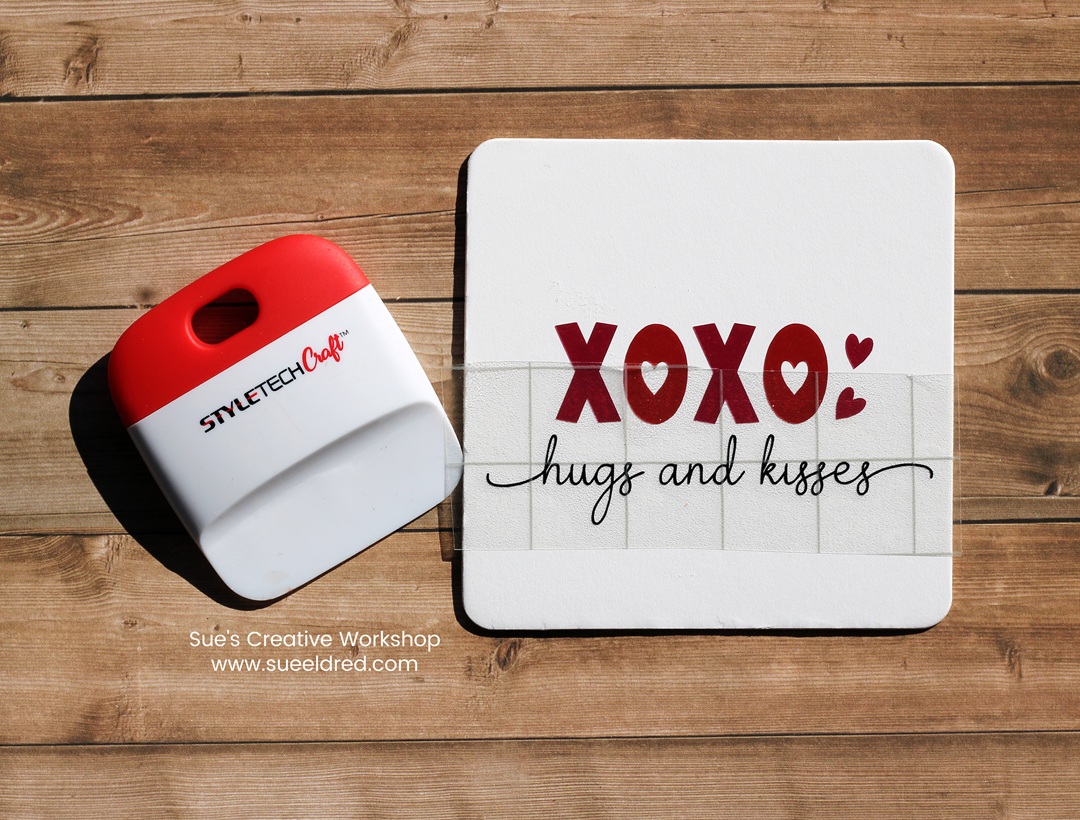
- Place the navy blue design onto the sign first using transfer paper. I gently rubbed over the transfer paper and sign using a vinyl scraper tool*.
- After the words have transferred to the sign, remove the transfer paper.
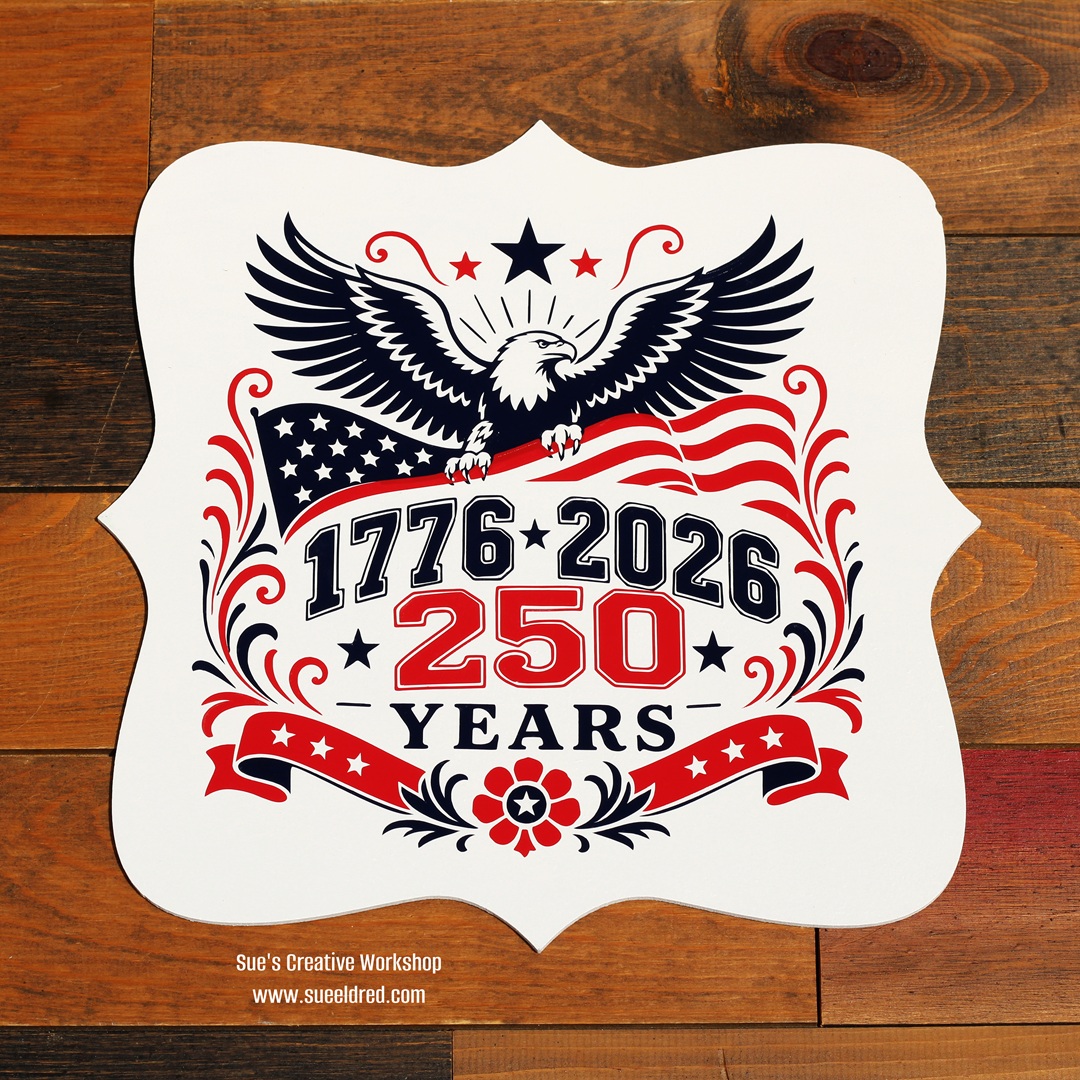
Here’s my tip: When transferring the red design, take it slow and line up small sections
one section at a time. I tried to transfer the entire design all at once and ended up having
to redo parts of it-trust me, working in smaller sections will save you time and frustration?
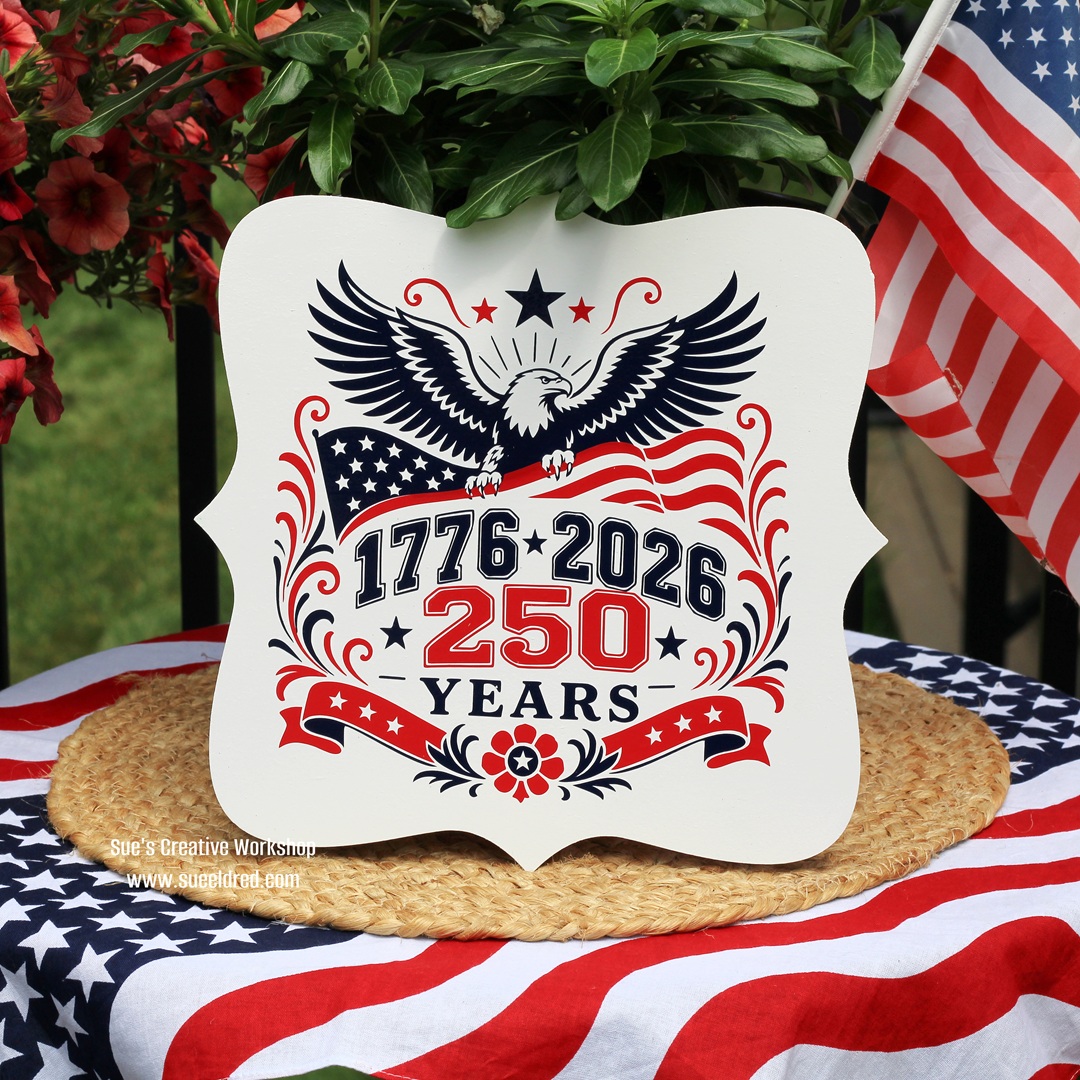
I hope this fun patriotic sign project helps you celebrate America’s 250th in style!
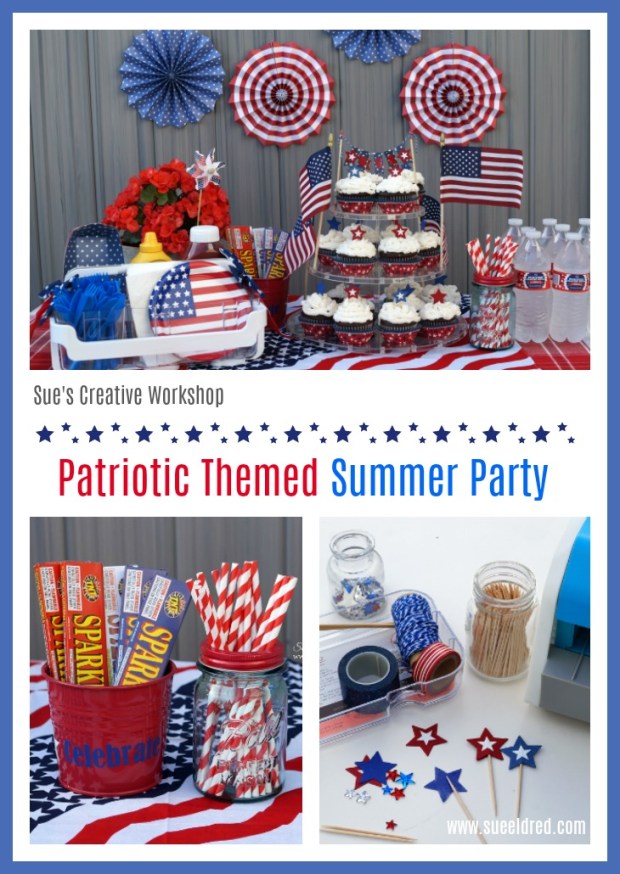
If you enjoyed this craft, be sure to check out some of my older posts for even more
holiday decoration ideas and inspiration.
Click the images below to discover more 4th of July projects featuring StyleTechCraft vinyl.


Patriotic Banner for the 4th of July
Wishing you a festive, creative, and colorful 4th of July!