Making a Winterberry Table from a $2 treasure.


winterberry-table-2-2562

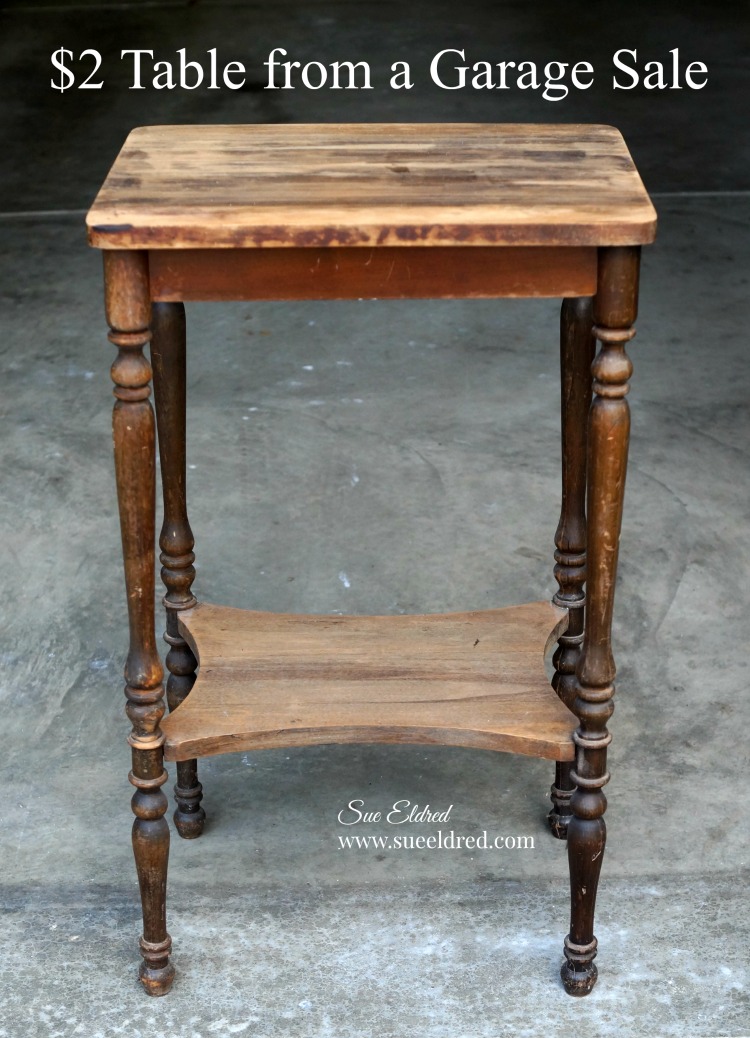
Making a Winterberry Table from a $2 Garage Sale treasure.

I almost missed the small cardboard sign leaning up against the mailbox…

I wasn’t completely sure it was even a sale.  So I backed the car up and parked.

You never know what you might find when your out “treasure hunting”.
2-table-from-a-garage-sale-1723

While chatting with the fun older couple, I found out that they had just recently married and moved

into their new home.  They were downsizing and combining both households.

The couple had a lot of good stuff, most of which I didn’t need.

It was on my second look around when I spotted the table and it’s $2 price tag.  (no need to haggle)
deco-art-americana-decor-satin-enamels-deep-ruby

She told me… “I always meant to refinish it.  I put a doily and a basket on it instead.”

I didn’t have the heart to tell her I was planning on painting it.

painting-the-winterberry-table

(this post uses affiliate links)

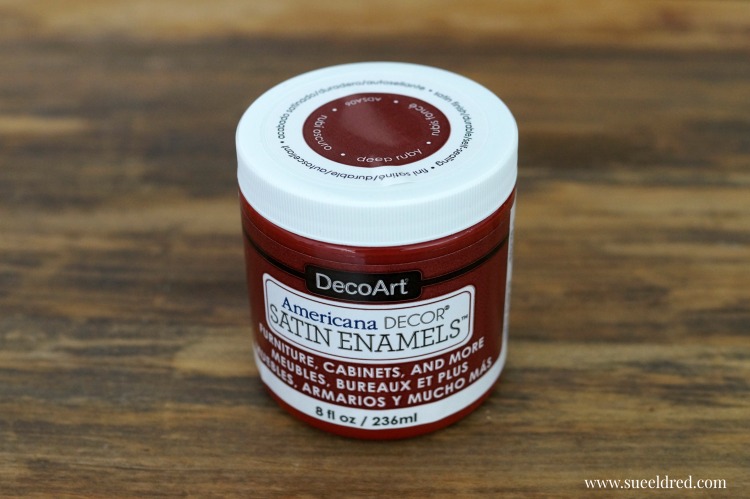
I had just recently received some new paint from DecoArts and thought I’d give it a try.

I gave the table a couple coats of Americana Decor Satin Enamels Deep Ruby*.

I was seriously impressed with how smooth the paint went on and dried.

I didn’t even need to sand between coats.

stenciling-the-winterberry-table-sues-creative-workshop

I decided to stencil the top of the table using my new DecoArt Stencil 6 x 18 in. Winterberries*.

I secured the stencil in place using removable painters tape.

Using a stipple brush…

I applied DecoArt Americana Multi-Surface Satin Acrylic Paint, White Birch*

inside the open stencil areas.

winterberry-table-2509

The Winterberry stencil comes with two 6″ x 18″ stencils which are slightly different.

I used the second stencil to add another berry branch to my table top.

I’m in love with my “new” table.  

For now, the table will be used with my holiday decorating and then after the Holidays it’ll find a

permanent home in the guest room.


The Winterberry Table was sponsored by DecoArts and uses Amazon Affliliate links.

If you choose to purchase an item from Amazon using one of the links, I will receive a small commission which helps offsets the cost of running this blog.  Thank You.
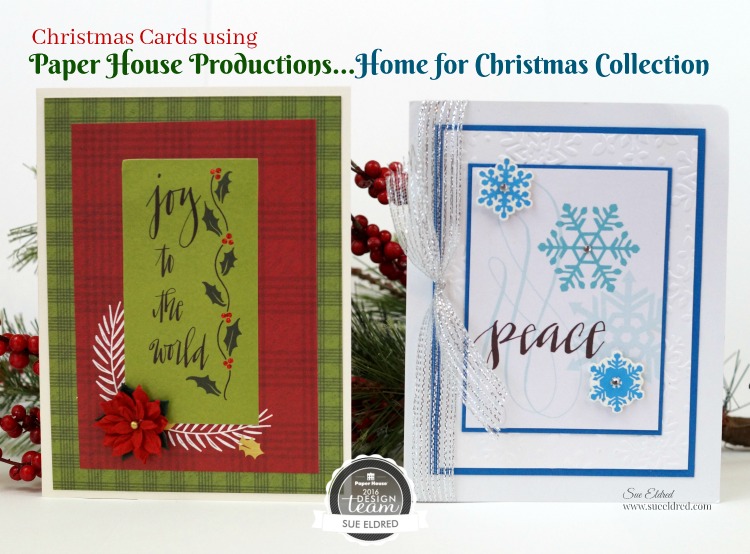
Christmas Cards using Paper House’s “Home for Christmas” Collection

christmas-cards-using-paper-house-productions-home-for-christmas-collection-sues-creative-workshop

Planning on making Christmas Cards this year?

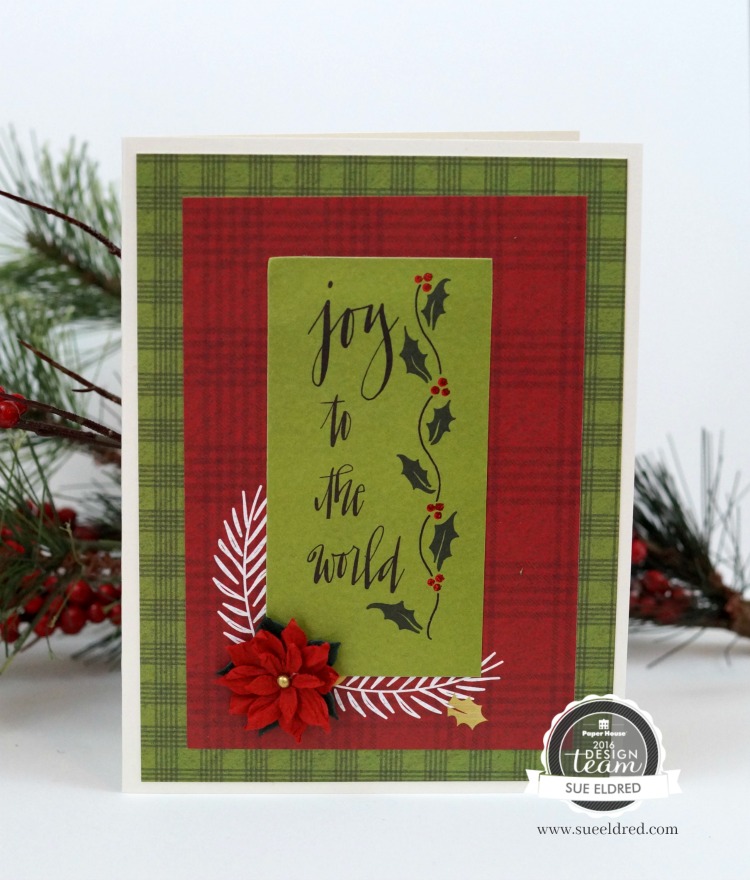
I thought I’d share a couple of the quick and easy layered cards that we made in my Holiday Workshop.

joy-to-the-world-2577

The Joy to the World card uses:

joy-to-the-world-inside-sues-creative-workshop

I used the Merry Christmas Tag from the Glitter sheet on the inside of the card.

peace-card-sues-creative-workshop

For the Peace Card I used:

peace-card-inside

On the inside of the card I used:

  • Winter Snowflakes Washi Tape from Little B LLC
  • the Snowman from the Home for Christmas Cardstock Stickers


*I am an Amazon Affiliate.  If you choose to make a purchase from Amazon, I will receive a small commission that helps offset the cost of running this blog.

Festive 3-Tier Serving Stand

festive-3-tier-stand-sues-creative-workshop-8638

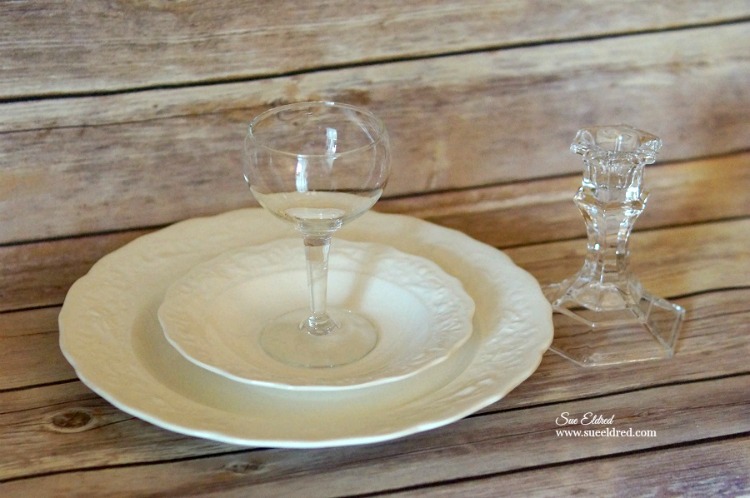
Create an elegant Holiday serving stand…

using random thrift store dishes and a Dollar Store candlestick.

Imagine this filled with yummy deserts and treats.

getting-started-sues-creative-workshop

*Disclaimer:  This post uses ads and affiliate links.  If you choose to make a purchase using one of the links, I receive a small commission (at no additional cost to you) that helps offset the costs of maintaining this blog.  Thanks for your support!

Here’s what you’ll need to get started:             (*affiliate link)

Directions:

  • Clean and dry dishes.  Wipe areas where adhesive will be applied with rubbing alcohol to remove any oil left on glass from handling.

gluing-the-candlestick-sues-creative-workshop

  • Run a thin line of adhesive on the top of the glass candlestick and adhere to the bottom of the medium plate.  Let dry.

fill-with-jingle-bells-sues-creative-workshop

  • Place jingle bells into glass cordial. Run thin line of adhesive on top of glass cordial.  Adhere to bottom of the smallest plate.  Let dry.

Shop Your Fav Brands at Scrapbook.com

festive-3-tier-stand-separate-pieces-sues-creative-workshop

  • Adhere bottom of glass cordial to center of the medium plate.
  • Adhere bottom of glass candlestick to top center of largest plate.

plain-stand-sues-creative-workshop

TIP… Use as three separate pieces or adhere together to create one elegant serving stand.

Try Amazon Prime 30-Day Free Trial

And then, just like that… it was over.

sues-holiday-workshop-group-photo-2016-sues-creative-workshop

Sue’s Holiday Workshop is the start to all my favorite Christmas activities.

It’s something that I look forward to every year.

Just like Christmas, so much time and thought goes into planning.

And then… just like that, it’s over.

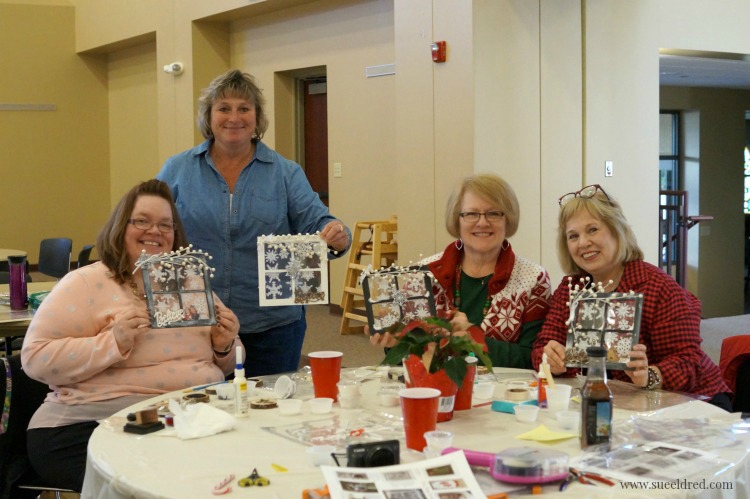
I was so lucky to be able to spend the day with these lovely ladies last Saturday.

They are such a fun and special group.  I appreciate each and everyone of them.

the-girls-and-their-winter-window-project-sues-creative-workshop

This year, I believe…the Frosted Winter Window was their favorite project. 

I know it was mine.

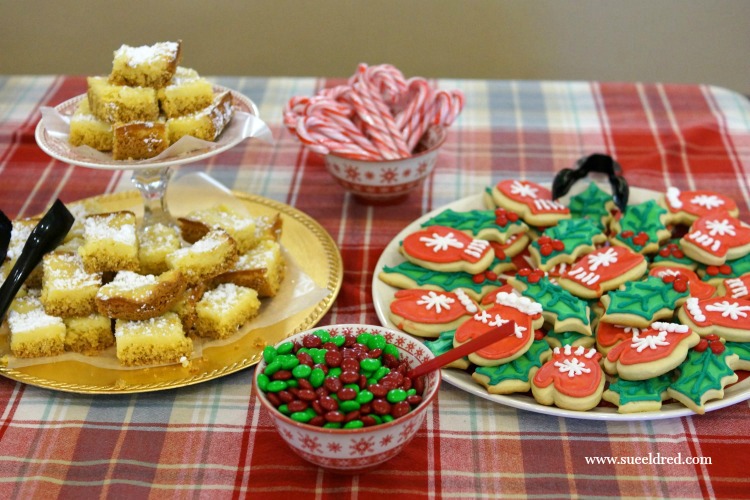
sues-holiday-workshop-2016-cookies-sues-creative-workshop

As always… I intend on taking a lot of pictures.  (but, I get too busy and forget.)

Always a fun day!  Till next year.

Thanks Again Ladies!

Simple Stories Classic Christmas Cards

I’ll be teaching a new class at The Paper Forest in December.

simple-stories-classic-christmas-cards-2193

Simple Stories Classic Christmas Cards…

You may want to grab your elf hat and shoes for this fast-paced Christmas Card Class.

In this class we will create 8 Christmas cards using the Simple Stories Classic Christmas Collection.

All you need to bring is your double stick tape roller, plenty of 3D foam mounting squares and scissors.

Please join me…

Thursday, December 1st
at The Paper Forest in Washington, IL
5:30-7:30 p.m.
Cost:  $25

Contact The Paper Forest at 309-745-3868 to sign up.
If there is enough interest we may add a daytime class.

Sue’s Holiday Workshop 2016

sues-holiday-workshop-2016

Sign ups are now open for the 8th annual Sue’s Holiday Workshop…

The workshop will be held Saturday, November 12th from 10 to 3.

It’s a great jump start into the Holiday Season. And… a good way to spend quality time with friends laughing and creating.

We will be making cards, tags, a Winter Window, wood slice ornament, Christmas Tree in a bottle necklace, gift bag and a more.

The price of the workshop is only $45 for the day and includes a hot lunch, yummy desert and every one wins a door-prize.

The workshop will be held at St. Mark’s Lutheran Church in Washington, IL in my church’s large Family Life Center. Great lighting and plenty of space.

It’s going to be fun.

To sign up or for more information contact me at:
seldred2@frontier.com

Boo Door Hanger and Autumn Wreath

autum-wreath-and-boo-door-hanger-sues-creative-workshop-1256

The plan was to make the “Boo Door Hanger” and the “Autumn Wreath”

as two separate projects with two separate blog posts.

But… while I was working on decorating my front porch for Fall,

I tried them together and decided I liked it.

The “Boo Door Hanger” is a separate piece that I can remove after Halloween.

fall-wreath-supplies-sues-creative-workshop

I assembled the wreath using a grapevine wreath, a couple of fall silk floral bouquets, ribbon and my

hot melt glue gun.  After cutting the stems apart from the bouquet, I played around with the

arrangement of the flowers and glued them in place.

A simple bow glued into place finished off the Autumn Wreath.

The entire project took less than a half hour.

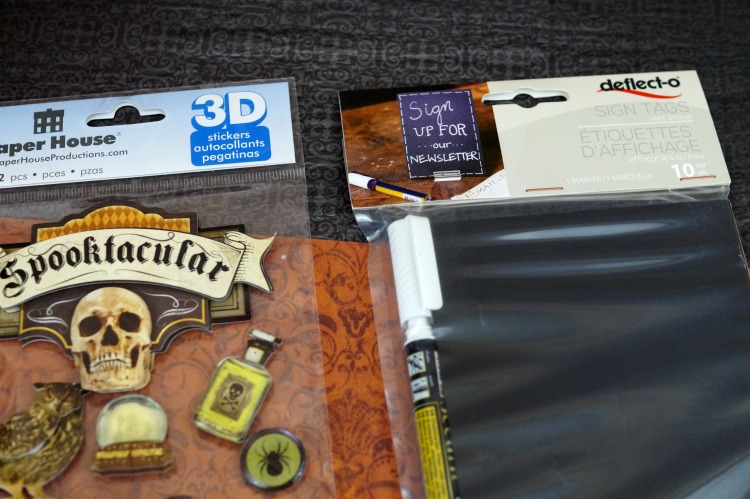
sign-tags-stickers-and-paper-1119

The Boo Door Hanger was a little more involved…

I used Black Sign Tags that come with a White Wet Erase Marker from Deflecto Craft Solutions

and Halloween paper and stickers from Paper House Productions.

die-cut-frames-1124

I applied the Halloween paper onto thin chipboard and cut out three die-cut frames.

I cut the sign tags just slightly bigger than the opening of the frame and adhered it to the back.

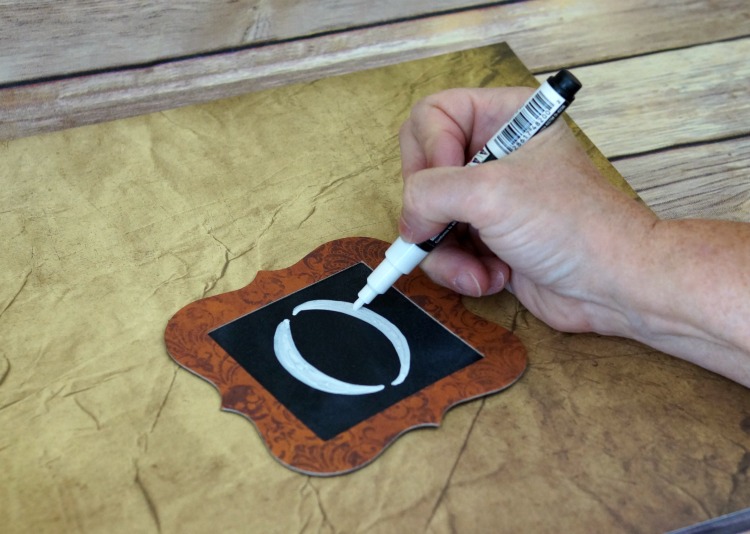
drawing-the-letters-with-the-chalk-marker-1125

I drew in my letters using the white dry erase pen.

Make a mistake?  Just wipe the sign tag with a damp paper towel and start over.

boo-door-hanger-close-up-1127

I punched two holes in the top and bottom of the first two frames and the top only of the last frame.

I added a black eyelet to each hole and connected the frames with small garment pins.

boo-door-hanger-1129

I embellished each frame with Spooktacular 3D Stickers from Paper House Productions.


“This is a sponsored post. As a member of the Paper House Productions and Deflecto Design Team I have been provided product in exchange for my creative ideas, views and opinions.”

How to make a Halloween Hauntings Treat Bag

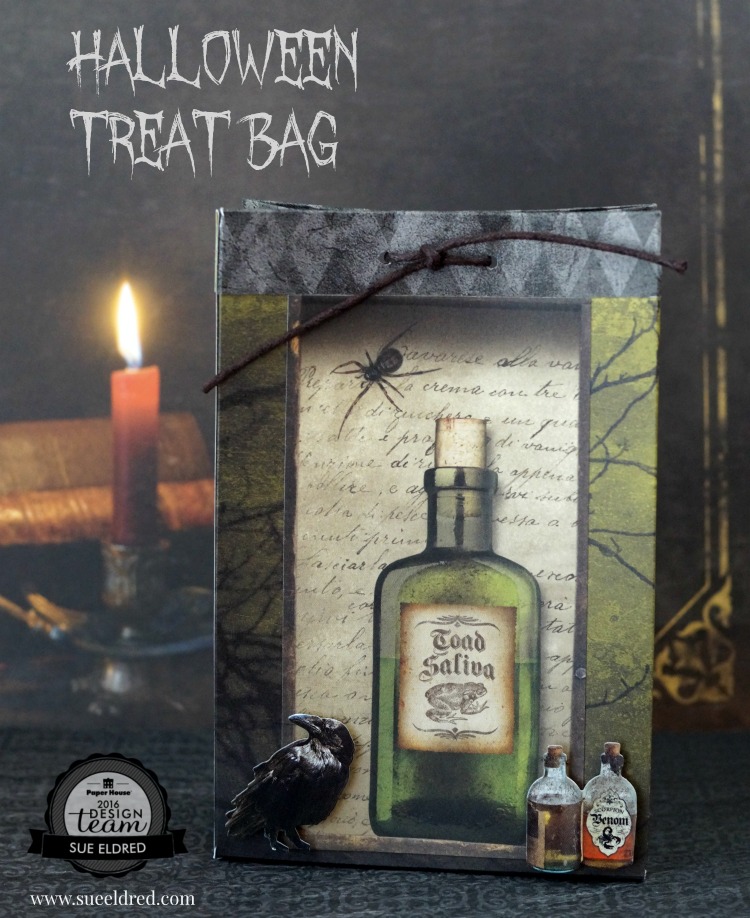
Halloween Treat Bag 185

You can make a Spooky Halloween Treat bag using only one piece of 12″ x 12″ paper.

That is as long as you’re not afraid of a few measurements… it really is pretty easy.

How to make the Halloween Treat Bag

Here’s what you’ll need:

Directions:

  1. Cut All Hallows Moon double sided Halloween paper to 8 1/4″ x 11 3/4″.
  2. Score the long width of the paper at 3/4″, 4 3/4″, 5 1/2″, 6 1/4″, 10 1/4″ and 11″.
  3. Score the top of the paper at 3/4″.
  4. Score the bottom 1 1/2″.
  5. Fold along score lines
  6. Cut away the first 3/4″ corner piece.
  7. Fold over the top 3/4″ and adhere in place.  (top diagram)
  8. Fold along lines to create a 4″ x 6″ box.
  9. Tape Side and bottom of the box.Taping the Bottom Flap 148
  10. Cut “toad saliva” bottle section from the Apothecary scrapbook paper and adhere to the front   of the bag.
  11. Add 3D foam mounting squares to the back of the “raven” and “bottles” stickers and use to embellish the bag.
  12. Punch two holes on the top of the bag.
  13. Fill with goodies (or NOT) and tie with a black cord.

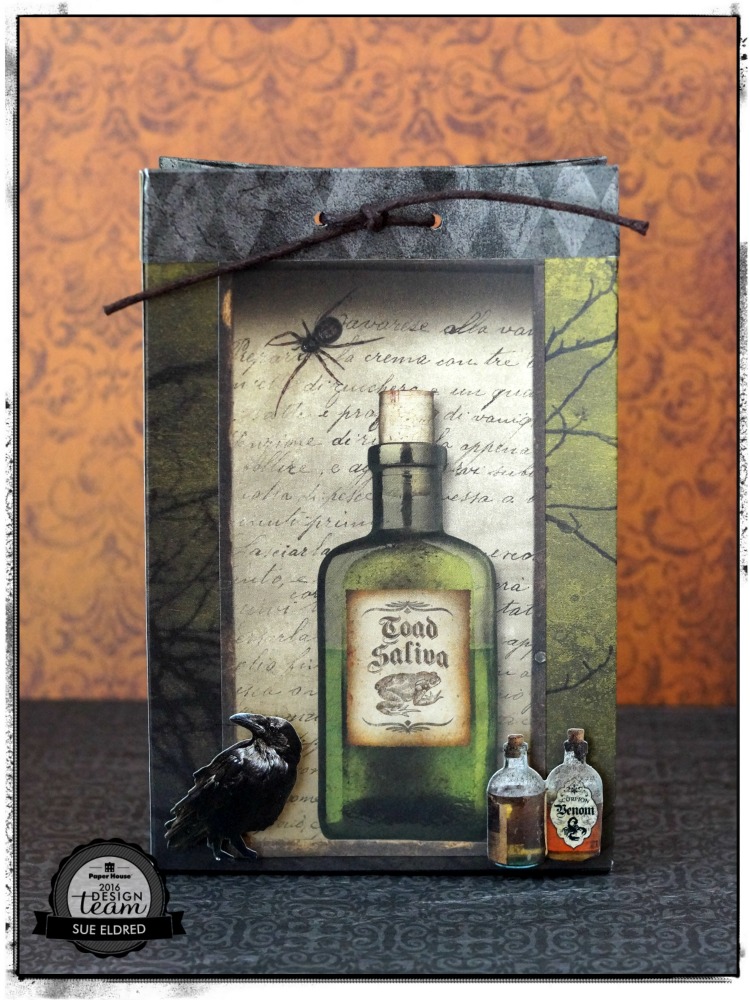
Halloween Treat Bag 191

The Halloween Treat Bag was created for and sponsored by Paper House Productions.


Patriotic Tie Dyed Shirts for the 4th of July

We’re at it again.

This past week, my daughter in law and I did a little Summer Tie Dying.

(see last year’s shirts here)

Inspired by photo’s she saw on Pinterest,

Bonnie made these cute Patriotic Tie Dyed shirts for the boys.

DSC08616

We used Tie Dye Kits that come with the premeasured squeeze bottles.

She gathered the shirt at one corner and rubber banded it in three sections and squeezed the

dye directly onto the shirt and then covered it with Saran Wrap.

We allowed several hours before rinsing out the dye.

Too Cute!  (don’t you agree?)

For more summer fun… click on ad below.

Slimer

Disclaimer:  This blog uses ads and affiliate links.  If you choose to make a purchase using one of the links, I receive a small commission (at no additional cost to you) that helps offset the costs of maintaining this blog.  Thanks for your support!

Join Amazon Kindle Unlimited 30-Day Free Trial