Gnome Gardening with Kids
One of our favorite Summer traditions is creating our annual Gnome Gardens.
The boys and I look forward to making them every year.
I started the tradition of Gnome Gardening several years ago when Nick was only 3.
You can see our first garden here.
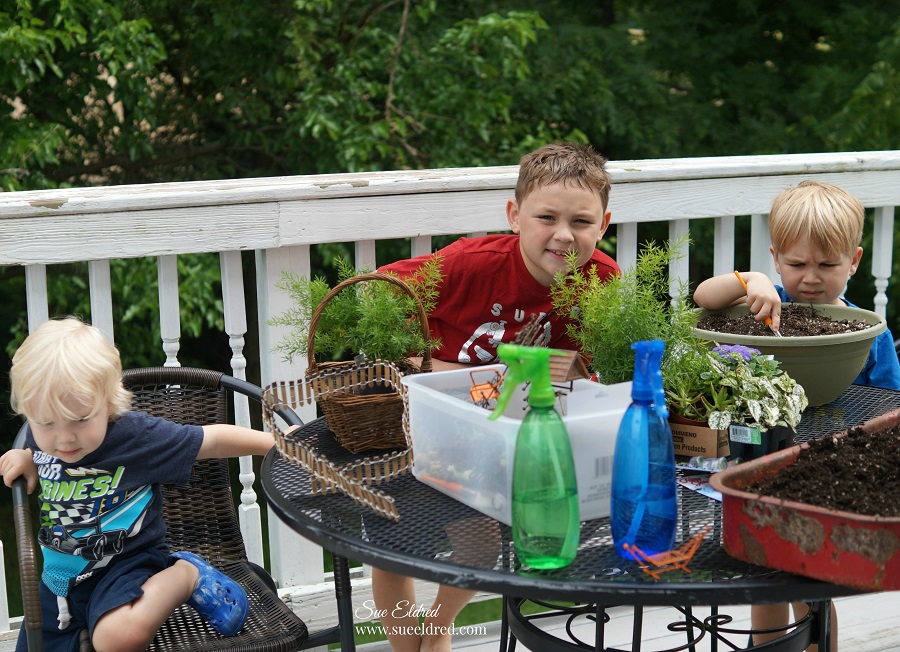
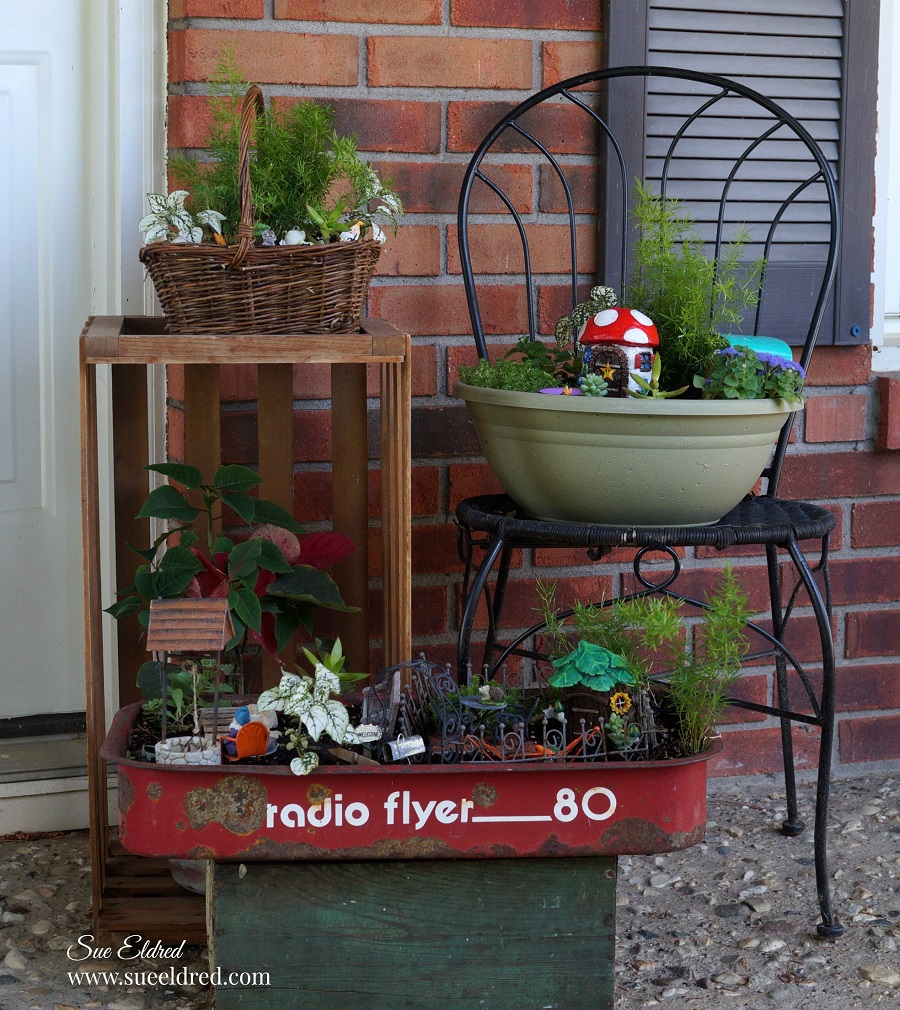
To create our gardens we use a variety of containers and objects we’ve picked up along the way.
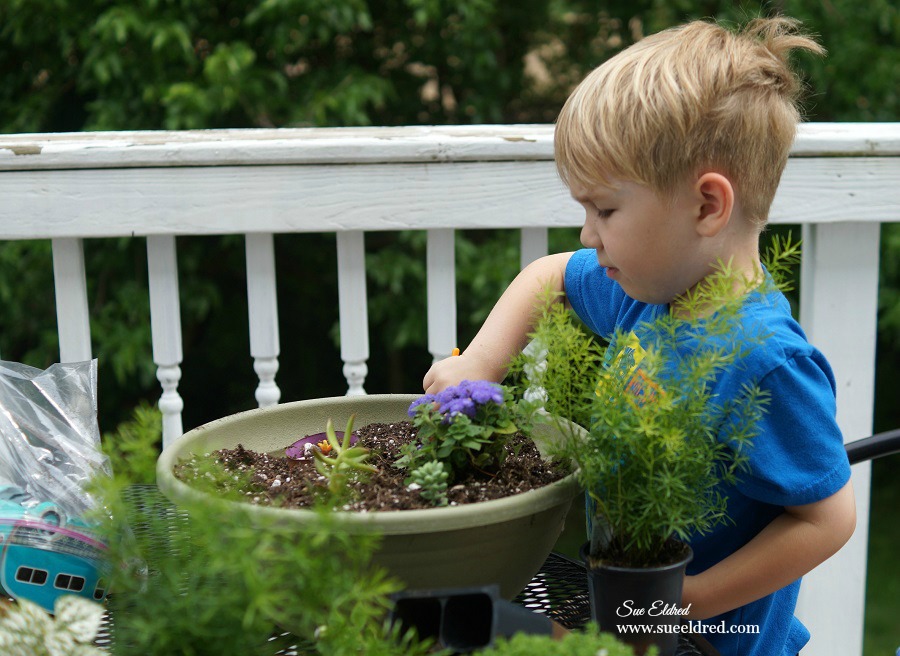
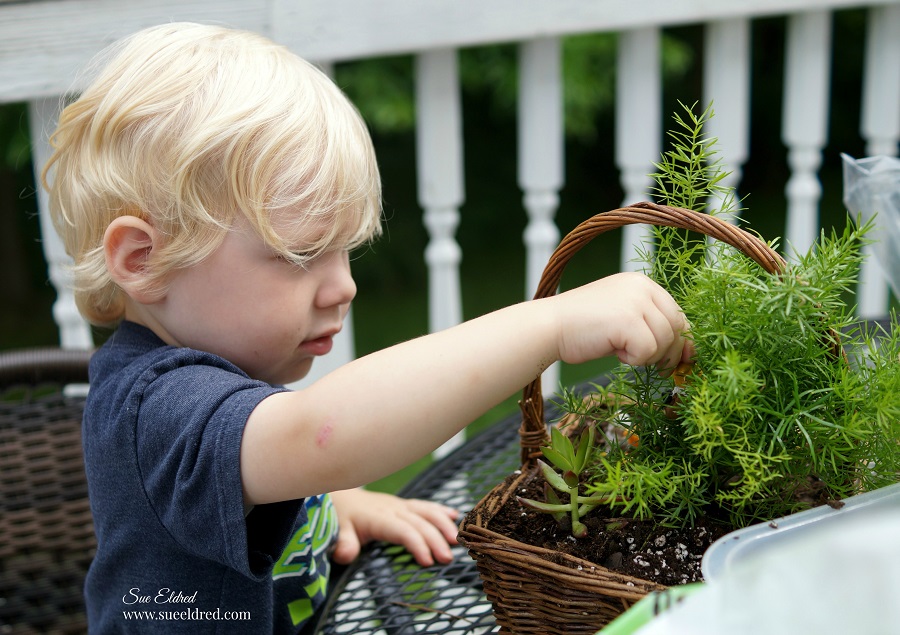
For the plants, we use succulents and flowers that won’t grown too big.
I like using Asparagus Ferns to mimic trees.
As mini gardens grow in popularity… there several places you can find accessories
for your gardens. We like to get something new for our gardens every year.
This year we added items picked up at Dollar Tree*.

*Disclosure: This blog uses ads and affiliate links. If you choose to make a purchase using one of the links, I receive a small commission (at no additional cost to you) that helps offset the costs of maintaining this blog. Thanks for your support!

This is Nick’s 6th year making Gnome Gardens so he’s pretty proficient with his garden.
Check out last years garden. (always an adventure)
This is Warren’s 3rd year making a Gnome Garden.
He lets me help him. (maybe that’s why his is my favorite)
His garden is all about the house placement.
You can see Warren’s first Gnome Garden here.
I love seeing how much they’ve grown from their first gardens.

The extra credit award goes to my daughter-in-law (the boys mom).
She found this little gnome house at Dollar Tree* and repainted it with a Mario inspired look.
The tiny Camper and firepit was from last years garden and is available at Leisure Arts, Inc.
Leisure Arts Mini Garden Supplies… (*affiliate link)
This year was Emerson’s turn for his first Gnome Garden.
He always wants to do everything his big brothers are doing.
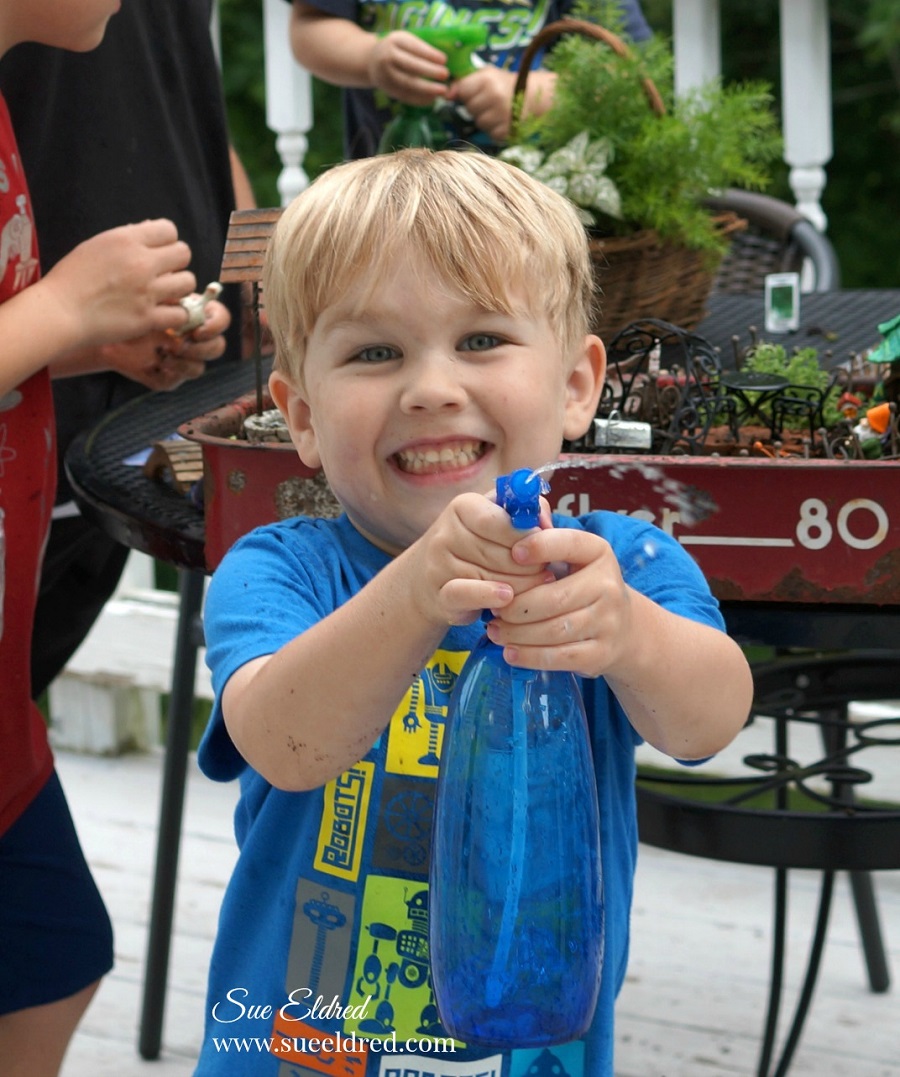
Water bottles are a great item to have when Gnome Gardening.
It helps the boys control how much water goes on the garden, and they’re fun too.
This little stinker sprayed me as I stuck my head out the window for a quick pic.
(I may have sprayed him first.)

Creating mini Gnome Gardens is a fun and memorable project to make with kids.
We always have a good time.
It gives them something to take care of all summer long.
And…it adds a little whimsy to my front porch.
To create a Gnome Garden you’ll need:
- Container for your garden. I like finding unusual items like the top of a broken wagon. It adds a little extra whimsy to the garden.
- Good Potting Soil
- Small Garden Tools
- Gnome or Fairy Figures
- Rocks, Twigs and other found objects
- Store Bought Accessories such as the gnome houses
- Succulents
- Annuals that won’t grow too big or tall
- I like to use Asparagus Ferns to mimic trees
- Water Bottle
- Start the Gnome Garden by adding potting soil to your container.
- Allow the kids to loosen up the soil before adding plants.
- Small gardening tools are also fun to have.
- Add plants to the container before adding accessories.
- I like to add the largest plants first near the back of the container.
- Allow the kids to add their special pieces to the garden.
- Give the garden a good spray of water using the water bottles.
A Special Thanks to Leisure Arts, Inc. for providing the Mini Garden Supplies.