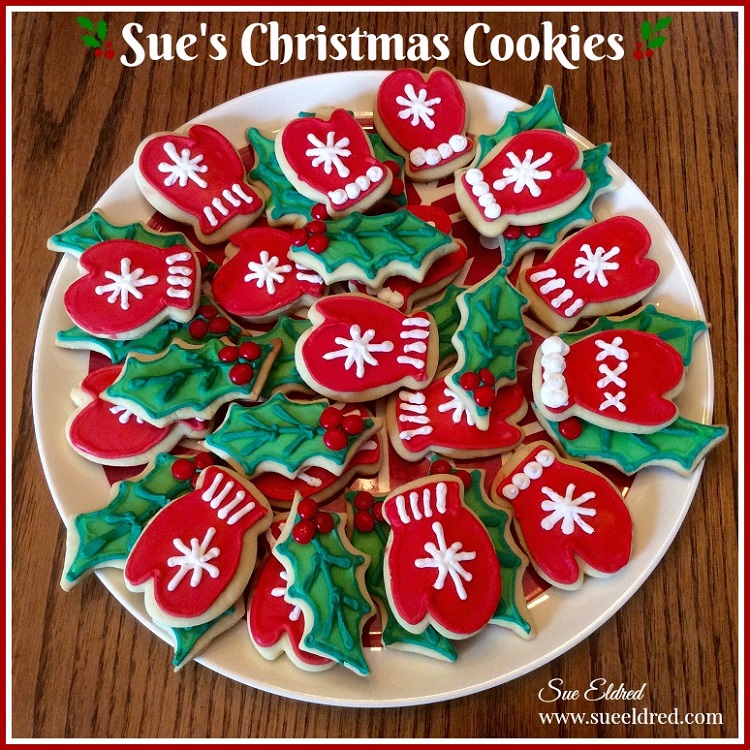
One of my favorite Holiday Traditions is making Frosted Sugar Cookies.
I use the same recipe year after year.
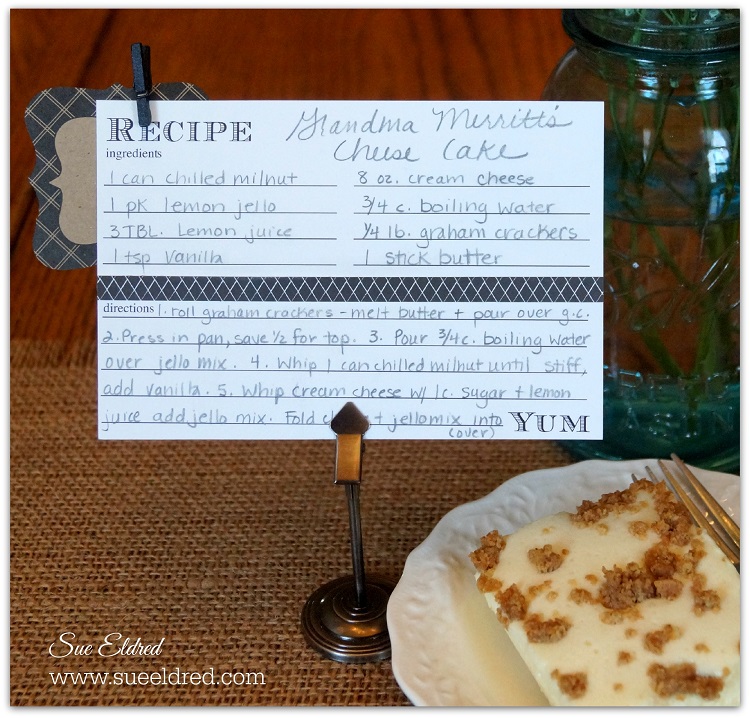
It’s a simple recipe, written on a piece of notebook paper in my mom’s handwriting.
She wrote out the recipe and gave it to me the first Christmas after I married.
It’s stained, and the edges are tattered. (I keep it in a protective sleeve now.)
I think of her every time I make them. (sugar cookie recipe at the end of the post)

The “Cookies for Santa” card is just about as easy to make as the cookies themself.
And you don’t have to wait for it to cool before enjoying it.

Disclosure: This is a sponsored post for The Maker’s Movement. I have been provided product and compensation in exchange for my creative ideas. The view and opinions are my own.

Materials Used: (*affiliate link)
- M12784 Frosted Cookies Stamp Set
- M12791 Frosted Cookies Die Set
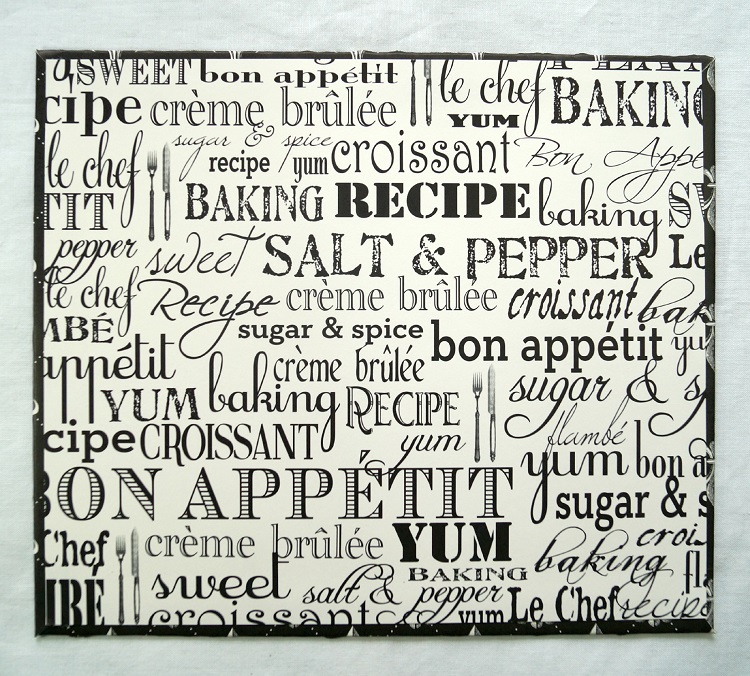
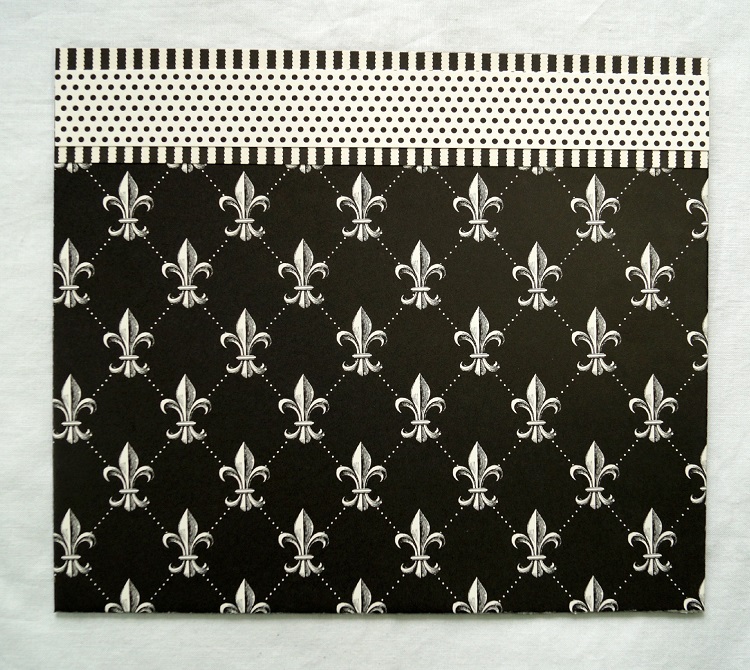
- M12593 Christmas Doodles 6″ x 6″ Paper Pack
- M12692 Nested Arch Die Set
- Mini Maker Die-Cut Machine
- Acrylic Stamping Block*
- White Pigment Ink*
- White Embossing Powder*
- Embossing Heat Tool*
- Tombow Art Markers*
- Waterbrush*
- Kraft Cardstock*
- Rinea Red Foil Paper*
- Scrapbook Adhesives by 3L Thin 3D Foam Squares*
- Xyron Mega Runner*
- Ribbon and Thin Twine

*Disclosure: This blog uses ads and affiliate links. If you choose to make a purchase using one of the links, I receive a small commission (at no additional cost to you) that helps offset the costs of maintaining this blog. Thanks for your support!

Directions:
- It’s important to use white pigment ink* and white embossing powder* to get the whitest white cookie outline.
- Stamp the cookie outline with white pigment ink onto kraft cardstock.
- Pour a small amount of white embossing powder over the stamped image, shake off excess powder. (If you pour over a piece of scratch paper you can easily repour the excess powder back into the jar.)
- Use an embossing heat tool* to melt the powder until shiny.

- Align the matching die with the stamped image and die-cut using the Mini Maker Die-Cut Machine.
- The raised embossed edges make it easy to watercolor. Use a waterbrush* along with a combination of markers and inks to watercolor the stamped images.
- I used paper and labels from the Christmas Doodles Paper Pad for the front of the card.
- This Christmas Card called for something a little shiny, so I added a piece of red foiled paper as a layer.
- Adhere the frosted cookies onto the front of the card using thin foam squares.
- Tie a red bow to finish off the card.

The Snowman Cookie Tag would look great on a wrapped plate of fresh Christmas cookies.
The base was made using a die from the Nested Arch Die Set.


Here’s Mom’s Recipe. (Enjoy!)
- 1- 1/2 c. powdered sugar
- 1 c. butter or margarine
- 1 egg
- 1 tsp. vanilla
- 2- 1/2 c. all-purpose flour
- 1 tsp. cream of tartar
- 1 tsp. baking soda
- Cream sugar & butter, add egg & flavoring, mix thoroughly.
- Sift dry ingredients together and stir in. (I dump)
- Refrigerate 2 to 3 hours.
- Heat oven to 375°.
- Divide dough in half & roll out on lightly floured pastry sheet.
- Roll thin, but thick enough to pick up the design with the cookie cutters.
- Dip cookie cutter into flour before each cutting. Cut as many cookies from each rolling as possible. The least amount of working with the dough gives the best cookie.
- Place on lightly greased baking sheet. Bake 7 to 8 min. or until delicately golden.
- For the Glaze I dump around a cup of powdered sugar into a bowl. Add a dash of vanilla. Add milk one tablespoon at a time until you get the consistency you want. (hint: not too runny)