Joy Shadow Box Tray

joy-shadow-box-tray-8609

A simple Shadow Box that would be cute as Holiday Décor or used as a gift.

The “Happy Holidays” graphic would be cute replaced with a Holiday photo.

This project also uses a simple paint technique for old hardware.


Here’s what I used for my Shadow Box Tray:   

(*including amazon affiliate links)


Tips to make your project easier:

flicking-paint-8566

  • Add Snowy effect by flicking white acrylic paint onto the pine craft stem using an old paintbrush.
hardware-8570

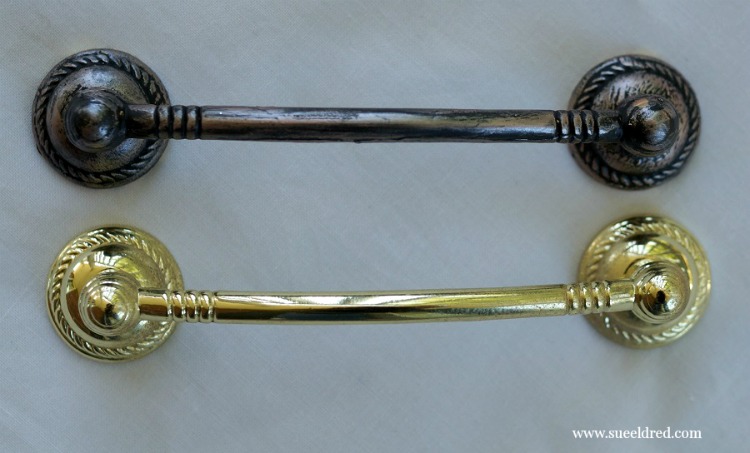
  • Paint the brass hardware with black spray paint.  Once the paint is dry, rub Rose Gold Metallic Lustre over hardware for an aged vintage look.
joy-shadow-box-tray-close-up-sues-creative-workshop

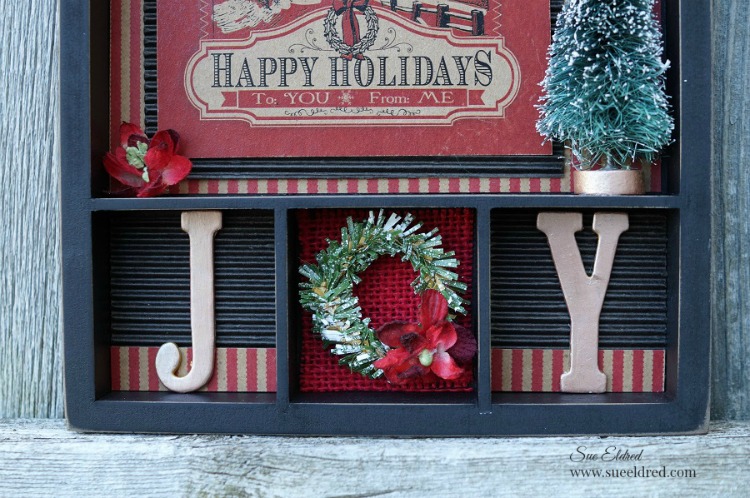
  • For a cohesive look…rub Rose Gold Metallic Lustre onto the chipboard letters and the wood disc on the tree.
  • Cut the back of the bottle brush tree flat so that it fits snuggly into the tray.


This project was sponsored by Canvas Corp Brands and DecoArts.

I am an Amazon Affiliate.  If you choose to make a purchase using an Amazon link, I receive a small commission that helps offset the cost of running this blog.  Thank You!

Snowman Pop Up Card

snowman-pop-up-card

It’s always exciting when you see something you’ve created in the pages of a magazine.

My Snowman Pop Up card, using Paper House Productions paper and stickers,

was recently featured in Craft Ideas 2016 Holiday Issue.

Make sure to check out their website for the Snowman Pop-Up card instructions.

You can find the instructions here.

craft-ideas-magazine-holiday-2016

Craft ideas and projects for every skill level, every medium and every occasion.


The Snowman Pop-Up card was created for and sponsored by Craft Ideas and Paper House Productions.

Making a Winterberry Table from a $2 treasure.


winterberry-table-2-2562

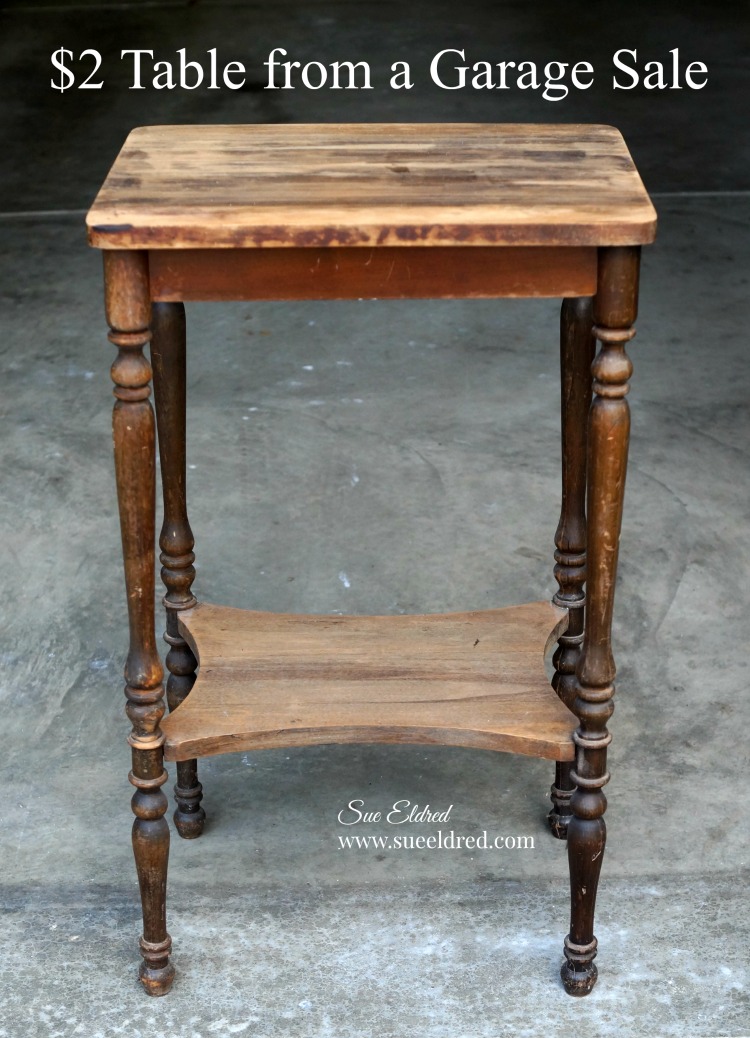
Making a Winterberry Table from a $2 Garage Sale treasure.

I almost missed the small cardboard sign leaning up against the mailbox…

I wasn’t completely sure it was even a sale.  So I backed the car up and parked.

You never know what you might find when your out “treasure hunting”.

2-table-from-a-garage-sale-1723

While chatting with the fun older couple, I found out that they had just recently married and moved

into their new home.  They were downsizing and combining both households.

The couple had a lot of good stuff, most of which I didn’t need.

It was on my second look around when I spotted the table and it’s $2 price tag.  (no need to haggle)

deco-art-americana-decor-satin-enamels-deep-ruby

She told me… “I always meant to refinish it.  I put a doily and a basket on it instead.”

I didn’t have the heart to tell her I was planning on painting it.

painting-the-winterberry-table

(this post uses affiliate links)

I had just recently received some new paint from DecoArts and thought I’d give it a try.

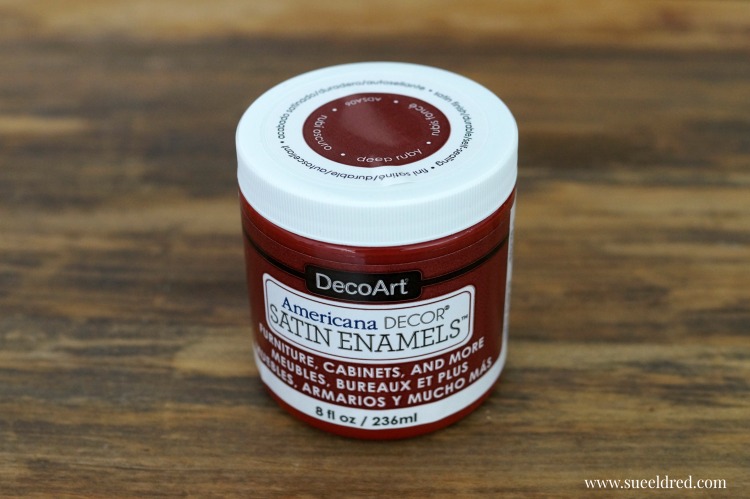
I gave the table a couple coats of Americana Decor Satin Enamels Deep Ruby*.

I was seriously impressed with how smooth the paint went on and dried.

I didn’t even need to sand between coats.

stenciling-the-winterberry-table-sues-creative-workshop

I decided to stencil the top of the table using my new DecoArt Stencil 6 x 18 in. Winterberries*.

I secured the stencil in place using removable painters tape.

Using a stipple brush…

I applied DecoArt Americana Multi-Surface Satin Acrylic Paint, White Birch*

inside the open stencil areas.

winterberry-table-2509

The Winterberry stencil comes with two 6″ x 18″ stencils which are slightly different.

I used the second stencil to add another berry branch to my table top.

I’m in love with my “new” table.  

For now, the table will be used with my holiday decorating and then after the Holidays it’ll find a

permanent home in the guest room.


The Winterberry Table was sponsored by DecoArts and uses Amazon Affliliate links.

If you choose to purchase an item from Amazon using one of the links, I will receive a small commission which helps offsets the cost of running this blog.  Thank You.

Christmas Cards using Paper House’s “Home for Christmas” Collection

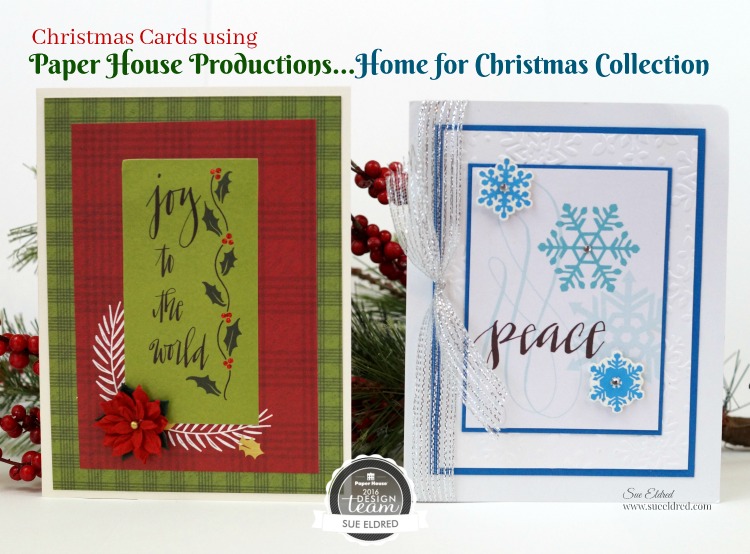
christmas-cards-using-paper-house-productions-home-for-christmas-collection-sues-creative-workshop

Planning on making Christmas Cards this year?

I thought I’d share a couple of the quick and easy layered cards that we made in my Holiday Workshop.

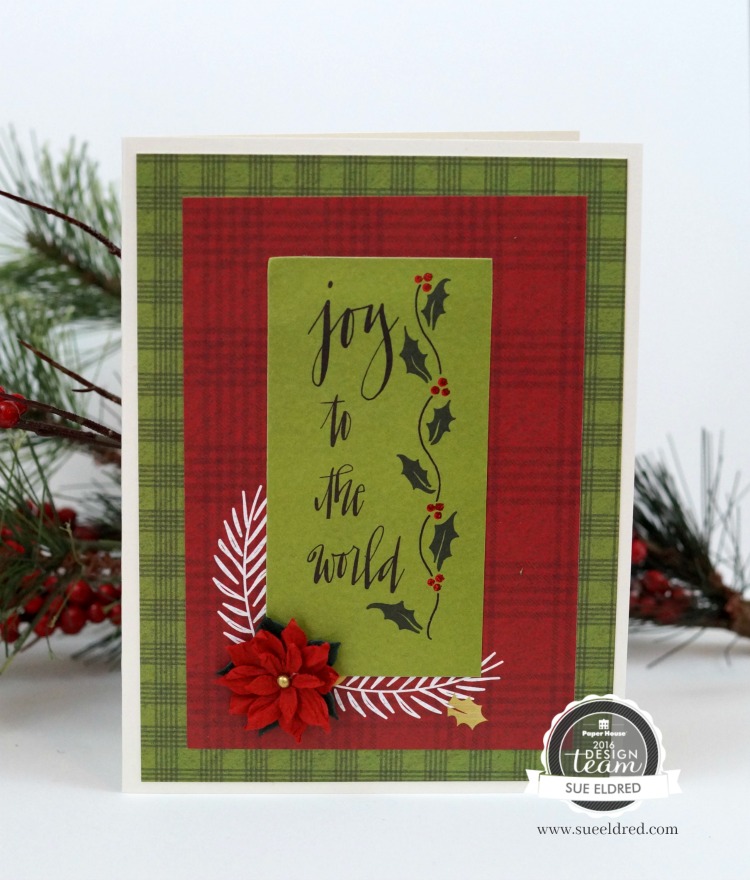
joy-to-the-world-2577

The Joy to the World card uses:

joy-to-the-world-inside-sues-creative-workshop

I used the Merry Christmas Tag from the Glitter sheet on the inside of the card.

peace-card-sues-creative-workshop

For the Peace Card I used:

peace-card-inside

On the inside of the card I used:

  • Winter Snowflakes Washi Tape from Little B LLC
  • the Snowman from the Home for Christmas Cardstock Stickers


*I am an Amazon Affiliate.  If you choose to make a purchase from Amazon, I will receive a small commission that helps offset the cost of running this blog.

Festive 3-Tier Serving Stand

festive-3-tier-stand-sues-creative-workshop-8638

Create an elegant Holiday serving stand…

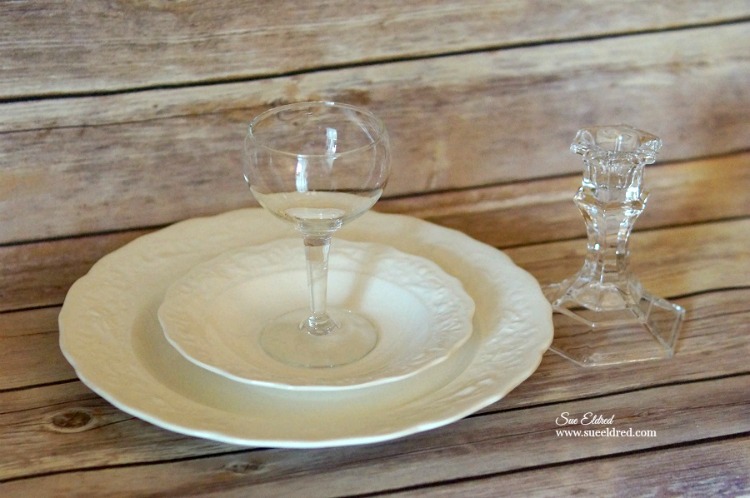
using random thrift store dishes and a Dollar Store candlestick.

Imagine this filled with yummy deserts and treats.

getting-started-sues-creative-workshop

*Disclaimer This post uses ads and affiliate links.  If you choose to make a purchase using one of the links, I receive a small commission (at no additional cost to you) that helps offset the costs of maintaining this blog.  Thanks for your support!

Here’s what you’ll need to get started:             (*affiliate link)

Directions:

  • Clean and dry dishes.  Wipe areas where adhesive will be applied with rubbing alcohol to remove any oil left on glass from handling.

gluing-the-candlestick-sues-creative-workshop

  • Run a thin line of adhesive on the top of the glass candlestick and adhere to the bottom of the medium plate.  Let dry.

fill-with-jingle-bells-sues-creative-workshop

  • Place jingle bells into glass cordial. Run thin line of adhesive on top of glass cordial.  Adhere to bottom of the smallest plate.  Let dry.

Shop Your Fav Brands at Scrapbook.com

festive-3-tier-stand-separate-pieces-sues-creative-workshop

  • Adhere bottom of glass cordial to center of the medium plate.
  • Adhere bottom of glass candlestick to top center of largest plate.

plain-stand-sues-creative-workshop

TIP… Use as three separate pieces or adhere together to create one elegant serving stand.

Try Amazon Prime 30-Day Free Trial

Sometimes all you need to do is IMPROVISE

playing-in-the-pine-needles-layout-sues-creative-workshop-2266

When the boys came over to visit the other day, Nick had it in his mind that he was going to

rake a huge pile of leaves to play in.  Since the maple tree in the front yard had yet to drop it’s leaves

I suggested he rake up the Pine Needles.  (I figured a win-win for both of us)

playing-in-the-pine-needles-sues-creative-workshop1872

They raked, they threw, they had a really good time.  They IMPROVISED!

and…there were pine needles everywhere.

I love this picture of the boys.  So much fun.

paper-house-fall-blog-hop

This week the Paper House Design Team is having a Fall Blog Hop with a chance to win a fun prize.

Make sure to stop by the Paper House Blog to join in the fun.

fall-blog-hop-banner

My “Playing in the Pine Needles” layout was created for and sponsored by Paper House Productions.

The paper and stickers used in the layout were from the Autumn Woods Collection.

Framed Magnetic Family Memo Board

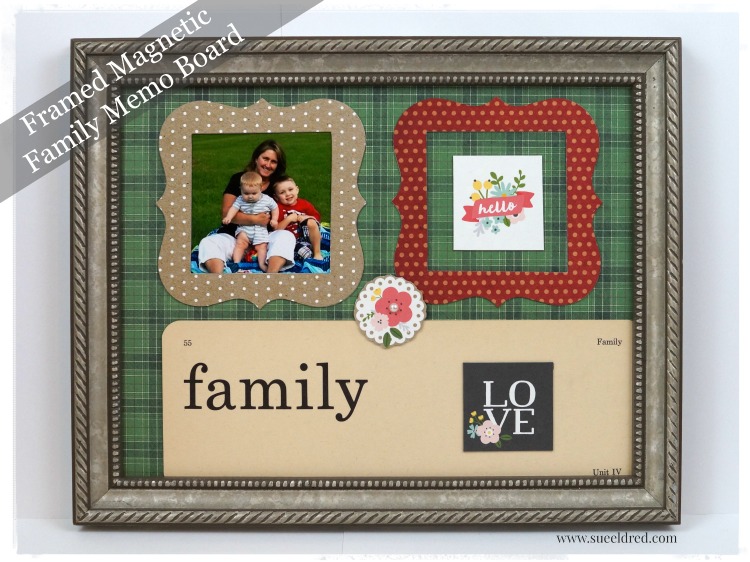
framed-magnetic-family-memo-board-2001

A decorative alternative to the family refrigerator.

This picture of me with my grandsons is one of my favorite photos.

It’s been hanging around on the fridge for a couple of years now.

I decided to make a Framed Magnetic Memo Board that I can hang on the wall and swap out photo’s

in the magnetic frames when ever I feel like it.

framed-magnetic-family-memo-board-2005

  • I started with an old picture frame with the glass removed.
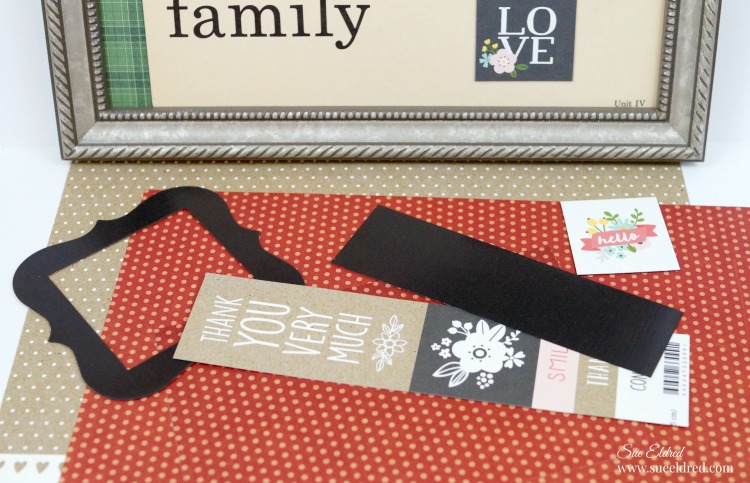
  • I adhered the Magnetic Craft Sheet from Deflecto using double sided adhesive on the frame backing with the black magnetic side up.
  • Next, I covered the black magnetic sheet with a “thin” piece of plaid scrapbook paper and inserted it back into the frame.  (TIP:  using thin paper is the key to the magnetic sheets sticking together)
  • To make the frames:  Cover magnetic sheets with scrapbook paper. Cut magnetic sheet with craft knife and mat or use a wood die cut frame to cut out the frames.
  • You can also create small word magnets using scrapbook paper and the magnetic craft sheets.

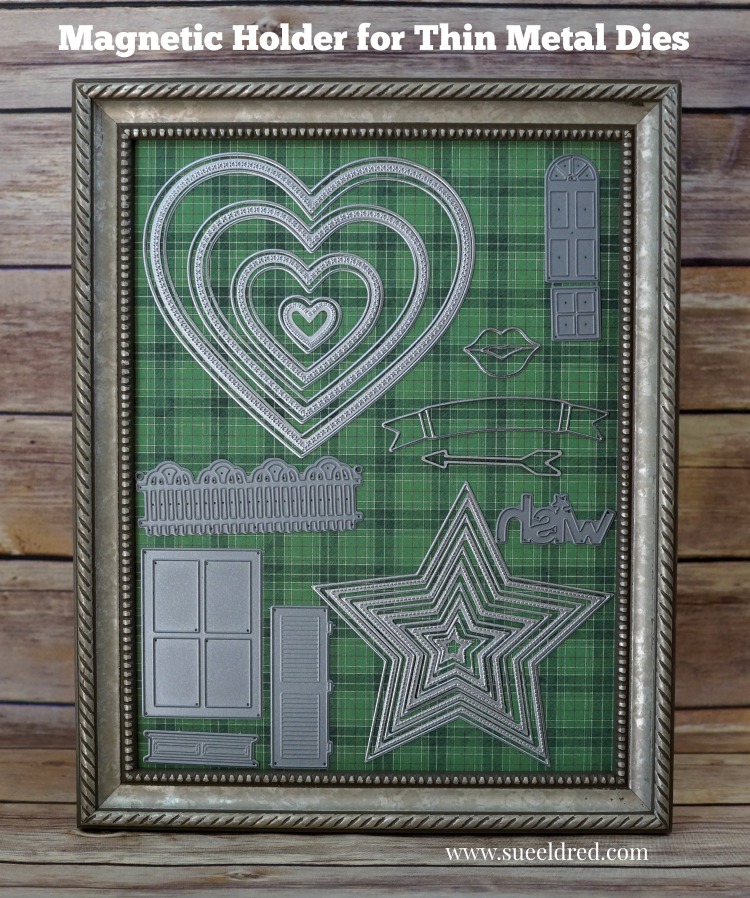
magnetic-holder-for-thin-metal-dies-sues-creative-workshop

Thin metal dies will not work to cut the magnetic sheets, but it would be a great way to store them!

Deflecto Magnetic Craft Sheets, 8″ x 15″, 3-Pack, White (5901)


“This is a sponsored post. As a member of the Deflecto Design Team I have been provided product in exchange for my creative ideas, views and opinions.”

*This post uses Amazon Affiliate links.  I am an Amazon Affiliate.

Ring Toss Anyone?

For Nick’s Carnival themed birthday party, earlier this month…

I was given the task to create the Ring Toss Game.

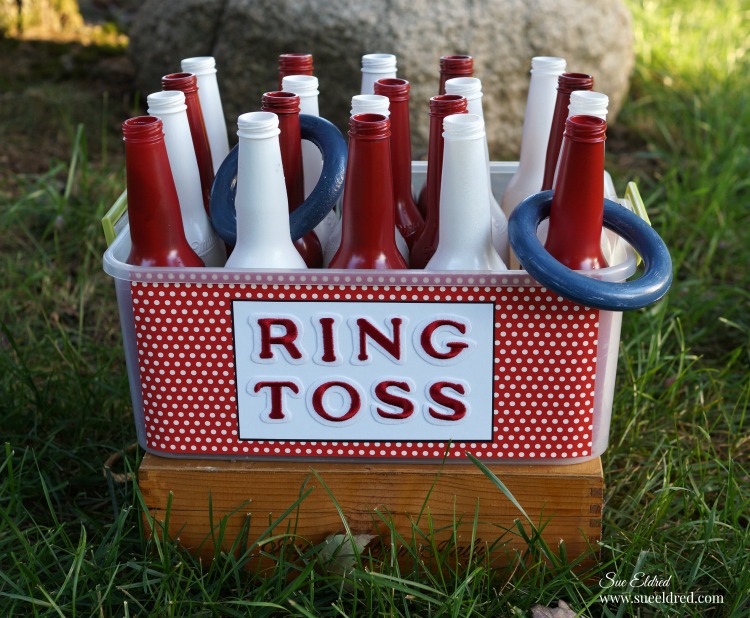
 After washing and spray-painting all the bottles, I needed a cute sign for the game.

Joy letters to the rescue – I just adhered them to scrapbook paper I added to the outside

of the plastic bin that holds the bottles.

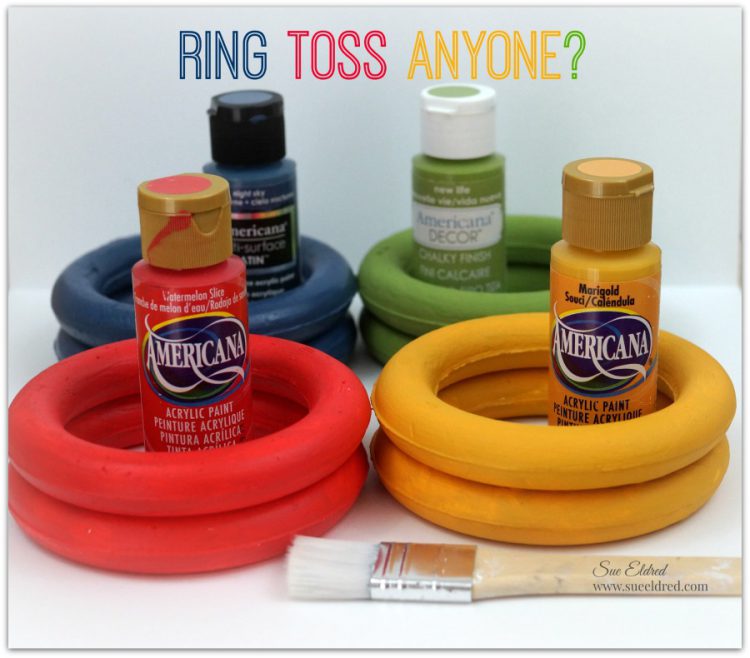
I used lightweight Smoothfoam rings painted with acrylic paint for the kids to toss.

ring-toss-game-sues-creative-workshop

Besides the Ring Toss Game there was a Hit the Can, Frisbee Toss, Fishing Game, Shoot Em Up, Tattoo Parlor, Fortune Teller.

fishing-game

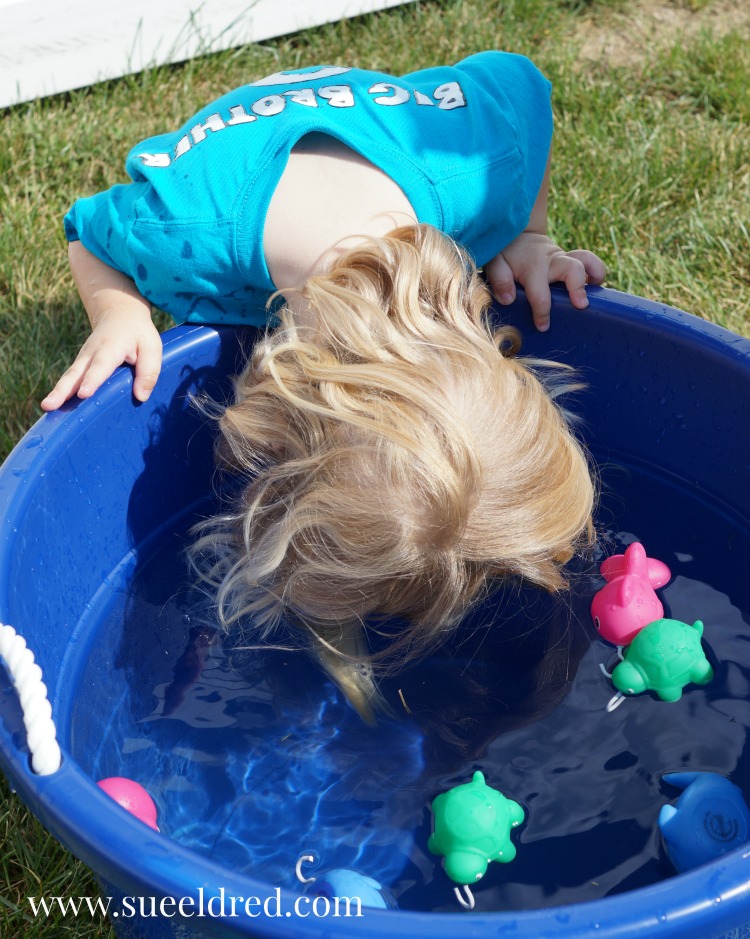
Warren especially love the Fishing Game.

So much, he stuck his head in the tub.  (it was unseasonably HOT that day)

nicks-6th-birthday-party

There was Ice Cream Cone Cupcakes, Corn Dogs, Popcorn, Nacho’s and a ton of prizes.

The kids and adults had a really good time at the party.

This post was sponsored by Joy Sa and DecoArt.

Disclosure:  This blog uses ads and affiliate links.  If you choose to make a purchase using one of the links, I receive a small commission (at no additional cost to you) that helps offset the costs of maintaining this blog.  Thanks for your support!

Join Amazon Kindle Unlimited 30-Day Free Trial

Sue and Nick’s First Video together on 3D Shimmerz from Paper House Productions

I asked my grandson, Nick to help me make a video.

If you’ve followed my blog any at all you’ve most likely seen a picture or two of my grandsons.

To be totally honest…some of my most popular posts are projects that I did with my grandson Nick.

So…when I decided to make a video showing how fun the new 3D Shimmerz from Paper House

Productions are I thought who better than Nick to help me.  He’s a natural and really did a great job.

He probably didn’t even need me.  Prepare yourself for extreme cuteness.

(oh…and please excuse the crickets in the background)

Nick asked me tonight when we’re going to make another video.  You just never know.


*This video was sponsored by Paper House Productions.

Boo Door Hanger and Autumn Wreath

autum-wreath-and-boo-door-hanger-sues-creative-workshop-1256

The plan was to make the “Boo Door Hanger” and the “Autumn Wreath”

as two separate projects with two separate blog posts.

But… while I was working on decorating my front porch for Fall,

I tried them together and decided I liked it.

The “Boo Door Hanger” is a separate piece that I can remove after Halloween.

fall-wreath-supplies-sues-creative-workshop

I assembled the wreath using a grapevine wreath, a couple of fall silk floral bouquets, ribbon and my

hot melt glue gun.  After cutting the stems apart from the bouquet, I played around with the

arrangement of the flowers and glued them in place.

A simple bow glued into place finished off the Autumn Wreath.

The entire project took less than a half hour.

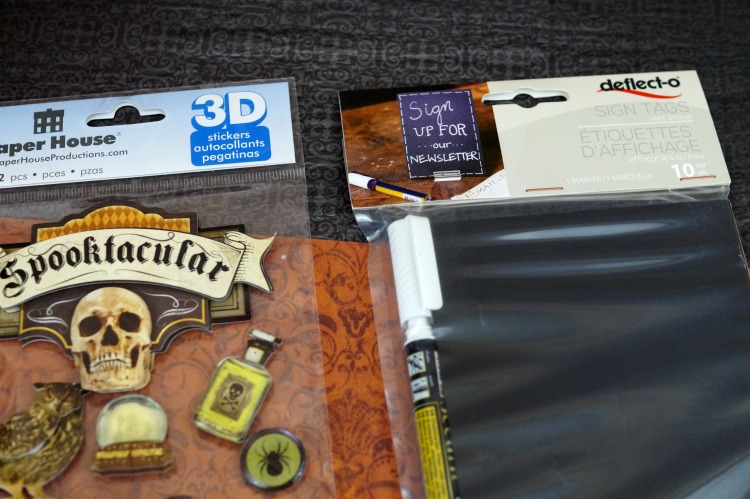
sign-tags-stickers-and-paper-1119

The Boo Door Hanger was a little more involved…

I used Black Sign Tags that come with a White Wet Erase Marker from Deflecto Craft Solutions

and Halloween paper and stickers from Paper House Productions.

die-cut-frames-1124

I applied the Halloween paper onto thin chipboard and cut out three die-cut frames.

I cut the sign tags just slightly bigger than the opening of the frame and adhered it to the back.

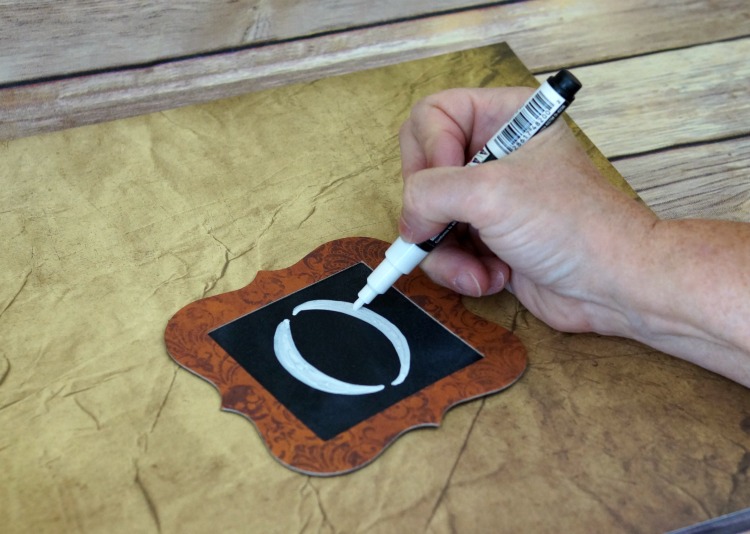
drawing-the-letters-with-the-chalk-marker-1125

I drew in my letters using the white dry erase pen.

Make a mistake?  Just wipe the sign tag with a damp paper towel and start over.

boo-door-hanger-close-up-1127

I punched two holes in the top and bottom of the first two frames and the top only of the last frame.

I added a black eyelet to each hole and connected the frames with small garment pins.

boo-door-hanger-1129

I embellished each frame with Spooktacular 3D Stickers from Paper House Productions.


“This is a sponsored post. As a member of the Paper House Productions and Deflecto Design Team I have been provided product in exchange for my creative ideas, views and opinions.”