I actually made it to the ocean this year.

Myrtle Beach Layout 09768

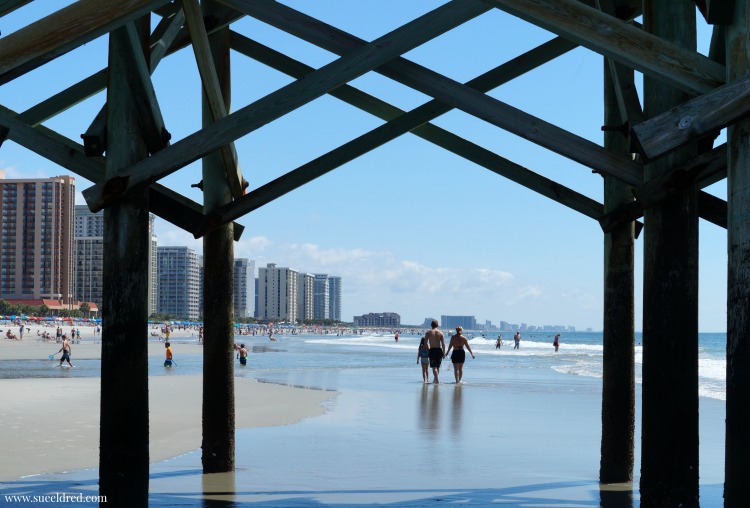
Going to the Ocean is one of my favorite things to do…

and it had been three long years since we last visited.

It was long over due.  The beach was calling.

Long daily walks on the beach, soaking up the sun, ocean breezes, good food, reading and relaxing.

It was hard to come back.  I needed another week.  (I need another week!)

Jim and Sue 9530 - Copy

During our week there, we allowed our teen-age son to visit and stay with his best friend who lives

an hour away from where we were staying.  Giving him those few days to re-connect also gave

my husband and I a few days to re-connect as well.

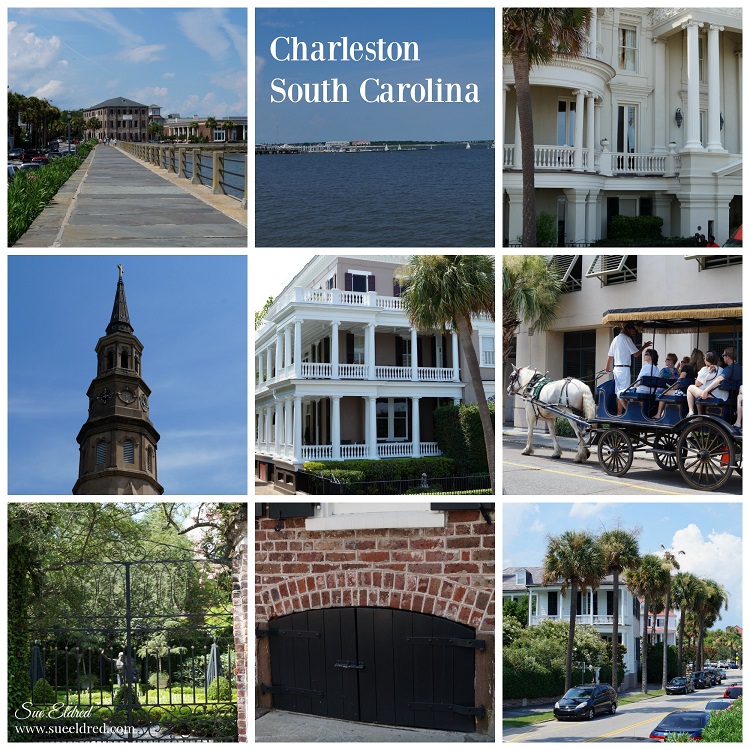
Charleston Collage

After we picked him up we headed to Charleston for the day.

Charleston is one of the most beautiful and one my all time favorite cities.
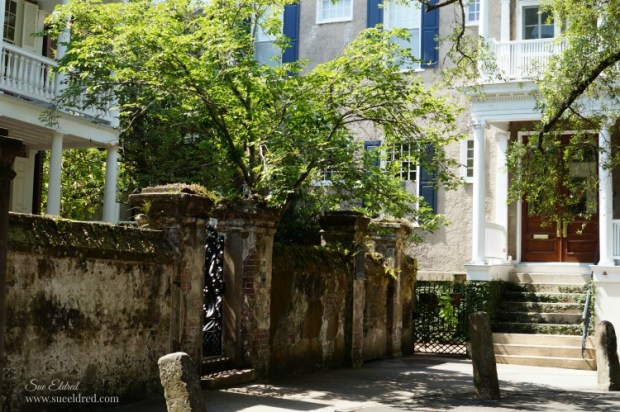
Charleston 9440

Charleston is steeped in history and gorgeous homes.

I enjoy walking along the harbor, taking pictures and checking out the architecture.
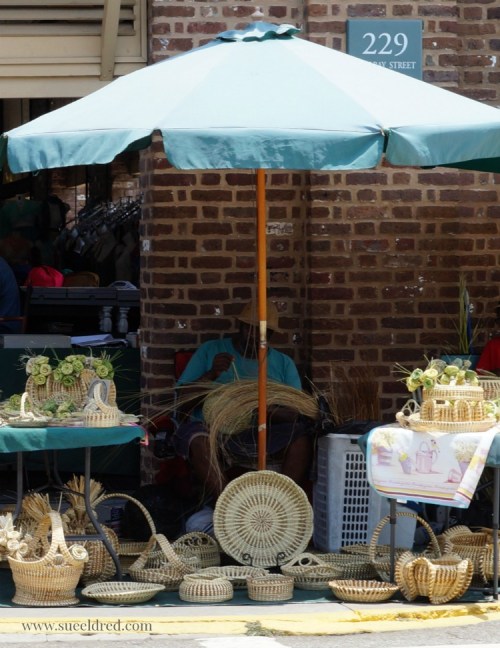
Sweetgrass Baskets

Another favorite is visiting the Market Place where I am always fascinated by the Sweetgrass Baskets,

a true Charleston tradition.   (I’ve invested in a few baskets over the years.)

The baskets may seem a little pricey, but, when you consider the tedious hours of labor that goes into

each one, they’re probably underpriced.
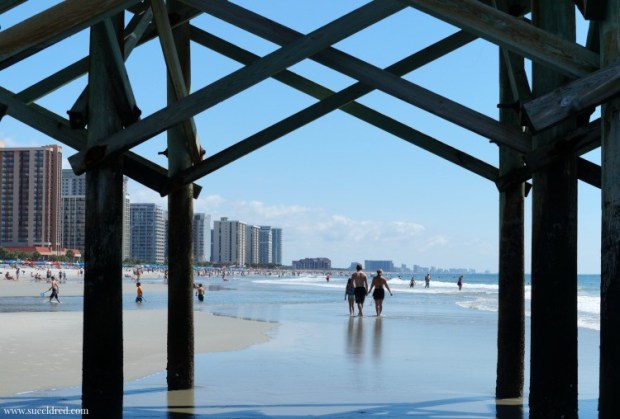
Myrtle Beach

Luckily, we had a few more beautiful days of sunshine together before heading home.

It’s never enough time for me.

(If you’d like you can read last year’s post about not going to the beach here.)

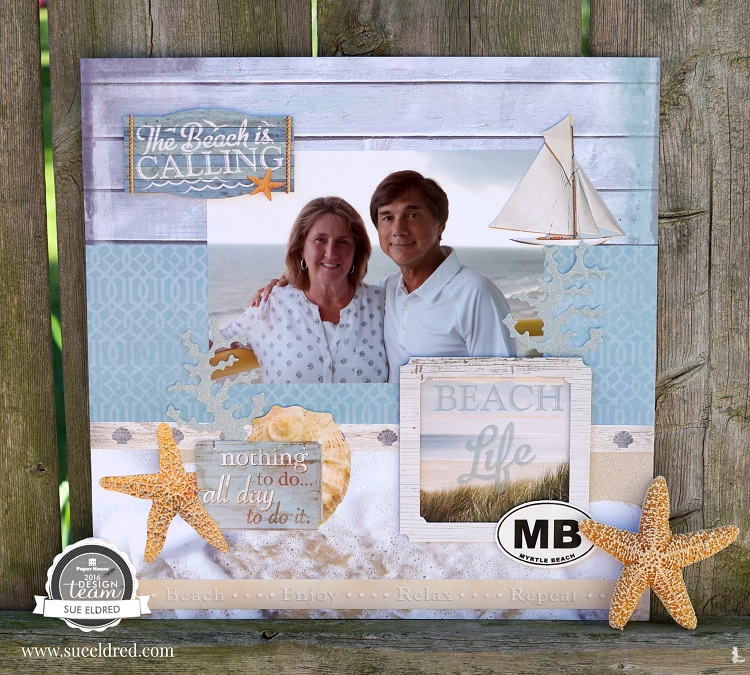
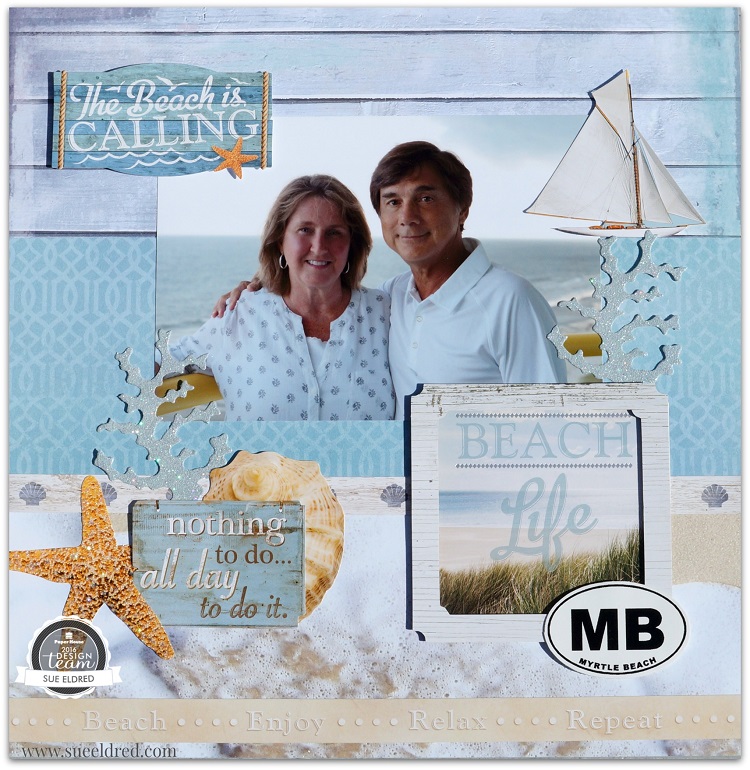
Myrtle Beach Layout 9752

I created my beach layout using Paper House Productions

At the Beach Paper Crafting Kit and the New Beach Mixed Card Pack.

I layered three different patterned papers to mimic the color of the water on the horizon line

and the feel of the sandy beach.
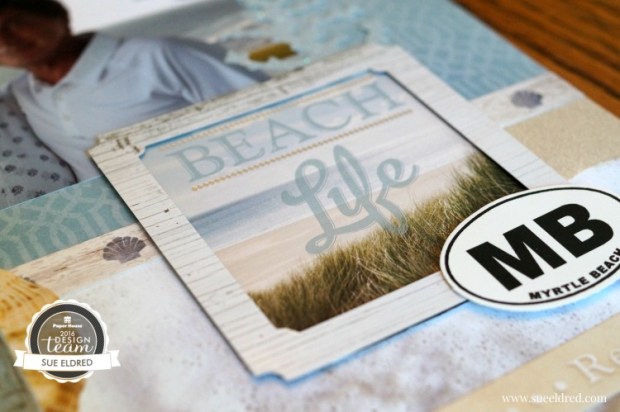
Beach Life Close Up 9781

I love the New Beach Mixed Cards, the pack comes with a variety of pictures, overlays and frames.

(I added thin 3-D foam mounting squares to the back of the frame before attaching it to the picture.)

The Myrtle Beach Sticker (for decorating your phone) was found at a local beach shop.


Here is a list of the Paper House Productions products used:

My beach layout was created for and sponsored by Paper House Productions.

Remembering Birthdays 7gypsies Style

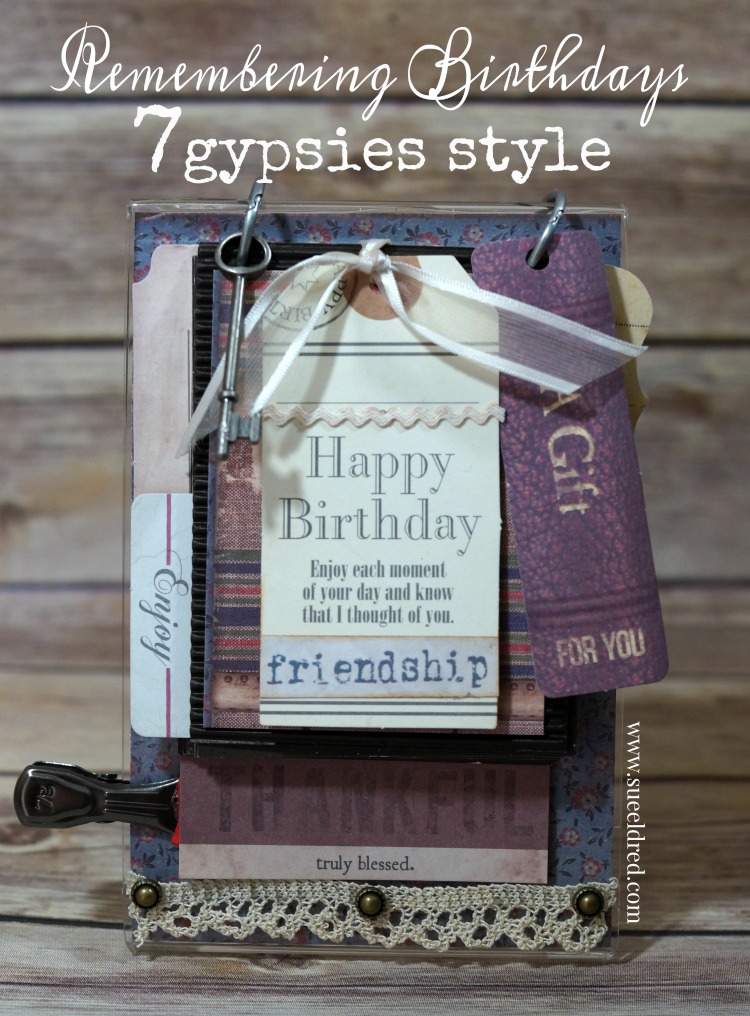
Remembering Birthdays 7gypsies style

A Clever and Creative Way to Remember Birthdays.

I come from a large and always expanding close knit family.  With all that family,

there’s a lot of birthdays to remember.  As a solution, I decided to make a small desk

top monthly reminder with a funky vintage vibe.

months 9141

I started with these cute little Heirloom Calendar Months that come on one 12″ x 12″

sheet of paper.  You can cut them up and add them to your journals, fold them to make

a mini calendar or birthday book or cut the month artwork to make your own daily or

monthly journal.  Each month features a little piece of art and you can color them to

match your style and journal theme.

Sideview 9156

I used the Heirloom Months along with a variety of Tags, Printed Paper and Ephemera

from Canvas Corp Brands Seven Gypsies Collections.

top of the frame 9163

The base for my Birthday Reminder is a 4″ x 6″ clear craft frame from Deflecto Craft Solutions.

I drilled two holes in the top of the craft frame to hold the antique silver binder rings and

gather everything together.

months 9177

This project was created for and sponsored by Canvas Corp Brands and Deflecto Craft Solutions.

I would cross the Ocean for You…

Cross the Ocean Card 9050

When ever I see a Lighthouse, I think of my sweet Mom.

Mom loved all things Lighthouses.

Knick knack’s, postcards, t-shirts, sweatshirts, you name it.

Card Dimension 9035

And… she’d cross the ocean for you.  She was that kind of Mom.

Card Supplies9011

My Mom was also a card maker and loved using stamps and stickers to make her cards.

Isn’t it great that the supplies we use as Scrapbookers are perfect for creating Quick and Simple cards.

Powdering the sticker 9015

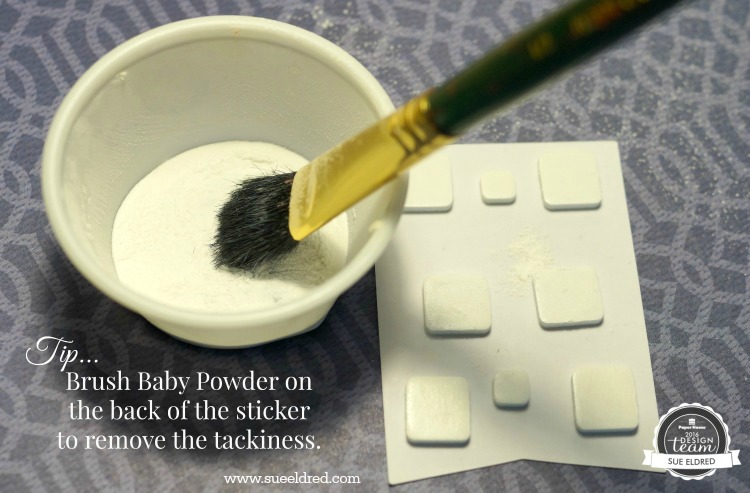
One tip that Mom and I learned at a Mrs. Grossman’s class (back in the 90’s) was…

to make a sticker non-sticky, apply baby powder on the back of the sticker with a paint brush.

My favorite tip for making dimensional cards.

I would cross the ocean card 9021

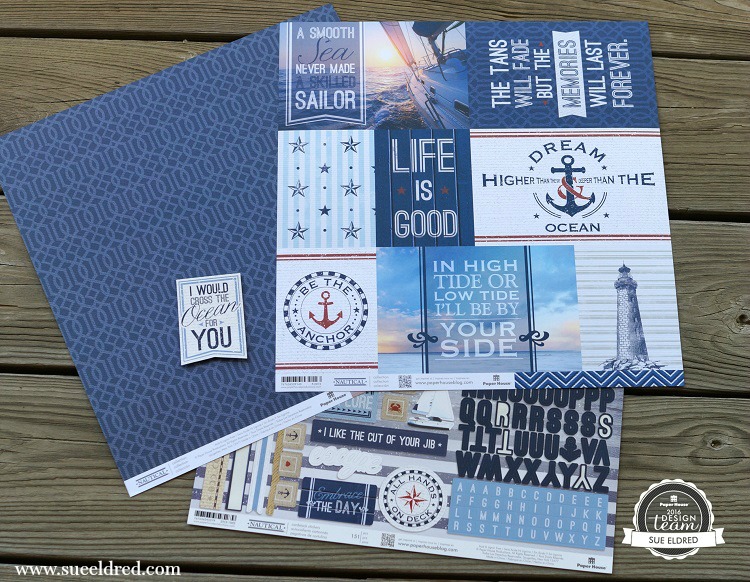
For this card I used the Nautical Collection from Paper House Productions.

Paper House KTSP-1029E Nautical Paper Crafting Kit, 12″ by 12″, Multicolor**


This card was created for and sponsored by Paper House Productions.

**This post uses Amazon Affliate Links.

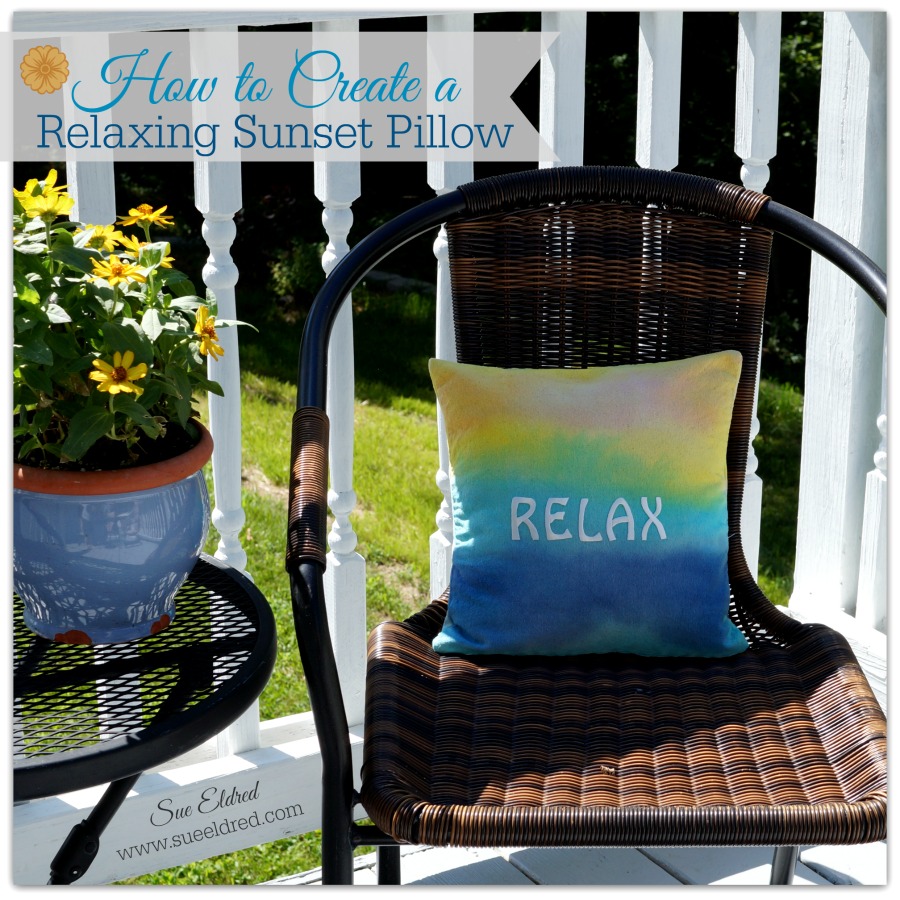
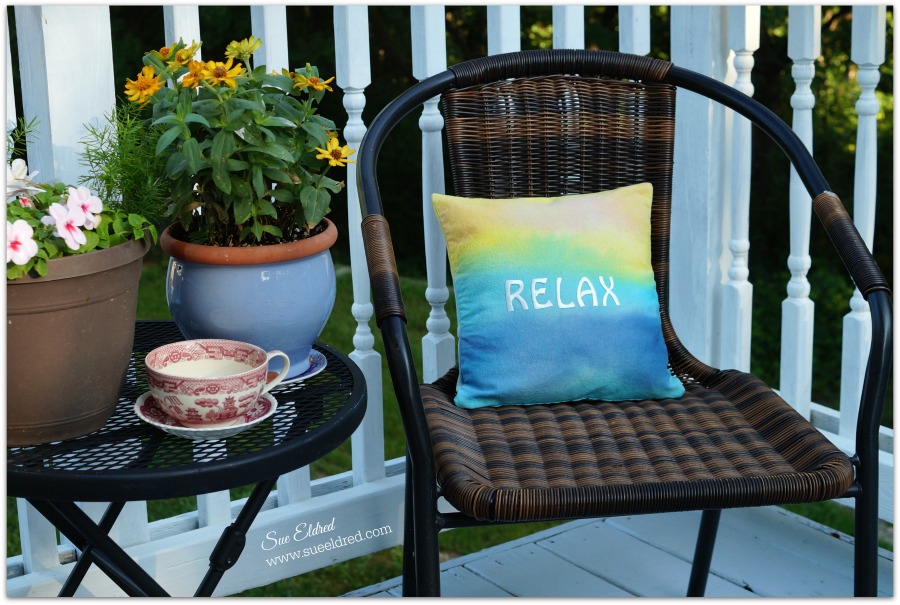
How to Create a Relaxing Sunset Pillow

How to create a Relaxing Sunset Pillow 9318

There’s something about a beautiful sunset that always stops me in my tracks.

No matter how many I’ve seen, I still marvel at all the vibrant, beautiful colors.

How to make a Relaxing Sunset Pillow Collage

After all the fun we had making the Patriotic Tied Dyed Shirts for the 4th of July…

I decided to create a color wash dyed pillow with the colors you might see during a beautiful sunset.

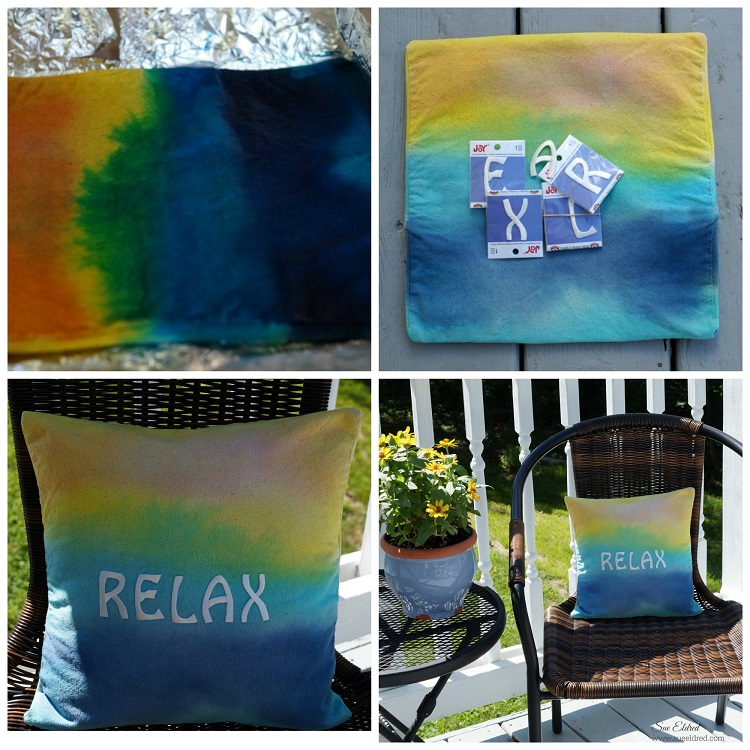
With the help of my 2 year old Grandson this is how we made the pillow:

  1. We used the Rainbow Tie Dye Kit from Tulip that comes with pre-measured squirt bottles.  All you need to do is add water to the bottles and shake to mix.
  2. Squirt dye onto 12″ canvas pillow square one color at a time starting at the top.
  3. Dip medium/large paintbrush into water and brush the dye to spread the color.
  4. Continue with the others colors until canvas pillow square is covered.
  5. Note:  When using a helper who’s only 2 1/2 things can get really wet.  (he had fun)
  6. Cover dyed fabric with plastic wrap to keep damp.
  7. Let set for 6-8 hours or longer for intense colors.  (we waited around 2 hours)
  8. Rinse well with water until excess dye is removed.
  9. Fill washer to “large load” setting with hottest water suitable for fabric and a small amount of laundry soap.  Wash and dry separately.  (Wash separately for the first few washes.)
  10. Iron the canvas pillow square to get out excess wrinkles.
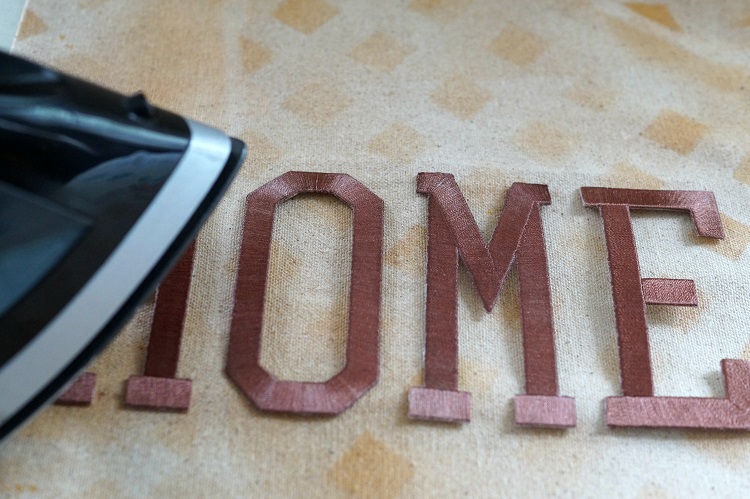
  11. To add the word “relax”, I used iron-on embroidered letters from Joy.  It’s quick and easy – just preheat your iron to the cotton setting, cover the letters with a cotton cloth and iron for about 30 seconds.  I ironed it again from the back of the fabric for another 30 seconds.
  12. Stuff pillow with a 12″ pillow form.


Tulip One-Step 5 Color Tie-Dye Kits Rainbow*   (affiliate link)

Relaxing Sunset pillow 9321

*Disclaimer:  This post uses ads and affiliate links.  If you choose to make a purchase using one of the links, I receive a small commission (at no additional cost to you) that helps offset the costs of maintaining this blog.  Thanks for your support!

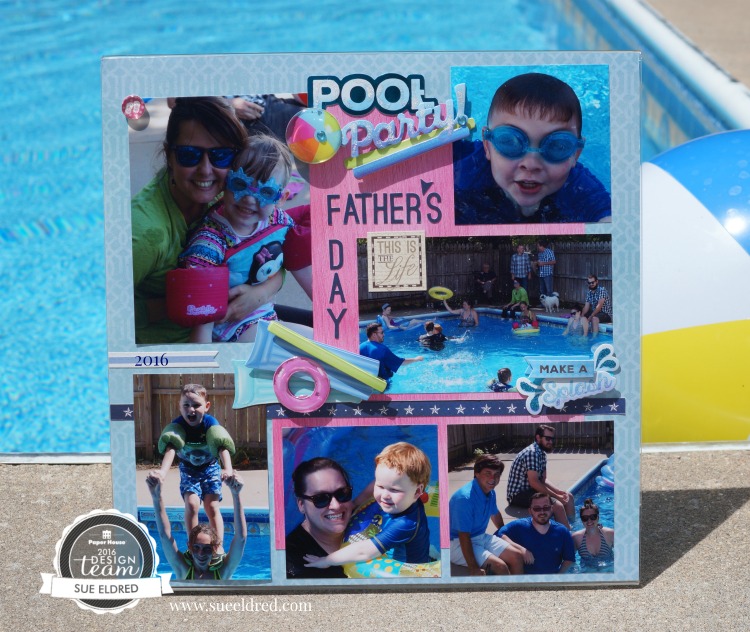
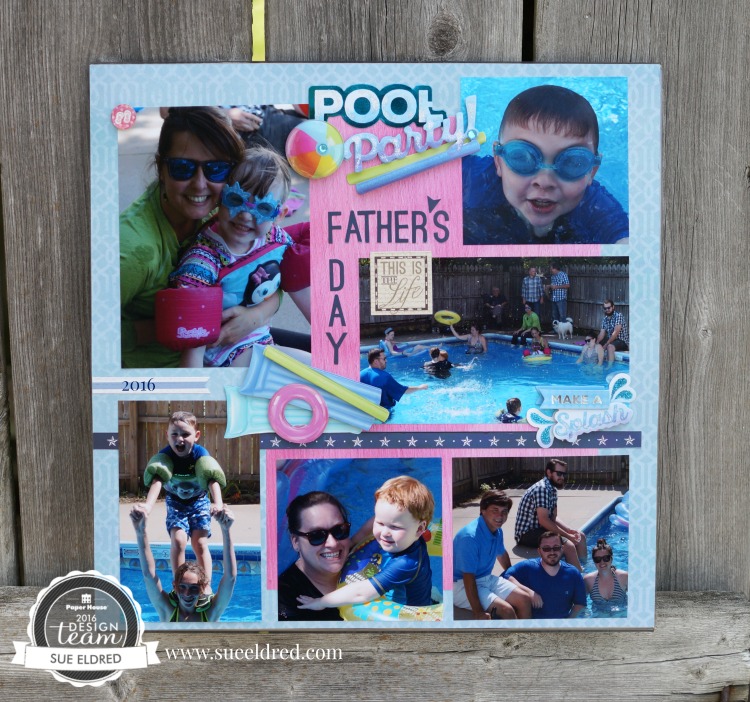
Father’s Day Pool Party Layout

Pool Party Layout 8924

A few weeks ago, on Father’s Day, I invited everyone over for a BBQ Pool Party.

There were 30 of us in all.

It was fun, loud and a little bit crazy.  (Just like this layout.)

Thanks to the week before being warm and sunny, the pool was perfect for swimming.

No chattering teeth or blue lips this year!

Pool Party Layout 8873

For my Pool Party Layout I used the following from Paper House Productions:

Pool Party Layout 8897

This layout was created for and sponsored by Paper House Productions.
 

DIY for Kids: Doodling on Craft Frames

Doodling on Craft Frames 8769

Doodling on clear acrylic craft frames…

a fun little project to make with the kids this summer that will help keep

the kids Happy and Busy.

Print out a few 4th July or Summer Fun pictures in wallet size and pick up a few

supplies and let their creativity soar.  (my frame is 3″ x 4″)

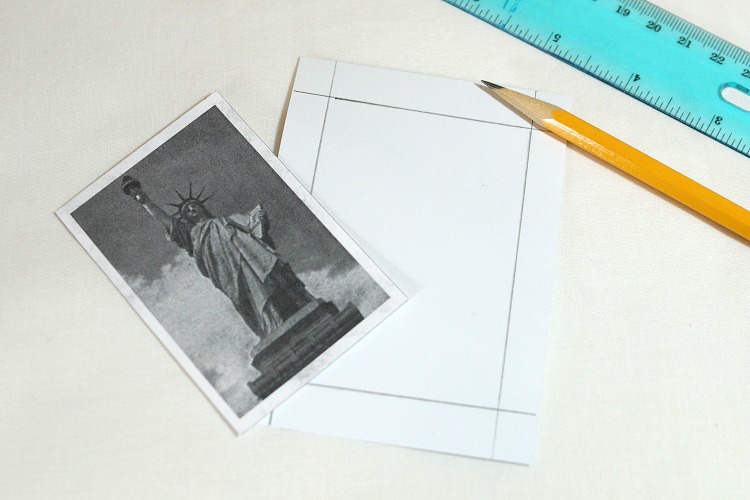
Trace around picture 4089

  • Cut a piece of white paper the size of your frame.
  • Center and trace around the picture on your paper.

Tracr around picture with ruler 4091

Using a pencil and ruler draw your grid lines on the paper.

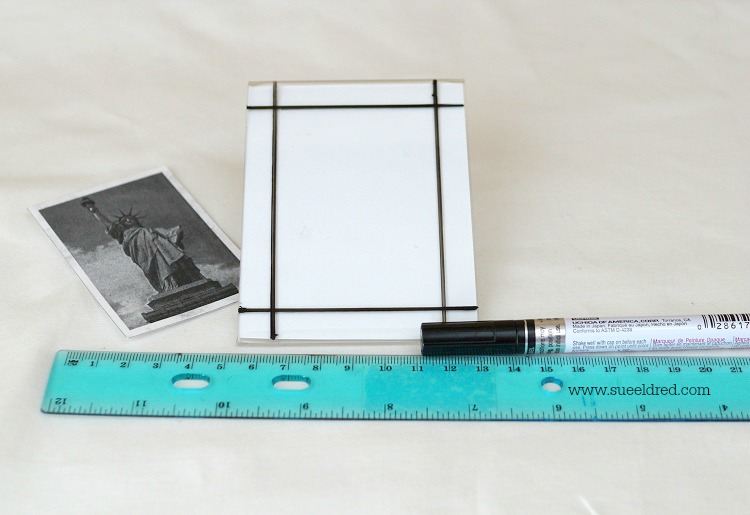
Retrace pencil marks with black paint pen 04111

Reinsert the paper into the clear acrylic craft frame and retrace the lines.

Using paint pens or sharpies, add additional lines and doodles on the frame.

Tip:  When using paint pens, allow drying time in between adding colors.


Deflecto Mini Slanted Sign Holders, 10 Piece, 3 x 4 Inches (20006CR)


“This is a sponsored post. As a member of the Deflecto Design Team I have been
provided product in exchange for my creative ideas, views and opinions.”

*This post uses Amazon Affiliate links.  I am an Amazon Affiliate.

Monogramed Jeans Jacket

Monogram Jeans Jacket for Instagram 6282

My daughter was telling me about a store near her that was having a Monogramming Event where

they would custom monogram an item of clothing for you while you waited at the store.

She said it was a pretty big thing.

Monogram Jeans Jacket 6279

Being the “thrifty” one…

We used Iron-on Embroidered Letters from Joy instead.

It only took about a minute to create this custom look on her “thrifted” denim jacket.


This project was created for and sponsored by Joy SA.

Em’s Softball Frame

Emily's Softball Frame 7885

This is my niece Emily and her no#1 fan.  (her mom)

I recently went to one of Emily’s High School Softball games to watch her pitch and take pictures.

I asked Emily if it would be ok to use one of her pictures for one my Design Team Projects.

I’ve used Paper House Productions “Sports Collections” for Guys but it’s also great for girls too.

Em's Softball Frame

For Emily’s frame I used a 5 x 7 Black Border Acrylic Frame from Deflecto Craft Solutions.


Deflecto Craft Frame, 5 x 7 Inches, Black Border (69575CR)

I embellished the frame with Paper and Stickers from Paper House Productions:


“This is a sponsored post. As a member of the Paper House Productions and Deflecto Design Team I have been provided product in exchange for my creative ideas, views and opinions.”

*This post uses Amazon Affiliate links.  I am an Amazon Affiliate.
Craft Sticks… not just for Kids!

Stenciled Chalkboard Sign

Craft Sticks for Grown-ups?  

Who knew the craft medium we used as kids could produce a grown-up look.

I was messing around one day, looking for something different to stencil on.

Inspired by my favorite “Fixer Upper” show, I decided to create my own mini shiplap.

The projects below are the result of my “playtime”.

Learn More

Americana Sign

This one’s for anyone who loves Americana, old signs, topography and the look of old shiplap.

Or for anyone who loves playing with wood craft sticks.

How to make the Americana Sign:              (*Amazon Affiliate Links)

Finished Size: 6” x 6”

*Disclosure:  This blog uses ads and affiliate links.  If you choose to make a purchase using one of the links, I receive a small commission (at no additional cost to you) that helps offset the costs of maintaining this blog.  Thanks for your support!

Americana Sign Collage

Directions:

  1. Create a sign by gluing together 8 tongue depressors on the front and 4 tongue depressors on the back.
  2. Paint both sides of the sign with blue paint.
  3. Using select sections of the stencil, tape stencil in place using removable painters tape.
  4. Using a stencil brush, dip just the tip of your brush into the paint. Tap off excess paint before applying to prevent the paint from seeping under the edges of the stencil.
  5. Apply paint with stencil brush in a straight up and down motion called stippling.
  6. Drill small hole in the top corners and insert red twine to use as a hanger.
  7. Optional Step: For a distressed look, lightly sand the edges of the sign with extra fine sand paper.

Here’s a project I did a few years ago using a product called sticky sticks. 

Deck the Halls with Sticky Sticks  Sticky Stick Frame Basic Construction

The paint and stencils used in these projects were sponsored by DecoArts.

Shop Amazon Scrapbooking Supplies*