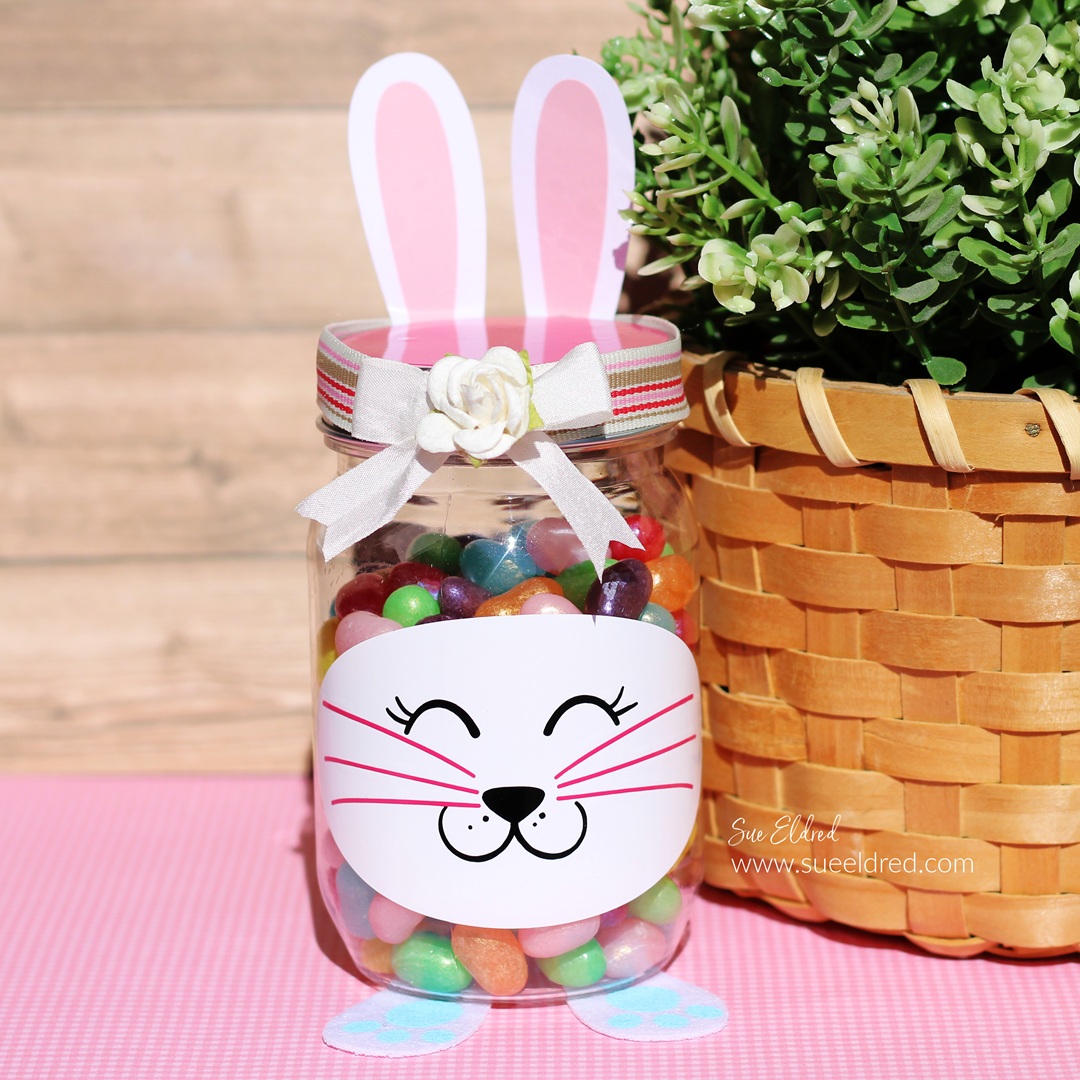
How to make a Cute Bunny Treat Container
With Spring and Easter around the corner, it’s time to start all things bunnies.
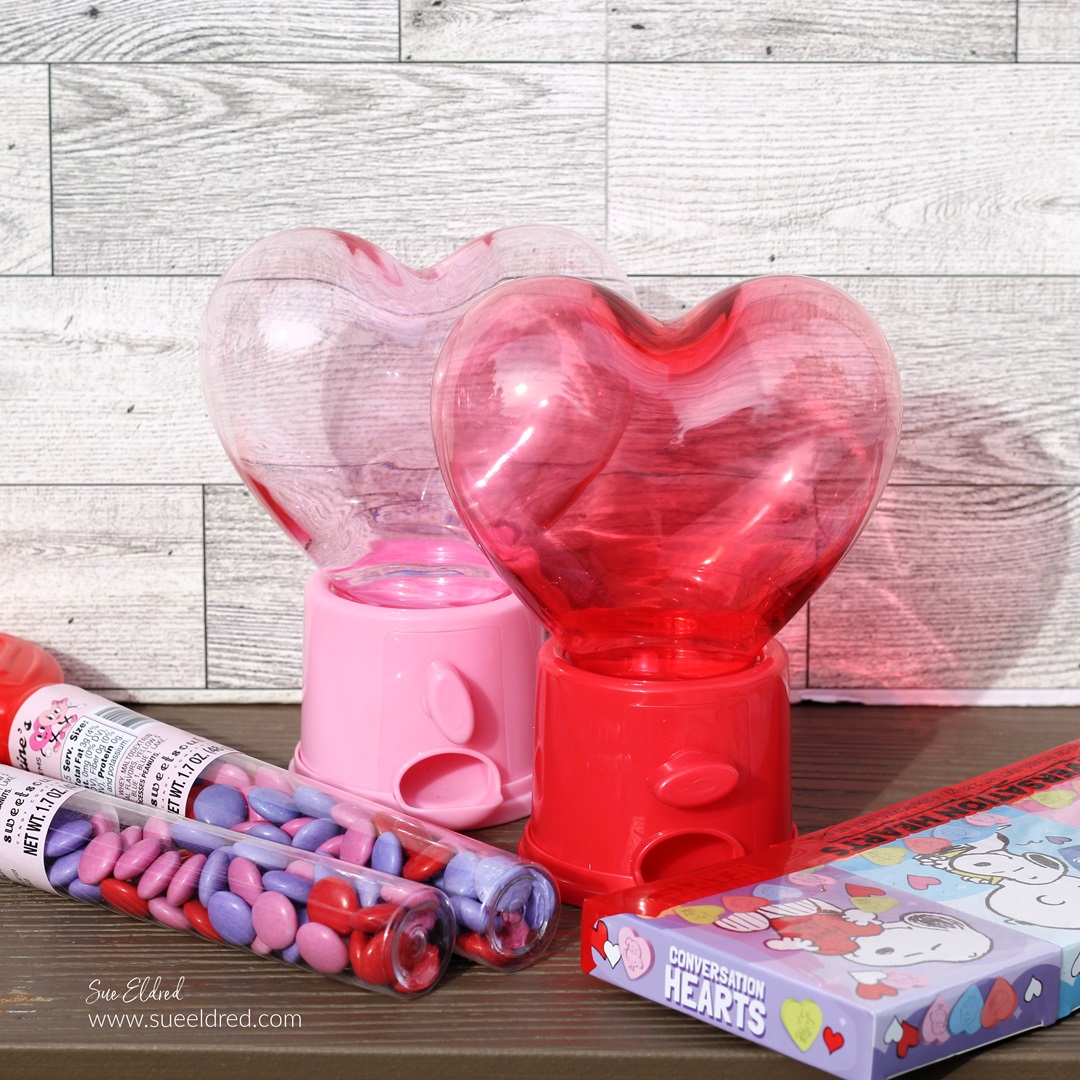
The Bunny Treat Container is a fun Dollar Tree* and StyletechCraft* Spring DIY.
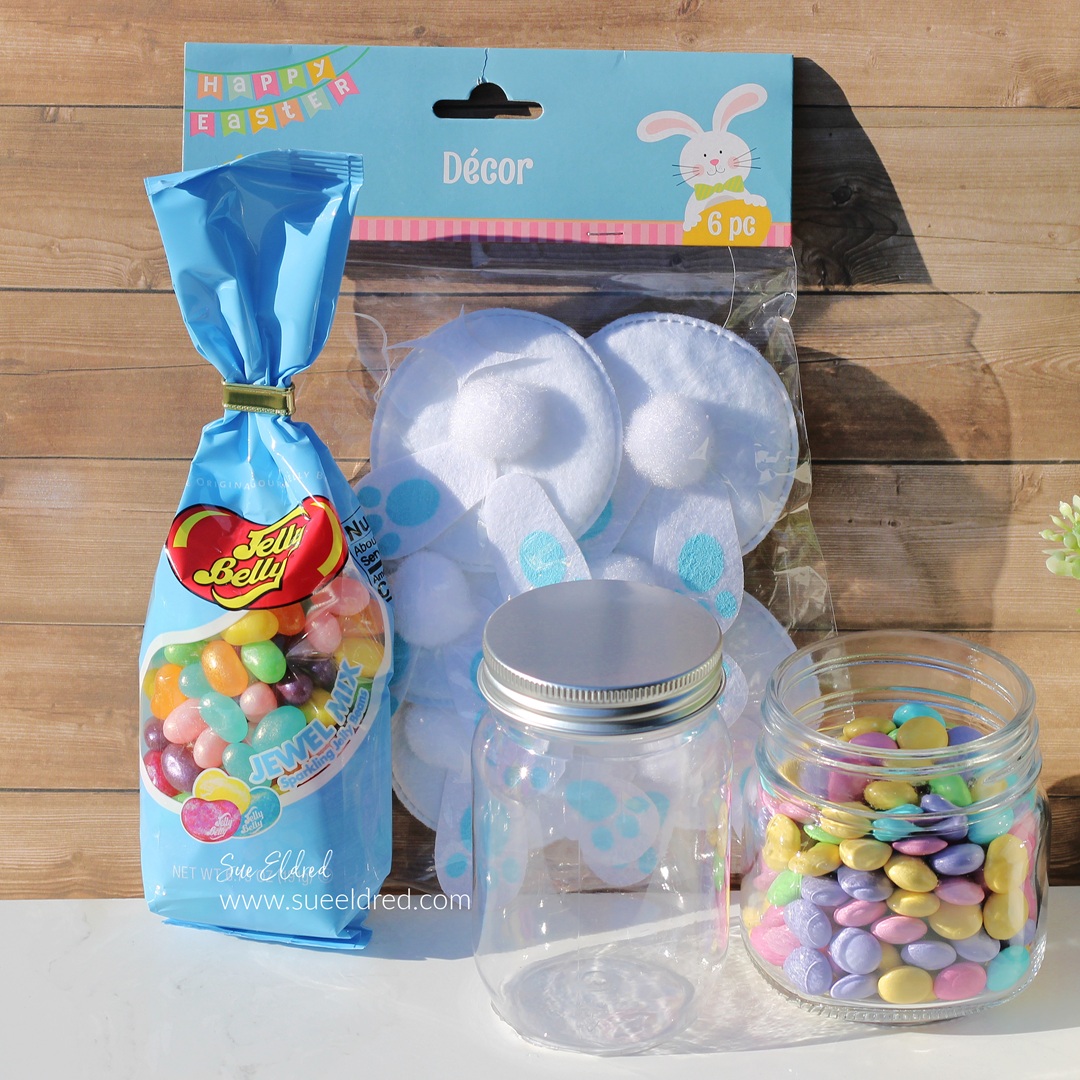
When I stopped at Dollar Tree the other day to pick up a
Clear Plastic Craft Jar* to make an Easter Bunny Treat Container,
I saw these cute bunny backside embellishments.
(I’m not sure what the correct description would be.)
I knew they would be great for my little Easter Bunny.
![]()
Extreme Values Everyday at Dollar Tree – Shop Now!
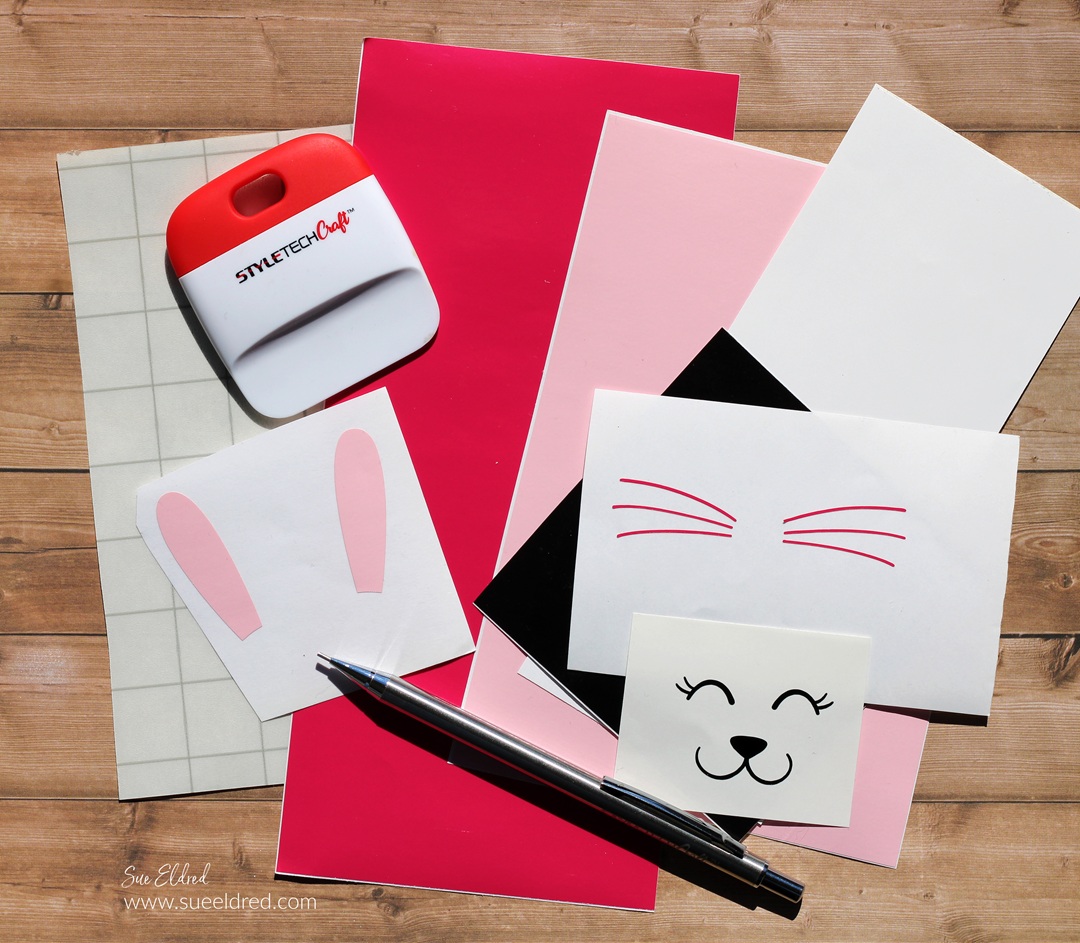
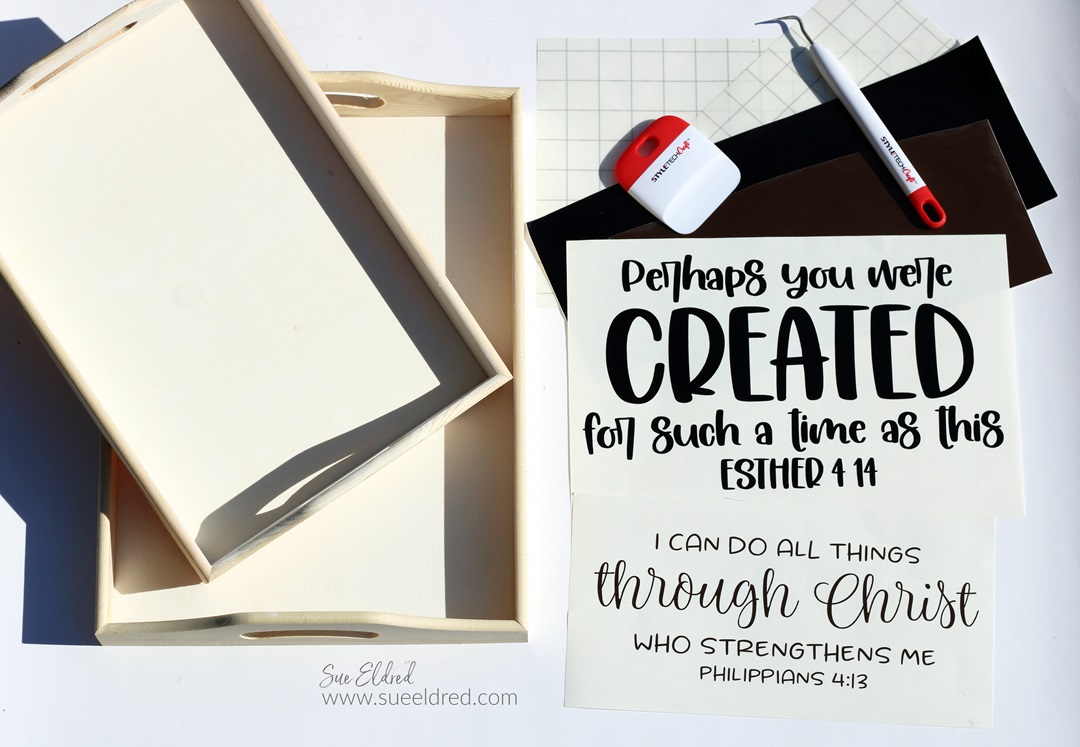
Materials Used: (*affiliate links)
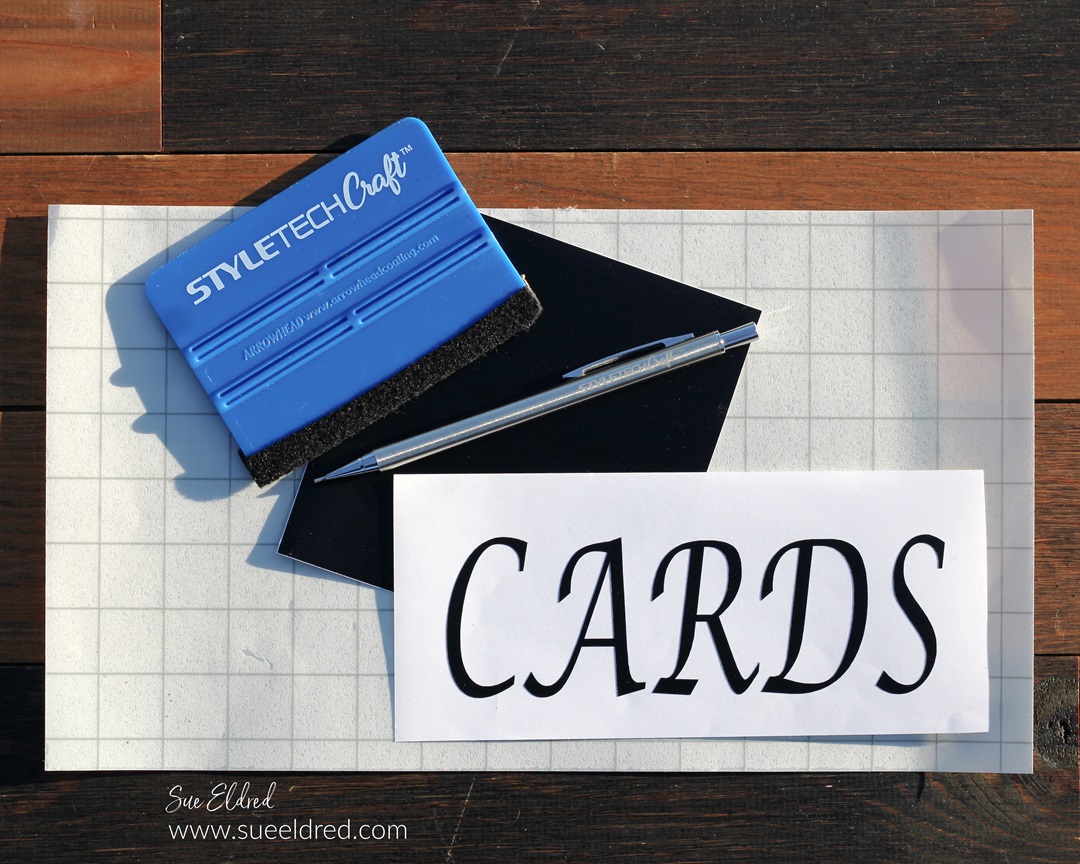
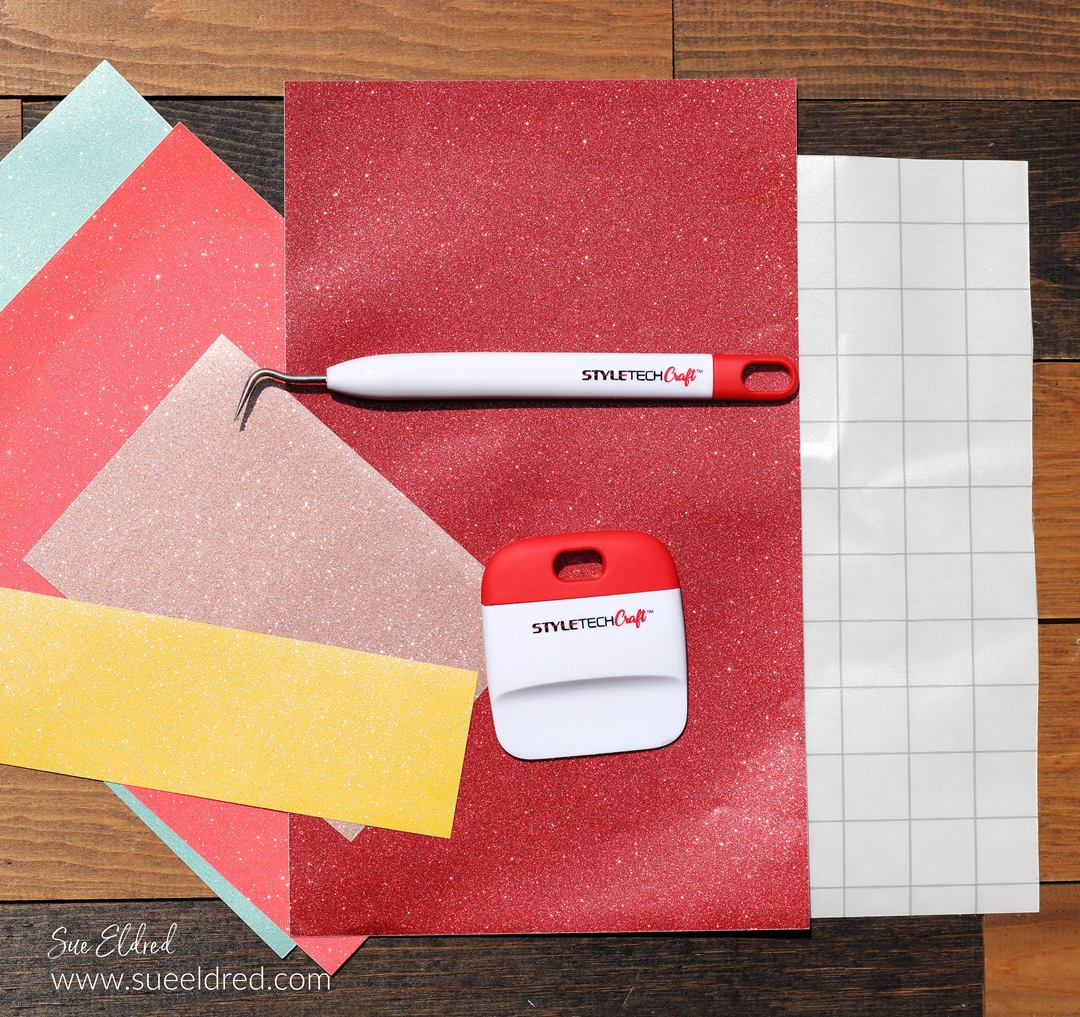
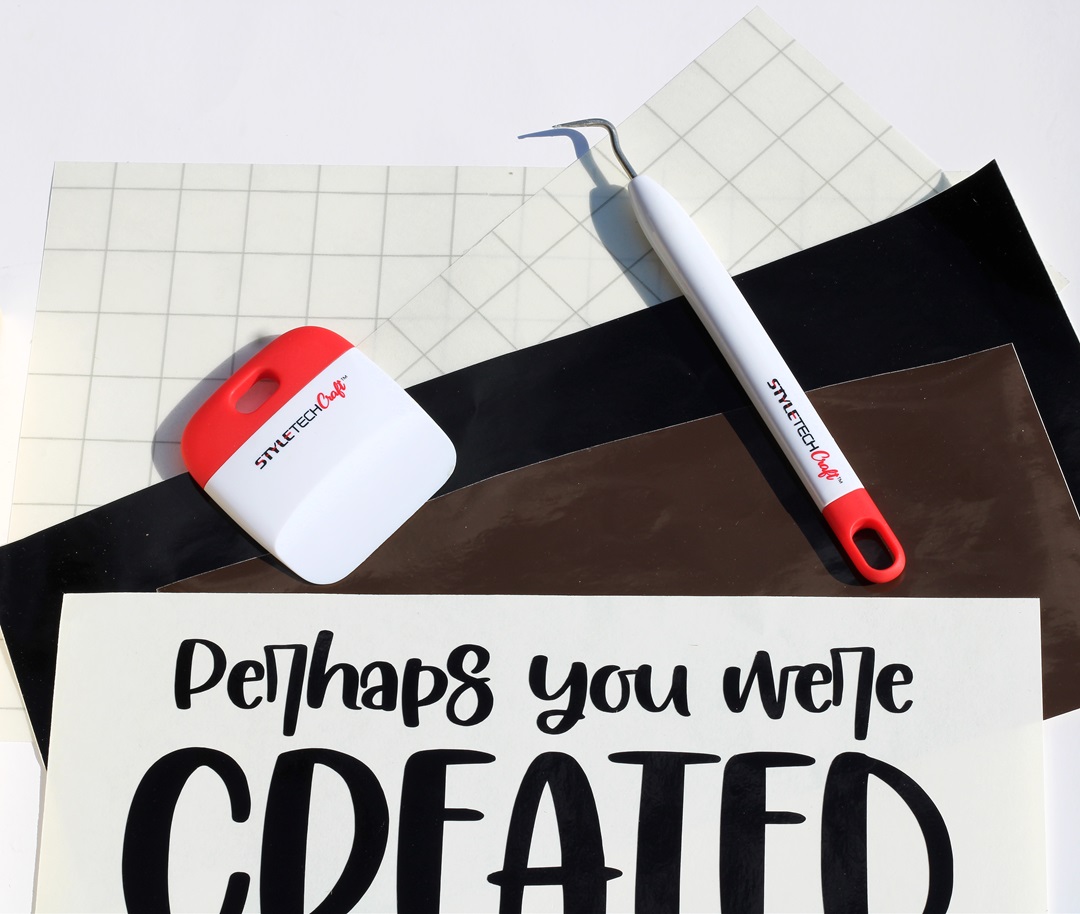
- StyleTechCraft Glossy Craft Vinyl*
- StyleTechCraft Transfer Tape*
- StyleTechCraft Scraper Tool* and Weeding Pen*
- Silhouette Cameo Electronic Die-Cutting Machine*
- Clear Plastic Craft Jar*
- Dollar Tree Easter Bunny Feet (available in store)
- Glue Dots*
- Spring Jellybeans* or Spring M & M’s*
- Ribbon and Floral Embellishment
- Bunny Face SVG File from The Silhouette Store

StyletechCraft products brought to you by ATSM Craft*
*Disclosure: This blog uses ads and affiliate links. If you choose to make a purchase using one of the links, I receive a small commission (at no additional cost to you) that helps offset the costs of maintaining this blog. Thanks for your support!
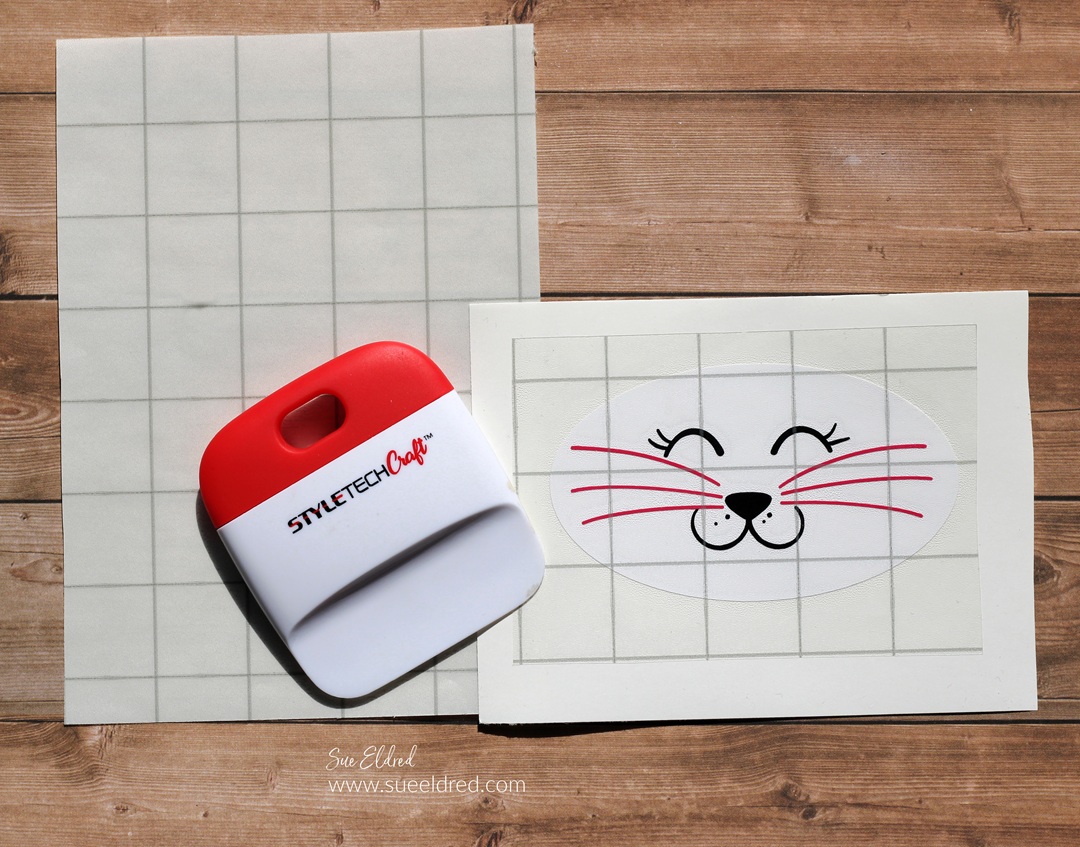
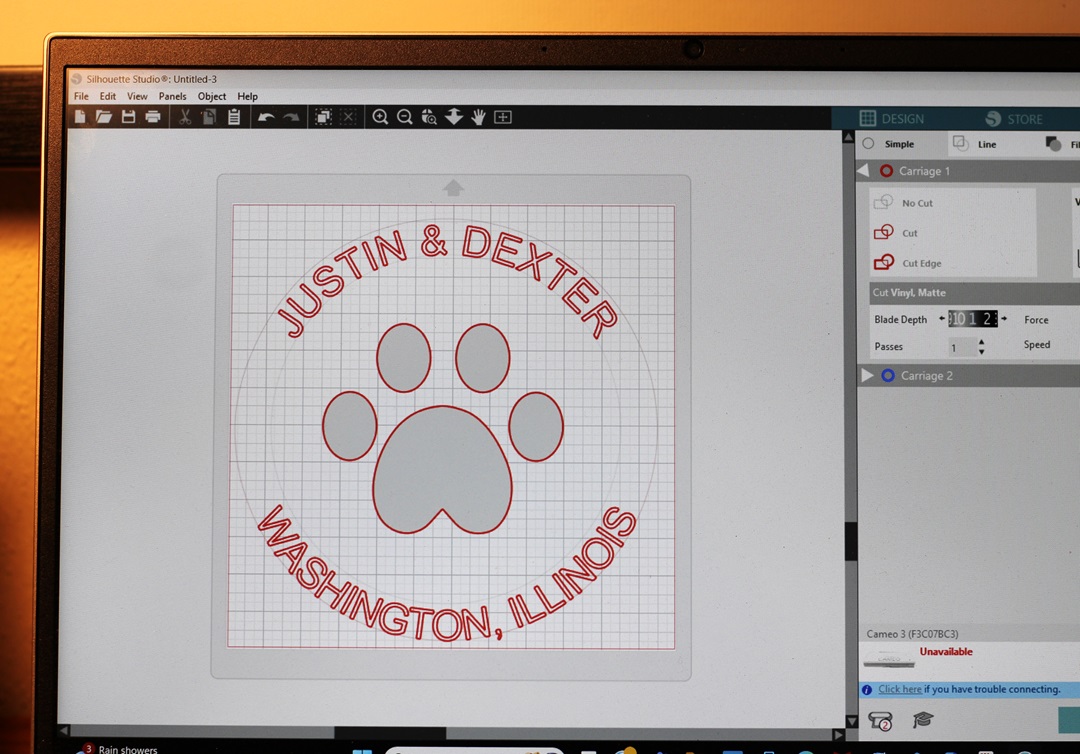
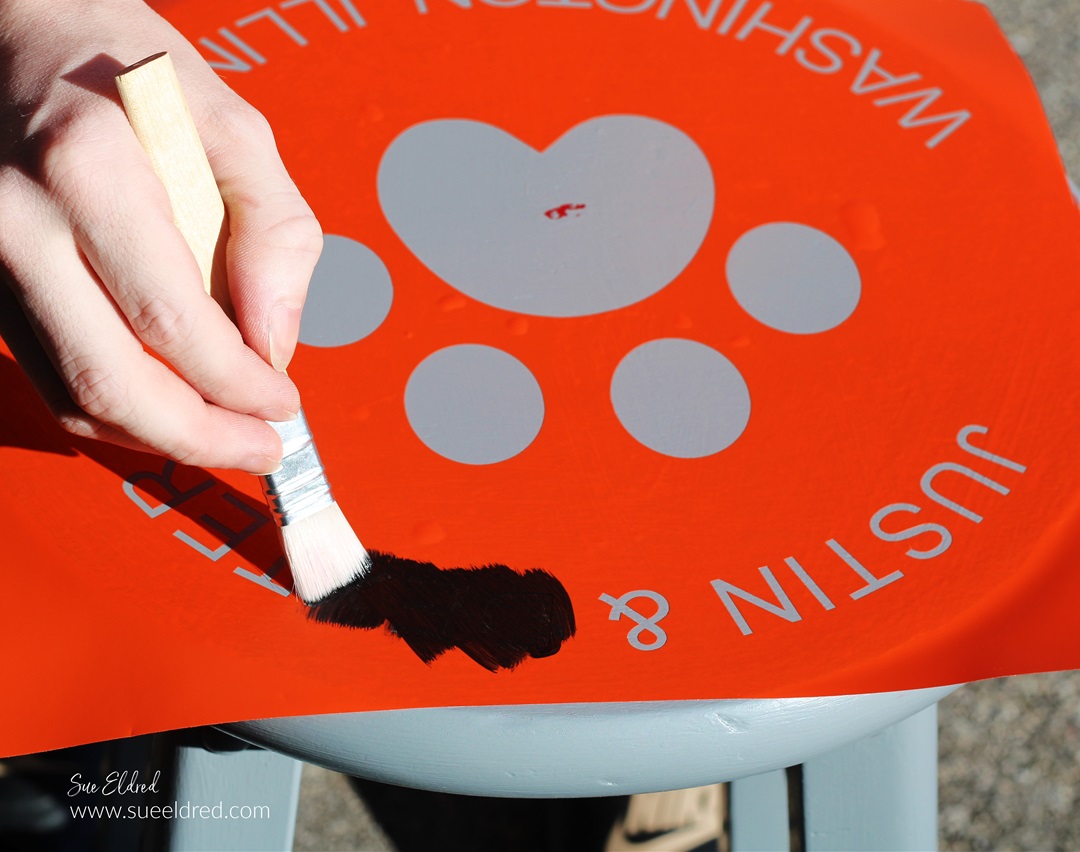
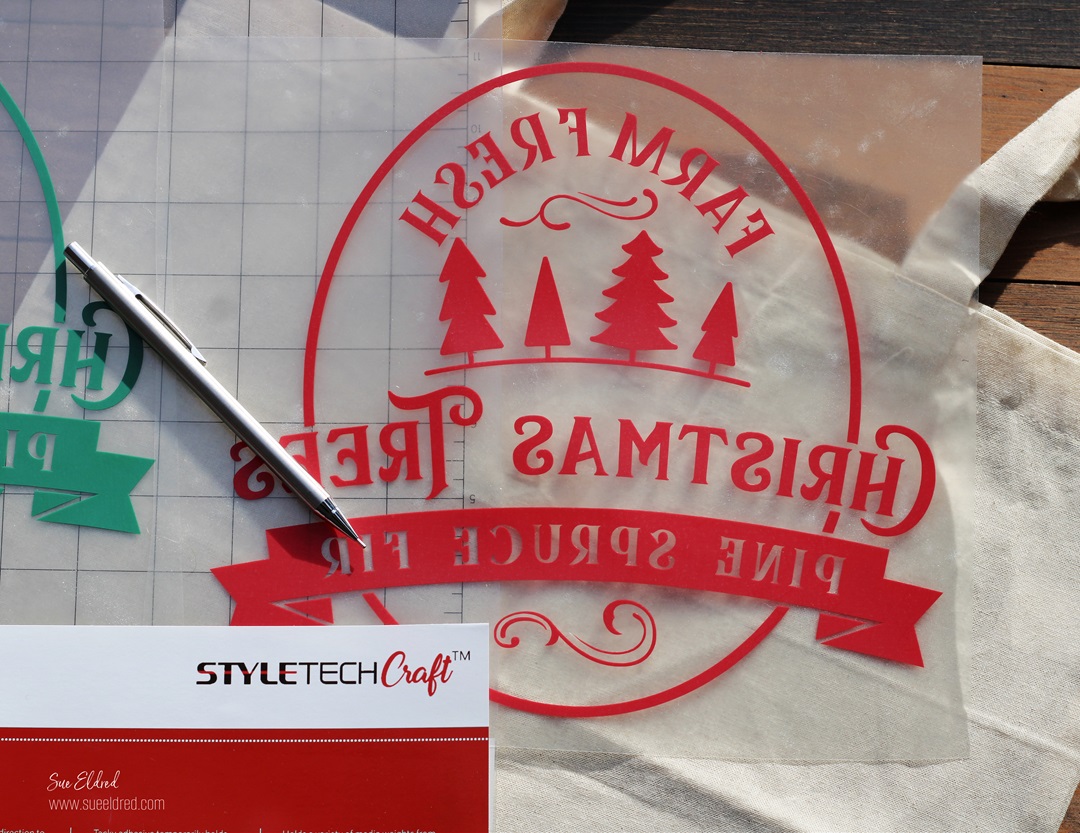
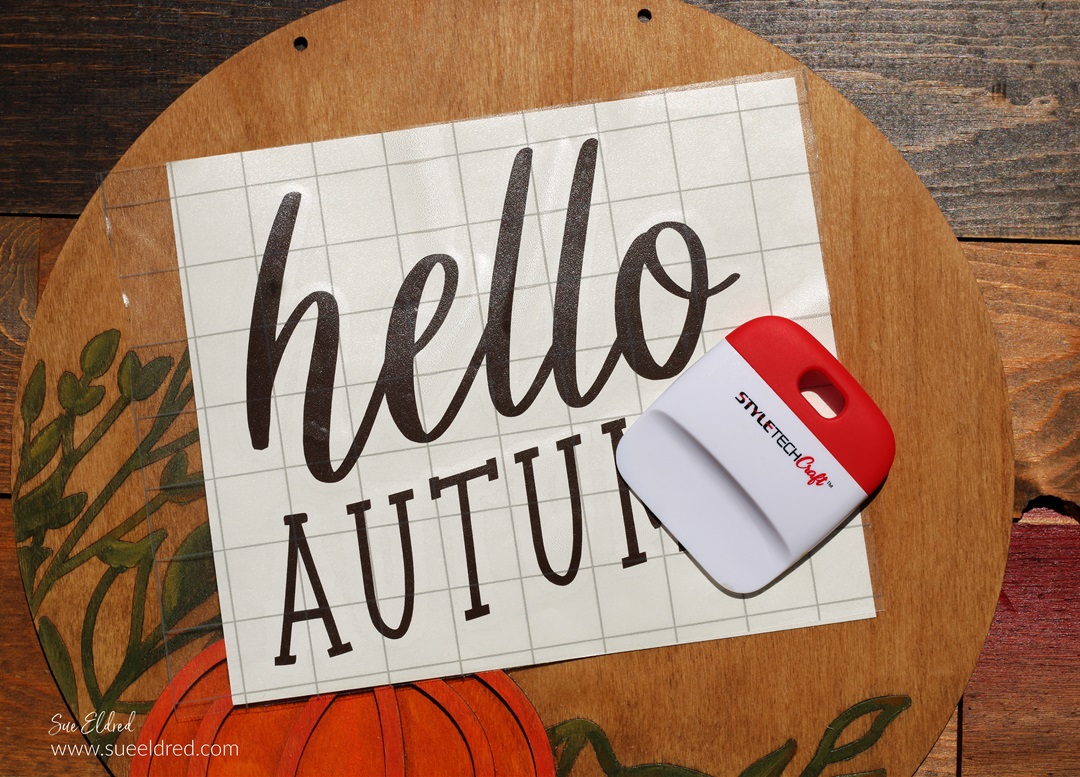
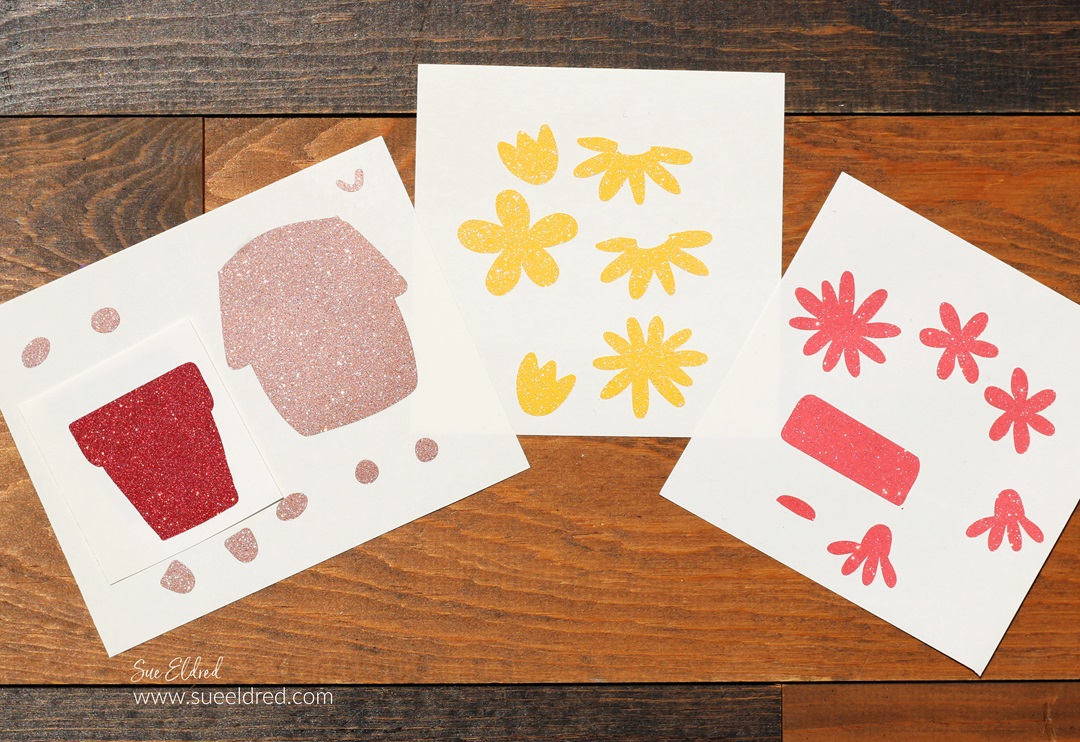
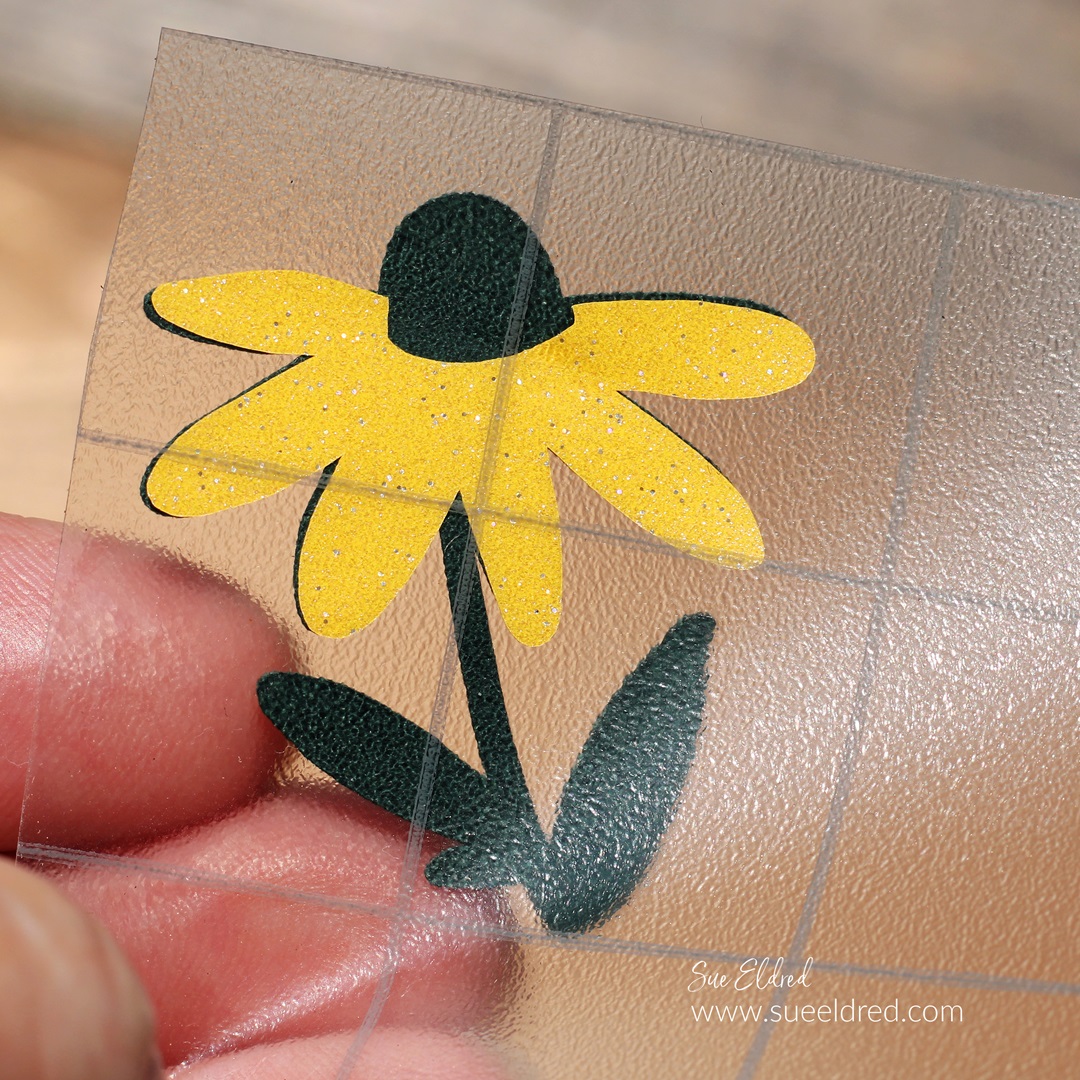
- I cut the Bunny Face using the “Bunny Face” SVG from The Silhouette Store using a
- Silhouette Cameo Electronic Die-Cutting Machine*.
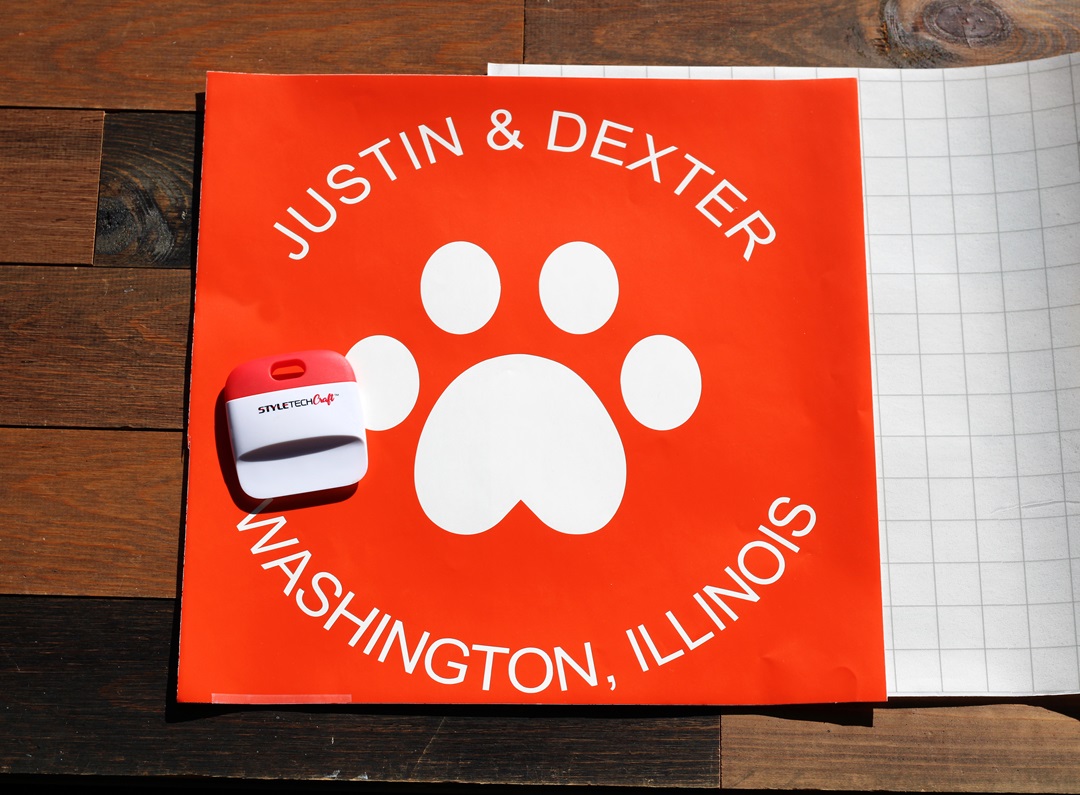
- I used several shades of my StyleTechCraft Glossy Craft Vinyl*.
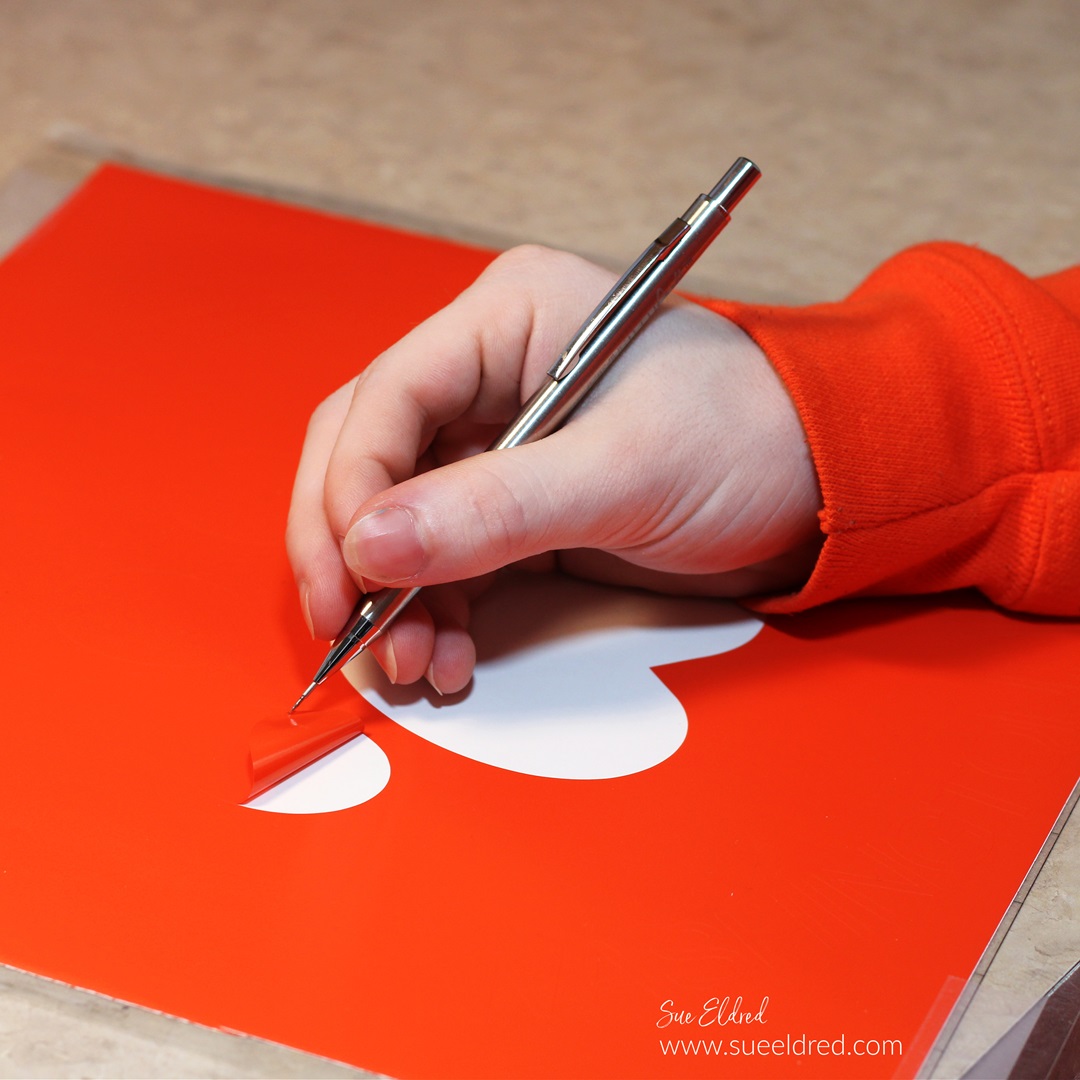
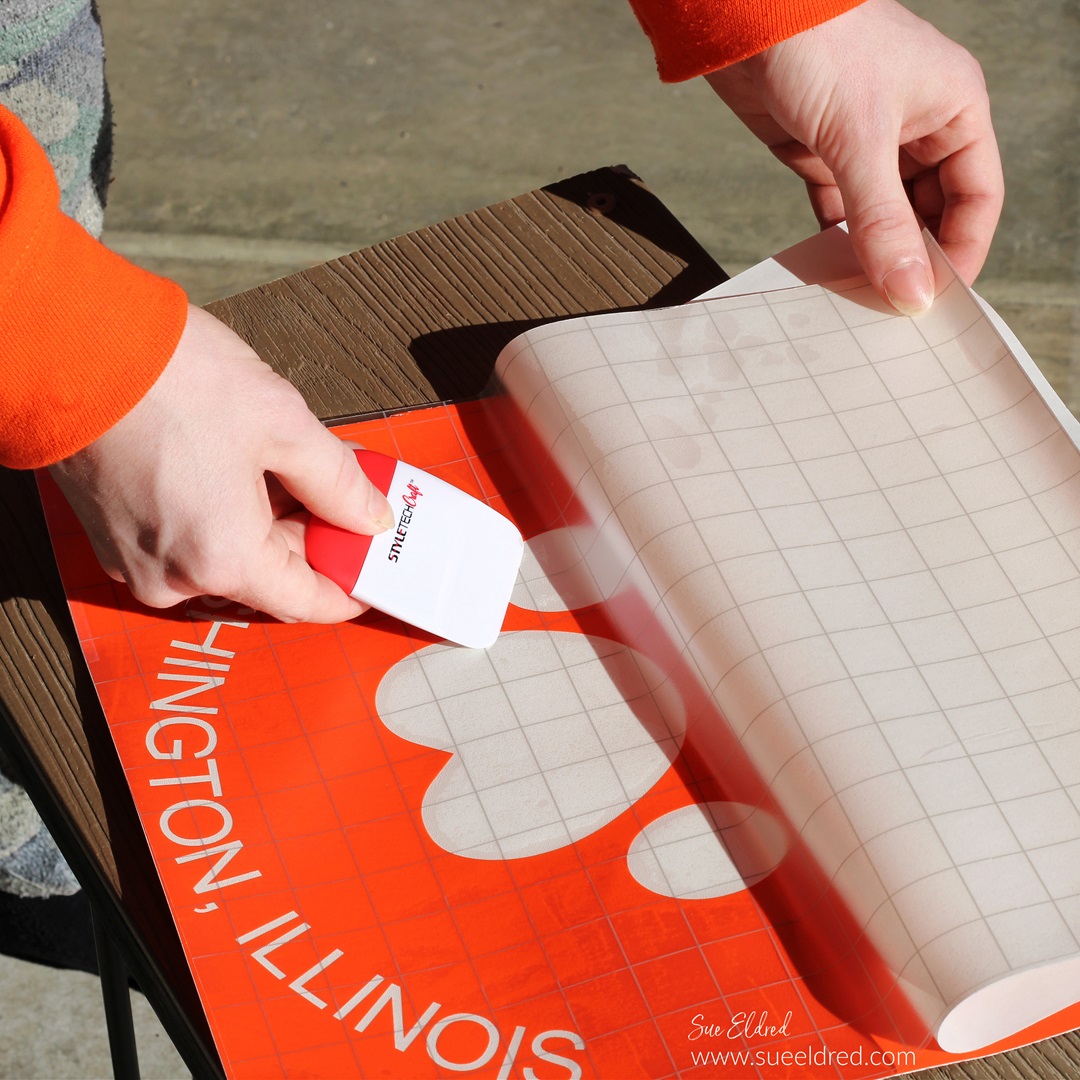
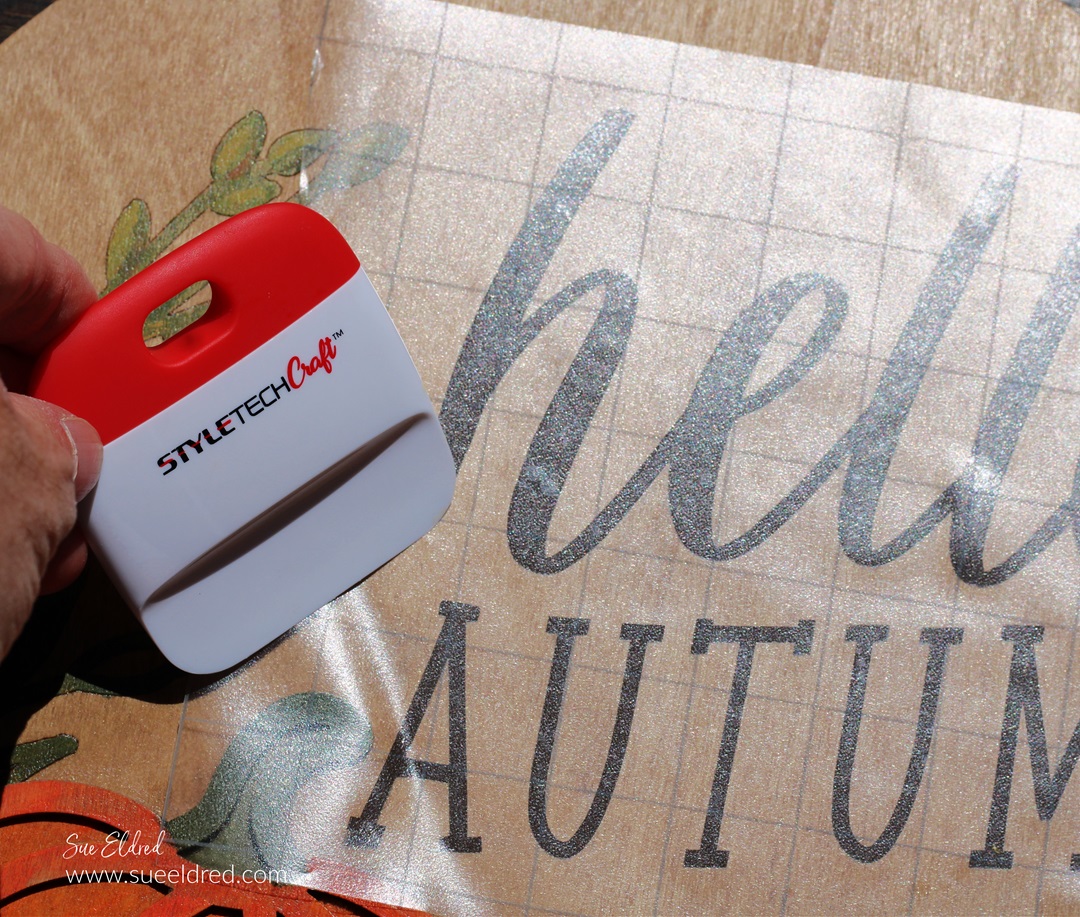
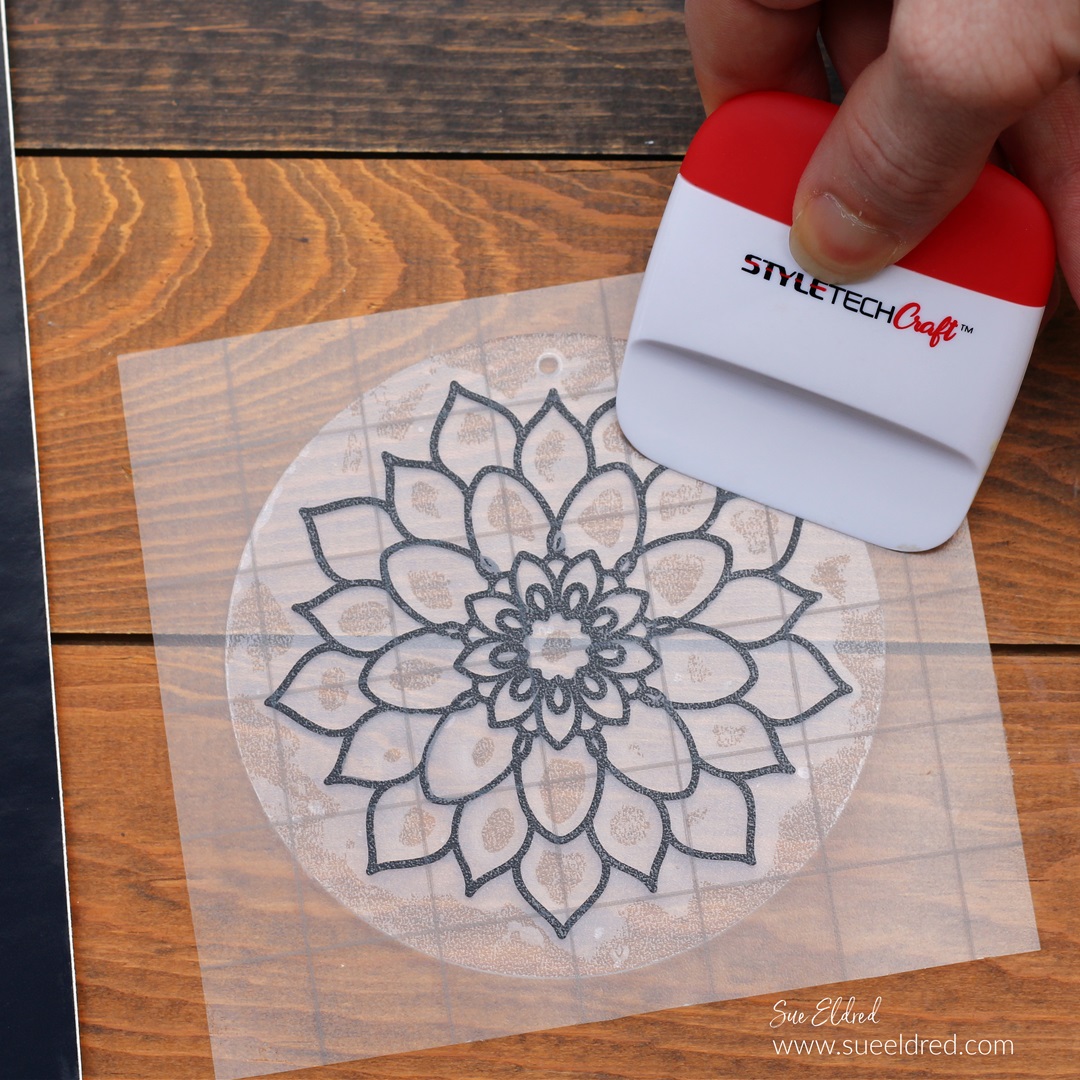
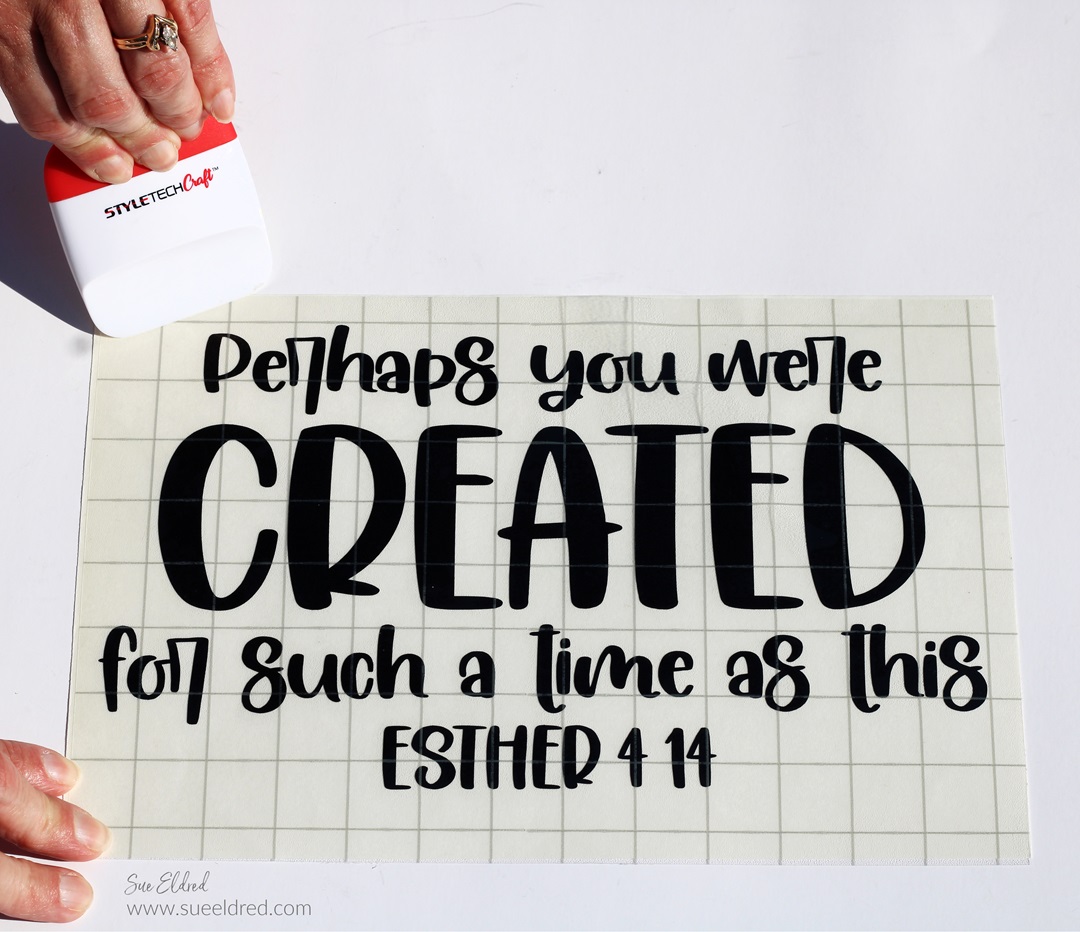
- Use the StyleTechCraft Transfer Tape* to transfer the face to the white vinyl oval.
- Gently rub over the transfer tape with a Vinyl Scraper Tool*.
![]()
“This is a sponsored post. As a member of the StyleTechCraft Design Team I have been provided product and compensation in exchange for my creative ideas. The views and opinions are my own.
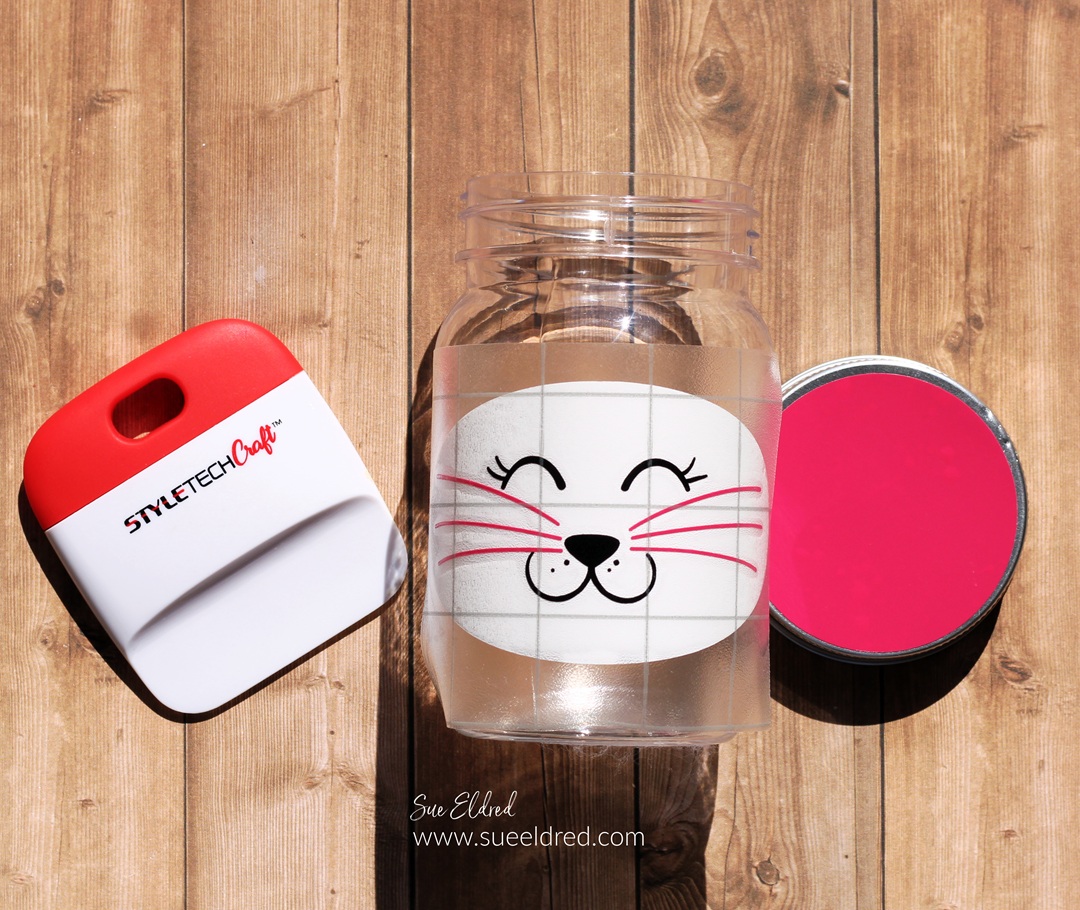
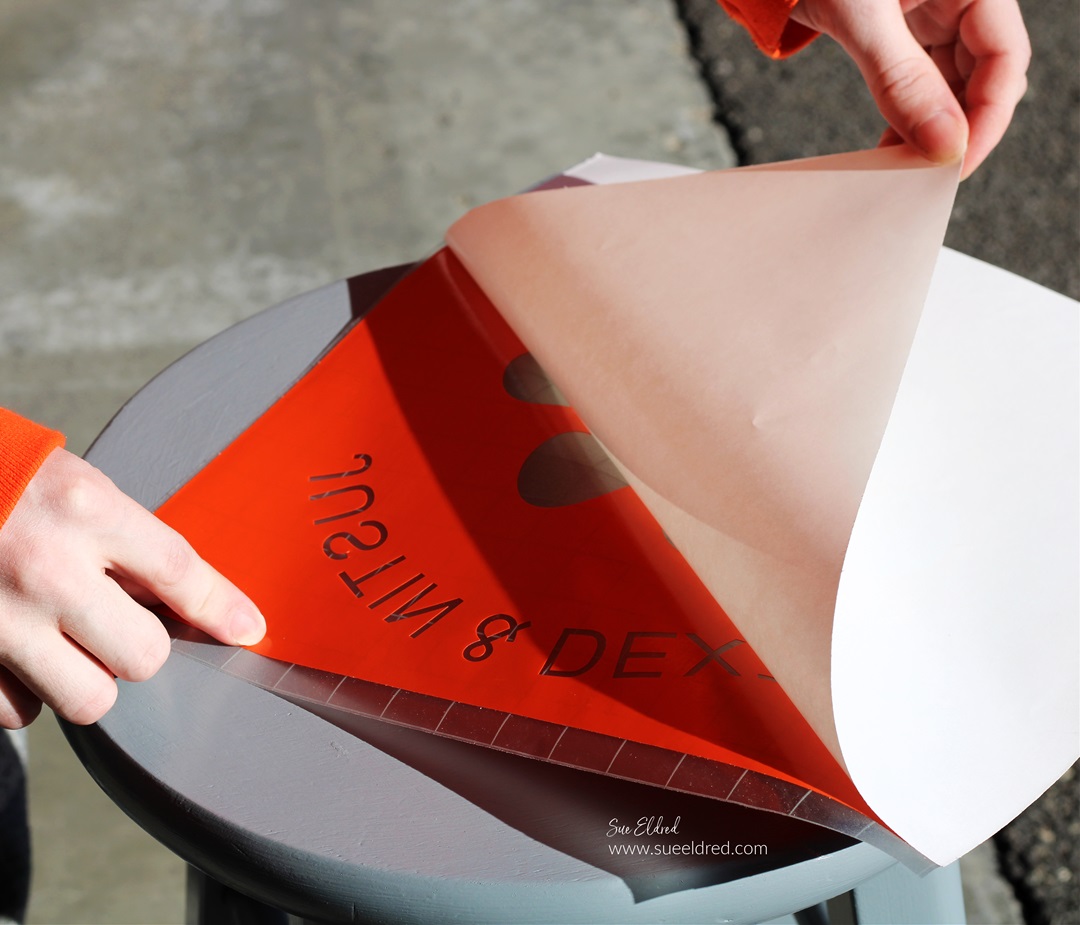
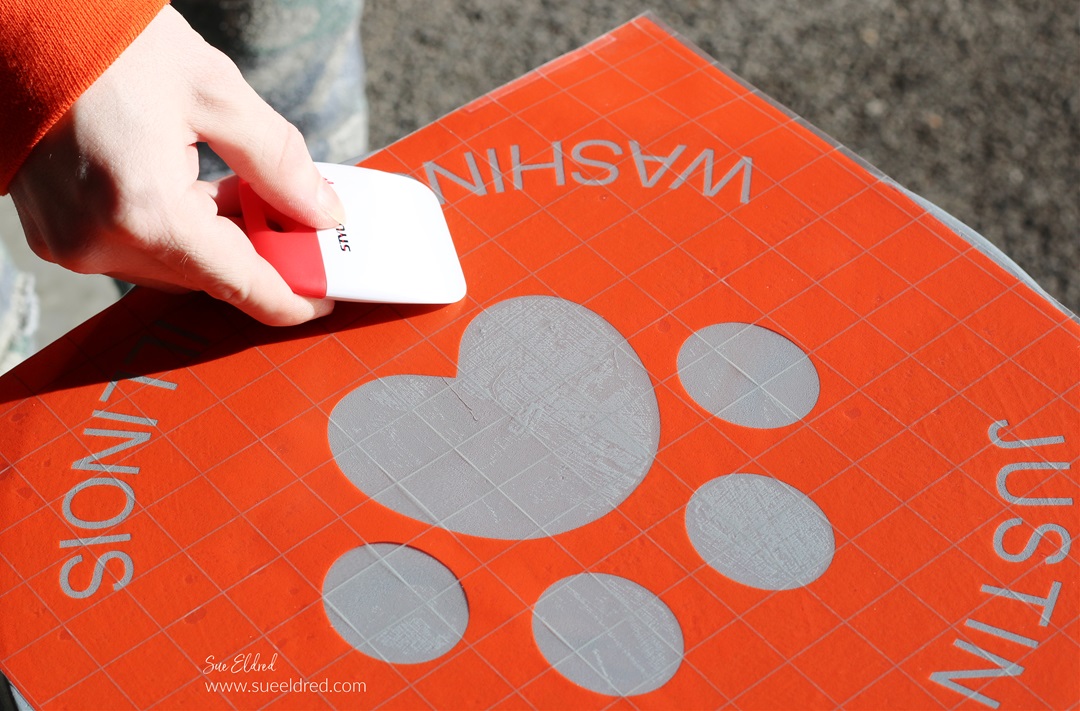
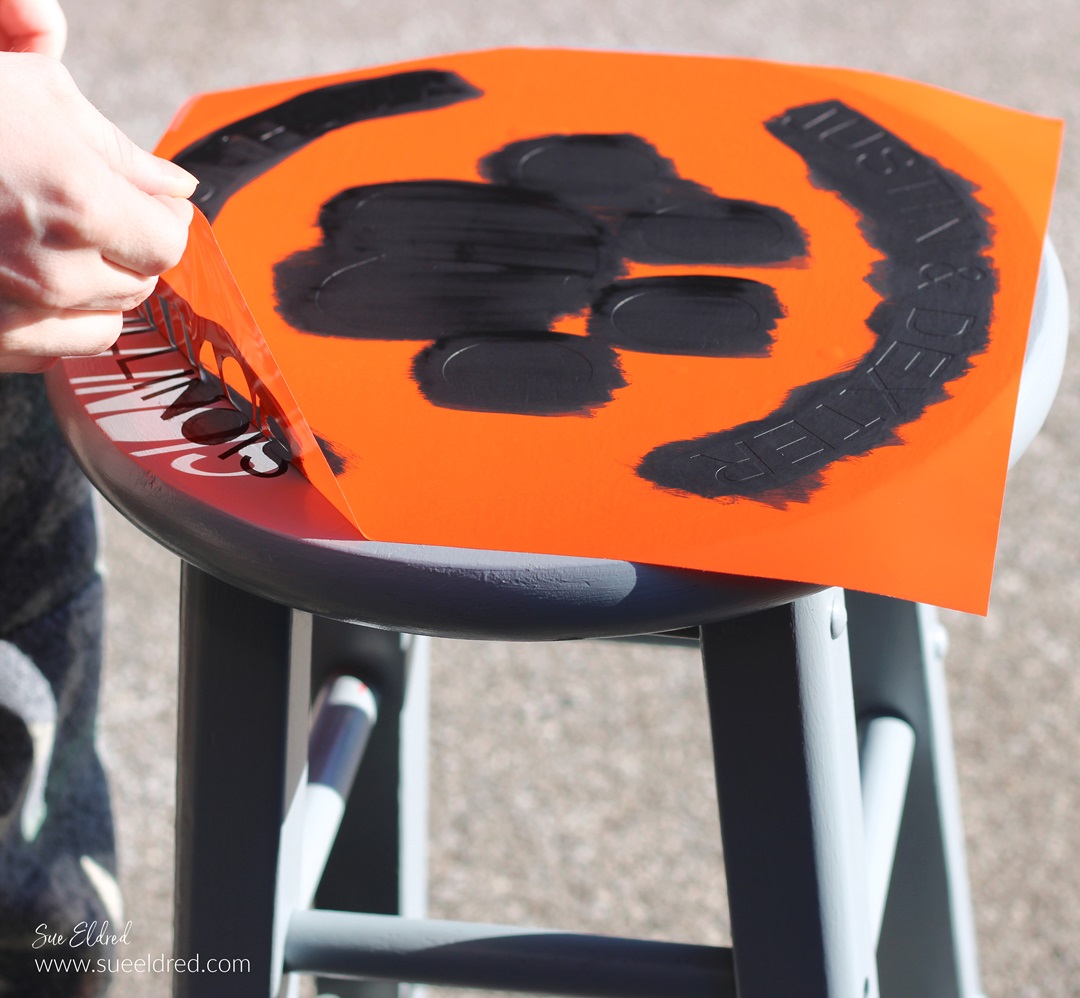
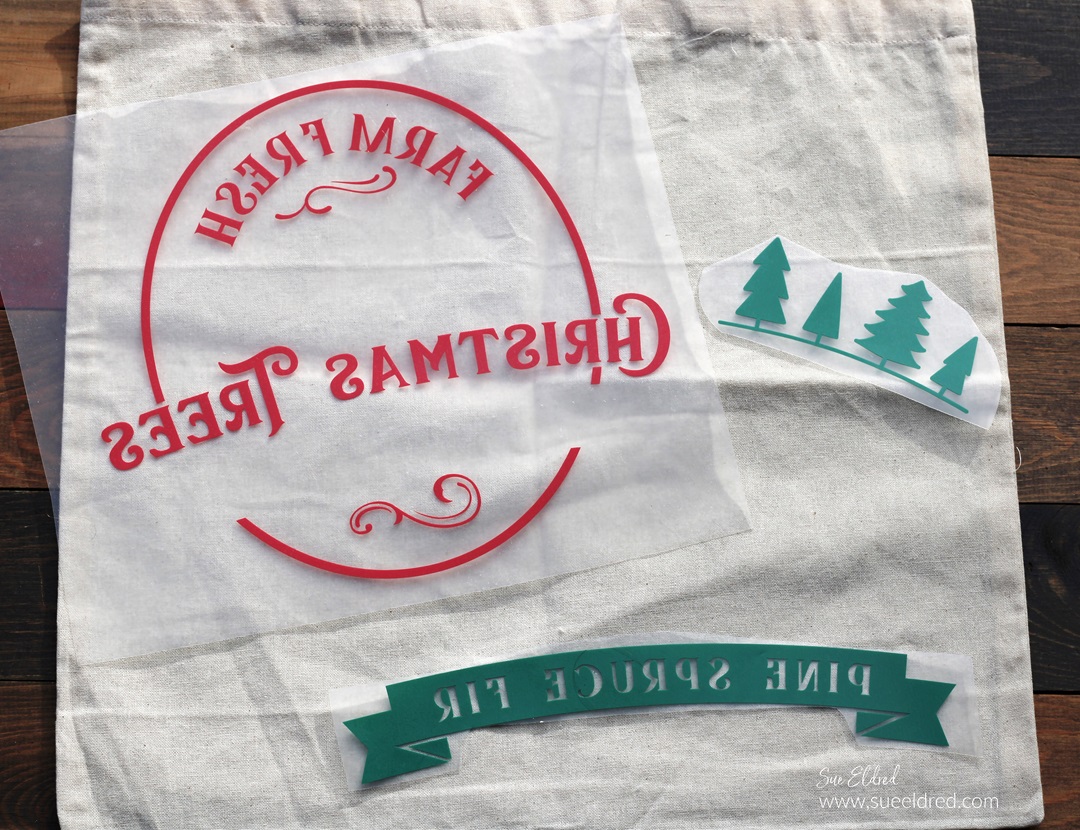
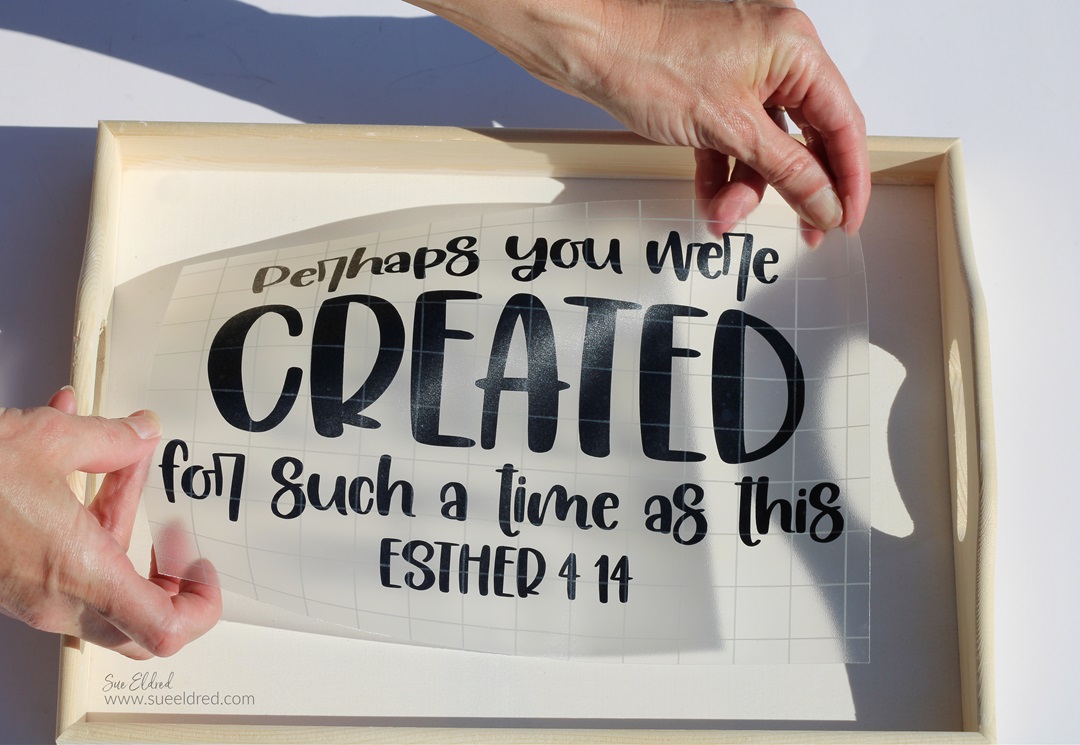
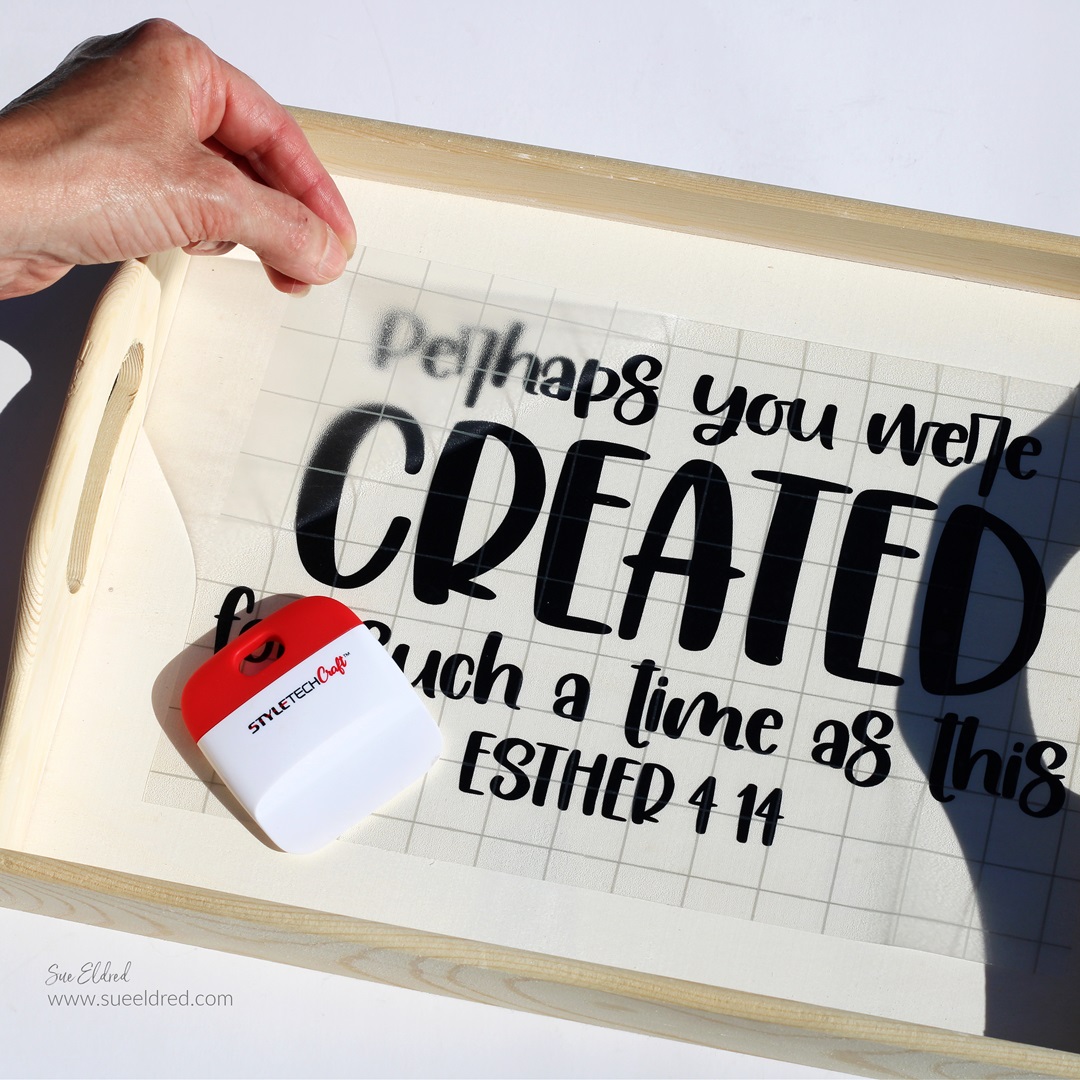
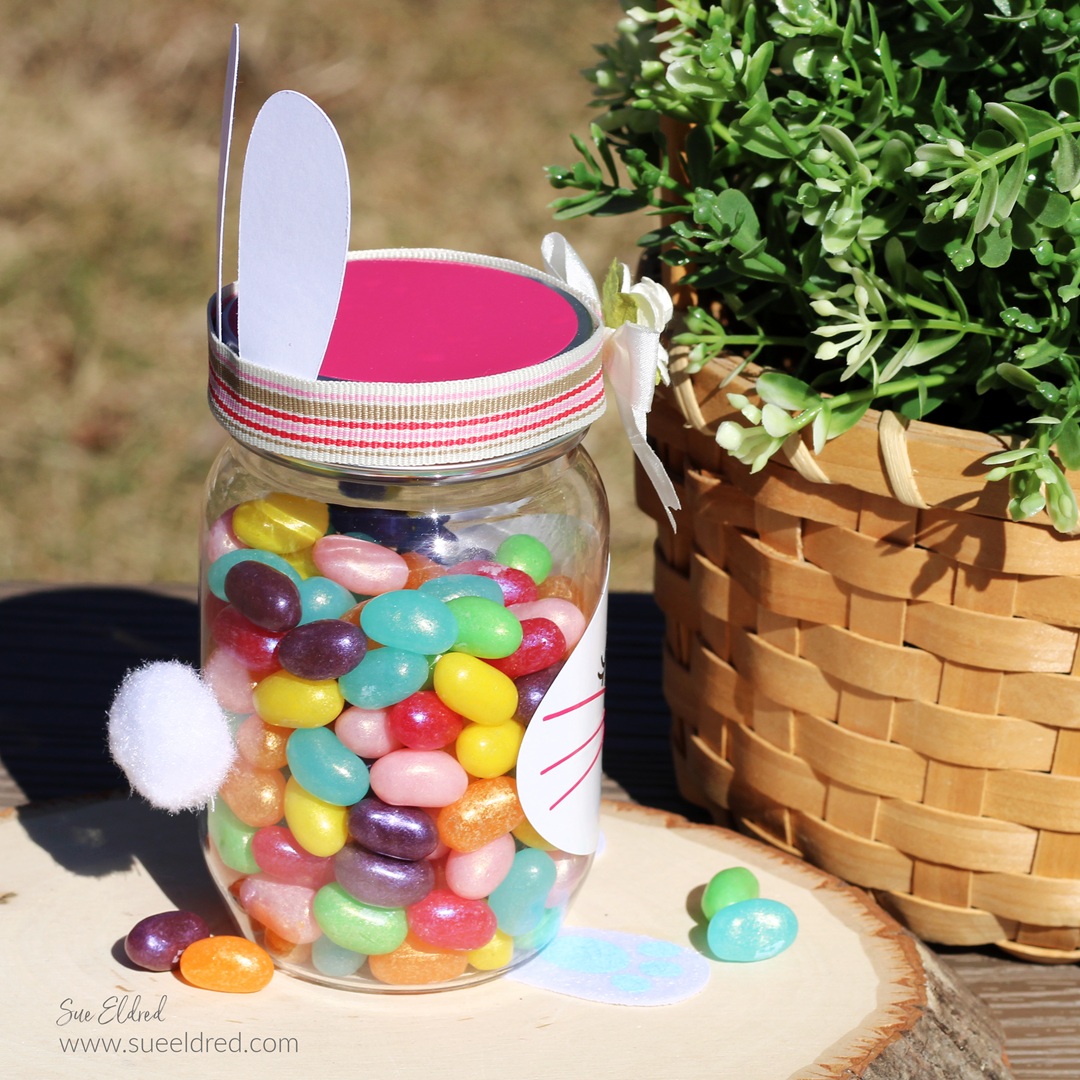
- Place the bunny face onto the Clear Plastic Craft Jar* using transfer tape.
- Rub gently over the Transfer Tape* and remove.
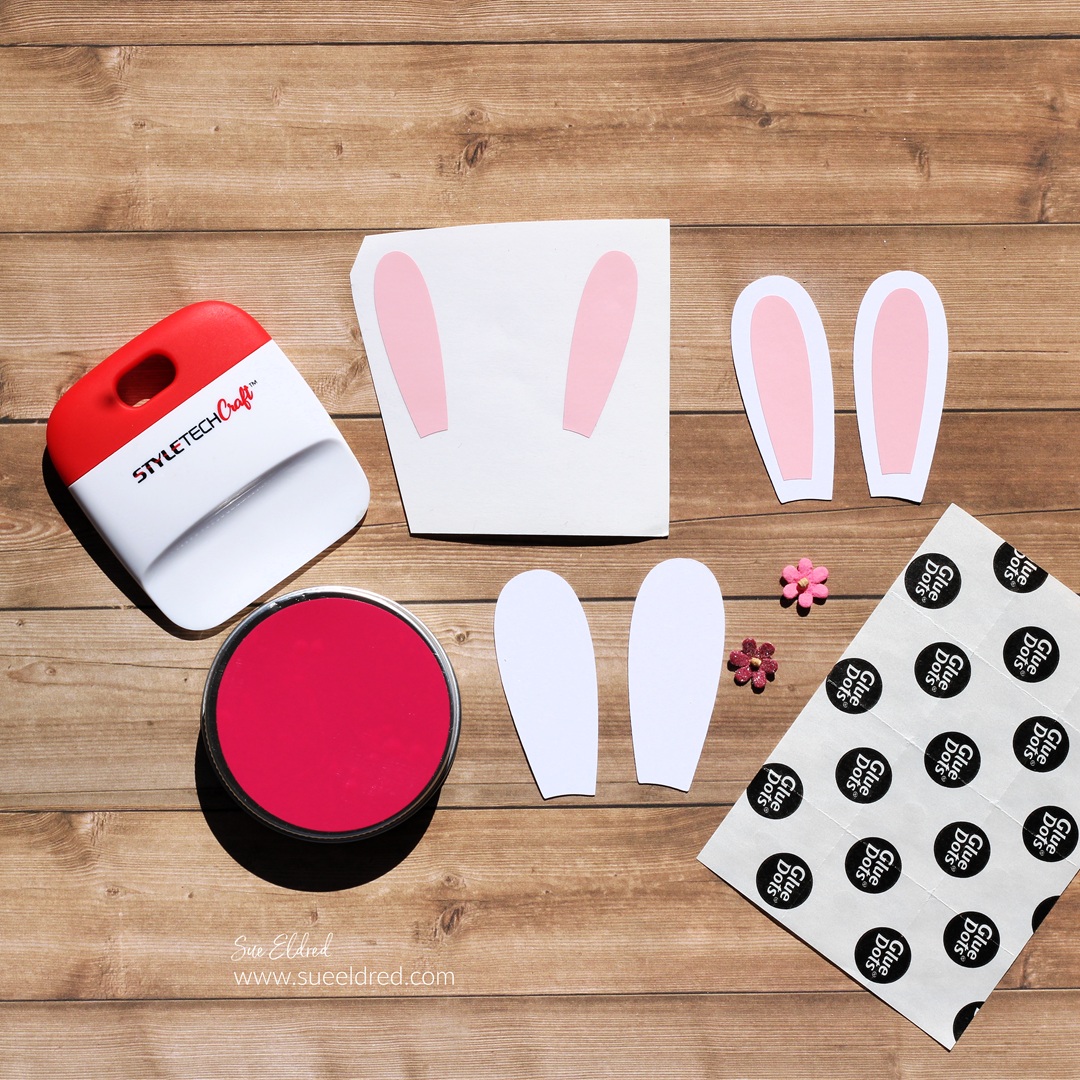
- Cut a pink circle and bunny ears for the top of the jar. (The ears for the bunny came with the Bunny Face SVG file.) I used white cardstock for the bunny ears and pink vinyl for the inside. You could also use felt to create the bunny ears.
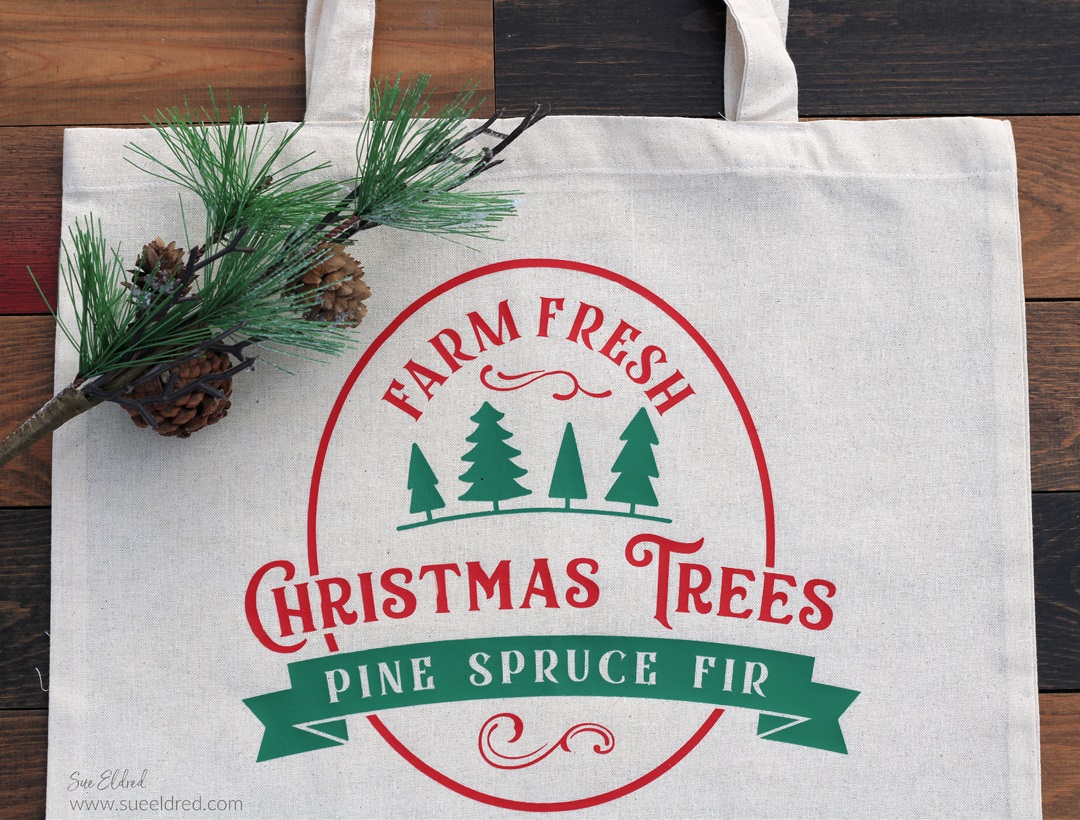
- Adhere the bunny ears to the lid with Glue Dots* or hot glue.
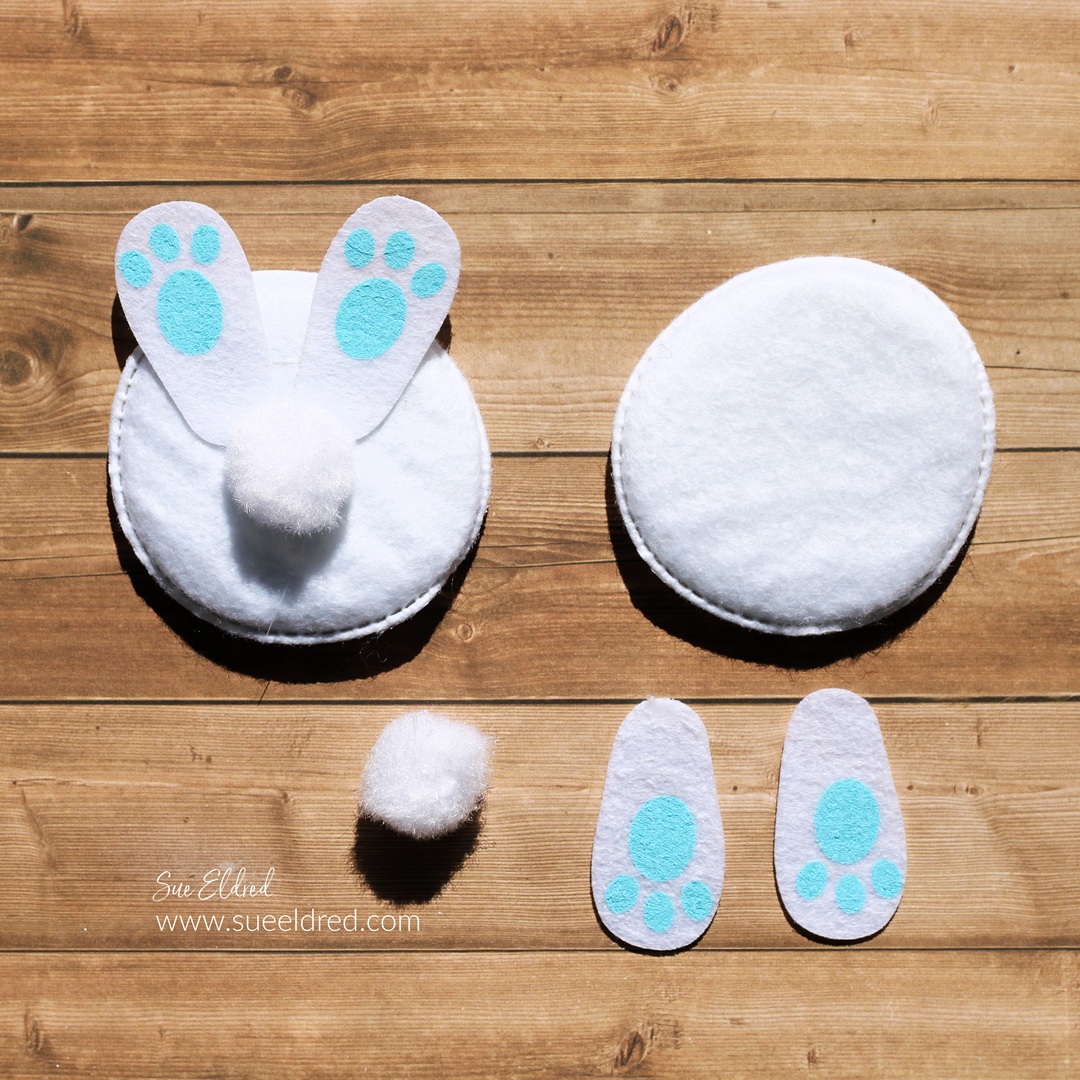
- Disassemble the “bunny backside” embellishment.
- Adhere the feet under the front of the jar.
- Use Glue Dots* to adhere the tail to the back of the jar.
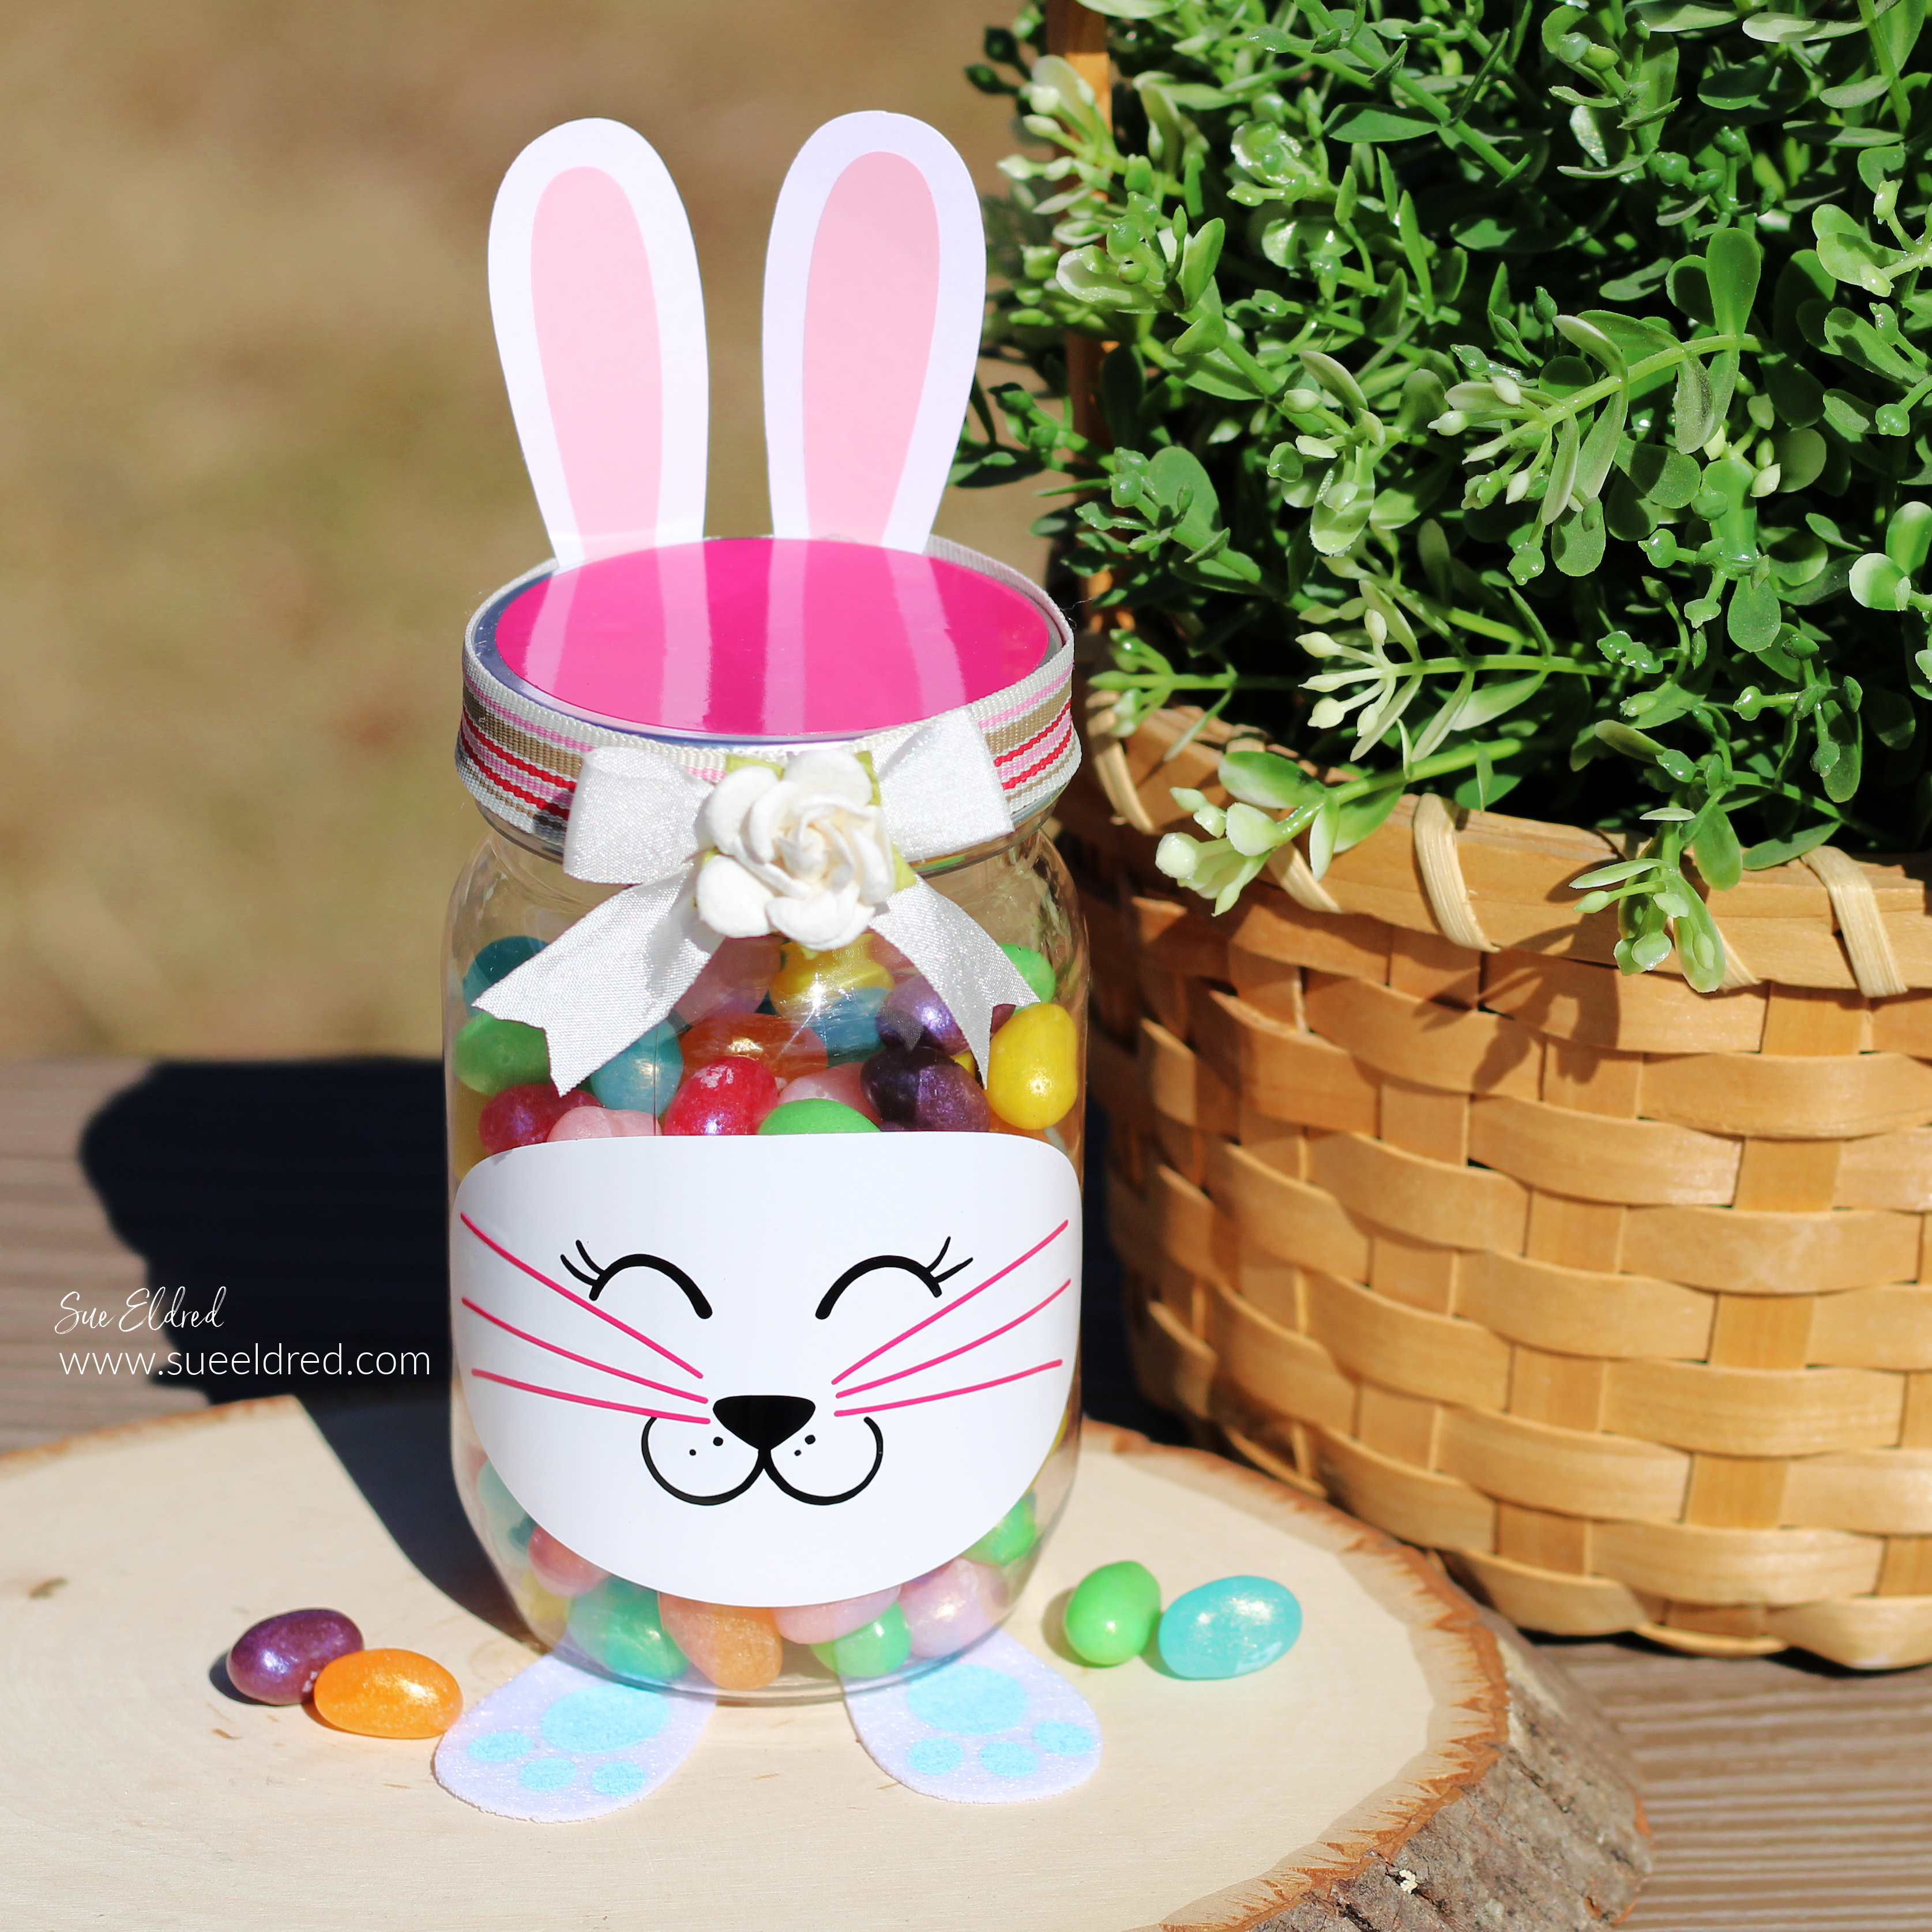
- Add a ribbon around the top of the lid.
- Use Glue Dots* under the ribbon to keep it from slipping.
- Glue a small bow and flower embellishment to the front of the lid.
- Fill the jar with Spring Jellybeans* or Spring M & M’s*. (Or your favorite treat.)