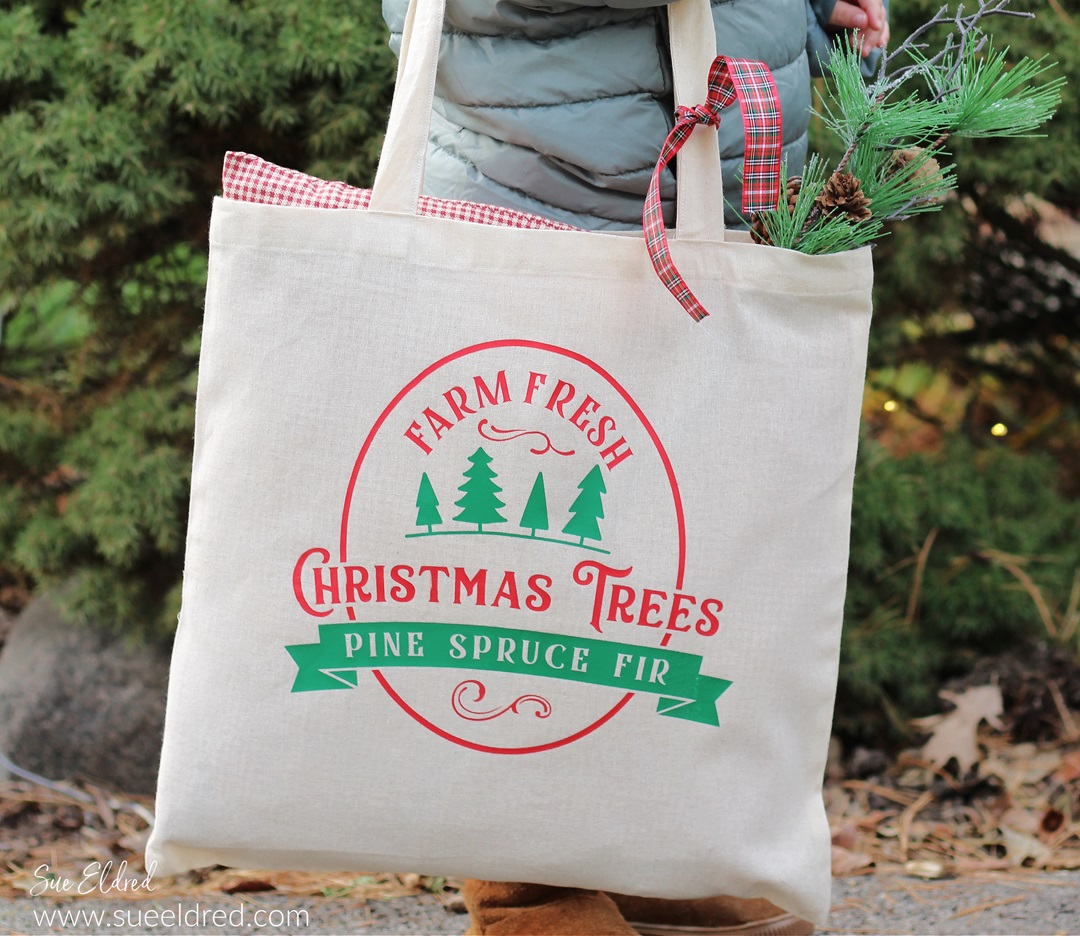
DIY CHRISTMAS TREE REUSABLE GIFT BAG
Are you getting ready for Christmas?
This past Thanksgiving weekend came and went so quickly.
But I am so Thankful that I got to spend it with all three
of my kids and their families.
Family Time is Priceless.

While she was here, I asked my sweet little Granddaughter to
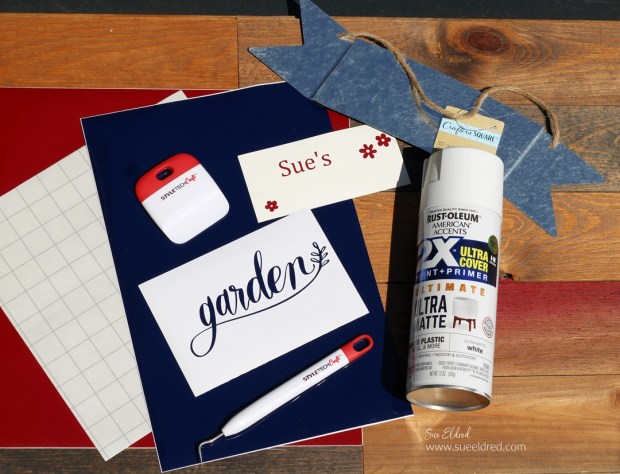
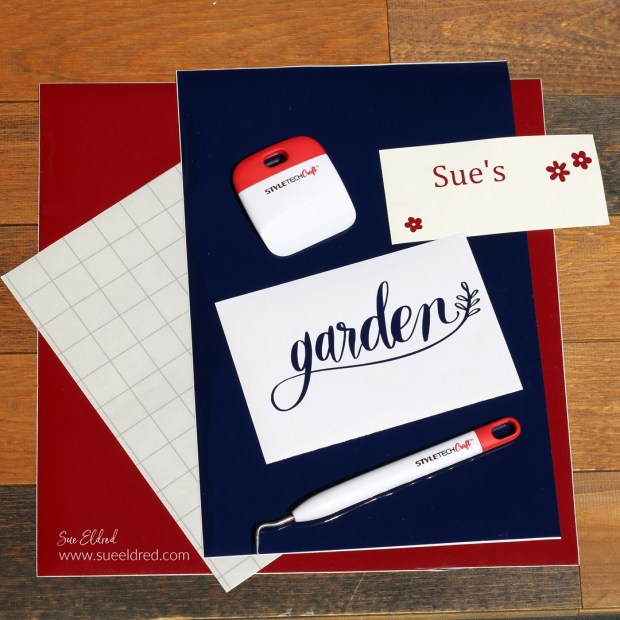
model this bag that I made using StyleTechCraft’s Heat Transfer Vinyl*.
It’s made from an inexpensive cotton bag* and is perfect for
carrying gifts for all those Holiday Parties.
Or you can give it as part of the gift.

StyletechCraft products brought to you by ATSM Craft*
*Disclosure: This blog uses ads and affiliate links. If you choose to make a purchase using one of the links, I receive a small commission (at no additional cost to you) that helps offset the costs of maintaining this blog. Thanks for your support!
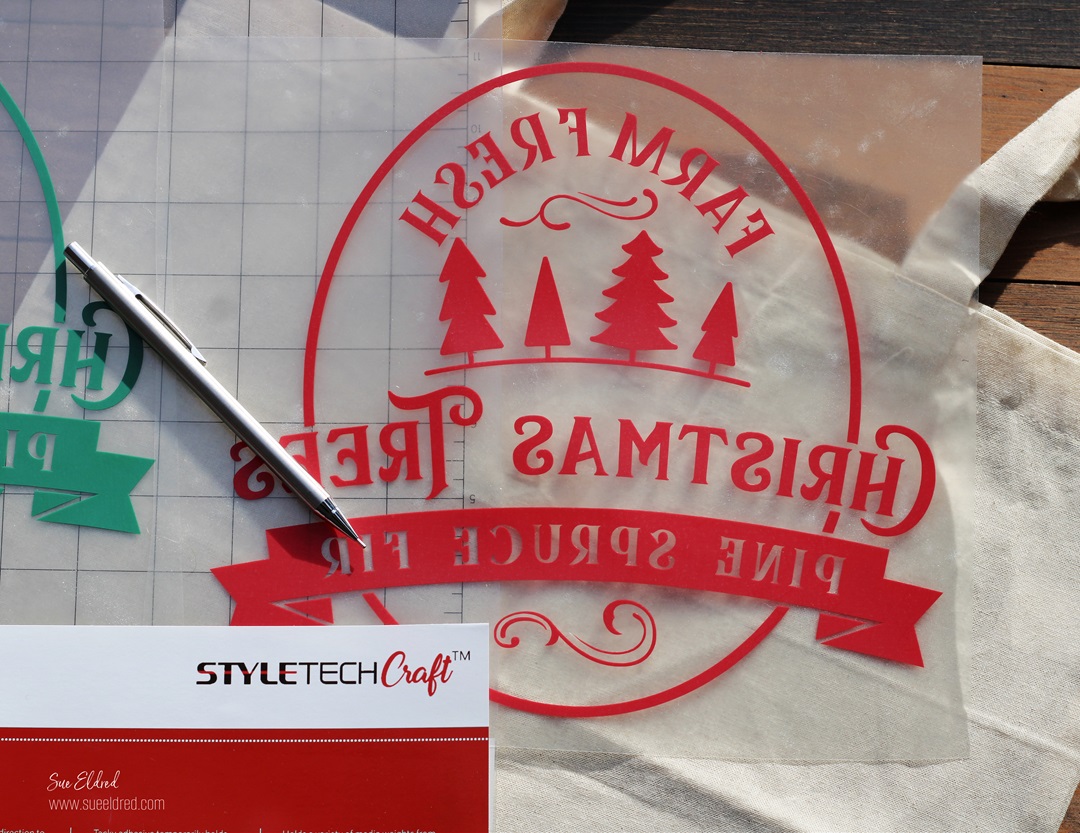
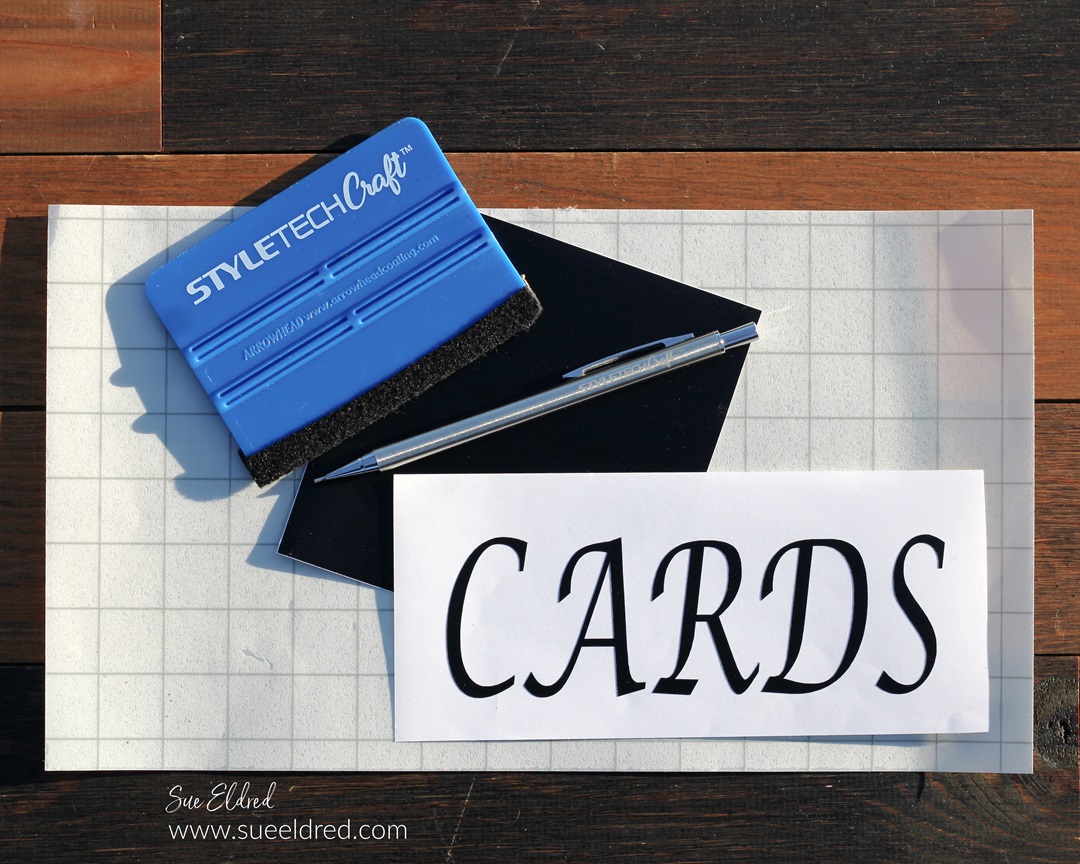
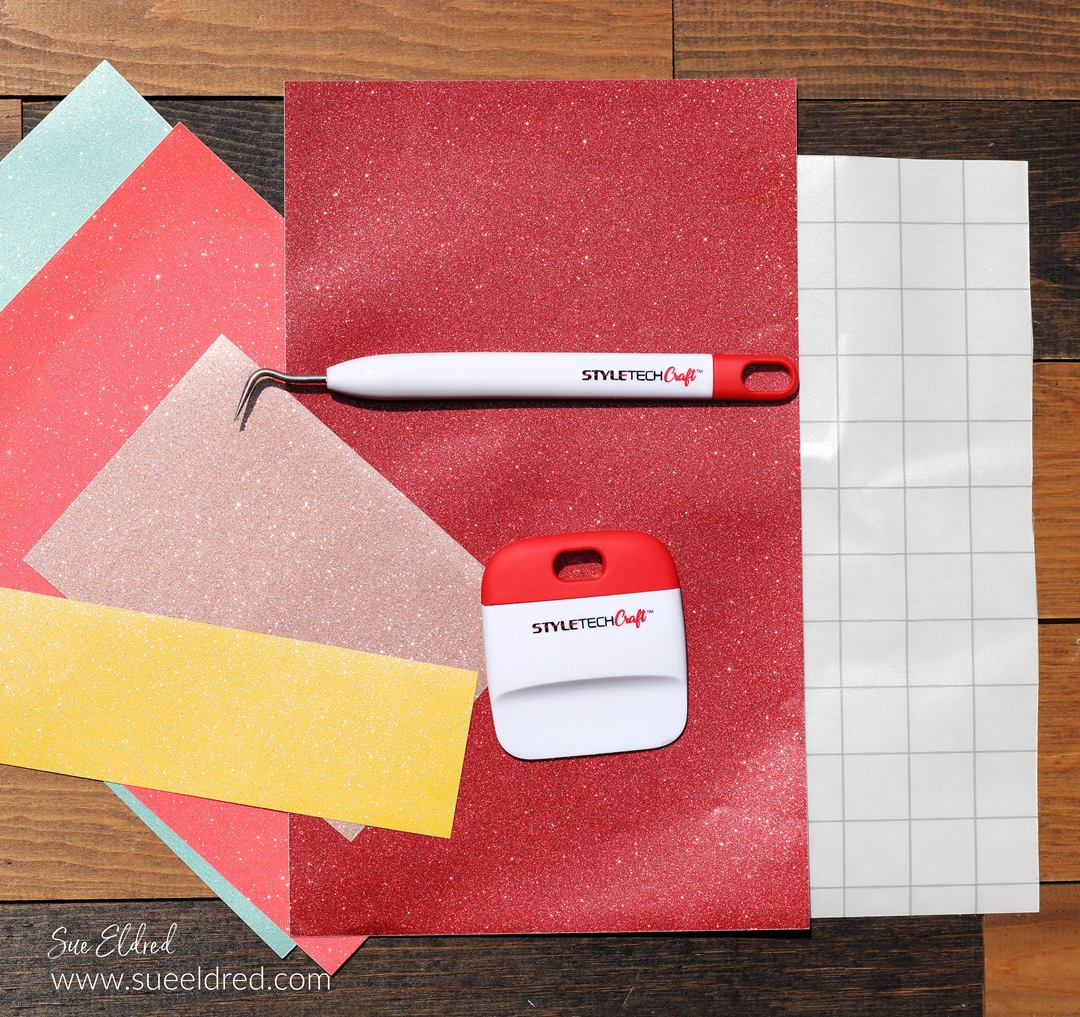
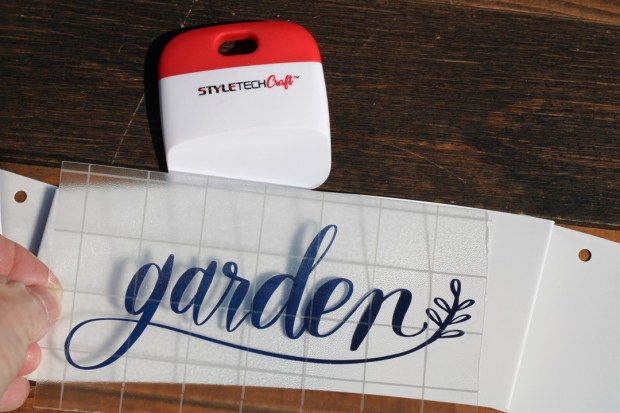
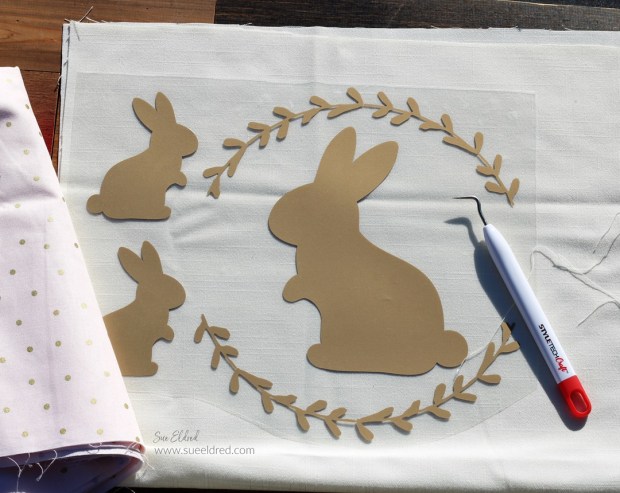
- To make the image for the bag, I used the Farm Fresh Christmas Trees SVG cut file from The Silhouette Design Store.
- I sized the image to fit on the bag and cut it out using a Silhouette Cameo Electronic Die Cutting Machine* and StyleTechCraft’s Heat Transfer Vinyl*.
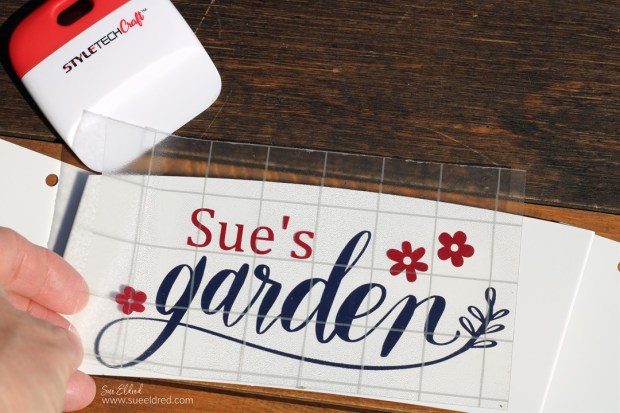
- I cut the image out of both red and green HTV vinyl.
- I removed the vinyl that I wanted to be green from the red image.
- With the green image, I cut out only the pieces that I wanted to use with the red layer.
- Make sure to mirror the image and place the shiny side down on the cutting mat.

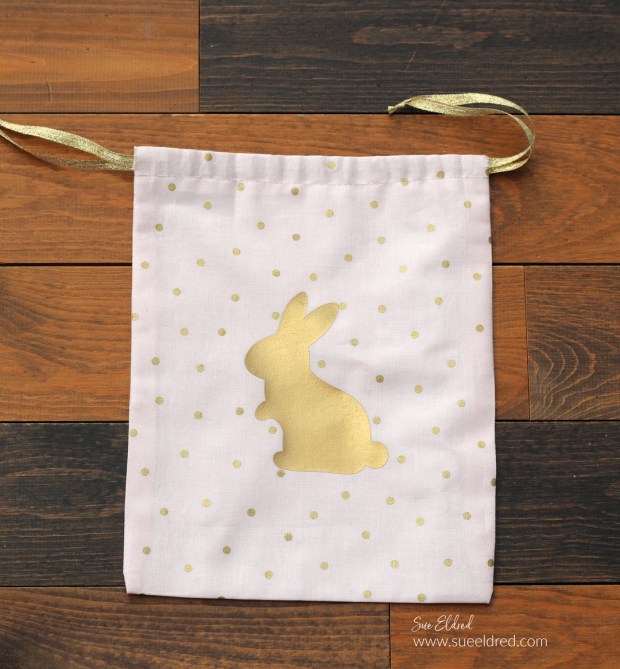
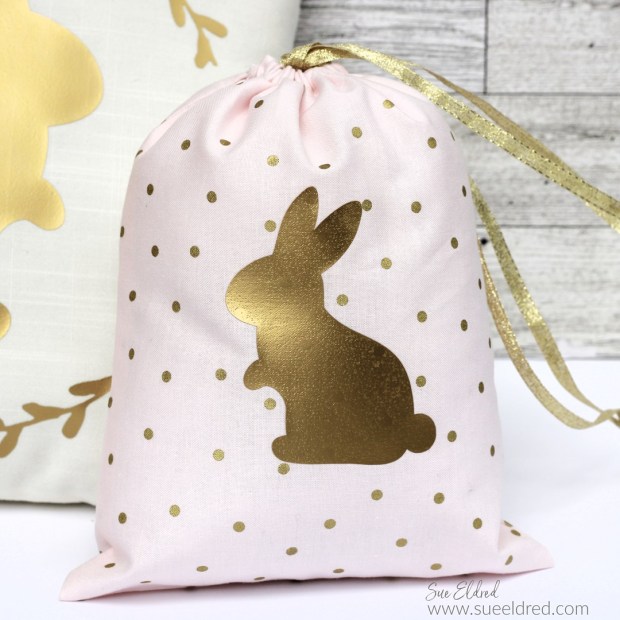
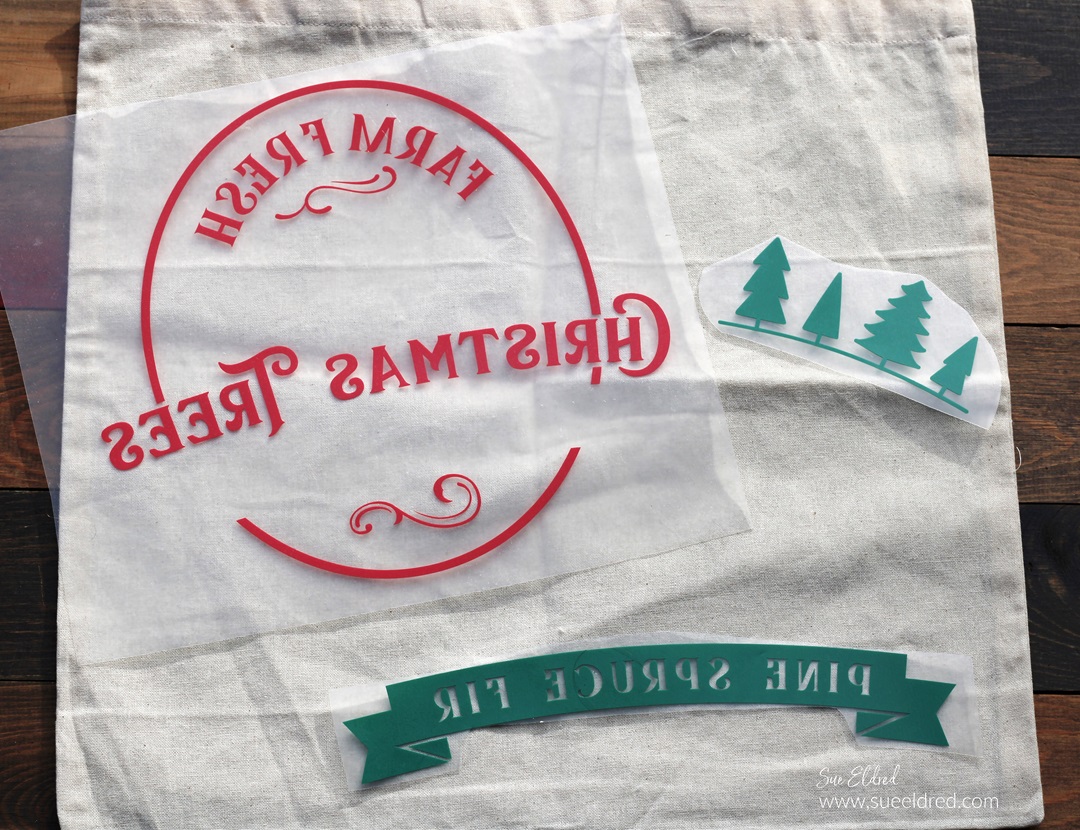
- Position the design on your bag. Use an iron or a heat press* to apply heat and pressure to the design, following the manufacturer’s instructions.
- Peel off the clear transfer tape.
![]()
“This is a sponsored post. As a member of the StyleTechCraft Design Team I have been provided product and compensation in exchange for my creative ideas. The views and opinions are my own.