Happy New Year 2018

Happy New Year 1249

By the time we get through all the Christmas Festivities and Parties….

I’m ready to stay in and eat pizza by the time New Year’s Eve comes along.

Relaxing and low key is the answer.

We may even toast the New Year, that is if he’s still awake.
Happy New Years-Sue's Creative Workshop-www.sueeldred.com 1198

Even though we’re not having a big party, Party Hats are always fun.

I must have been really good this year…

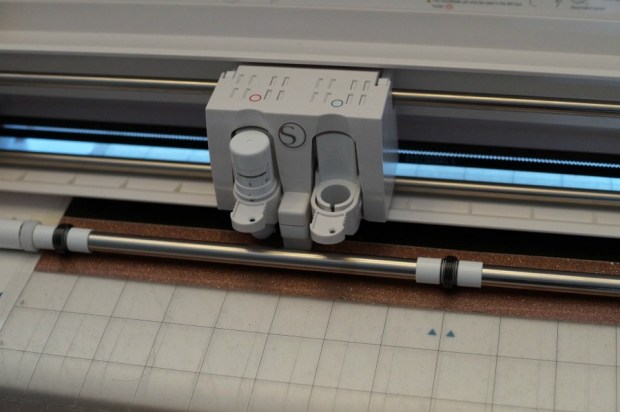
because Santa brought me a new Silhouette CAMEO 3 Wireless Cutting Machine*

I used my new present to whip up some simple party hats

Happy New Years-Sue's Creative Workshop-www.sueeldred.com 1203

I used two strips of Ultra FX Glitter Vinyl from Styletech and laid them side by side.

I made sure my fonts lined up so that I could cut both colors at the same time.

Happy New Years-Sue's Creative Workshop-www.sueeldred.com 1208

  • I also cut a large mat shape from black cardstock and a slightly smaller mat shape using silver metallic vinyl.
  • I used the transfer paper to remove all the letters at once and laid them onto my shiny mat to create my hat.
  • I cut the bottom section of the mat shape and added a small strip of vinyl for extra decoration.  I created a band for my hat from two strips of cardstock and stuck the “happy new year” mat on the front.  (pretty simple)

Happy New Years Hat-Sue's Creative Workshop-www.sueeldred.com 1241

Now it’s a party.  (well sort of)

Shop Amazon Scrapbooking Supplies*

*Disclaimer:  This post is sponsored by Tape Technologies and uses ads and affiliate links.  If you choose to make a purchase using one of the links, I receive a small commission (at no additional cost to you) that helps offset the costs of maintaining this blog.  Thanks for your support!

Glittered Snowflake Ornament

How to Create a Glittered Snowflake Ornament 

Glittered Snowflake Ornament Supplies:                         (*affiliate link)

*Disclosure:  This blog uses ads and affiliate links.  If you choose to make a purchase using one of the links, I receive a small commission (at no additional cost to you) that helps offset the costs of maintaining this blog.  Thanks for your support!

StyleTechCraft Christmas Colors Bundle on Amazon*


How to make a Glittered Snowflake Ornament

  1. Pour Mod Podge* in small bowl and mix in glitter.
  2. If needed…You can add a few drops of water to the mixture to thin it out.
  3. Create a funnel from a piece of cardstock.  Pour glitter mixture into ornament.
  4. Swirl the mixture around the ornament until all the sides are covered.
  5. Turn ornament over and allow excess mixture to drain out.
  6. Allow overnight to let the inside of your ornament to fully dry.
  7. Die-cut a snowflake from the polished metal vinyl.
  8. Apply transfer tape to the front of the snowflake die and removed protective backing.
  9. Lay transfer onto the ornament and smooth from the center out.
  10. Decorate ornament with greenery, berries and bow.


“This is a sponsored post.  As a member of the StyleTechCraft Design Team I have been provided product and compensation in exchange for my creative ideas.  The views and opinions are my own. 

You can now find the full line of StyletechCraft online at ATSM.

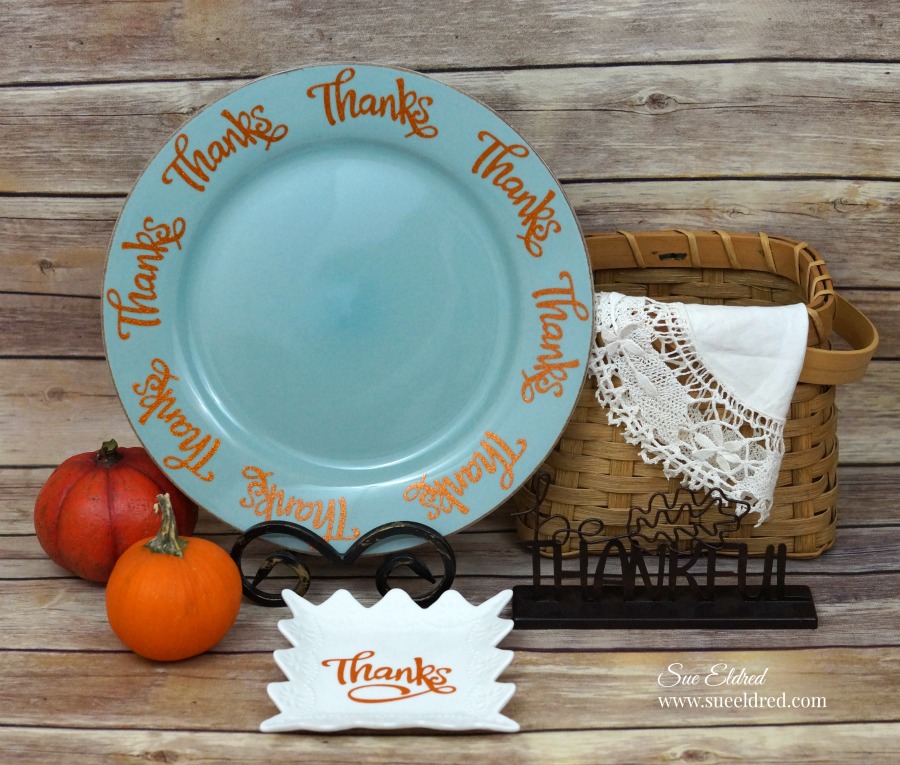
A Plate Full of Thanks

This month I started working with a company called Tape Technologies, the maker of

Styletch Vinyl, as their New Design Team Coordinator.

Being that it’s November…

I decided my first project should be something that I could use for Thanksgiving.

I perused my new collection of 12″ x 12″ adhesive vinyl and decided on the Sunflower

Transparent Glitter Vinyl sheet.  (fyi…Styletech has a great selection of vinyl to work with.)

You can find a 10 assorted pack of 12×12 Glitter Self Adhesive Vinyl Sheets* on Amazon.

Some of you may gasp…

when I tell you that I still don’t have one of those fancy electronic die cutting machines.

(although it may be on this year’s Christmas list)

To begin this simple project…  I cut the word “Thanks” using a thin steel die and my

Sizzix Big Shot Die-Cutting/Embossing Machine*.  I cut out 8 for my large plate and

one for my small plate.  Because I only wanted the “thanks” around the edge of the plate

I cut the flourish off the bottom of the “k”.

After figuring out my plate placement, I placed my die-cut “thanks” onto a flat surface and

picked up the die-cut with my Vinyl Transfer Tape*.

Once on the transfer paper I peeled back the protective layer and secured it in place on my

plate.  I burnished the transferred die and removed the transfer paper.

Because I couldn’t help myself I added another die cut “Thanks” with the flourish in tack onto

a cute little thrift store find.

FYI…While I would not place the plates in the dishwasher, I did try to see how it would hold up to hand-washing.   It did fine.

Shop Amazon Scrapbooking Supplies*

*Disclaimer:  This post is sponsored by Tape Technologies and uses ads and affiliate links.  If you choose to make a purchase using one of the links, I receive a small commission (at no additional cost to you) that helps offset the costs of maintaining this blog.  Thanks for your support!