How to make Fall Jenga Block Projects with Xyron.
These projects are Quick and Easy and are a great way to use up small scraps of paper.

![]()
This is a sponsored post for Xyron. I have been provided product and compensation in exchange for my creative ideas. The views and opinions are my own.

How to make a Jenga Block Pumpkin
Materials Used: (*affiliate links)
- 3 Wood Jenga Blocks*
- Small Wood Cube*
- Xyron Create a Sticker Mini*
- Xyron Mega Runner*
- Xyron Glue Gun*
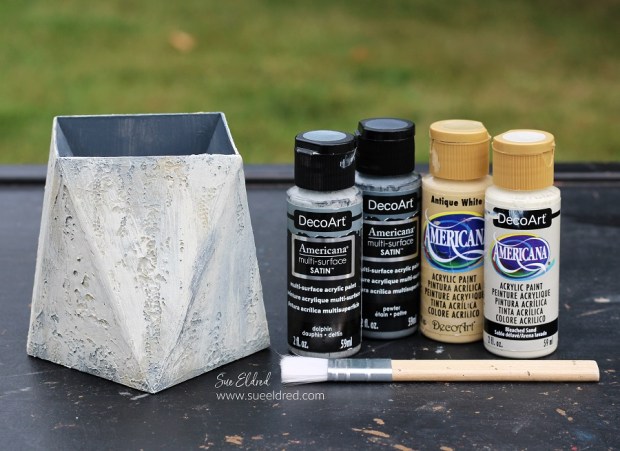
- Acrylic Paint
- Fall Scrapbook Paper
- Natural Jute Twine*
- Paper Leaves*

*Disclosure: This blog uses ads and affiliate links. If you choose to make a purchase using one of the links, I receive a small commission (at no additional cost to you) that helps offset the costs of maintaining this blog. Thanks for your support!

Directions:
- Paint three Jenga Blocks* with orange acrylic paint.
- Paint the small wood cube with brown acrylic paint
- Cut six strips of fall scrapbook paper ¾” x 3”.
- Place the strips of paper, design side up, into the Xyron Create a Sticker Mini*. Crank the handle to run the strips of paper through the Create a Sticker Mini. As the paper strips go through the Xyron Create a Sticker Mini*, it adds a complete layer of adhesive onto the back.


- Place the strips of paper onto the front and back of the Jenga Blocks*.

- Glue the blocks together using the Xyron Glue Gun*.

- Glue the small wood cube and the leaves to the top of the pumpkin.
- Tie a small twine bow and glue it to the front of the pumpkin.
- Adhere the word Thankful onto a small layer using the Xyron Mega Runner* and attach it to the front of the pumpkin.

The Jenga Block Pumpkin is a great way to use small scraps of your favorite Fall scrapbook paper.
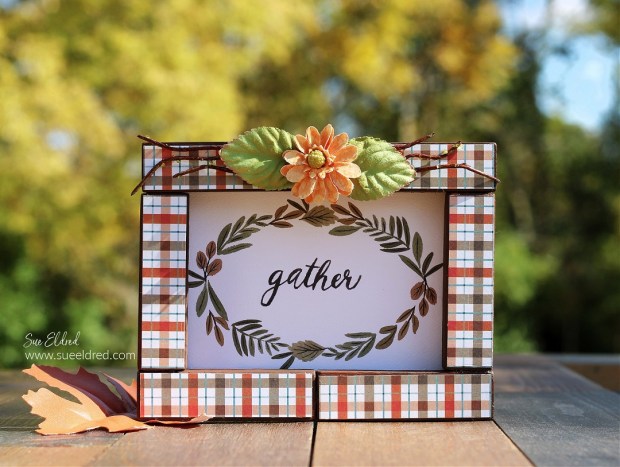
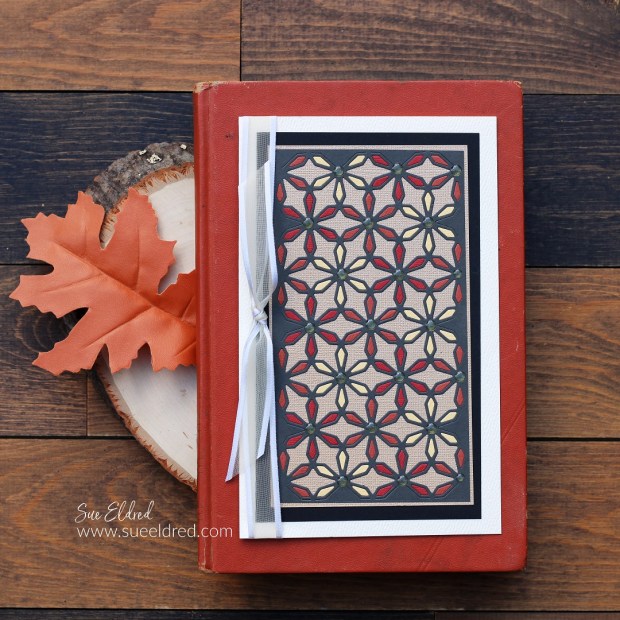
Another simple Fall project is the Jenga Block Frame.
Directions:
- Paint six Jenga Blocks* with brown acrylic paint.
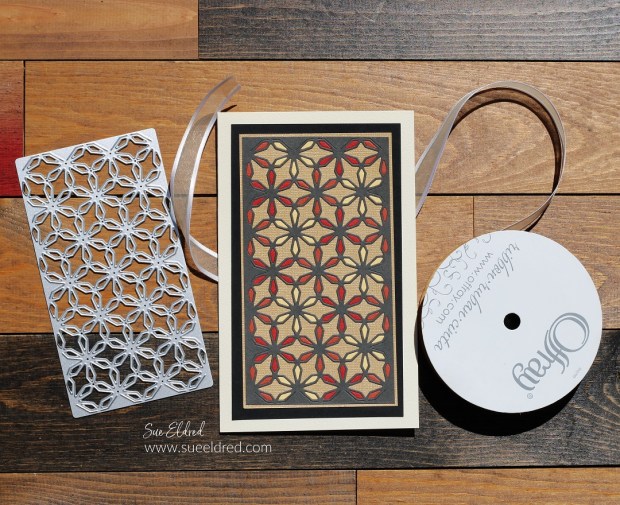
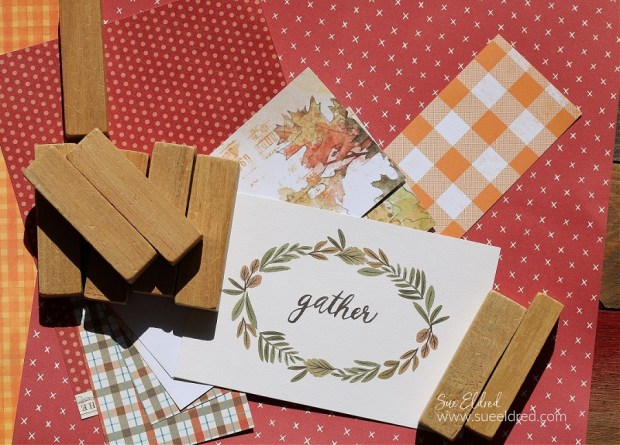
- Cut 12 strips of fall scrapbook paper ¾” x 3”.
- Place the strips of paper, design side up, into the Xyron Create a Sticker Mini*. Crank the handle to run the strips of paper through the Create a Sticker Mini. As the paper strips go through the Xyron Create a Sticker Mini*, it adds a complete layer of adhesive onto the back.
- Place the strips of paper onto the front and back of the Jenga Blocks*.
- Hot Glue the blocks together to form a frame.
- Adhere greeting or photo to the back of the frame.
- Embellish the frame by gluing on a small fall flower and leaves*.
For a truly inexpensive Fall Craft, you can pick up the wood blocks at Dollar Tree.