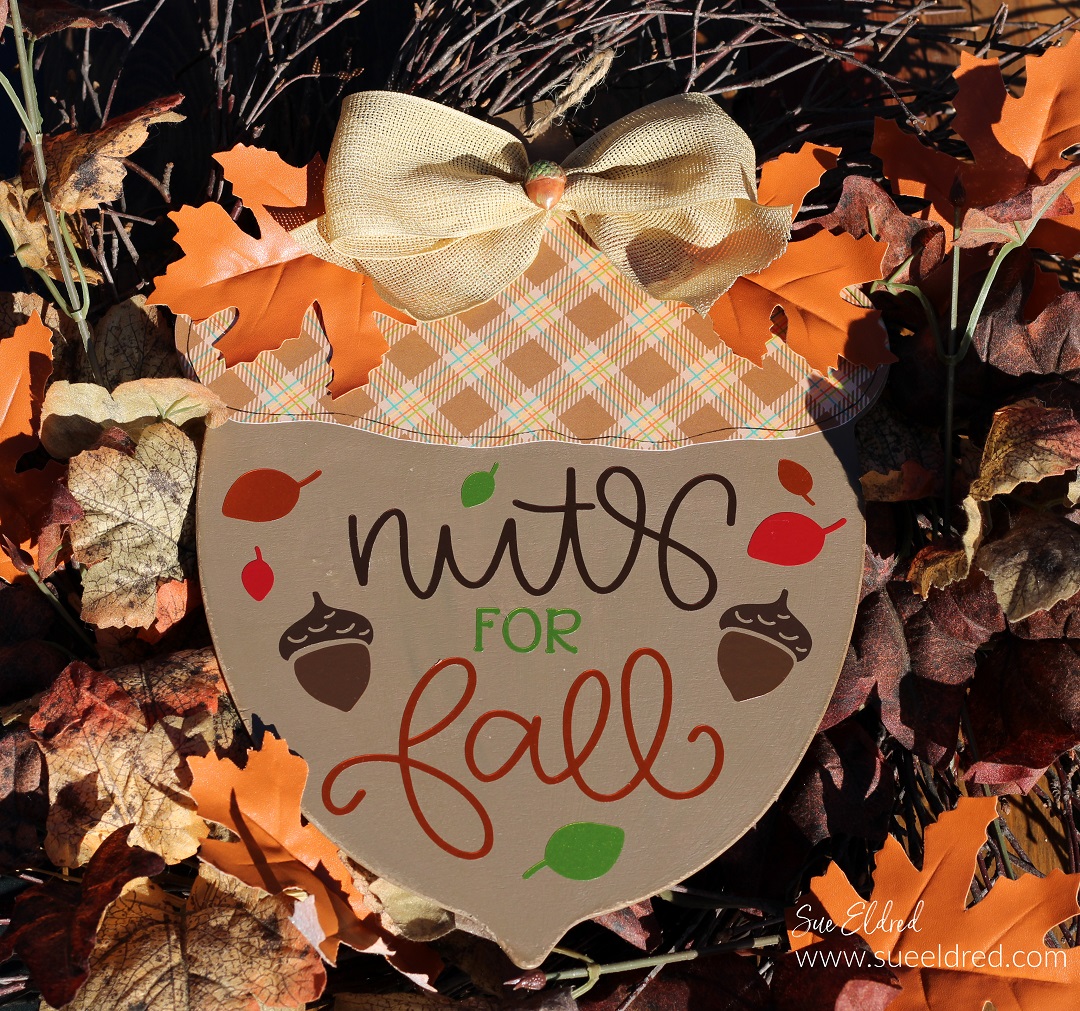
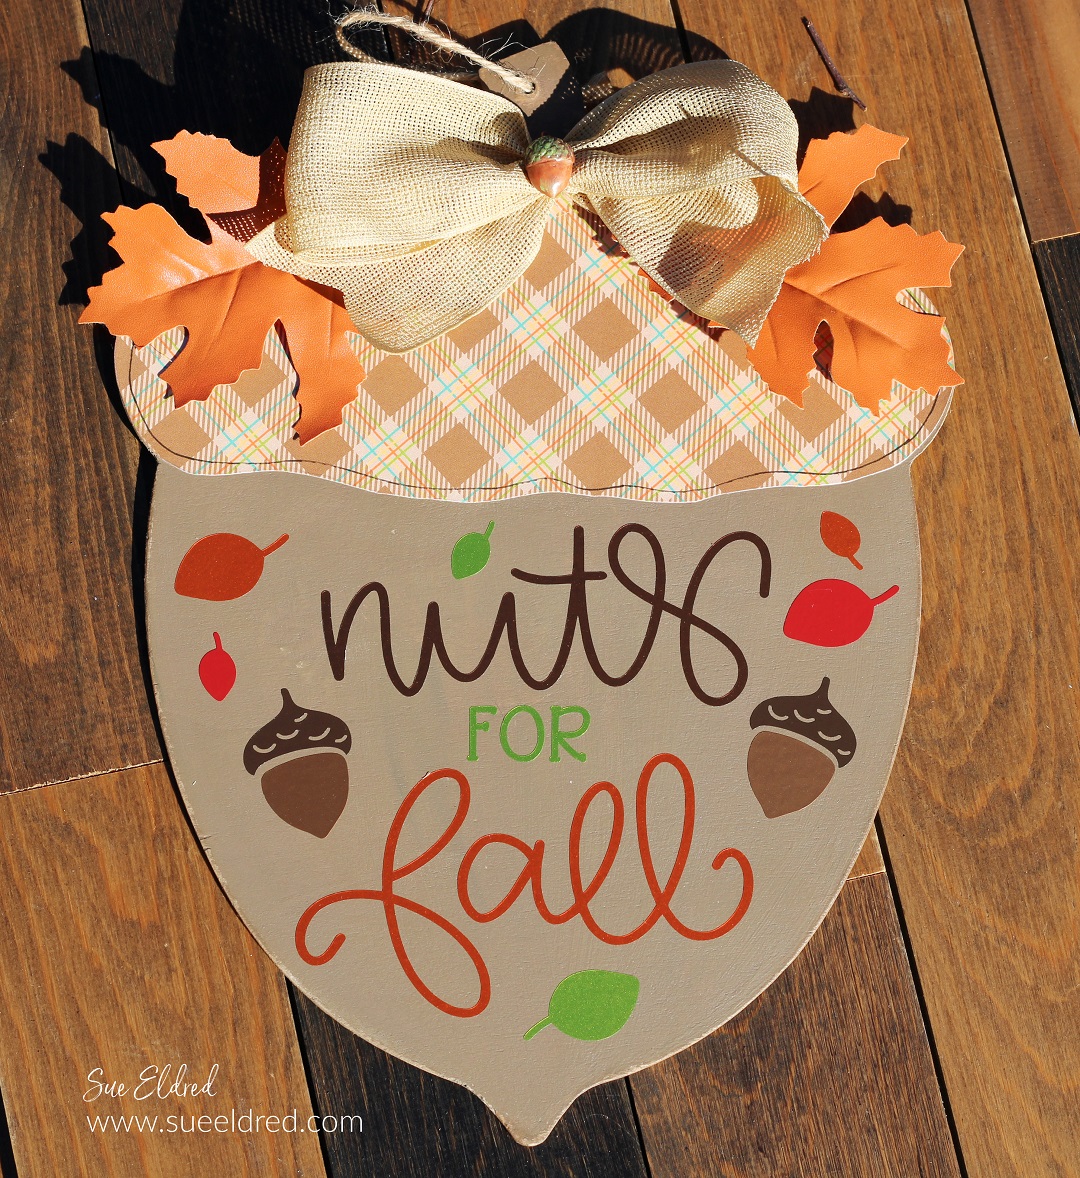
How to make Plaid Shaker hearts using Dollar Tree Heart Ornaments.
I’m always looking for simple Valentine’s Home Decor projects.
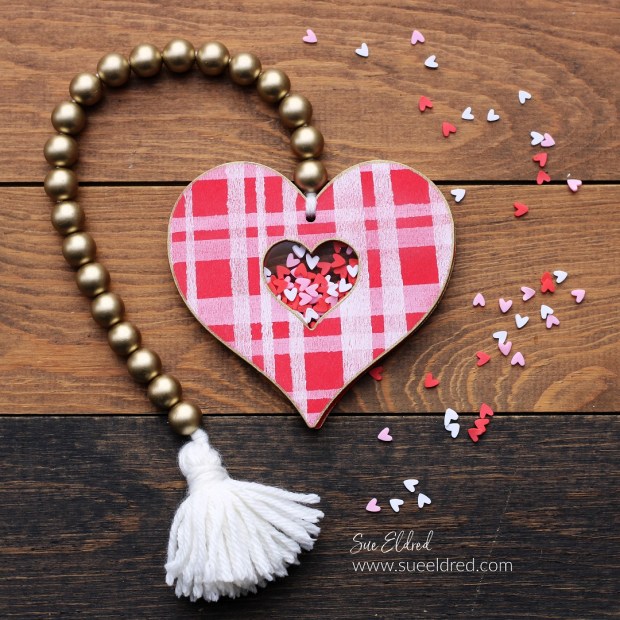
This Plaid Shaker Heart Ornament is super easy to make.
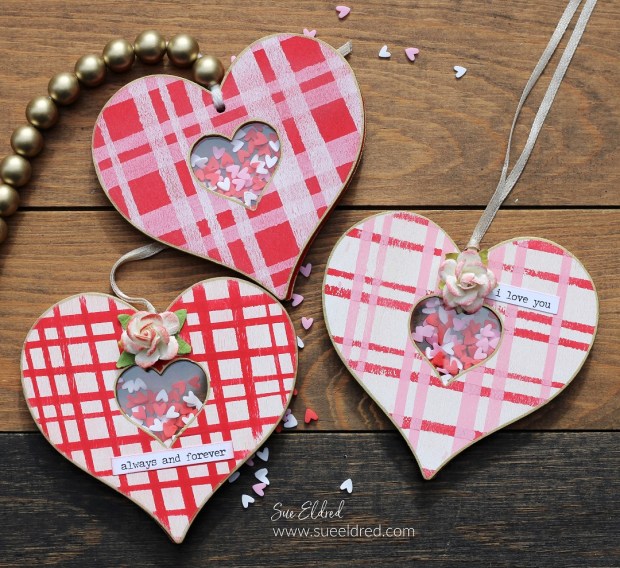
Who’s Up for a little Valentine’s Day Plaid?
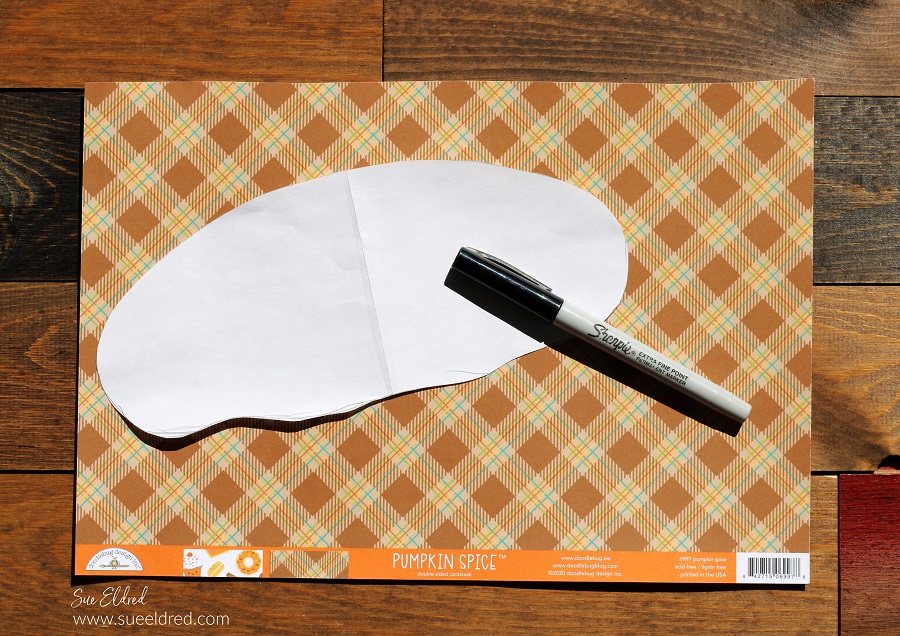
No matter the season, I’m always a little “Mad for Plaid”.
I had fun experimenting with different color combinations for my plaid hearts.
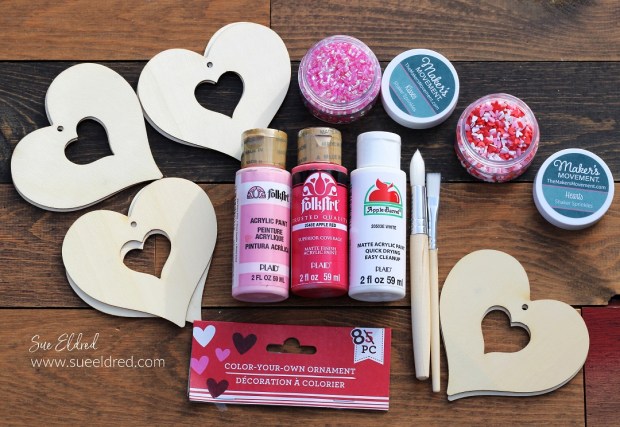
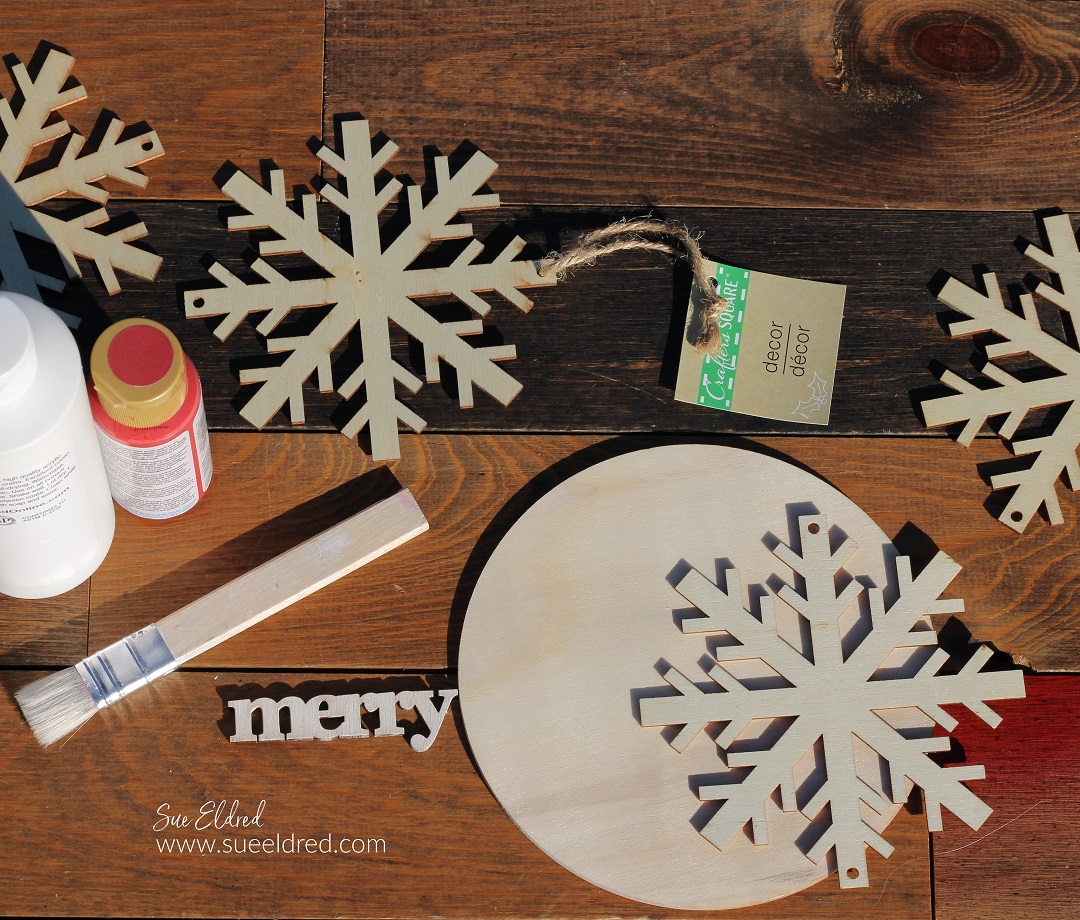
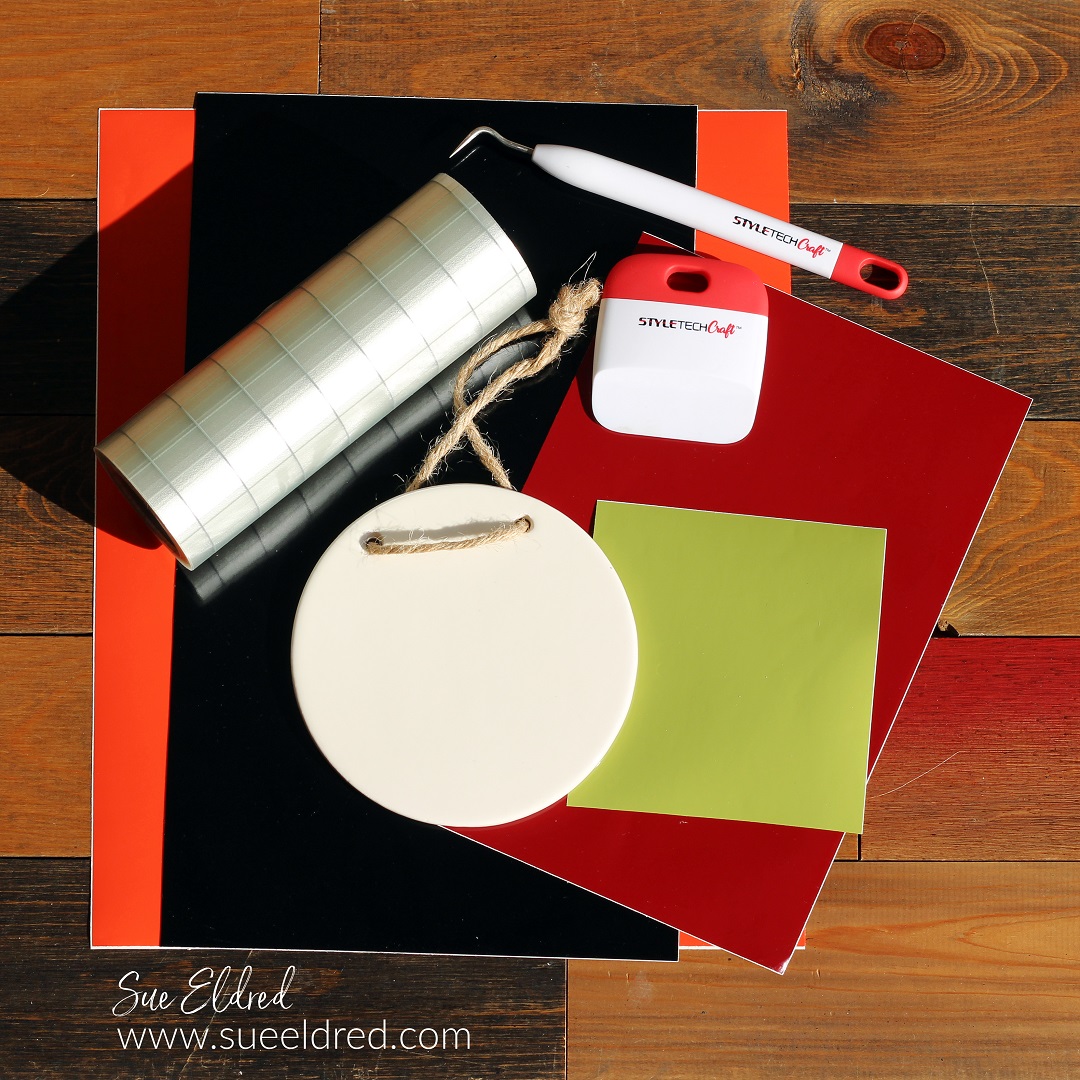
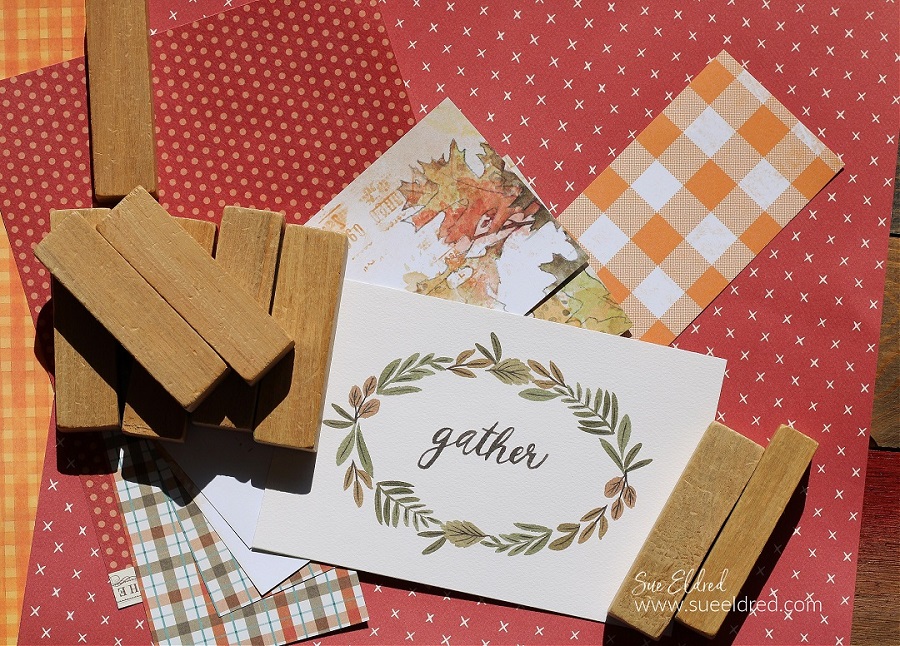
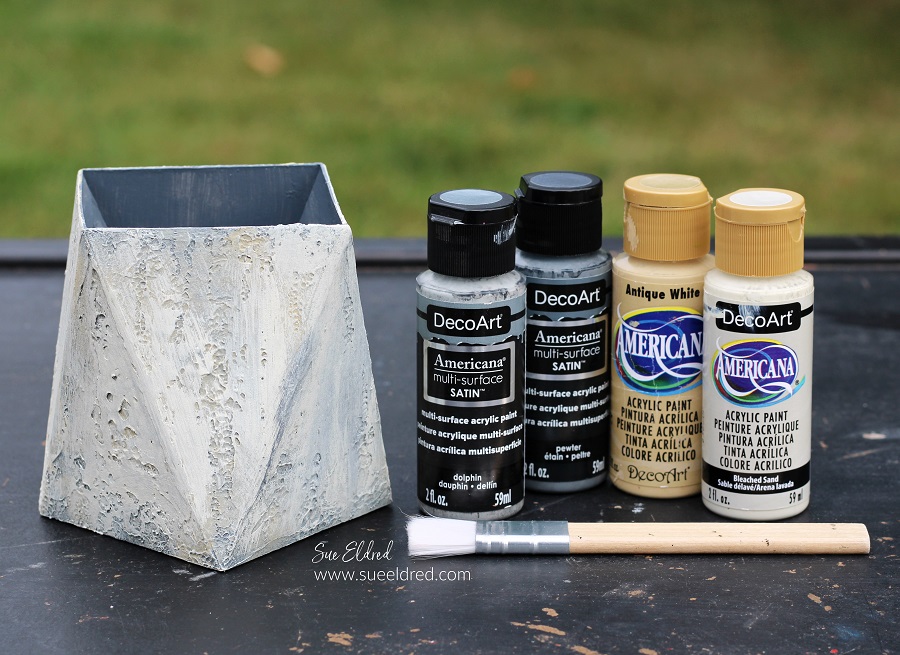
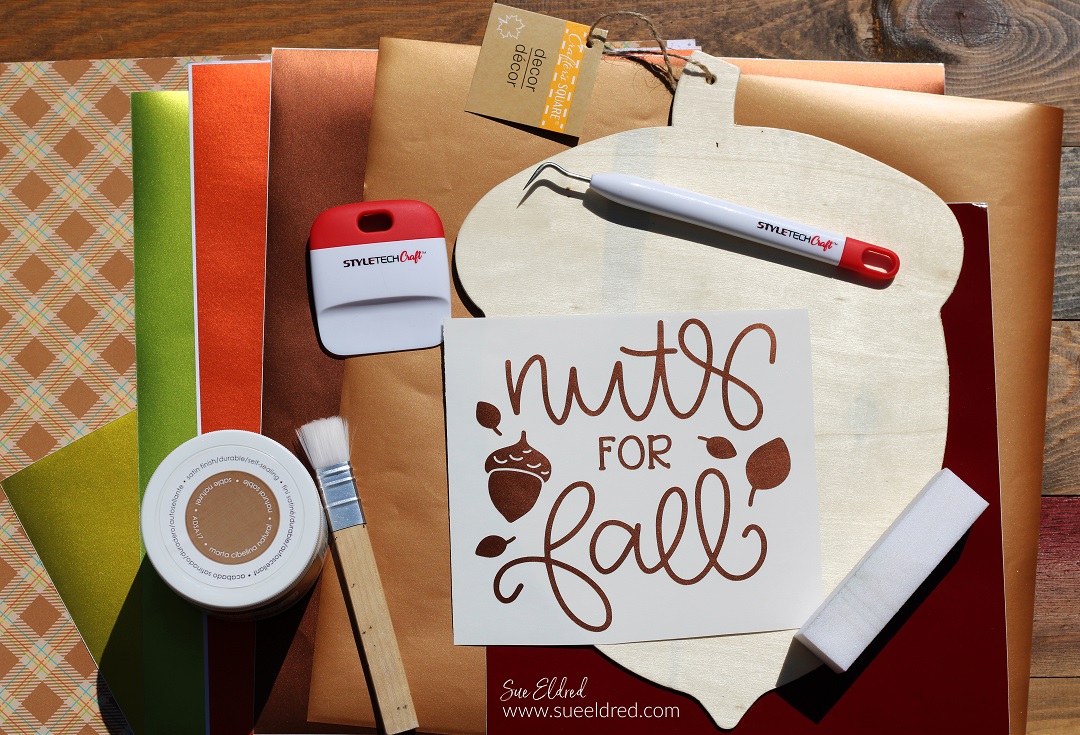
Materials Used: (*affiliate links)
- Wood Valentine Heart Ornaments*
- Plaid Acrylic Paint*: Apple Red, Baby Pink, White
- Paintbrush
- DecoColor Chisel Point Gold Leaf Pen*
- Clear Acetate*
- Double-Sided Foam Strips*
- Heart Shaker Sprinkles*
- Removable Tape*
- Sanding Block*
- Craft Glue
- Beads
- Yarn

*Disclosure: This blog uses ads and affiliate links. If you choose to make a purchase using one of the links, I receive a small commission (at no additional cost to you) that helps offset the costs of maintaining this blog. Thanks for your support!

Directions:
- My heart ornaments are approximately 4″ x 4″ with a 1¼” x 1¼” heart opening in the center.
- Paint both sides of two heart ornaments with red paint.
- Place thin strips of removable tape* across the heart ornament. Alternate between thicker and thinner strips.
- Rub your finger over the tape to make sure that the tape* is securely on the ornament and has no gaps.

- Paint inside the stripes with a thin coat of pink acrylic paint. Be careful not to apply the paint too thick. Only one thin coat of paint is needed.
- Remove painter’s tape.
- Allow the paint to fully dry before continuing to the next step.

Stripes are good too.
If you like stripes better than plaid, you can skip the next step.

- Next, add strips of Removable Tape* vertically over the heart.
- Make sure the tape is flat with no gaps.

- Paint over the heart with a thin coat of white paint.
- Carefully remove the tape. Allow the paint to dry.

- Using a Sanding Block* lightly sand the heart ornament. Sanding smooths the woodgrain and helps to hide any little imperfections.
- Wipe with a clean cloth.
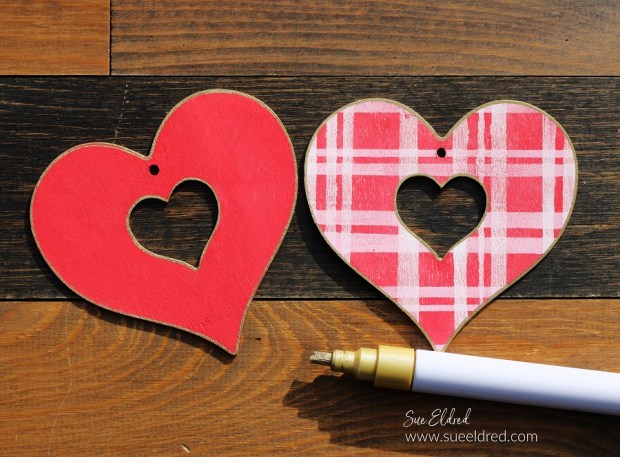
- For a little extra pop of gold.
- Edge the sides of the heart ornament with a Chisel Point Gold Leaf Pen*.
- Don’t forget to add a little gold to the center heart.
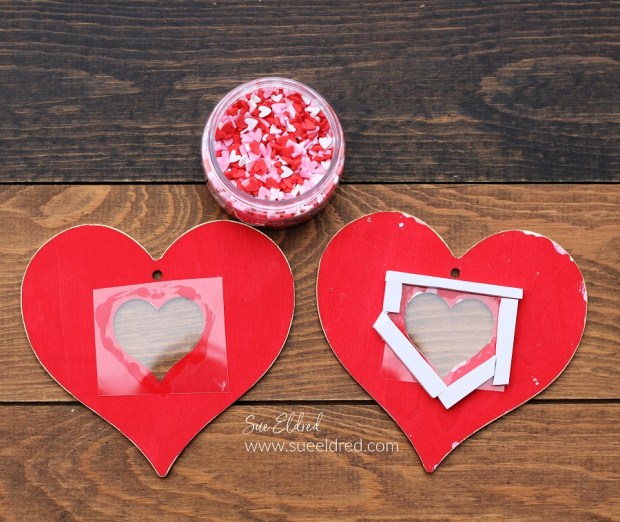
- On the back of both hearts, add craft glue around the center heart. Place a small piece of clear acetate* over the heart opening.
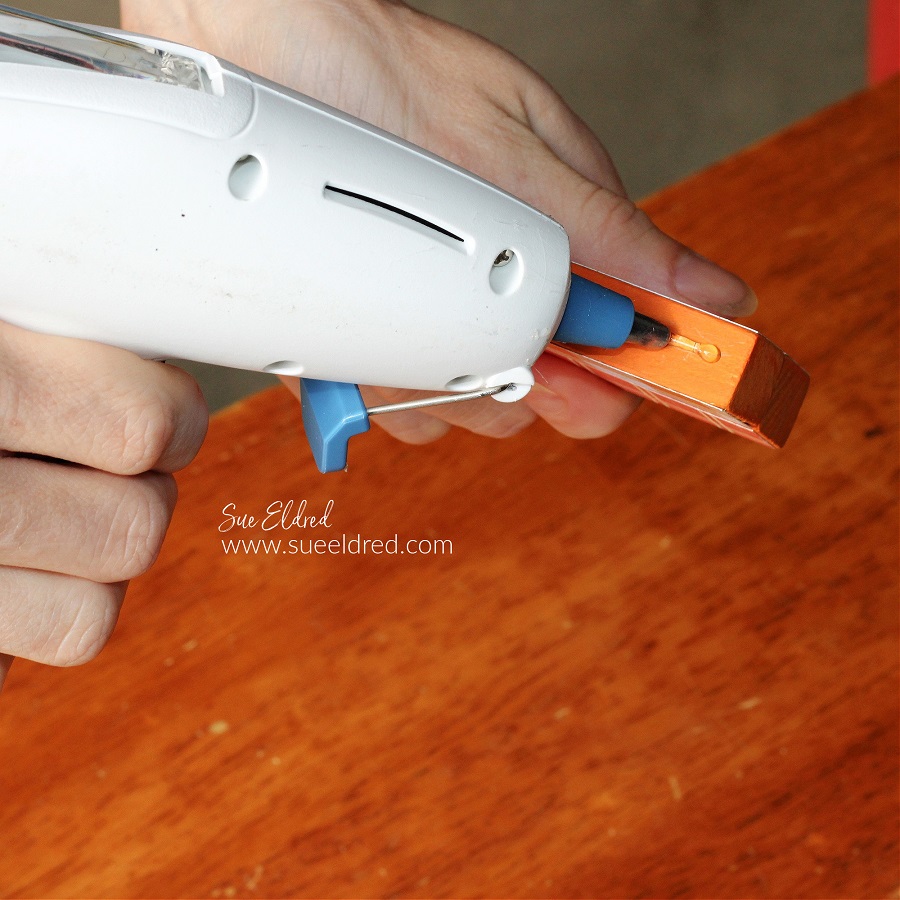
- On the back of the plaid heart, place strips of double-sided adhesive craft foam* around the center heart.

- Place heart sprinkles inside the craft foam over the acetate.
- Remove the protective coating from the craft foam and carefully line up the second heart to close.
- Loop a long piece of white yarn through the top hole of the ornament.
- Add craft glue to the ends of the yarn and twist the fibers to make them tight.
- That makes it easier to string the beads.
- I used gold beads left-over from a Christmas project and strung them onto the yarn.
- Create a yarn tassel and tie it to the end of the beaded yarn.

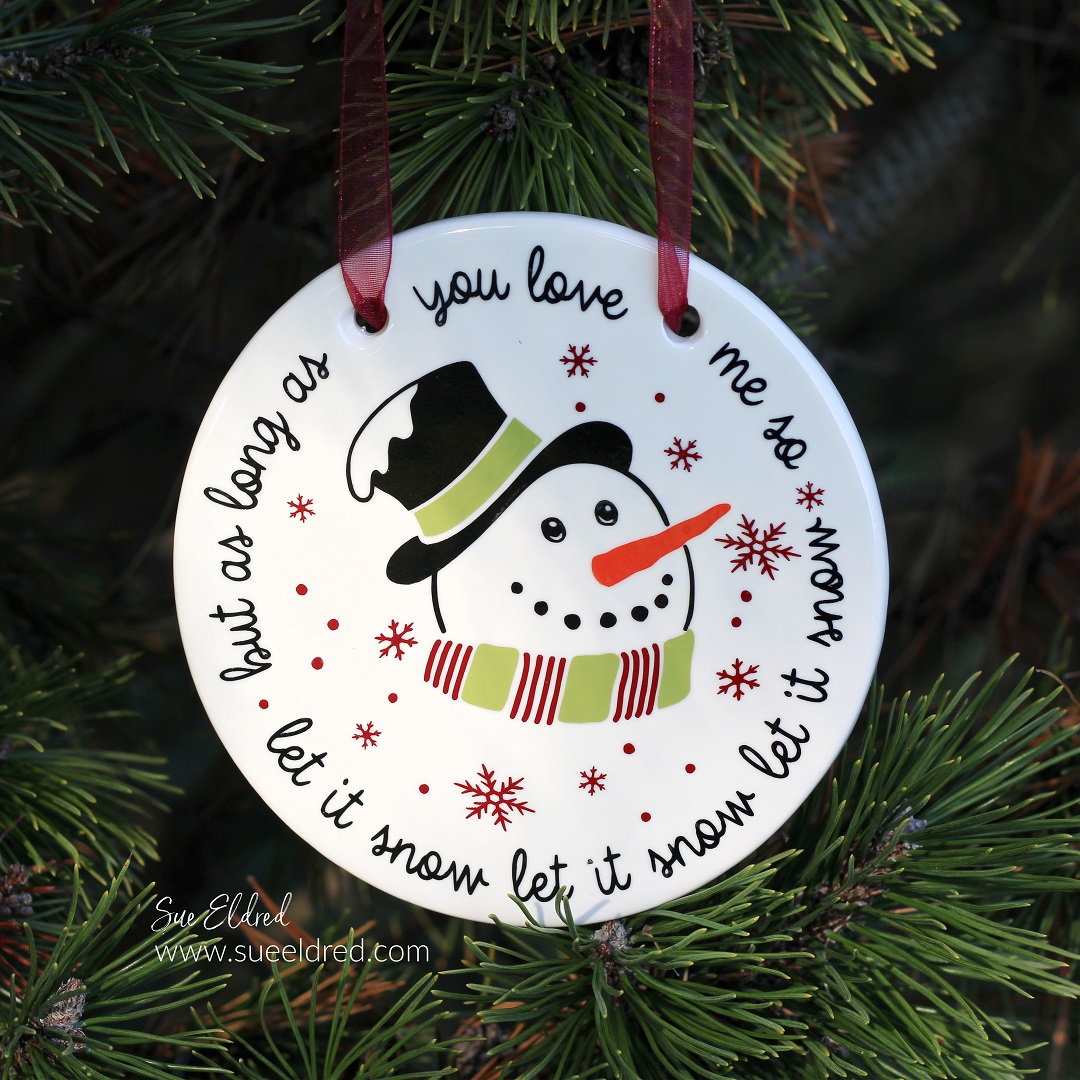
Place the Plaid Shaker Heart with your Winter Decor to add a little Valentine’s Love.
If you happen to see these wood heart ornaments at your local Dollar Tree*
make sure to pick up a package or two.
They would also make adorable Christmas Ornaments.