This quick drying Liquid Gloss is perfect for adding an impressive touch to creations. This crystal-clear high gloss glaze dries hard
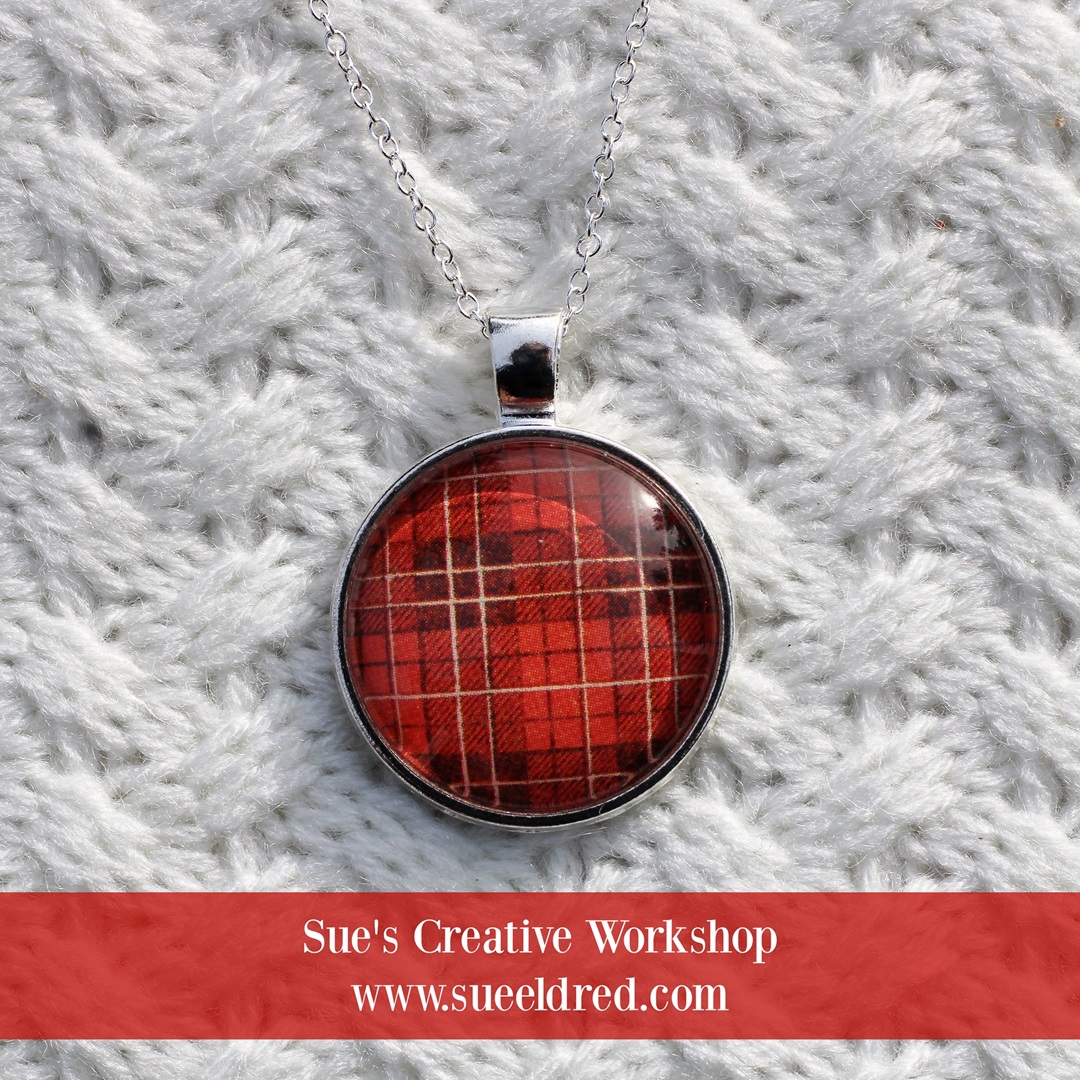
You can find Jewelry Blanks on Amazon Prime!
*Disclosure: This blog uses ads and affiliate links. If you choose to make a purchase using one of the links, I receive a small commission (at no additional cost to you) that helps offset the costs of maintaining this blog. Thanks for your support!
Directions:
Remove grease or fingerprints from the glass dome using an Alcohol Wipe*.
*Disclosure: This blog uses ads and affiliate links. If you choose to make a purchase using one of the links, I receive a small commission (at no additional cost to you) that helps offset the costs of maintaining this blog. Thanks for your support!
Disclosure: This is a sponsored post. As a member of the Eileen Hull Educator Team, I have been provided product in exchange for my creative ideas. The view and opinions are my own.
*Disclosure: This blog uses ads and affiliate links. If you choose to make a purchase using one of the links, I receive a small commission (at no additional cost to you) that helps offset the costs of maintaining this blog. Thanks for your support!
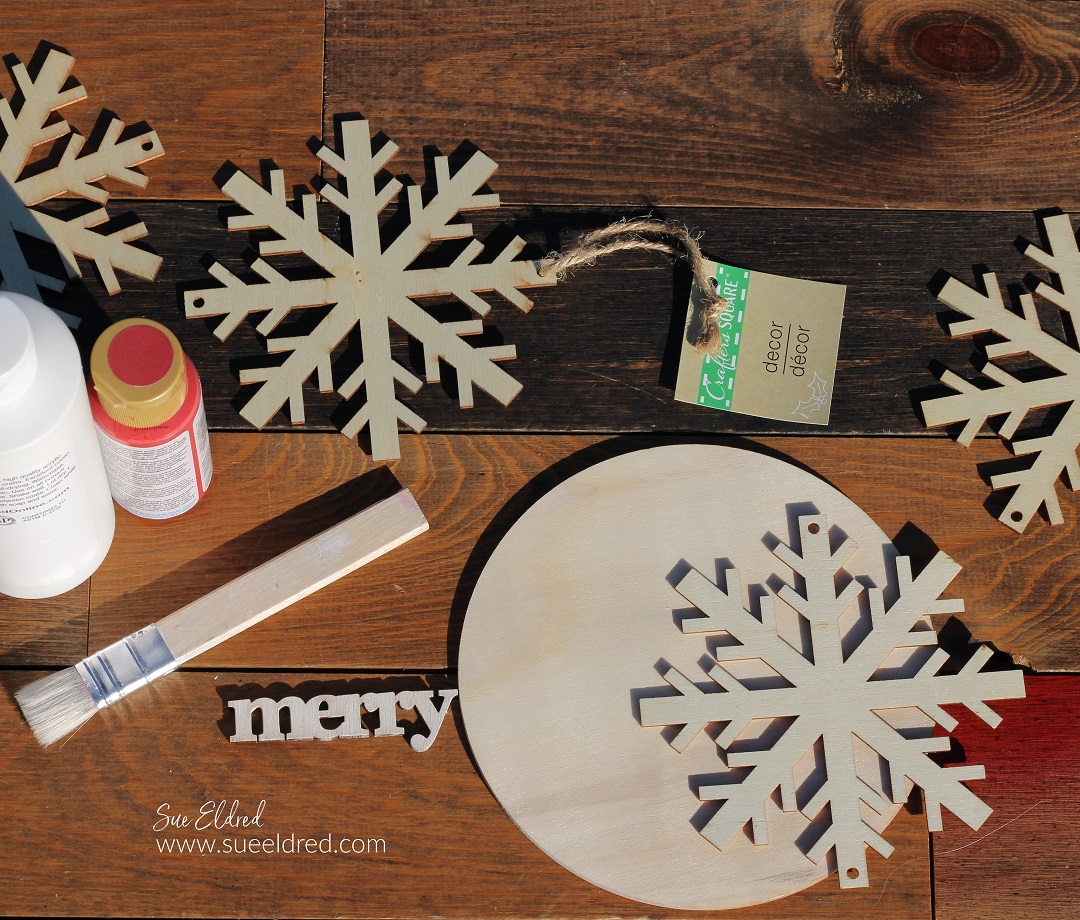
Directions:
Lightly Sand the Wood Circle with a sanding block to smooth the grain. Wipe the circle to clean off the dust.
Paint with acrylic paint. To create the ombre background, I started with the darkest shade of paint and continued by adding white paint.
Rub the toothbrush into a small amount of white paint. Flick the bristles of the paintbrush to sprinkle white flecks of paint onto the background of the wood circle.
Paint the wood snowflake with white acrylic paint.
Paint the wood words with silver acrylic paint.
Glue the Snowflake onto the center of the wood circle.
Glue the words onto the middle of the snowflakes.
Adhere white enamel circles onto the ends of the snowflake tips to cover the holes.
Drill a small hole on the top of the circle for hanging.
He not only created the project in the video, but he edited the whole video himself.
I think he did a great job.
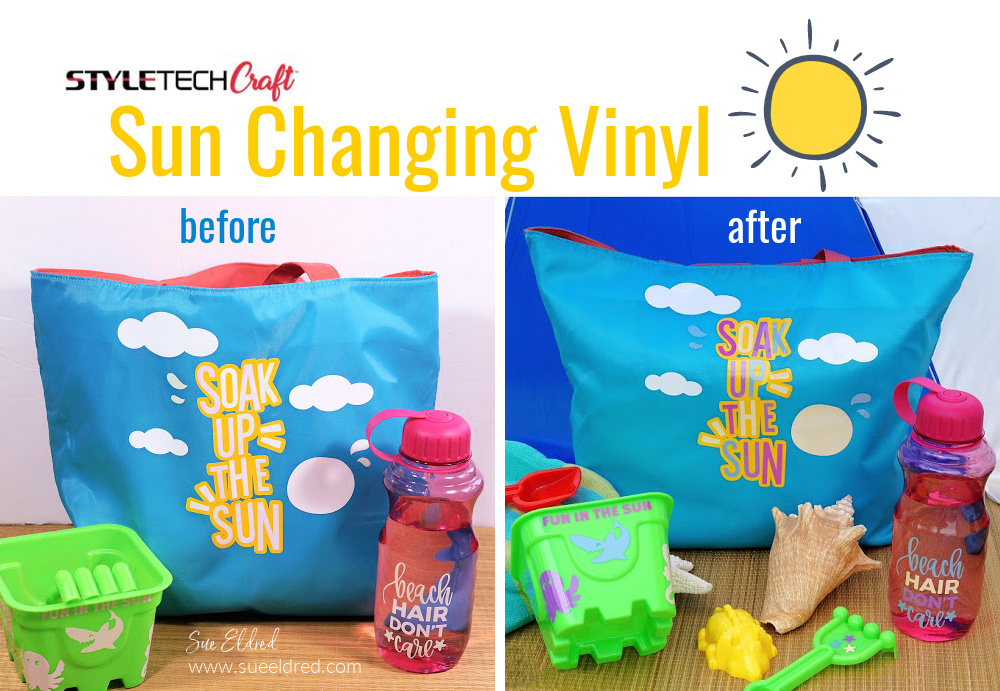
“This is a sponsored post. As a member of the StyleTechCraft Design Team I have been provided product and compensation in exchange for my creative ideas. The views and opinions are my own.
*Disclosure: This blog uses ads and affiliate links. If you choose to make a purchase using one of the links, I receive a small commission (at no additional cost to you) that helps offset the costs of maintaining this blog. Thanks for your support!
*Disclosure: This blog uses affiliate links. If you choose to make a purchase using one of the links, I receive a small commission (at no additional cost to you) that helps offset the costs of maintaining this blog. Thanks for your support!
The Dutch Pour, The Dirty Pour and The Swipe Technique to name a few.
Trying Pour Painting has been on my to-do list for over a year.
I’m not sure if I was intimidated or wasn’t sure if it’d be too much of a mess.
When I heard about my sister and her friend planning a time to play,
I casually mentioned my interest. Lucky for me, I got an invitation to join.
We tried all three different Pour Painting Techniques. It was so much fun.
Just for you…I made a short video of each technique later in this post.
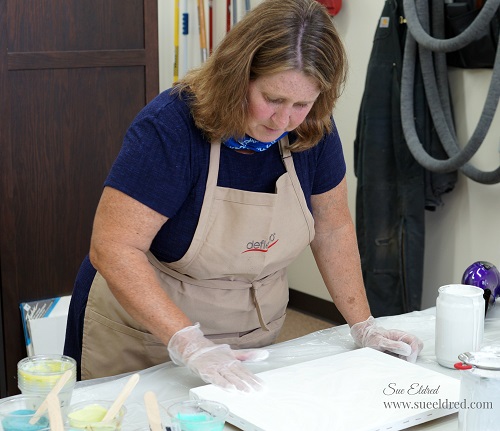
Before we started the process, we prepped the canvases with a coat of Gesso*.
We mixed acrylic paint with a pouring medium called Floetrol*.
It thins down the paint to help the paint flow easier.
(There are several different pour mediums available.)
*Disclosure: This blog uses affiliate links. If you choose to make a purchase using one of the links, I receive a small commission (at no additional cost to you) that helps offset the costs of maintaining this blog. Thanks for your support!
For each technique, we added the thinned down white paint to our canvas.
Make sure to spread it all over up to the edges.
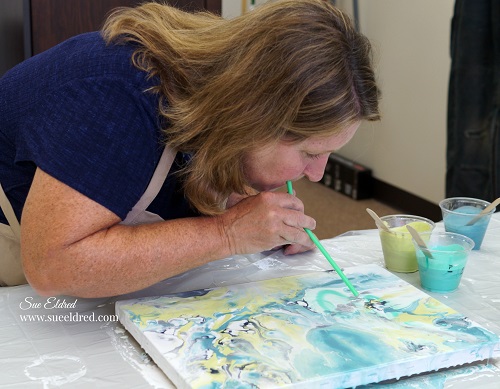
The first one we tried was the Dutch Pour…
that uses a hairdryer and a straw to blow the paint around on the canvas.
Here I am dribbling paint onto the canvas.
Using a hairdryer, blow the paint around the canvas.
For added detail, use a straw to spread the paint in a small area.
After I finished blowing the paint around, we used a small portable torch lighter over
the canvas to pop air bubbles.
Below is a video of the Dutch Pour on a different canvas. ↓
I planned on taking pictures of the process, but as we were getting ready to pour,
I decided at the last minute to videotape the process.
Being a little more than unprepared (and a little bit excited) the videos are not as good as
I would have liked them to be. Next time, I will be more prepared with a tripod.
The Dutch Pour
This process involves blowing the paint around the canvas using a hairdryer and straw.
The Dirty Pour
The Dirty Pour is where to pour several different colors of paint into the same cup and
then pour it onto the canvas. (Of course, we used paint medium with the paint.)
The Swipe Technique
Being my first try at the Swipe Technique, usually, you’d only need to swipe once.
Giving the forgiving nature of the technique, I added more paint on the top and swiped again.
Deciding it needed a little red, I repeated the swipe a third time. (not shown in the video)
The most important thing I learned (that I didn’t do) is to keep your canvas level.
After our canvases were dried, Jeanie, my sister’s friend, gave them all a coat of polyurethane.
The canvas shown above is my Dutch Pour Canvas.
Not only did I have a frame from another painting that was the right size
but also the perfect color. Currently, I proudly have the painting on my mantel.
I want to give a shout out and a big THANKS to my new friend Jeanie for letting me play.
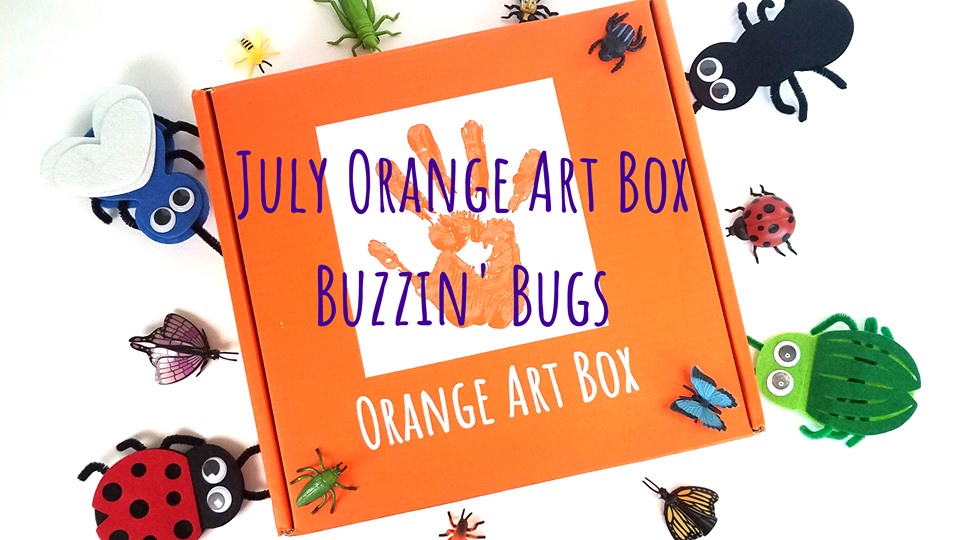
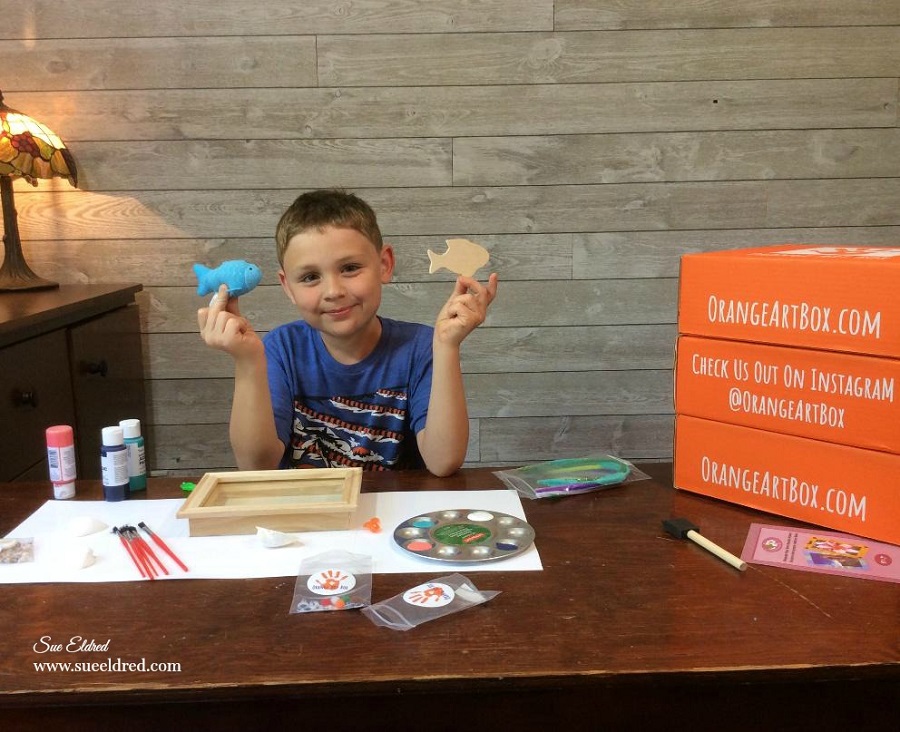
Looking for something to keep the kids busy this summer and end the “I’m bored”.
I was recently introduced to the Orange Art Box which is an Art Subscription Box for Kids.
As you might know…I love doing crafts with my grandsons
and because the box is geared for kids ages 5-12, it was right up our alley.
*Disclosure: “This is a sponsored post. I have been provided product in exchange for my creative ideas. The views and opinions are my own.”
I was so impressed with the concept that I’ve agreed to do a monthly post with the boys for the
next few months using the products we receive in each month’s kit.
With Summer Vacation around the corner, it’s a perfect activity to keep the boys busy.
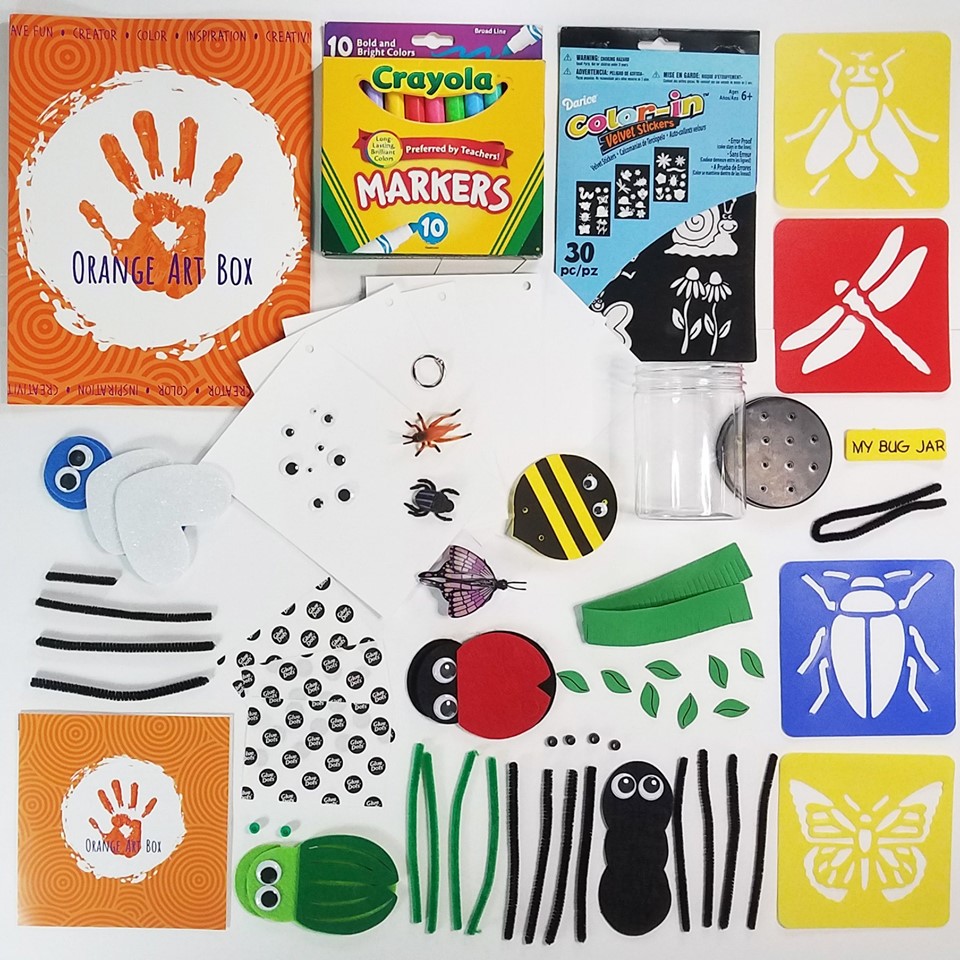
What’s inside the Orange Art Box?
A collection of projects every month to inspire your artist.
Every Orange Art Box is designed with a feature project and multiple smaller projects
for hours of fun!
The boys and I did a short video of them opening their Orange Art Boxes.
It was seriously like opening a Christmas Gift.
You may notice in the video that they were just a little bit excited.
The theme for April was Mosaics…the April Orange Art Box included a wooden box, a large bag of mosaics, mod podge, brush, book mark, door knob hanger, tissue paper squares, 6 color scented pen and a folder of ideas, tips, patterns and instructions.
Enough projects to keep them busy for quite a while.
The boys all-time favorite item was the six color “smelly” pen.
The first thing they wanted to do was work on their boxes.
It’s fun to see their creative minds at work.
I really think this will be a fun summer activity for the boys.
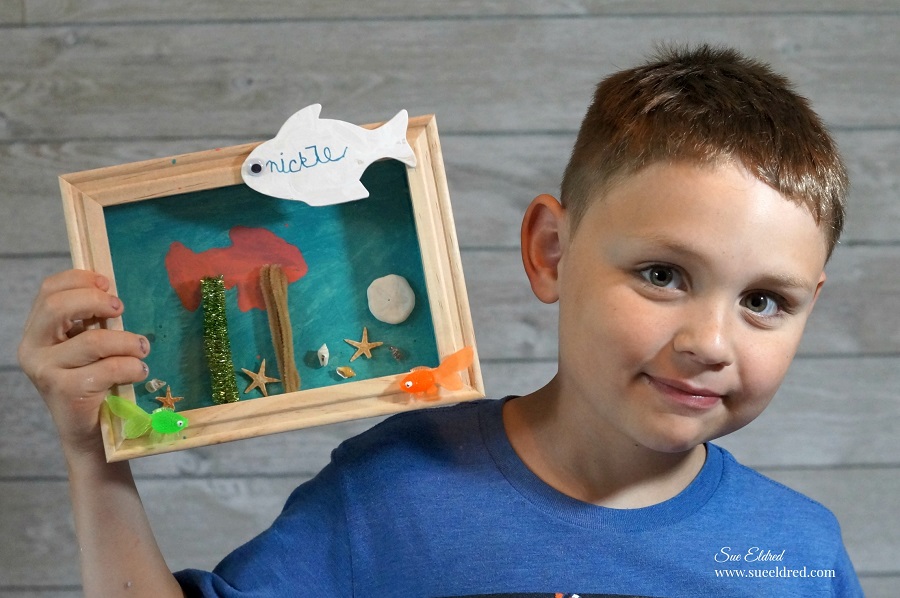
Nick’s Box with a combination of mosaics and decoupaged tissue paper.
Warren’s Box with a random artistic mosaic pattern.
If you are looking for something different for your kids to do this summer
you might want to look into the Orange Box Kit.
It’s available to purchase as a 1, 3, 6 or 12 month subscription.
Perfect gift for that budding artist.
May’s Orange Art Box which is all about birds, birdhouses and feathers.