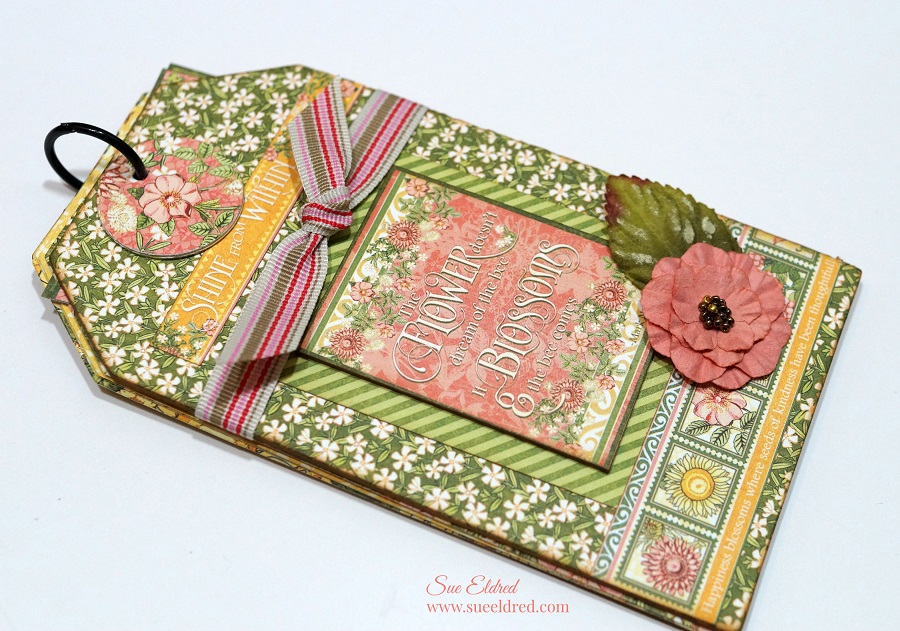
Create a cute little Bunny Treat Box to adorn your table this Easter.
To make the Bunny Table Favor…
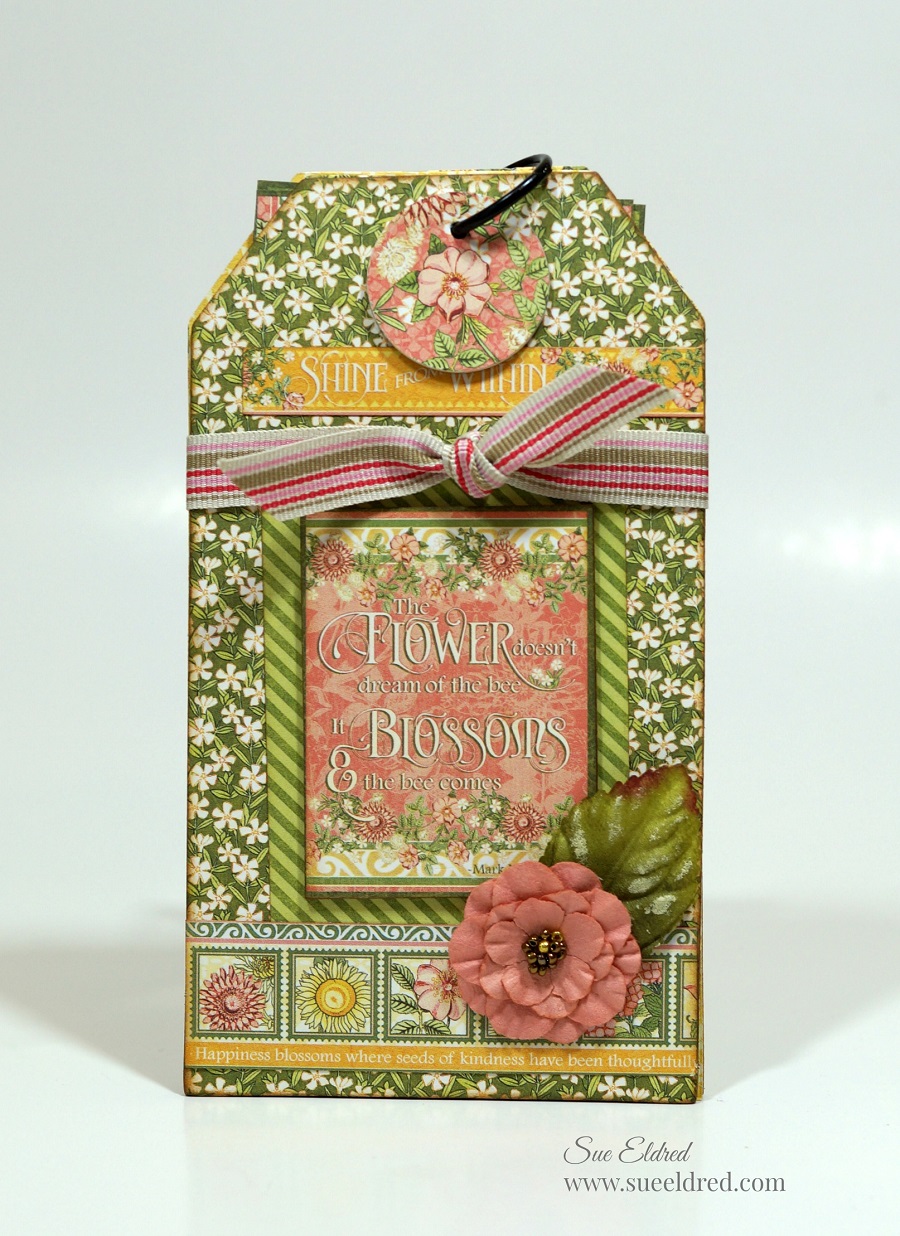
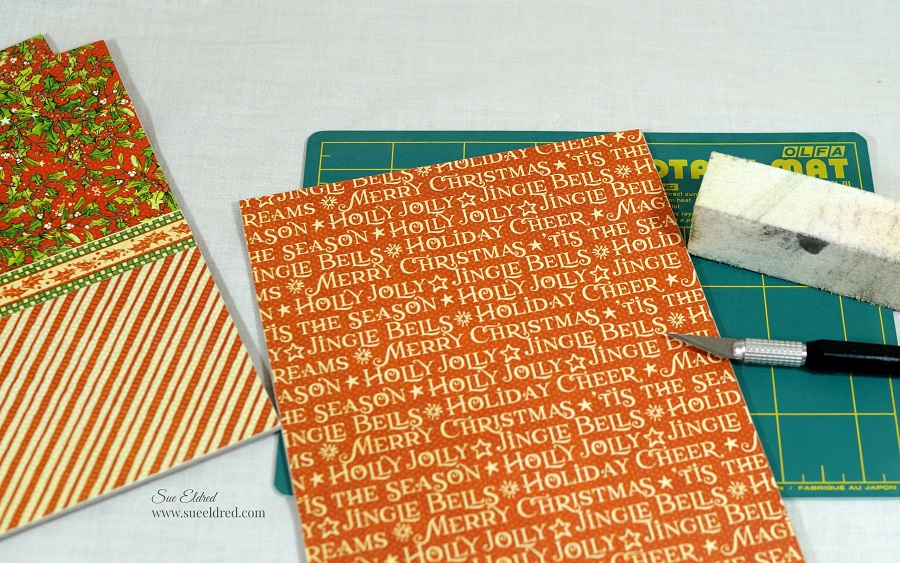
I used Rinea Foiled Paper, a paper lined with colorful vibrant metal foil on both sides.
This German inspired paper holds its shape, looks like foil and works like paper.
![]()
The Bunny Table Favor is a fun project to make even the littlest guest feel special.
Products used… (*affiliate links)
- CP12V-PAS Crafter’s Variety Pack Pastels
- CP12S-BLBL Crafter’s Pack Starstruck Blush/Blush
- CP12S-SLSL Crafter’s Pack Starstruck Silver/Silver
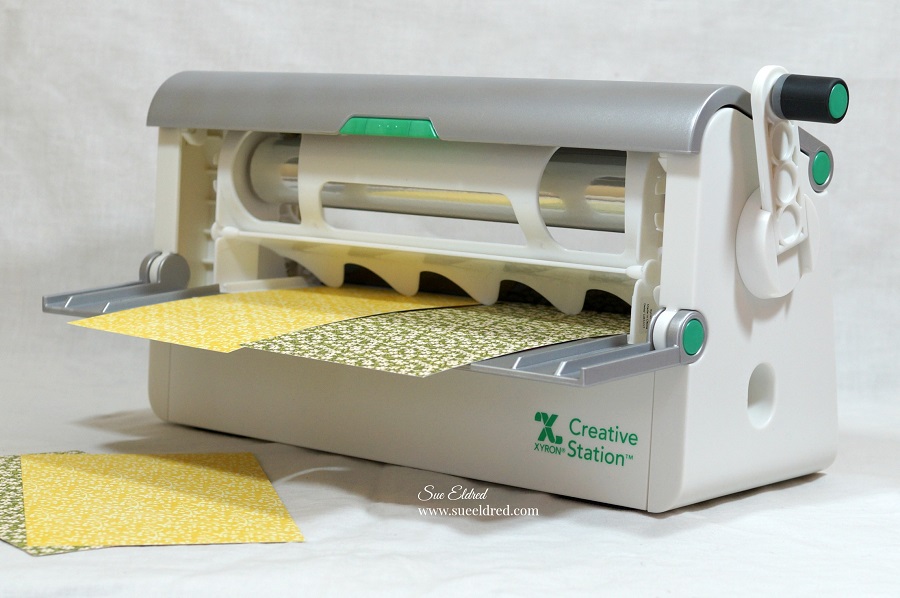
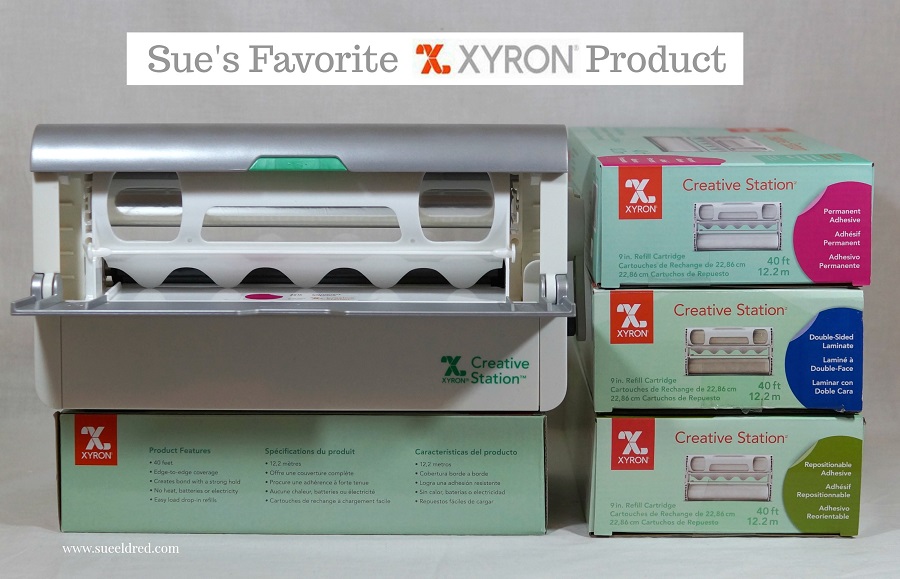
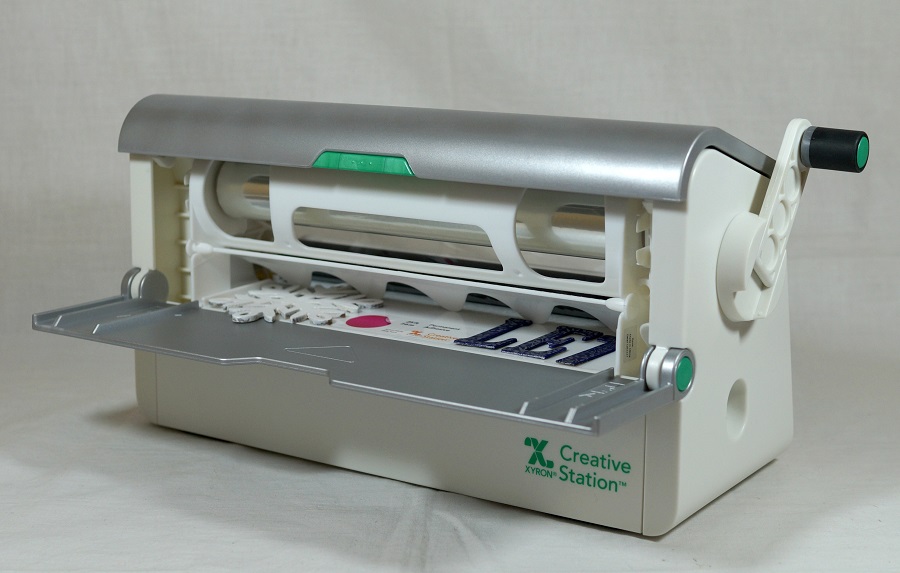
- Xyron Creative Station*
- Xyron Acid-Free Permanent Adhesive Refill Cartridge for the Creative Station*
- Sizzix Easter Elements Die or Sizzix Cottontail Die #664167
- Sizzix Big Shot Machine*
- Chipboard
- Beacon 3 in 1 Glue*
- DecoColor Premium Silver Leaf Pen*
- DecoColor Silver Leaf Pen*
- WFE003 Stardust Enamel Dots from Waffleflower
- Bamboo Skewer

*Disclosure: This blog uses ads and affiliate links. If you choose to make a purchase using one of the links, I receive a small commission (at no additional cost to you) that helps offset the costs of maintaining this blog. Thanks for your support!

Directions:
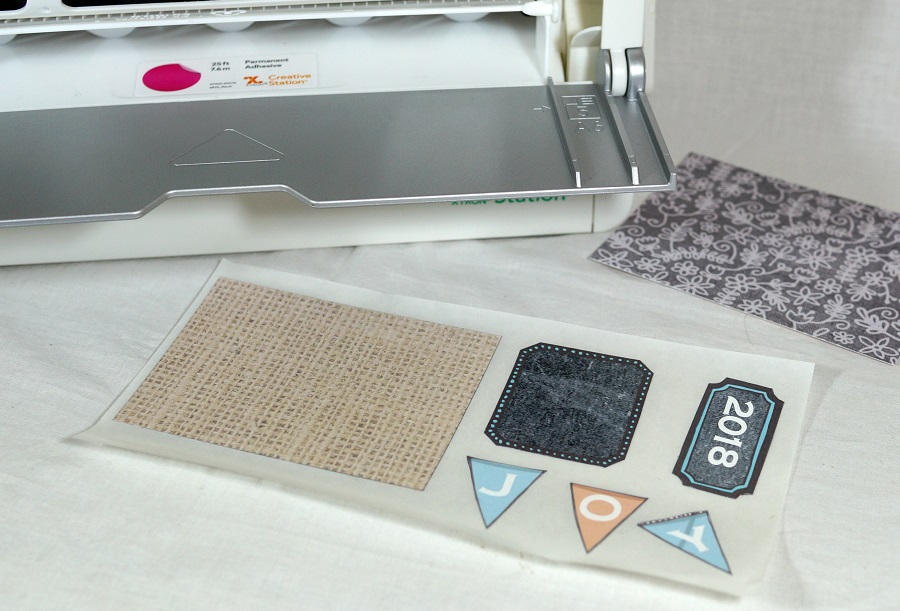
- To add adhesive to the back of the Rinea Foiled Paper lay the paper onto the Xyron Creative Station*
crank the handle to run the paper through the machine. As it moves through the Xyron Creative Station it adds adhesive to the back side of the paper. Easy to use and it doesn’t need electricity.

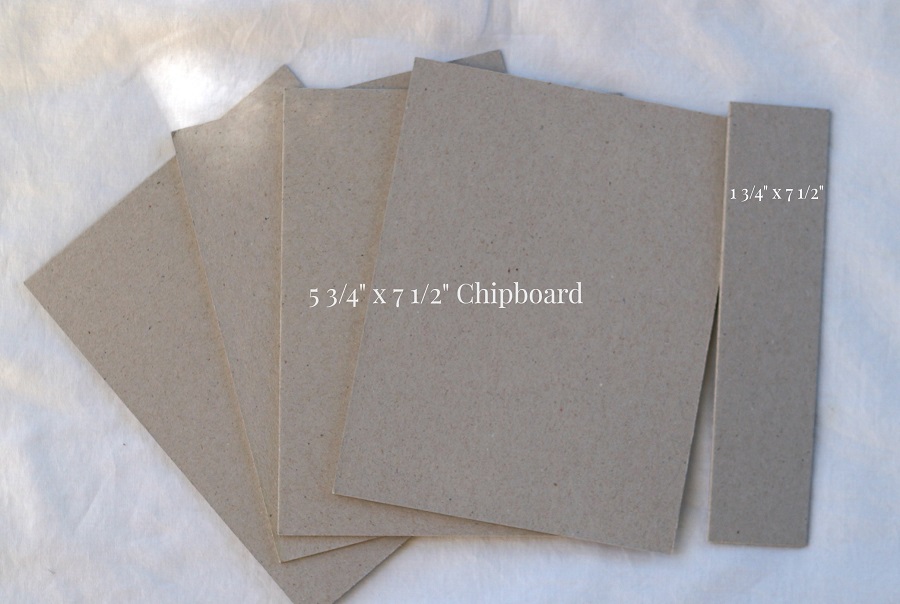
- Apply Rinea Foiled Paper onto the front and back of pre-cut chipboard pieces.
- Place the double sided foiled chipboard pieces onto the (discontinued) Easter Elements Die and run through the Sizzix Big Shot Die Cut Machine*
to cut out the Bunny Shapes.
- FYI…the Sizzix Cottontail Die is very similar to the bunny I used.


- Cut two double-sided blush foiled bunny shapes.
- Cut two 2 ½” x 1 ½” and two 1 ½” x 1 ½” pieces of double-sided silver foiled chipboard.
- Cut a 2 ½” x 3 ½” piece of double-sided pastel green foiled chipboard.
- To cover up the brown core of the chipboard, use the DecoColor Premium Silver Leaf Pen*
to go around the edge of each piece of cut chipboard.

- I used Beacon 3 in 1 Glue*
to glue the four silver sides of the box onto the pastel green base.
- Glue the pink foiled bunnies to both sides of the box.

- Cut a 2″ x 2 ½” piece of pastel green foil. Tightly roll foil using a bamboo skewer, add a little glue along the edge of the roll to keep roll from unraveling.
- Cut small cuts into the top of the foil to create fringe.
- Create two and glue to the front and back of the box.

- Punch a couple small pastel purple daisies, curl and form into a petite flower.
- Glue flower to the front of the box.
- Cut several thin 6″ strips of pastel green foil. Wrap foil paper around the bamboo skewer to form little spirals.
- Use spirals as the filler inside the treat box. (The foil paper holds its shape well.)

Fill Bunny Table Favor with candy treats and add to your Easter Table.
![]()

“This is a sponsored post.” As part of the Designer Craft Connection Blog Hop I have been provided product in exchange for my creative ideas. The views and opinions are my own.
My project is part of a Blog Hop put on the Designer Crafts Connection Blog.
For more fun projects using Rinea Foiled Paper and the list of participating blogs click here