Stamping in White Embossing Powder


Good Old Embossing Powder…                             

When I was introduced to stamping in 1996, do you know what hooked me?

It was the Gold Embossing Powder.

The first time I watched them melt that gold embossing powder.  WOW!

At the time, I had a gift store and was looking for something new.

I can’t tell you how many people I hooked with that gold embossing powder.

Here’s a little throwback to where I started.

Back to embossing powder.  (this time with a twist)

For this project, I started with a oval that was cut from chipboard.

I rubbed Colorbox White Embossing Pad*  onto the surface of the oval.

Next, I poured White Embossing Powder* over the entire oval.

After pouring the excess powder off, heat the oval with a

Multi-Purpose Embossing Heat Tool*.

Make sure all the embossing powder is melted.

Repeat that step 3 or 4 times, building up a thick layer of embossing powder.

After it was thick enough, I added a little red ink to the edge of the oval and

inked up the “Windmill” stamp.

I heated up the oval again, making sure the powder was really hot and melted.

I pressed the inked stamp into the hot, melted powder.  Success!

I love the way it looks like red toile.  (which is something I collect)

*Disclaimer:  This post uses ads and affiliate links.  If you choose to make a purchase using one of the links, I receive a small commission (at no additional cost to you) that helps offset the costs of maintaining this blog.  Thanks for your support!

How to make a Chippy Window for Spring

Happy Spring!

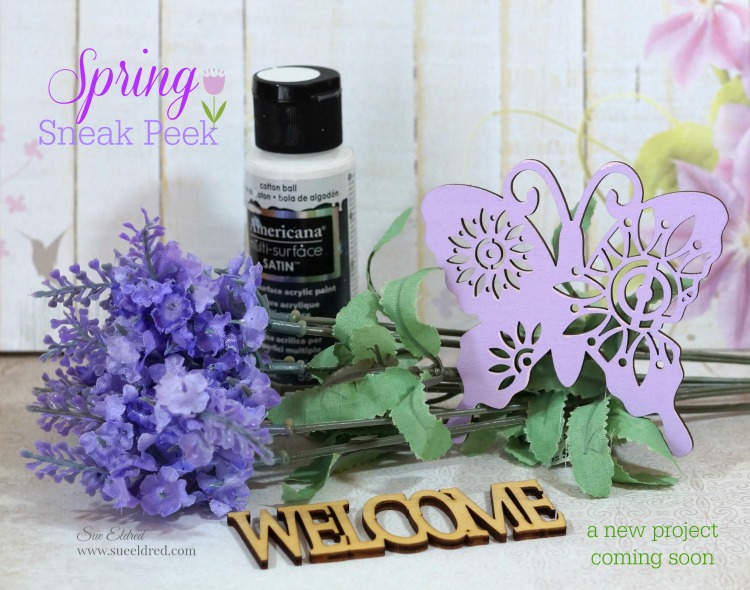
To celebrate the first day of Spring I’m sharing how I made this cute little Chippy Window.

To make the Chippy Window…

I started with a 7gypsies 8×8 Shadowbox Insert that I painted with white acrylic paint


To achieve the look of an aged, worn, old chipped painted window…

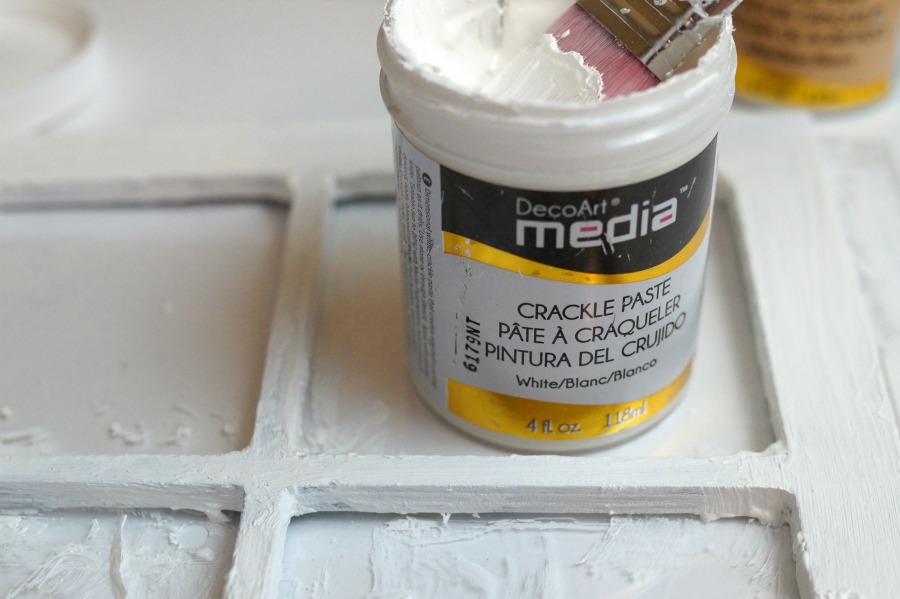
I alternated layers of Deco Art Media White Crackle Paint* and

Deco Art Media White Crackle Paste* from DecoArt.

Allow plenty of drying time between each coat.

*Disclosure:  This blog uses ads and affiliate links.  If you choose to make a purchase using one of the links, I receive a small commission (at no additional cost to you) that helps offset the costs of maintaining this blog.  Thanks for your support!

For the background of the window…                                                                          

I cut a piece of 7 3/4″ x 7 3/4″ decorative scrapbook paper and adhered it to a thick piece of

mat-board.  I cut down  a couple of 3″ x 4″ journaling cards from the

“Tealightful” collection from Pebbles Inc. and adhered it to the back of the window

frame before attaching the covered mat-board.  Because the mat board is heavy,

I used a Beacon Adhesive Quick Grip Glue* to attach it to the frame.

I added loop screws onto each side of the window frame approx. 1/2″ in and added a thin chain

to the loop screws for hanging.  Ribbon would also work.

To create the floral swag

I snipped a few sprigs of artificial flowers and attached them together in the center with

a thin floral wire.  I tied a simple bow to cover the wire.

I attached the floral swag and wood embellishments to the front of the frame with

Beacon Adhesive Quick Grip Glue*   

FYI…I found the “Welcome” and “Butterfly” embellishments at Michaels.

I added the Spring Window to the center of a wreath and hung it on the front door.

I found the greenery wreath yesterday at Homegoods.  It was just what I was looking for,

the perfect backdrop for my Chippy Spring Window.

FYI…Having a problem finding a window pane to use or would like one that’s even bigger?

  (*affiliate link)

Hampton Art Jillibean Soup Mix The Media Window Frame-14 X16 White* 

Shop Your Fav Brands at Scrapbook.com


The new guy in my life…

There’s a new guy in my life and I’m in love.

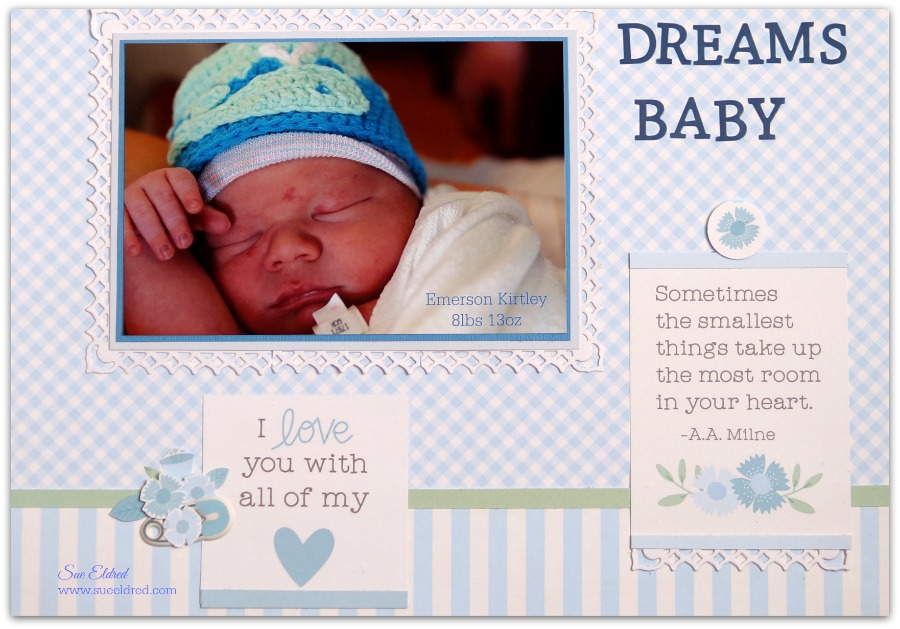
Meet the newest member of our family, my sweet little grandson Emerson.

Emerson is my third grandchild, my third grandson and the littlest brother.

He has already stolen all of our hearts.

I’m so excited to have a new love in my life.

For Emerson’s layout, I used the Lullaby Collection from Pebbles Inc.

    • I created a lacey border for the photo using the Spellbinders Captivating Squares Die Templates* and cutting and piecing six squares together.
    • I wanted some small floral accents for my layouts so I fussy cut small flowers from the floral scrapbook paper.  I used thin 3D foam mounting squares on a few of the flowers.

Disclaimer:  This post uses affiliate links.  If you choose to make a purchase, I will receive a small commission that helps offset the cost of running this blog.  Thanks for your support!

Shop Amazon – Create an Amazon Baby Registry

It Feels Good to Feel Good

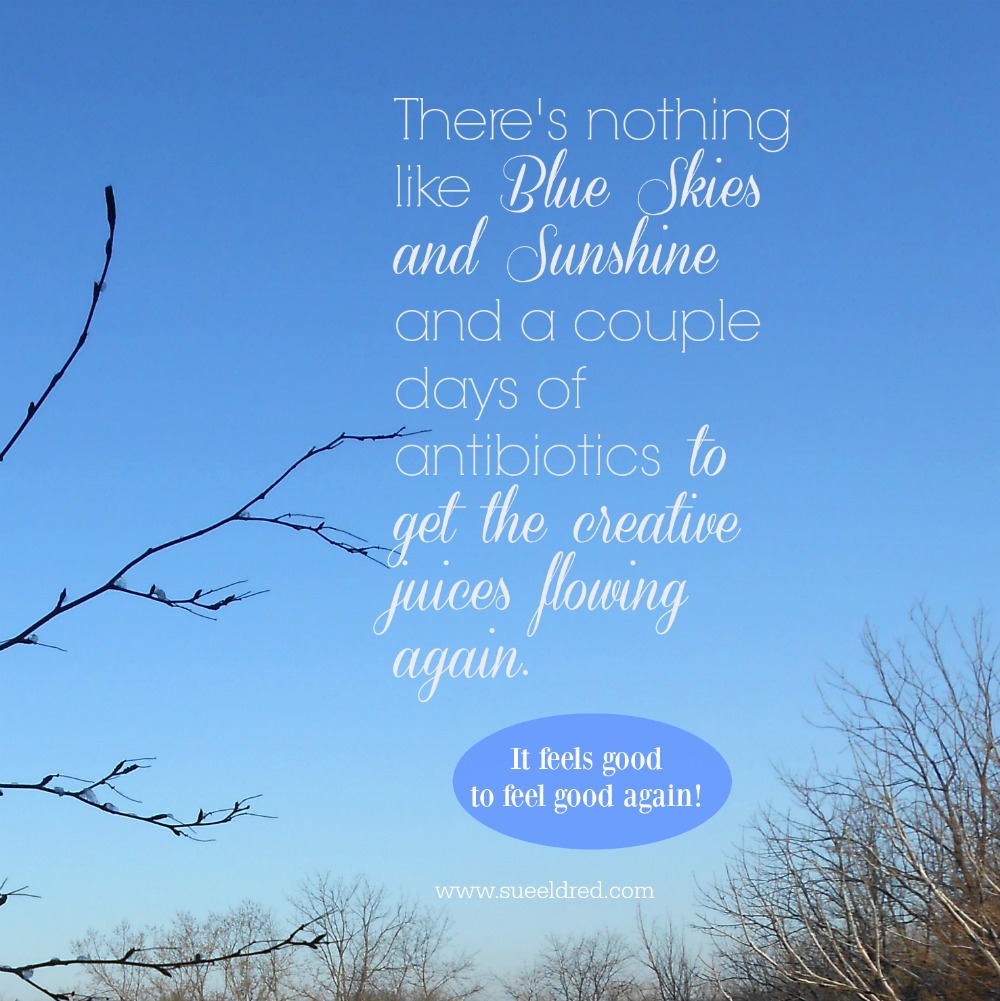
There’s nothing like sunshine, blue skies…

and a couple days of antibiotics to get the creative juices flowing again.

Yesterday, I re-worked the mantel and put away the last of my winter decorating.

I washed all the bedding, threw out my toothbrush, opened windows

and used Clorox wipes all over the house.

After being stuck at home for the past several days dealing with Strep Throat,

I finally ventured out.  I went to Goodwill (donated and purchased),

visited the Camera Shop to exchange my tripod for an upgrade

and I went to Michael’s to get supplies for a new Spring project.
It feels good to feel good.

And talking about feeling good.

This past Holiday Season, I got a new tri-pod for my camera.

I researched several new tri-pods online first.

I was looking for a tri-pod with a pivoting arm for table top shots and videos.

Being that a really good tri-pod is somewhat costly…

I wanted to make sure I got the best deal.

I decided to go to the local Camera Shop to check them out in person

before I made my online purchase.  (I know, I know, that’s wrong)

Once there the guy helping me was so nice, that I spent a few more bucks

and bought local.  I did the same thing a few years ago when I was looking

for my new camera.   Great Service is worth something.  Right?

Long story short, I bought the wrong tri-pod.  (technically it wasn’t my fault.)

Flash forward to today. 

I stopped by the Camera Shop to see if  I was doing something wrong.

A couple of the sales-guys and myself were playing with it when a more

knowledgeable salesman informed us that my tri-pod with the rolling ball

action wasn’t made for what I was wanting.  (Oops, someone made a mistake.)

He took me over and showed me the one that would, explained how everything

worked and exchanged my 3 month old tri-pod.   “No problem, I’ll take care of you”.

You don’t get that kind of personal service when you buy online.  (Just sayin!)

Want to know a little secret?

adornit-it-girl

I’m excited to let you in on a little secret.

I have been chosen, for the next three months, to be an ADORNit Ambassador

for the Art, Coloring, Paper Crafting and DIY categories.

It’s going to be crazy fun.

I’ll be sharing lots of fun projects here and on all my social media outlets

using their great products.  I can’t wait to get started.

So…STAY TUNED!

for little storage needs…

for-little-storage-needs-4892

Sometimes the smallest things take up the most room in your heart.                      (A. A. Milne)

Now that my new grandson has finally arrived in all his adorable sweetness…

It’s hard to believe that someone so small can need so many things.

for-little-storage-needs-sues-creative-workshop-4842

(*Amazon Affiliate Link)

 I created the Bath Time Organizer, for my Daughter in Law, to make bath time a little easier.

For the organizer, (and bath time sign) I used puffy  stickers from the “lullaby” collection

from Pebbles Inc. and Deflecto Tilt Bins*

little-storage-close-up-4851

*Shop Amazon – Create an Amazon Baby Registry

The bins are interlocking and stackable.

Great for little storage needs in the nursery, craft room, garage, kitchen and even the kid’s room.

Wherever you need a little extra storage.


You can purchase these bins by themselves or as a set of four from Amazon*.

Use on table, mount direct to wall or hang using the Deflecto Mounting Bar* (sold separately).

*AD amazon-baby

*Disclaimer:  This post uses ads and affiliate links.  If you choose to make a purchase using one of the links, I receive a small commission (at no additional cost to you) that helps offset the costs of maintaining this blog.  Thanks for your support!

 “This is a sponsored post. As a member of the Deflecto Design Team I have been provided product in exchange for my creative ideas, views and opinions.”

 Adorable Baby Sweaters

Quick and Easy Make Up Bag Make-Over

It’s the little things in life that make me happy…

I was packing and getting ready for my last trip when I noticed how dingy my make up bag

was.  Yuck!   It was time for a change.  (My make up needed a make-over.)

Looking around, I found this cute little pink ticking canvas bag from Canvas Corp Brands.

The bag was the perfect size, but kind of simple.  It needed a little make-over, too.

To add a little extra personality, I used iron-on letters from Joy with lace and buttons.

I glued the lace trim and buttons on my bag using Beacon Fabri-Tac Adhesive*.

A very quick and easy project to do and now my makeup bag is “BEAUTIFUL”.

Shop Your Fav Brands at Scrapbook.com

*Disclosure:  This blog uses ads and affiliate links.  If you choose to make a purchase using one of the links, I receive a small commission (at no additional cost to you) that helps offset the costs of maintaining this blog.  Thanks for your support!

beautiful-make-up-bag-3951

A cute and easy make-over done in minutes.   (If only getting ready was that easy!)

JOY Embroidered letters can be found at your local craft stores in a variety of sizes, colors, simple and decorative fonts.

“This is a sponsored post.  As a member of the Joy® Design Team I have been provided product and compensation in exchange for my creative ideas.  The views and opinions are my own.

Sue’s Favorite Projects of 2016

best-of-2016

Do you ever wonder which of my projects are my favorite?

Like most DIY people, I try really hard with all (or most all) of my projects…

some of my projects are a hit and some are a miss.

And some are just my favorite…

So… I decided to share them again with you.  (just in case you might have missed one)

Enjoy!

Click on post titles for project instructions

Ad→ CreateForLess.com - Create More, Spend Less

Craft Ideas Magazine: Dreams Come True Card

craft-ideas-magazine-spring-2017-sues-creative-workshop

The newest issue of Craft Ideas Magazine arrived in the mail this week.

Even though I knew it was going to be in there, it’s still exciting to see one of your cards in print.

My dreams come true card using paper and stickers from Paper House Productions

is on page 71.   With Spring Fever setting in big time this week, it was the perfect time to

receive the Spring Issue.

craft-ideas-spring-2017

Make sure to pick up an issue for yourself.

dreams-come-true-card-sues-creative-workshop

Dreams Come True

A simple and elegant card perfect for weddings.

Finished Card Size:  5” x 7”

Supplies Used:

  • P-2007 Love 12” Double Sided Scrapbook Paper  (Paper House Productions)
  • STCX-1001 Wedding Day Cardstock Stickers  (Paper House Productions)
  • STDM-0024 Just Married 3D Stickers  (Paper House Productions)
  • Cardstock: Kraft and Cream
  • 5/8” Sheer Ribbon
  • 3D Foam Mounting Square (Scrapbook Adhesives by 3L)
  • Double Sided Tape Runner

Tools:

  • Paper Cutter
  • Scissors

dreams-come-true-sues-creative-workshop

Directions:

  1. Cut the top left corner of the paper 4 ½ ” x 6 ½ ”. (“dreams come true”)
  2. Add the “lace” border sticker to the bottom of the paper.
  3. Embellish the bottom right corner with the leaves sticker and the 3D white flowers.
  4. Add a foam mounting square under the “heart” and add heart and 3D butterfly to the embellishments,
  5. Adhere onto a 4 3/4” x 6 3/4” kraft cardstock layer and then onto a cream 5” x 7” card.
  6. Add simple ribbon bow to top of the card.

dreams-come-true-close-up-sues-creative-workshop