My Friend the Ghost

Happy Halloween Mr. Boo 9065

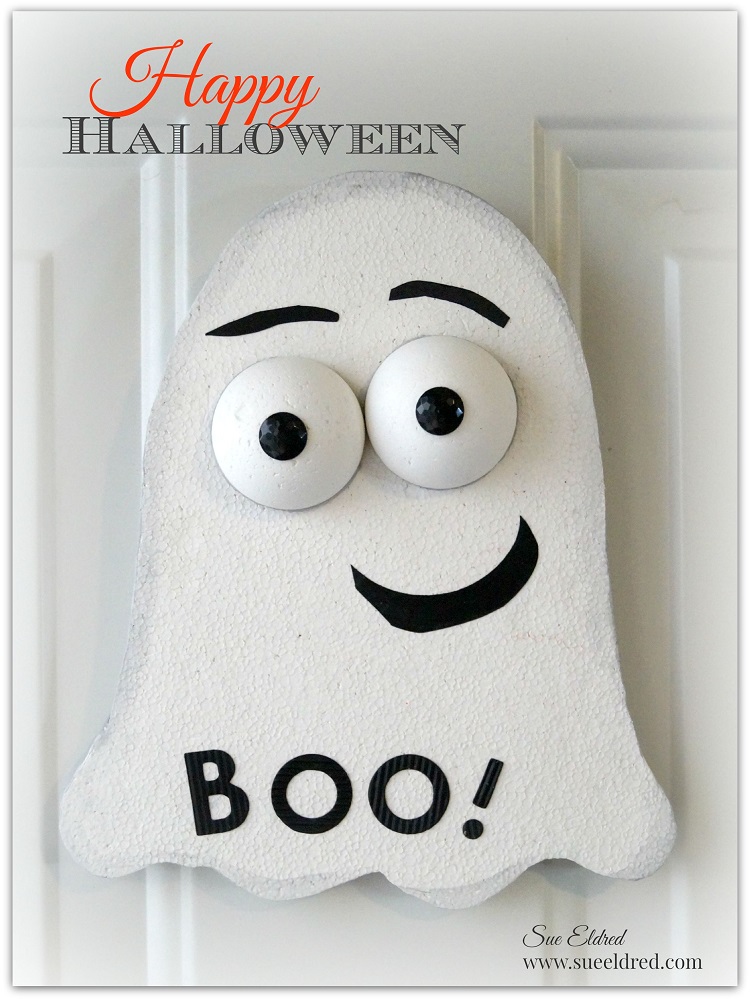
Meet Mr. Boo, my newest Halloween Decoration.

I had all Mr. Boo’s parts finished when my Grandson showed up the other day.

I thought I’d let him help me decide what face Mr. Boo should end up with.

(he likes stuff like that)

To him it was like a game of Mr. Potato Head.  (actually… we all had fun with it)

The Many Faces of Mr. Boo 2

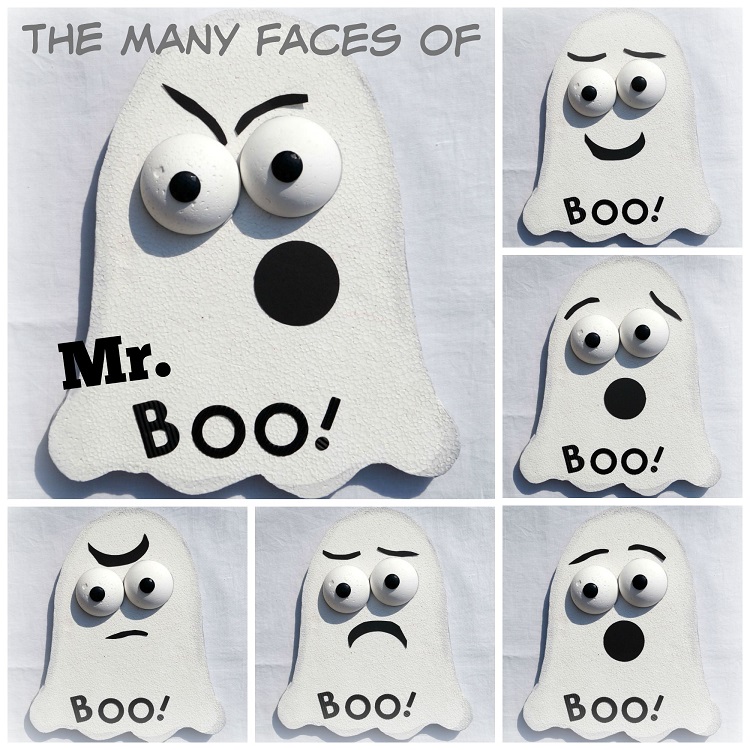
Angry?  Surprised?  Confused?  Happy?

So many looks for one little ghost.

And… before you say it, yes, he does look a little like a Pac Man Ghost.

Smoothfoam Ghost Parts 9045

To Make your own Mr. Boo you’ll need:          (*affiliate link)

Directions:

  1. Trace and cut a ghost shape on the Smoothfoam Sheet using the Hot Wire Foam Cutter*or cutting knife.
  2. Cut the 2″ ball in half to use for the eyeballs.
  3. Paint the ghost shape and the eyeballs with white acrylic paint.
  4. Mix the black and white paint together to create a light grey paint.  Paint around the ghost shape to create a shadow.
  5. Glue buttons on the top of the eyeballs.
  6. Glue eyeballs onto ghost.
  7. Paint eyebrows and mouth using black acrylic paint or cut pieces out of black cardstock and glue onto ghost.
  8. I added magnet to the back of my ghost so it will stick to my metal front door.

The Many Faces of Mr. Boo

The Many Faces of Mr. Boo

This project was created for and sponsored by Smoothfoam.

Disclaimer:  This blog uses ads and affiliate links.  If you choose to make a purchase using one of the links, I receive a small commission (at no additional cost to you) that helps offset the costs of maintaining this blog.  Thanks for your support!

Join Amazon Kindle Unlimited 30-Day Free Trial

Making a Playhouse Banner with oly*fun

Making a Playhouse Banner with Oly Fun 9634
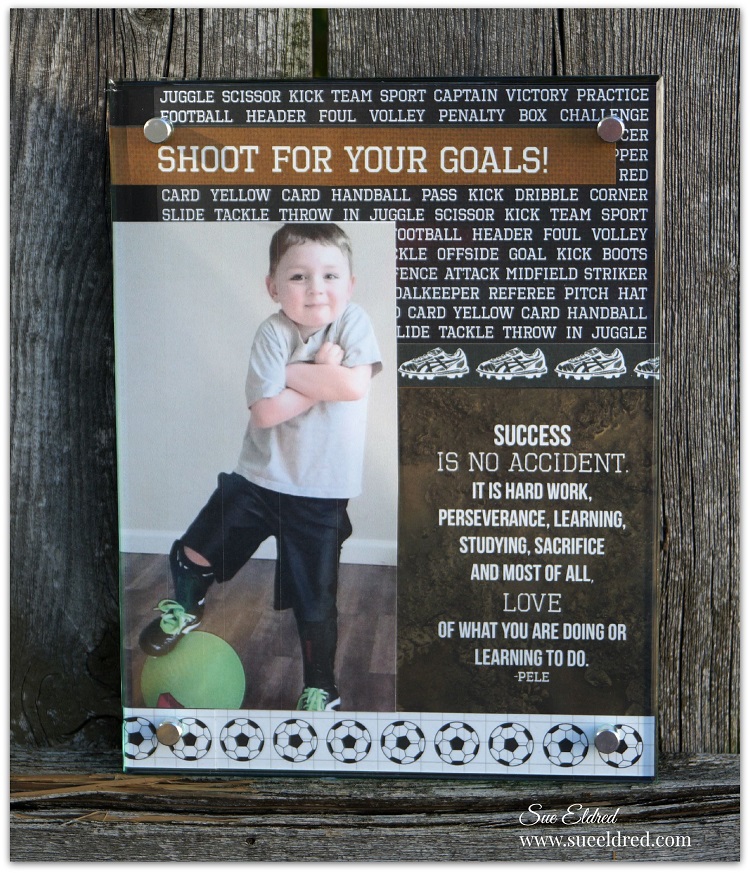
My grandson Nicholas is celebrating his 5th birthday in just a few days.  (but who’s counting?)

He’s having two parties this Saturday.  One for the kids and the other for family.

Such a lucky little guy.  (Born on his Daddy’s birthday.)

Since the family party is at his house, I had an idea to make a bright colorful banner to decorate

the new playhouse.

I had recently received a selection of oly*fun to work with and thought it would be perfect to use.

It was super easy to put together.

Playhouse 9651

What exactly IS oly*fun? 

oly*fun is a specially engineered material that features some of the best things about fabrics AND

papers.  Easy to cut or die-cut and it will not fray.  It is great for outdoors

Supplies 9625

 Here’s what I used:

Supplies 9631

Directions:

  1. Stencil the check pattern using the black acrylic paint on the orange oly*fun.
  2. Create a banner pattern on cardstock.
  3. Cut out the banner pattern and trace onto the stenciled oly*fun.
  4. Trace and cut several banners out of the black and green oly*fun.
  5. Cut strips and circles to decorate the banners.  Glue onto banner with Fabri Tac Glue.
  6. Fold top of the banner and staple onto the piece of twine.
  7. Tie the banner onto the top of the playhouse and watch the kids play.

Playhouse 9644

A Special Thanks to Fairfield World for generously providing the oly*fun for this project.


Merry Album

Merry Album

Is it too early to start thinking about Christmas?

I bought this “Merry” Album from October Afternoon with hopes of using it during

my Annual Christmas Workshop.
To decorate my album:

  • I painted the chipboard with red acrylic paint.
  • After the album dried, I splattered it with white acrylic paint using an old toothbrush.
  • I added an extra 5″ x 7″ page of green cardstock behind the cover to make the word “merry” stand out.
  • I decorated the album with paper and stickers from Graphic 45’s “Twas the Night before Christmas” Collection.
  • Tie it off with some gingham ribbon, jingle bell and greenery.

October Afternoon Make it Merry Album


Ready for the first day of Pre-School

First Day of Preschool

Because starting Pre-School is a really Big Deal…

I wanted to make my Grandson Nick a special shirt to wear on the first day.

At first, I had all kinds of silly and corny ideas…

in the end I thought maybe I should make one he’d actually wear more than once.

Thanks to some Pinterest Inspiration.

I came up with “Class of 2029”.   Sounds kind of futuristic doesn’t it?

Nick’s mommy liked it so much she wanted me to make one for his little brother.

Warren 9366

Class of 2032.  (Oh my!)

The boys’ shirts were made using iron-on embroidered letters from Joy SA.

Creating a Garden Stepping Stone

Creating a Garden Stepping Stone 08274

Every one in my family thinks of me when they see Red Toile dishes.

It’s my thing.  (one can never have too many right?)

So… when my daughter saw a set of Red Toile dishes on clearance for $25 at her local thrift store

she immediately called me to see if I wanted them.   (um, yes!)

While packing the car for their visit home, my son in law picked up the box to rearrange the car

and the bottom fell out.  Most of the dishes survived.  Five of the large plates did not.

Broken China 08190

Deciding to turn lemons into Lemonade…

I kept the broken plates to make a few garden stones.

Nick and I making Garden Stones 2

I enlisted the help of my little buddy.  He was eager to lend a hand.  (with gloves of course)

Laying out the pieces in the pan 8187

Creating a Garden Stepping Stone:

  • Cover the sides and bottom of an old cake pan with Petroleum Jelly for easy removal.
  • Arrange the pieces of the broke china pattern side down in the bottom of the pan.  Make sure to use the flattest pieces.
  • Add glass stones in between the pieces for added color and interest.

Smoothing out the cement 8199

  • Mix a quick setting cement according to the directions on the package.
  • Fill pan with cement approx. an 1″ thick.
  • Shake pan a little to fill in the gaps and smooth.
  • Allow a couple hours for the stones to set.
  • Remove stepping stones from the pans and clean excess cement from the top of the stones with a stiff wire brush and water.
  • Allow a few days for the cement to cure before sitting outside in your garden.

close up of stone 8267

*Disclaimer:  This blog uses ads and affiliate links.  If you choose to make a purchase using one of the links, I receive a small commission (at no additional cost to you) that helps offset the costs of maintaining this blog.  Thanks for your support.

my flowers 8329

Any content on this website is created for inspiration purposed only.  Creating with my suggested methods, products used, and tools is under your own risk.


Try Amazon Prime 30-Day Free Trial

Etched Family Frame

Etched Family Frame 09191

Whenever I get a chance…

Whenever they’re all home together…

I try to get a family picture.

It only seems to happen a few times per year.

When we’re all together, there’s so much excitement, talking and laughter that I  forget.

Like this summer, after swimming and naps….

I set up the tri-pod, gathered the kids and set up the self timer.

(it’s always good for a few laughs)  All 18 eyes were open,

all those who were running away were captured and everyone was looking.

Phew… not an easy task.  But always worth it in the end.

It was starting to get dark, so the picture’s not as clear as I’d like it.

I decided to print it in black and white and put it in a simple black frame.

Family close up 09196

To capture the sentiment of the picture I etched the word “family” on the glass.

Etched Frame Supplies 08943

Etched Family Frame Products Used:               (*affiliate links)

Directions:

  1. Remove glass from frame.  Clean glass to remove all dirt, fingerprints and oil.  Dry with a coffee filter, paper towel, or lint-free cloth.
  2. Apply “Family” stencil to glass.  Burnish the edges of the stencil.  You want to make sure no edges are coming up.
  3. Mask around the stencil with removable painters tape for extra surface protection.
  4. Apply a heavy coat of etchall® etching crème to the masked area of the stencil.
  5. Leave etching crème on design for 15 minutes.  After etching time has elapsed, use the squeegee to return the crème back into the original container for later re-use.
  6. Rinse etched surface with hot water to remove any remaining crème. Remember to keep crème away from porcelain sinks or ceramic tiles.
  7. To make the etched letters stand out more, apply picket fence distress paint over the letters.  Wipe surrounding area of the glass clean.

Poof and he's gone

and for your viewing pleasure…

Shop Your Fav Brands at Scrapbook.com

*Disclaimer:  This post uses ads and affiliate links.  If you choose to make a purchase using one of the links, I receive a small commission (at no additional cost to you) that helps offset the costs of maintaining this blog.  Thanks for your support!

Try Amazon Prime 30-Day Free Trial

Shoot for your Goals

Shoot for your Goals 9260

This is one of my favorite Soccer pictures of Nicholas taken by his daddy last Spring.

Today was a big day for Nicholas…

First Day of Pre-School

First Day in a new Dance Class and…

First Soccer Game of the Fall Season.

He’s one pretty busy boy.


I made my Soccer Frame for my Deflecto Design Team Project using:


Deflecto Beveled Frame, Metal Knobs, 5 x 7 Inches (799593CR)*

game on

Kaisercraft’s Game On Collection P1496 First Place

*Disclosure:  I am a Amazon Affiliate.


“This is a sponsored post. As a member of the Deflecto Design Team I have been provided product in exchange for my creative ideas, views and opinions.”

Preserving Summer Memories

Summer Layout 9108

I’m holding on to Summer as long as I can.

This summer Nicholas learned how to swim the entire length of the pool without the aid

of a floatie and he learned how to float on his back.

Warren learned how to jump off the side of the pool.

Pretty impressive when you consider they’re only 4 and 1 1/2.

Nicholas loves the water, we call him a polar bear because it doesn’t matter how

cold the water is.

Yesterday… we had our last pool party of the season.  Thanks to a little 95º heat wave.

I’m going to miss summer.

My Summer Layout uses:

  • Simple Stories Collections: Summer Vibes and Freedom
  • Bo Bunny’s Boardwalk

Join Amazon Kindle Unlimited 30-Day Free Trial

Disclaimer:  This blog uses ads and affiliate links.  If you choose to make a purchase using one of the links, I receive a small commission (at no additional cost to you) that helps offset the costs of maintaining this blog.  Thanks for your support!

The New Deflecto Design Team

Deflecto Design Team Picture 2015-2016

I have a bit of fun news to share with you today….

I will be continuing with the Deflecto Craft Solutions Design Team for another year.

This year there are several new faces.  I look forward to getting to know these girls and seeing all

the wonderful new projects that’ll be heading your way.

Check out their blogs:  (leave a comment and tell them Sue sent you)

Happy Friday!