Summer Reading with “A Sweethaven Summer”

Sweethaven Summer

At 12:30 in the morning I finally put the book down. 

I told my daughter-in-law just the other day… This is why I don’t read more.

Whenever I start a new book, I have to finish it in a day or two no matter what the time is.

A Sweethaven Summer is a book that I’ve been planning on reading for a few years now.

When the book came out in 2012 and everyone was talking about it…

I pinned the cover on my Pinterest Page as “books I want to read”.

Being that the book is about a girl who’d just lost her mother, the timing was too soon.

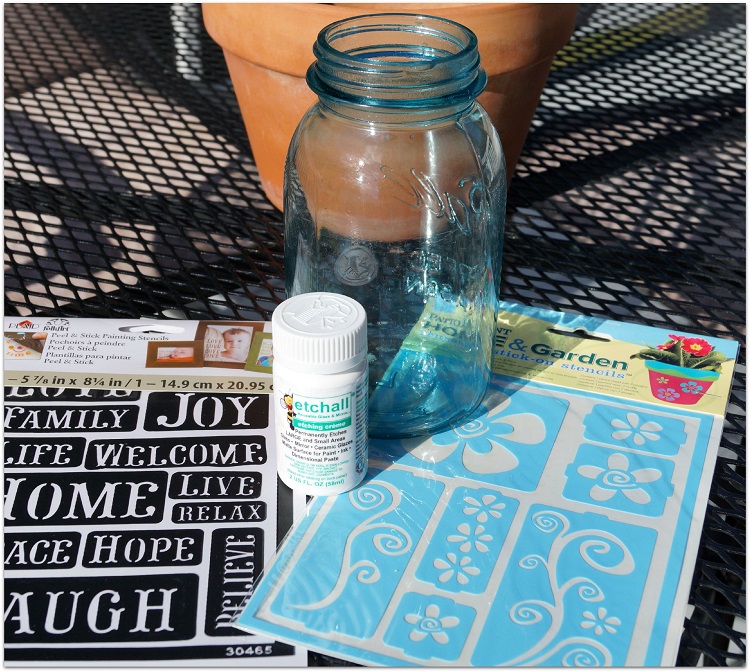
The book is written by Courtney Walsh who also happens to be a scrapbooker.

(how cool is that)

A Sweethaven Summer is a sweet easy read with a little romance, memory keeping,

mystery and faith.

Inside the book

As Levar Burton of Reading Rainbow would say…

“Don’t just take my word on it.”

This is what was written on the inside of the book.

I requested the book at my local library or you can purchase one of your own on Amazon*.


A Sweethaven Summer  A Sweethaven Homecoming A Sweethaven Christmas

Disclaimer:  This blog uses ads and affiliate links.  If you choose to make a purchase using one of the links, I receive a small commission (at no additional cost to you) that helps offset the costs of maintaining this blog.  Thanks for your support!

Join Amazon Kindle Unlimited 30-Day Free Trial*

The Very Hungry Caterpillar

The Very Hungry Caterpillar 8205

Have you read the story of the little caterpillar that ate and ate and ate?

And then turned into a beautiful butterfly?  (spoiler alert)

the hungry caterpillar

My project was based off the book The Very Hungry Caterpillarby Eric Carle.

the very hungry caterpillar 08216

Here’s what you’ll need to make the Caterpillar:

  • Six- 2″ Smoothfoam Balls
  • Sanding Block or Very Fine Sanding Paper
  • Deco Art Americana Acrylic Paint:  Olive Green, Sea Aqua, Watermelon Slice, Marigold, Brown
  • Paint Brushes
  • Bamboo Skewers
  • White Craft Glue
  • Craft Knife
  • Mod Podge

Directions:

  1. Lightly Sand the ridge around the middle of the Smoothfoam ball.
  2. To help the caterpillar sit and not roll.  Cut a slightly flat side in two of the balls.  Use them as your first and last green balls.
  3. Paint five balls with Olive Green and Sea Aqua acrylic paint.  For added dimension, stipple or sponge the opposite color on the balls.
  4. Paint the last ball with the Watermelon Slice acrylic paint.  Add a cute little face.
  5. Cut a bamboo skewer into 1″ pieces.  Connect the balls together using the skewers and white craft glue.
  6. Cut the tip off of two skewers and paint brown.  Insert into the top of the caterpillar’s head.
  7. Paint a coat of mod podge to seal the paint and give a shiny finish.

Disclaimer:  This project was created for and sponsored by Smoothfoam.

How to Etch a Mason Jar…

I love the look of daisies in old blue canning jars.  It just says summertime.

It’s simple, beautiful and it makes me happy.

I recently got the opportunity to work with a new product, etching crème from Etchall®.

While looking around for something to etch, I noticed the daisies sitting on the table.

Hmmm…Wouldn’t that look great with a etched flower and a greeting?

It’s a super simple project.  (just how I like it)

Here’s what you’ll need:                                   (*affiliate link)

Shop Your Fav Brands at Scrapbook.com

Directions:

  1. Clean jar to remove all dirt, fingerprints and oil.  Dry with a coffee filter, paper towel, or lint-free cloth.
  2. Apply Stencils to jar.  Burnish the edges of the stencil.  You’ll want to make sure no edges are coming up.
  3. Mask around the stencil with removable painters tape for extra surface protection.
  4. Apply a heavy coat of etchall® etching crème to the masked area of the stencil.
  5. Leave etching crème on design for 15 minutes.  After etching time has elapsed, use the squeegee to return the crème back into the original container for later re-use.
  6. Rinse etched surface with hot water to remove any remaining crème. Remember to keep crème away from porcelain sinks or ceramic tiles.

Mason Jar with Stencils 8839Mason Jar with Stencils and Masks 08841Mason Jar with Etching Creme 8842

             Step #2                                        Step #3                                      Step #4

The etched flower looks subtle against the water in the blue jar.   

“This is a sponsored post.  As a member of the Etchall Design Team I have been provided product and compensation in exchange for my creative ideas.  The views and opinions are my own.”

Join Amazon Kindle Unlimited 30-Day Free Trial

Disclosure:  This blog uses ads and affiliate links.  If you choose to make a purchase using one of the links, I receive a small commission (at no additional cost to you) that helps offset the costs of maintaining this blog.  Thanks for your support!


Don’t Miss a Thing…Make Sure to Follow me.

Crafting with Office Supplies

crafting with office supplies 2 07793

When you think of crafting do you ever think office supplies?

Would you believe…

the “be happy” sign, which is now sitting happily on my fireplace mantel,

started out as a office name plate holder

A few stickers, chipboard letters, washi tape and voila a happy little reminder.

There are surfaces everywhere just waiting to be embellished.

Name plate 2

Deflecto Interior Image Sign Holder, 8.5 x 2 Inches, Nameplate (89105) (affiliate link)

“This is a sponsored post. As a member of the Deflecto Design Team I have been provided product in exchange for my creative ideas, views and opinions.”

Join Amazon Kindle Unlimited 30-Day Free Trial

Disclaimer:  This blog uses ads and affiliate links.  If you choose to make a purchase using one of the links, I receive a small commission (at no additional cost to you) that helps offset the costs of maintaining this blog.  Thanks for your support!

Craft Ideas Fall 2015

Craft Ideas Fall 2015 cover

I’m So excited….

I have two projects in the latest issue of Craft Ideas magazine.

A Back to School Announcement Board on page 11 and a simple Back to School Card on page 53.

You can see the instructions for the Back to School Announcement board here on Craft Ideas.

Craft Ideas Fall 2015 8474

Make sure to pick up your copy.


Colorful Chalkboard Frame for Kids and grownups

Funky Pallet Frame 8798

A simple paint and stencil project, fun for kids or grown ups.

I decided to finish painting this colorful Rustic Pallet Frame* that I started working on

yesterday evening.  As the name suggests, the frame is rustic and somewhat rough.

Because I was planning on stenciling on it…  I sanded the front of the frame to make it smoother.

I wasn’t worried about making it completely smooth.

The Colorful Chalkboard Frame would be a great project to make with the kiddos.

Funky Pallet Frame painted 8792

Directions to make the Colorful Chalkboard Frame:

  1. Sand the front of the frame.
  2. Paint the frame with white acrylic paint.
  3. Paint the top of each pallet section with different acrylic colors.  Sort of a modified rainbow.
  4. Because the stencil had four unique patterns, I decided each color needed its own pattern.
  5. Mask off each section of the wood before stenciling.
  6. Stencil using a stipple brush and white acrylic paint.
  7. Allow to dry completely
  8. To mute to colors:  Lightly sand the frame with a sanding block.  (optional)
  9. For an added sheen:  Apply clear crème wax to front of frame, allow to sit for one hour and buff.
  10. I added a small chalkboard to the inside of the frame.

Funky Pallet Frame Supplies

Supplies Used:                                          (*affiliate link)

*Thanks to Walnut Hollow and DecoArt for providing the materials used on this frame.

For more Summer fun with the kids…click on SIime Ad below.

Slimer

Disclaimer:  This blog uses ads and affiliate links.  If you choose to make a purchase using one of the links, I receive a small commission (at no additional cost to you) that helps offset the costs of maintaining this blog.  Thanks for your support!

Join Amazon Kindle Unlimited 30-Day Free Trial

Are you on Instagram?

Instagram

Sue’s Creative Workshop is now on Instragram.

It always seems like it takes me a little longer to catch up with the rest of the world.

But… now you actually can follow me on Instragram.  (really you can!)

instagram

view on instragram

If you’re on Instagram, would you please follow me?

(Did you notice my numbers?  I need help.)


My Fabulous Thrift Store Make-Over

I almost passed on this plain 8 drawer cabinet last April while visiting my daughter in Madison.

I didn’t really need it, I have too much stuff, would there be room in the car?  (geez!)

It was sitting there in the Thrift Store for only $8.  They had just put it out that day.

I had to take it home.  (I just had too.)

Stenciling the drawer 8355

As soon as I got it home, I painted it with a couple coats of black paint and gave

it a clear wax coat.  It sat in my office that way for the next four months.

(I’m starting to notice a pattern here.)  Anyway…. I decided that the cabinet needed more.

After receiving these cool number stencil,

Deco Art Americana Decor Stencil, Old World Numbers*    (*affiliate link)

and Whisper Chalky Finish Paint* from DecoArt as part of their Blogger Outreach Program,

I stenciled each drawer 1-8.

To keep the numbers from looking too new or bright, I lightly sanded over the letters with a

extra fine sanding block and applied another coat of clear wax.

Drawer Close Up 8446

My hubby helped me put on these vintage looking drawer pulls I’d found on Etsy.

I spent more than twice as much on the drawer pulls than I did the cabinet.

Black Cabinet 8444

I’m so happy with the way it turned out.  Doesn’t it look beautiful?

Join Amazon Kindle Unlimited 30-Day Free Trial

Disclaimer:  This blog uses ads and affiliate links.  If you choose to make a purchase using one of the links, I receive a small commission (at no additional cost to you) that helps offset the costs of maintaining this blog.  Thanks for your support!

Getting Creative with Resin

Getting Creative with Resin 8181

I’ve always wanted to use resin in a project but have always felt somewhat intimidated.

Thanks to an opportunity with Environmental Technology Inc., the makers of

jewelry resin and much more, I finally got my chance.


EnviroTex Jewelry Resin

And… after watching this video.  I felt confident to start.

I couldn’t believe how easy it was and how happy I was with the results.

The hardest part was deciding what to make and what to fill.

Halloween before the resin 2880 Creative before the resin 2883

For my Projects:

  • I started with some over-sized bottle caps from Maya Road which I spray painted black.
  • I used a circle punch to make a background from scrapbook paper.
  • I used dimensional stickers, metal pieces, regular stickers and glued everything in place using  white craft glue.
  • I measured and mixed the resin according to the instructions and filled the bottle caps.
  • Then it was time to wait for the resin to cure.

waiting for the resin to cure

The original plan was to add a hanger on the back, and use them as a decoration.

But… I had a better idea and decided to add a magnet to the back instead.

I really, really like them.

Resin Work in Progress 2908

Now that I’ve seen how easy it is, I’ve got a few more things in the works.

Shop Amazon Scrapbooking Supplies*

*Disclaimer:  This post uses ads and affiliate links.  If you choose to make a purchase using one of the links, I receive a small commission (at no additional cost to you) that helps offset the costs of maintaining this blog.  Thanks for your support!