
My Grandson Nicholas had his very first soccer game on Monday.
While waiting for his turn to go back in, he decided to entertain me with some faces.
This kid’s cute even when he’s making silly faces!
My Grandson Nicholas had his very first soccer game on Monday.
While waiting for his turn to go back in, he decided to entertain me with some faces.
This kid’s cute even when he’s making silly faces!
Yesterday was such a lovely Spring day.
The sun was shining, the birds were singing.
My teenage son wanted to go out with me for dinner!
You know… a “Happy” kind of day.
So a good day deserves some “Happy Day” cards.

Cards to make you “Smile”.
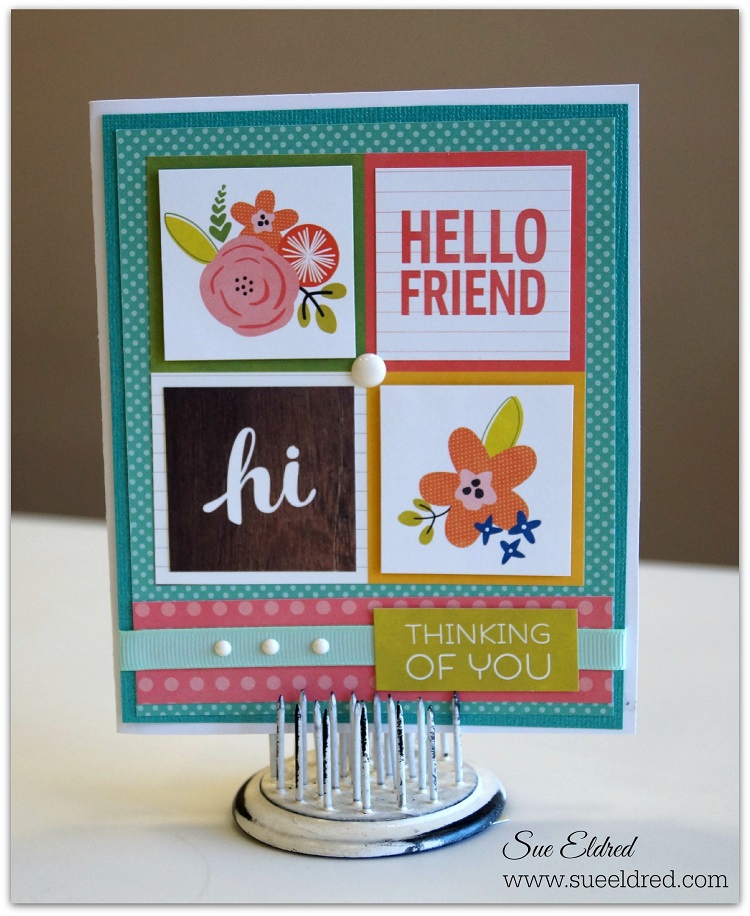

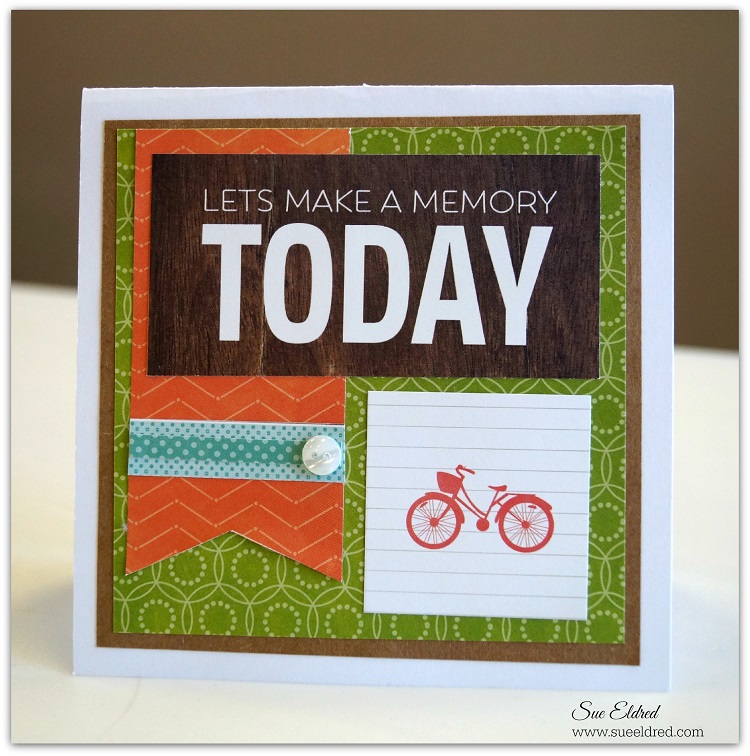
And… if you like these cards and would like to make a set for yourself, we will be making these cards in my “Happy Day Cards” class that I’ll be teaching in May at The Paper Forest.
Happy Day Cards
Enjoy life’s little moments with cards made from the Happy Days Collection from Pebbles Inc.
Saturday, May 30th
10:30-12:30
Cost: $20.00
Contact The Paper Forest at 309-745-3440 for more information or to sign up.
Supplies Needed: Scissors, Paper Trimmer, Tape Runner, Foam Mounting Squares

Are you ready for Spring?
Warm Weather, Pretty Flowers and Sweet Little Bunnies and Easter Eggs.
My project today is a Sweet Glittery Little Bunny made from a Smoothfoam Egg.

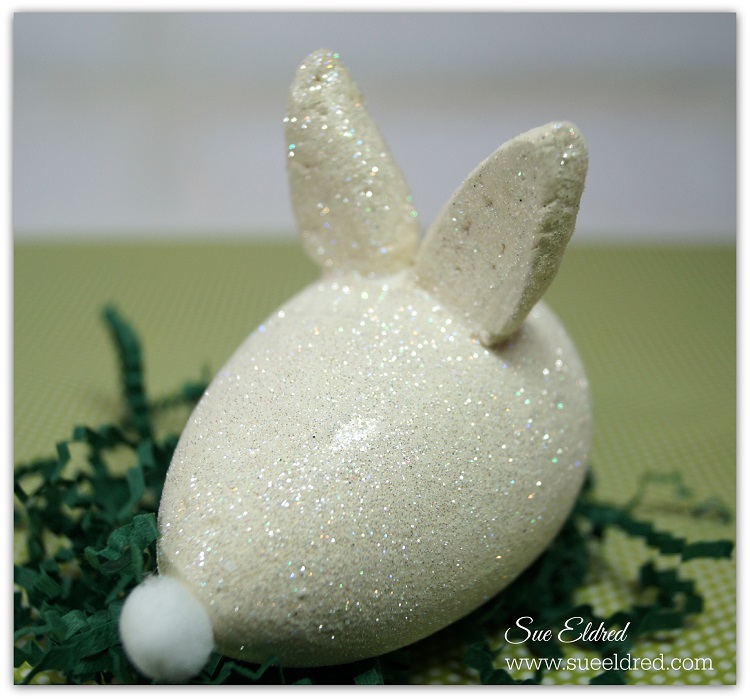
To Make the Glittered you’ll need: (*affiliate links)


 and Craft Cutting Mat*
 or File

This project was created for and sponsored by Smoothfoam.

*Disclosure: This blog uses ads and affiliate links. If you choose to make a purchase using one of the links, I receive a small commission (at no additional cost to you) that helps offset the costs of maintaining this blog. Thanks for your support!
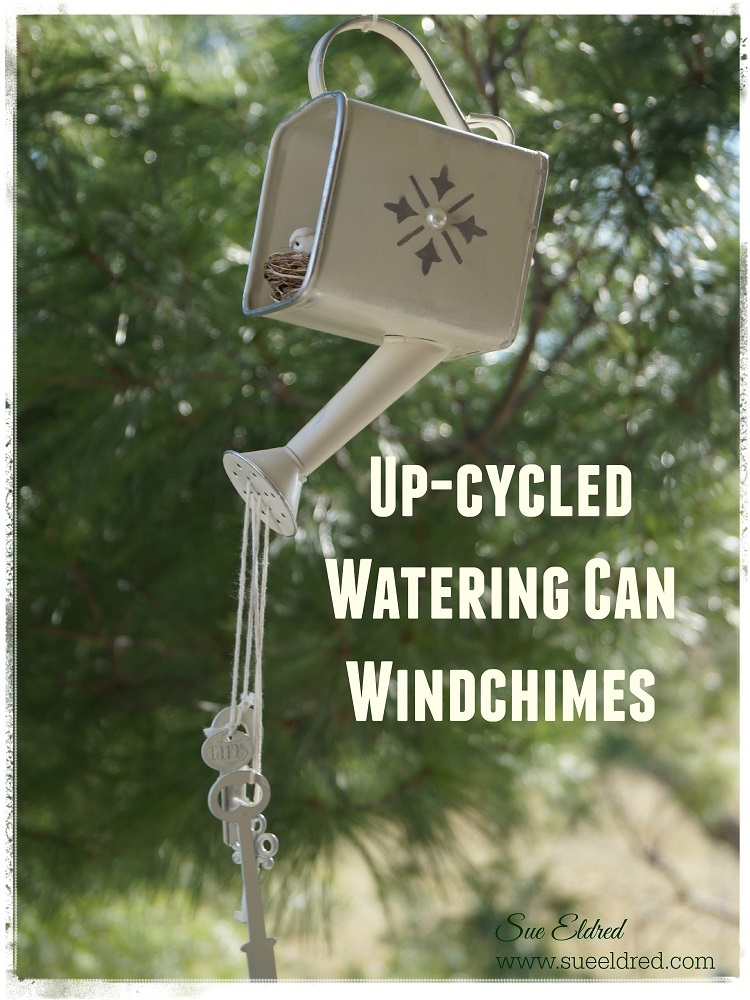
My Version of turning Lemons into Lemonade. (sorry Jim)
On my Birthday, a couple of years ago, my husband wanted to make my day special and
shower me with lots of little gifts. Of all the places to shop, he choose to shop at a outlet
store in Southern Missouri that was filled with things that I wouldn’t have sold even when
I had my gift store in the 90’s. (he’s no longer allowed to shop there)
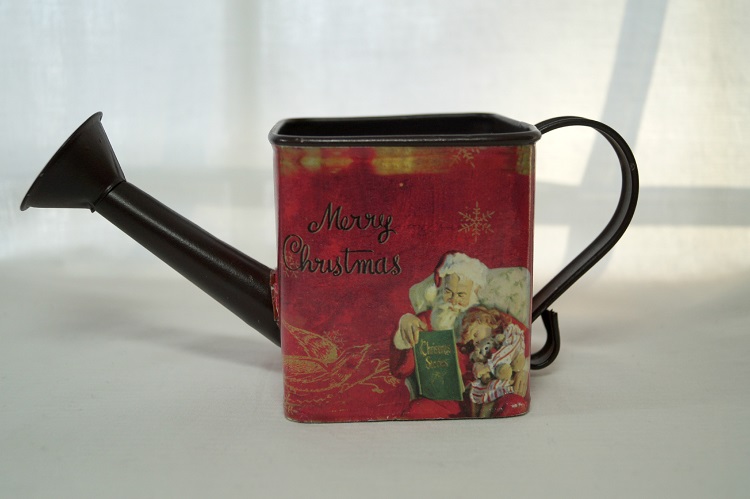
This Christmas watering can was one of those gifts.
I honestly thought it was a gag gift. (I may or may not have laughed)
I ran across it again when putting away my Christmas Decorations this past year.
Instead of throwing it out or giving it to Goodwill I thought I’d re-purpose it into
something I would use.

My Shabby Watering Can Wind-chime (*affiliate link)
Supplies:


 *
*
 *
*Best for covered porches or decorative use.


Before you throw me under the bus…
I’m really not an ungrateful, insensitive person. (really I’m not)
I love and appreciate my husband very much. He’s the greatest!
(Phew…these are the days I’m glad he doesn’t read my blog)
*Disclaimer: This post uses ads and affiliate links. If you choose to make a purchase using one of the links, I receive a small commission (at no additional cost to you) that helps offset the costs of maintaining this blog. Thanks for your support!
AD→ 
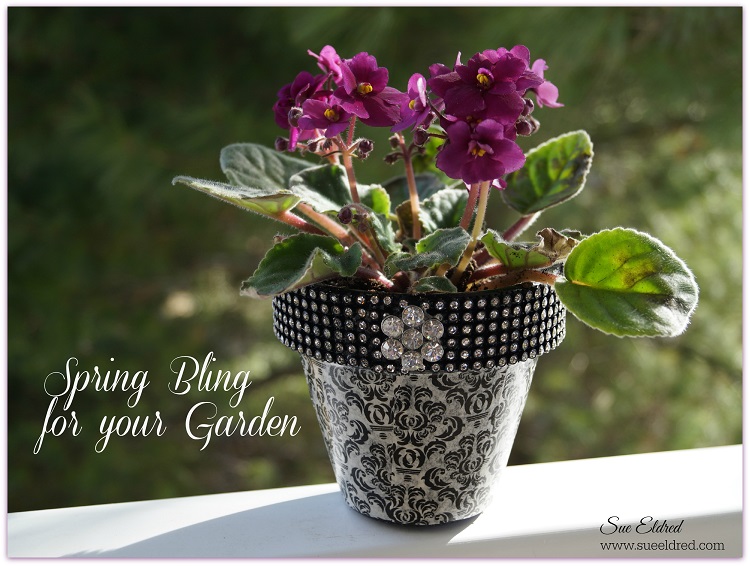
Add a little Spring Bling to plain boring terra cotta pots.
With Spring Fever setting in, I decided I needed a new flower to perk up the place.
I chose a pretty little African Violet that reminds me of my grandma.
Grandma loved African Violets.
In no time at all, armed with a few simple products, I transformed a boring terra cotta pot into
something sparkly and fun. Just what I needed.

To make my Spring Bling Pot you’ll need: (*affiliate links)
 *
*

My Spring Bling Pot was created for and sponsored by Connie Crystal.

Disclosure: I am an Amazon Affiliate. If you chose to make a purchase using one of the links, I receive a small commission that helps offset the cost of running this blog. Thanks for your support!
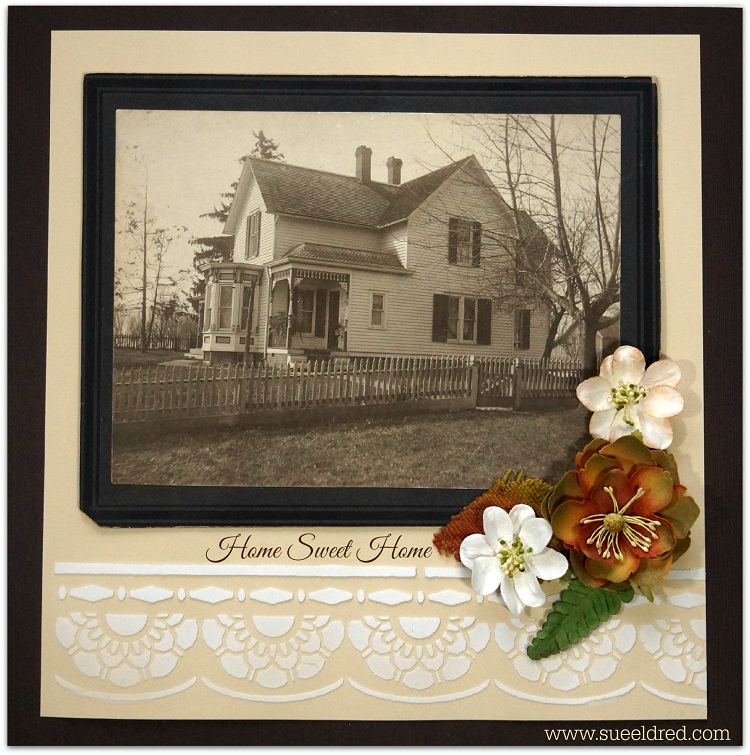 Lately, I’ve been noticing more and more people using embossing paste on their scrapbook layouts.
Hmmm…. I haven’t used embossing paste in years.
Matter of fact… my jars of embossing paste are over 10 years old. (and still good)
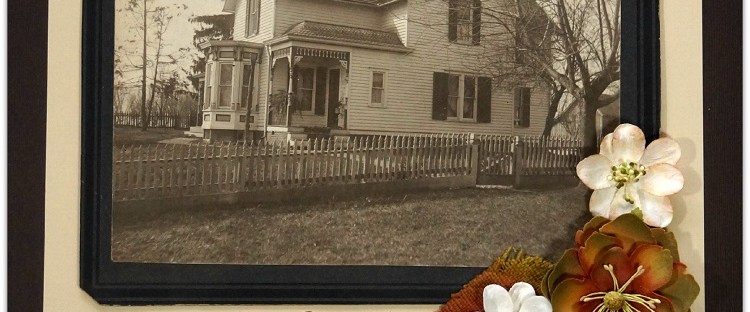
So, I thought I’d give it a try with a simple layout and this old house picture.
Quick, Simple and adds a subtle punch to this layout. I think I like it.
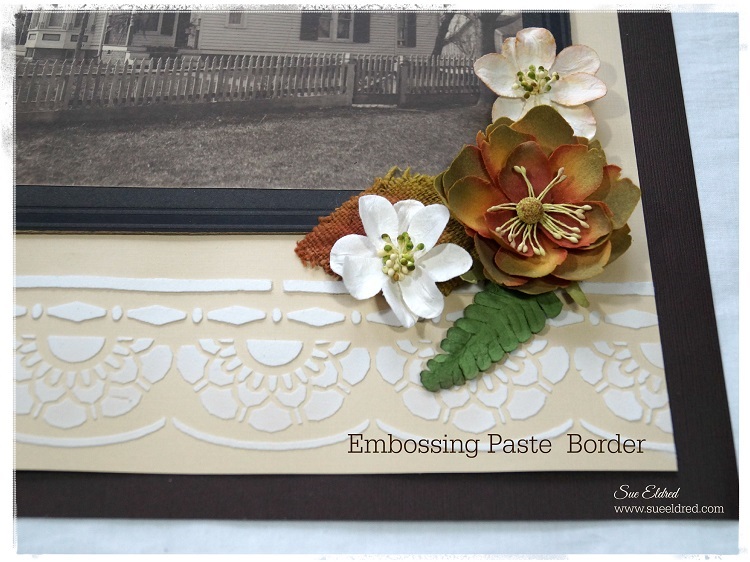
Using embossing paste is easy:
Products Used:


Click on the pictures above for more information through Amazon*
Disclosure: This project was created for and sponsored by Clear Scraps.
I am an Amazon Affiliate.

I gave Nicholas an old cigar box to use while he was working on one of “his projects”.
As I was getting ready to put away all his treasures, I was struck by all the bright colors
and the little trinkets in the box. (So I took this picture.)
When you’re four you need to collect a lot of things.
I’m a few years older than four and I still collect a lot of things.
I’ve often thought, if I only had 20 minutes to grab my most valuable possessions,
what would my treasures be?
Besides my family of course, I’d grab the clock that my parents gave us as a wedding present,
a few pieces of sentimental jewelry and my photo’s and photo albums.
Oh…and maybe the baby books. (but, I wasn’t too good at filling those things out.)
You see, all those other things are just stuff.
Clothes, furniture, etc…they can all be replaced.
My photo’s are a different thing, they are my treasures, my memories.
So why do I have most of the photo’s from the last several years still on my computer?
Good question.
With my digital camera’s I easily take 25 times more pictures than I took before.
Instead of taking one more picture for good measure, I take 12.
The more pictures you take the better chances of getting that perfect shot. Right?
The problem:
Once I received my first digital camera, I stopped regularly printing pictures.
Unless I was working on a special project or giving them away as a gift,
I never seemed to get around to it.
I currently live in fear of my laptop crashing and losing all my precious photos.
I should back them up on my external hard-drive. (and I do, sometimes)
So here’s my goal for 2015:
To go through the last few years of pictures and print them out. (maybe even put them in an album)
I don’t want to risk the chance of losing them forever.
So if you’re in the same place as me…
Print them out!
I use Shutterfly* a lot for printing and photo books and they always have a deal going.
New Customers get 50 free 4″ x 6″ prints for just opening up an account.

But I should let you know…
If you decide to click on the above picture and just happen to place an order,
I will receive a very small commission.
So… wherever you decide to take your pictures, it really doesn’t matter.
Just as long as we print them out.
Disclosure: I am a Shutterfly Affiliate.
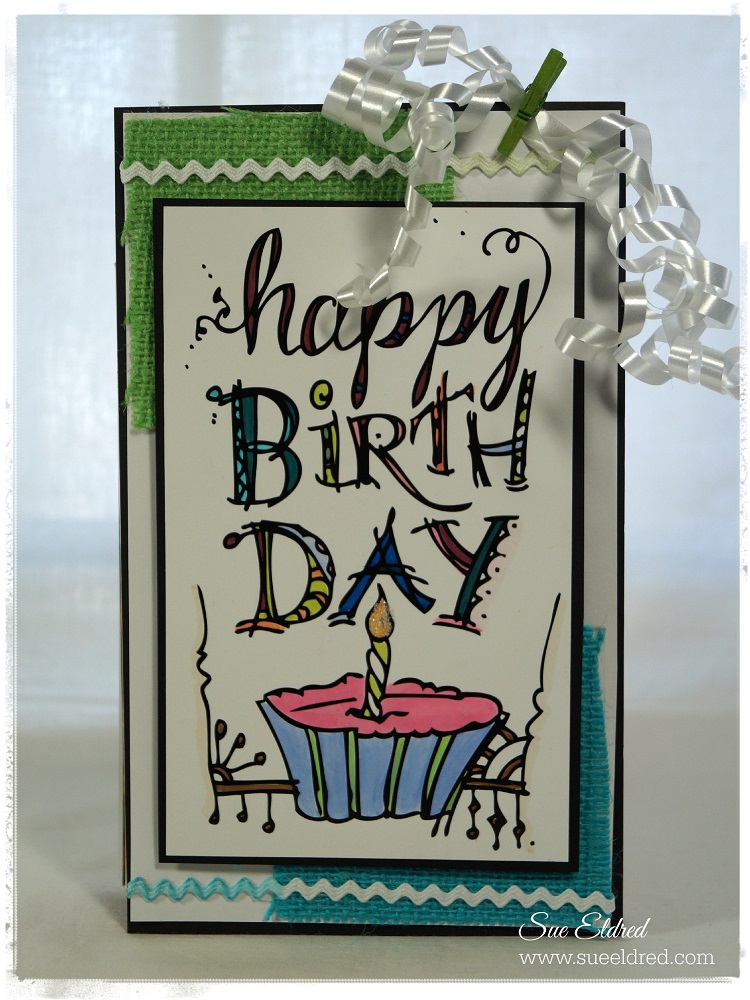
Do you ever need a really large Birthday Tag to make your present “POP”?
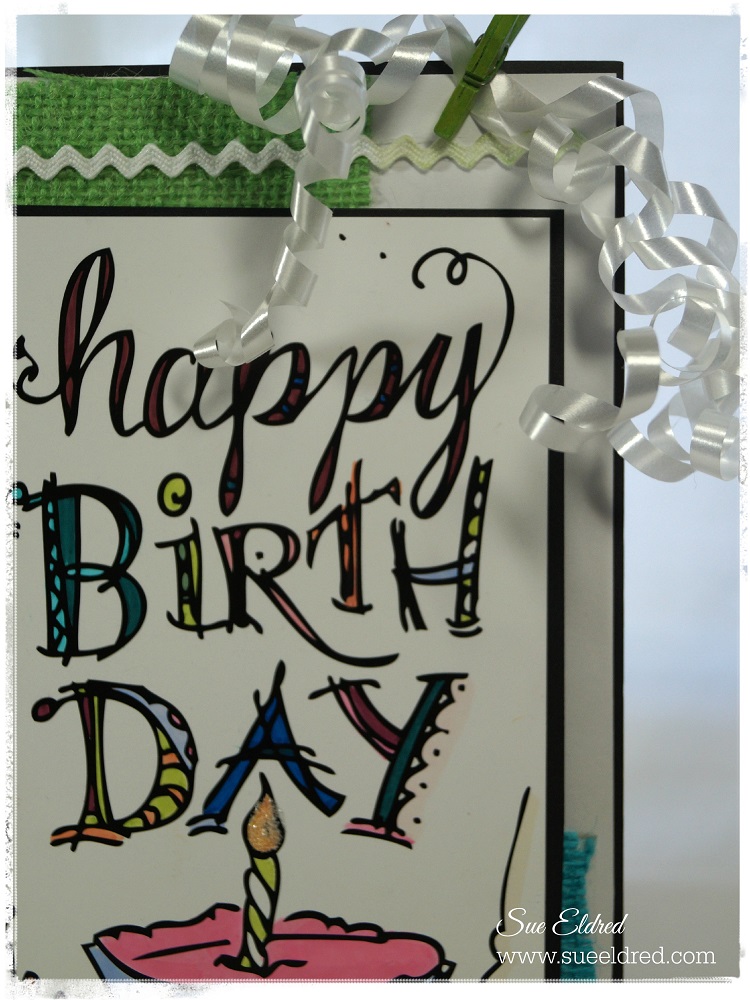
This tag uses Tattered Tangles a fun doodle art from Canvas Corp. Brands.
Tattered Tangles Collection is printed on a paper called Leather Paper making it
perfect for coloring and different paint techniques.
Supplies Used on the Tattered Tangles Happy Birthday Tag:

Disclosure: This project was created for and sponsored by Canvas Corp Brands and uses affiliate links.


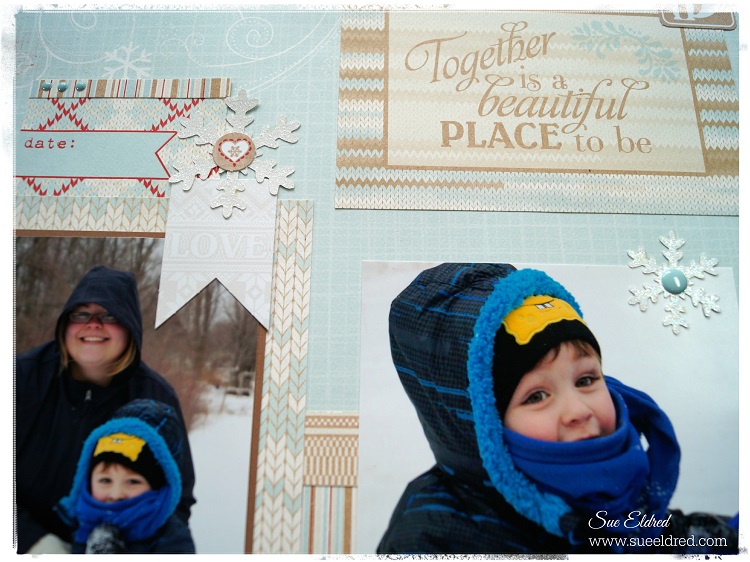
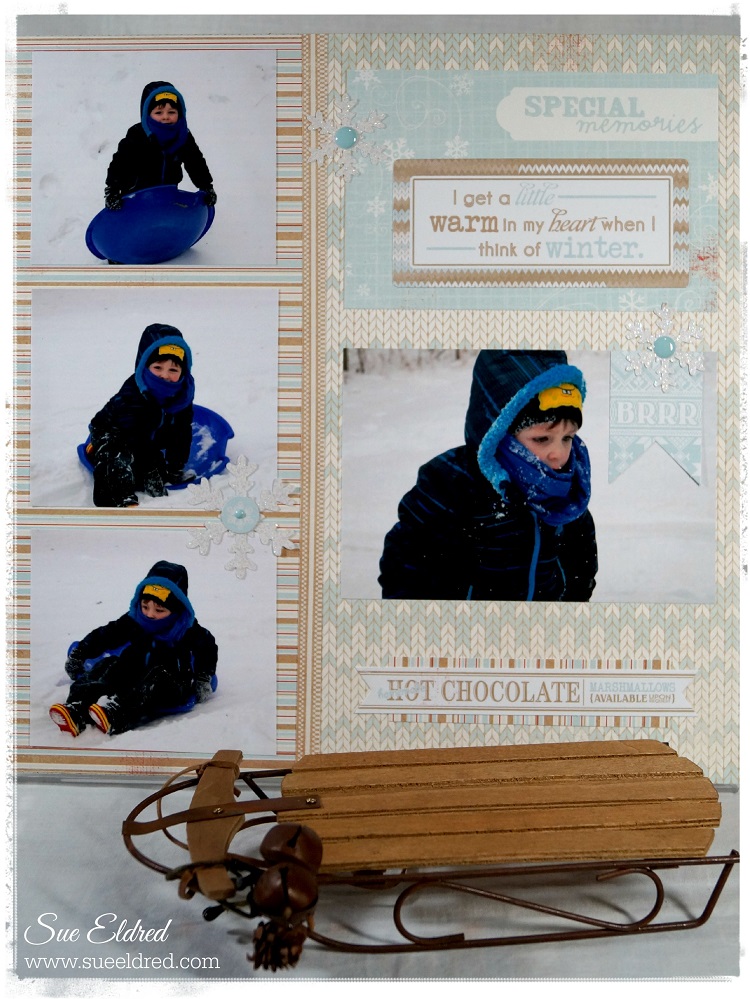
I finally got around to scrapping the fun sledding pictures I took of Nicholas and his Mom sledding.
What a fun time they had and I had a really great time taking pictures.
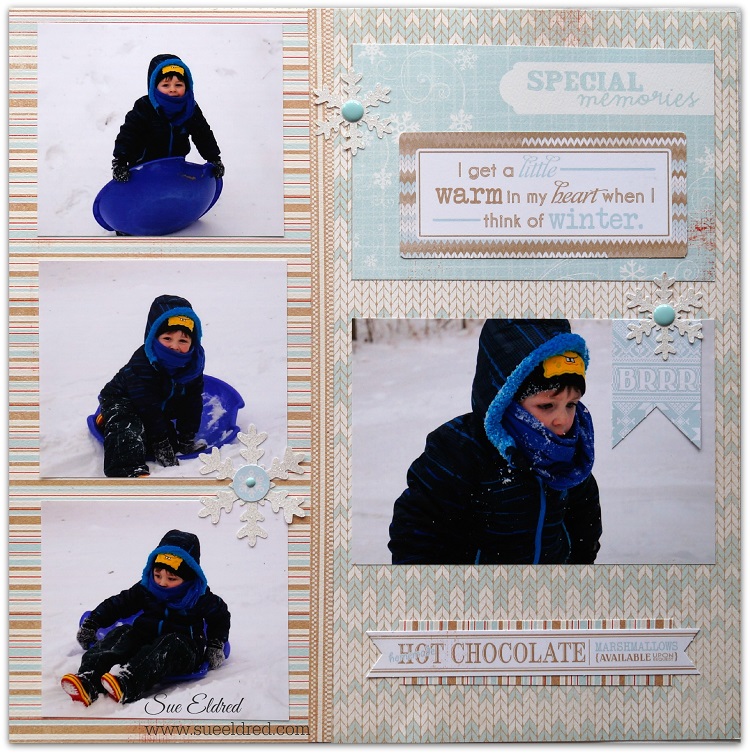
I used Authentique Paper’s Cozy Collection.

Click on picture for ordering information from Amazon* (I am a Amazon Affiliate.)
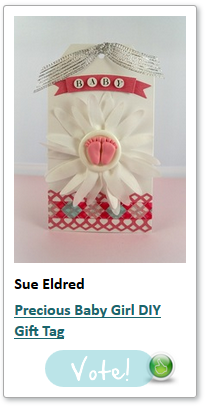
Last Sunday, I shamelessly asked for your “vote” in the Best Blogger Craft 2015 Contest.
This Sunday, I decided not to do that.
Instead I’m just going to remind you that if you haven’t checked out all the awesome entries
into the contest that you really should. http://www.favecrafts.com/voting/Blogger-Contest
And….. if you just happen to want to “vote” for my Precious Baby Girl DIY Gift Tag,
I’d be forever grateful.

You can only vote once. Voting ends March 10th , 2015 at midnight CST.


