Thrifting Fun

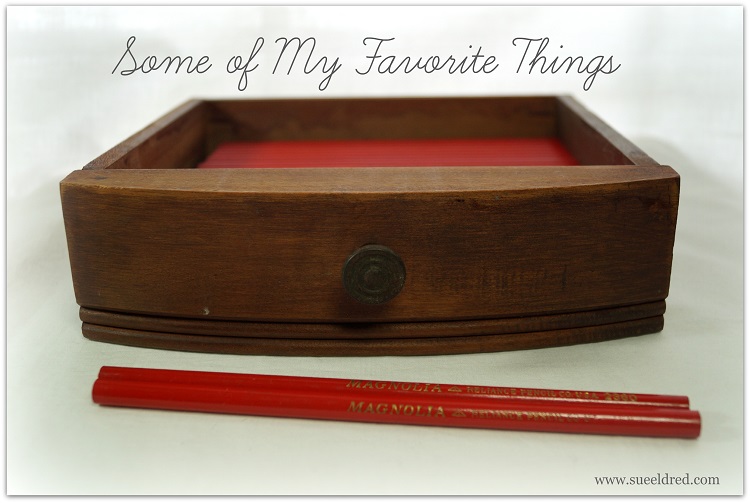
Some of my favorite things 3040

One of my Favorite Things to do is spending time with my daughter.

Because she lives 3 hours away we don’t get to do it as much as I’d like.  So, I was giddy that we got

to spend all day together on Monday.  We went out for lunch, hit a couple of stores and then we went

“thrifting”.  Our favorite spot is closed on Mondays, so we went to Salvation Army and Goodwill instead.

We found some great bargains, but, nothing we really needed.  I picked up a bag of brand new

Red Magnolia Colored Pencils and 50 of these neat little papers for under a dollar.

I figured these pencils would look great once I find the perfect container.  Now I just need to

keep them away from my little buddy who loves sharpening pencils in Grandma’s office.

The little drawer was a “find” that my daughter found while antiquing in Nashville.

I wish I could spend every Monday like this.

pencils and paper 3065

Make a Lucky Hat for St. Patrick’s Day

Feeling a little Irish? 

Need a Lucky Hat for St. Paddy’s Day?

Using only a few Smoothfoam shapes you can make yourself a Lucky Hat centerpiece

in no time.  A fun centerpiece for all your “GREEN” celebrations.

Here’s what you’ll need:                                                                                    (*affiliate link)

Directions:

  1. Paint 8″ Half Ball and 10″ Disc with English Ivy paint.
  2. Repaint Disc and Half Ball with Kelly Green paint, allowing some of the darker paint to show through.
  3. Paint sides of 8″ Disc with Black paint.
  4. Glue 8″ Disc onto the 8″ Half Ball.
  5. Center and glue onto the  10″ Disc.
  6. For a shiny finish, paint the entire piece with Mod Podge.
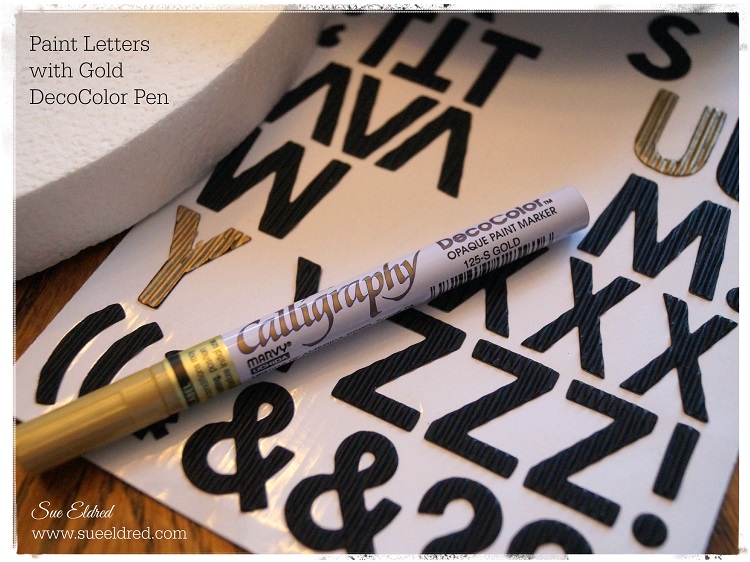
  7. To create gold letters, paint the chipboard letters with a gold paint pen.

Have a great day and may the “Luck of the Irish” be with you!

 
Click on the pictures for product ordering through Amazon*.
Disclosure:  This post uses affiliate links.  If you choose to make a purchase using one of the links, I receive a small commission that helps offset the cost of maintain this site.  Thanks for your Support!

This project was created for and sponsored by Smoothfoam.

Shop Amazon Scrapbooking Supplies*


Little Black Dress Mixable Medley Album

Clear Scraps LBD new album

When it comes to scrapbooking, I have a lot of stuff.

I have so much stuff… I should never buy another sheet of scrapbook paper.  (but I will )

I love paper.  I love pretty patterns.  I love mini albums.  (so much to love)

Lately, I’ve been on a quest to use more of the stuff I have on hand.

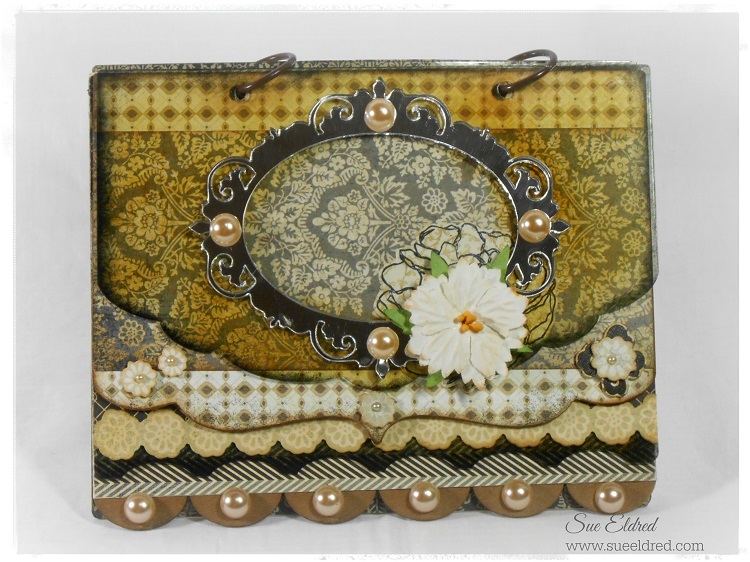
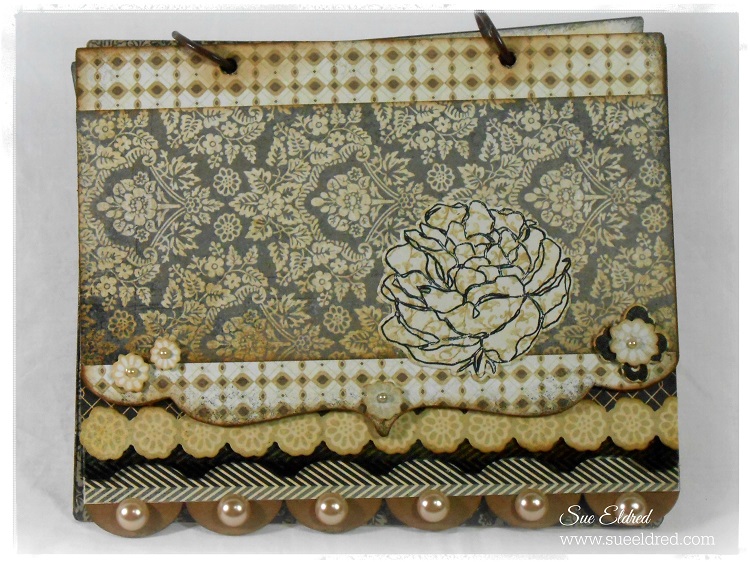
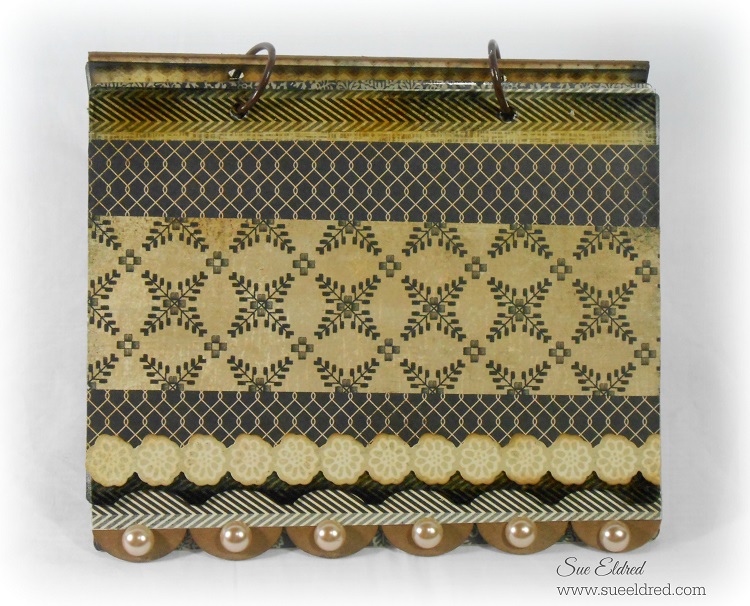
So, when it came to making this Mixable Medley Album for Clear Scraps, I pulled

from one of my favorite collections, the “Little Black Dress” collection from Basic Grey.

The album also uses Clear Scraps New Oval Fancy Mirror Frame.

To make the mirror stand out and give the album a vintage feel, I sponged “Spiced Chai”

Stazon Ink onto the back of the acrylic cover leaving the center of the mirror clear.

LBD Album 2457   LBD Album 2458

This project was created for and sponsored by Clear Scraps.

Cigar Box Washi Tape Holder

How to Make a Cigar Box Washi Tape Holder 2790

Making Creative Storage for my ever-growing collection of Washi Tape.

I have a small, growing collection of Washi Tape.

In addition to all its many uses, I find that they are just pretty to look at.

Previously, I had all my washi tape gathered in a canning jar, although pretty…

I found myself dumping the jar every time I wanted to use one.

Being on a “old drawer” kick, I decided to make a small washi tape holder using an old cigar box.

Materials 2764

I used two sheets of scrapbook paper from Carta Bella’s “Warm & Cozy” collection.

basic supplies:  craft knife, cutting mat, craft glue, double stick tape roller and a metal label holder, black marker.

pieces 2767

To Make a Cigar Washi Tape Holder:

  • Cut the lid off the cigar box.  Measure and cut the lid into two strips to fit inside your box as dividers.
  • Remove excess loose paper from box.
  • TIP:  Use a black permanent marker to color the inside corners of your box.  This will help keep any white from the box from showing.
  • Cover box with scrapbook paper.
  • Adhere paper over both dividers.
  • Apply craft glue onto bottom and sides of dividers and put into place.

empty box 2773

Cigar Box Washi Tape Holder 2808

Add metal label holder and fill with your favorite washi tape.

Captivating Squares

Captivating Squares 1682

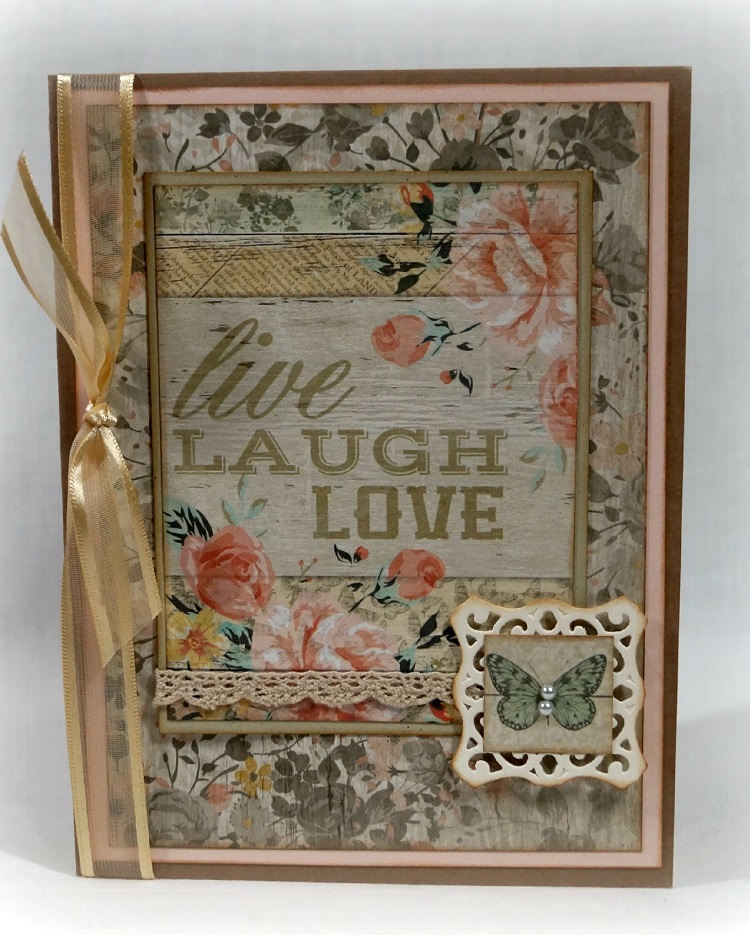
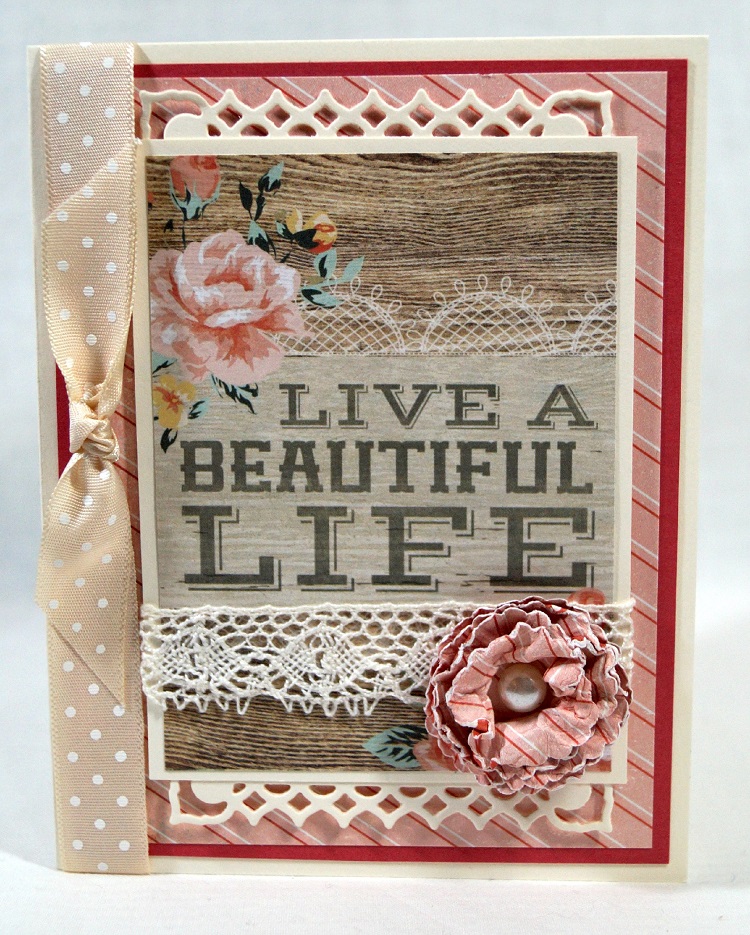
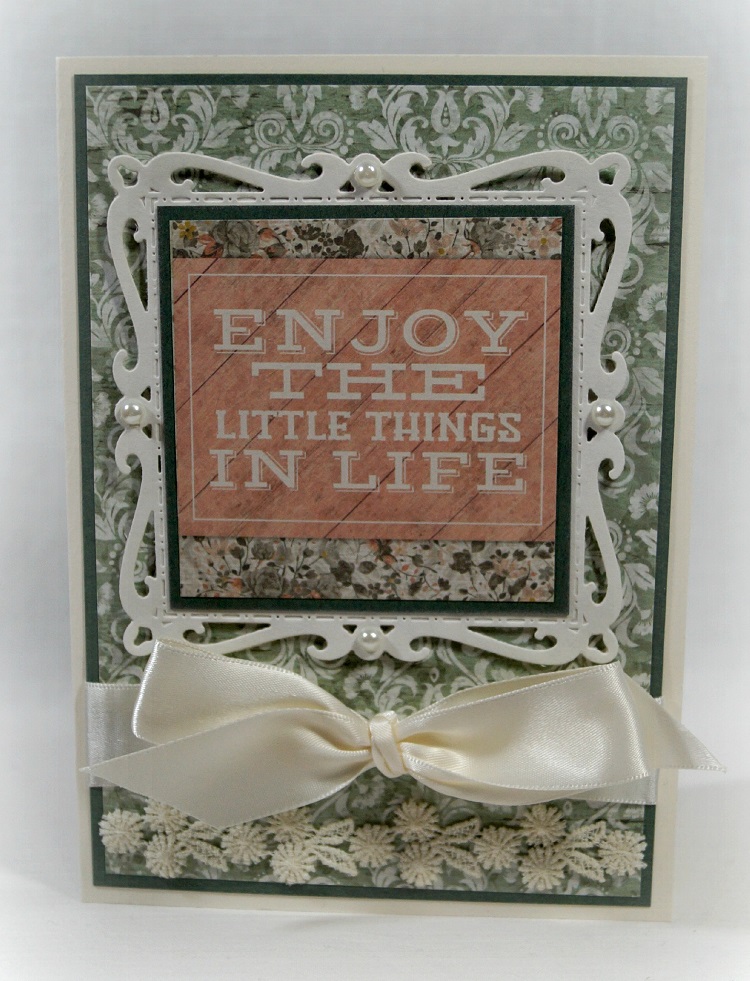
I will be teaching a new card class in April at The Paper Forest called Captivating Squares.

In the class we will be using Spellbinders dies and Kaisercraft’s Rustic Harmony Collection

to make these four cards.

The Paper Forest in Washington, IL

Saturday, April 18th from 1:00-3:00 p.m.

Cost of the Class:  $22.00

Students Bring:  tape runner, scissors, foam mounting squares, Vintage Photo Ink, Ink Applicator

Contact The Paper Forest at 309-745-3440 to sign up.

Live Laugh Love 1714 Live a Beautiful Life 1706

Enjoy The Little Things in Life 1718 Love Card 2085

I used Spellbinders Captivating Squares* on these cards.

Click on picture for ordering information from Amazon.*

Disclosure:  I am a Amazon Affiliate.

Home Sweet Home

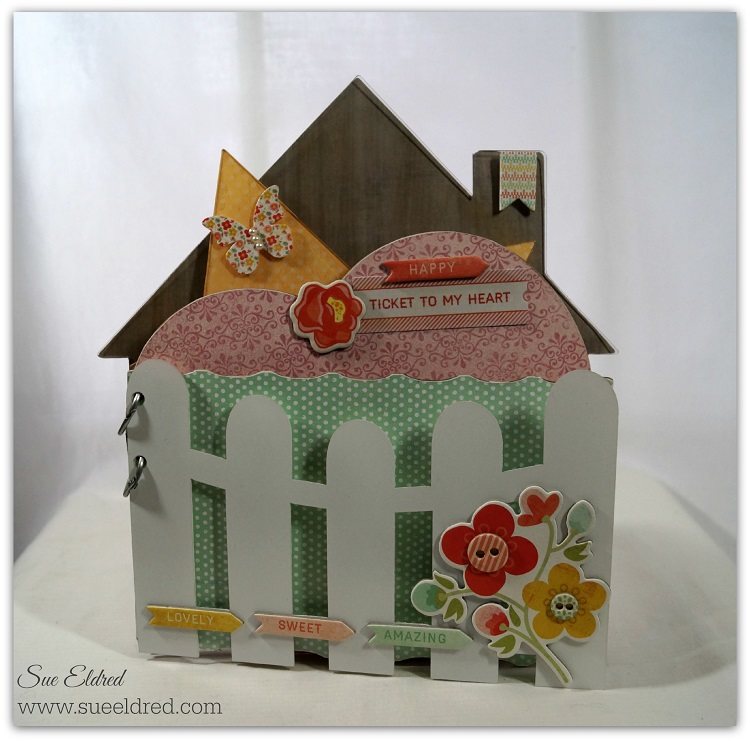
House Mixable 1580

A quick share today to show you the Mini Album I made using Clear Scraps New Mixable Home Album.

My “Home Sweet Home” album is a 8″ x 9″ Acrylic & Chipboard mixed Album.

I used chipboard stickers from My Mind’s Eye “Sweetest Thing” collection and various scrapbook papers

to decorate my album.

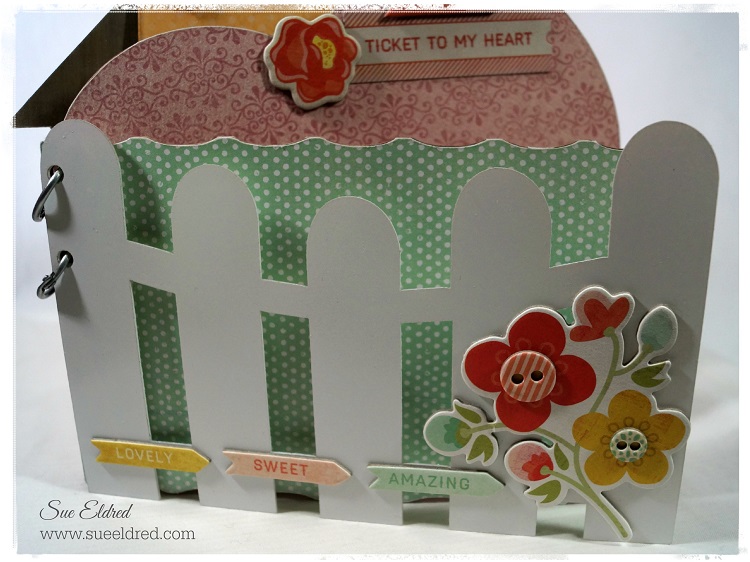
House Mixable Close Up 1582

My favorite part of the album is the fence.

I love the look of a white picket fence so I sprayed the clear acrylic with white spray

paint.  Now I have a white picket fence.

(This project was created for and sponsored by Clear Scraps.)

Canvas Corp Brands Creative Crew

Creative Crew Badge  I’m so excited to finally let you know that I’m now part of

Canvas Corp Brands New Creative Crew.

So many wonderful brands to work with…  Canvas Corp Home Basics, Tattered Angels and 7 Gypsies.

I can’t wait to dive right in.

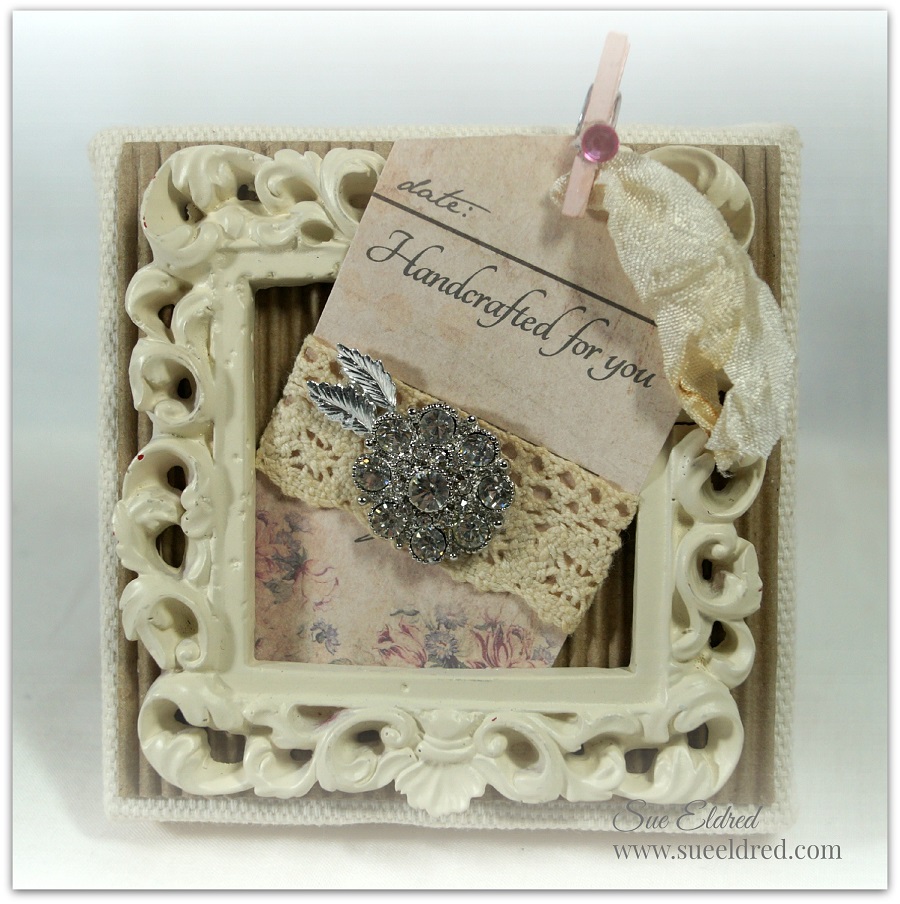
One of our first challenges as a crew was to make a 4 x 4 canvas that represents our style.

Sue Eldred's 4 x 4 Canvas 1336

Here’s mine….  clean, simple with a shabby vintage feel.

(tag from the New “Gypsy Moments” Collection)

Valentine Snickerdoodles

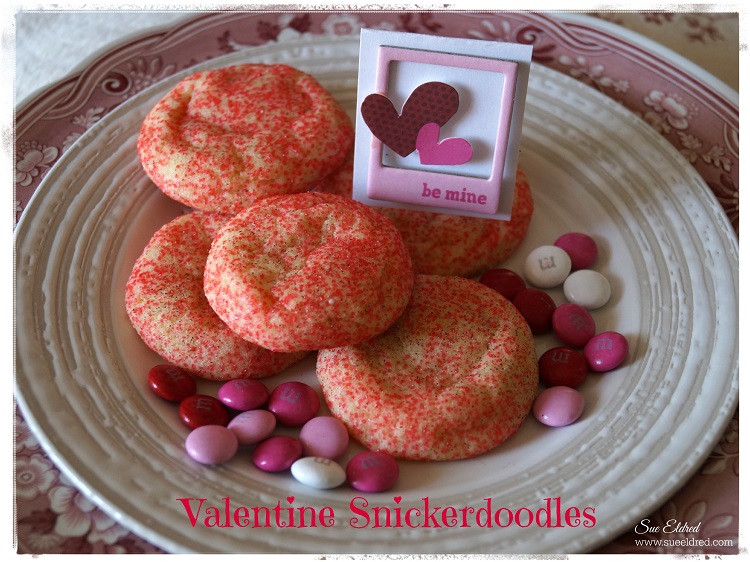
Valentine Snickerdoodle

One of my husband’s favorite cookie is the Snickerdoodle.

It’s been years since I’ve made them.

Since Valentine’s Day is in a couple days I thought I’d make him some as a Valentine’s surprise.

So what makes these cookies “Valentine Snickerdoodles”?

Nothing more than they’re made with LOVE!

(Oh… and the fact that I substituted red sugar in step #5.)


Snickerdoodles

  • 1/2 cup butter or margarine
  • 1/2 cup shortening
  • 1 1/2 cups sugar
  • 2 eggs
  • 2 1/4 cups flour
  • 2 teaspoons cream of tartar
  • 1 teaspoon baking soda
  • 1/4 teaspoon salt
  • 2 tablespoons sugar
  • 2 teaspoons cinnamon
  1. Heat oven to 400º.
  2. Cream butter, shortening, sugar and eggs.
  3. Blend in cream of tartar, baking soda, salt and flour.
  4. Shape into little balls.
  5. Mix the 2 tablespoons of sugar and the cinnamon.
  6. Roll balls into the sugar/cinnamon mix and place on ungreased cookie sheet approx. 2″ apart.
  7. Bake 8-10 minutes.

Don’t Forget to SMILE Today!

Don't forget to smile 2243

A fun little project to brighten your day.

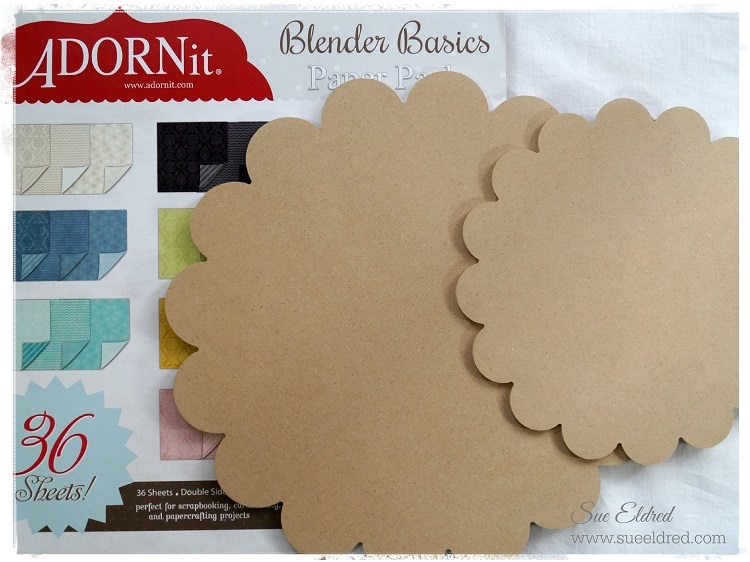
Along with the Art Play Paintables that I used for the ADORNit Blog Hog,

I also received some great wood pieces, a pad of Blender Basics and some fun Art Play Prints.

Adorn It Blender Basics 2139

Shop Your Fav Brands at Scrapbook.com

To make the project:

  1. Paint the edges of the wood pieces with black acrylic paint.
  2. Glue paper from the Blender Basics pad onto the wood pieces using Mono Adhesive glue.
  3. Trim around the shapes with a craft knife and lightly sand the edges with a sanding block.
  4. Distress the edges with Vintage Photo Distress Ink and a Ink Applicator.
  5. Glue the two pieces together.
  6. Cut around the inner circle from the “Smile” Art Play Prints and glue to the center.

Have a great day and don’t forget to SMILE!

This project was created by me, materials provided by ADORNit. 

*Disclaimer:  This blog uses ads and affiliate links.  If you choose to make a purchase using one of the links, I receive a small commission (at no additional cost to you) that helps offset the costs of maintaining this blog.  Thanks for your support!

Shop Amazon Scrapbooking Supplies*

ADORNit Blog Hop and Giveaway

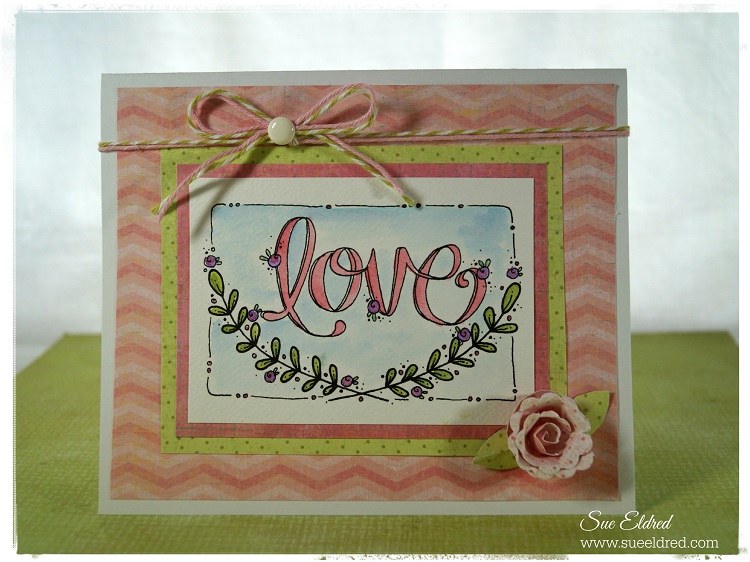
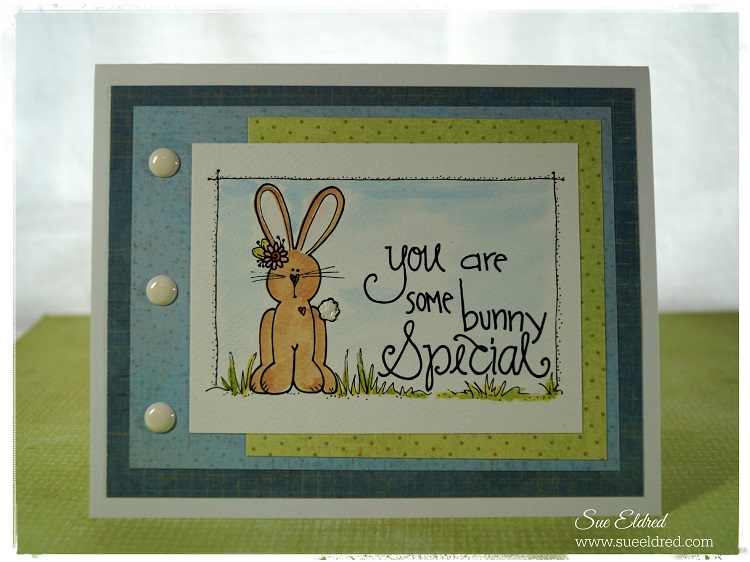
Have you seen ADORNit’s Art Play Paintables Collection by Lindsay Ostrom?

These papers are a card makers dream.

All these wonderful images without having to buy a ton of stamps.

The papers are perfect for coloring with color pencils, markers or painting

with water colors or inks.

I like to watercolor with my inks and markers and a waterbrush.

If my inks have a flexible lid, I squeeze color into the lid and use that as my palette.

If not, I dab the ink onto a non-porous surface and paint away.

(These cards were created for and sponsored by Adorn It.)