TBT: Family Ties

A little Throw Back Thursday.

Family Ties Layout 1657

I recently transferred my old scrapbook layouts into a new album.  A lot of my pages were

so thick that I needed to find an album that would fit all my dimension with out bulging.

While transferring the pages, I ran across this one that I made in 2007 of my husband’s parents.

I always tell Justin that he’s a lot like his dad.

Not so much in appearance, but in personality.

You know those traits that your husband has that drives you crazy?

He has all those and more.  (teens!)

Anyway...

I showed this page to Justin and he was amazed at how much he looked like his grandfather.

Eyes, Stature…

So, I’m blaming all those traits on him.

Getting out the album was a lot of fun for everyone.

Looking through it, I realized how thankful I am for the pages that had journaling.

It’s important to document your story!

We think we’ll always remember, but we don’t.

We R Black Album


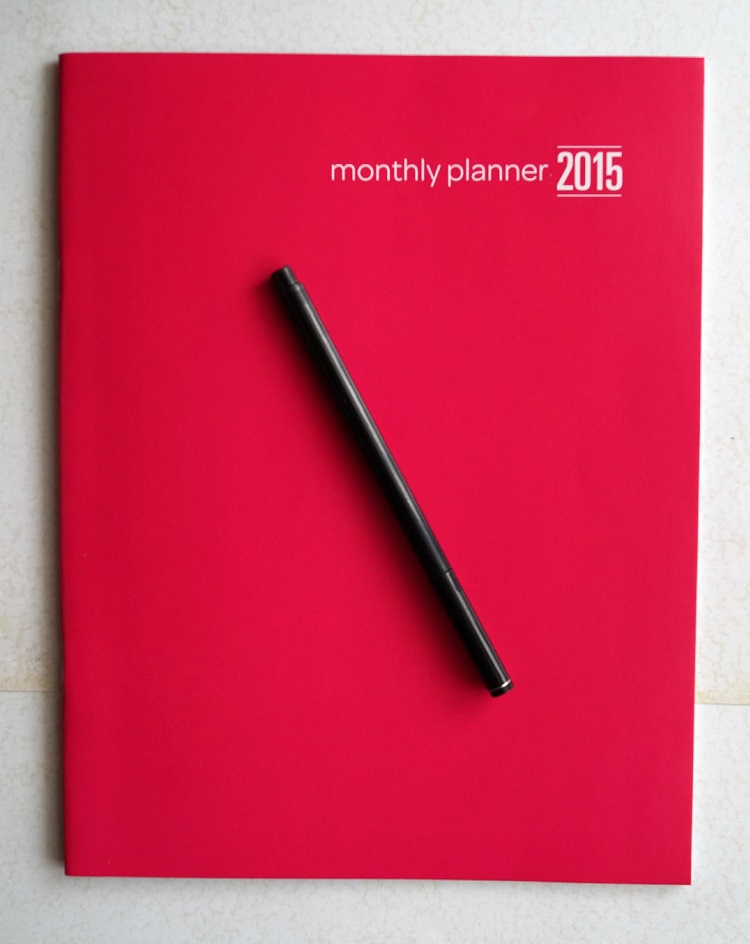
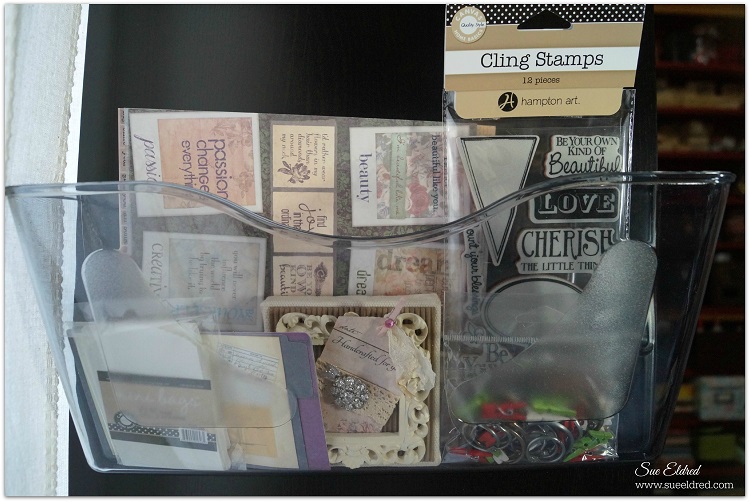
Here’s the album I purchased, it’s from We R Memory Keepers.

I have 34 layouts with dimension and the album still lays flat.

“Love with all my heart”

Deflecto Mini Album 1557

I was supposed to be crawling into bed last night, when inspiration struck.

Happens to me all the time.   Does that ever happen to you?

So….In about a 1/2 hour time, I whipped up this cute little Mini Album using a couple of

Flexible Pouches from Deflecto Craft Solutions.

These pouches made the perfect cover for my mini album.

I used two pouches for my cover and inserted older left over Valentine scrapbook paper from

Authentique Paper.  I cut several inside pages and bound it together with my Bind It All and 1/2″ coil.

Fun, Simple and Cute.  (if I say so myself)

“This is a sponsored post. As a member of the Deflecto Design Team I have been provided product in exchange for my creative ideas, views and opinions.”

Vintage Inspired Hearts

 When we think Valentine’s Day we think hearts, right?

These DIY vintage hearts would also make a sweet gift for a special friend

or they could be used as a decoration in a vintage inspired wedding centerpiece.

Hearts are not just for Valentine’s Day.  

 How to make Vintage Inspired Hearts                    (*affiliate link)

*Disclosure:  This blog uses affiliate links.  If you choose to make a purchase using one of the links, I receive a small commission (at no additional cost to you) that helps offset the costs of maintaining this blog.  Thanks for your support!


Directions:

  1. Cover Smoothfoam Heart with Newsprint paper using glue stick.
  2. Apply a thin coat of cream acrylic paint over heart.  Wipe off excess.
  3. Add Fired Brick Ink to heart using the ink applicator.  Accent the edges of the heart with the Vintage Photo Ink.
  4. Stick small word stickers onto center of heart.
  5. Apply mod podge over heart for added shine.

To make the heart an ornament:

  1. Poke a small hole into the top of the heart.
  2. Fold a 6″ piece of twine in half, thread bead onto twine.  Knot on both sides of the bead to keep in place.
  3. Add small dab of craft glue into hole and insert loose ends of twine.

“This is a sponsored post.  As a member of the Smoothfoam Design Team, I have been provided product and compensation in exchange for my creative ideas.  The views and opinions are my own.


Shabby Vintage Clipboard

Shabby Clipboard 2509

More new products today from Clear Scraps.

This was a fun project.

When I first got this new acrylic clipboard I wasn’t sure how I was going to use it.

Once I got a clearer vision on how I wanted it to look, inspiration soon followed.

Now, I can’t wait to make another one.

Here’s the link to all of the NEW PRODUCTS from Clear Scraps.

Shabby Vintage Clipboard

Supplies Used:

  1. Spray the back of the clipboard with the IrRESISTible Texture Spray to give it a soft lacey look and dab the edges with White Picket Fence paint.  (Both paints work great on acrylic.)
  2. Adhere collage papers and vintage photo into place or allow the clip to hold them.
  3. Adhere mirror embellishment to corner of clipboard
  4. Embellish Clipboard with Vintage Trim and Lace.
  5. Add small adhesive rhinestones and a vintage style button to the clip and tie a crinkle ribbon bow.

DSCN2510

This project was created for and sponsored by Clear Scraps.

Vintage Frame Project (aka Plan B)

I woke up pretty darn proud of myself today.  All I had to do was put the final coat of wax

on my project and then “Wow” you with the finished masterpiece.

I even had a catchy title for the post called “When Procrastination Pays Off”.

I even took a picture of the pieces beforehand.

I was confidentially prepared for the win.  (you know, my awesome blog post)

Vintage Frame Project Supplies

Some may call me a procrastinator….

I like to wait until inspiration strikes.

Here’s the way I think…

The other evening, I received some awesome paint from the good people at Plaid.

I had this old frame that I picked at a garage sale last May for a quarter, an old needlepoint

tapestry that I made (um-hum) 25 years or so ago, old sheet music and a coupon for Jo-Ann’s

for framing.  All of a sudden I needed to use that frame.

The original plan was to have Jo-Ann Fabrics frame the tapestry and then see if I could purchase

glass and a mat for the frame.

(Side note:  Just because you have a framing coupon doesn’t mean your Jo-Ann’s have a frame shop)

So…the next stop, the hardware store for a $5 piece of glass.

How hard could it be?  I don’t need professional framing.  I can do it myself.

I guess I should of seen the sweat off the old man’s brow as a sign

that I was in for more than I could chew.

Last night I sanded, painted and distressed.  The frame looked lovely.

Today a coat of clear wax, wait an hour, then buff.

Armed with chipboard, tape, flat head screwdriver, old tapestry and good intentions

I went on to finish my masterpiece.  Only one problem… it didn’t fit.

The needlepoint tapestry was too fat for the frame.  (I didn’t see that one coming.)

So… on to “Plan B”.

Framed Clover Blossoms

I decided to stick the Vintage Sheet Music in the frame instead.  (maybe it’s really Plan A?)close up of distressed frame

Seriously, I love this chalk paint from Plaid.  (Did you happen to notice the date on the sheet music?)

tapestry

I guess I’ll leave this wonky shaped tapestry for the professionals.  (Michael’s here I come.)

Sledding Fun

Sledding Fun Collage

Yesterday was finally warm enough for a little sledding.

Our back yard has just the right incline, perfect run for a four year old.

After about a half hour both he and his Mom was done.

Nicholas Sledding with Watermark 1069

I took 100 pictures of him sledding.  These are some of my favorites.

I love the new camera I got for my birthday/Christmas present.

I received the Sony SLT-A58, I’m loving the clarity a better camera provides.

We purchased the camera the week-end after Thanksgiving.

I’ve taken over 1100 pictures already.  (love it)

Happy Sunday Everyone.  Have a great Day!

from Drab to Fab: My Perfect Planner

Sue's 2015 Planner 1049

Every year around this time, I start searching for the perfect planner.

My sweet husband even picked up a couple of planners for a Christmas gift.

I’m really picky and he knows my requirements.  They came with the receipt and a disclaimer.

After taking one of the calendars back, I picked up a third one just in case.

I like to keep my options open before committing to something as important as a yearly planner.

After forgetting to pick up hairspray during our last trip to Walmart,

my husband volunteered to take the groceries to the car and pick me up at the door if

I went back and got it.   (after all, it was for him)  Besides it was really cold.

Anyway… on my way back to get the hairspray I ran across a huge display of

very cheap inexpensive planners for only $1.00.  Eureka!

Finally… exactly what I was looking for.

A month at a glance, thin, big enough space for writing, with lines planner.

Plain 2015 Planner

The colors were bright, but, I knew that didn’t matter.  It was perfect for decorating.

And… better yet, it came with a clear protective cover.

With the help of some scrapbook paper and stickers, I just happened to have on hand,

I now have the perfect planner.

From Drab to Fab, Cheap to Designer.  I love it and I couldn’t be happier!

On a Side-note:  I showed my husband my fabulous creation and he wasn’t nearly as

amazed as I thought he would be.  (go figure!)

Getting Cozy…and a update

Mini Album watermarked

NEW PRODUCT From Clear Scrap…

Stay Warm and Cozy this winter while you play with one of the “New” Mini Mixable Albums

from Clear Scraps.  My Mini Mixable Little Bits 3.5 x 5 Album, made with soft blues and tans,

uses the “Cozy” scrapbook collection from Authentique Papers.

A perfect little album for those snowy winter pictures.

Now that the CHA (craft and hobby assoc.) Trade Show is right around the corner,

I can start showing some of the new projects I made for Clear Scraps.

They have a lot of new albums, stencils and more.  You can check out all of their “New” items here.

It’s a cold one today… So Stay Warm.

mantle onemantle two

Update on Winter decorating:  My Newly Decorated Mantle  (what do you think?)

The Decorations are down… Now what?

Winter Lamp 990

CHRISTMAS…

the time of the year when decorating in excess is completely acceptable.

It's the most Wonderful TIme of the Year

A time when every surface is thoughtfully decorated.

Taking down the ornaments 996

I usually wait until the day the kids go back to school to take the decorations down.

What took a whole day to decorate, comes down in just one evening.  (it’s kind of sad)

The house is starting to look empty with that big old tree out of the corner.

Now What?

the first snow of the season 974

Yesterday, we had our first significant snow of the season.

Everything is coated in a beautiful white.  A clean slate.

It made me think…

Just because Christmas is over doesn’t mean the house can’t still look warm and cozy.

Why not leave out any winter decoration that doesn’t scream Christmas?

The red berry spray, the snowflake pillow, the snowmen, the lanterns.

It’s Winter….  it’s going to be around for the next several months.

So while we’re hibernating indoors this winter, let’s make it COZY.

Why not celebrate it.

I’ve decided…. the mini sleds are staying up on the mantel and I’m decorating

with a Winter theme.  (who’s with me?)

Deflecto December Design Team Goodies

Deflecto Shelf 825

Now that Christmas is over, I’m starting to think organizing again.

For a quick solution for a constant problem, I used a couple of Wall Mount Supply Organizers

from Deflecto Craft Solutions as a place to gather supplies for upcoming projects.

I added them onto the side of my IKEA shelving unit next to my desk.

Deflecto Shelves 829

Because I have commitment issues when it comes to screwing things into furniture.

I used Small Removable Hooks from Command.

Worked great.  Now, I can move the wall shelves to a different place if my needs change.

Command Clear Mini Hooks

As I’ve mentioned before, one of the high light each month is when I get my Design Team Goodies

from Deflecto.  I love how much care they use when packing each box.

This month, before I tore into the boxes, I remembered to take a few pictures of how they arrived.

Deflecto Packaging 2638

This was on the front of the box.  Every month a different personalized label.

Deflecto Packaging 2642

Each package comes packed with tissue paper and seal.  Just like a Christmas gift.

Deflecto Packaging 2645

This month’s box actually came with a wrapped Christmas present.

This company knows how to make a girl feel special.

Along with the wall files we also received additional wall pockets, desk file holders, various

goodies and a large office floor mat.  As the new year progresses and I dig out from all my

Christmas and CHA crafting, I’ll be doing more organizing with my Deflecto goodies.

Can’t wait to get started.

“This is a sponsored post. As a member of the Deflecto Design Team I have been provided product in exchange for my creative ideas, views and opinions.”