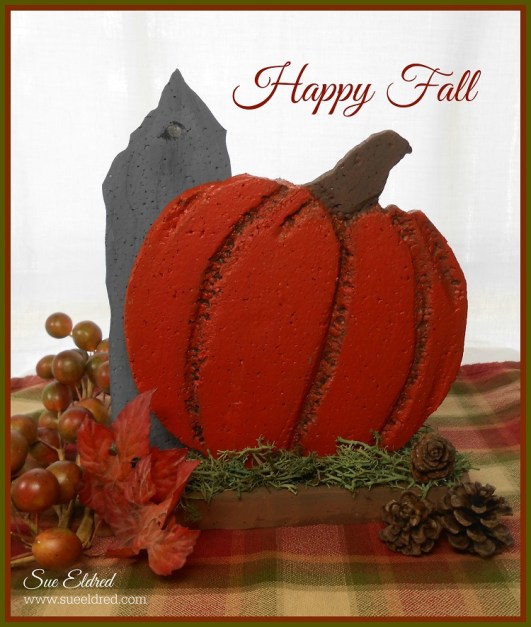
With the Crisp Cool Mornings, it’s starting to feel like that time of year again.
Time for all the Fall Fun.
If you’d like to make my “Happy Fall Centerpiece” log onto the Smoothfoam Blog
for complete supply list and directions.
With the Crisp Cool Mornings, it’s starting to feel like that time of year again.
Time for all the Fall Fun.
If you’d like to make my “Happy Fall Centerpiece” log onto the Smoothfoam Blog
for complete supply list and directions.
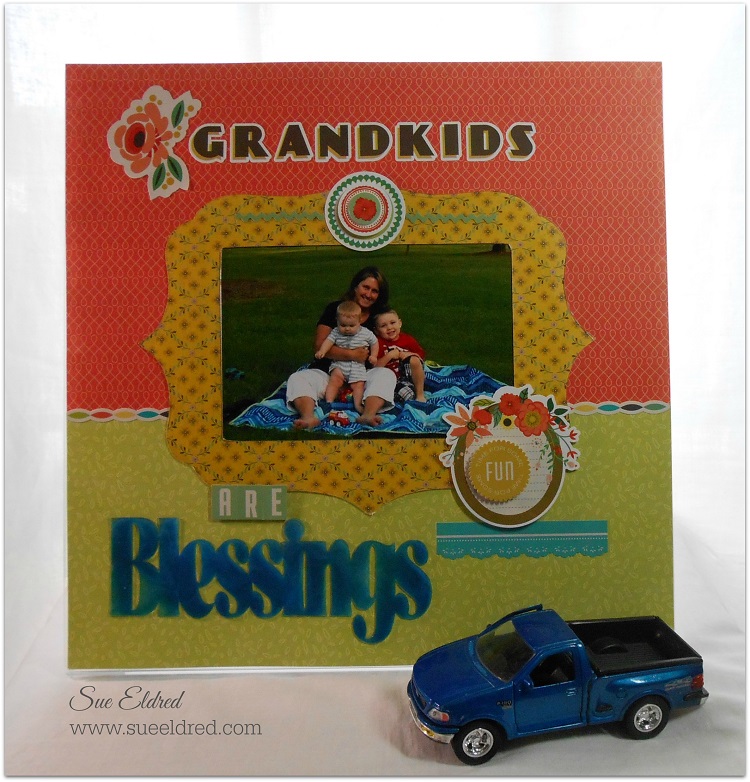
I have two adorable grandsons who are just the sweetest little guys.
I just love being around these two. So many smiles, hugs and lots and lots of love.
Being a grandma is Wonderful. (Although I’m sure I don’t look old enough to be a grandma)
My Grandkids are definitely a Blessing.
The “Grandkids are Blessings” Layout was made with: (*affiliate link)


Tip: I sprayed the Irresistible Texture sprays fairly thick on the front of the word “blessings” and allowed a couple of hours to dry before adhering to my page with Glaz On.
This project was created for and sponsored by Clear Scraps.

Shop Amazon Scrapbooking Supplies*
Disclaimer: This blog uses ads and affiliate links. If you choose to make a purchase using one of the links, I receive a small commission (at no additional cost to you) that helps offset the costs of maintaining this blog. Thanks for your support!

I usually don’t mind a little rain… especially when I don’t have to drive in it.
But seriously folks, yesterday’s rain was a little bit more like Monsoon Season. (in the Midwest?)
Since I’m getting over bronchitis, I didn’t dance in the rain.
Still… I managed to find beauty in it. (I took this picture out my bedroom window.)
After a long stormy night and morning, the rain has finally let up. (for now at least)
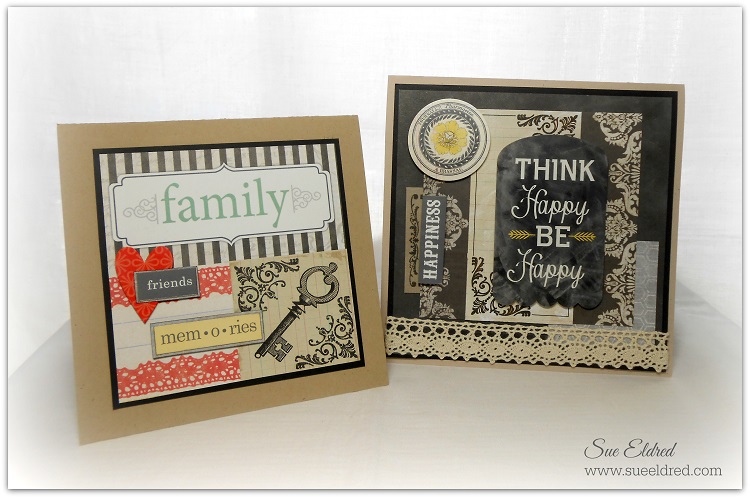
A perfect day to share a couple cards that I made using the Chamberry Collection from Adorn It.

It’s always a good day to Be Happy!
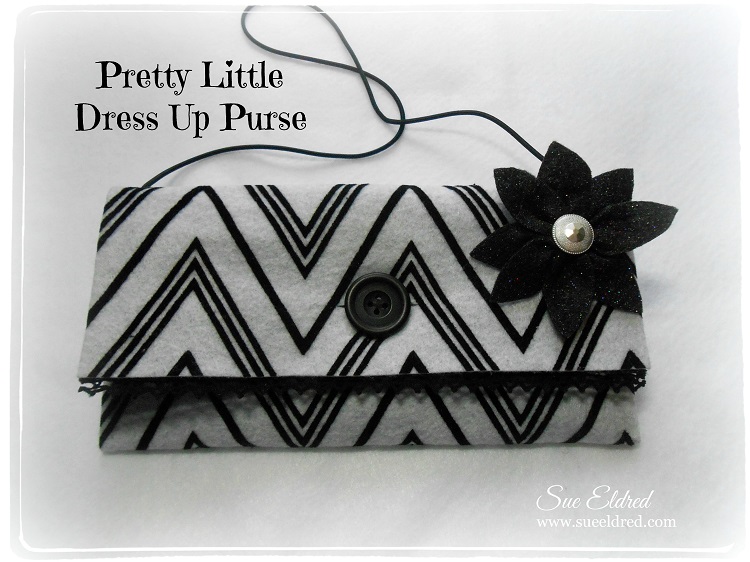
Today I’m sharing a couple of Fun & Easy Felt Projects that is sure to make her smile.
I was recently sent a variety of felt from Kunin along with some great glues from
Beacon Adhesives and buttons from Buttons Galore & More
for a Designer Craft Connection September Blog Hop. 
My First Project is a cute little dress up purse made with just three pieces of felt.
Directions:

Did you know that you can easily die-cut felt?
The love heart pillow was made using White Classicfelt™ and Princess Hearts Fancifelt™ with a large heart die and alphabet dies. One side of the heart has the white felt, the other has the Princess Hearts felt. I cut one of the small hearts from the Princess Hearts felt to use as my “o”. The pink flower on top was made the same as the above black glitter flower except that I used 6 petals instead of 8.
Shop Amazon Scrapbooking Supplies*
*Disclaimer: This post uses ads and affiliate links. If you choose to make a purchase using one of the links, I receive a small commission (at no additional cost to you) that helps offset the costs of maintaining this blog. Thanks for your support!
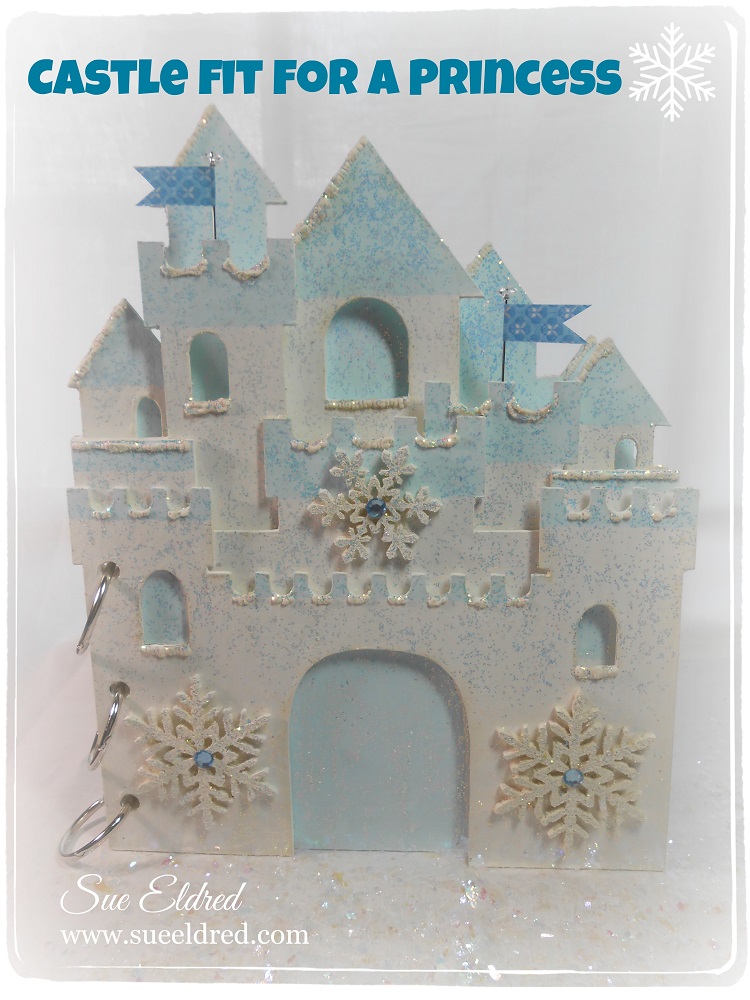
With the song “Let it Go, Let it Go…” stuck in my head,
I channeled my inner princess to make this “Frozen” inspired album.
Making the album is easy. Getting the song out of your head, not so easy.
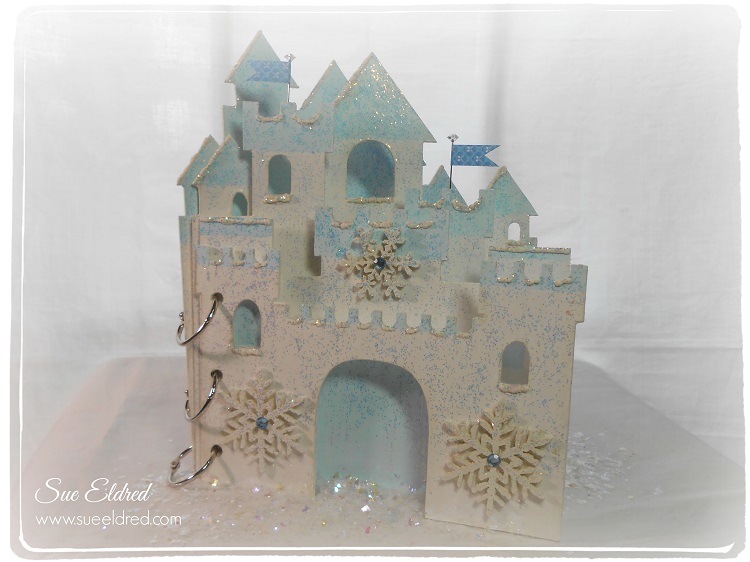
Supplies Used:

Directions:
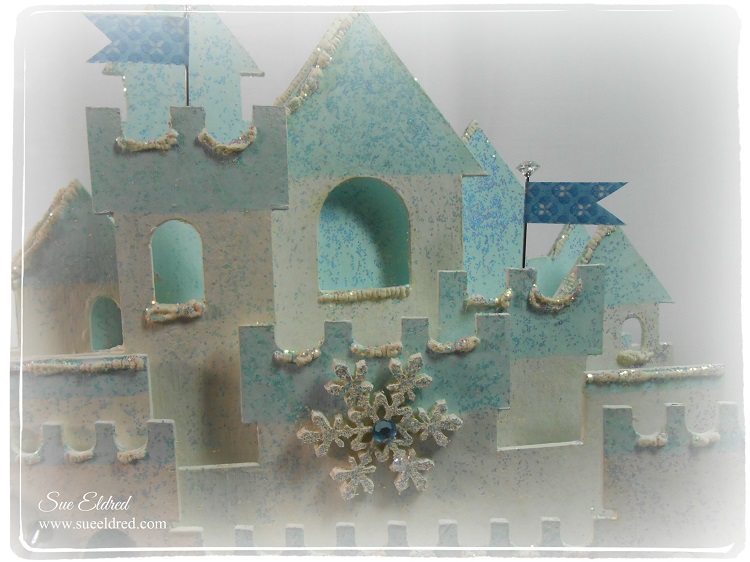
Now you’ve got that song stuck in your head! (Don’t you?)
Ask for the Sandlecastle Album from Clear Scraps at your Local Scrapbook Store.
Also Available on amazon.com*
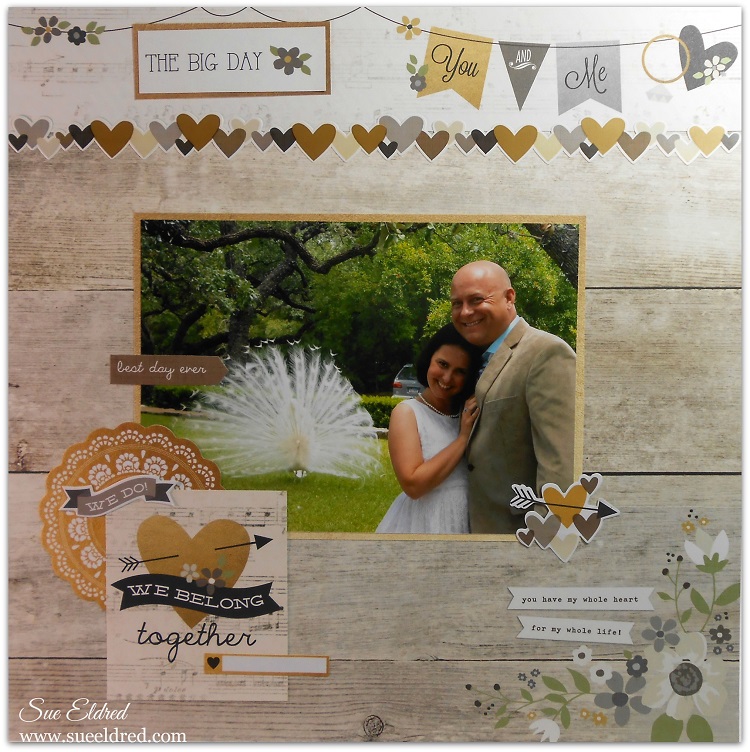

One of the Big surprises of the summer was the wedding of my sweet niece and her new husband.
I am so happy for them. They make a great couple and they look so cute together.
My last design team assignment for The Paper Forest was Simple Stories: The Story of Us.
Once I saw the collection I knew exactly what pictures I wanted to use.
I appreciate my niece sharing her photo’s and allowing me to scrapbook her special day.
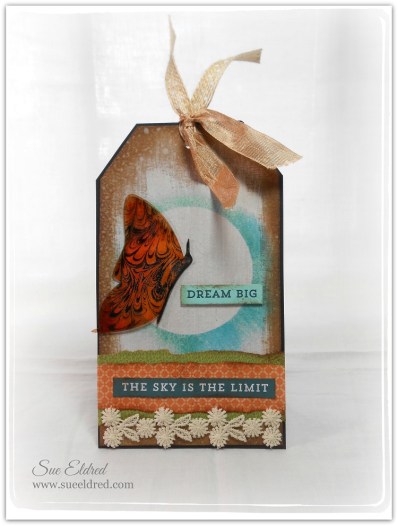
All this week on the Clear Scraps and Imagine Crafts Blogs we are combining efforts with one Big Creative Blog Hop.
My “Dream Big… the sky is the limit” tag features a clear acrylic butterfly from Clear Scraps along with a variety of StazOn Inks for a wonderful effect. I love how the ink works so well with acrylic. And… that Wedding Dress irrRESISTible colored textured spray, LOVE!!!
Products Used:
Directions:

I recently started working with a new company called Deflecto. Some of you may recognize the name Deflecto from dryer vents or bicycle reflectors. (among many other things) Deflecto now has Craft Storage Solutions. Providing solutions to stay organized so you can concentrate on your projects not your clutter. (and that’s always a good thing)

Each month Deflect-o will send me something new to play with. This month, I’m getting creative using their Craft Frames.

Call me silly, but, this has to be my favorite frame so far.
This frame is not just a clear 8 1/2″ x 11″ acrylic frame. It is flat backed and comes with heavy-duty magnets, velcro and a push pins attachment so that it can go on a fridge, wall or even a bulletin board. They’ve thought of everything.
For my frame, I went with the velcro and have it attached inside my office cabinet. I’m always losing my Editorial/ Blog calendar on my desk among piles. Now I can find it, take it down and update it anytime I want.

I like that this frame comes with a black edge. I added some personal inspiration with scrapbook paper and stickers.
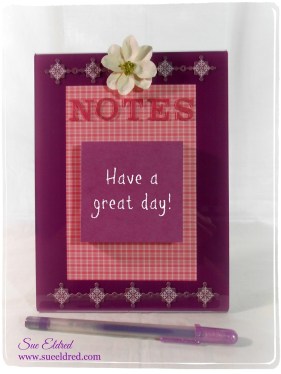

The purple frame I made into a girly Post It Note Holder. The second picture shows the frame clear with no paper scrapbook paper added. I’m not sure which one I like the best.

How about this mini 2″ x 3″ frame decked out for the Holidays. (too cute right?)
I think I’m going to really enjoy working with this company and all their Crafty Storage Solutions.
I love being organized and this will work out great.
“This is a sponsored post. As a member of the Deflecto Design Team I have been provided product in exchange for my creative ideas, views and opinions.”

Overwhelmed by all the Wedding Pages you need to scrap?
The Wedding Brag book is a perfect way to show off a few of your favorite Wedding photos until you get that larger book finished.
The Wedding Brag Book would also make a perfect gift for your favorite Mother or Mother-in-law.
For my Wedding Brag Book I used the 6″ x 6″ Chipboard 3 Tabbed Album from Clear Scraps and
The “Story of Us” Collection from Simple Stories.

I love these sturdy chipboard books. When I use these books, I can easily trim around the edges with a craft knife and smooth any rough paper edges with a sanding block.
To spice up boring silver book rings, I painted each ring with a gold metallic paint pen.

Tip: Being a frugal scrapper, I used the 1/2″ strip at the bottom of most scrapbook paper to cover the tab. Start with that edge and cut your paper 6″ x 6 1/2″ and include that strip for the perfect tab.
Have a Creative Day!
Make sure to check all the 5 days of the DIY Wedding Projects.

Shop Handmade – The Wedding Store
Disclaimer: This blog uses ads and affiliate links. If you choose to make a purchase using one of the links, I receive a small commission (at no additional cost to you) that helps offset the costs of maintaining this blog. Thanks for your support!


 Sue's Creative Workshop