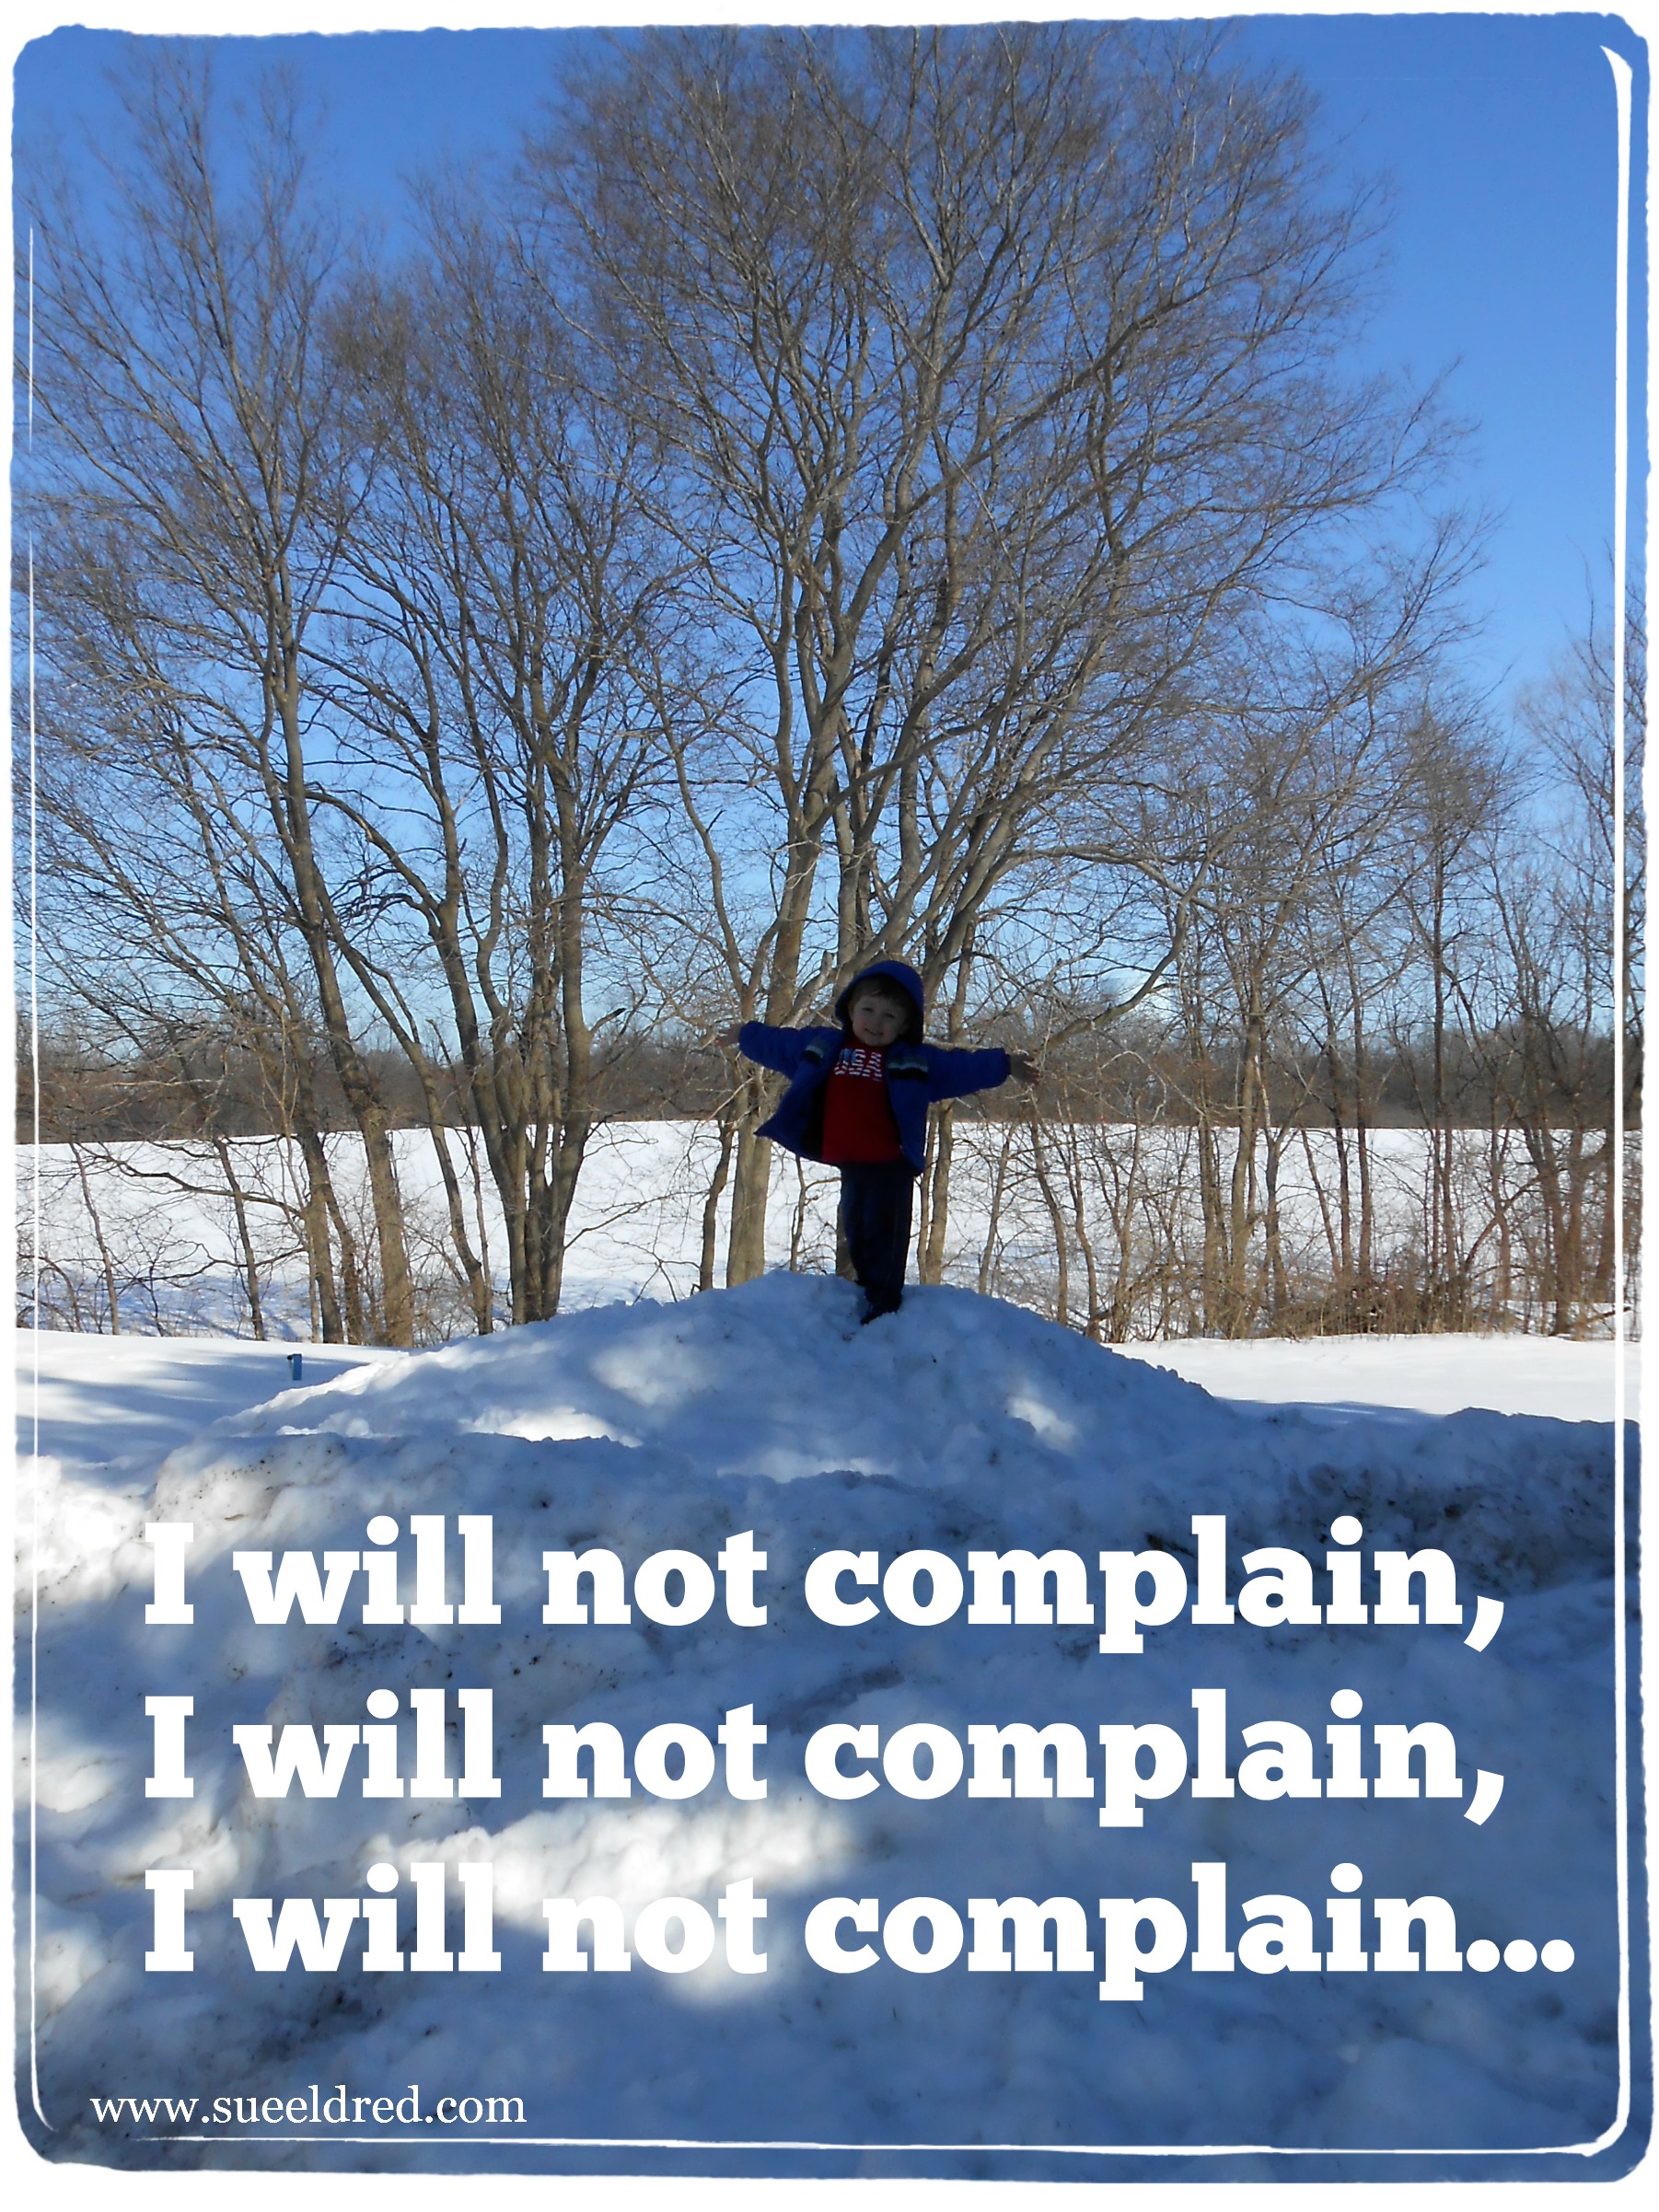
I worked up a sweat just watering the flowers this morning.
It’s a good thing I take lots of pictures.
Otherwise, I may have forgotten just how rotten last winter was.
I worked up a sweat just watering the flowers this morning.
It’s a good thing I take lots of pictures.
Otherwise, I may have forgotten just how rotten last winter was.
One of the places I go when I need a little creative inspiration is Pinterest.
So many wonderful photo’s to look at. So many wonderful ideas.
I have to make sure I have an hour or so to kill when I do.
I thought I’d share with you one of my FAVORITE layouts I found on Pinterest.
I asked permission from Kay Miller of Kay Millers Designs if I could share.
(It’s always a good idea to ask first.)

I love everything about this layout. Everything’s so well thought out.
Thanks Kay for letting me share your wonderful layout.
Make sure to check out Kay’s site www.kaymillerdesigns.com for more creative inspiration.
And… if you’re on Pinterest and you’d like to check out my pins you can find me here.

The Bride and Groom Place setting is a cute way to identify where the bride and groom will sit for dinner!
To make the Bride and Groom Place Settings you’ll need… (*affiliate link)
4″ Smoothfoam ball
Smoothfoam sheet (any size)
Stick ‘n Carve*
Hot Wire Foam Cutter*
Sandpaper, paint brush
Craft paints – black and white
Mod Podge Gloss Finish*
Stickles Glitter Glue, Diamond*
2 wood dowels
Gold Paint Marker*
“Story of Us” stickers

Shop Handmade – The Wedding Store
Disclaimer: This blog uses ads and affiliate links. If you choose to make a purchase using one of the links, I receive a small commission (at no additional cost to you) that helps offset the costs of maintaining this blog. Thanks for your support!

Just a quick share today. (waiting on paint to dry on another project)
Here are a couple more projects that I made for The Paper Forest Design Team
using Kaisercraft’s Dream Big Collection. (Inside it says: anything is possible)
I’m really loving the color softness of this collection.
This card could be using for a Graduation, Retirement, New Job…

Why give a boring candle when you can make one over with a few left-over scraps of paper?
Small Candle from Bath & Body Works.
The past week was such a mix of emotions.
It started with unexpected news, a trip out-of-state, hugging the necks of family I hadn’t
seen in quite a while and saying good-bye to a very good man.
While it was extremely sad, we also left with a good feeling of being reconnected.
After arriving home late the night before, Saturday morning, I joined a group of my
classmates at my old alma mater and we all took a tour of the high school.
While some things hadn’t changed much at all, there were several new additions and changes.
I had my camera in my pocket the whole time and only managed three pictures. (that’s not like me)
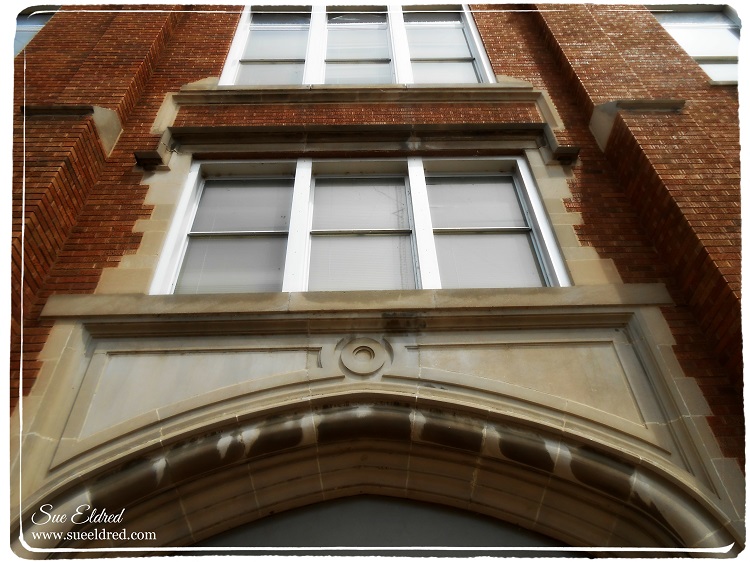
I’ve always loved “A” building. (the original high school)
I was talking too much and wandered off with a few other classmates and didn’t get the whole tour
of “A” building. (kind of like me in high school)
A few years ago, there was talk of tearing it down, I’m so glad they didn’t. So much history.
This building was special because both of my parents and their siblings walked the halls of this place.
Until recently, my dad’s graduating class of ’49 picture was hanging on the walls.
I had hoped to take a picture of that.


I hadn’t walked these halls in 35 years. (it was surreal)
This was the part of the reunion I was looking forward to the most.
Since, I had missed the Friday night mixer, this was the ice breaking point for me.
Saturday nights reunion was filled with blinding rain and close to 100 people stuffed into an old barn.
Even though there was a few leaks, I thought the ambiance was fun.
A party like this 35 years ago, would have been epic.
With all the old pretenses gone, it was great reconnecting with old friends.
Some I hadn’t seen since graduating 35 years ago.
Even though I had serious trepidation about the event, I was so glad I went.

Now that schools out and everyone’s looking for new things to do.
How about making a Sun Catcher with the kids?
This is something even the younger kids can enjoy. (I recommend ages 3-100)
This project was created for and sponsored by Clear Scraps.
Some of you may remember my family pictures that was taken on Easter.
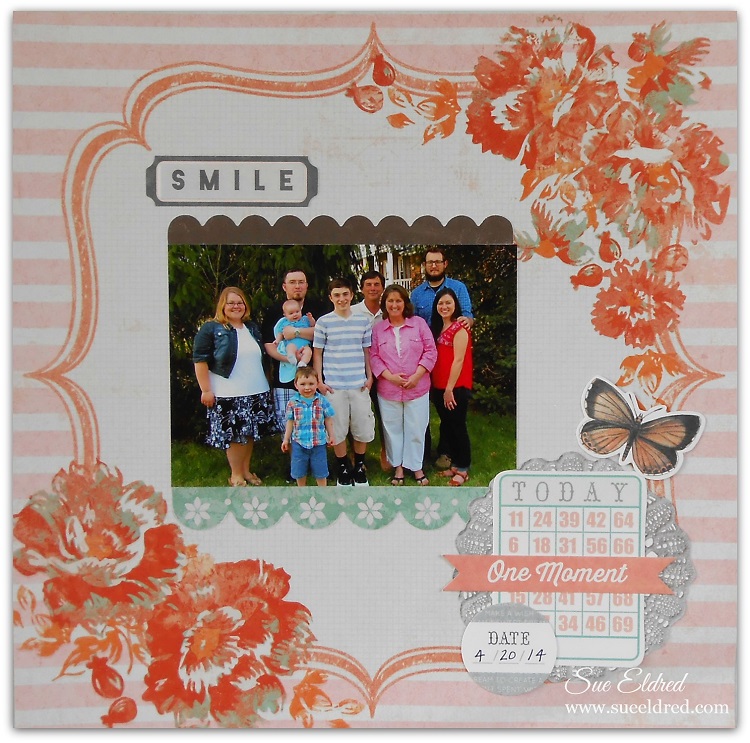
I love all the silly shots we got that day. I think “captured” really fits on the layout below.
The caption reads:
Somebody got a little excited as Mom ran back and forth setting the camera on the tripod.
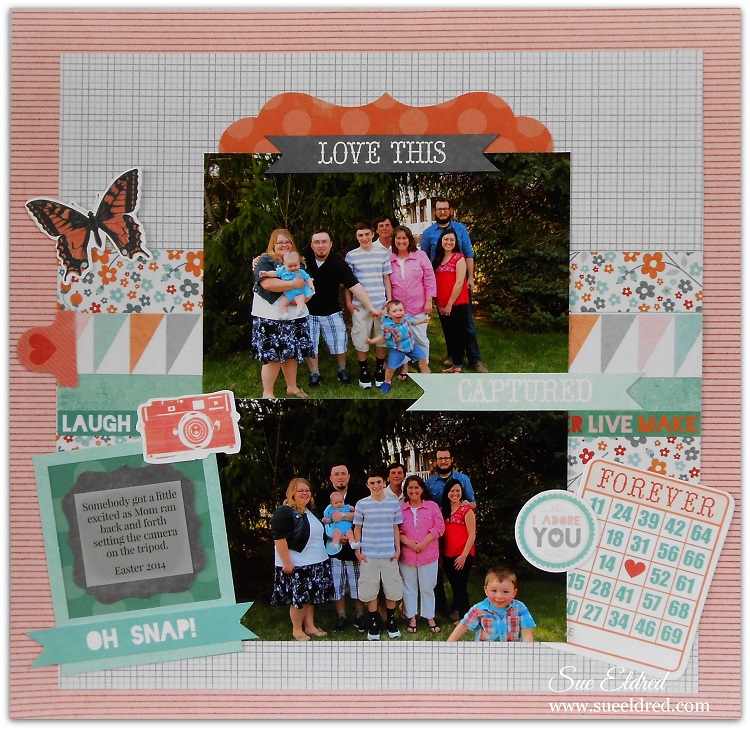
These layouts were made with Kaisercraft’s Dream Big Collection.

Congratulations goes out to Pat S. she is the winner of the Cupcake Cling Stamps
from Serendipity Stamps.
Thanks to everyone who participated. I loved hearing from you all.
It’s nice to know your out there.
Hmmm… I think I should have another Give Away sometime later this month.
Make sure to keep stopping by. (and keep those comments coming)
FYI: Did you know that Sue’s Creative Workshop is being seen all over the world?
Last month I had visitors from 24 countries. (Kind of exciting, don’t you think.)
Today’s the first Monday of the month time for the Designer Craft Connection Blog Hop.
The Theme this month is Handmade Gift Ideas. (don’t forget to hop)
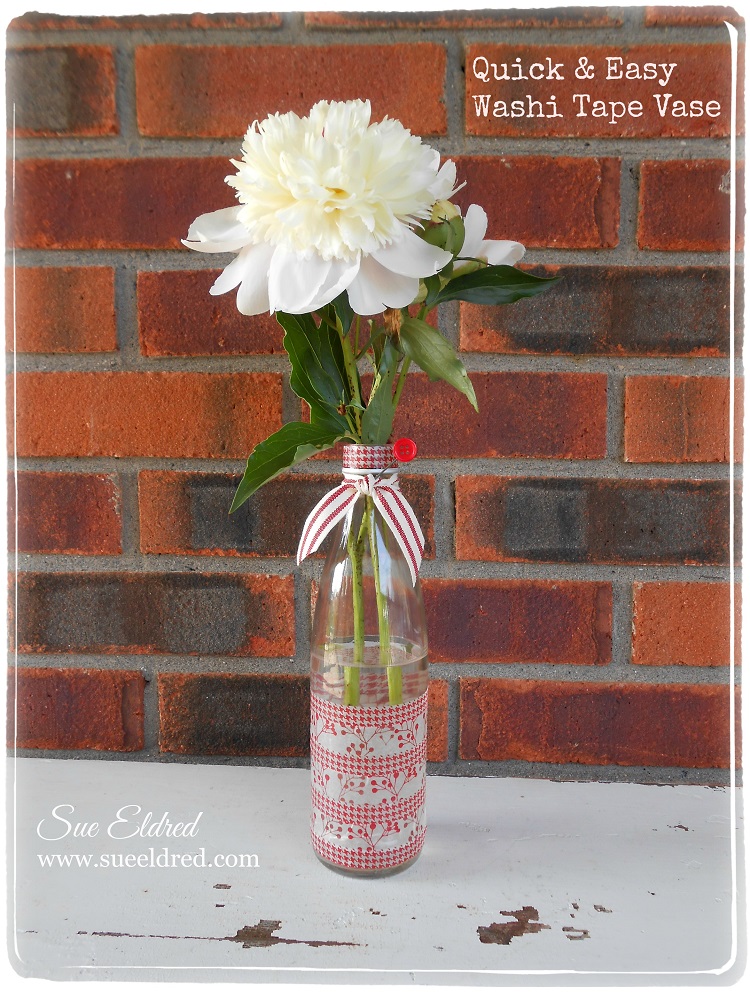
My project today is a fun, quick & easy project that you can make in minutes.
This would make a great last minute gift.


I started with a narrow glass bottle that has a fairly long straight section.
Wrap the bottle with Washi Tape. Choose two patterns or more.
Having a straight section is important to getting the washi tape on evenly.
You can smooth out any wrinkles in the tape with your thumb nail or a bone folder.
I added a little more detail around the neck of the bottle with some ribbon and a button.
I picked up the ribbon this Spring at The Paper Source in Indianapolis. (I’ll be hoarding this)
I glued the button onto a Memo Pin* from Tim Holtz and stuck into the ribbon.
Grab a flower from the garden and your ready to go. It really is that easy.
Just a note in case you’re wondering:
The tape on the vase, just like the flower won’t last for ever. It’s just pretty.
*Disclosure: I am a Amazon Affiliate.
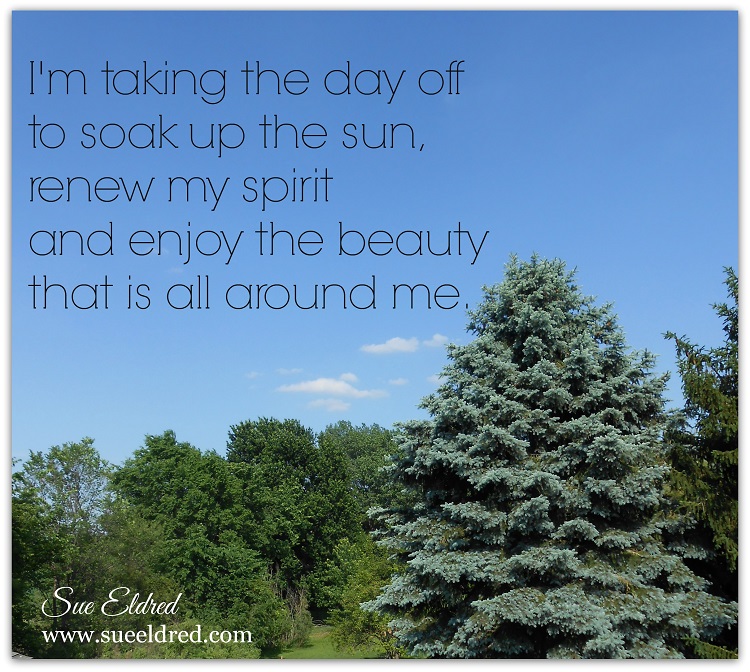
I’m taking the day off. (If I could insert happy elevator music right now I would.)
Happy Sunday!
***Don’t forget today is the last day to leave a comment to be eligible to win the free cling stamps. I’ll be choosing one lucky winner Monday morning.


 Sue's Creative Workshop