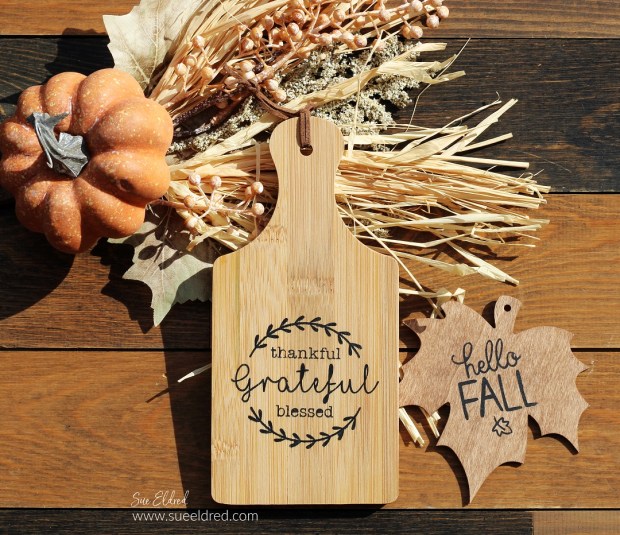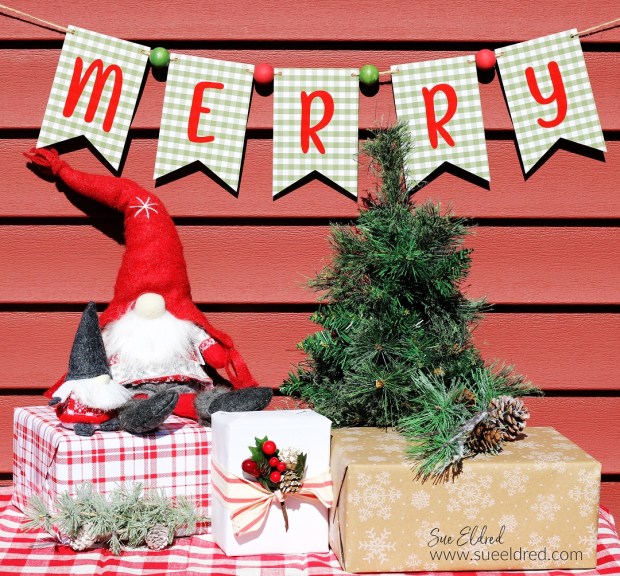
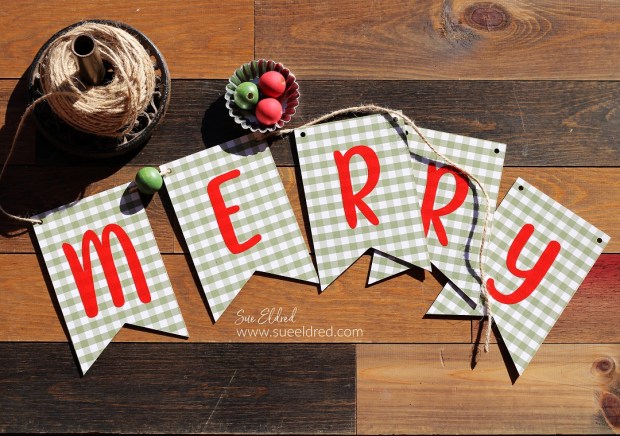
How to make a “Merry” Banner to add to your Holiday Decorations.
Now that the weather has turned cooler, I’m starting to plan my Holiday decorating.
If you love banners and quick and easy projects, this one’s for you.
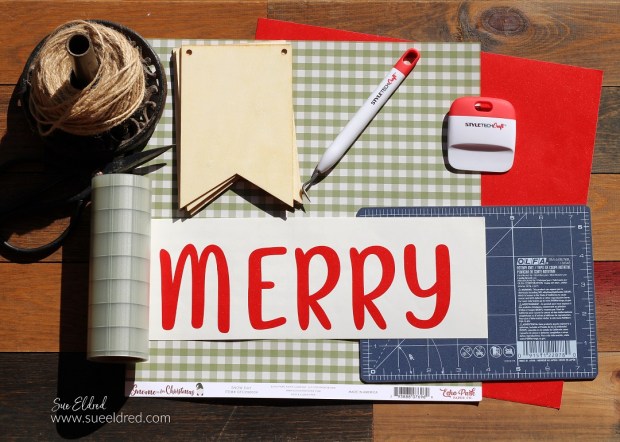
Materials Used: (*affiliate links)
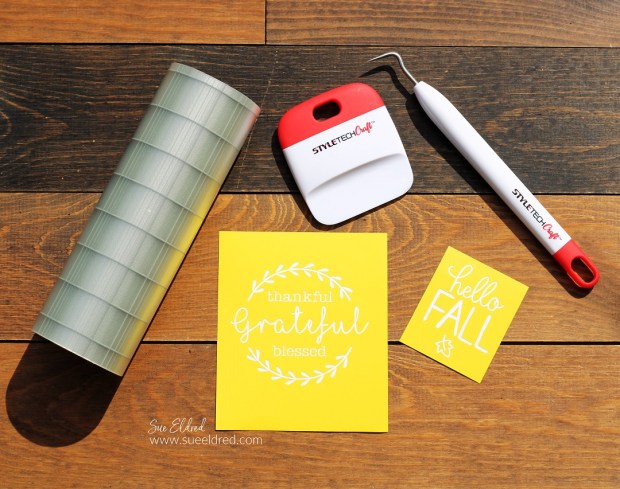
- StyleTechCraft Red Ultra Metallic Glitter Vinyl*
- Gingham Paper (Snowday) from Echo Park Paper Co*
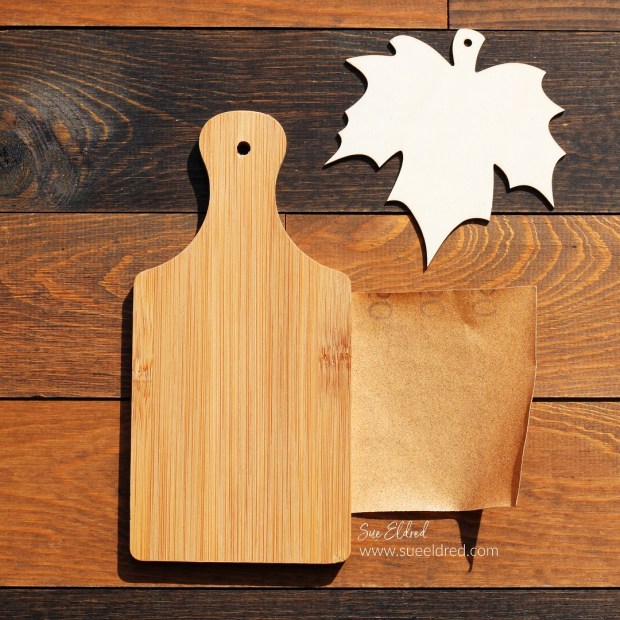
- Wood Banner Shapes*
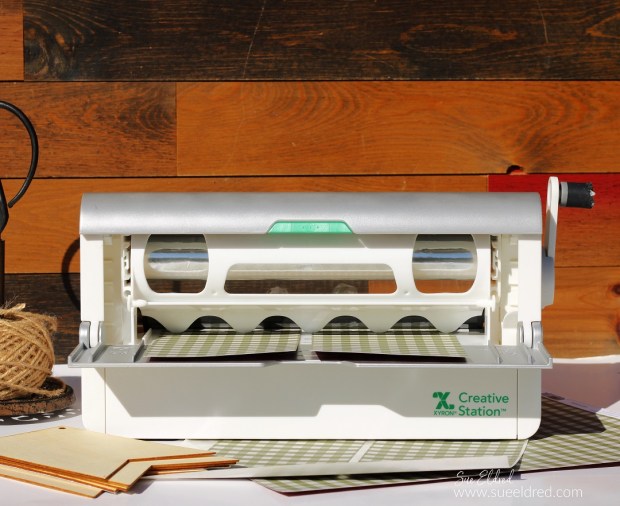
- Xyron Creative Station*
- Silhouette Cameo Electronic Die Cutting Machine*
- StyleTechCraft Vinyl Tool Kit*
- StyleTechCraft Vinyl Transfer Tape*
- Olfa 6 x 8 Blue Cutting Mat*
- Craft Knife*
- Natural Jute Twine*
- Wood Beads*
- Red and Green Acrylic Paint
*Disclosure: This blog uses ads and affiliate links. If you choose to make a purchase using one of the links, I receive a small commission (at no additional cost to you) that helps offset the costs of maintaining this blog. Thanks for your support!

StyletechCraft products brought to you by ATSM Craft*
Directions:
- Cut the scrapbook paper slightly larger than the wood banner pieces.
- Place the scrapbook paper design side up in the Xyron Creative Station®*.

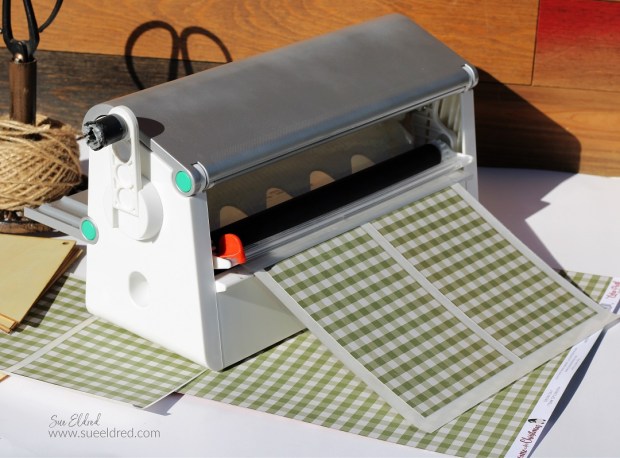
- Turn the handle of the Creative Station to run the paper through. As it runs through, it adds complete adhesive covering on the underneath side of the paper.
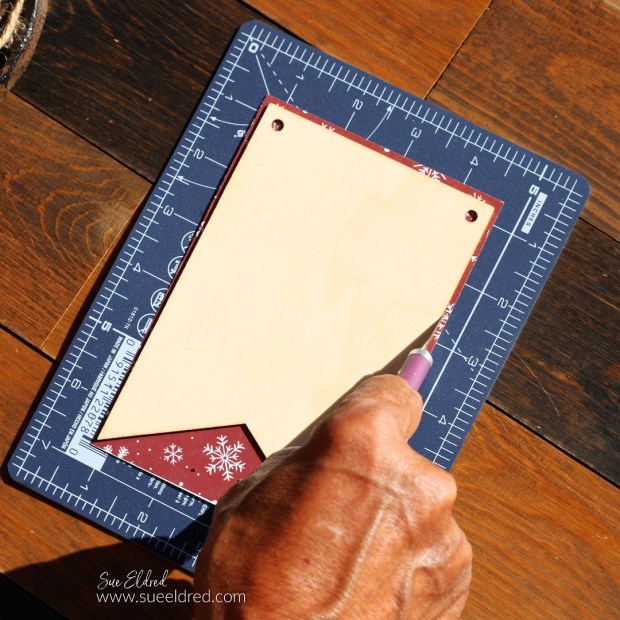
- Adhere the paper onto the front of the Wood Banner.
- Place the Wood Banner onto the Cutting Mat* and cut the excess paper using a Craft Knife*.
- Use a Sanding Block* to smooth any rough edges.
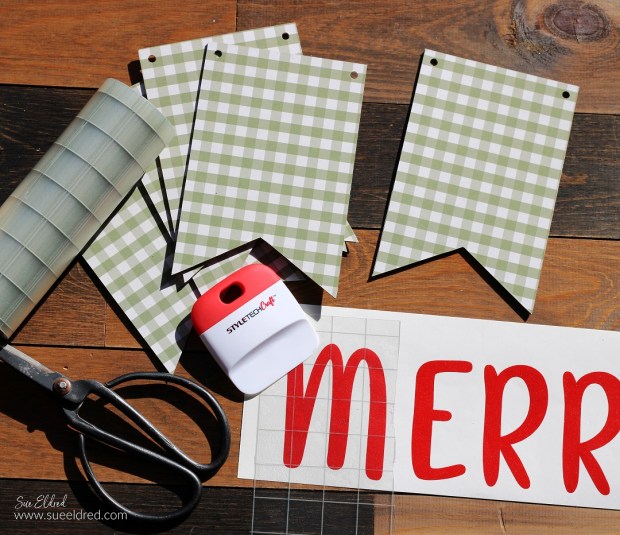
- I cut the letters “MERRY” using the Fresh Mix Font from the Silhouette Store and a Silhouette Cameo Electronic Die Cutting Machine*.
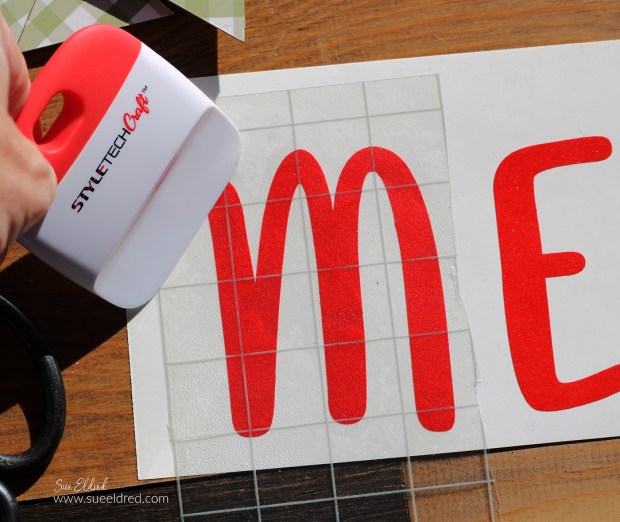
- Lay the Transfer paper over the vinyl and gently rub with a vinyl scraper tool.
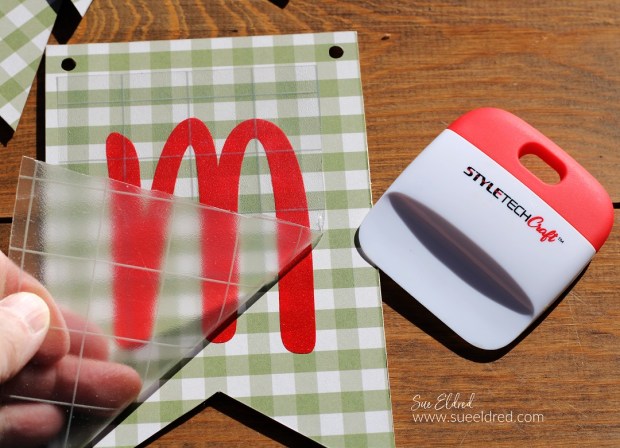
- Place the Vinyl Transfer Tape* and vinyl onto the banner.
- Rub over Vinyl Transfer Tape* and gently remove from the vinyl.
- Paint the wood beads with red and green acrylic paint.
- String the banner and wood beads onto ribbon or twine.
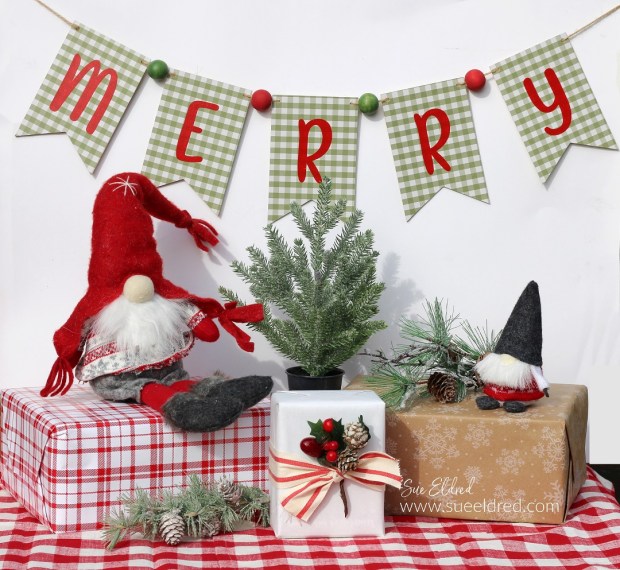
I wanted to keep the banner pieces simple.
But you could add Holiday Flowers and embellishments to make it special.
![]()
“This is a sponsored post. As a member of the StyleTechCraft Design Team I have been provided product and compensation in exchange for my creative ideas. The views and opinions are my own.