Snowman Banner with Kunin Felt

Is it too early for a Snowman Banner?

I admit it’s a little early, but when I found this adorable Sizzix Snowman Die by Tim Holtz*

I really wanted to use it in this month’s Designer Craft Connection Blog Hop with Kunin Felt.

Seriously though…Who doesn’t love a snowman?

To see what the other designers made using their Kunin Felt make sure to click on the

Blog Hop link at the bottom of this post.

Here’s what I used to make my Snowman Banner.                           (*affiliate link)

      • I made a simple banner pattern out of white cardstock.
      • I traced 2 banners onto the felt.

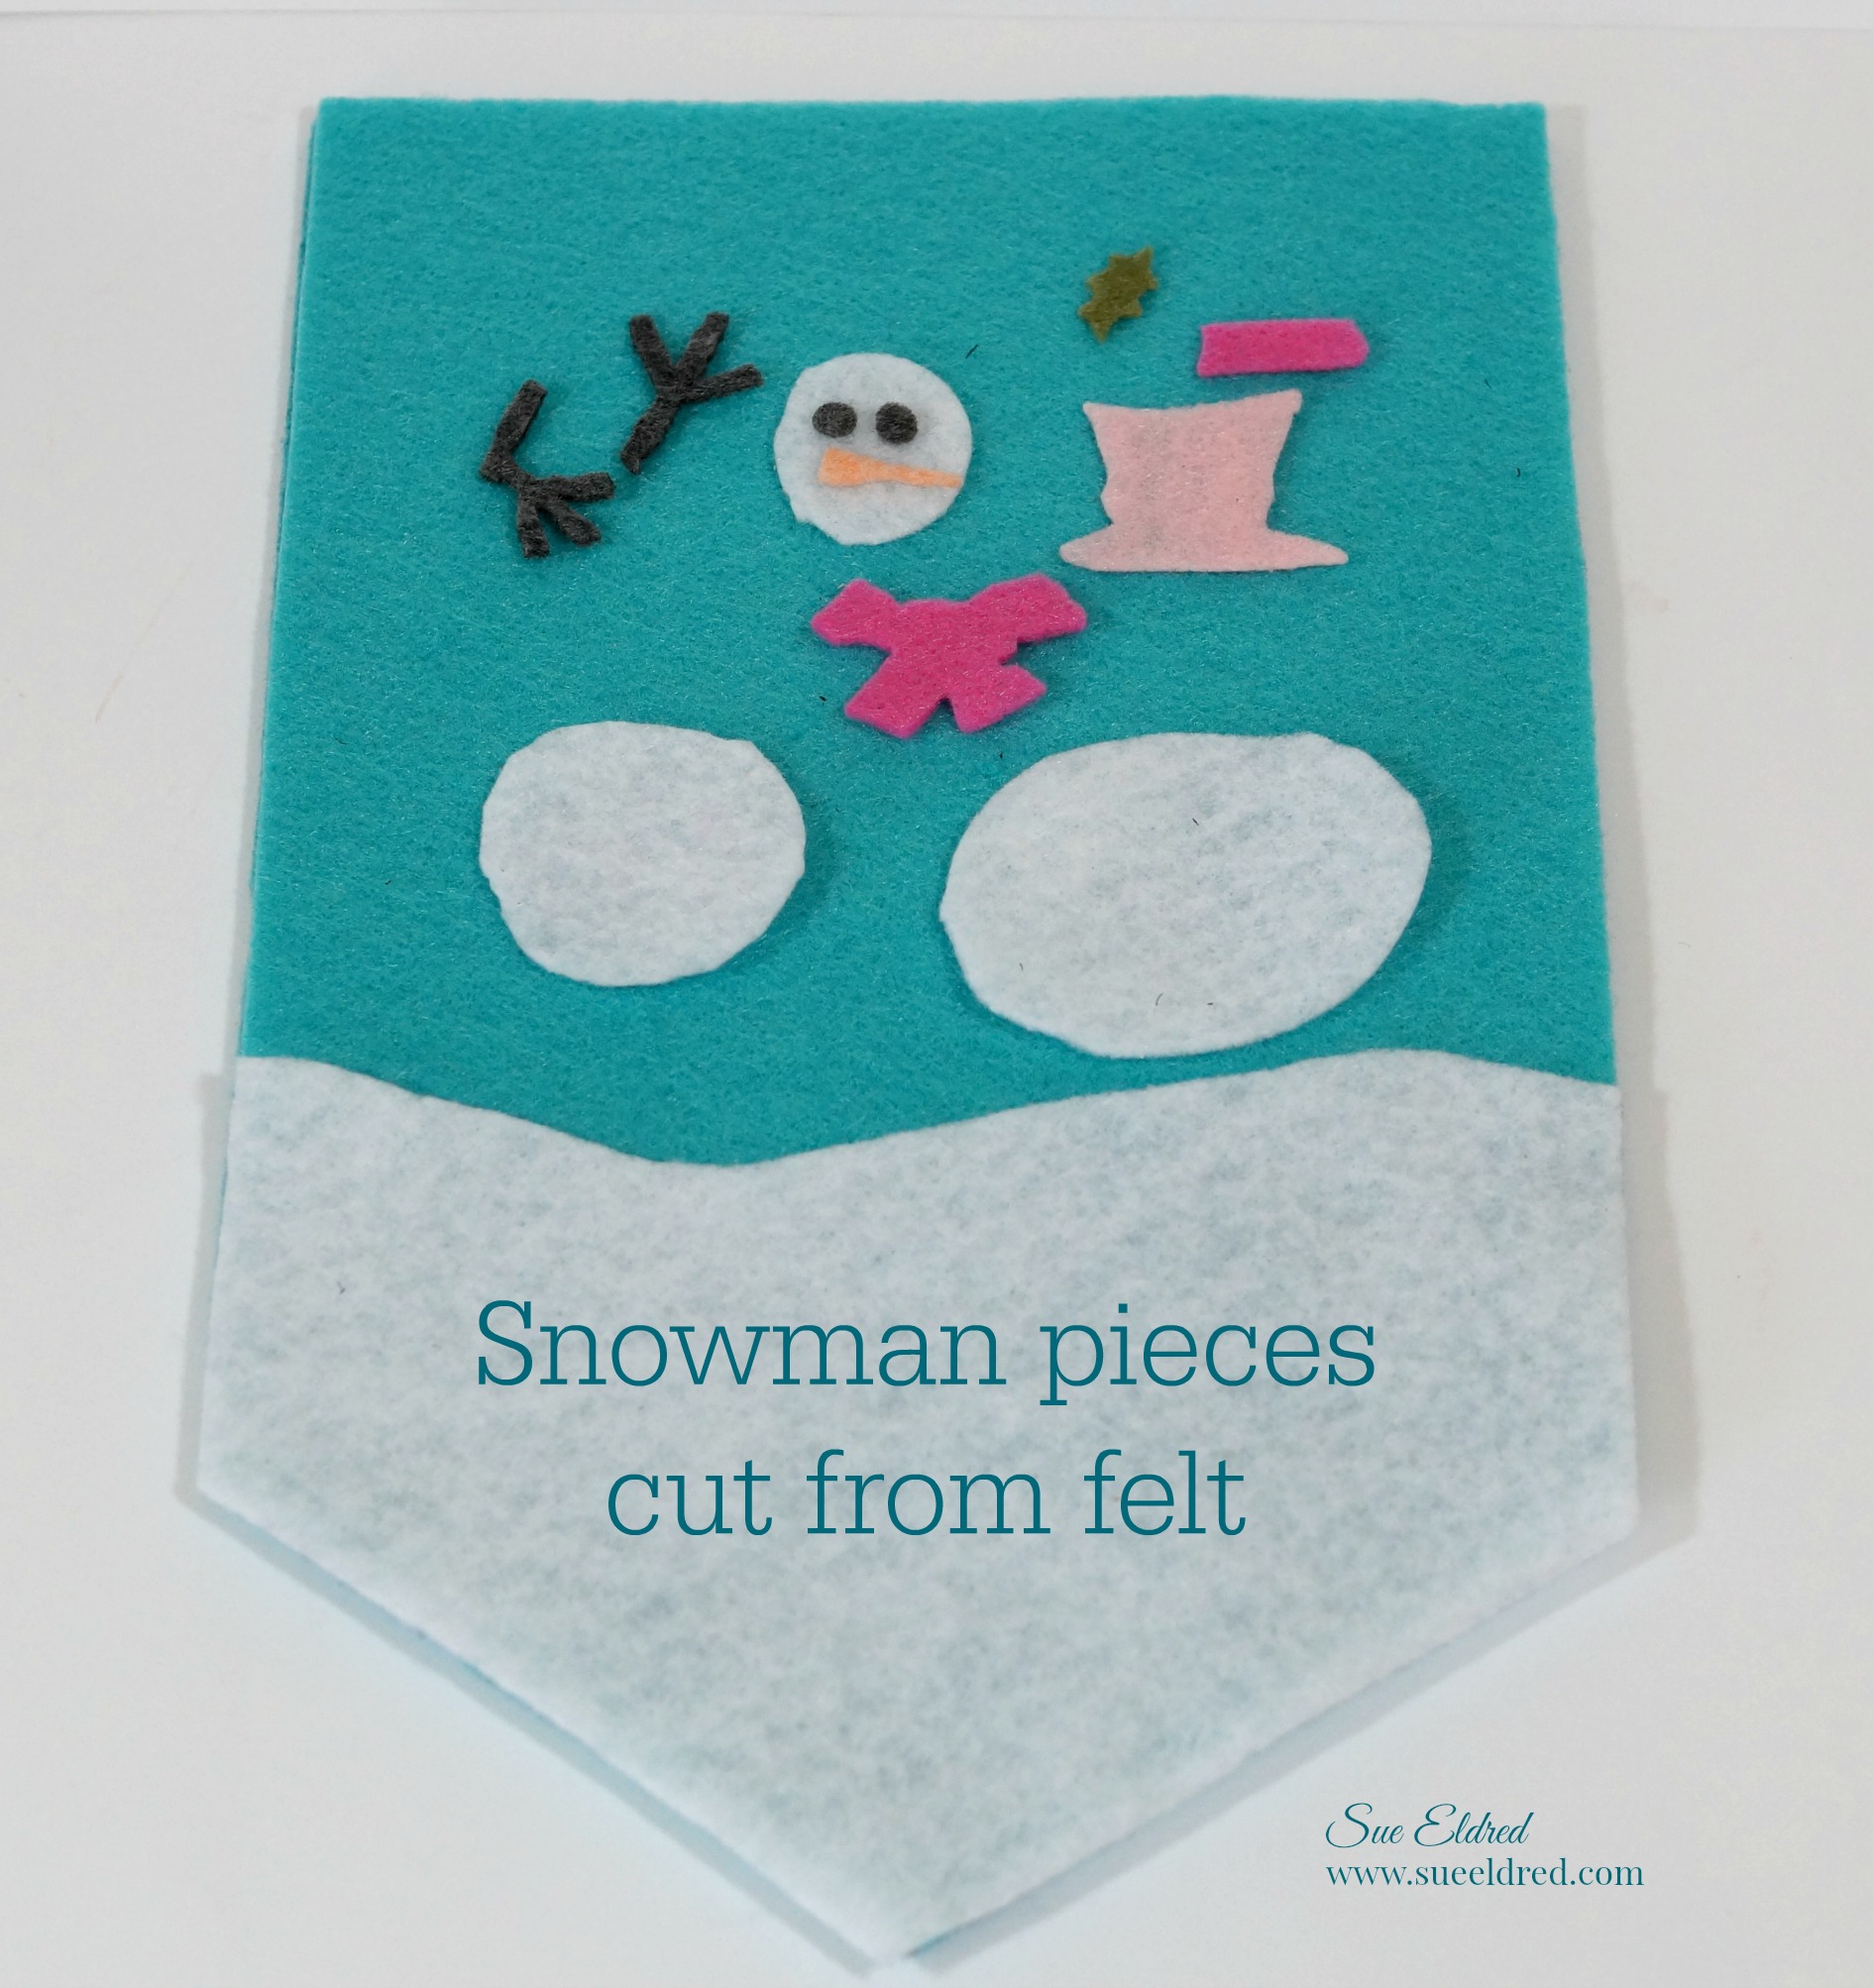
I die-cut the felt into snowman pieces using the Sizzix Snowman Die* and my Sizzix Big Shot Machine*.

      • Glue or Sew the felt shapes onto the banner.
      • Sew both pieces of the banner together leaving a small pocket on the top to insert a bamboo skewer or small wood rod for hanging.
      • Add pom pom trim to the top of the banner.
      • Iron on embroidered letters to spell “let it snow”

Did you know???

Kunin Felt recycles billions of water bottles every year that would otherwise be in the landfills and makes them into a product which becomes felt. 12 bottles equals 1 lb. of fabric.

For more fun projects with Kunin Felt click here.

*Disclaimer:  This post uses ads and affiliate links.  If you choose to make a purchase using one of the links, I receive a small commission (at no additional cost to you) that helps offset the costs of maintaining this blog.  Thanks for your support!


Sizzix Bigz Die by Tim Holtz, 5.5 by 6-Inch, Assembly Snowman*

Shop Amazon Scrapbooking Supplies*

Reindeer Star Card

reindeer-star-card-sues-creative-workshop

Impress your friends and family this Holiday…

with a gatefold card that looks a lot harder than it really is.

This may not be a beginner card for some, but, I promise it really is not hard.

A few layers and a few simple steps and you’ll be done in no time.

The supply list may seem long…

but you can easily adapt the card with supplies you have on hand.


This is what I Used to make the Reindeer Star Card:                                           (*affiliate link)

Directions:

  1. Cut a piece of cream cardstock 7 1/2″ x 5″.  Score and fold on the 2 1/2″ mark to create a 5″ x 5″ card base with flap.
  2. Cut a piece of red patterned paper 2 1/4″ x 4 3/4″ and adhere to the front of the flap.
  3. Cut a 2 1/4″ x 2 1/4″ piece of light green patterned paper and adhere onto the bottom of the red patterned paper.  Repeat for the inside flap.
  4. Cut a piece of dark green patterned paper 4 3/4″ x 4 3/4″.  Adhere to the inside of the card.
  5. Cut a piece of red plaid paper 2 1/4″ x 4 3/4″ and adhere onto the bottom of the dark green patterned paper.
  6. Add a strip of thin washi tape to the seam of the patterned papers.
  7. Apply White and Gold Foil washi tape to a piece of white cardstock.reindeer-star-card-creating-a-washi-tape-background-sues-creative-workshop
  8. Cut two medium washi tape stars using the star die and Big Shot Cutting/Embossing Machine*.reindeer-star-card-cutting-the-star-dies-sues-creative-workshop
  9. Cut two larger stars from the gold metallic cardstock.reindeer-star-card-opened-sues-creative-workshop
  10. Adhere the first star halfway onto the flap (with the other half hanging over)  Adhere second star directly onto the back of the first star.
  11. Adhere medium washi tape stars onto the middle of the large gold stars.
  12. Cut one small gold cardstock and mount it to the middle of the front washi tape star with thin 3D foam mounting squares.reindeer-star-card-close-up-sues-creative-workshop
  13. Add small “white stag” dimensional sticker to center of the smallest star.  Add a small red adhesive rhinestone to the tip of the stags nose.
  14. Adhere a piece of gold cardstock onto the Stick It Adhesive Sheets*.  Die cut the words “Merry Christmas” using the Christmas Phrases die and stick onto card.
  15. Tie a thin gold ribbon around the flap with a small gold jingle bells and you’re done.

Finished Size:  5” x 5”  (may take additional postage to mail)


This project was sponsored by Little B LLC.

I am an Amazon Affiliate.  If you choose to purchase from Amazon using one of the above links, I will get a small commission that helps offset the costs of running this blog.  Thank You!

Try Amazon Prime 30-Day Free Trial*