My 11-year-old grandson has been after me for quite a while to make more “How To” videos.
The other night, we sat up the camera and I had him create the Rainbow Acrylic Keychain
that I made for the Namta Show in Orlando.
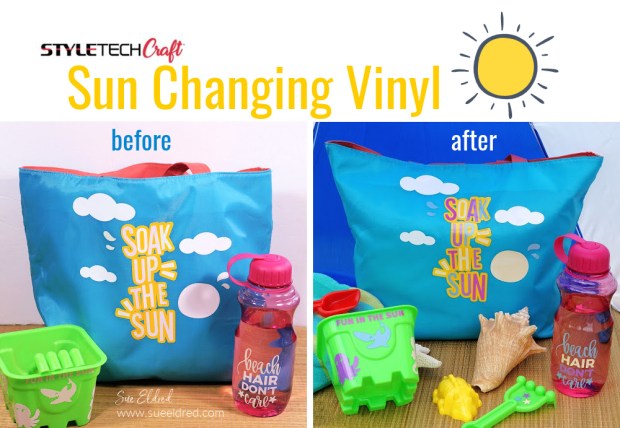
The keychain uses StyleTechCraft Sun Changing Vinyl*. (which is a very fun vinyl to use)
He not only created the project in the video, but he edited the whole video himself.
I think he did a great job.
![]()
“This is a sponsored post. As a member of the StyleTechCraft Design Team I have been provided product and compensation in exchange for my creative ideas. The views and opinions are my own.
Here’s the link to the video:
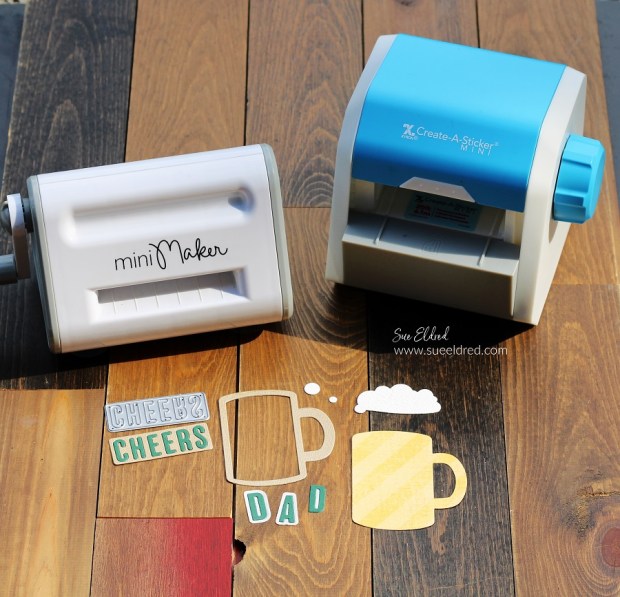
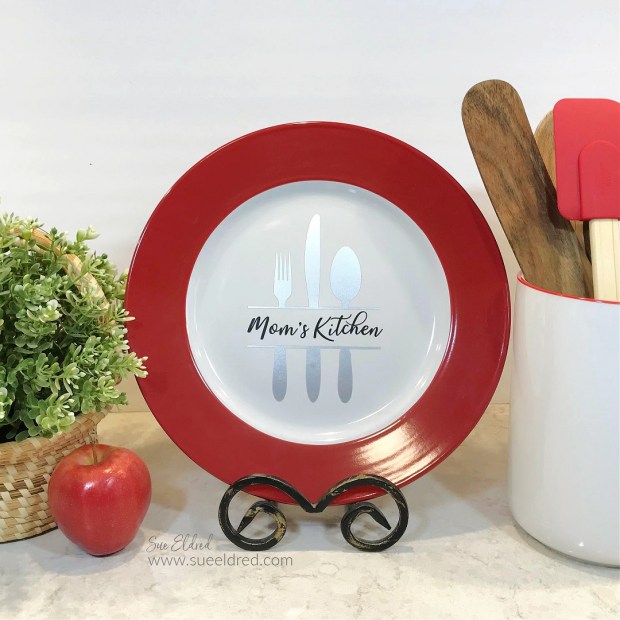
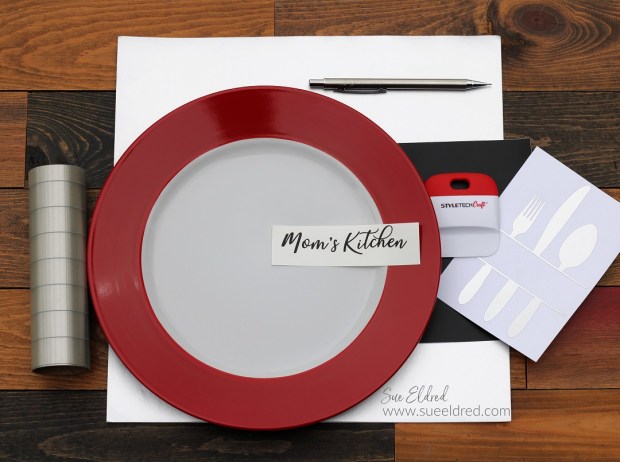
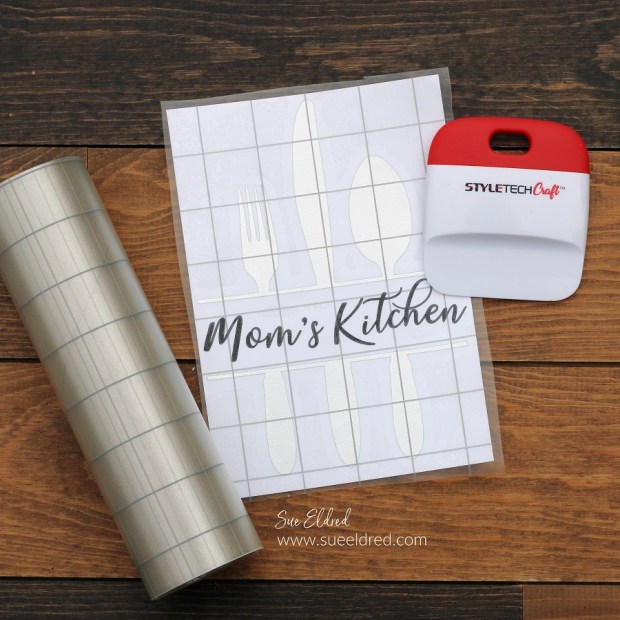
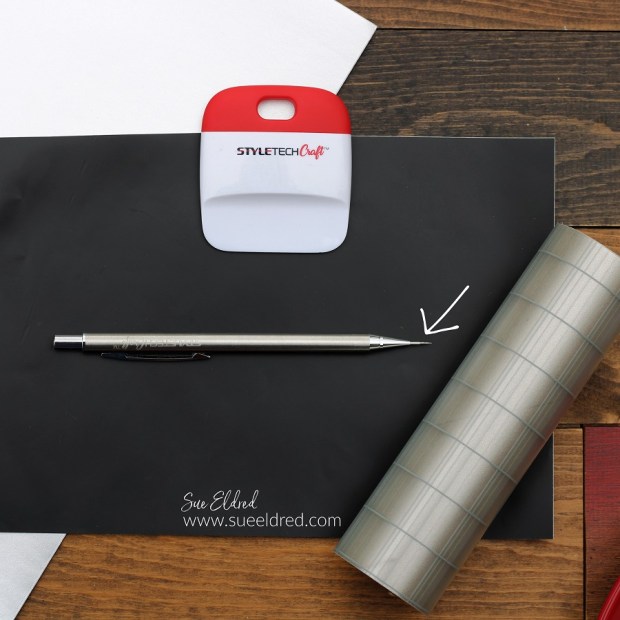
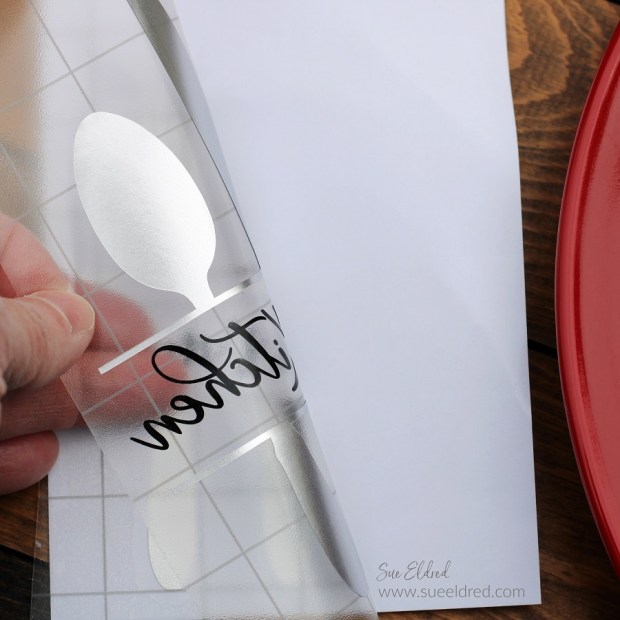
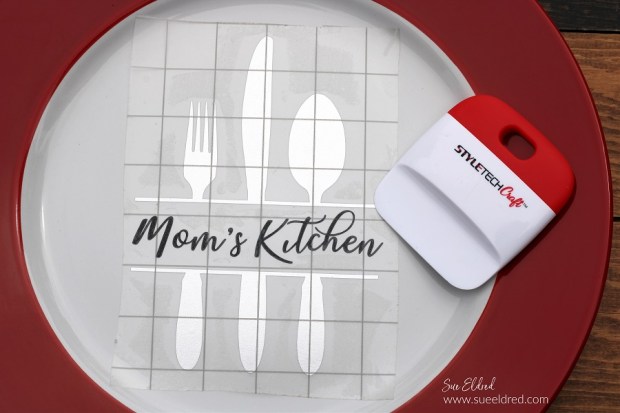
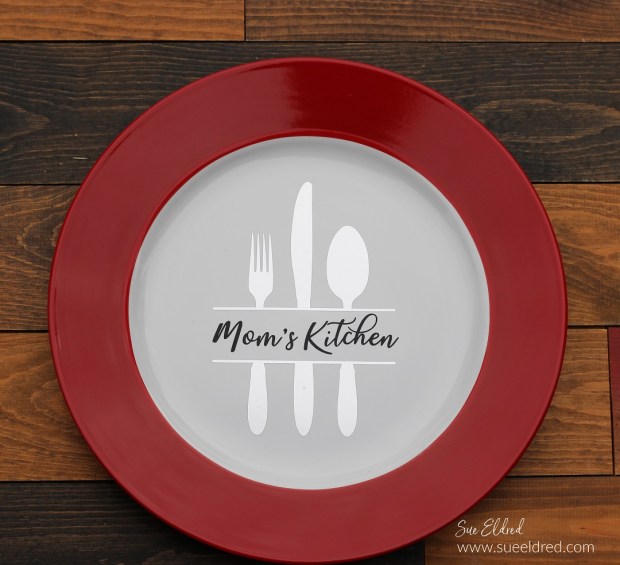
To make the Rainbow Keychain we used:
- Acrylic Keychain Blanks with Tassels*
- StyleTechCraft Sun Changing Vinyl*
- StyleTechCraft Vinyl Transfer Tape*
- StyleTechCraft Vinyl Tool Kit*
- Silhouette Cameo Electronic Die Cutting Machine*
- Rainbow SVG file from The Silhouette Store

StyletechCraft products brought to you by ATSM Craft*
*Disclosure: This blog uses ads and affiliate links. If you choose to make a purchase using one of the links, I receive a small commission (at no additional cost to you) that helps offset the costs of maintaining this blog. Thanks for your support!
For another fun project using Sun Changing Vinyl click here.