Set iron to cotton setting, approx. 350° or follow blanket care label.
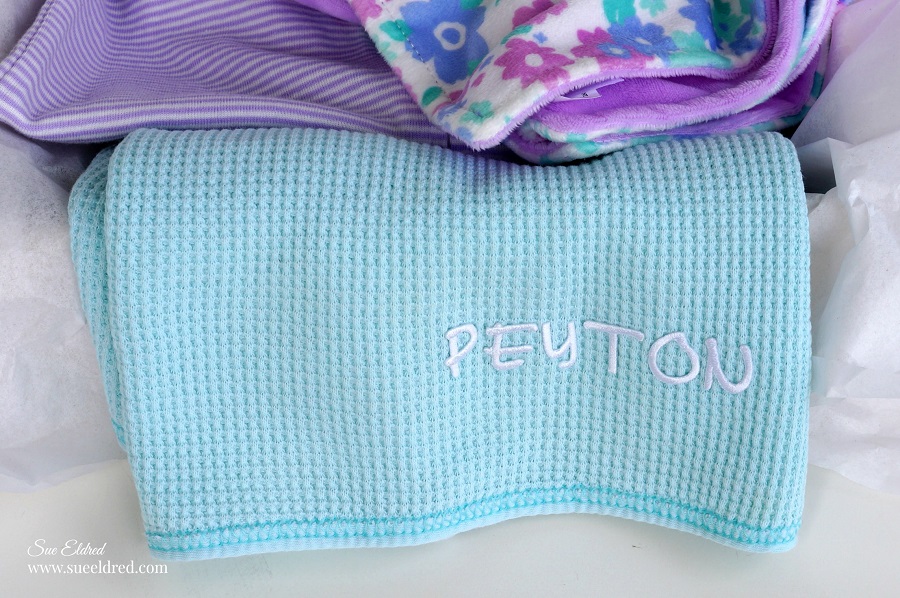
Remove letters from sheet. Position letters with shiny side down on blanket.
Cover letters with a fine cloth. With firm pressure iron cloth over the letters for 25 seconds.
Turn blanket over and iron the back of the letters for 25 seconds. Allow to cool for 1 minute before handling.
Look for Joy® iron-on embroidered letters and floral appliqués at your local craft store.
“This is a sponsored post. As a member of the Joy® Design Team I have been provided product and compensation in exchange for my creative ideas. The views and opinions are my own.
*Disclosure: This blog uses ads and affiliate links. If you choose to make a purchase using one of the links, I receive a small commission (at no additional cost to you) that helps offset the costs of maintaining this blog. Thanks for your support!
Disclaimer: This blog uses ads and affiliate links. If you choose to make a purchase using one of the links, I receive a small commission (at no additional cost to you) that helps offset the costs of maintaining this blog. Thanks for your support!
Using Vinyl Transfer Tape*I applied the silver frames onto the black background.
(I created the black background by cutting a slightly bigger frame and using the inside.)
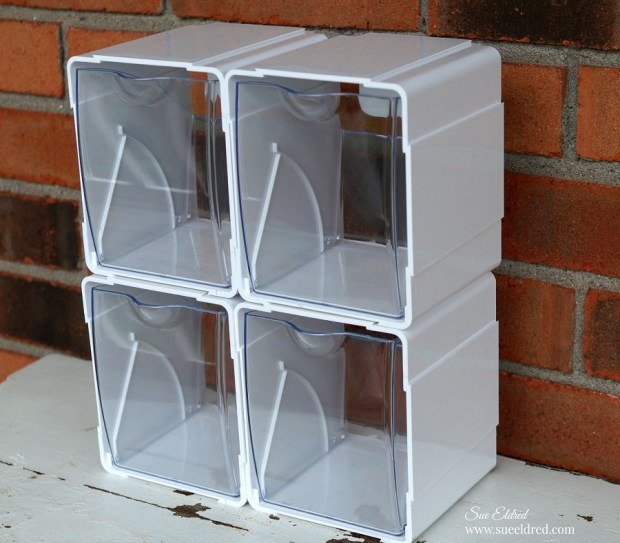
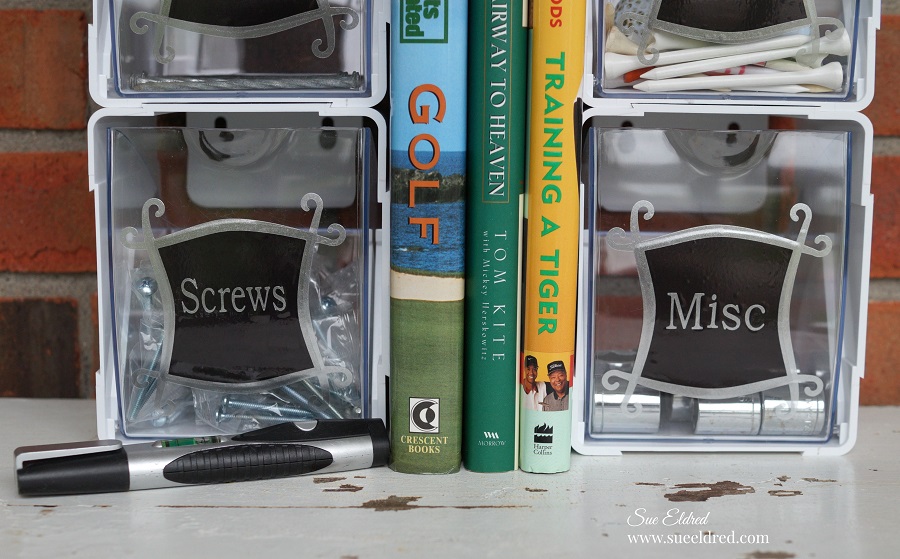
The bins are interlocking and stackable.
Great for little storage needs in the garage, craft room, nursery, kitchen and even the kid’s room.
Wherever you need a little extra storage.
The nice thing about the interlocking tilt bins* is that you can use just one or use several.
You can also hang them on the wall or use them with a mounting bar*.
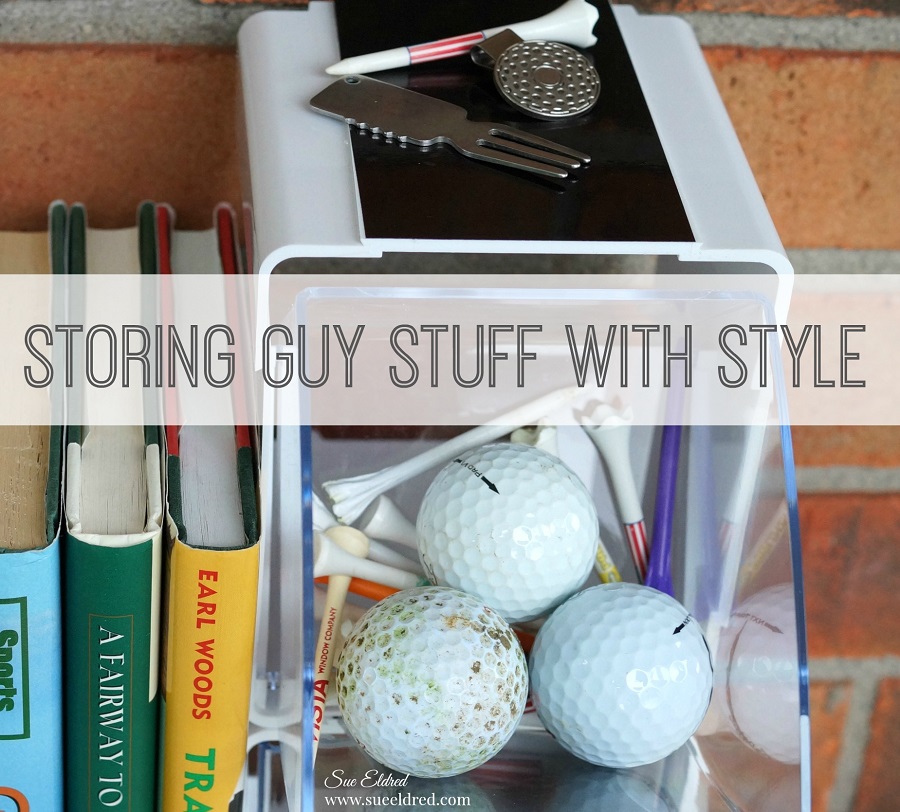
Storing Guy Stuff with Style.
I love adding a little personalization to everyday items.
“This is a sponsored post. As a member of the StyleTechCraft Design Team I have been provided product and compensation in exchange for my creative ideas. The views and opinions are my own.
Looking for something to keep the kids busy this summer and end the “I’m bored”.
I was recently introduced to the Orange Art Box which is an Art Subscription Box for Kids.
As you might know…I love doing crafts with my grandsons
and because the box is geared for kids ages 5-12, it was right up our alley.
*Disclosure: “This is a sponsored post. I have been provided product in exchange for my creative ideas. The views and opinions are my own.”
I was so impressed with the concept that I’ve agreed to do a monthly post with the boys for the
next few months using the products we receive in each month’s kit.
With Summer Vacation around the corner, it’s a perfect activity to keep the boys busy.
What’s inside the Orange Art Box?
A collection of projects every month to inspire your artist.
Every Orange Art Box is designed with a feature project and multiple smaller projects
for hours of fun!
The boys and I did a short video of them opening their Orange Art Boxes.
It was seriously like opening a Christmas Gift.
You may notice in the video that they were just a little bit excited.
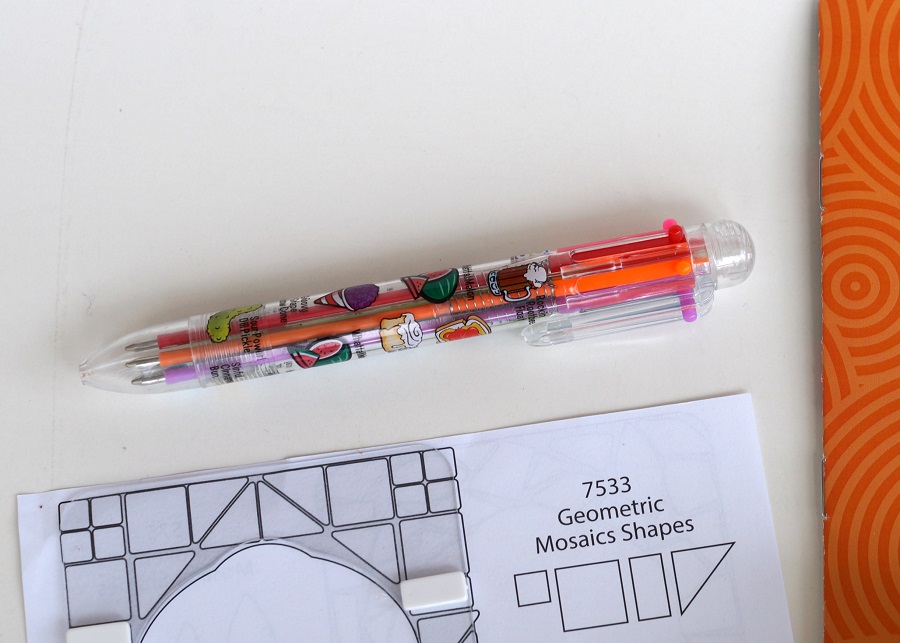
The theme for April was Mosaics…the April Orange Art Box included a wooden box, a large bag of mosaics, mod podge, brush, book mark, door knob hanger, tissue paper squares, 6 color scented pen and a folder of ideas, tips, patterns and instructions.
Enough projects to keep them busy for quite a while.
The boys all-time favorite item was the six color “smelly” pen.
The first thing they wanted to do was work on their boxes.
It’s fun to see their creative minds at work.
I really think this will be a fun summer activity for the boys.
Nick’s Box with a combination of mosaics and decoupaged tissue paper.
Warren’s Box with a random artistic mosaic pattern.
If you are looking for something different for your kids to do this summer
you might want to look into the Orange Box Kit.
It’s available to purchase as a 1, 3, 6 or 12 month subscription.
Perfect gift for that budding artist.
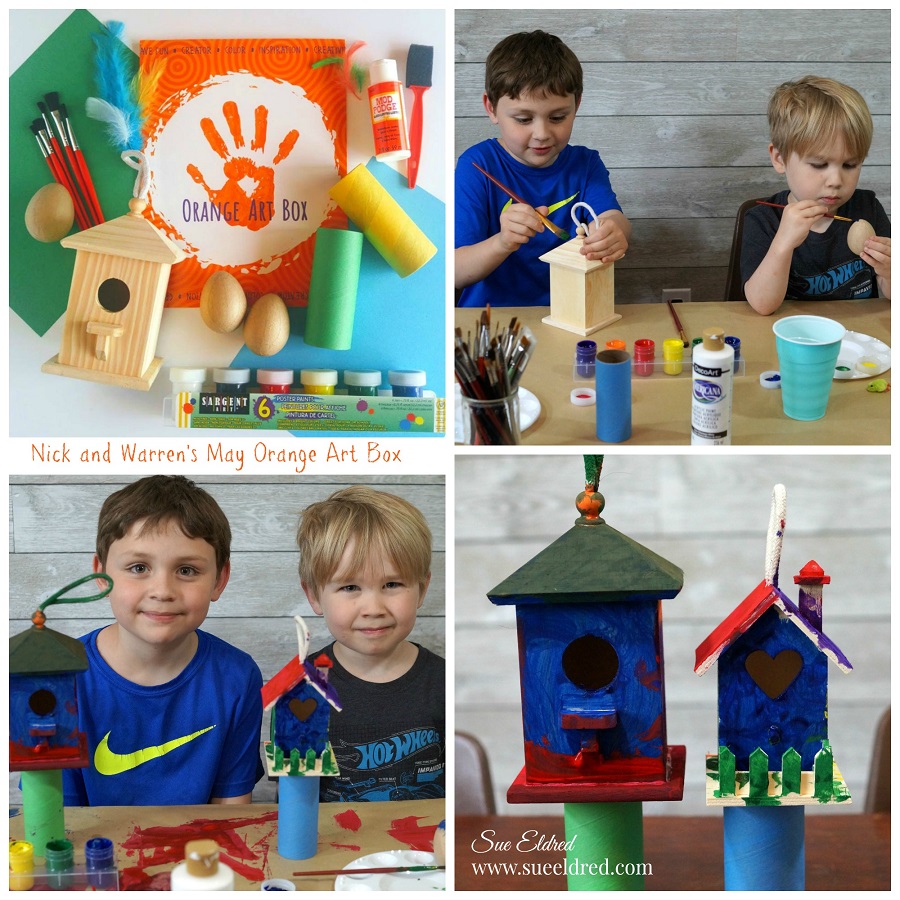
May’s Orange Art Box which is all about birds, birdhouses and feathers.
*Disclosure: This blog uses ads and affiliate links. If you choose to make a purchase using one of the links, I receive a small commission (at no additional cost to you) that helps offset the costs of maintaining this blog. Thanks for your support!
With a little more candy for the plastic eggs and I’ll be ready for fun.
“This is a sponsored post. As a member of the Xyron Makers Program I have been provided product in exchange for my creative ideas. The views and opinions are my own.
*Disclosure: This blog uses ads and affiliate links. If you choose to make a purchase using one of the links, I receive a small commission (at no additional cost to you) that helps offset the costs of maintaining this blog. Thanks for your support!
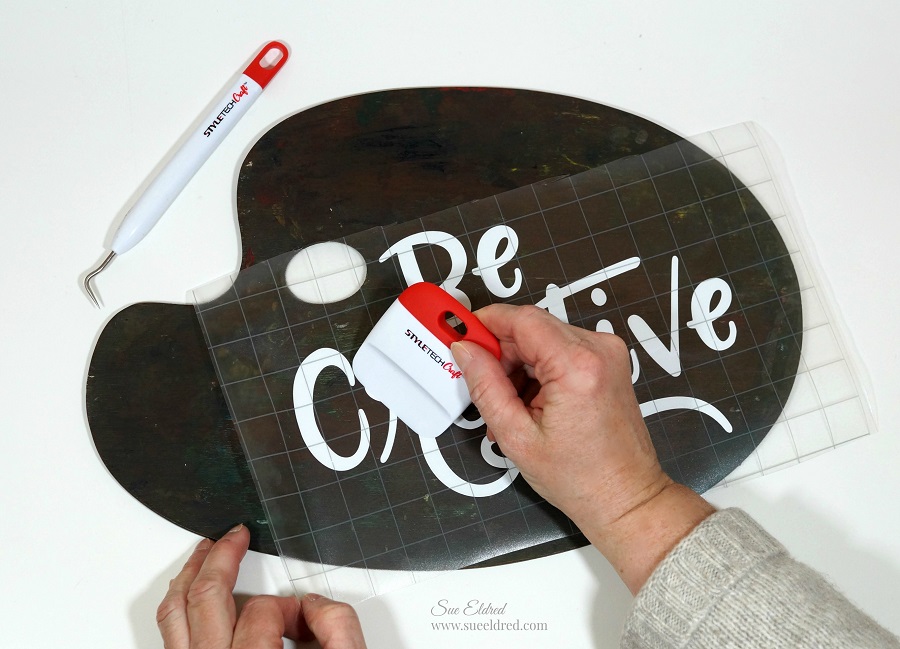
Using the weeding tool, I carefully removed the negative spaces in and around the letters.
Place a piece ofVinyl Transfer Tape* over the letters. Rub over the letters using a vinyl scraper tool to help the vinyl cling.
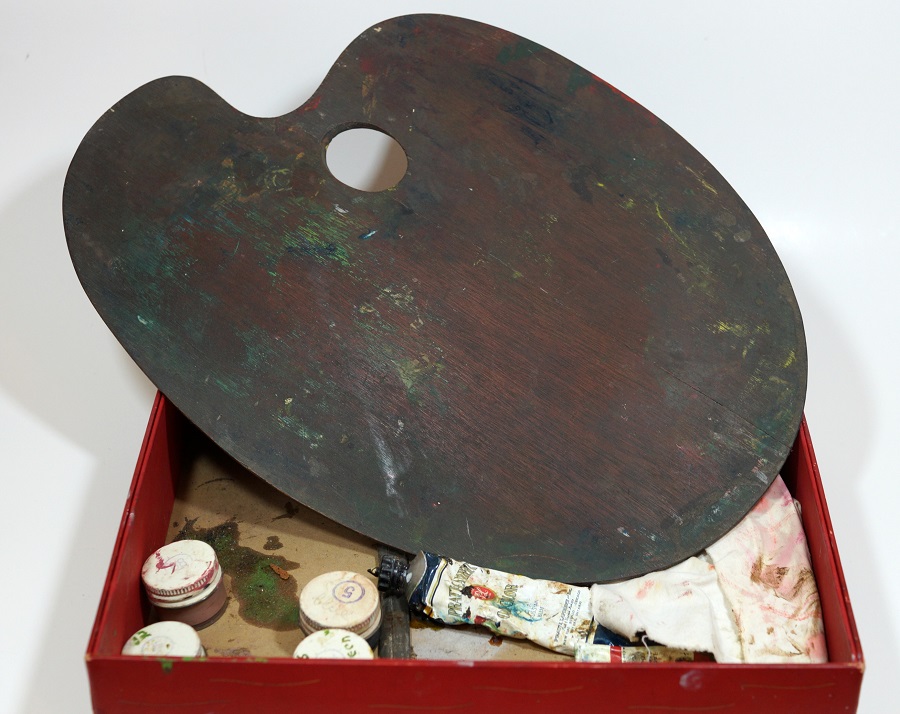
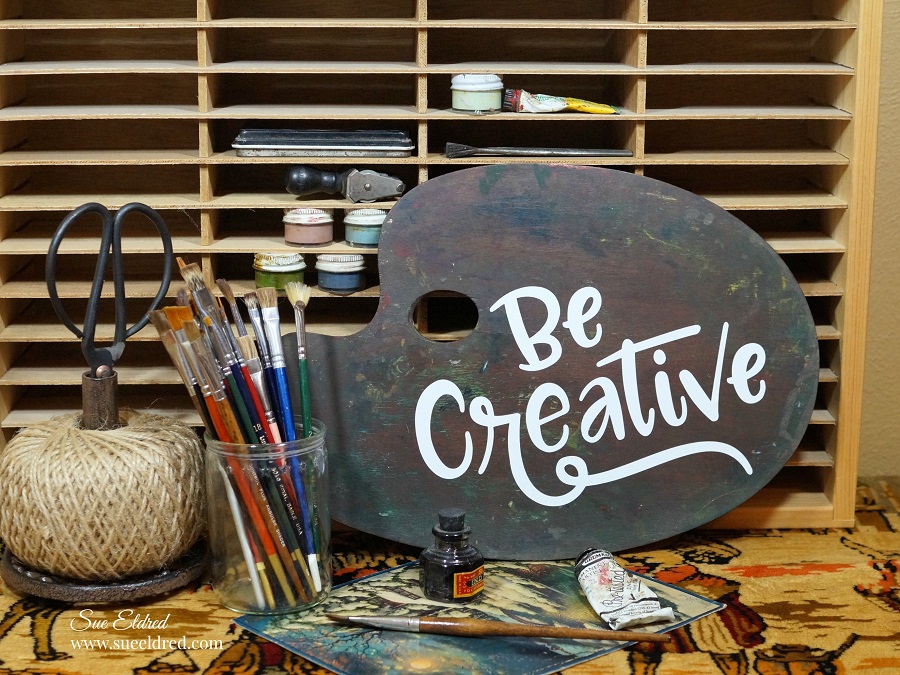
Apply words onto the paint palette.
Remove transfer tape.
With Grandma’s paint supplies, I found this calendar page from 1939
that she used for inspiration. (80 years ago, WOW!)
I’m currently in the process of turning my son’s old bedroom into a larger craft workshop.
I want to incorporate a little past into that space as well.
I want it to be a warm, inviting, eclectic space. (Kind of like me)
I think this palette will fit in just fine.
“This is a sponsored post. As a member of the StyleTechCraft Design Team I have been provided product and compensation in exchange for my creative ideas. The views and opinions are my own.
*Disclosure: This blog uses ads and affiliate links. If you choose to make a purchase using one of the links, I receive a small commission (at no additional cost to you) that helps offset the costs of maintaining this blog. Thanks for your support!
How to make a Kite Wall Hanging:
Creating a kite pattern… Cut the white cardstock to 9″ x 12″. Fold the cardstock in 1/2 lengthways. On the two long sides make a mark at 4″.
For the top of the kite, draw a line from the top middle fold to the 4″ mark on each side. For the bottom of the kite, draw a line from the 4″ mark to the bottom middle folds.
Cut out Kite pattern.
Trace and cut out the kite pattern on the backsides of both of the printed fabrics and the white felt.
Sandwich the white felt between the two patterned pieces. Pin into place and top stitch around the kite.
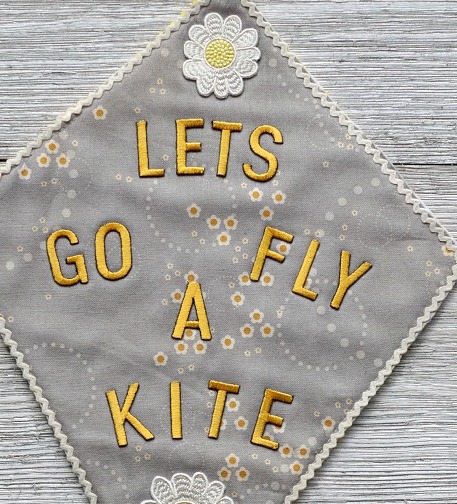
Arrange the words “Let’s go fly a kite” onto the front of the kite with the shiny side down.
Cover with soft, clean cloth and iron on cotton settings for 30 seconds. Turn kite over and repeat for an additional 30 seconds.
Cut the top flower and leaves off the floral applique.
Arrange the flowers on the kite and iron onto the kite the same way as the letters.
Glue rick rack around the edge of the kite.
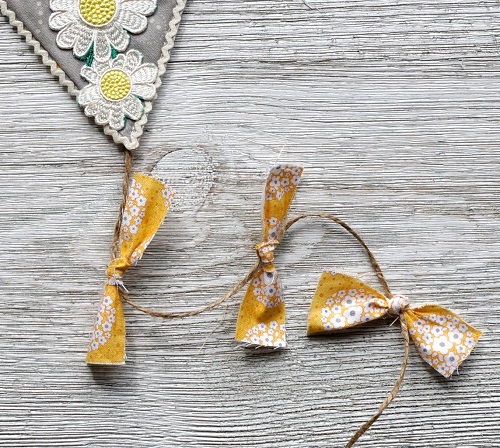
Cut strips of fabric and tie onto a 14″ piece of twine. Glue one end of the twine to the backside of the kite.
Make a small loop with a second piece of twine and glue to the top of the kite.
“This is a sponsored post. As a member of the Joy® Design Team I have been provided product and compensation in exchange for my creative ideas. The views and opinions are my own.
*Disclosure: This blog uses ads and affiliate links. If you choose to make a purchase using one of the links, I receive a small commission (at no additional cost to you) that helps offset the costs of maintaining this blog. Thanks for your support!
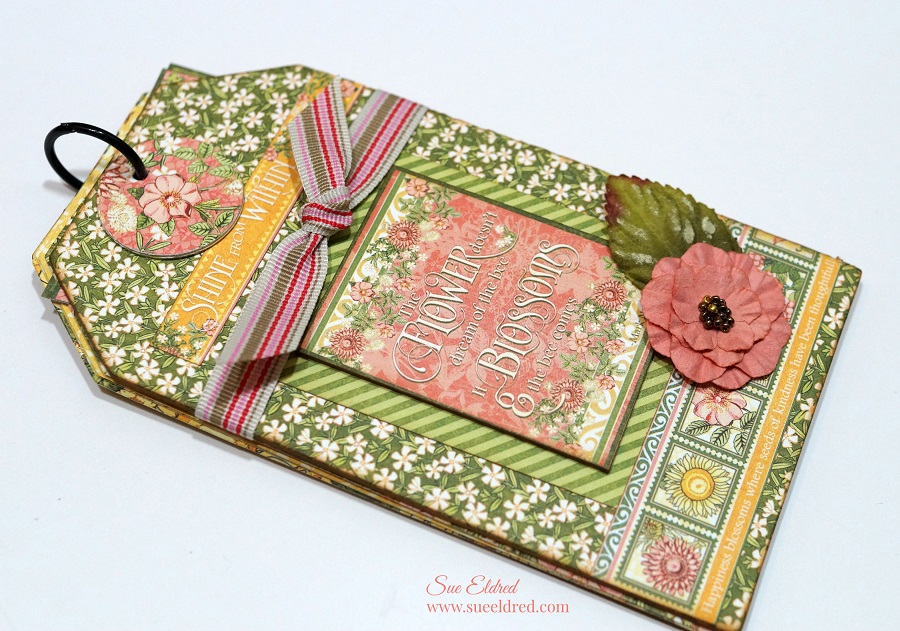
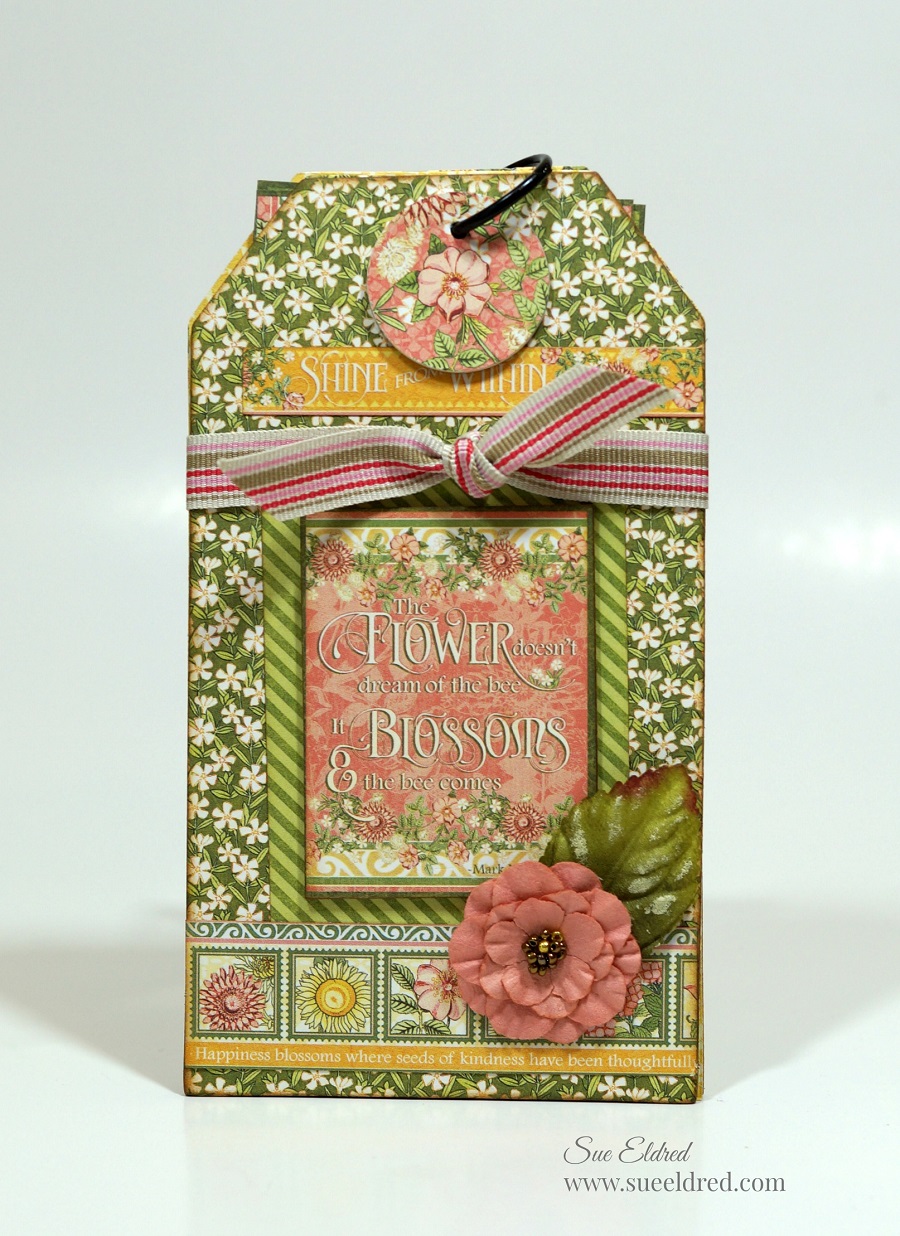
How to make the Mini Tag Album (*amazon affiliate link)
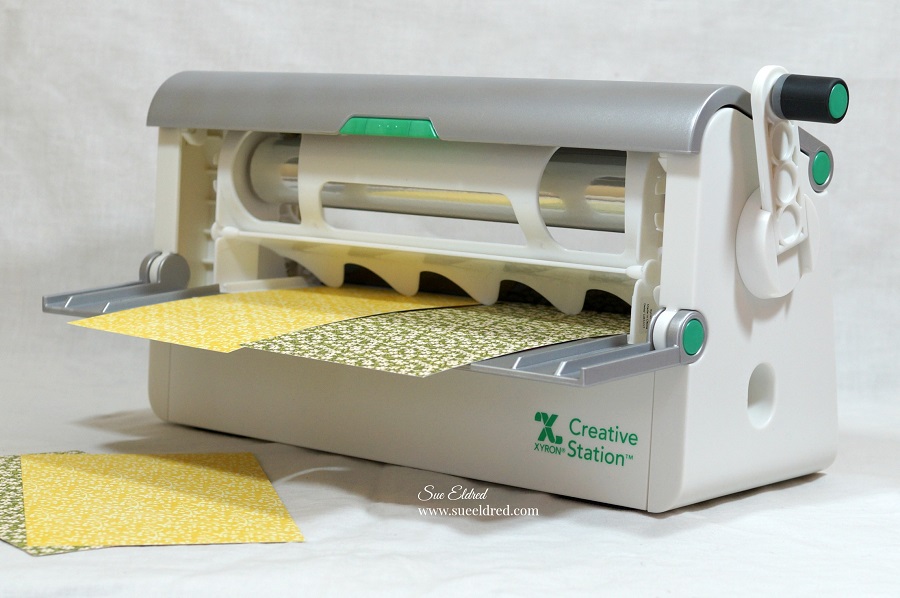
Lay decorative scrapbook paper (design side up) on the *Xyron Creative Station* crank the handle to run the paper through the machine. As it moves through the Xyron Creative Station it adds adhesive to the back side of the paper. Easy to use and it doesn’t need electricity.
Cut two pieces of chipboard to use as the front and back of the mini album. Cover the front and back of both pieces of chipboard with the decorative scrapbook paper.
Cut covered chipboard using a Tag die-cut or cut into a simple rectangle tag shape.
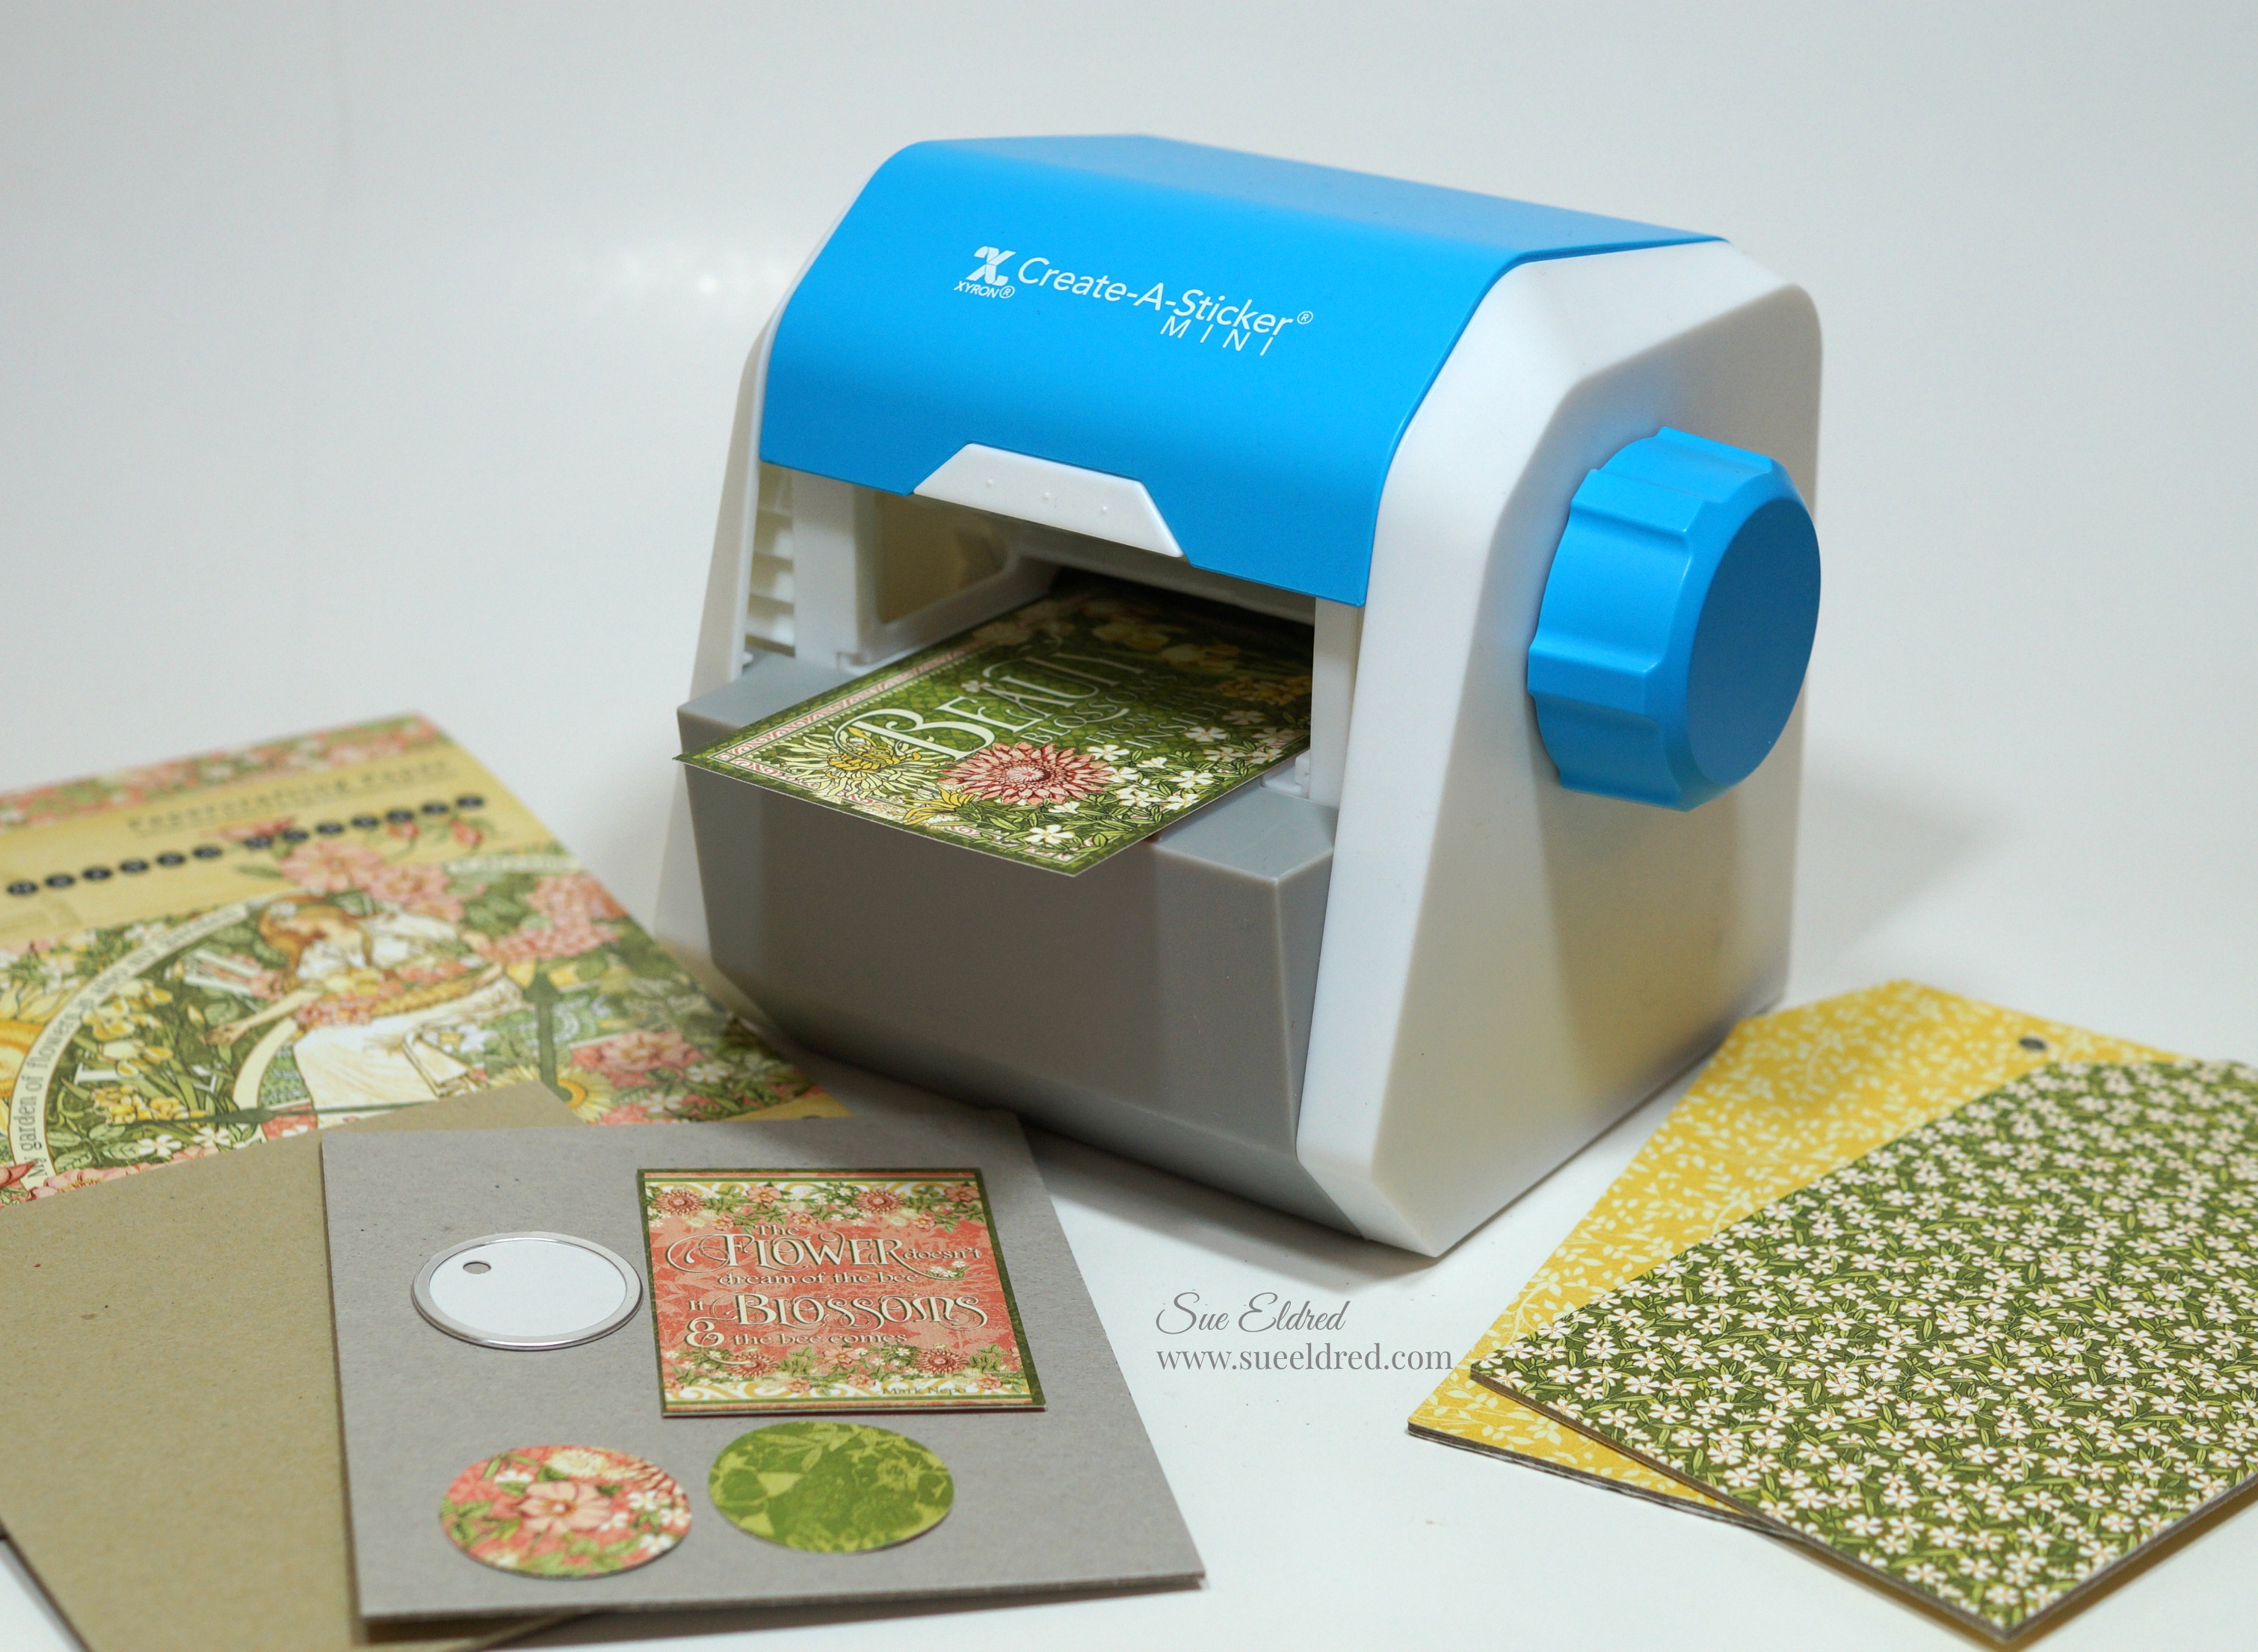
When adding adhesive to smaller pieces I like to use my Xyron Create-A-Sticker Mini, my newest toy. (less waste)
Adhere the smaller graphic in the center of the tag front to a piece of chipboard for added dimension.
Cut two small circles and adhere to the metal rim tag. Cut a new hole on the top of the tag.
Embellish the front of the tag album using bits and pieces from the Garden Goddess Paper Pad.
Glue flower embellishment to front of mini tag album cover using craft glue.
Cut extra tag pages and small tags for the inside of the mini tag album.
Assemble the mini tag album using a small book ring.
“This is a sponsored post. As a member of the Xyron Makers Program I have been provided product in exchange for my creative ideas. The views and opinions are my own.
America’s favorite decoupage medium is now available as a spray! Mod Podge Ultra is a super strong, non-toxic spray formula that works as all-in-one glue and sealer with a high adhesion level. Perfect for adding dimensional design embellishments to your projects. This versatile, water-based formula dries quickly and naturally self-levels, leaving no brush marks. It cleans up easily with soap and water and is available in both matte or gloss finishes.
For my Framed Rainbow Glitter Monogram I used: (*affiliate links)
Accent the outside edge of the letter using the silver leaf paint pen with a chisel point.
Spray or paint the back of the letter with Mod Podge Ultra and add to a piece of black chipboard.
Place inside frame for fun and funky framed art.
Just like a paint brush, Mod Podge Ultra Spray tops need to be cleaned after every use. If they aren’t they will clog and become unusable.
*Disclosure: This blog uses ads and affiliate links. If you choose to make a purchase using one of the links, I receive a small commission (at no additional cost to you) that helps offset the costs of maintaining this blog. Thanks for your support!
With most glittered projects… if you touch the glittered area you leave a little bit of glitter everywhere you go. Once I sealed the glittered “S” the glitter does not rub off. How cool is that.






 from Deflecto.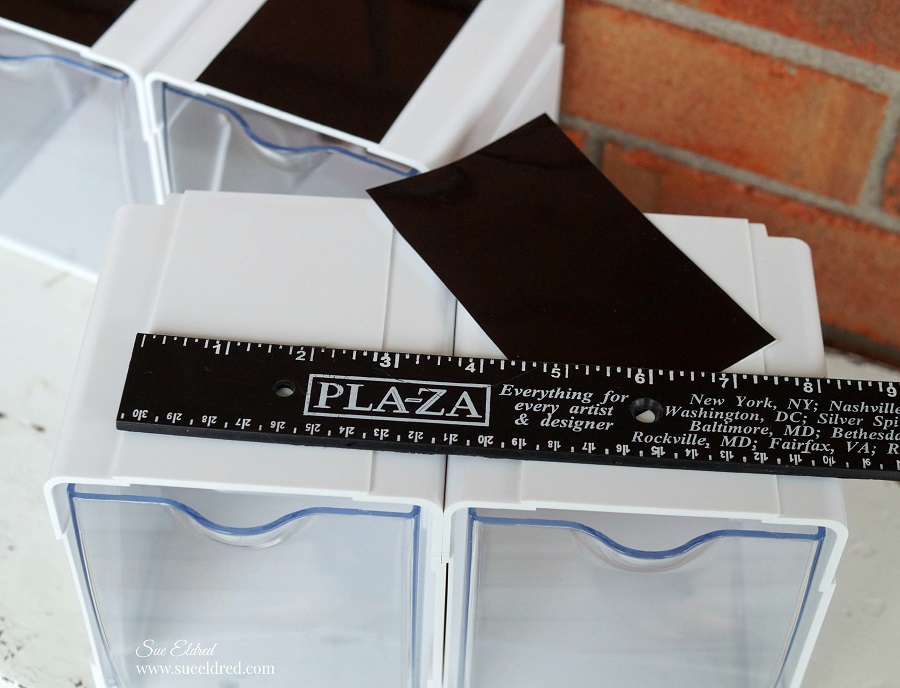

 and a SVG cut file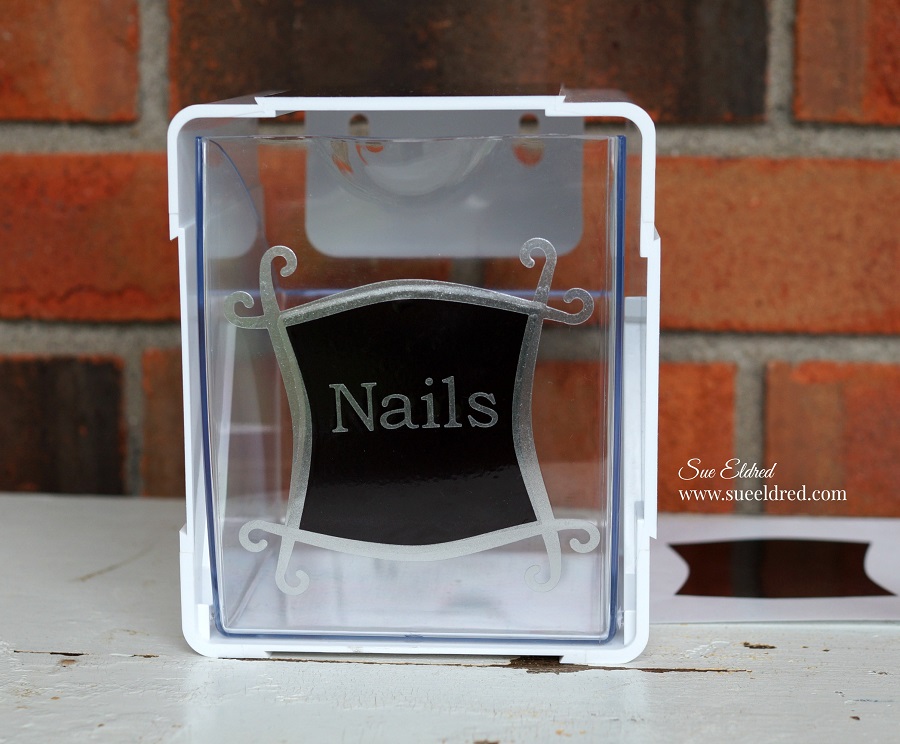




 (sold separately).




 , a few sheets of paper from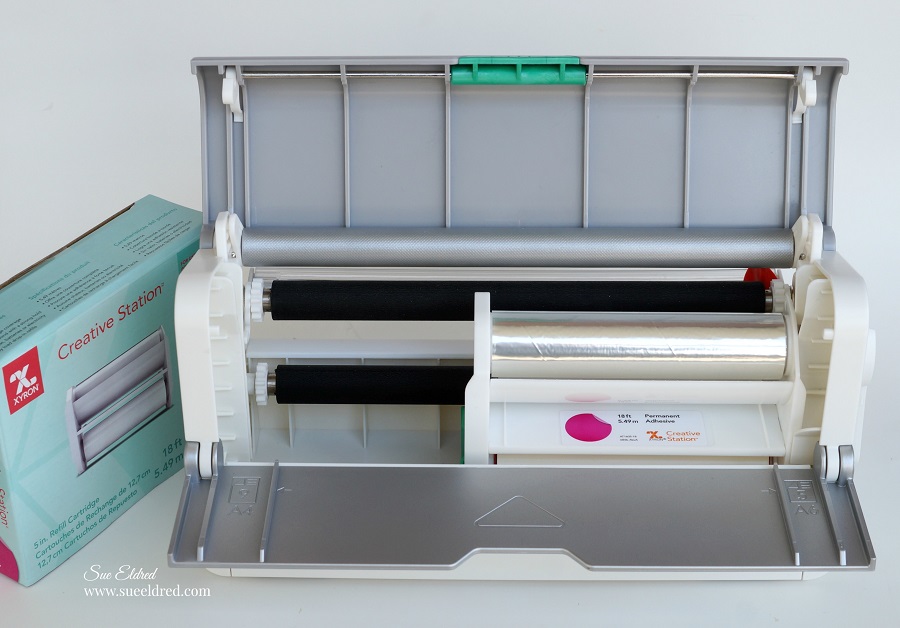
 with the
 is super convenient

















 and
and 





 .
.