Home Sweet Home Cookbook

Sue Eldred's Graphic 45's Home Sweet Home Cookbook with Deflecto Pouches 4737

There’s something about good old family recipes that’ll bring a smile to your face. 

Warm, Comforting, a little piece of Home.

So… When I saw the Home Sweet Home Collection from Graphic 45, I knew a cookbook was in order.

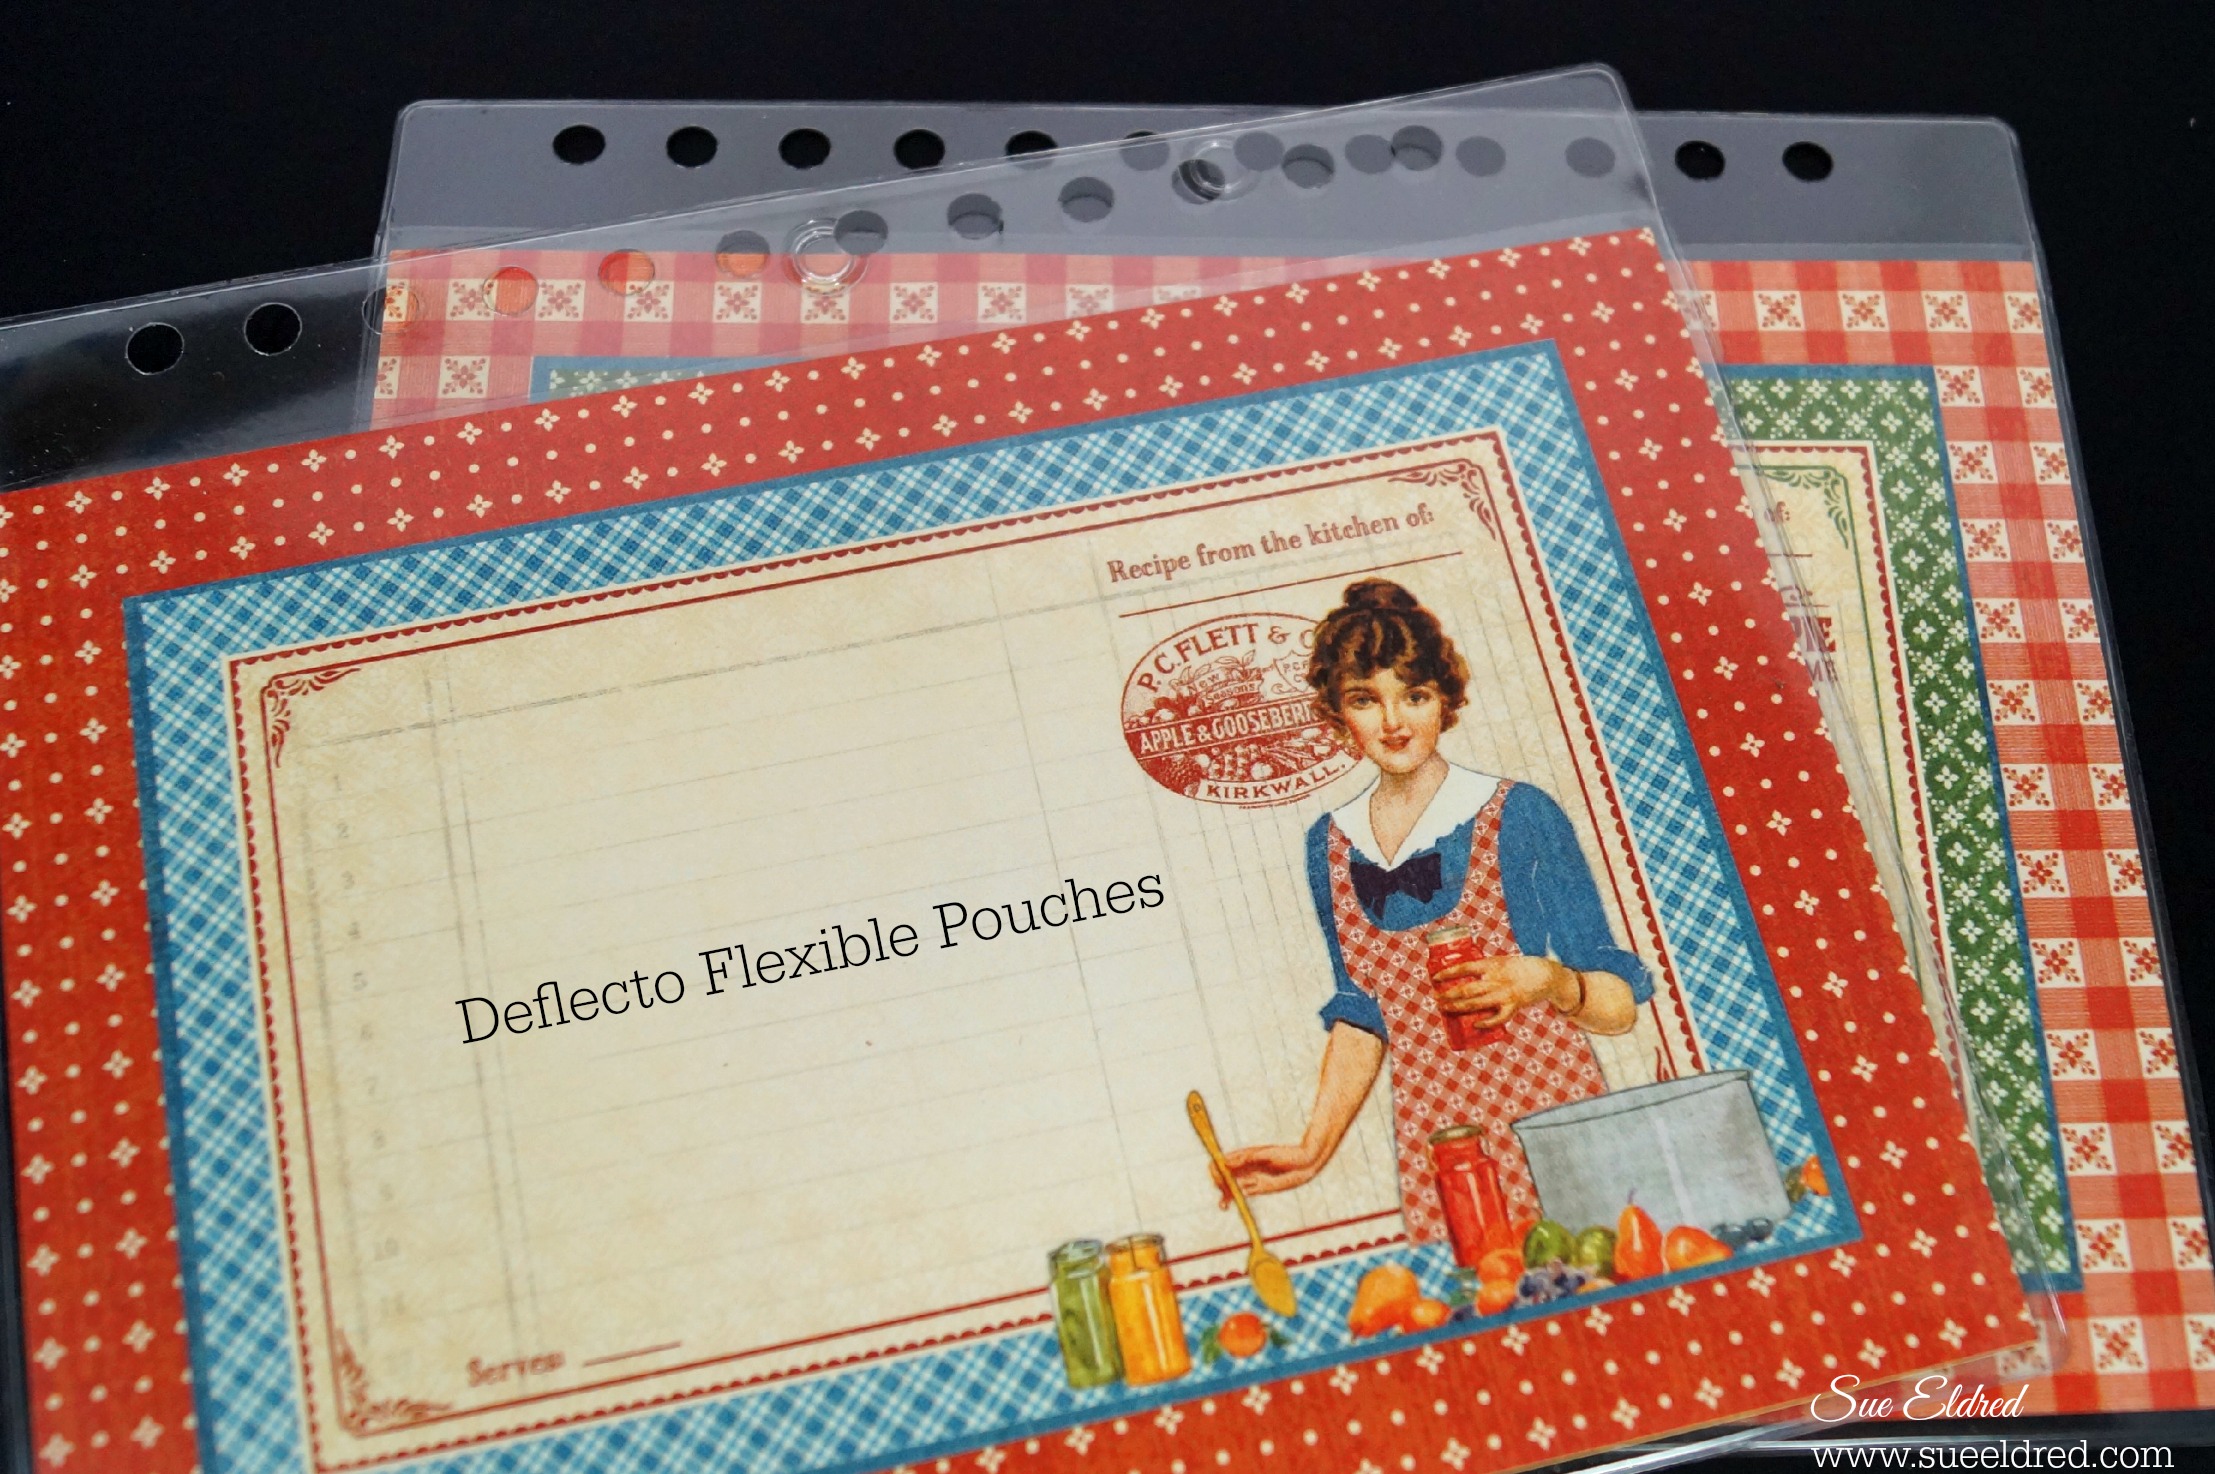
I paired the Home Sweet Home collection with the new 5″ x 7 1/4″ flexible pouches from

Deflecto Craft Solutions.  Using the pouches not only helps protect your recipes from stains and spills

but they also make it easy to swap recipes in and out.

Deflecto Flexible Pouches 4699

  • My cookbook album was put together by covering chip board with the scrapbook paper and distressing the edges with Vintage Photo Distress Ink.
  • I made the stickers dimensional by adding each one to chipboard and cutting them out.
  • The circle stickers that spell the word “recipes” were stuck on round buttons and then glued onto the book.
  • The pouches were punched and the book bound using the Cinch Binding Machine.

Graphic 45 Home Sweet Home Cookbook with Deflecto Pouches 4744

Products used:


  Product Ordering Information through Amazon*  (see disclosure policy)

“This is a sponsored post. As a member of the Deflecto Design Team I have been provided product in exchange for my creative ideas, views and opinions.”

More Eco Friendly Projects

Walnut hollow earth day hop

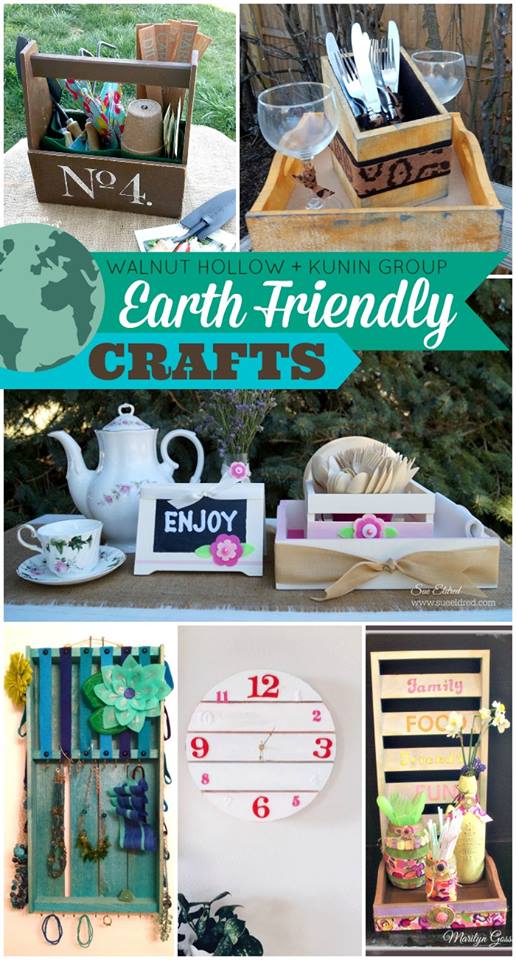
My project yesterday was part of a Blog Hop sponsored by Walnut Hollow and Kunin Group.

Our teams are sharing projects that pair both Kunin Group felt and Walnut Hollow wood products to create practical and beautiful home decor, organizing solutions, and entertaining items. You can make these projects all year long, not just for Earth Day. To see more inspiring projects, continue on the hop using the list below:

Walnut Hollow

Kunin Group Felt

Sue Eldred  (that’s ME!)

Beth Watson

Debra Quartermain

Sabrina Alery

Abby Davis

Jennifer Priest

Marilyn Gossett

Laura Kelly

Steph Ackerman

Laura Bray

walnut hollow earth widget

Eco Friendly Projects with Walnut Hollow and Kunin Felt

Eco Friendly Projects with Walnut Hollow and Kunin Felts

Today, I’ve teamed up with Walnut Hollow and Kunin Felt, both eco friendly companies,

with some fun projects for Spring.

For my projects I used Walnut Hollow’s:     (*affiliate links)

Earth Day Step Out Collage

Earth Day Projects Collage

Walnut Hollow Earth Day Project 04385

I added Eco-Friendly tableware consisting of Bio-degradable cutlery and Bamboo plates.

Did you know?

Walnut Hollow has always been a huge advocate of environmental sustainability within the art, craft and hobby industry. Walnut Hollow has a strong commitment to environmental initiatives by preserving natural resources through their raw material consumption practices, production processes and recycling activities as well as maintaining an active involvement in the community.

Kunin Felt is made from Eco-fi,® a high-quality fiber made from 100% post-consumer recycled and BPA-free plastic bottles.

Earth Day is April 22nd.  Let’s make a difference.

Disclaimer:  This blog uses ads and affiliate links.  If you choose to make a purchase using one of the links, I receive a small commission (at no additional cost to you) that helps offset the costs of maintaining this blog.  Thanks for your support!

Join Amazon Kindle Unlimited 30-Day Free Trial

Happy Cards for a Happy Day…

Yesterday was such a lovely Spring day. 

The sun was shining, the birds were singing.

My teenage son wanted to go out with me for dinner!

You know… a “Happy” kind of day.

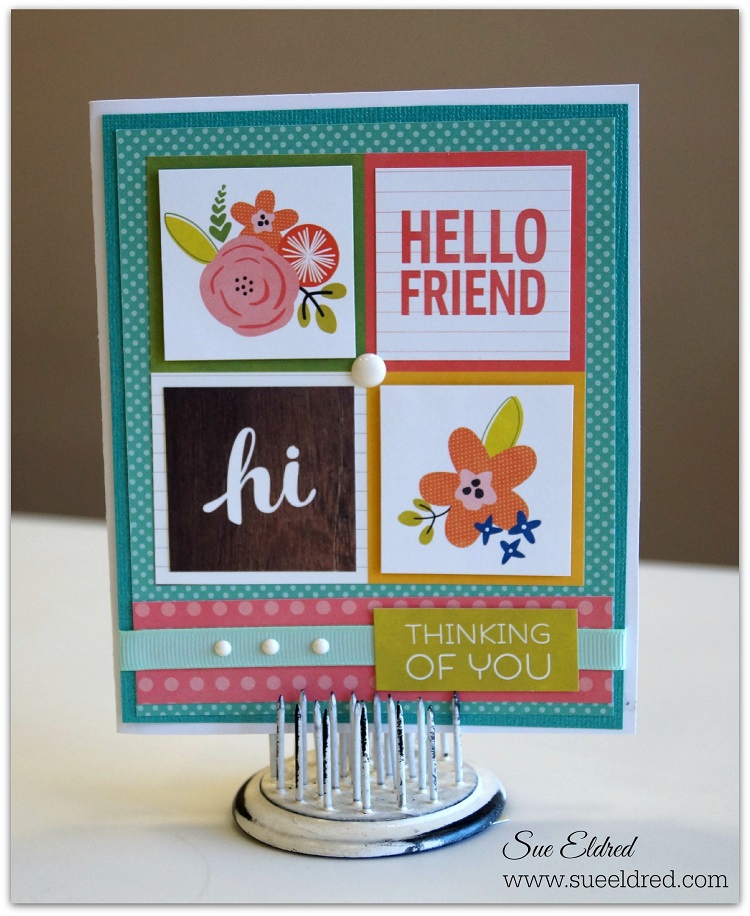
So a good day deserves some “Happy Day” cards.

Smile 3895

Cards to make you “Smile”. 

Hello Friend 03902

Happy Birthday 3889

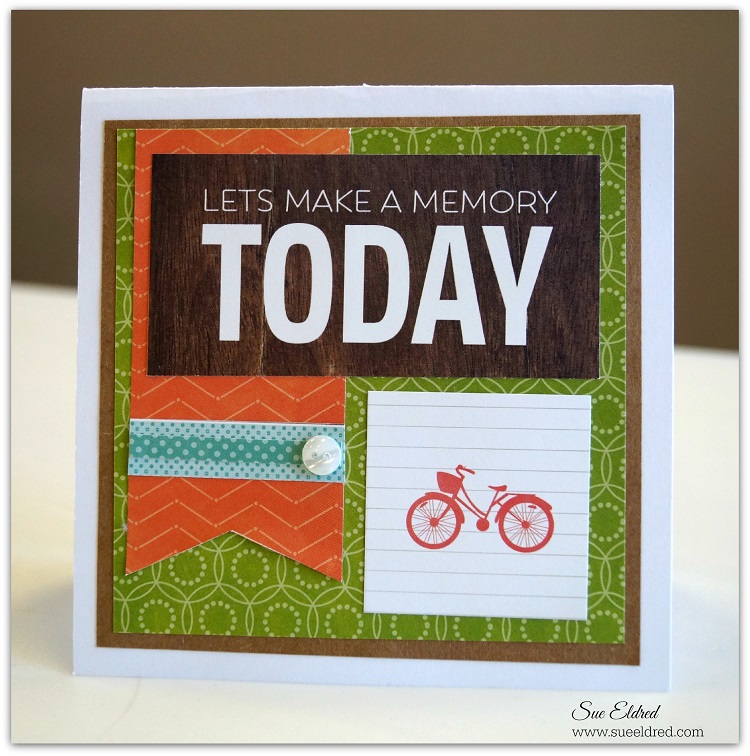
Let's make a memory 3906

And… if you like these cards and would like to make a set for yourself, we will be making these cards in my “Happy Day Cards” class that I’ll be teaching in May at The Paper Forest.

Happy Day Cards

Enjoy life’s little moments with cards made from the Happy Days Collection from Pebbles Inc.

Saturday, May 30th

10:30-12:30

Cost:  $20.00

Contact The Paper Forest at 309-745-3440 for more information or to sign up.

Supplies Needed:  Scissors, Paper Trimmer, Tape Runner, Foam Mounting Squares


Glittered Bunny Egg

Are you ready for Spring?

Warm Weather, Pretty Flowers and Sweet Little Bunnies and Easter Eggs.

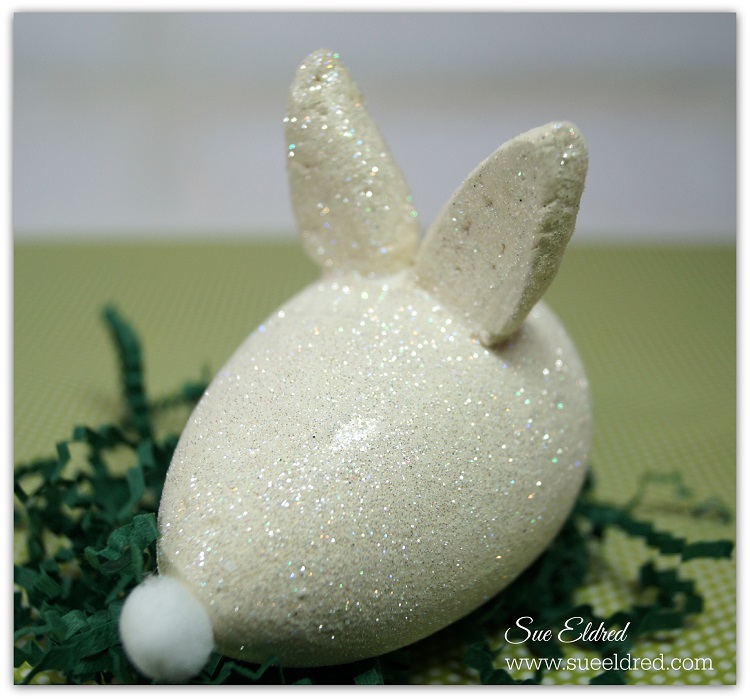
My project today is a Sweet Glittery Little Bunny made from a Smoothfoam Egg.

Bunny Parts and Supplies 3178 Glittered Bunny Egg 3224

To Make the Glittered you’ll need:        (*affiliate links)

  1. Cut two bunny ears from the smoothfoam sheet
  2. Lightly sand Smoothfoam egg and bunny ears.
  3. Glue ears onto Smoothfoam egg.
  4. Paint with cream paint.  Paint inside of the bunny ears pink.
  5. Cover the entire bunny with a thin coat of mod podge and sprinkle with glitter.
  6. Insert micro brads for the eyes and heart brad for the nose.
  7. Draw small mouth with fine black marker.

This project was created for and sponsored by Smoothfoam.

Shop Your Fav Brands at Scrapbook.com

*Disclosure:  This blog uses ads and affiliate links.  If you choose to make a purchase using one of the links, I receive a small commission (at no additional cost to you) that helps offset the costs of maintaining this blog.  Thanks for your support!

How to make an Up-cycled Watering Can Wind Chime…

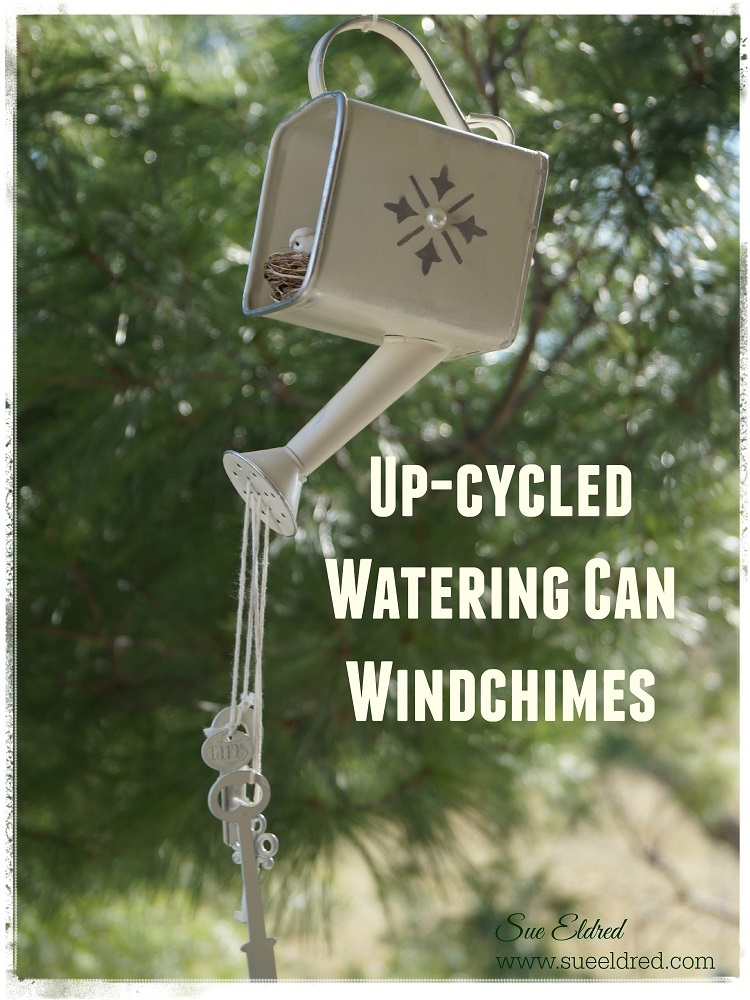
Up-cycled Watering Can Windchimes 3679

My Version of turning Lemons into Lemonade.  (sorry Jim)

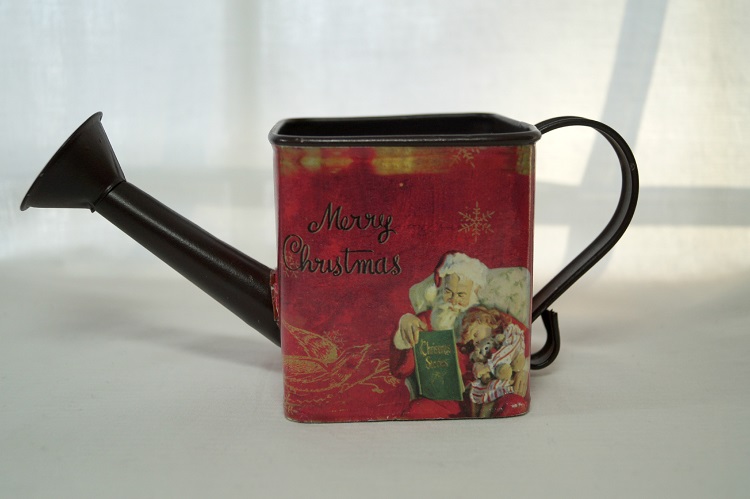
Christmas Water Can 1233

On my Birthday, a couple of years ago, my husband wanted to make my day special and

shower me with lots of little gifts.  Of all the places to shop, he choose to shop at a outlet

store in Southern Missouri that was filled with things that I wouldn’t have sold even when

I had my gift store in the 90’s.  (he’s no longer allowed to shop there)

This Christmas watering can was one of those gifts.

I honestly thought it was a gag gift.  (I may or may not have laughed)

I ran across it again when putting away my Christmas Decorations this past year.

Instead of throwing it out or giving it to Goodwill I thought I’d re-purpose it into

something I would use.

Shabby Watering Can Supplies 01328

My Shabby Watering Can Wind-chime                            (*affiliate link)

Supplies:

 Directions:
  1. Re-purpose a old decorative watering can by taking off the paper covering. Soak in water if necessary.
  2. Sand to remove any additional paper and to make smooth for painting.
  3. Spray-paint watering can and keys with cream paint.
  4. Puddle silver ink onto a piece of scratch paper by pumping the nib. Use the tip of your finger to rub ink directly onto watering can around edges to highlight and distress.
  5. Mask off the center of decorative stencil with blue painter’s tape, lay onto watering can.
  6. Rub silver paint onto stencil as in step #4.
  7. Wind thin wire around the end of a piece of twine. Insert wire into the holes in the spout and pull through to the inside of the can. Repeat for however many keys you plan on using.
  8. Gather the ends from inside the can and tie them altogether in a knot. Pull the opposite ends to bring the knot back through the spout. (The ends will now be hidden.)
  9. Tie keys on to end of each piece of twine.
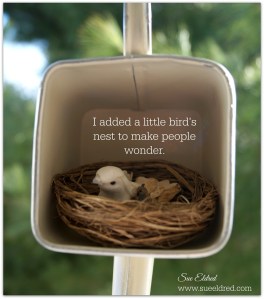
  10. Glue bird inside of nest.
  11. Glue bird-nest inside of the watering can.
  12. Add adhesive pearl to decorative accent on side of the can.

Best for covered porches or decorative use.

Keys 3699  Bird's Nest 3701

Before you throw me under the bus…

I’m really not an ungrateful, insensitive person.  (really I’m not)

I love and appreciate my husband very much.  He’s the greatest!

(Phew…these are the days I’m glad he doesn’t read my blog)

*Disclaimer:  This post uses ads and affiliate links.  If you choose to make a purchase using one of the links, I receive a small commission (at no additional cost to you) that helps offset the costs of maintaining this blog.  Thanks for your support!

AD→ Zots Adhesive Dots

Save

Vintage Home Sweet Home Layout

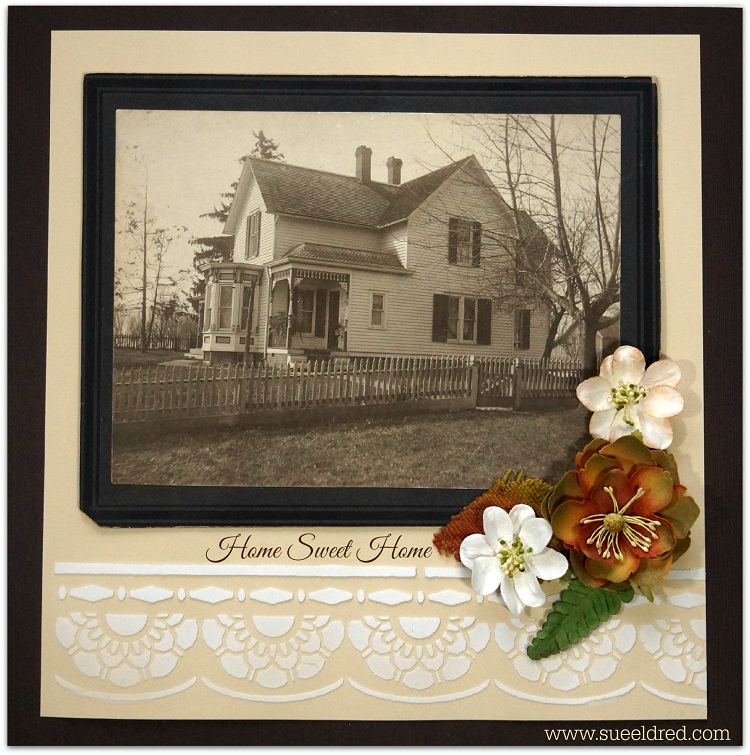
Home Sweet Home 3088 Lately, I’ve been noticing more and more people using embossing paste on their scrapbook layouts.

Hmmm…. I haven’t used embossing paste in years.

Matter of fact… my jars of embossing paste are over 10 years old.  (and still good)

So, I thought I’d give it a try with a simple layout and this old house picture.

Quick, Simple and adds a subtle punch to this layout.  I think I like it.

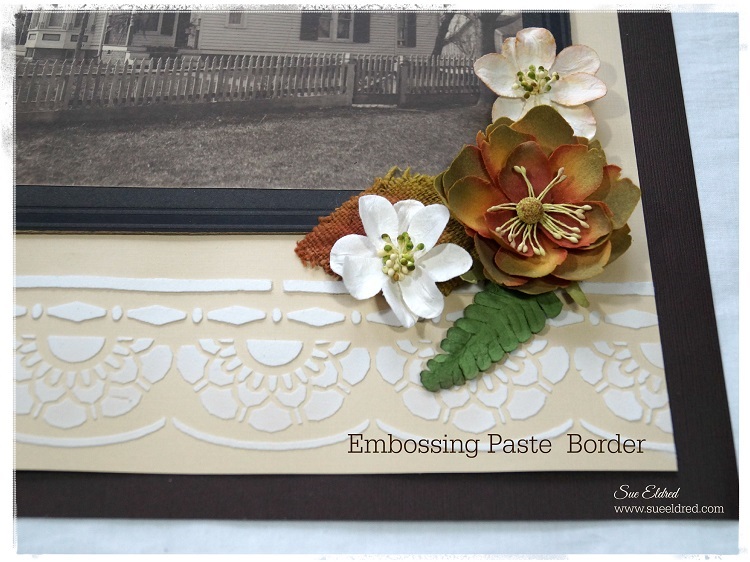
Embossing Paste Border 3092

Using embossing paste is easy: 

  • Lay stencil onto cardstock, fix in place with removable masking tape.
  • Apply a thin layer of embossing paste over the stencil using a palette knife.
  • Remove stencil and allow time to fully dry.
  • Make sure to clean embossing paste off stencil right away.
  • It’s as easy as icing a cake.

Products Used:

Click on the pictures above for more information through Amazon*

Disclosure:  This project was created for and sponsored by Clear Scraps.

I am an Amazon Affiliate.

Tattered Tangles: Happy Birthday Tag

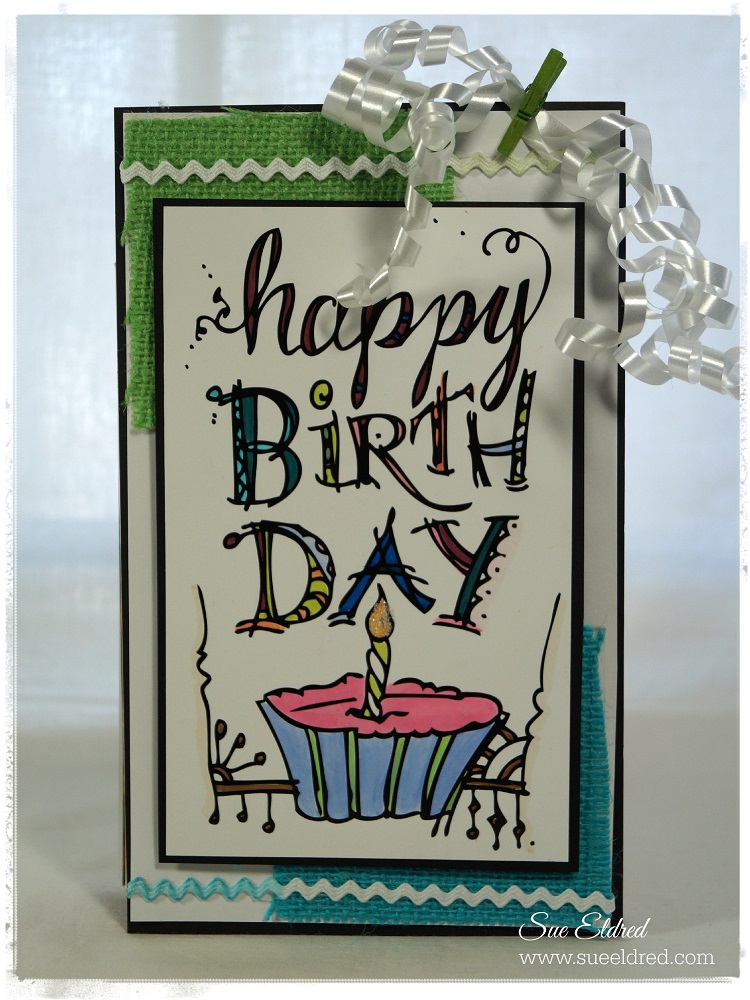
Tattered Tangles Birthday Tag 3368

Do you ever need a really large Birthday Tag to make your present “POP”?

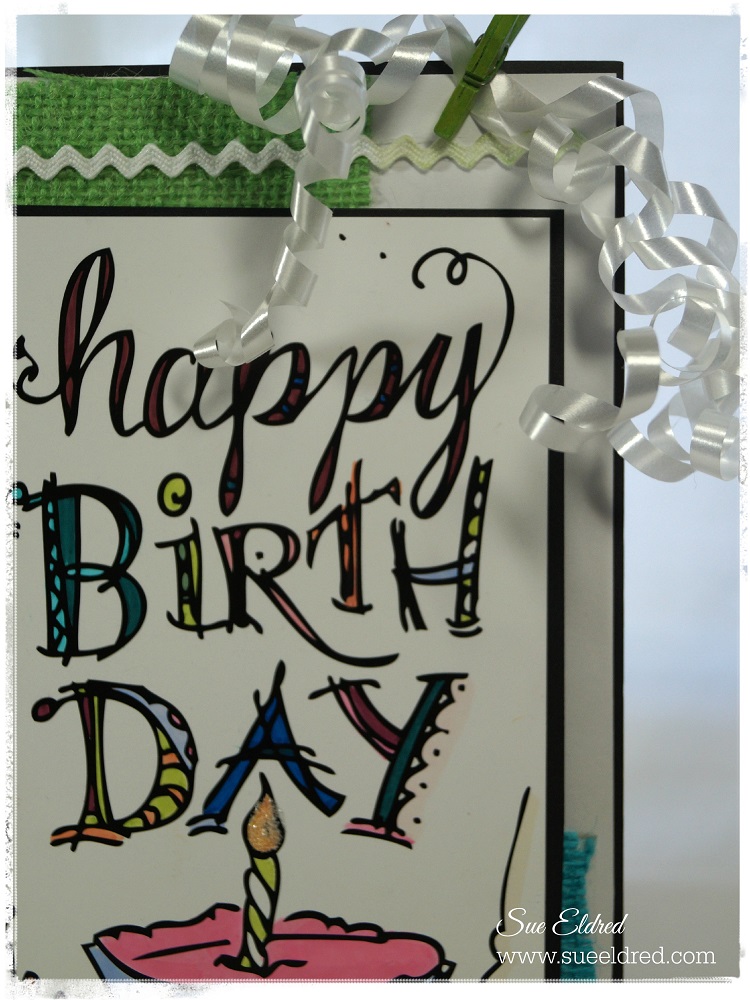
Tattered Tangles Birthday Tag Close Up 3370

This tag uses Tattered Tangles a fun doodle art from Canvas Corp. Brands.

Tattered Tangles Collection is printed on a paper called Leather Paper making it

perfect for coloring and different paint techniques.

Supplies Used on the Tattered Tangles Happy Birthday Tag:

  1. Cut Tattered Tangles Birthday image down to 3-3/4″ to 6″.  Color image with colored markers.
  2. Add clear glitter glue to flame on the birthday candle.
  3. Adhere birthday image onto black cardstock.
  4. Adhere small scraps of teal and green burlap onto the corners of a 4-1/2 x 7-1/2″ piece of white cardstock.  Glue rick rack onto the top and bottom.  Layer onto another piece of black cardstock.
  5. Mount birthday image with foam mounting squares onto the burlap and white cardstock.
  6. Curl white curling ribbon and attach to the top of the tag with a small green clothespin.

Happiness Tangled Pack

Disclosure:  This project was created for and sponsored by Canvas Corp Brands and uses affiliate links.

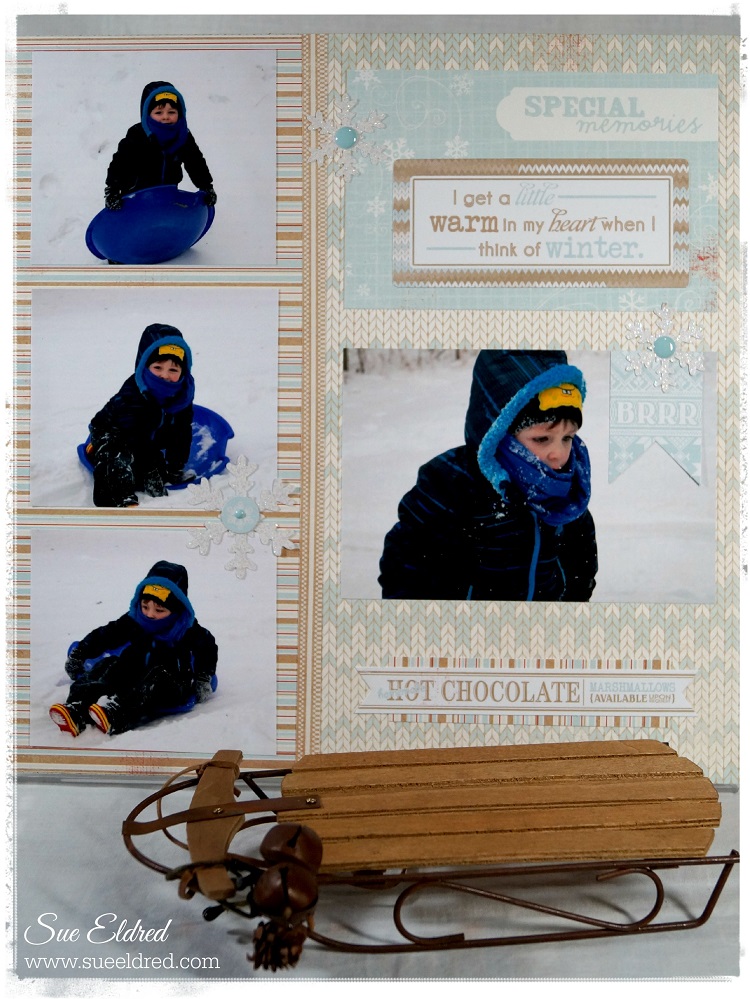
Winter Fun Sledding Layouts

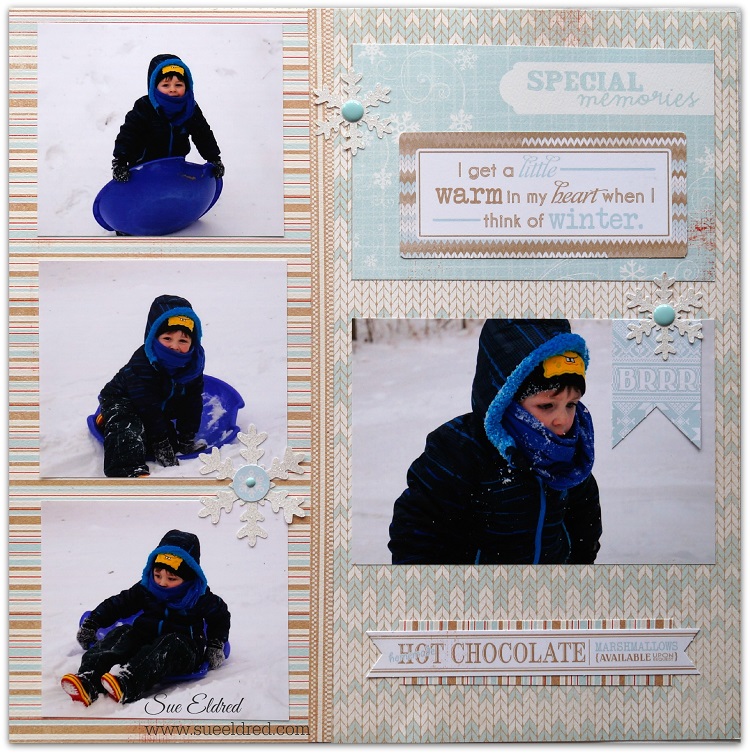
Winter Layout 3153

I finally got around to scrapping the fun sledding pictures I took of Nicholas and his Mom sledding.

What a fun time they had and I had a really great time taking pictures.

Winter Layout 3157

I used Authentique Paper’s Cozy Collection.


Click on picture for ordering information from Amazon*  (I am a Amazon Affiliate.)

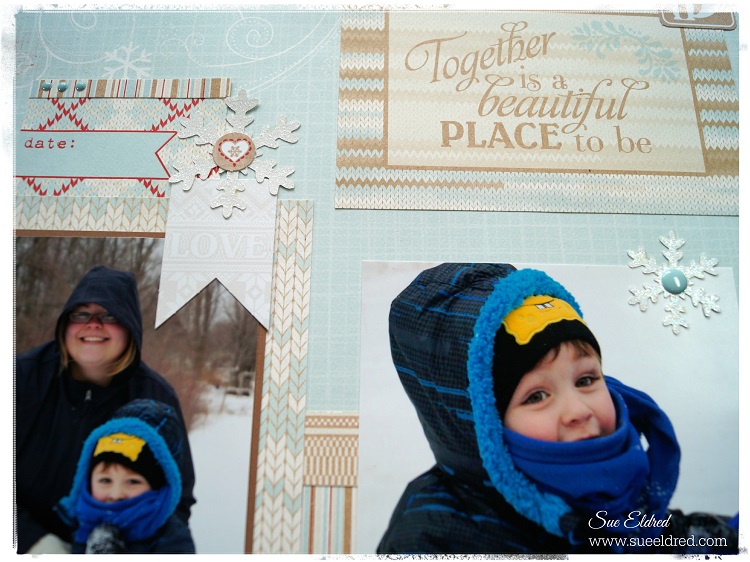
Winter Layout Close Up 3142

Warm & Cozy Layout #2 2920