Catching the Sun with Alcohol Inks

Suncatcher with Alcohol Ink

Now that schools out and everyone’s looking for new things to do.

How about making a Sun Catcher with the kids?

  • I started out with a 4″ clear acrylic circle from Clear Scraps.
  • After removing the thin protective film off both sides of the circle,I drew a simple picture on the circle using a black paint pen.  You could also use a black permanent marker.
  • Next, turn the circle over and on the reverse side of the circle color the image with Alcohol Inks.  You can’t tell by this picture, but for added detail, I edged the circle with a Silver paint pen.

This is something even the younger kids can enjoy.  (I recommend ages 3-100)

This project was created for and sponsored by Clear Scraps.
Quick & Easy Washi Tape Vase

Today’s the first Monday of the month time for the Designer Craft Connection Blog Hop.

The Theme this month is Handmade Gift Ideas.  (don’t forget to hop)

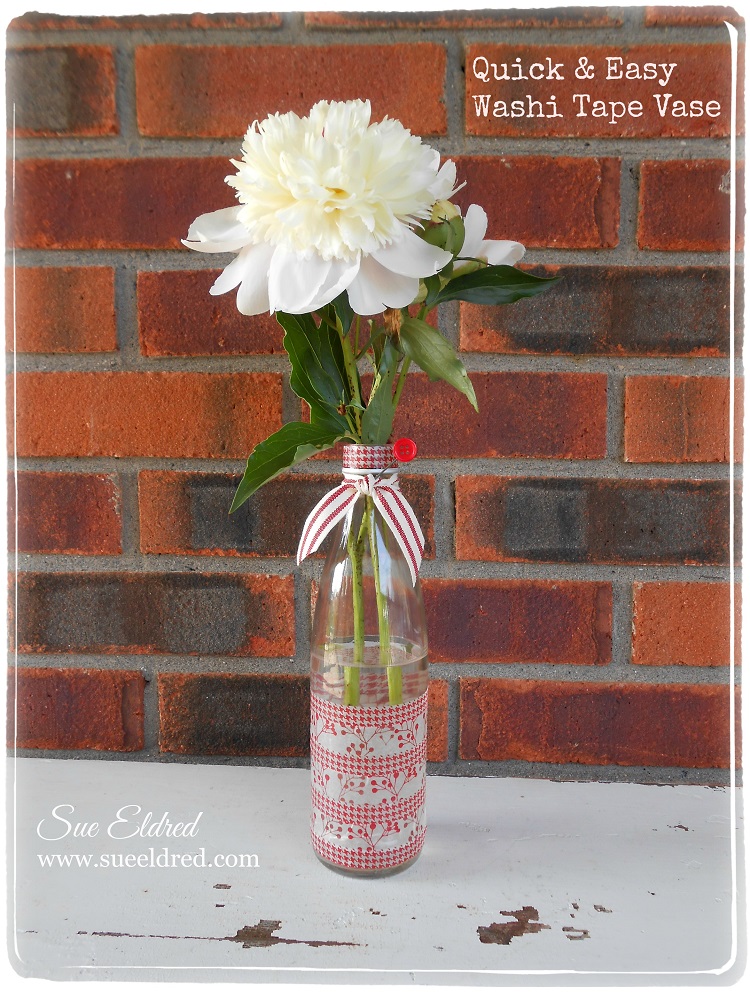
Quick & Easy Washi Tape Vase

My project today is a fun, quick & easy project that you can make in minutes.

This would make a great last minute gift.

Washi Tape Vase Close Up  Washi Tape Vase Details

I started with a narrow glass bottle that has a fairly long straight section.

Wrap the bottle with Washi Tape.  Choose two patterns or more.

Having a straight section is important to getting the washi tape on evenly.

You can smooth out any wrinkles in the tape with your thumb nail or a bone folder.

I added a little more detail around the neck of the bottle with some ribbon and a button.

I picked up the ribbon this Spring at The Paper Source in Indianapolis.  (I’ll be hoarding this)

I glued the button onto a Memo Pin* from Tim Holtz and stuck into the ribbon.

Grab a flower from the garden and your ready to go.  It really is that easy.

Just a note in case you’re wondering:

The tape on the vase, just like the flower won’t last for ever.  It’s just pretty.

*Disclosure:  I am a Amazon Affiliate.

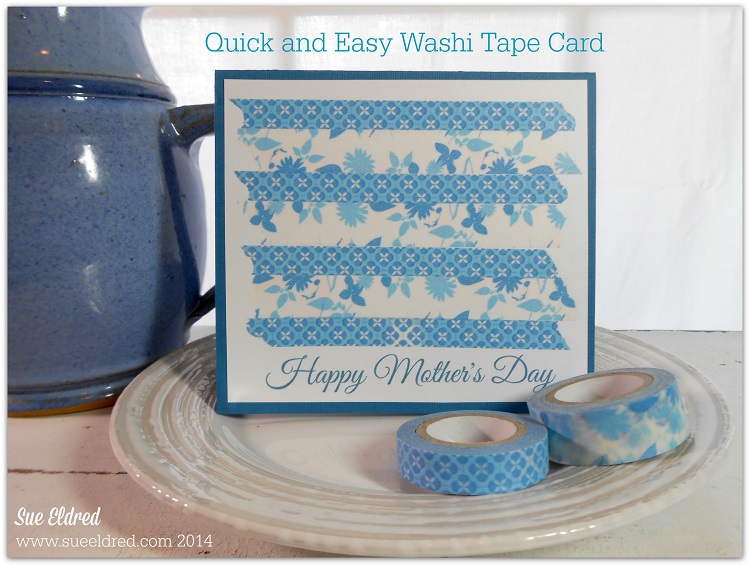
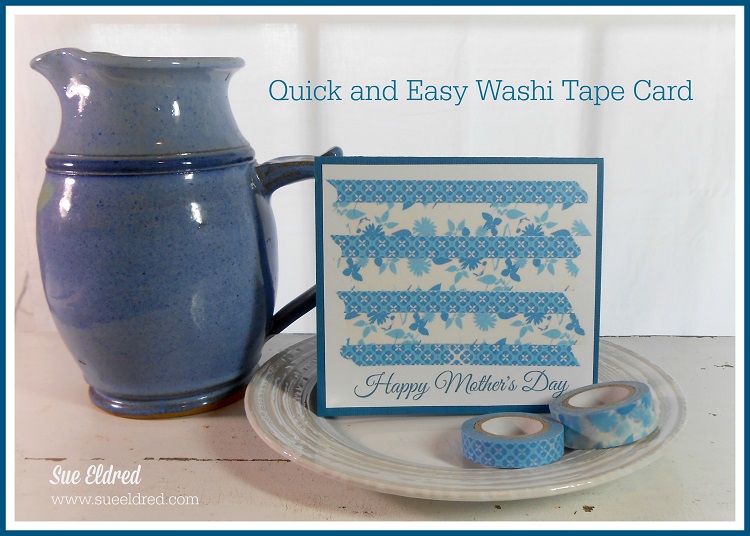
Quick and Easy Washi Tape Mother’s Day Card

Mothers Day is just a few days away.  Your Mom is expecting a special handmade card.

Here’s a Quick and Easy Mother’s Day card that you can make in minutes.

First, I’m assuming like any good paper crafter, you have washi tape on hand.

If not, there’s still time to run out and get some.  (visit your local scrapbook store)

Here’s what you need to do:

  • Using your computer, print your Mother’s Day greeting on a piece of white cardstock.  Make sure it prints approx. half way down the page.
  • Cut the white cardstock 1/4″ smaller than the size you want your card to be.
  • Then tear the washi tape into strips and alternate onto the white cardstock.
  • Adhere it to a cut and folded coordinating colored card that is 1/4″ larger than the white cardstock.

(My finished card is 4 1/2″ x 5″)

Voila!  Now run out and get her a bouquet of fresh flowers from the grocery store and your done.

To my kids:

If you are reading this post, the supplies are on my desk.

Help yourself.

Love, Mom

*Disclosure:  This blog uses ads and affiliate links.  If you choose to make a purchase using one of the links, I receive a small commission (at no additional cost to you) that helps offset the costs of maintaining this blog.  Thanks for your support!

Wedding Wish Tree Tag

An old tradition that has been gaining popularity with brides is the Wedding Wish Tree.

The Wish Tree is a Dutch Wedding custom where the guests are given a piece of paper, either shaped like a leaf or tag made of cardstock.  When the guests arrive at the reception, they write their wishes to the happy couple and then hang them on the tree using ribbon, clips or string.

The Wish Tree will make a attractive centerpiece and a great statement to wow your guests.  It can also be used as an alternative to a traditional guest book.  Can’t you just see branches painted white with twinkle lights full of wonderful wishes.

Casual, Elegant, Rustic or Baubles and Beads.  Individualize your tree, the possibilities are endless. While Wedding sites on the internet suggest that Manzanita branches are the best to use, for those more creative souls, let your imagination run wild. The style is up you.

Why stop at weddings?   The Wish Tree could be used for any special occasion.

Marvy Uchida

  • Clever Lever Extra Jumbo Scalloped Circle Punch
  • Clever Lever Extra Jumbo Scalloped Heart Punch
  • Clever Lever Extra Giga Merchandise Tag Punch

Additional Supplies:                (*affiliate link)

Instructions

Making the flower is easy. 

  1. Punch six cream scallop circles.
  2. Using a ink applicator, ink the edge of each scallop circle with the Tea Rose ink.
  3. Mist the circles with water, allowing ink to run.
  4. Stack all the circles together and pierce a hole the the center of all circles.  Attach circles with small brad.
  5. Starting with the top circle,  carefully scrunch the circle to the center.  One by one, continue scrunching the circles until you have a small paper wad.
  6. Gently unfold the circles to start forming the flower.
  7. For extra color, apply a little more ink to the tip of the flower.  This can be done while the flower is still damp or wait until it has dried.  Allow flower to dry.
  8. Punch two cream scalloped hearts.
  9. Ink hearts with Peeled Paint Distress Ink.
  10. Mist hearts and scrunch in your hand.  Carefully unfold.
  11. Glue dried leaf underneath the flower.  Another alternative for the leaf is to pinch the two rounded ends of the heart using the pointed end as the tip of the leaf.

Shop Handmade – The Wedding Store

Disclaimer:  This blog uses ads and affiliate links.  If you choose to make a purchase using one of the links, I receive a small commission (at no additional cost to you) that helps offset the costs of maintaining this blog.  Thanks for your support!