Cigar Box Washi Tape Holder

How to Make a Cigar Box Washi Tape Holder 2790

Making Creative Storage for my ever-growing collection of Washi Tape.

I have a small, growing collection of Washi Tape.

In addition to all its many uses, I find that they are just pretty to look at.

Previously, I had all my washi tape gathered in a canning jar, although pretty…

I found myself dumping the jar every time I wanted to use one.

Being on a “old drawer” kick, I decided to make a small washi tape holder using an old cigar box.

Materials 2764

I used two sheets of scrapbook paper from Carta Bella’s “Warm & Cozy” collection.

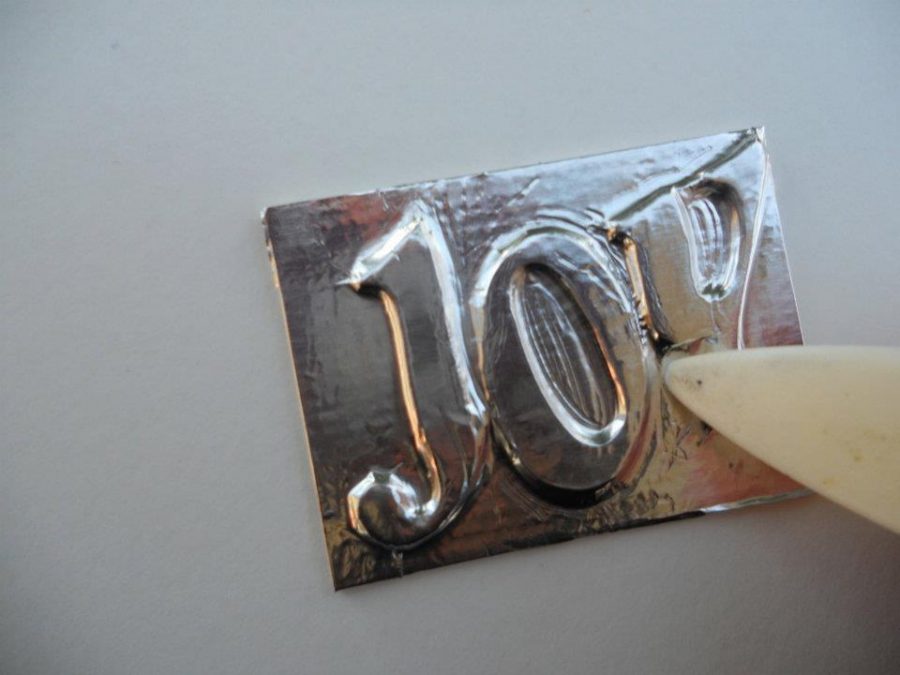
basic supplies:  craft knife, cutting mat, craft glue, double stick tape roller and a metal label holder, black marker.

pieces 2767

To Make a Cigar Washi Tape Holder:

  • Cut the lid off the cigar box.  Measure and cut the lid into two strips to fit inside your box as dividers.
  • Remove excess loose paper from box.
  • TIP:  Use a black permanent marker to color the inside corners of your box.  This will help keep any white from the box from showing.
  • Cover box with scrapbook paper.
  • Adhere paper over both dividers.
  • Apply craft glue onto bottom and sides of dividers and put into place.

empty box 2773

Cigar Box Washi Tape Holder 2808

Add metal label holder and fill with your favorite washi tape.

Captivating Squares

Captivating Squares 1682

I will be teaching a new card class in April at The Paper Forest called Captivating Squares.

In the class we will be using Spellbinders dies and Kaisercraft’s Rustic Harmony Collection

to make these four cards.

The Paper Forest in Washington, IL

Saturday, April 18th from 1:00-3:00 p.m.

Cost of the Class:  $22.00

Students Bring:  tape runner, scissors, foam mounting squares, Vintage Photo Ink, Ink Applicator

Contact The Paper Forest at 309-745-3440 to sign up.

Live Laugh Love 1714 Live a Beautiful Life 1706

Enjoy The Little Things in Life 1718 Love Card 2085

I used Spellbinders Captivating Squares* on these cards.

Click on picture for ordering information from Amazon.*

Disclosure:  I am a Amazon Affiliate.

Getting Cozy…and a update

Mini Album watermarked

NEW PRODUCT From Clear Scrap…

Stay Warm and Cozy this winter while you play with one of the “New” Mini Mixable Albums

from Clear Scraps.  My Mini Mixable Little Bits 3.5 x 5 Album, made with soft blues and tans,

uses the “Cozy” scrapbook collection from Authentique Papers.

A perfect little album for those snowy winter pictures.

Now that the CHA (craft and hobby assoc.) Trade Show is right around the corner,

I can start showing some of the new projects I made for Clear Scraps.

They have a lot of new albums, stencils and more.  You can check out all of their “New” items here.

It’s a cold one today… So Stay Warm.

mantle onemantle two

Update on Winter decorating:  My Newly Decorated Mantle  (what do you think?)

Joy Tag with a Cool Metal Foil Technique

Impress your friends with an Easy and Elegant Metal Foil Tape project.

I love this technique and thought you might as well.

Start with a small piece of matboard or chipboard approx. 2″ x 2 1/2″ and chipboard letters spelling the word “Joy”.

Joy Tag products used:            (*amazon affiliate link)

*Disclosure:  This blog uses affiliate links.  If you choose to make a purchase using one of the links, I receive a small commission (at no additional cost to you) that helps offset the costs of maintaining this blog.  Thanks for your support!

Shop Your Fav Brands at Scrapbook.com

Directions:

1. Glue letters onto the small chipboard with Beacon Adhesives Zip Dry Paper Glue*.
2. Apply Aluminum Foil Tape* over chipboard. I make the chipboard slightly smaller than the tape so that I don’t have any seams.
3. Using the bone folder, gently go around each letter to bring out the detail.

4. Paint the background with the paint pen. To give it a snowy affect, when
giving a second coat of paint, dot the paint with the tip instead of brushing.
5. Use the pale blue pen to color the letters. Allow both colors to thoroughly
dry.
6. Using a sanding block, lightly sand the letters and edges of the chipboard.
7. For a finishing touch, paint the letters with stickles glitter glue.

The tag also uses:
Prima Flowers (Holiday Celebration Snow Drop)
Vivid Ink: Aqua
Ink Blending Tool*
Scrapbook Paper
Cardstock
Corner Punch, Rounded*
1/8 Inch Round Hole Punch*
Lace, Silver Ribbon and Small Flat Snowflake Ornament
Silver Greenery

Shop Amazon Scrapbooking Supplies*

Pekin Times

On a Saturday morning back in February, I showed up to teach a class at my local Scrapbook Store and was greeted by a reporter from one of the local papers.  (a husband of one of the ladies that was taking my class)  He was doing an article on Paper Crafting, people who craft for fun and profit and a bit on my local Scrapbook Store, The Paper Forest.  I gave a quick interview while I set up for class and he followed up with a phone call to finish the interview later the next week.  While it was fun being included in the article I’ve been wondering since then what I’d said and hoping that I hadn’t embarrassed my self.

Click here to view the article.  (I think it turned out real nice.)

Make sure to check out the pictures.