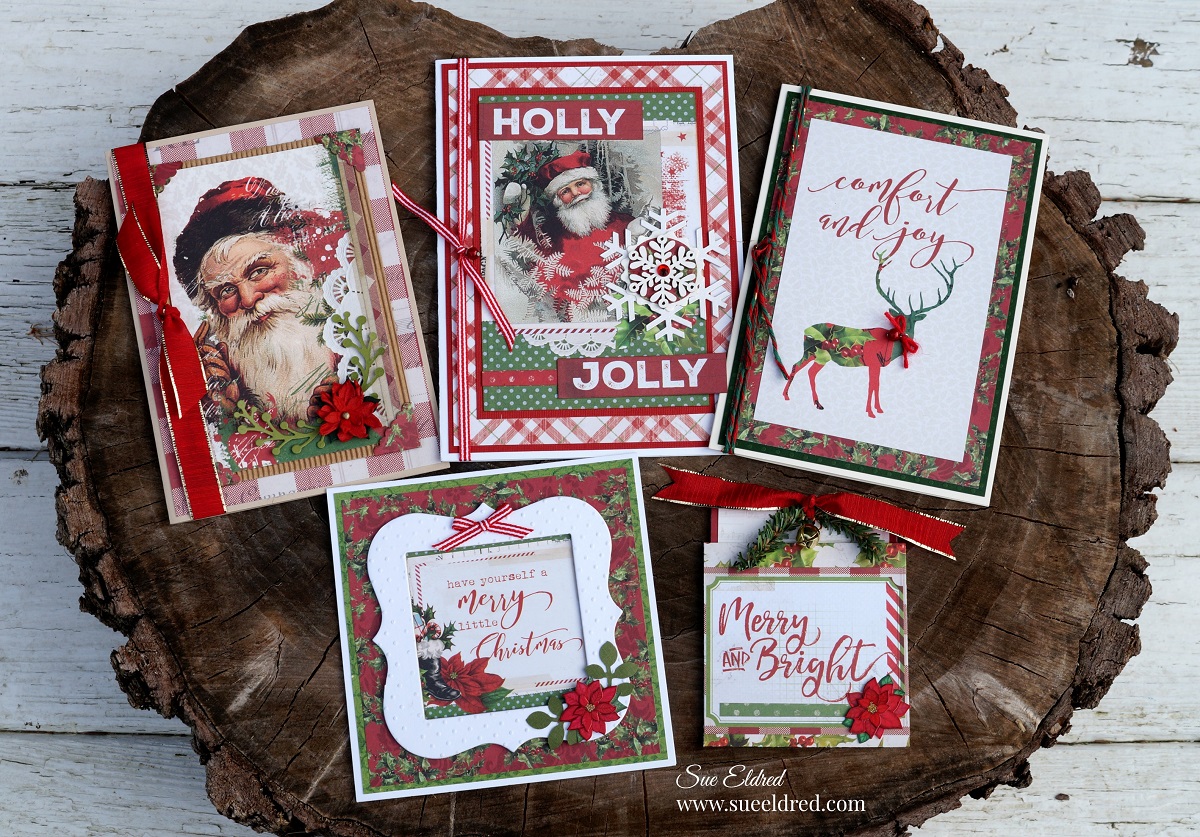
Making a Christmas Card from non-Christmas paper.
You don’t always need traditional Christmas paper and embellishments to make
a Christmas card.
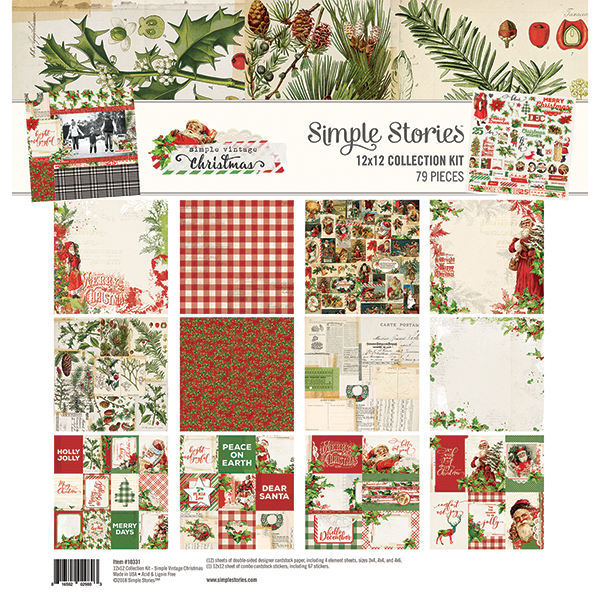
One of the perks of being on the Xyron Design Team is receiving product from partnering
companies like Wild Whisper.

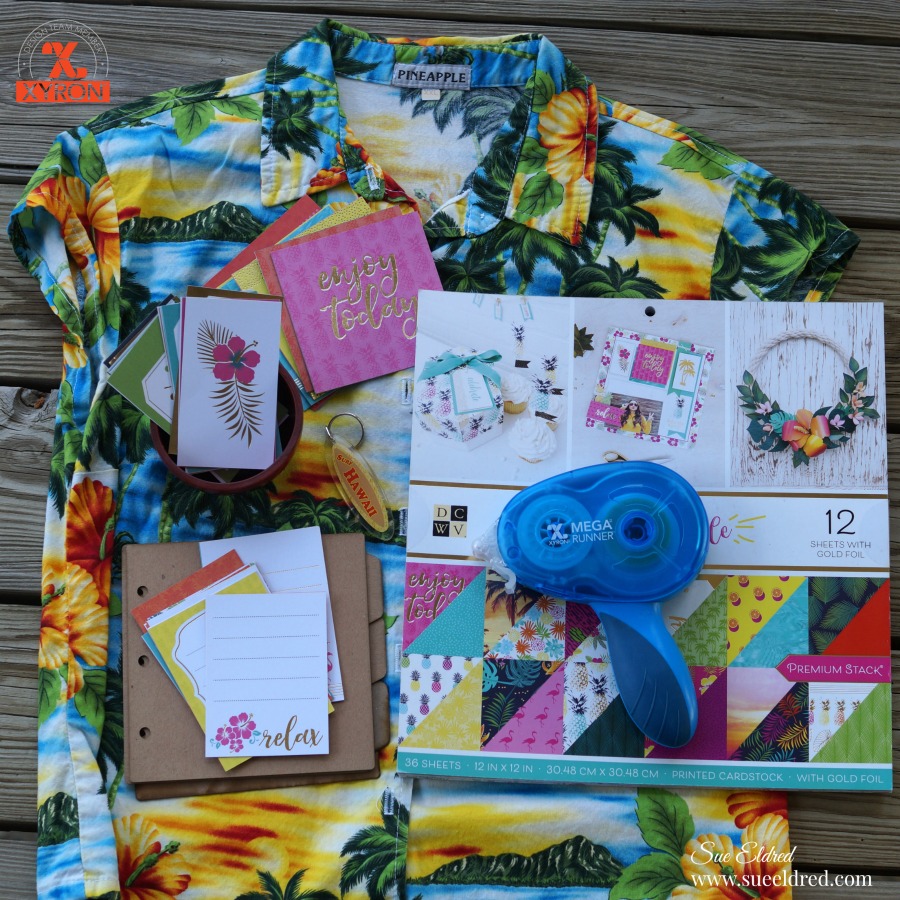
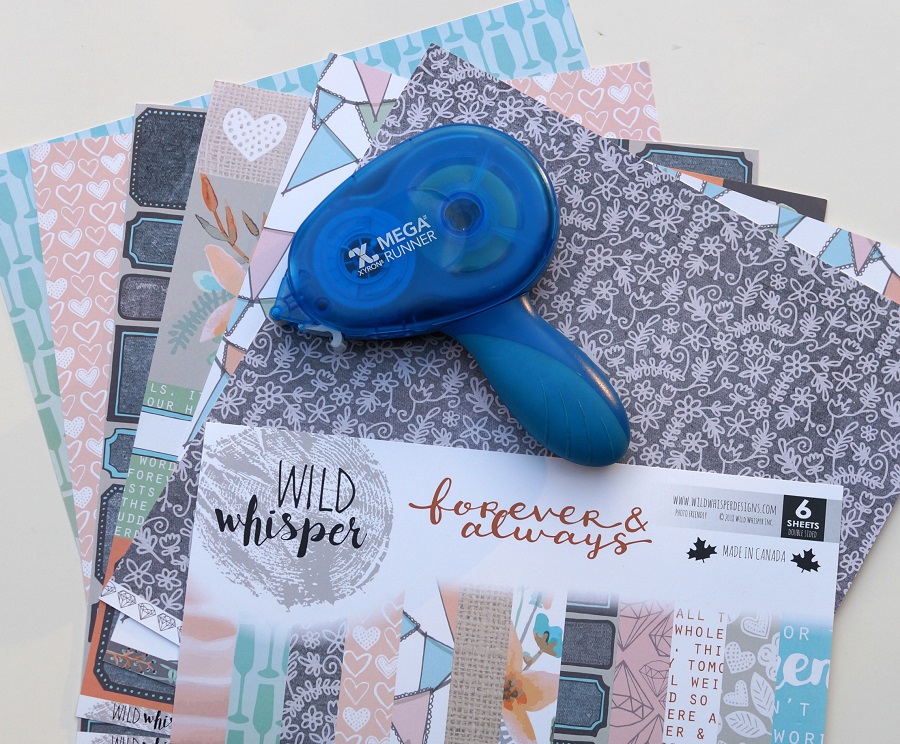
I recently received Wild Whisper’s “forever & always” collection…
a soft mix of paper including backgrounds of banners and labels.
I considered making an everyday type project, but, since I’m currently in full blown
“Christmas Crazy”, a Christmas card was in order.
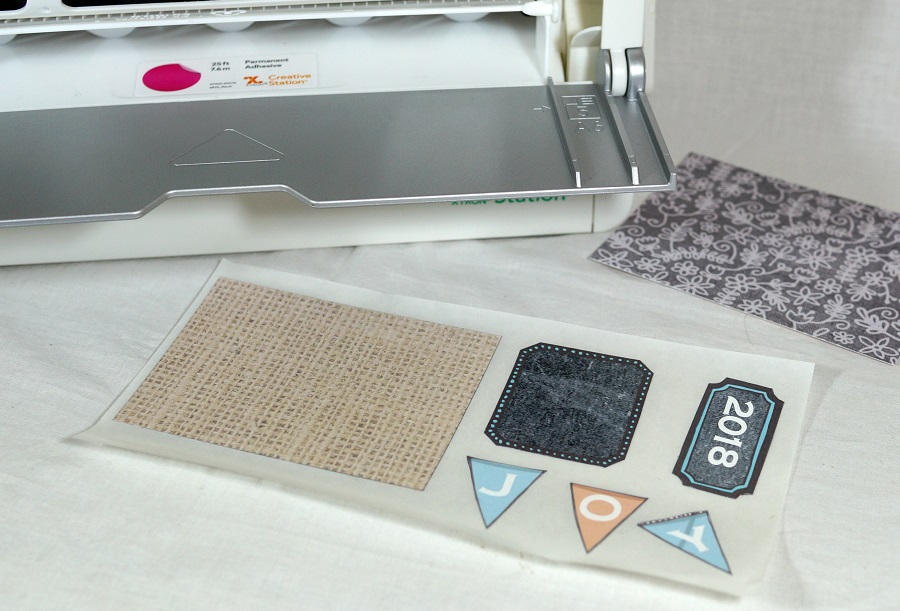
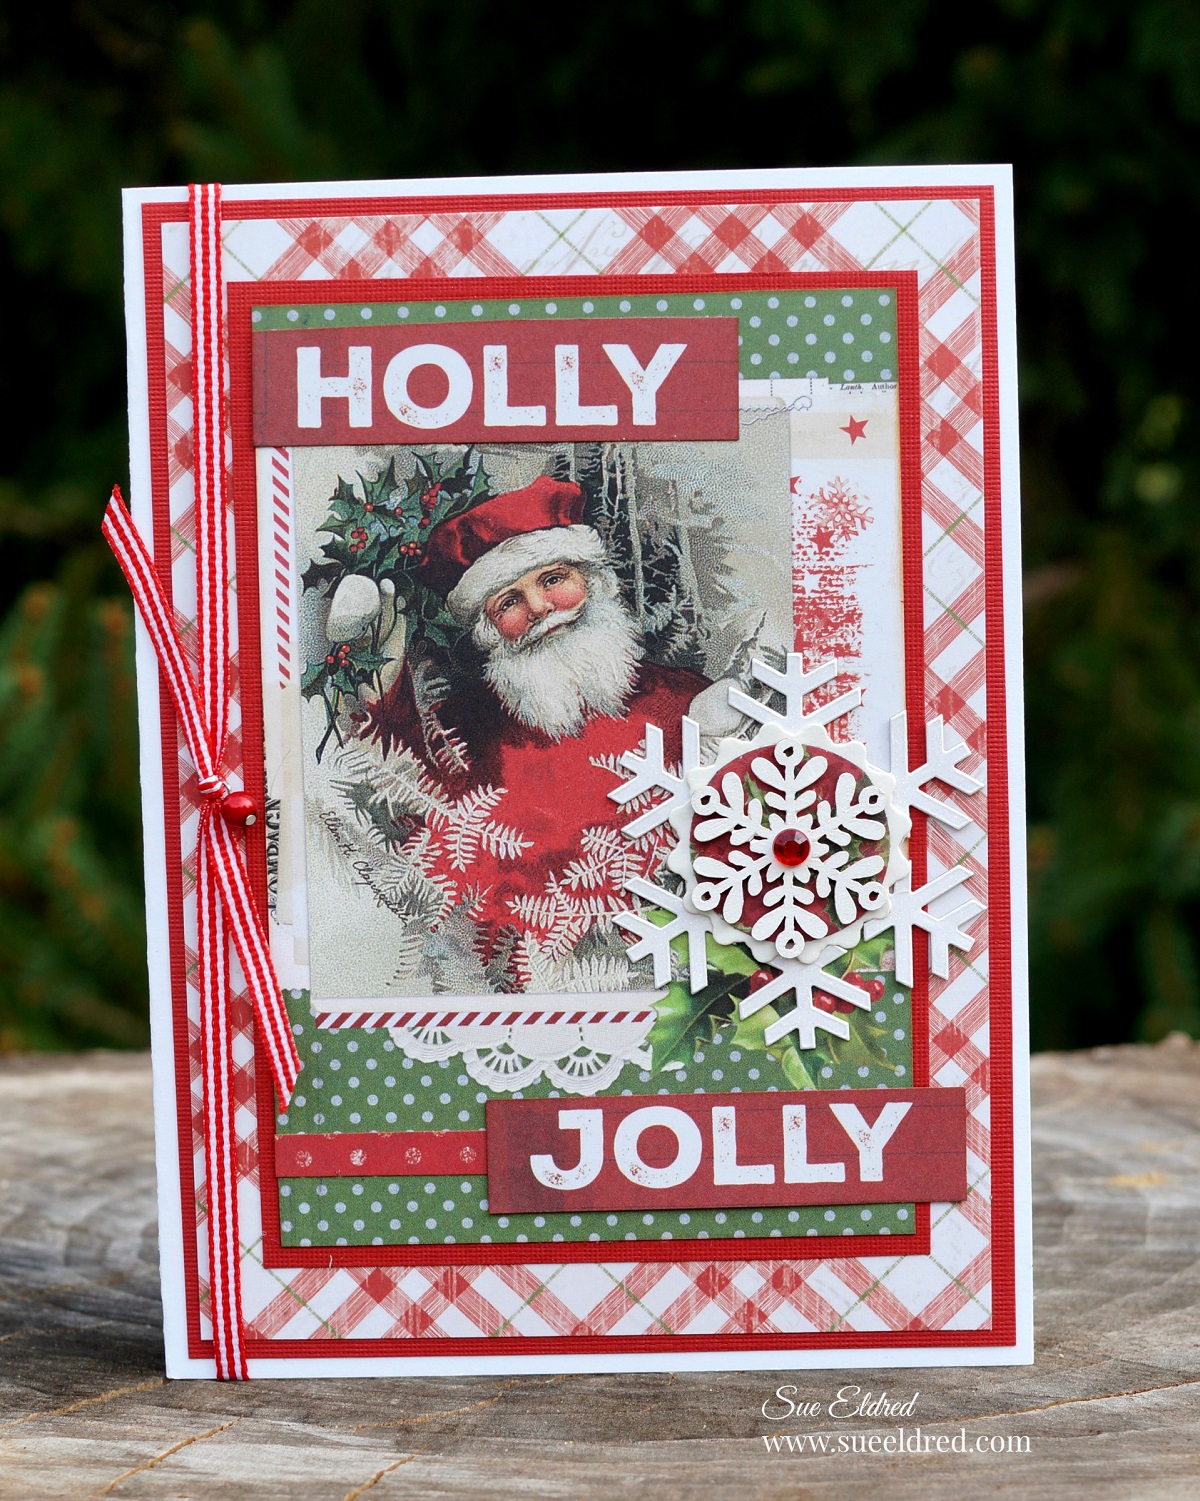
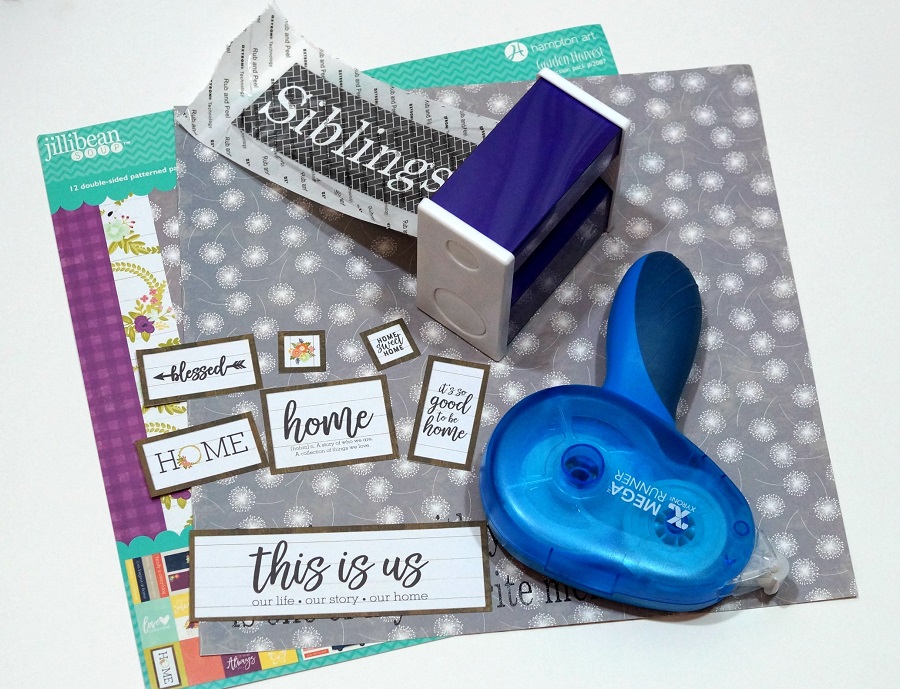
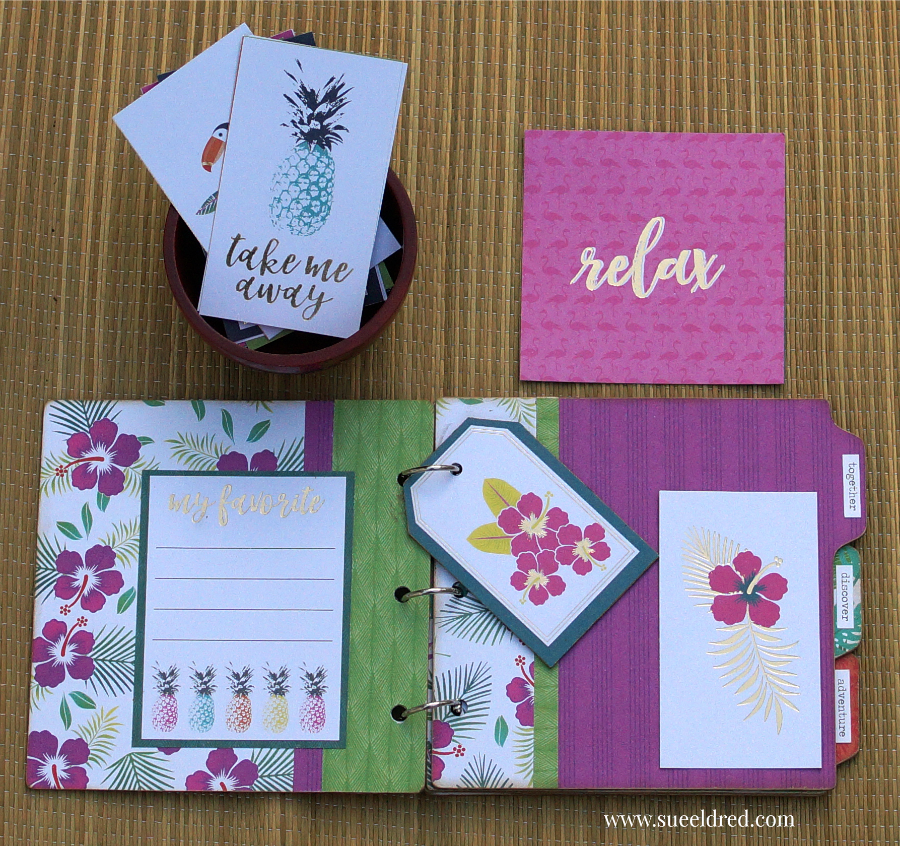
I cut out a few banners and labels from the background paper.
I added letter and number stickers to create my holiday embellishments.
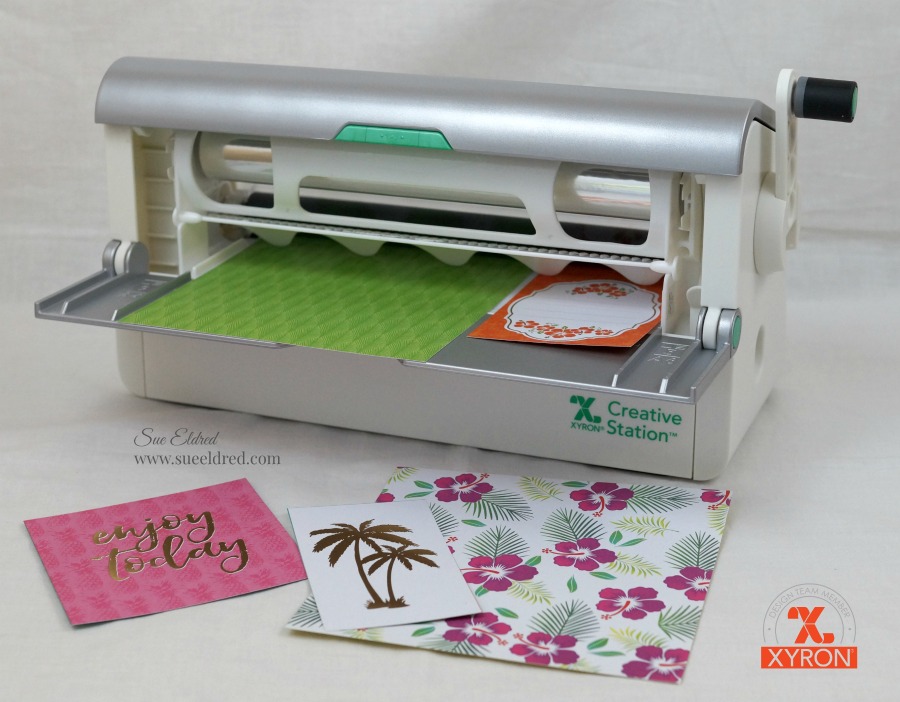
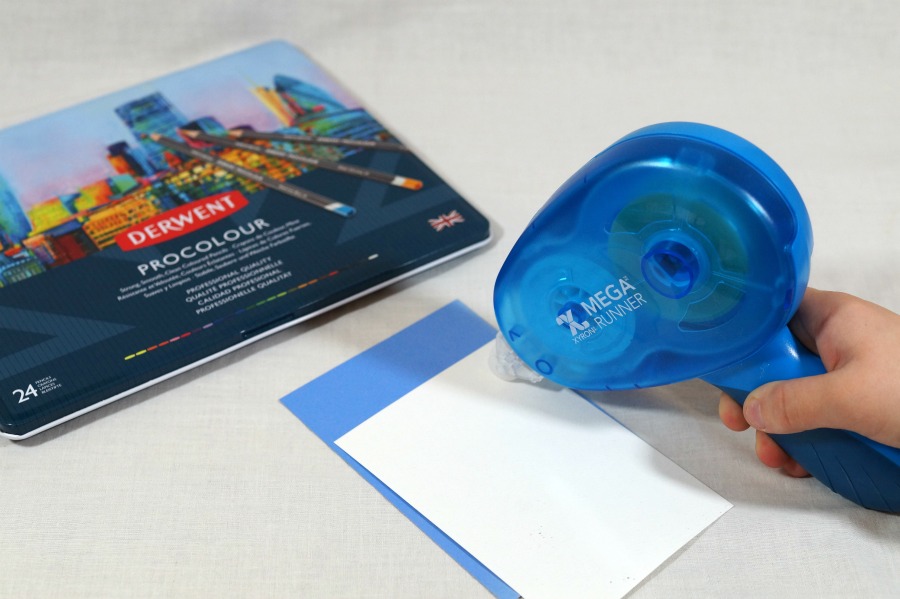
My Xyron Creative Station* made quick work of putting the layers together.

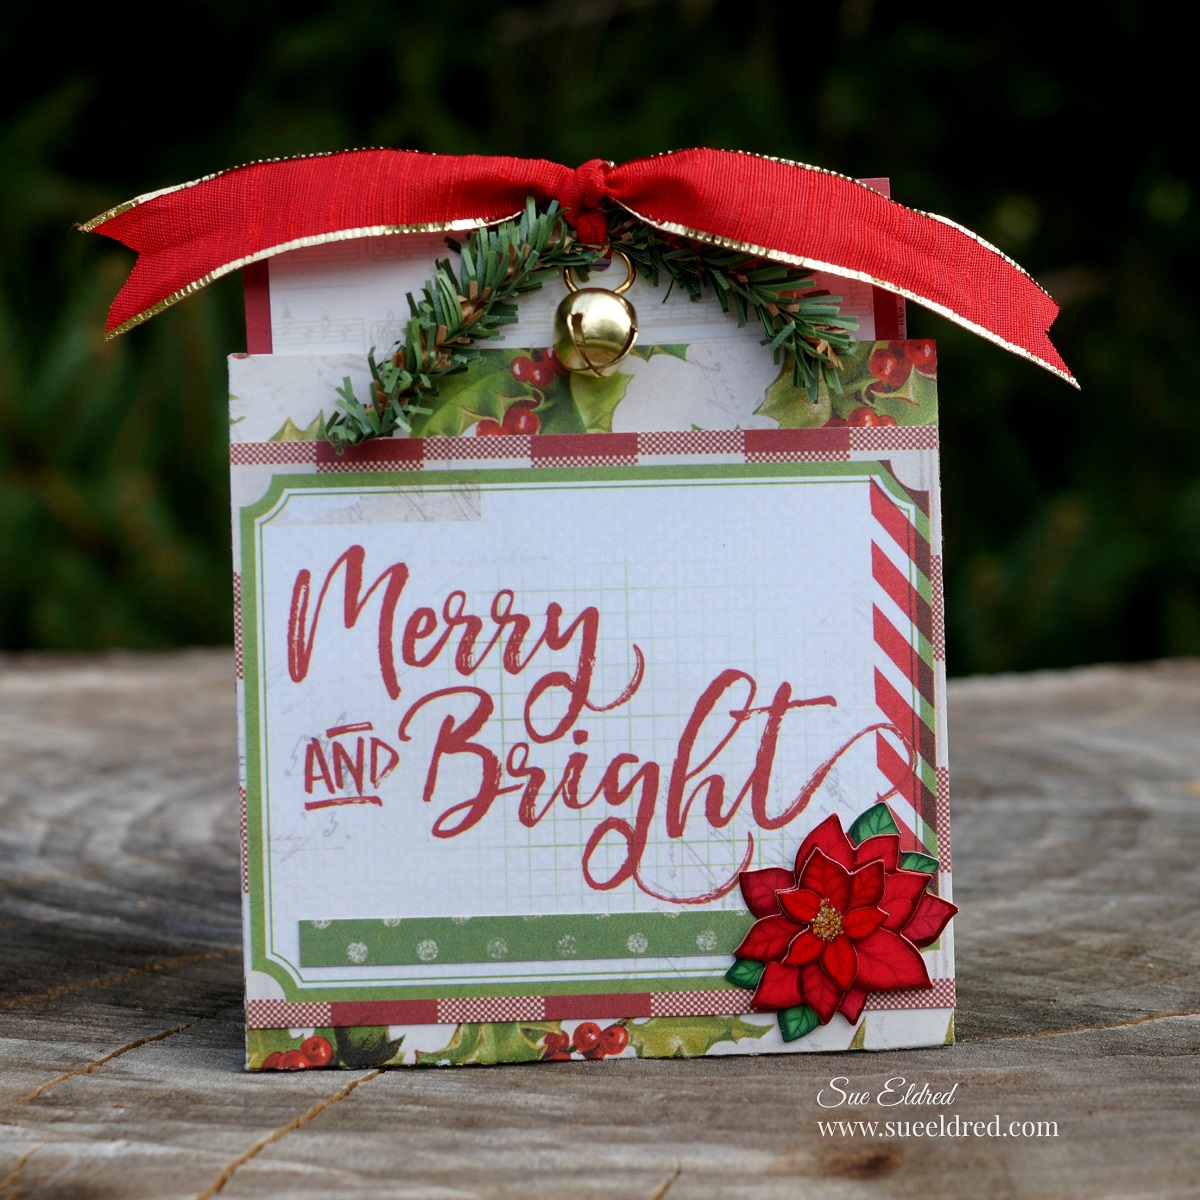
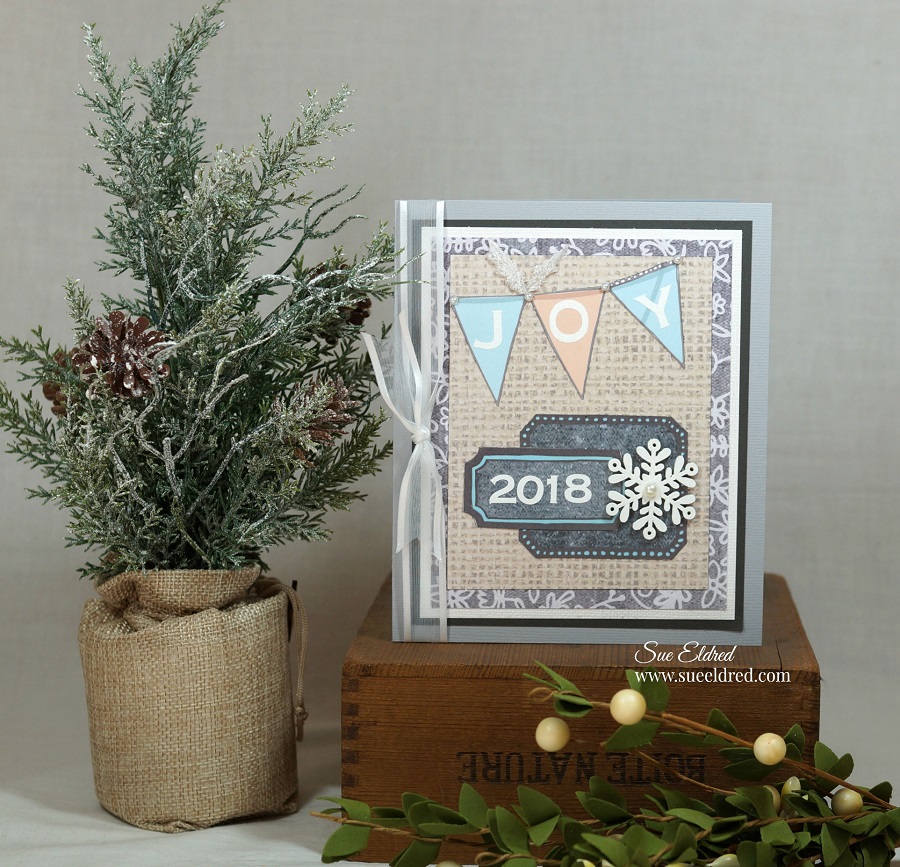
I added a small wood snowflake, sheer white ribbon and adhesive pearl rhinestones
to finish off the card. I like the non-traditional soft peach and blue. (It’s not my usual red.)
“This is a sponsored post. As a member of the Xyron Design Team I have been provided product and compensation in exchange for my creative ideas. The views and opinions are my own.

*Disclosure: This blog uses affiliate links. If you choose to make a purchase using one of the links, I receive a small commission (at no additional cost to you) that helps offset the costs of maintaining this blog. Thanks for your support!