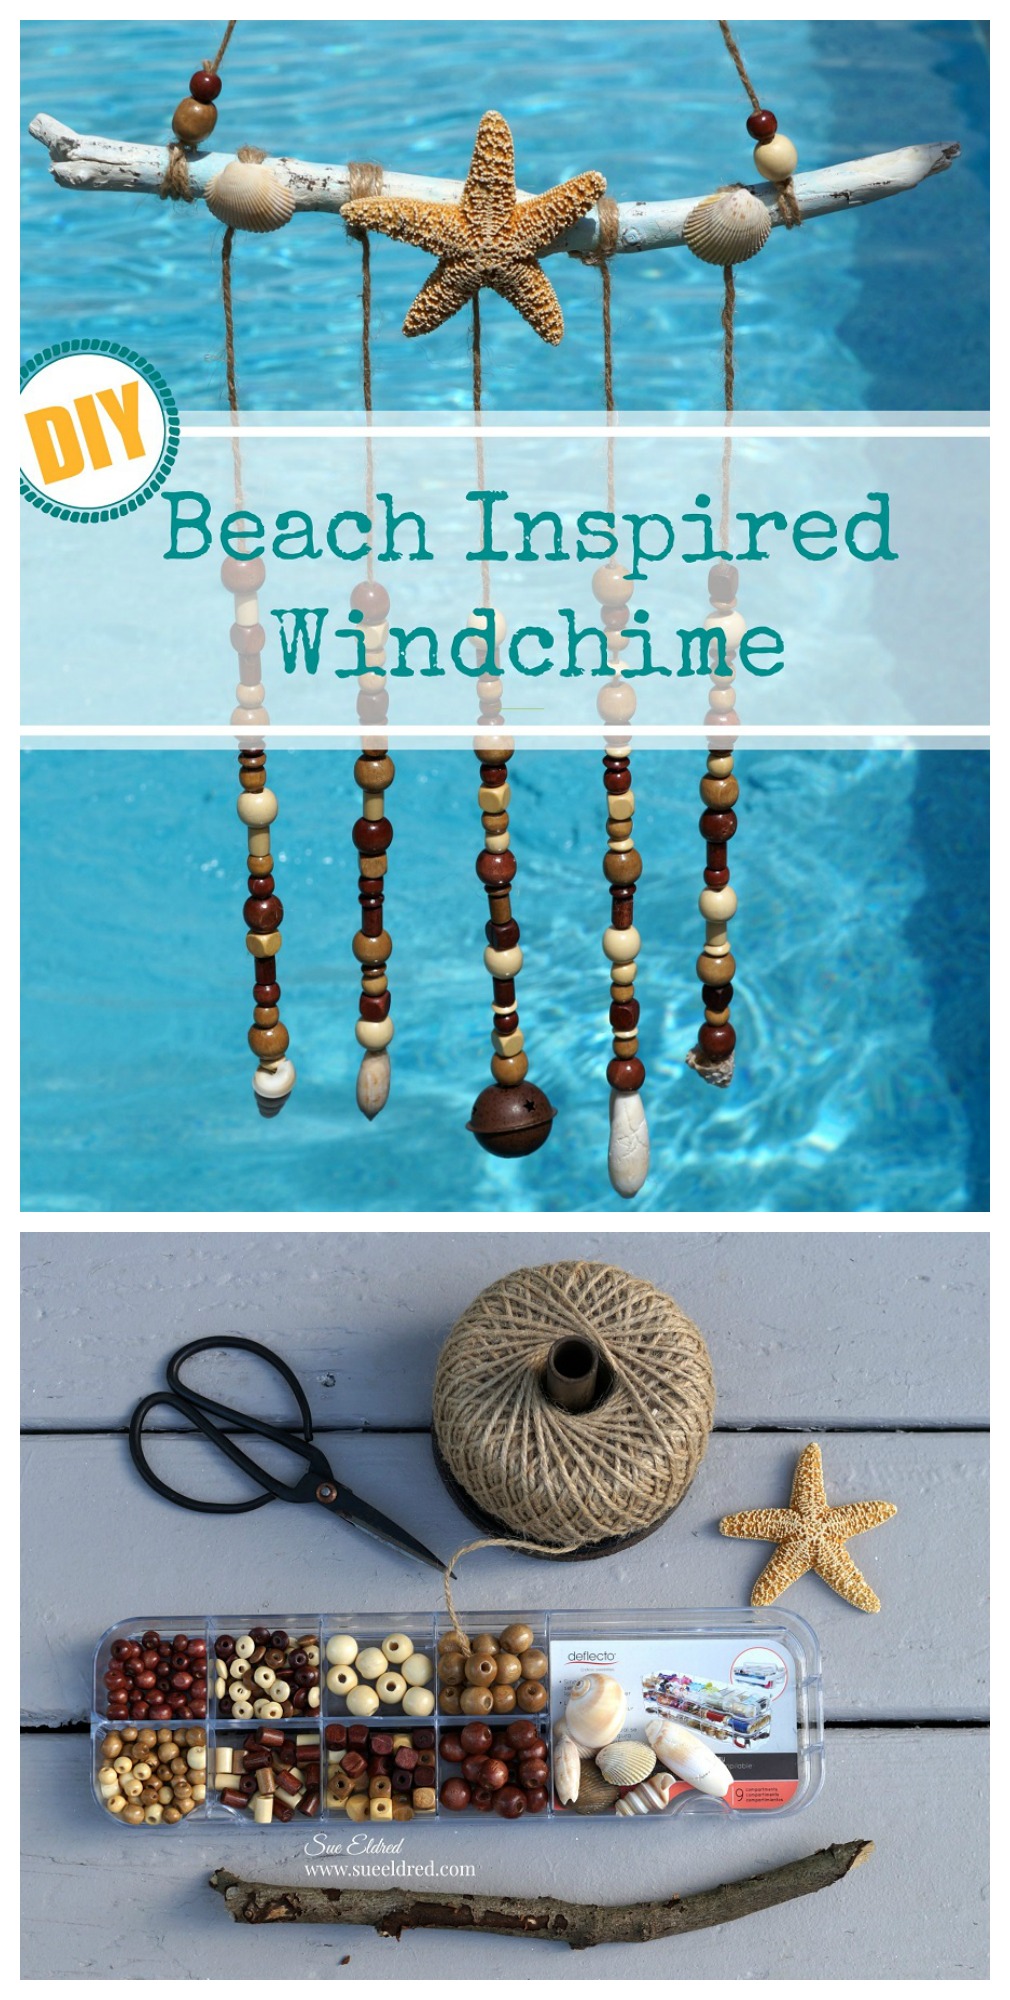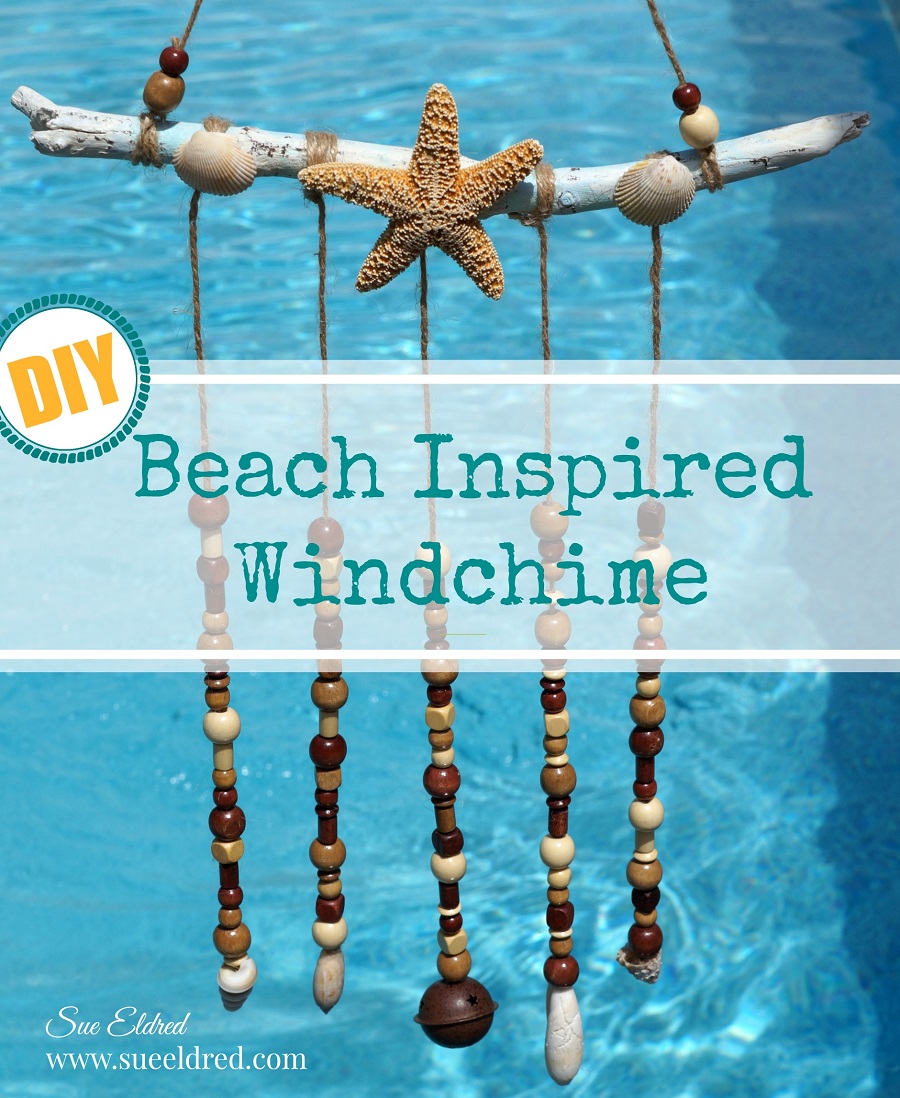
A Beach Inspired Windchime for those us that LOVE the beach.
If you’re one of the lucky ones that live on the ocean or have a Beach House.
Here is a simple project to make that you can hang on the back porch.
Or if you don’t live on the beach or have a beach house.
The Windchime is a fun reminder of trips to the ocean,
and a great way to use some of those shells you collected.
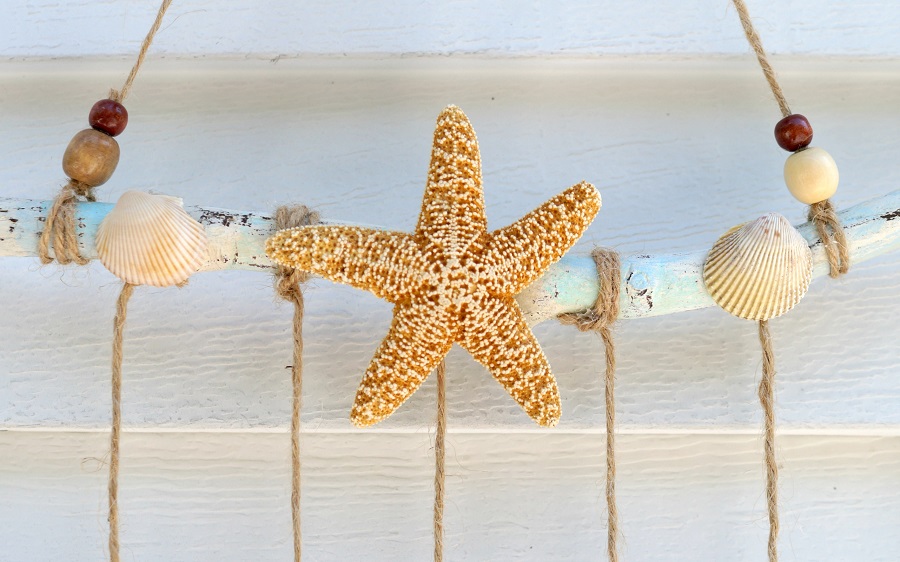
How to Make a Beach Inspired Wind Chime.
![]()
Disclosure: “This is a sponsored post. As a member of the Deflecto Design Team I have been provided product and compensation in exchange for my creative ideas, views and opinions.”

Supplies Used: (*affiliate link)
- Beach Seashells*
- Driftwood Stick or Stick from your yard
- Wood Beads
- Twine and Scissors*
- DecoArt Acrylic Paint: Cotton Ball*,
Blue Haven*,
Aqua
- Paint Brush
- Fine Grit Sandpaper*
- Blue Removable Painter’s Tape*
- DAP Rapid Fuse Adhesive*
Featured Storage:
- Deflecto Caddy Storage Tray*
- Deflecto Stackable Caddy Organizer*
- Deflecto Interlocking Marker Organizer*


*Disclosure: This blog uses ads and affiliate links. If you choose to make a purchase using one of the links, I receive a small commission (at no additional cost to you) that helps offset the costs of maintaining this blog. Thanks for your support!

Gather Your Supplies…
The Caddy Storage Tray* is so handy to use. It’s perfect for sorting the various sizes of wood beads. And it fits into the large container of the Deflecto Stackable Caddy Organizer*
. I used the Deflecto
Interlocking Marker Organizer* in the caddy to hold my paintbrushes. I put all my supplies in the caddy and took it onto the deck, where I worked on the wind chime under my umbrella on a beautiful Summer day. (and wished I was on the beach)
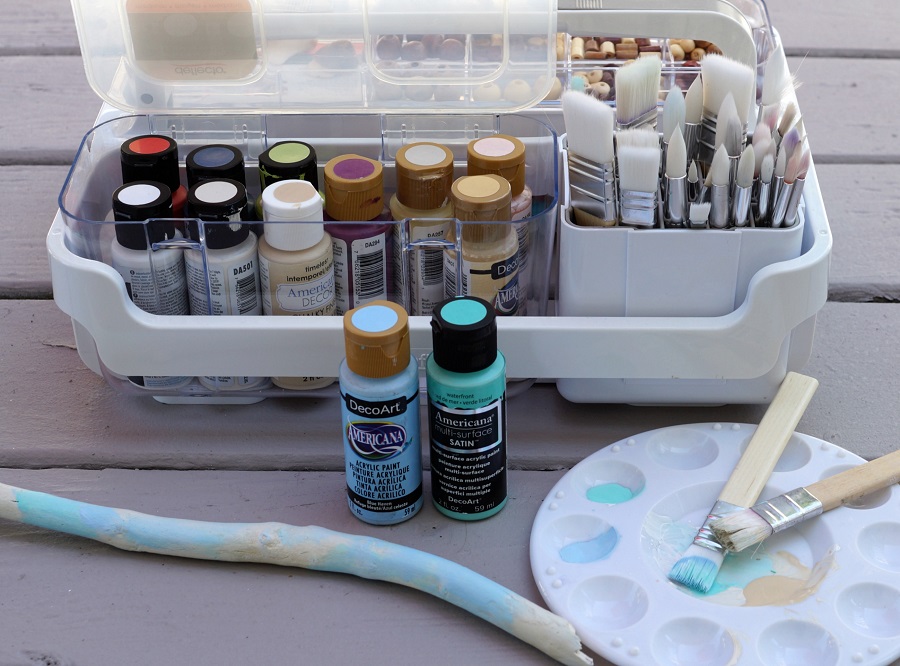
Faux Driftwood…
Because I didn’t have an actual driftwood stick from the beach. I used a stick found in the yard and broke it down to size.
- Scrape the bark off the stick. (I used an old table knife.)
- Paint the stick with white acrylic paint and a couple of stripes of pale blue and aqua.
- Give the stick a light sanding with fine-grit sandpaper to rough it up and make it look more natural.
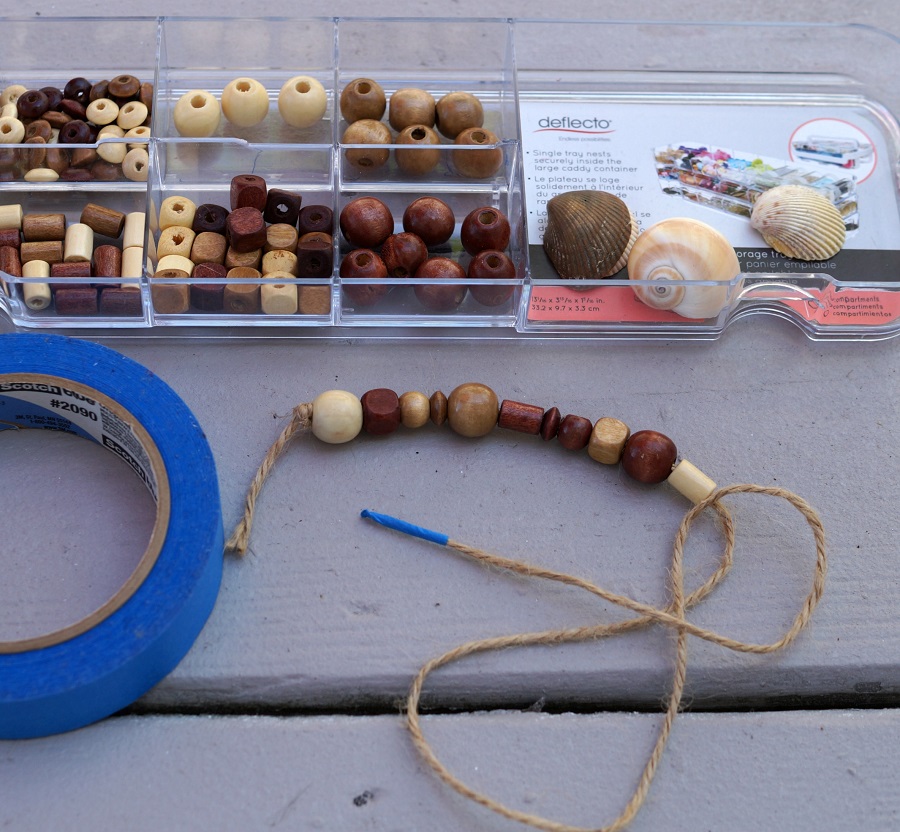
- Cut five pieces of twine approximately 24″ long.
- Tie a knot on one end of the twine.
- Wrap a small piece of blue removable painters tape on the other end of the twine to keep the twine from fraying.
- String Wood Beads onto the twine.

- Use a super-fast grab adhesive like DAP Rapid Fuse Adhesive*
to glue the shells onto the end of the knots.
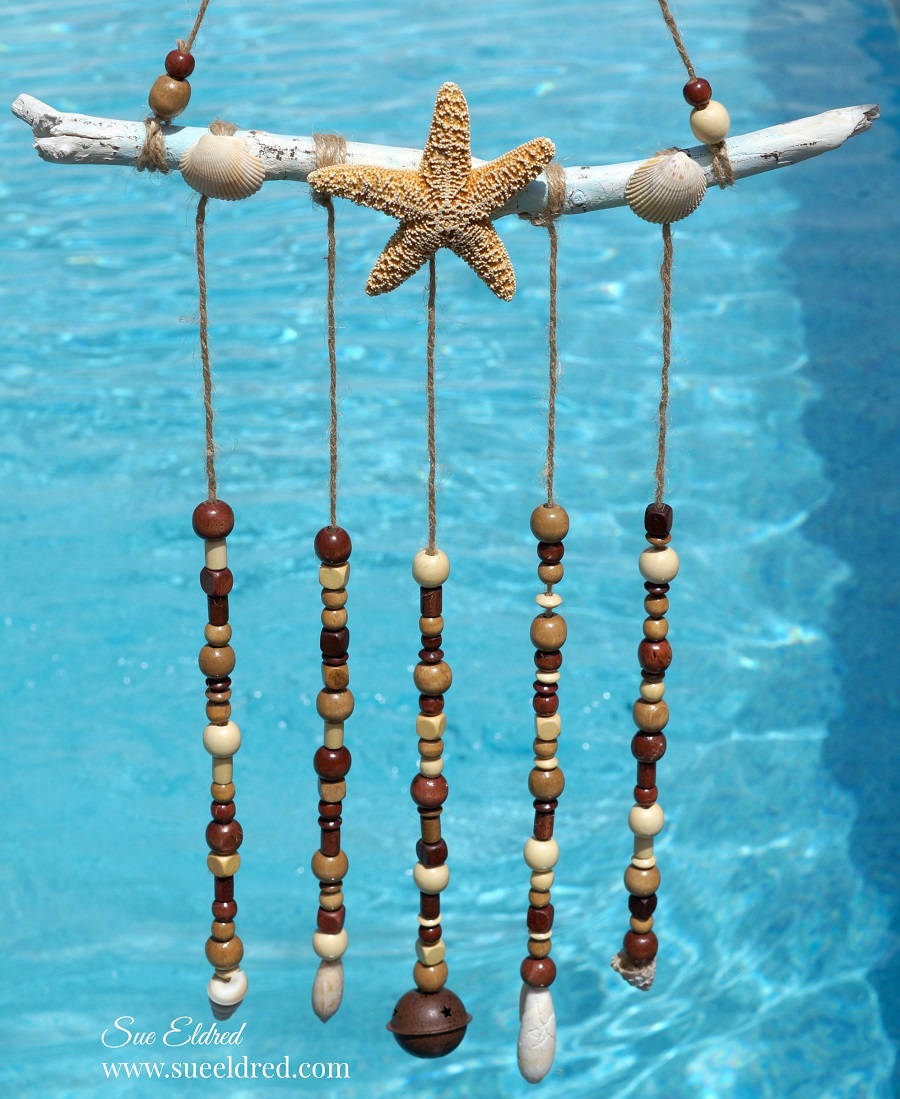
- Tie beaded twine to the painted stick.
- On the center of the stick, I glued a medium-sized Starfish purchased at a Beach Gift Shop.
- Add a couple of beads to a piece of twine. Tie twine to each end of the stick to use as a hanger.
- Stick the loose ends of the twine through the beads to hide.
Don’t Miss a Thing…Make Sure to Follow me


For more DIY Beach Inspired projects from Sue’s Creative Workshop.↓


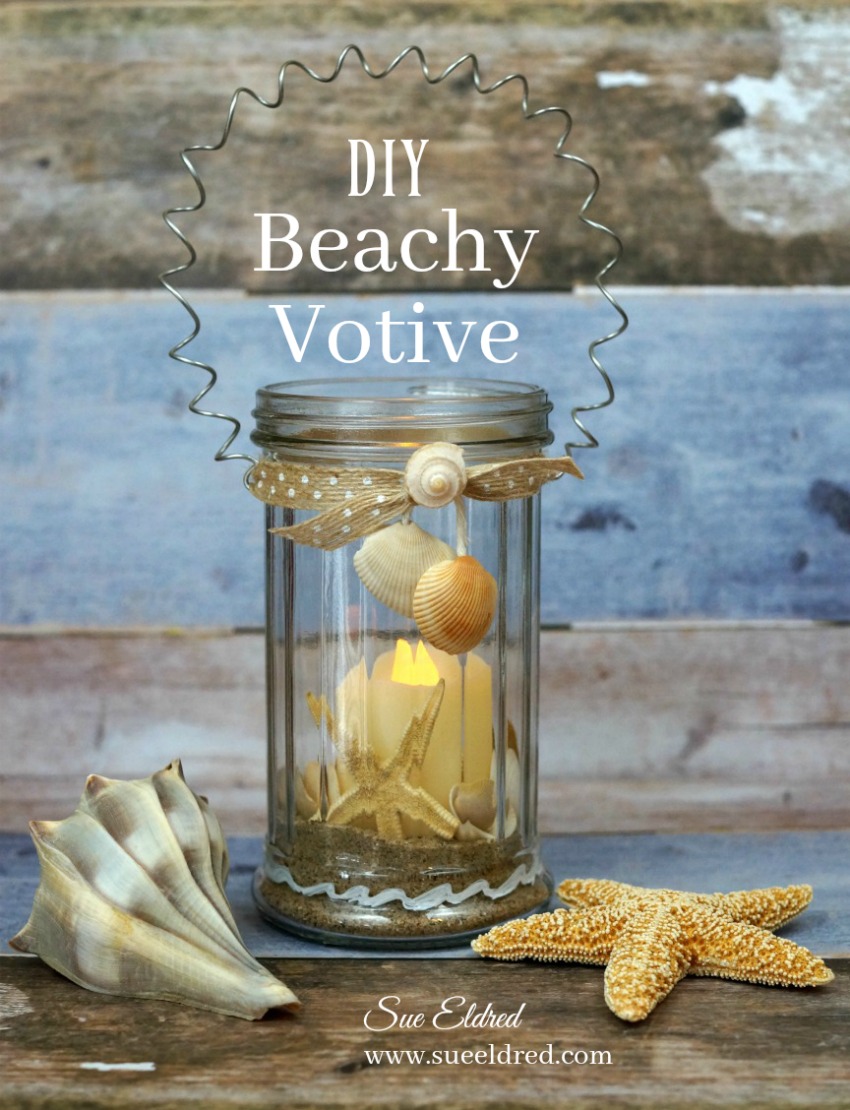
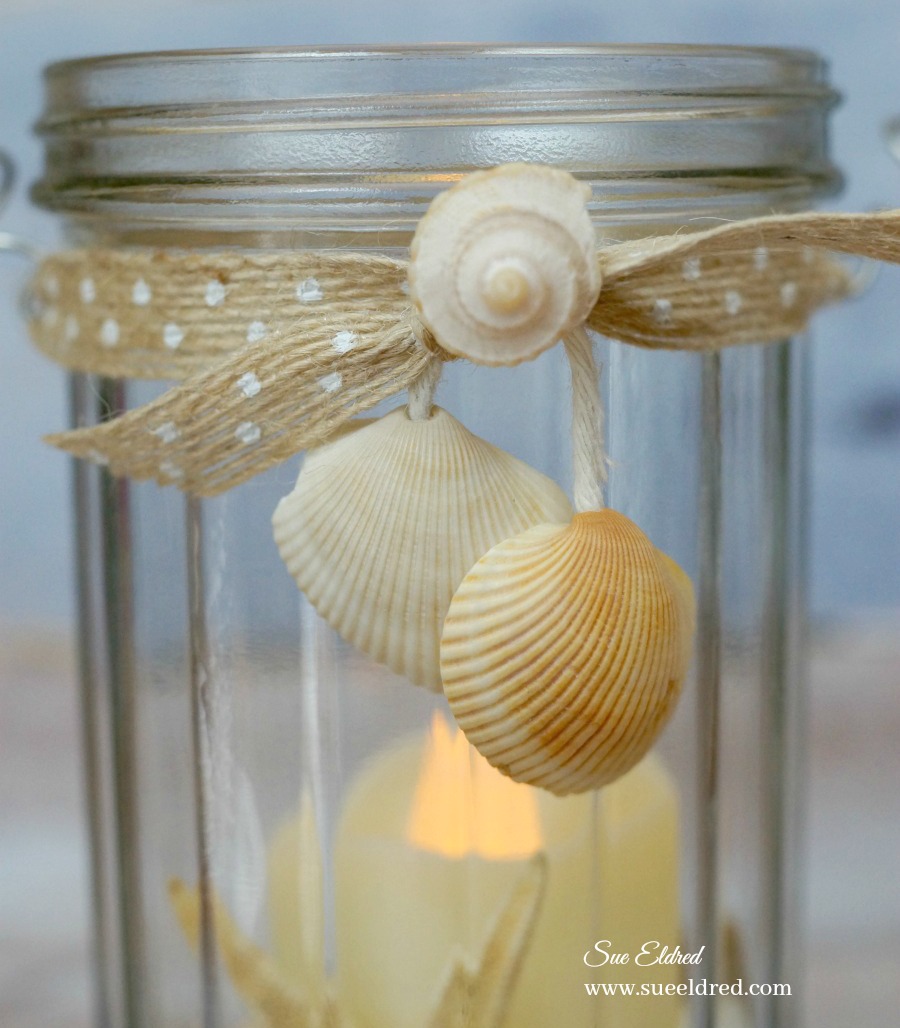
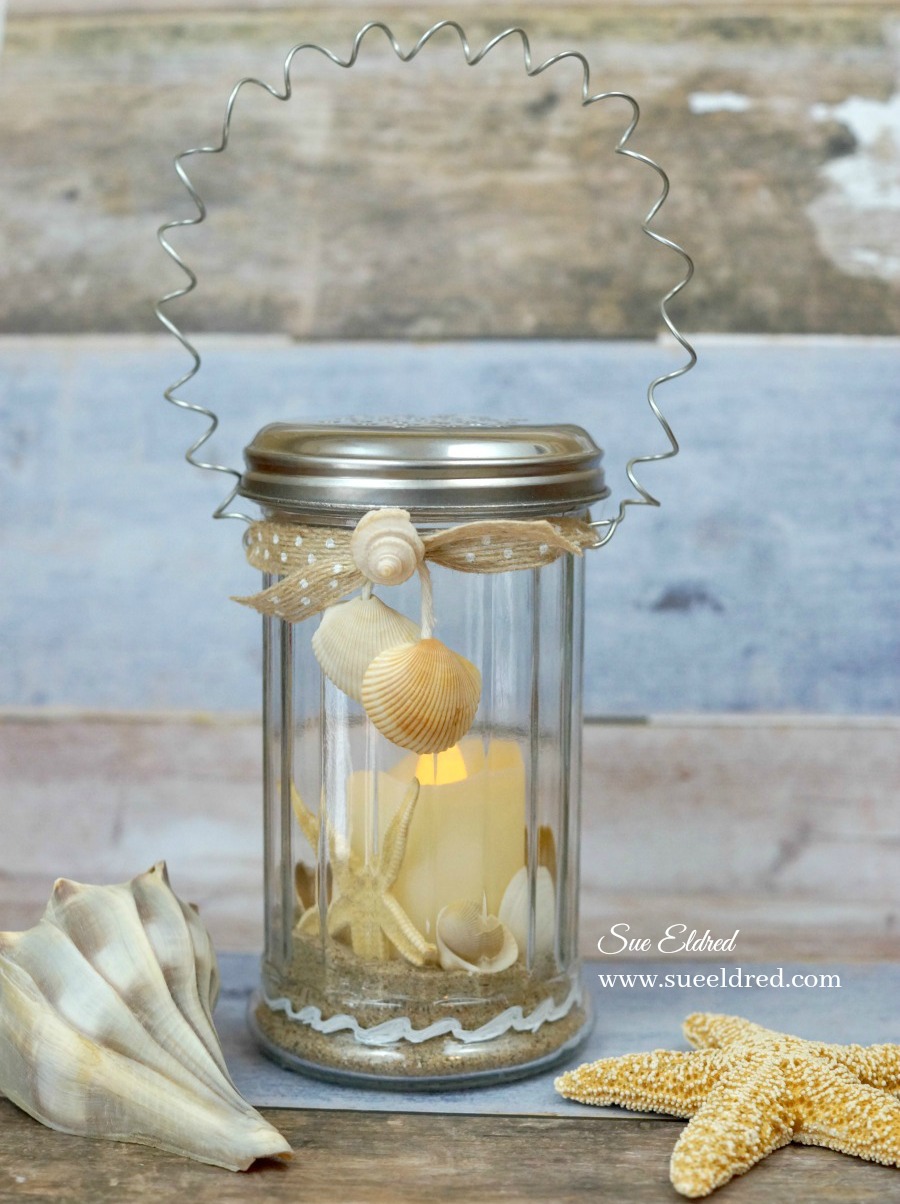
- Create a Beach Votive with a few Dollar Store Treasures
- DIY Seashell Lamp
- Sea Glass Milk Bottle Vase

PIN ME ↓