How to Create a Custom Stencil using Removable Vinyl.
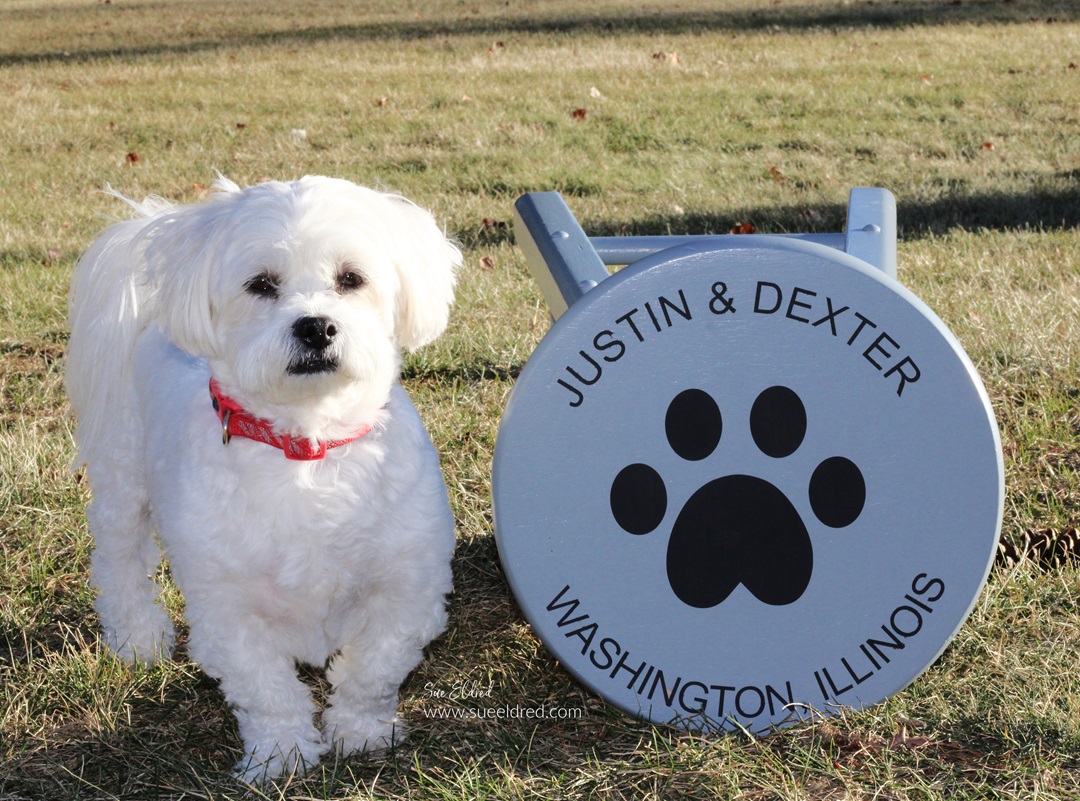
My son Justin asked me recently to help him personalize
an old stool in his room. It really is fairly simple to do.

If you have Removable Craft Vinyl* and an Electronic Die-Cutting Machine*,
then you can make a stencil too.
![]()
“This is a sponsored post. As a member of the StyleTechCraft Design Team I have been provided product and compensation in exchange for my creative ideas. The views and opinions are my own.
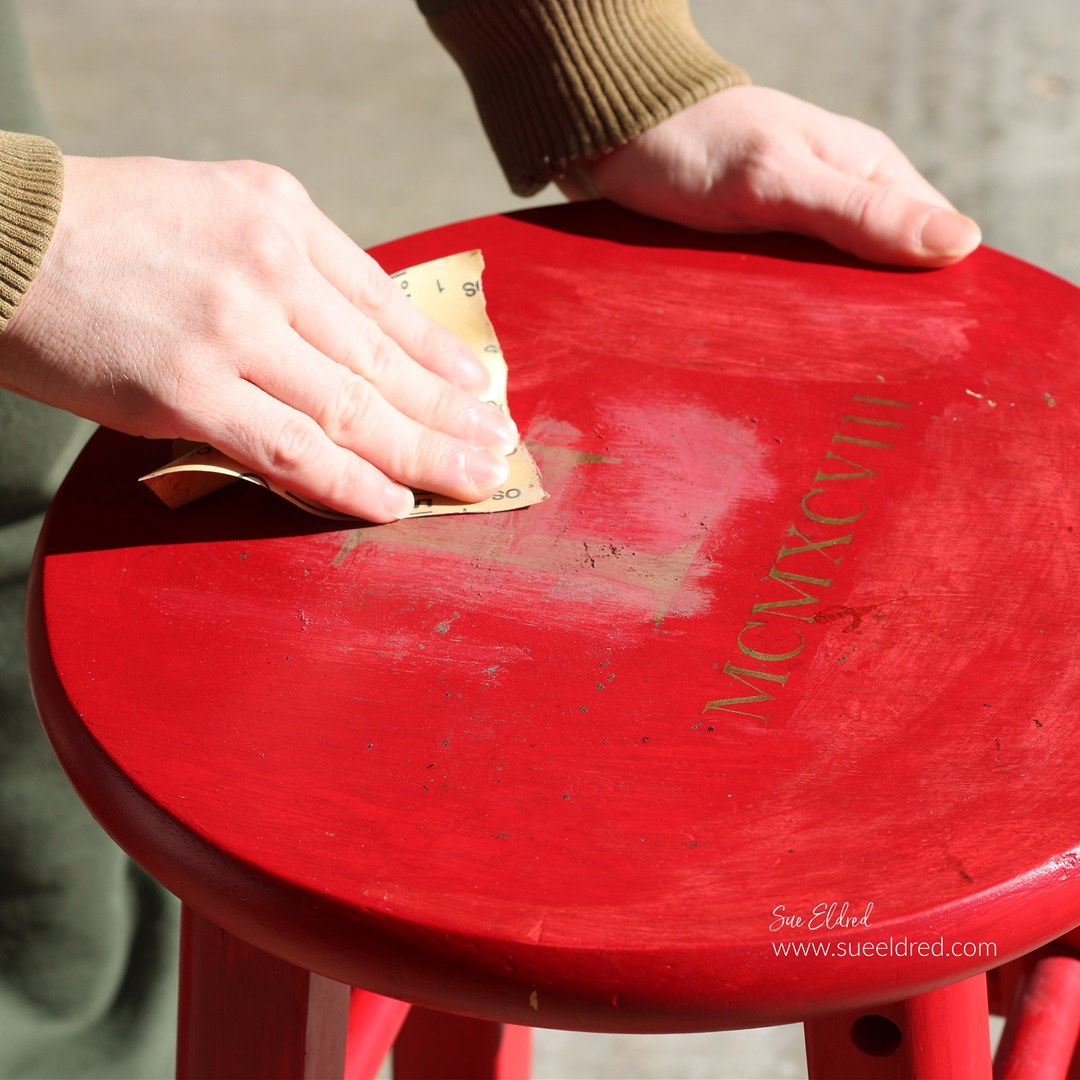
Here’s how we made over Justin’s Stenciled Stool.
- Sand over the previous image with extra fine sandpaper* to make sure that the surface is smooth.
- Paint the stool with Deco Art American Decor Satin Enamels Paint*.
- Allow the paint to fully dry and cure before starting the stenciling.
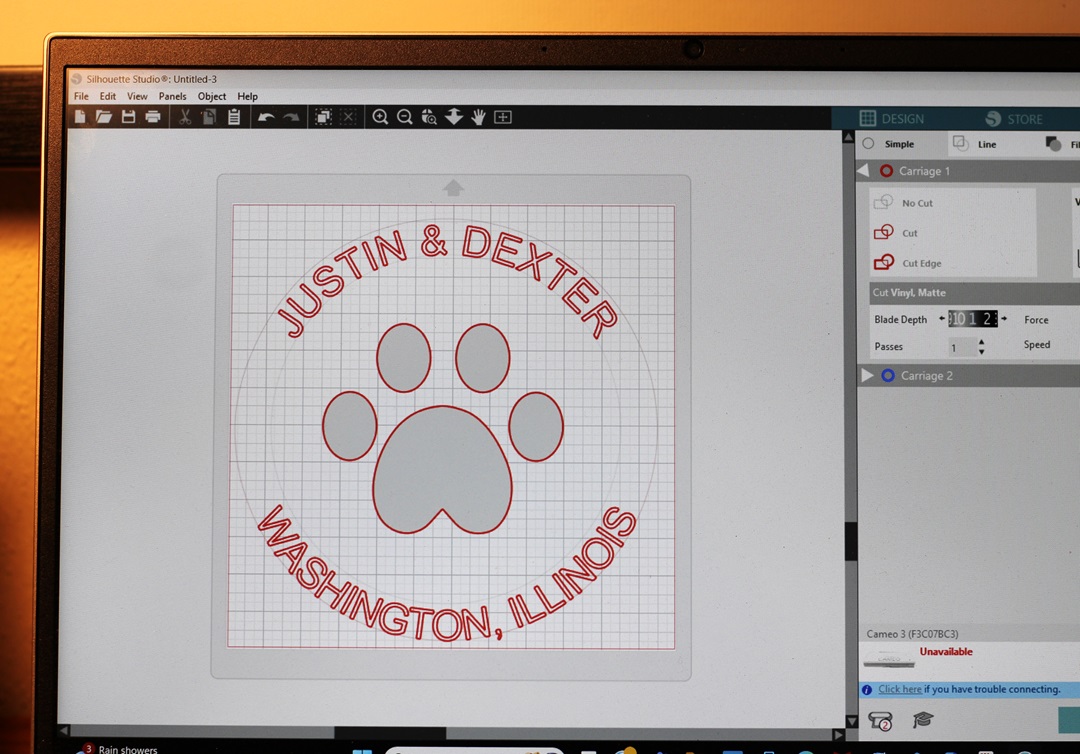
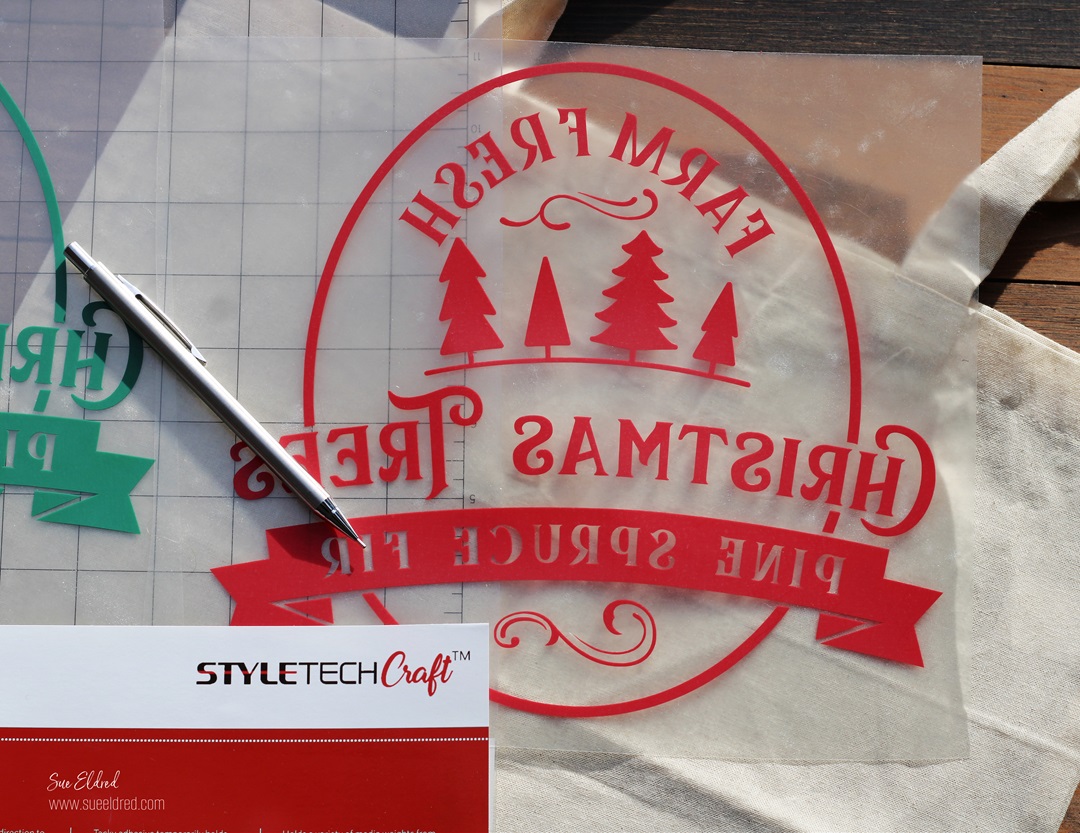
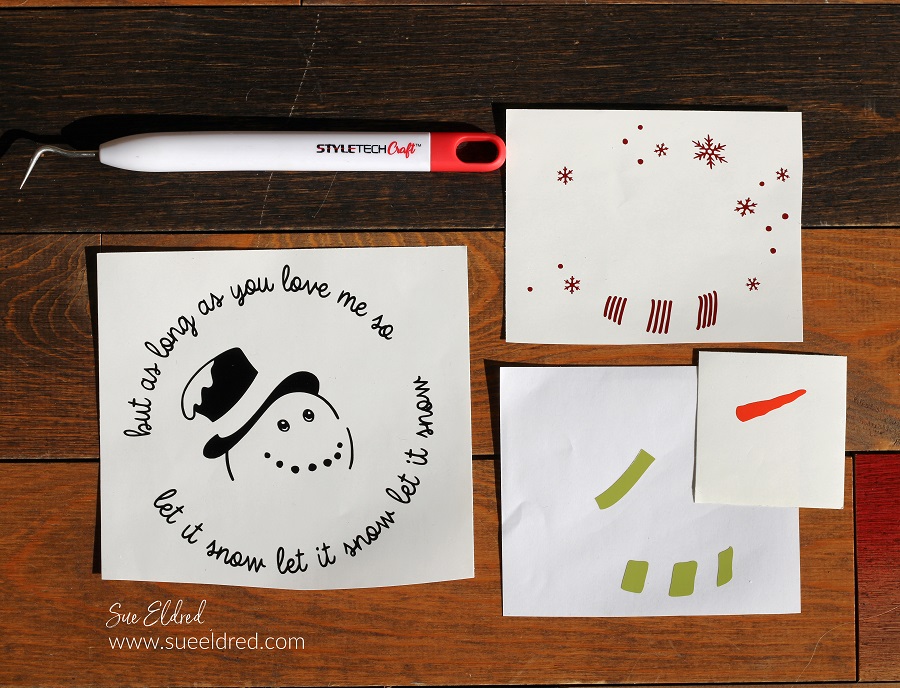
- I used a Silhouette Cameo Electronic Die-Cutting Machine* to create my design.
- To make the letters curve you will need to follow a few steps.
- Draw a circle shape with the shape tool menu.
- Use the text tool to type your words.
- Double-click the text until the green box pops up.
- Grab the small circle with the crosshairs and drag it to the part of the shape where you want the text to contour to.
- Adjust the text until it’s just right.
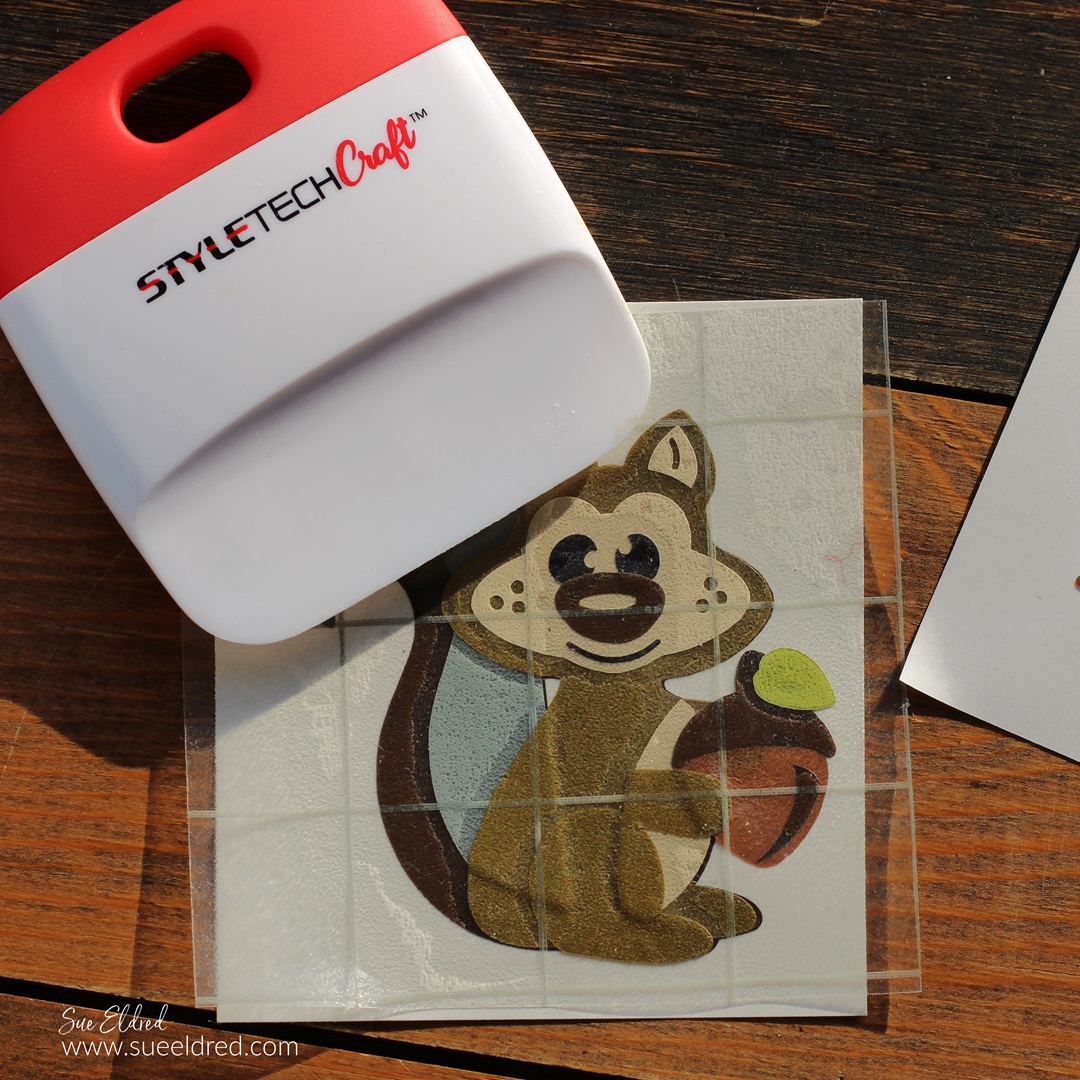
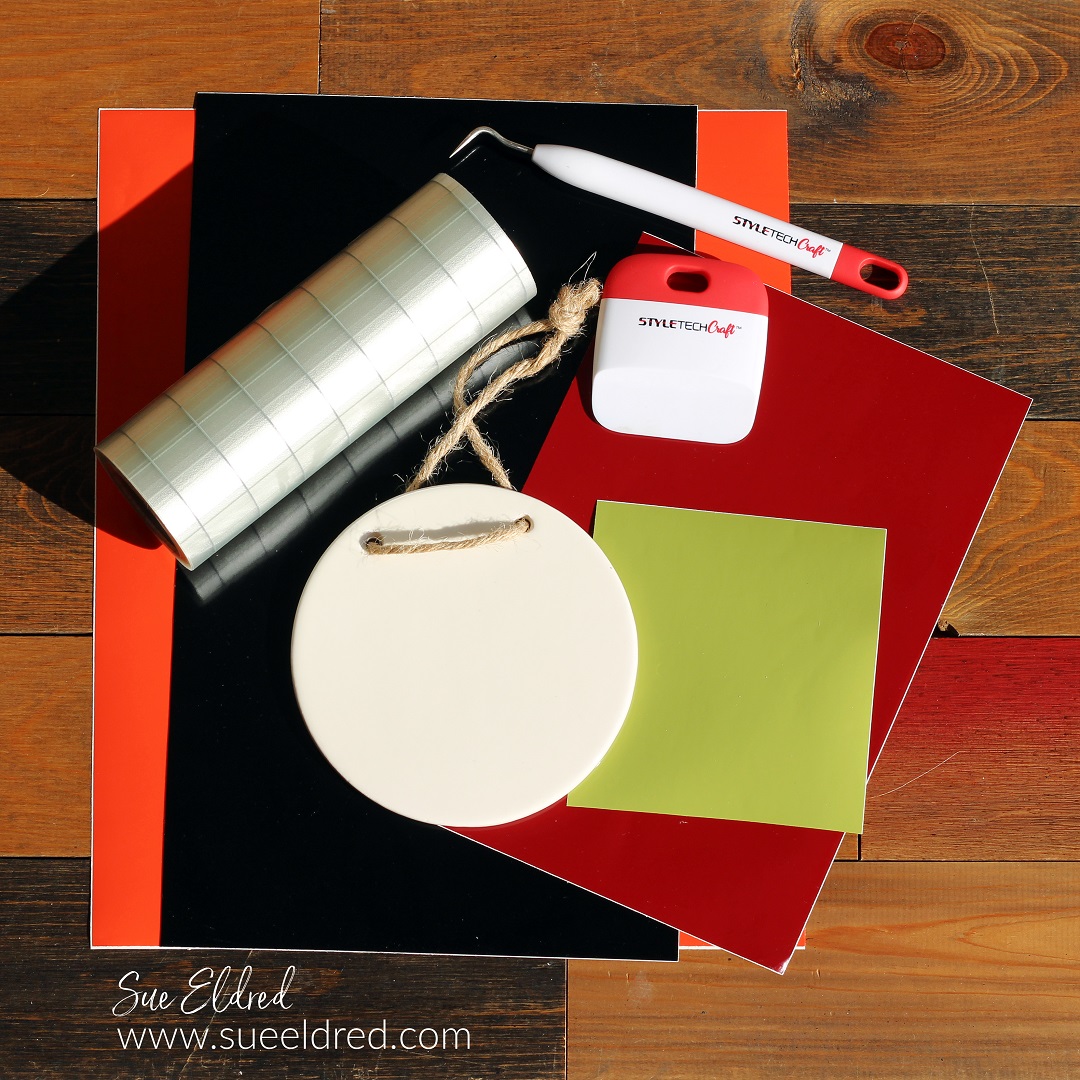
- Cut your design using REMOVABLE VINYL*.
- Your design will be a one-use stencil. It’s important to use removable vinyl* so it doesn’t stick to the surface you are working on.
- I love using StyleTechCraft Removable Vinyl*.

StyletechCraft products brought to you by ATSM Craft*
*Disclosure: This blog uses ads and affiliate links. If you choose to make a purchase using one of the links, I receive a small commission (at no additional cost to you) that helps offset the costs of maintaining this blog. Thanks for your support!
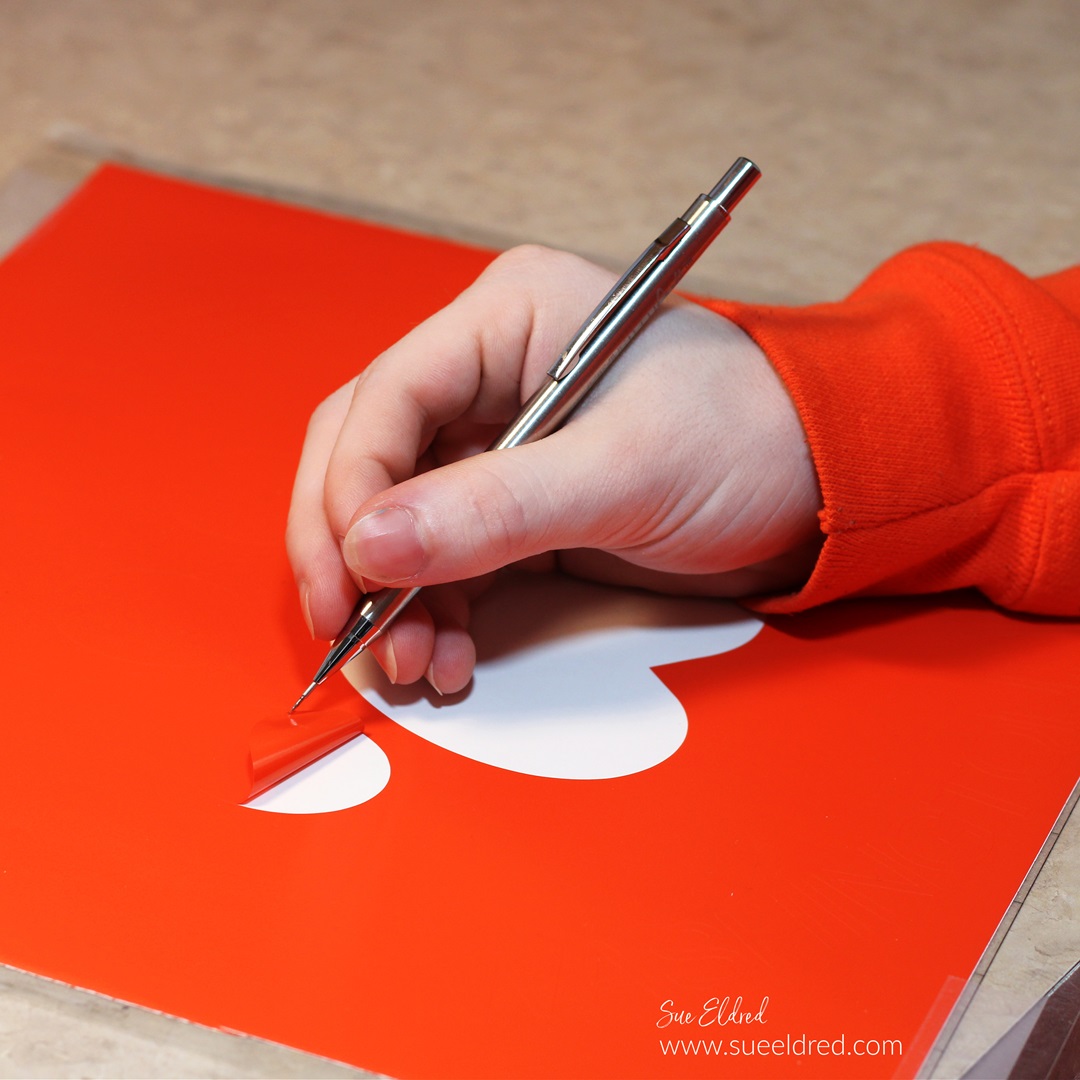
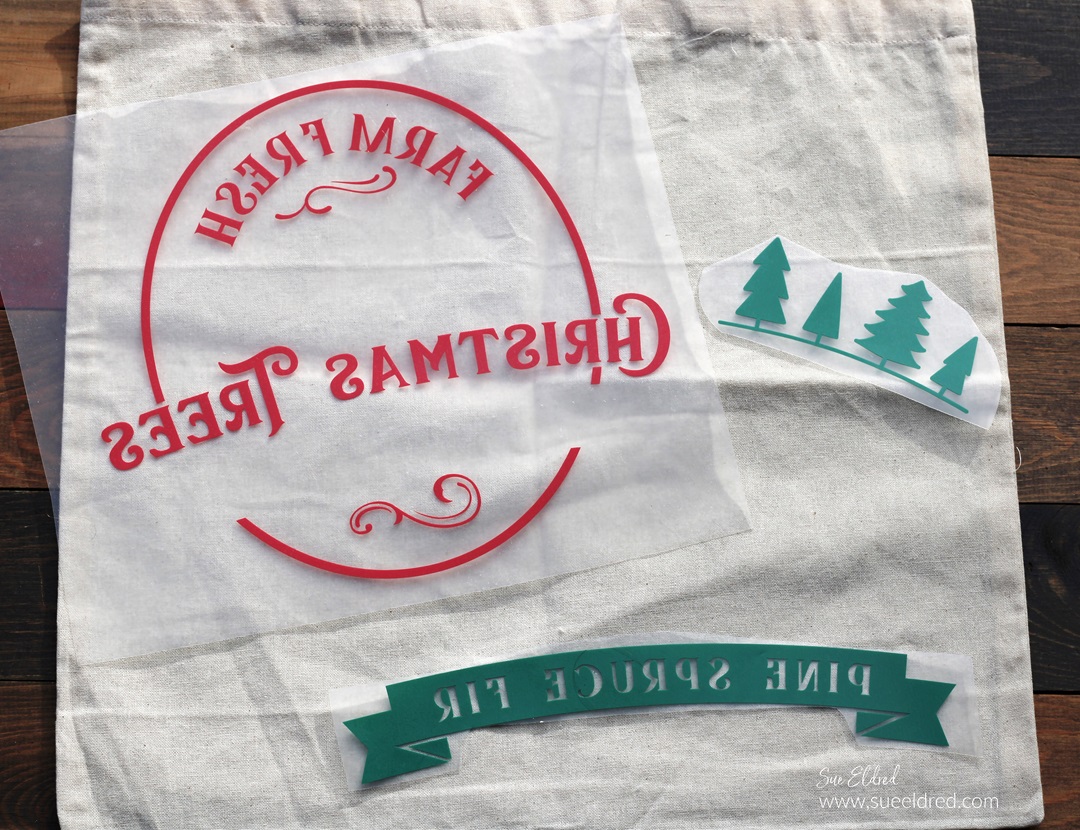
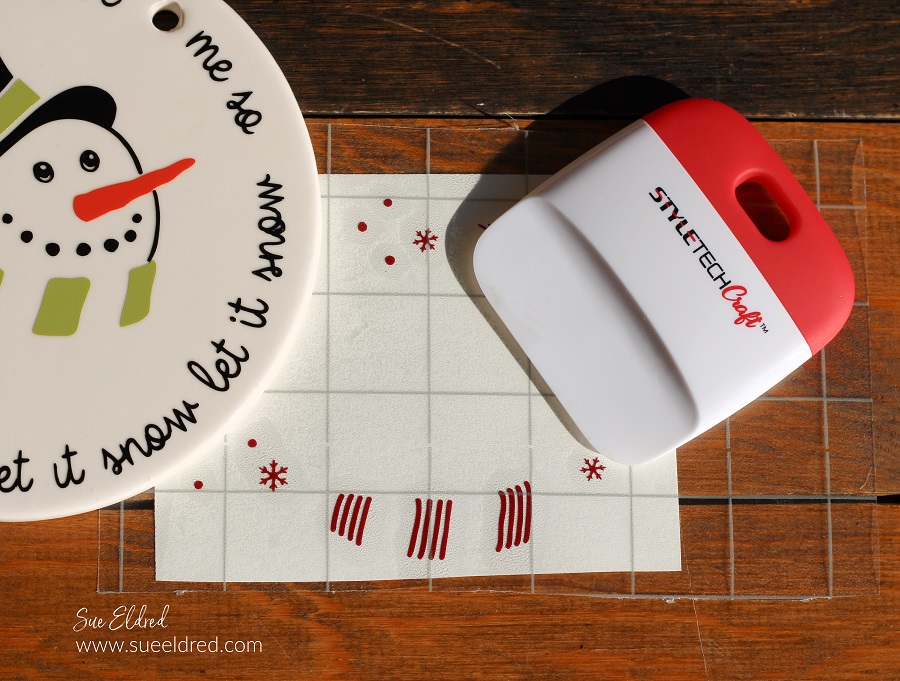
- Remove the vinyl using a StyleTechCraft Weeding Tool*.
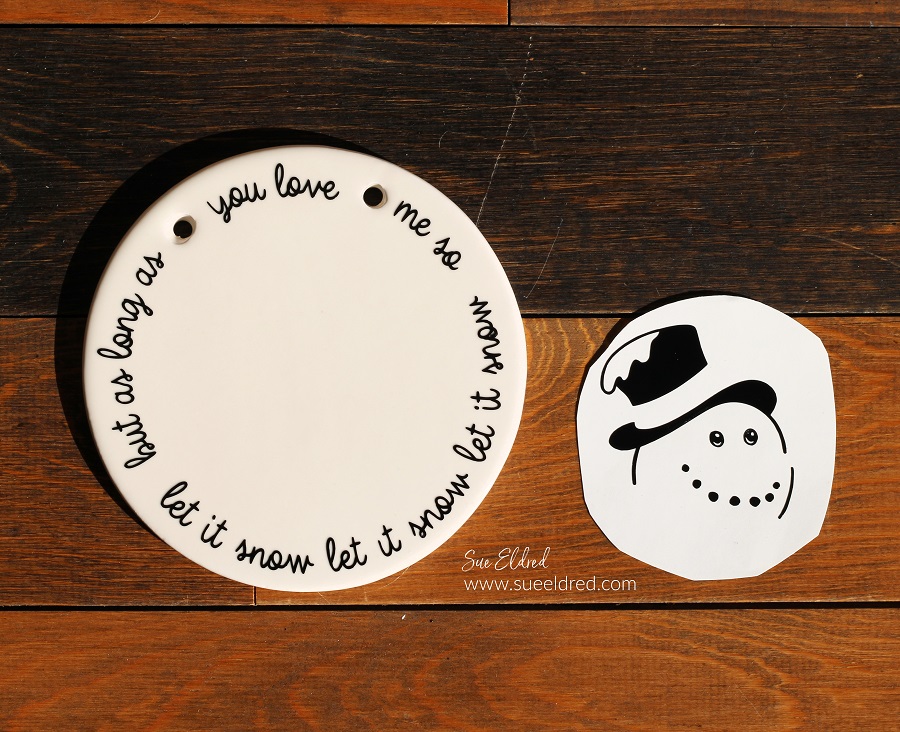
- Usually, when working with an image on vinyl, you remove the background. When creating a stencil remove the inside of the design leaving the background. Remember to leave the inside of the letters.
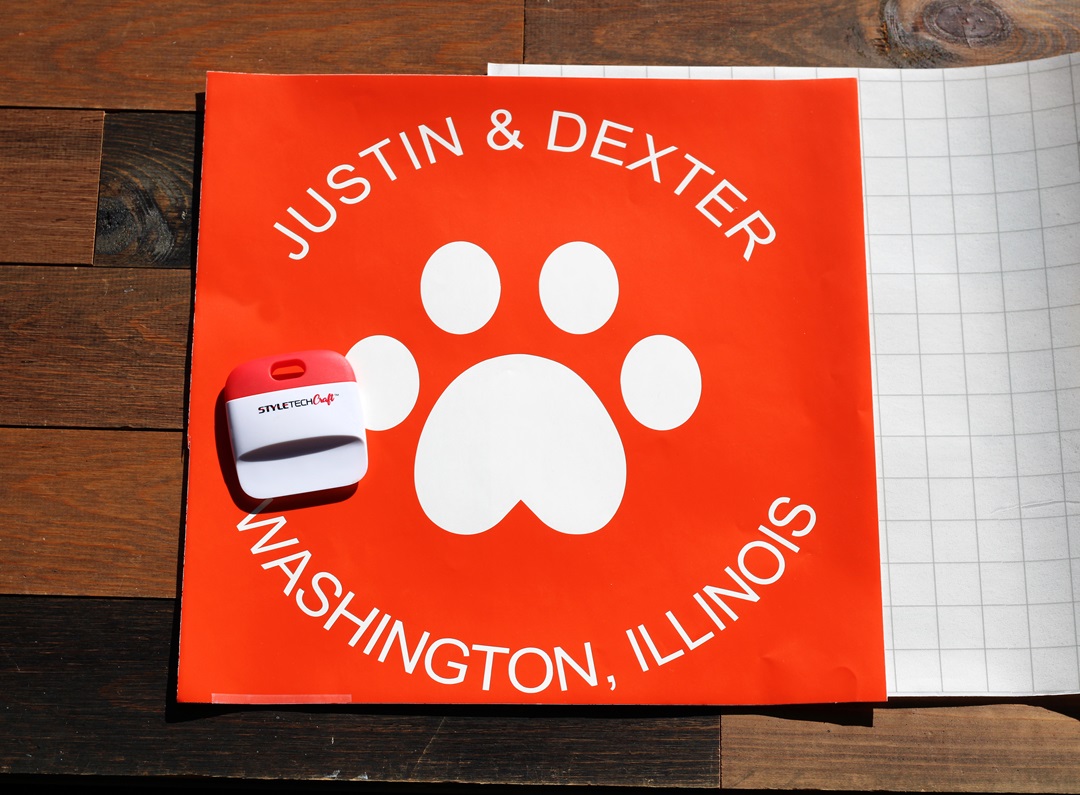
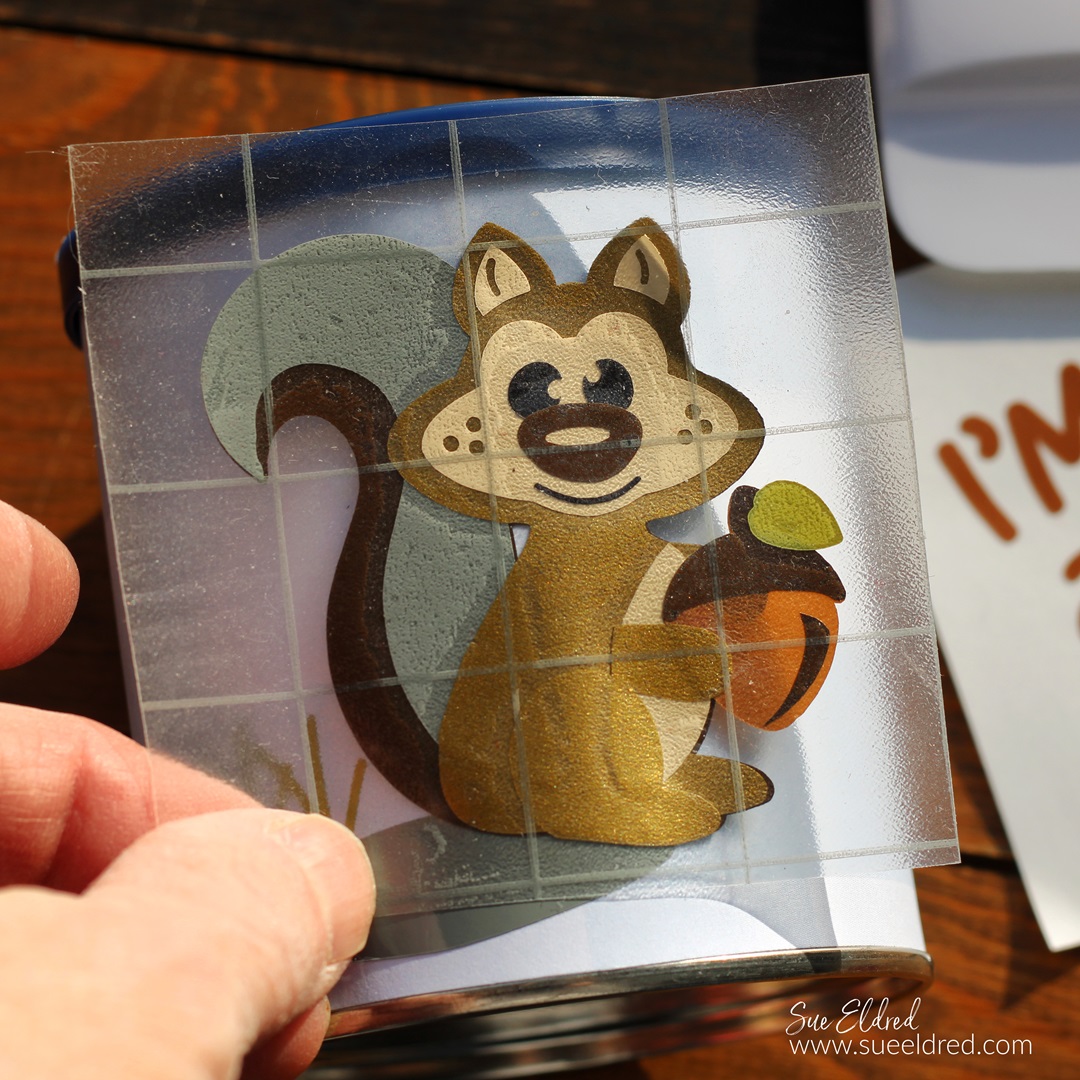
- Here is the finished design on a 12″ x 12″ piece of removable vinyl.
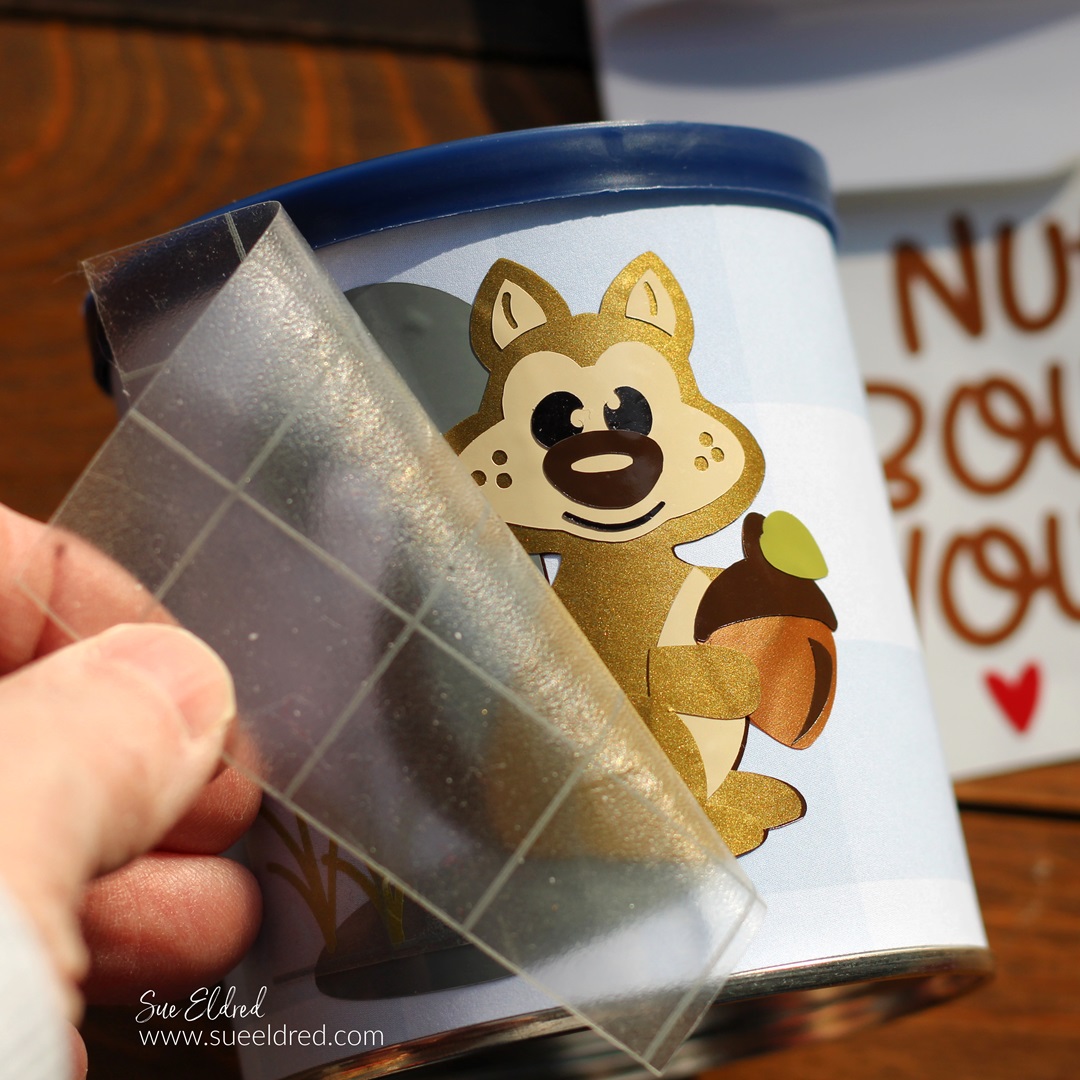
- You will need a large sheet of Low Tack Vinyl Transfer Paper.
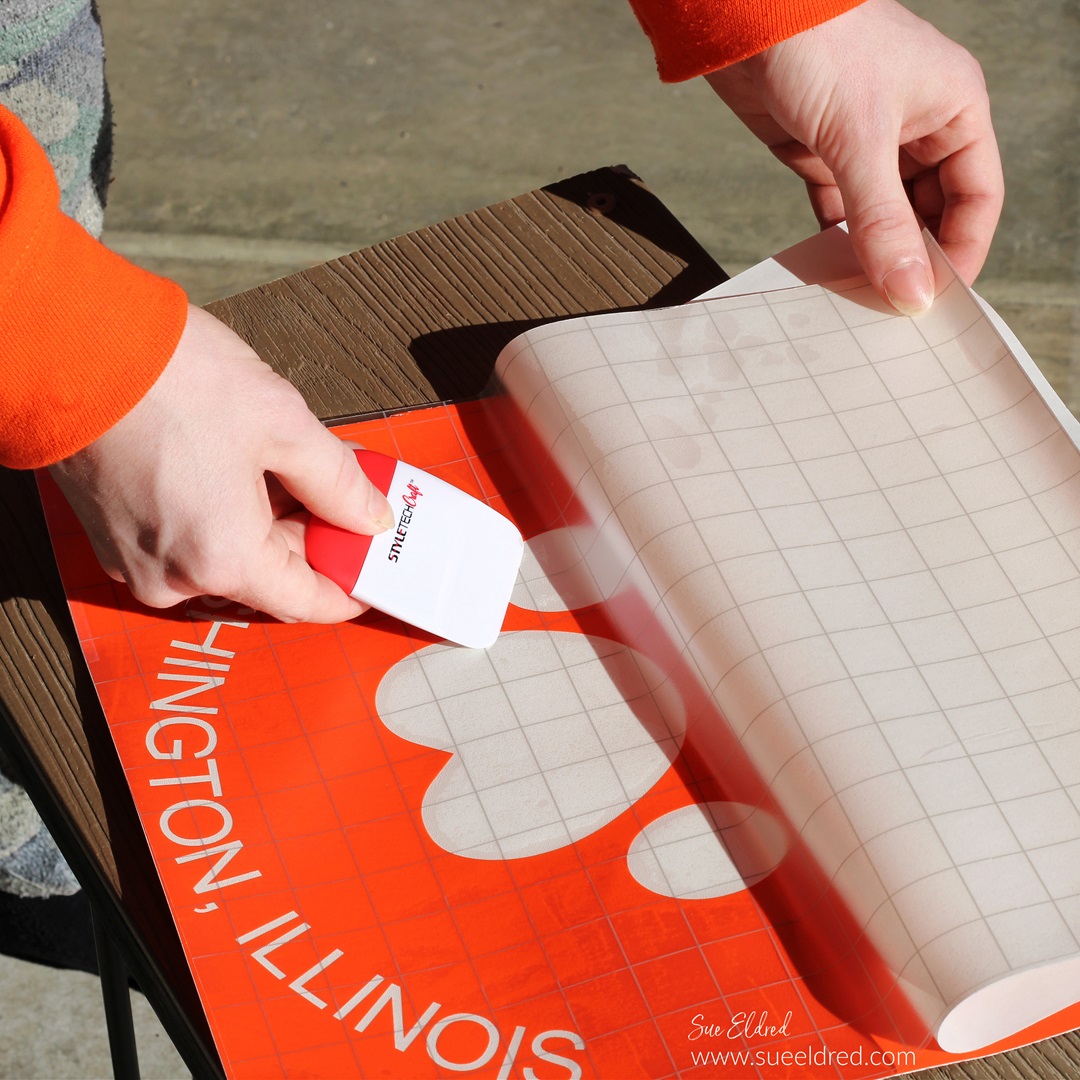
- Slowly place the transfer paper onto one end of the vinyl.
- Pull the transfer paper over the vinyl.
- Gently rub over the transfer paper with a vinyl scraper tool to ensure that the vinyl sticks to the transfer paper.
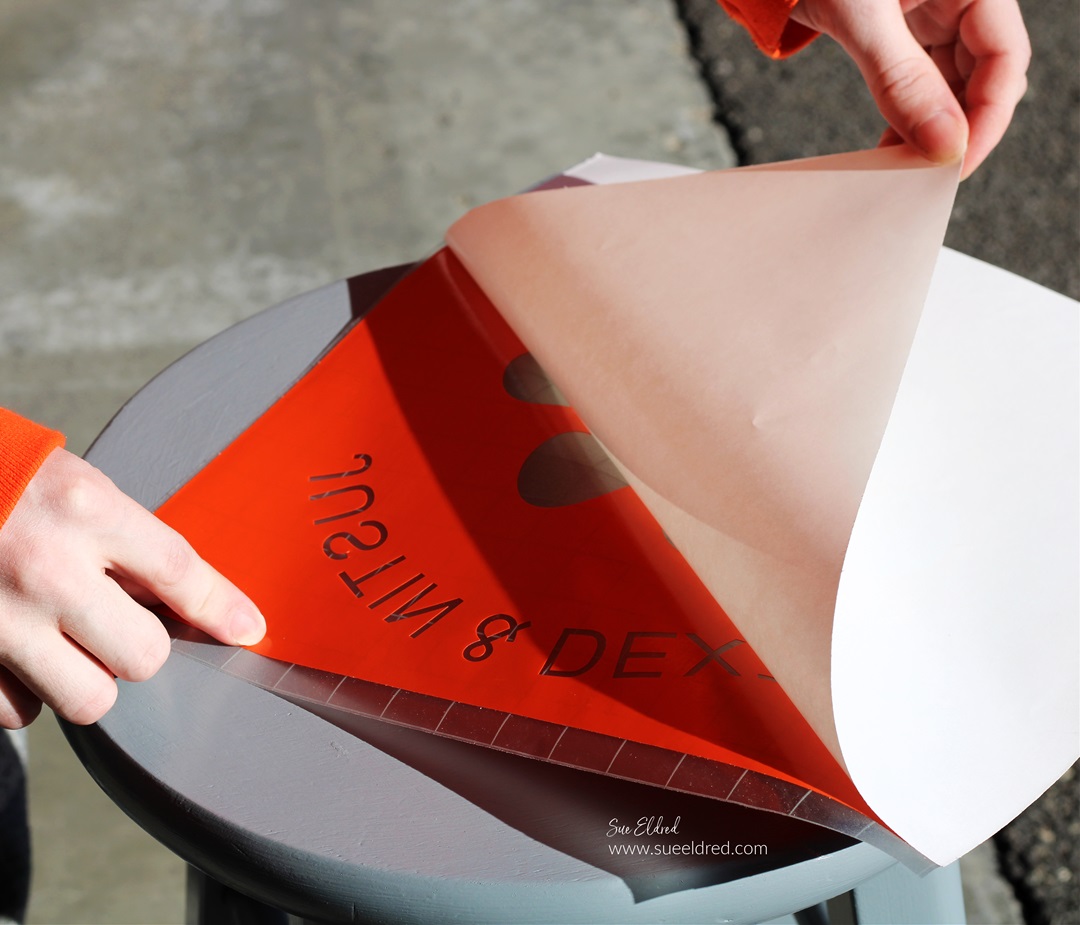
- Gently lift the white backing paper from the vinyl.
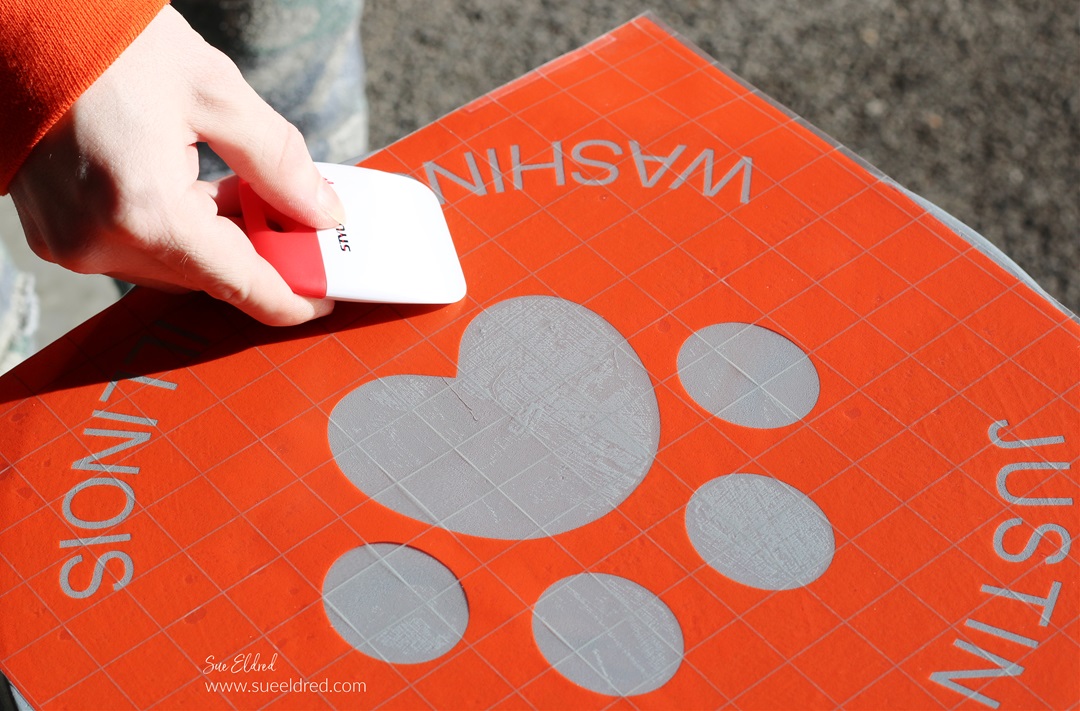
- Place the vinyl onto the stencil and gently rub to eliminate air bubbles.
- Make sure that the stencil is securely stuck to eliminate paint seepage.
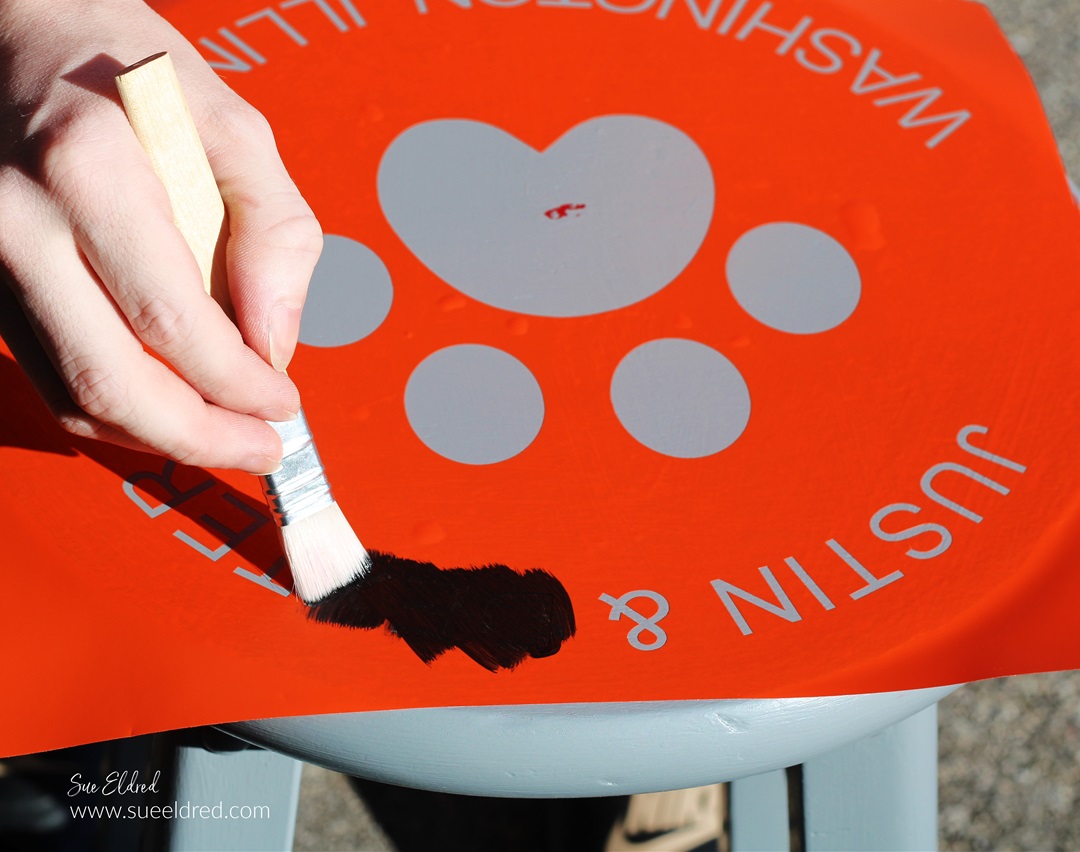
- Lightly paint over the stencil with black multi-media acrylic paint*.
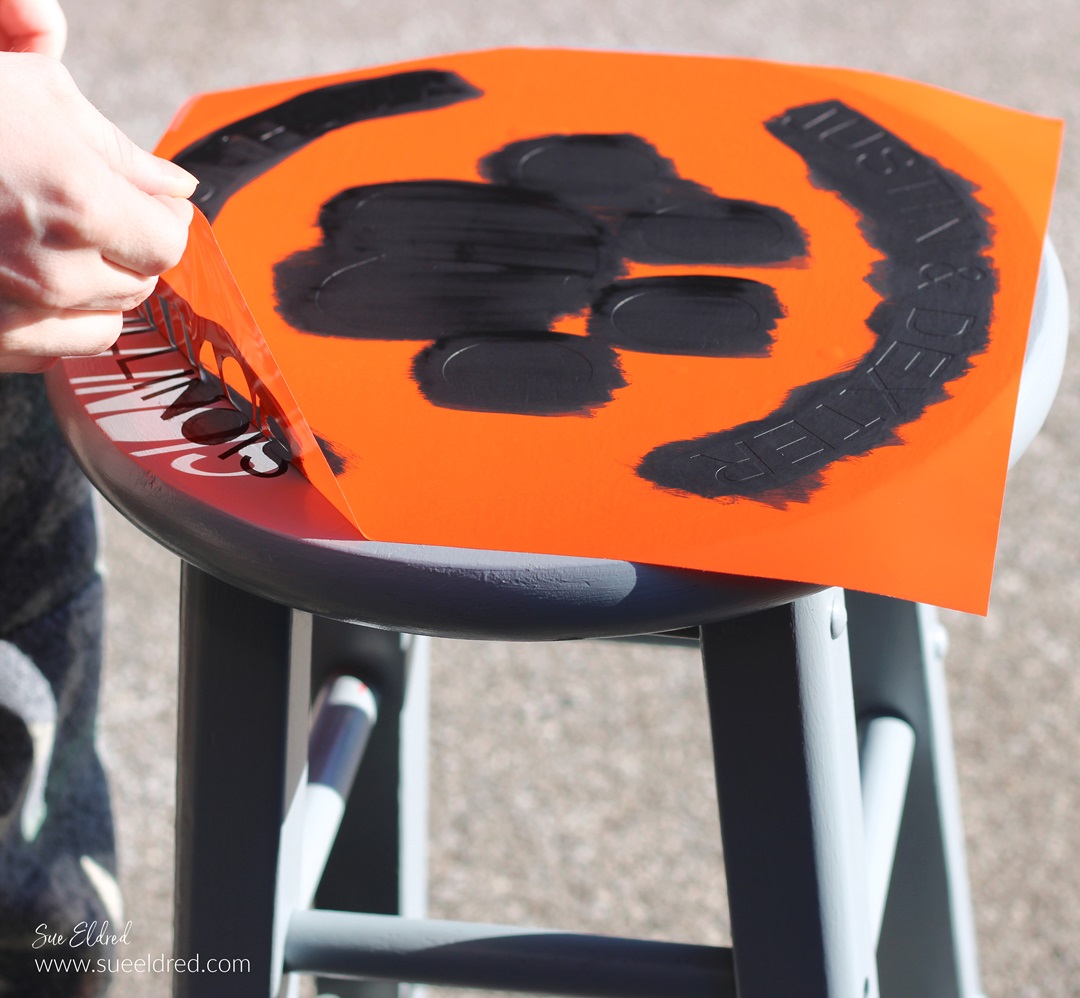
- After the paint has dried, carefully remove the vinyl stencil.
- You may need a craft pick* or exact-o knife* to remove the inside of the letters.
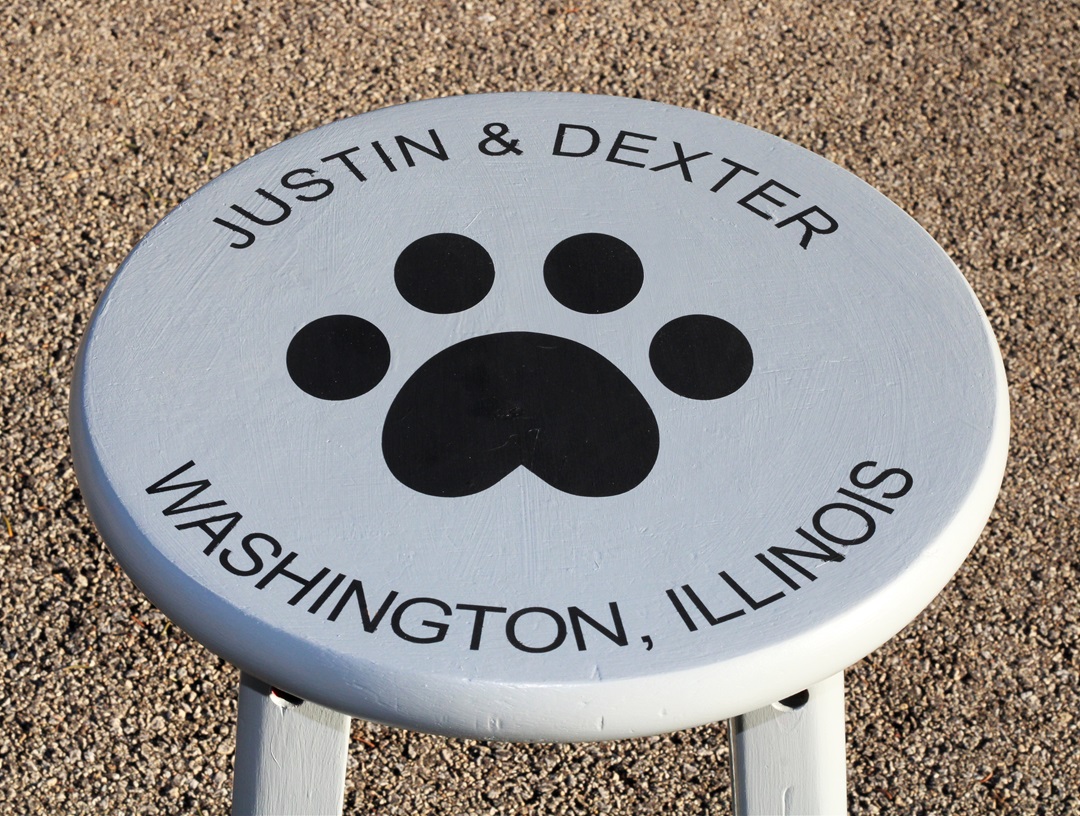
- If desired, lightly sand over the top of the stool with a fine sanding block* to soften the lines.
- If the stool will get a lot of use, I recommend spraying the top with a clear matte acrylic sealer*.