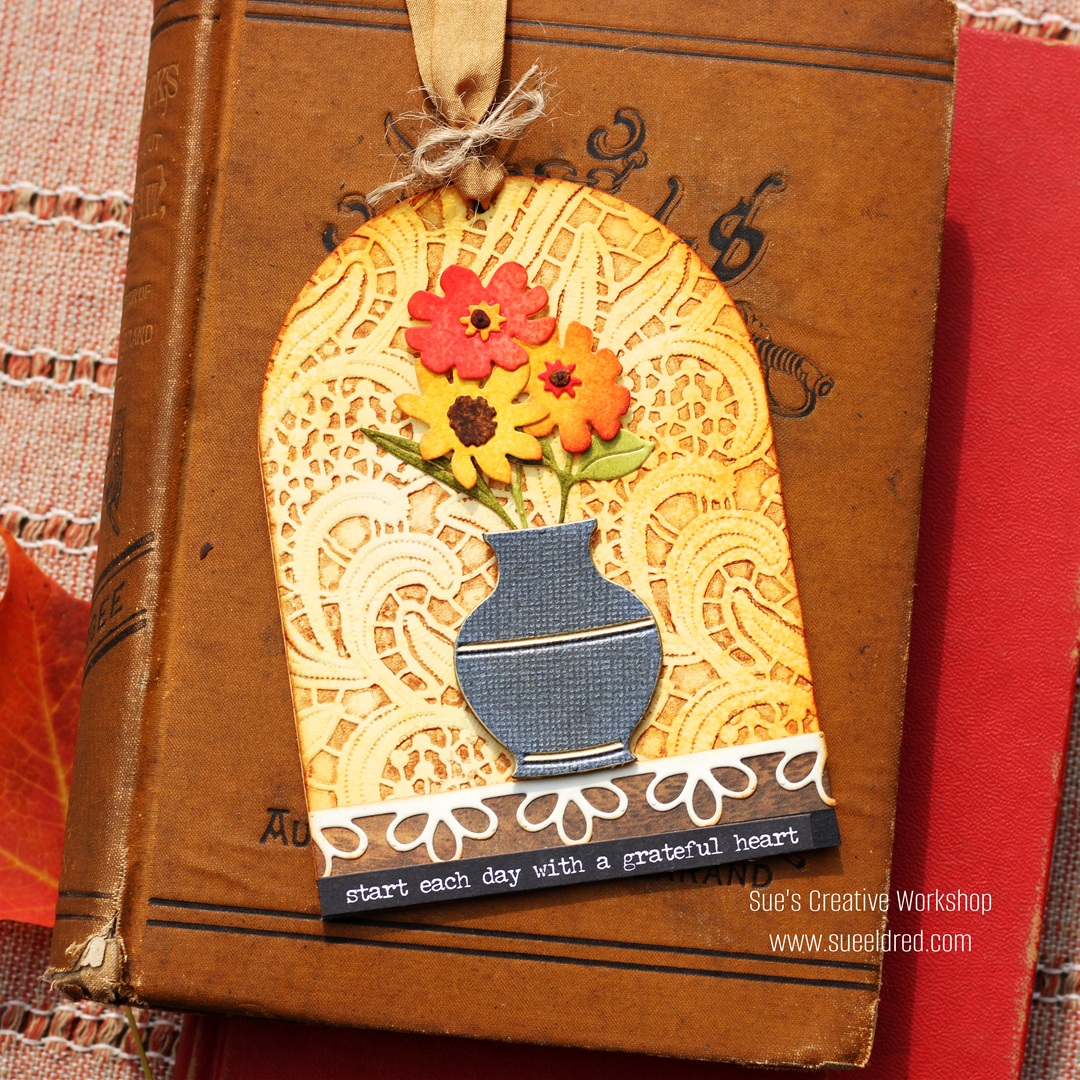
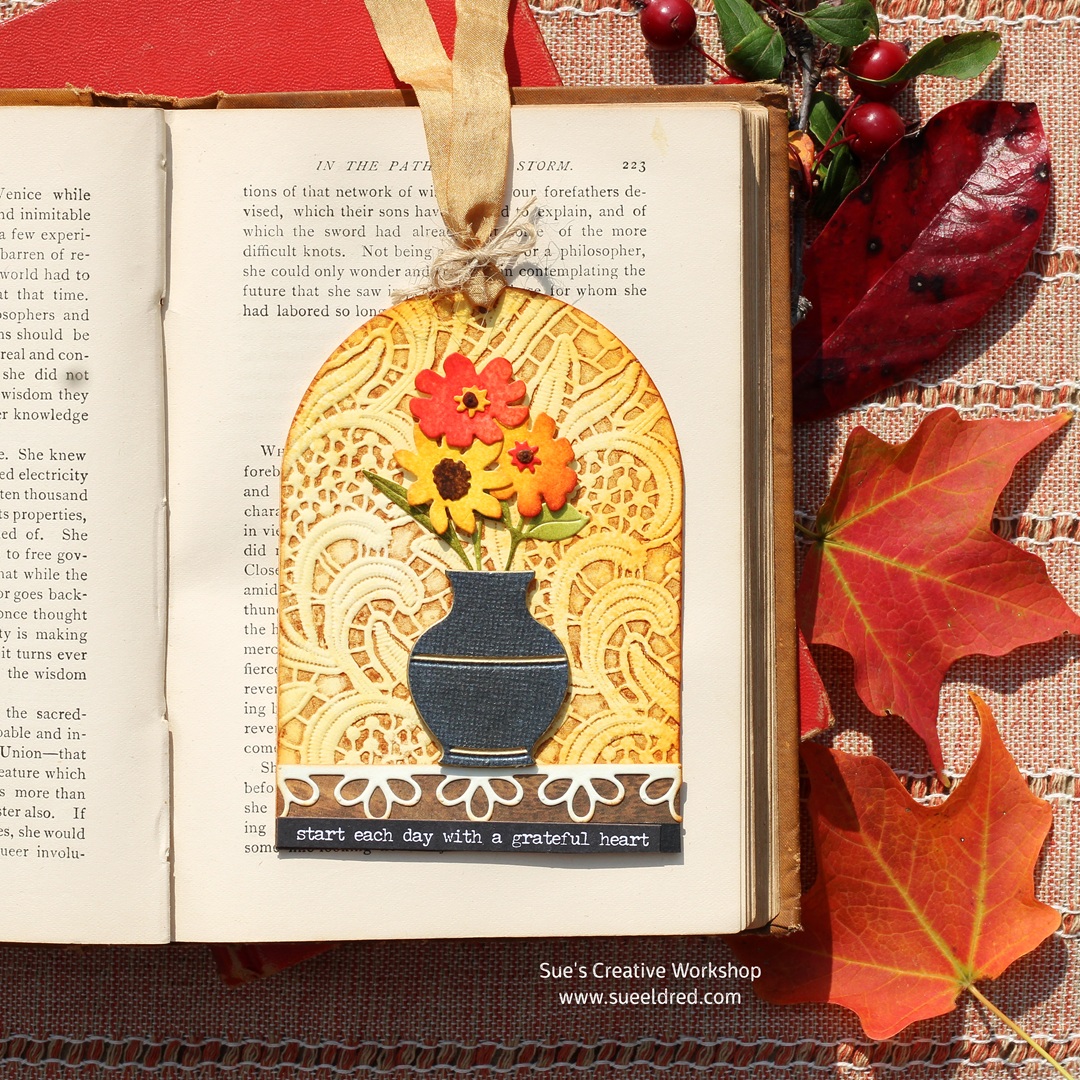
Start Each Day with a Grateful Heart…
As the warm summer days quickly turn into Autumn,
I am enjoying having the windows open again, feeling the cool breeze,
and enjoying the fall colors.
After years of trying, we have finally grown our own pumpkin.
It’s not that big, but it’s perfectly round and perfect for the front porch.
To Celebrate Fall…
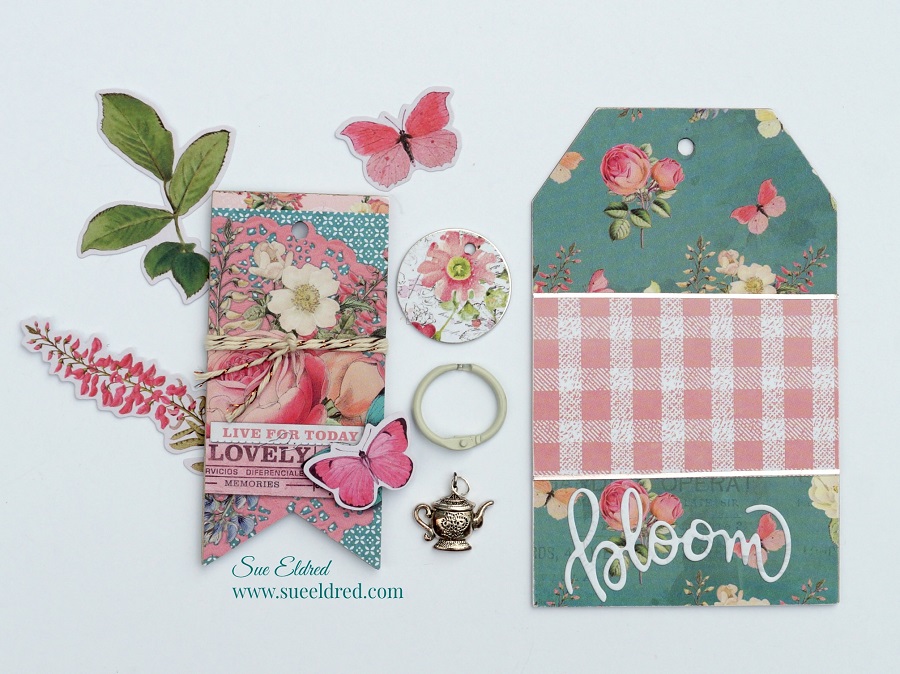
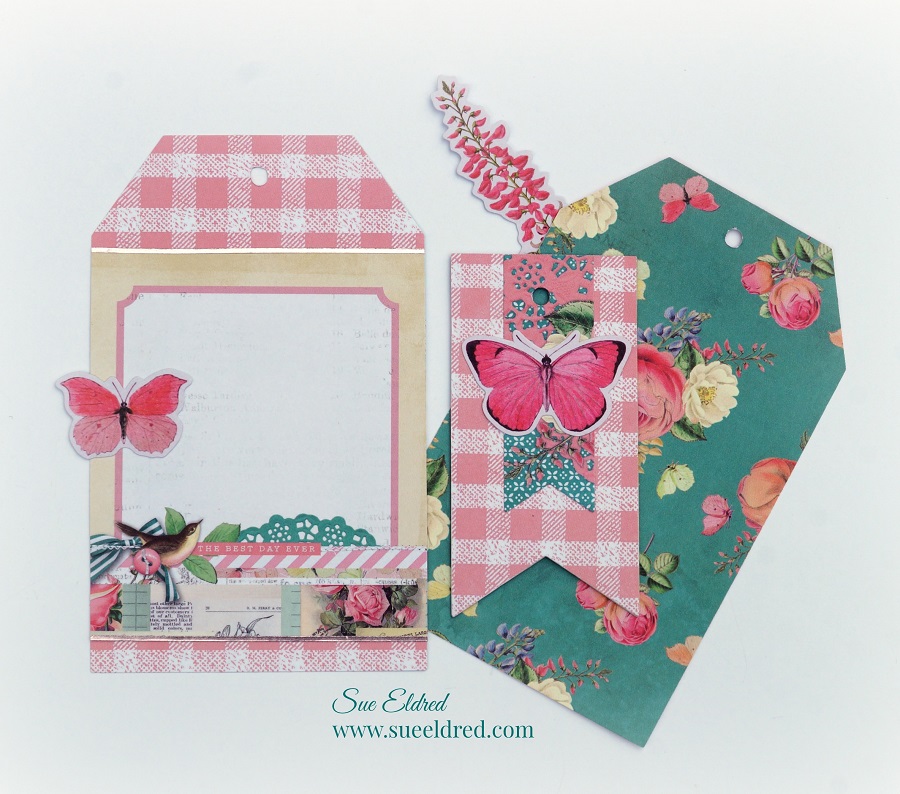
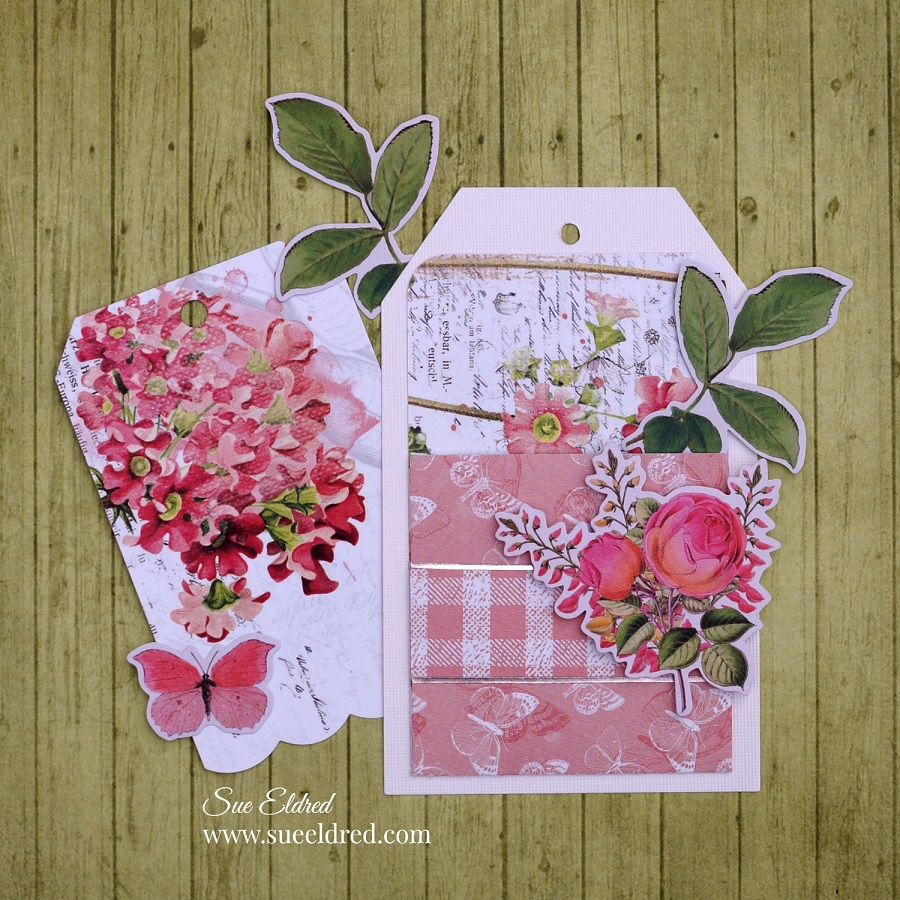
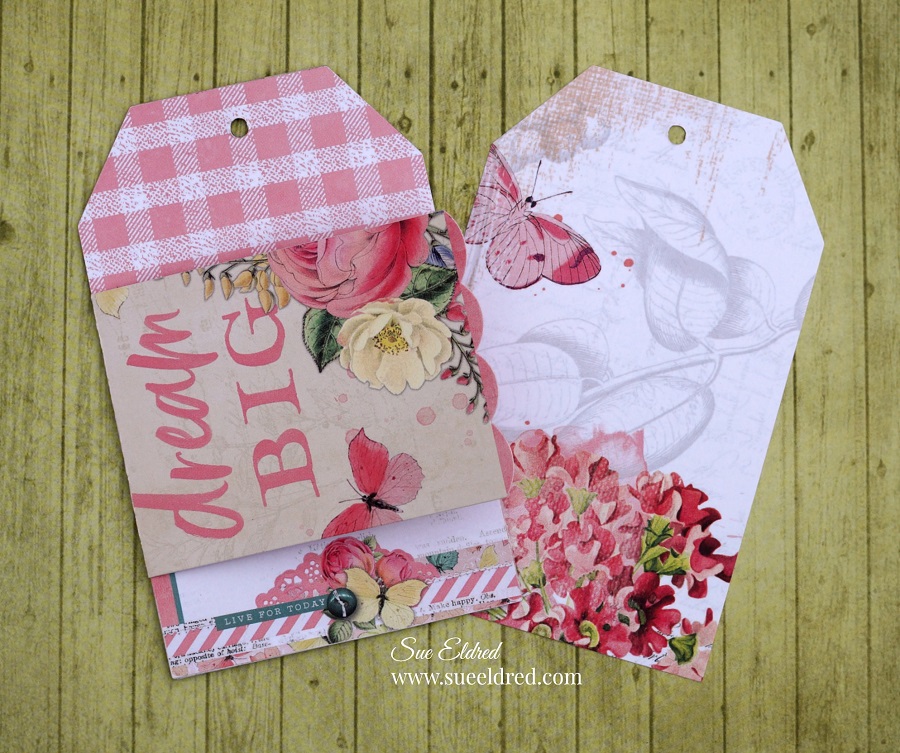
I decided to make a tag/bookmark with the bright and beautiful colors of fall.
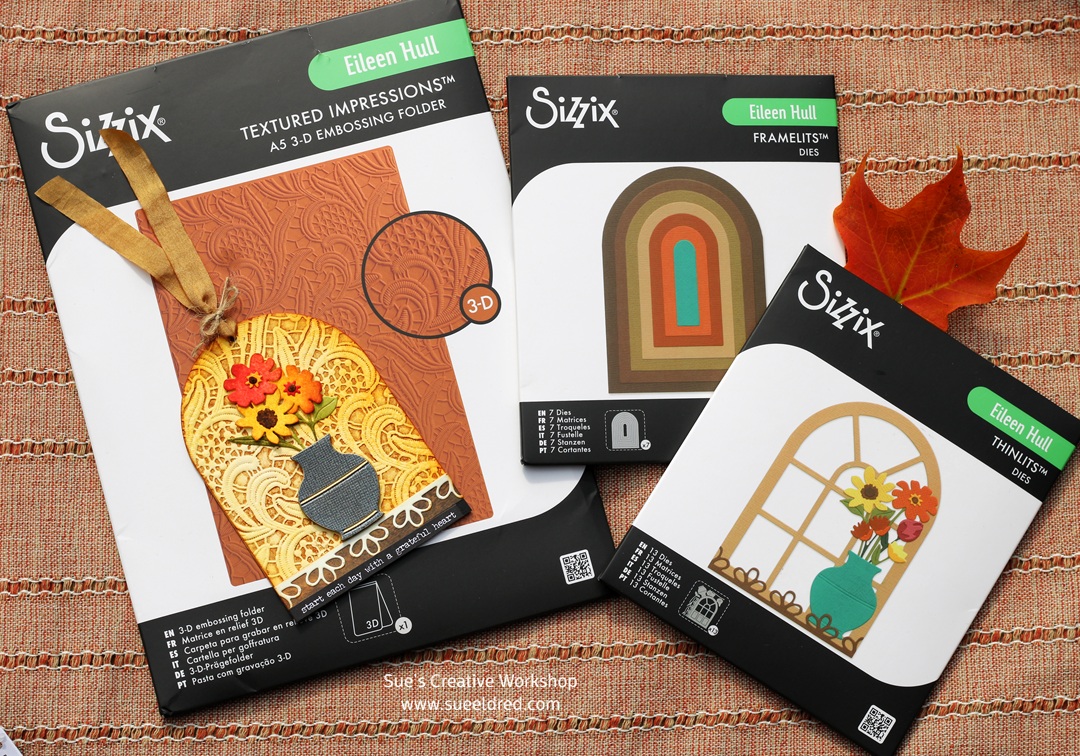
I used a couple of Eileen Hull’s New Sizzix Dies and the New Lacy Leaves Embossing Folder to make the tag.
- Sizzix Thinlets 13-piece Die Set-Windowsill Flowers and Vase by Eileen Hull*
- Sizzix Framlets 7-piece Die Set-Tunnel Arches by Eileen Hull*
- Sizzix Lacy Leaves Embossing Folder by Eileen Hull*

*Disclosure: This blog uses ads and affiliate links. If you choose to make a purchase using one of the links, I receive a small commission (at no additional cost to you) that helps offset the costs of maintaining this blog. Thanks for your support!
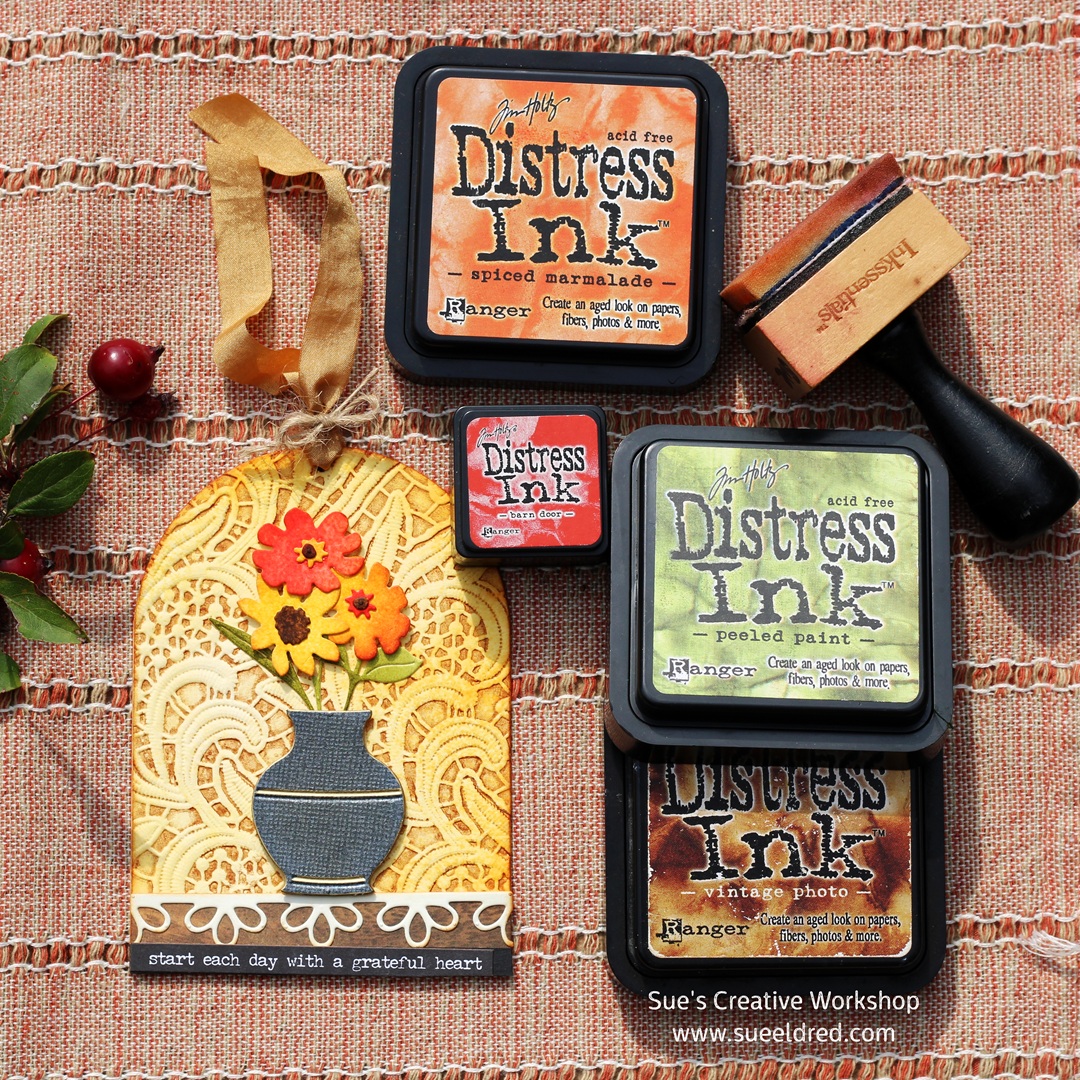
I decided to get “inky” with this tag using Tim Holtz Distress Inks*.
- For the base of the tag, I used heavyweight cream cardstock*.
- I used a golden yellow ink pad along with Spiced Marigold Distress Ink and lightly applied the inks onto the cardstock using an ink applicator.
- Next, I rubbed Vintage Photo Ink onto one side of the embossing folder. Place the inked cardstock onto the inked side of the embossing folder. Place the embossing folder into a Big Shot Die-Cutting Machine* and run the embossing folder through the machine.
- Cut a tag with the embossed cardstock using the largest of the Tunnel Arch Dies*.
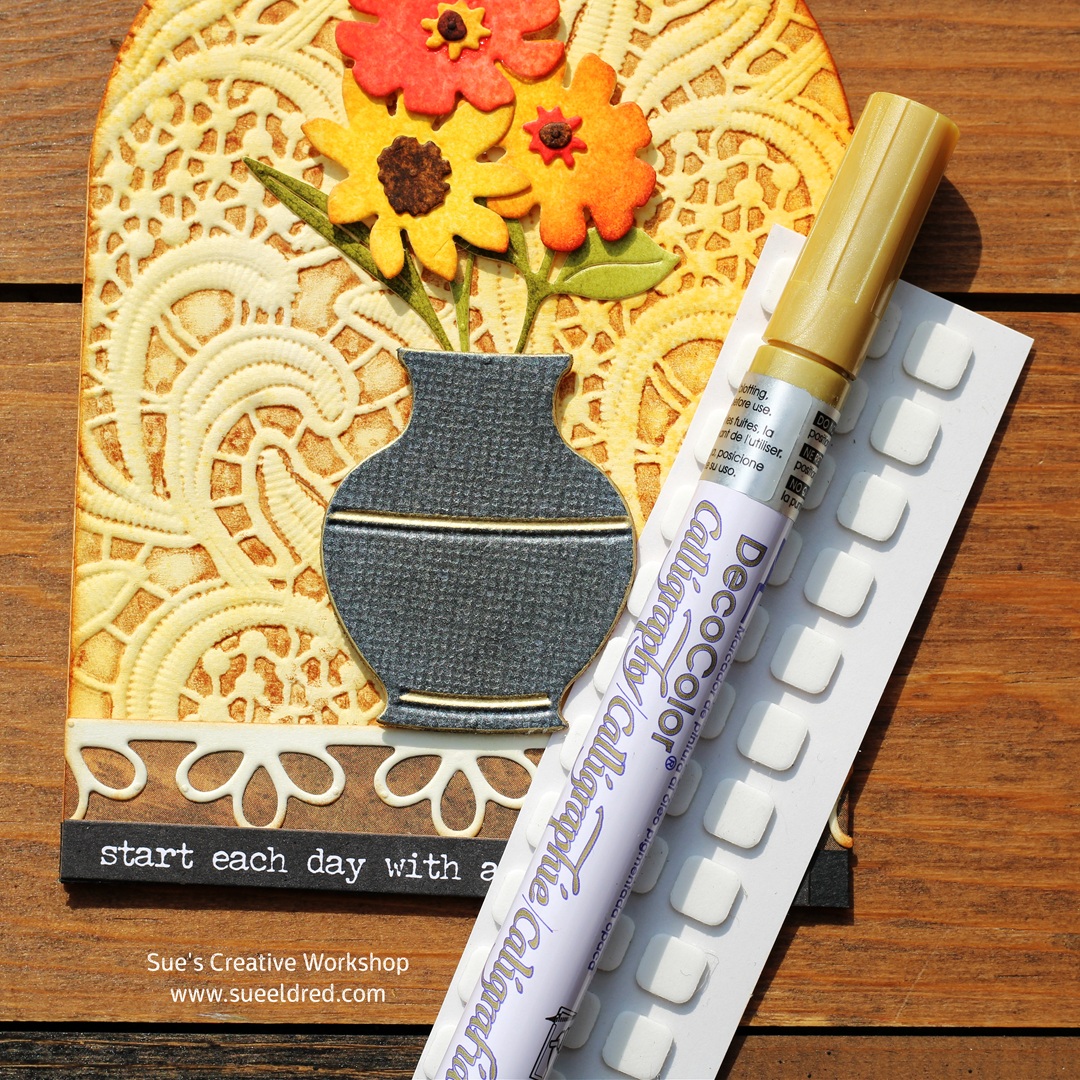
- For the flowers and leaves, I also used cream cardstock and inked them with the inks.
- I accented the vase using a Deco Color gold paint marker*.
- I raised both the vase and flowers using thin foam mounting squares*.
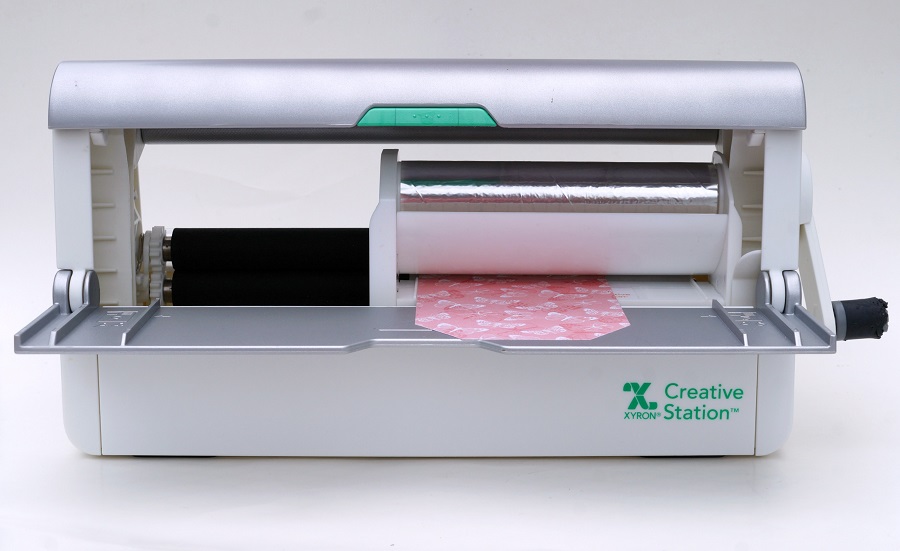
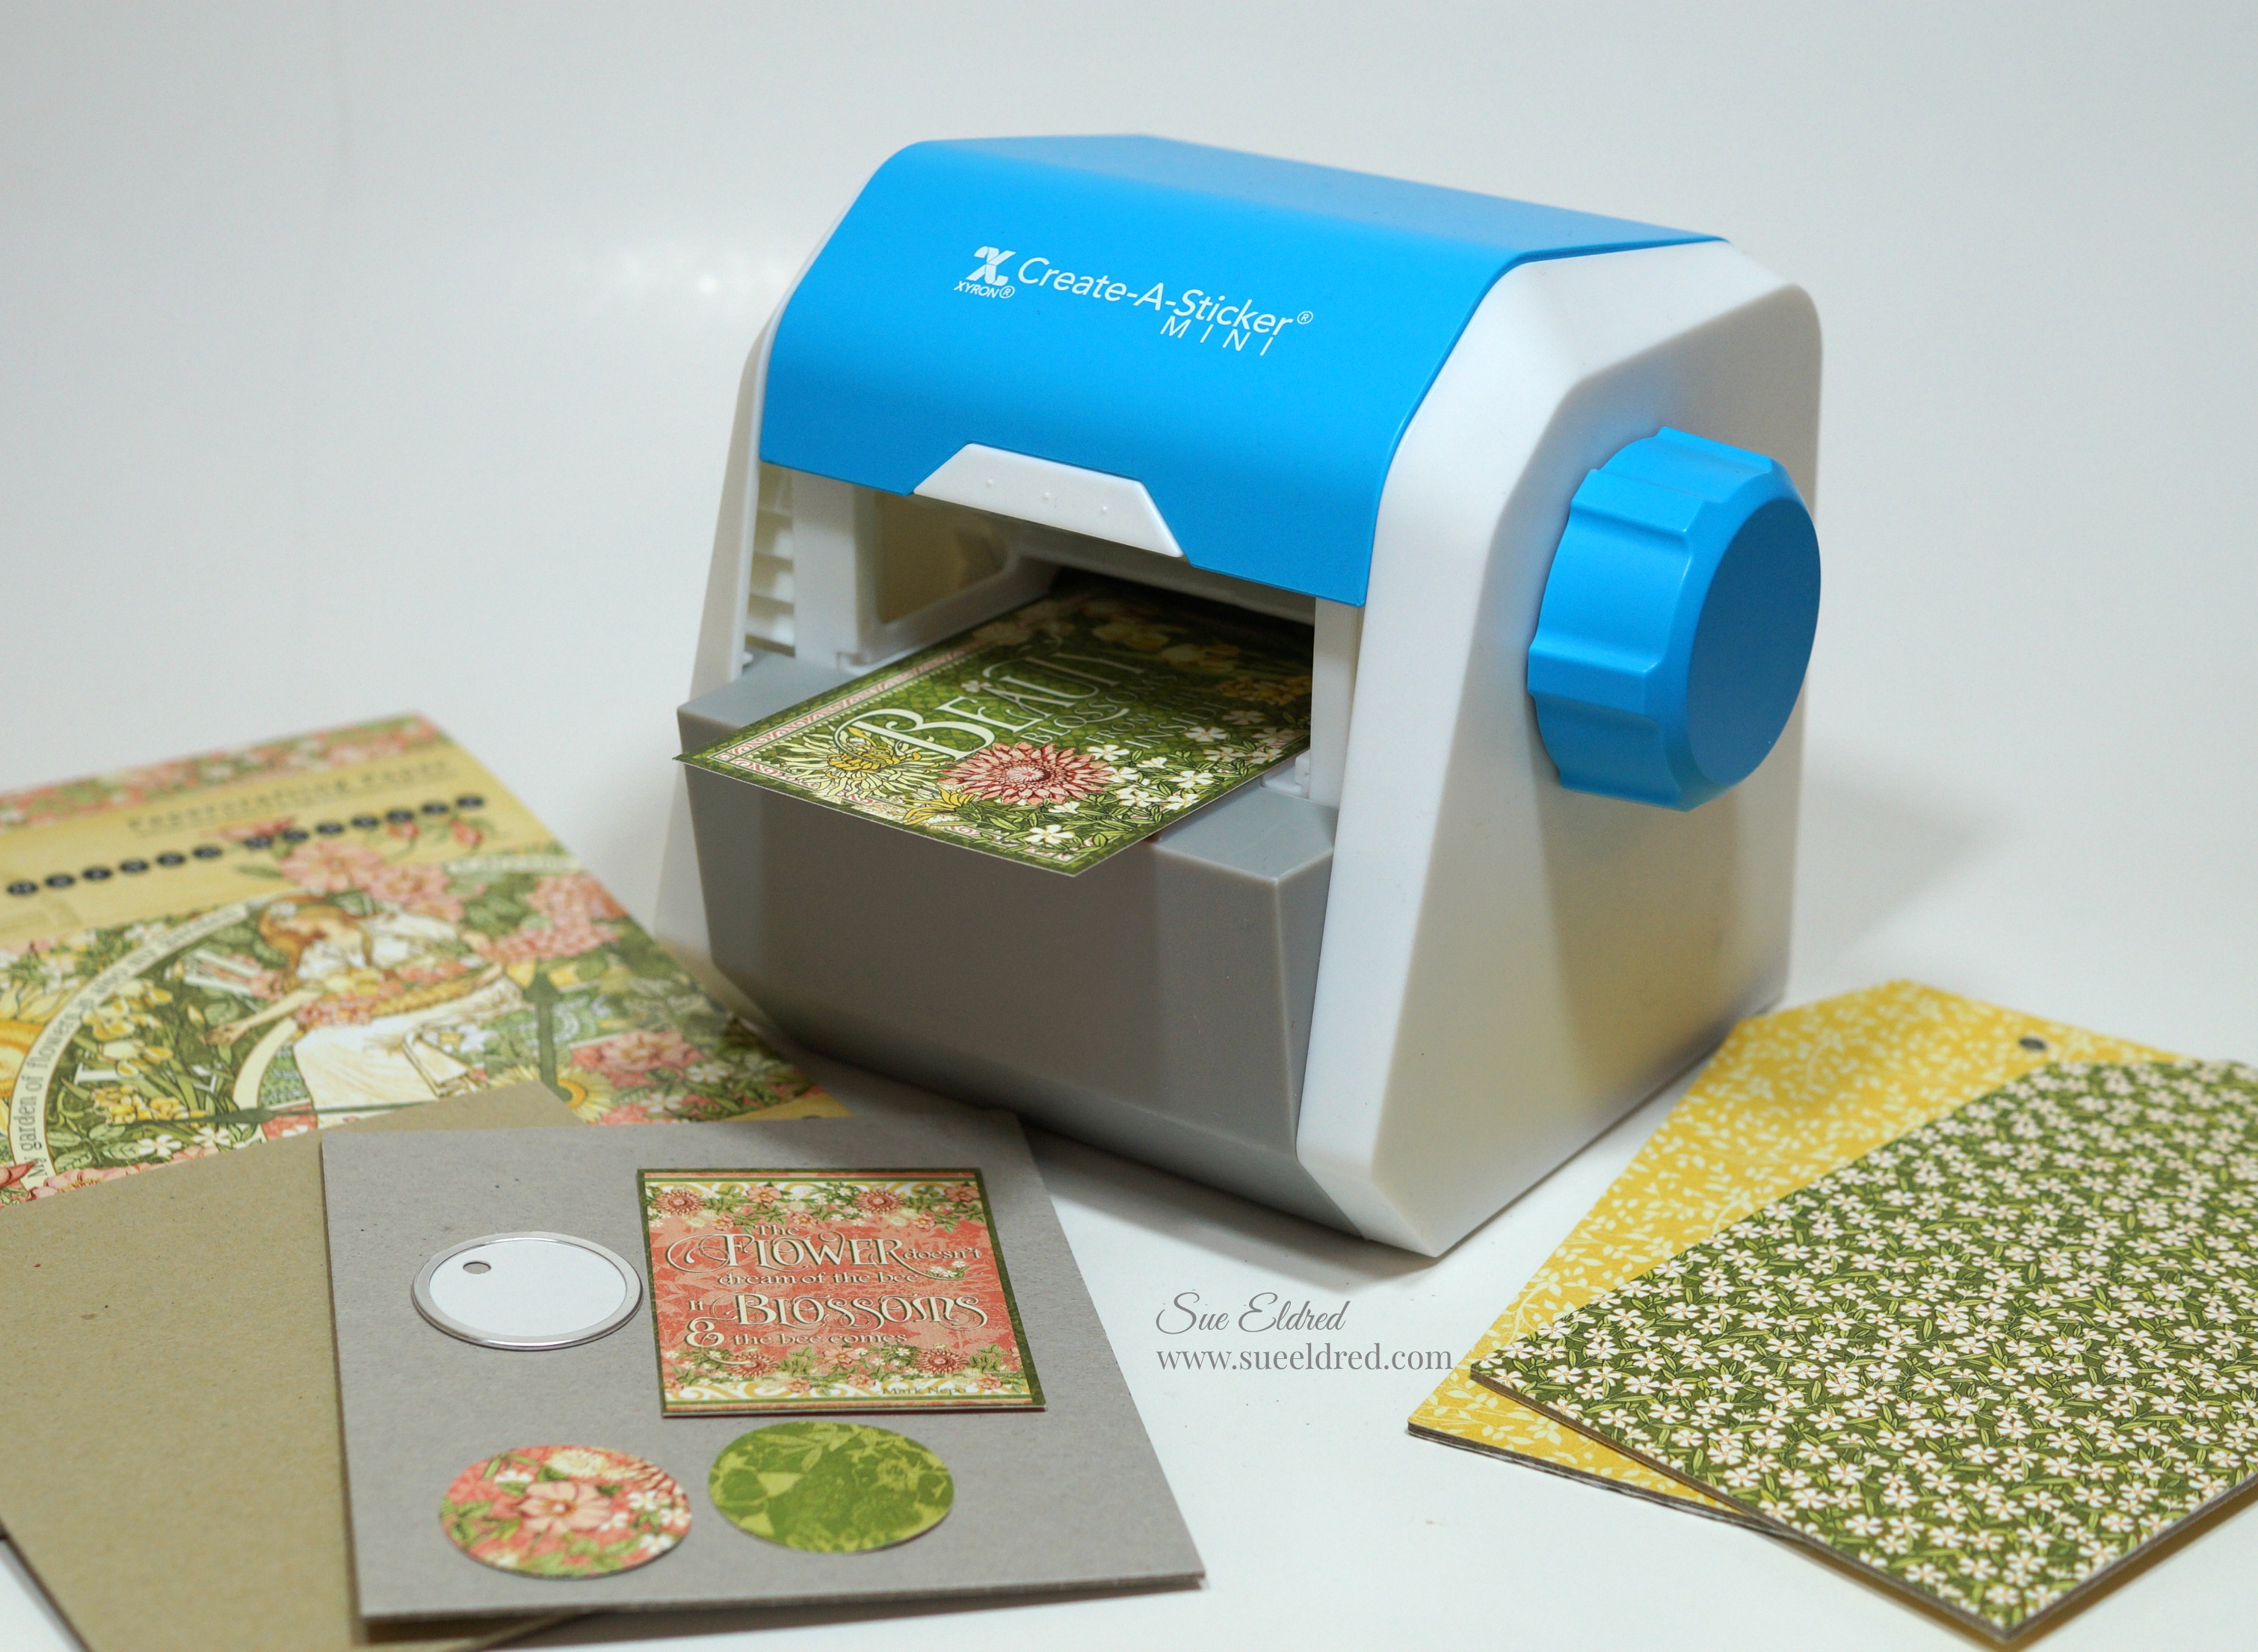
Want a tip for adhering small pieces? (for example: flowers and leaves) I use the Xyron Disposable Sticker Maker*. I put my cardstock through the Sticker Maker* first, then I die-cut the small pieces. It makes gluing them in place so much easier.
![]()
Disclosure: This is a sponsored post. As a member of the Eileen Hull Inspiration Team, I have been provided product in exchange for my creative ideas. The view and opinions are my own.