How to make a Quick and Easy Wedding Card Box.
I recently got the honor of helping my sister personalize
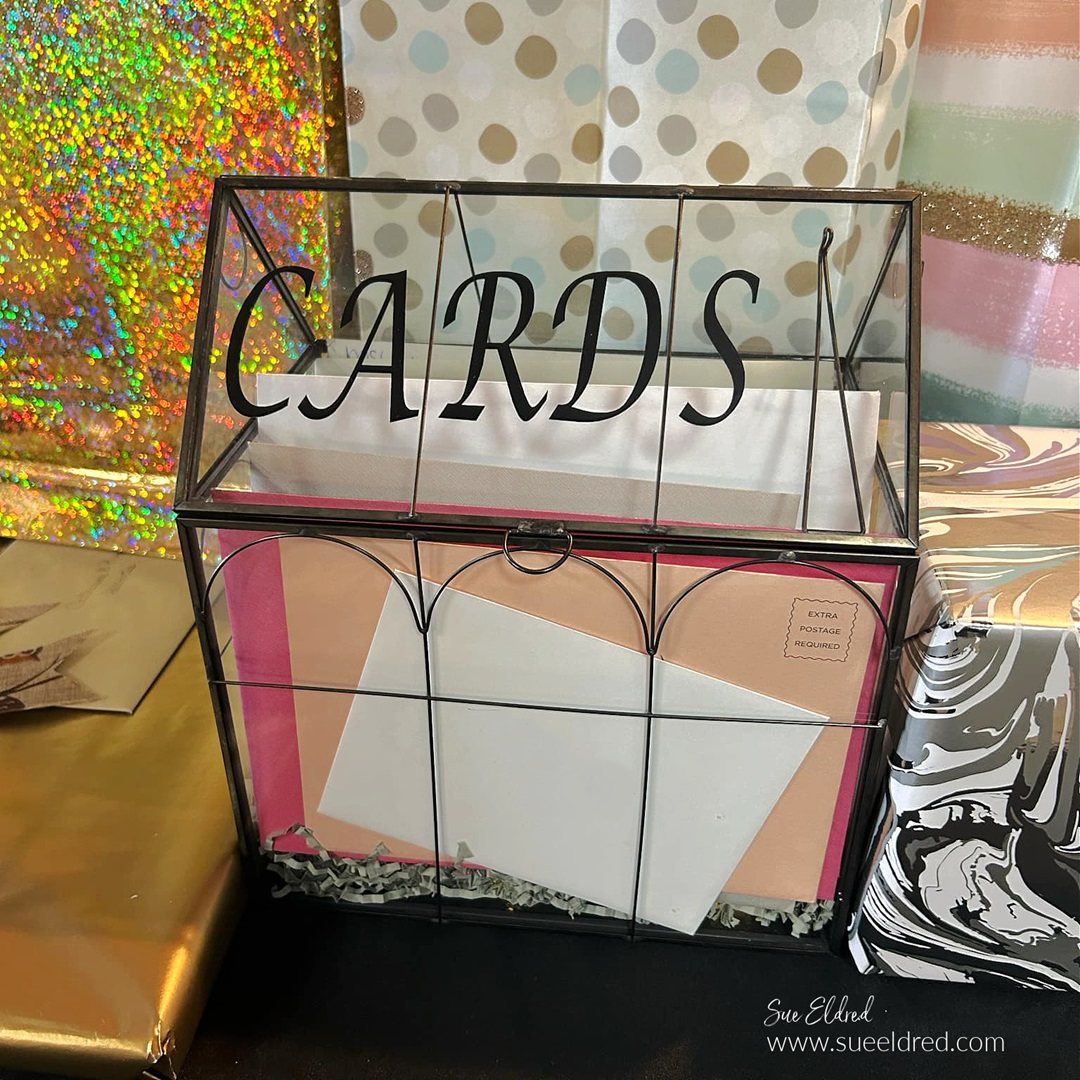
the card box for my niece’s wedding reception.
They wanted to keep it simple and requested the
letters to spell the word “CARDS”.
Simple enough.
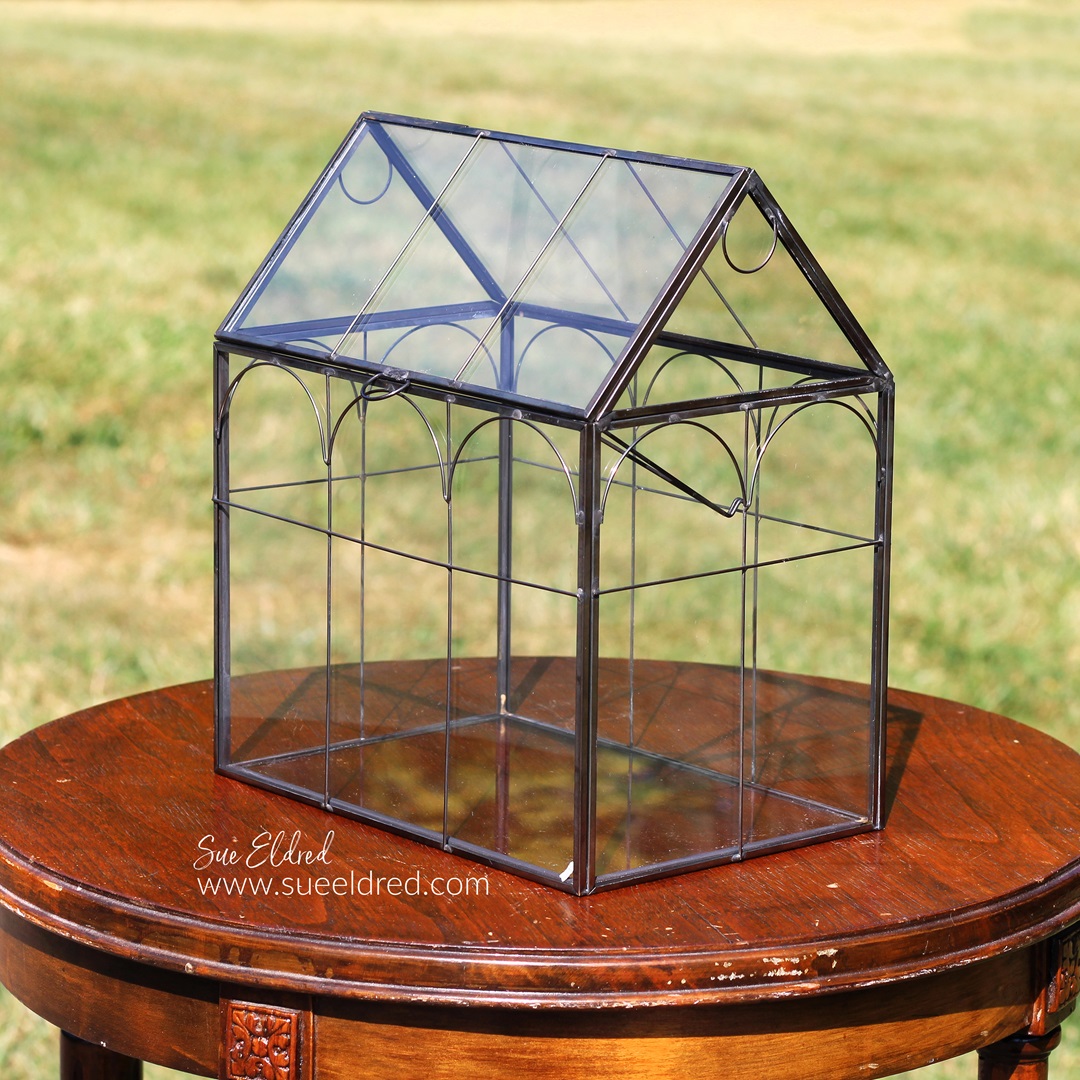
She found a Clear Glass Terrarium* on Amazon, which perfectly matched the tabletop decorations.
*Disclosure: This blog uses ads and affiliate links. If you choose to make a purchase using one of the links, I receive a small commission (at no additional cost to you) that helps offset the costs of maintaining this blog. Thanks for your support!
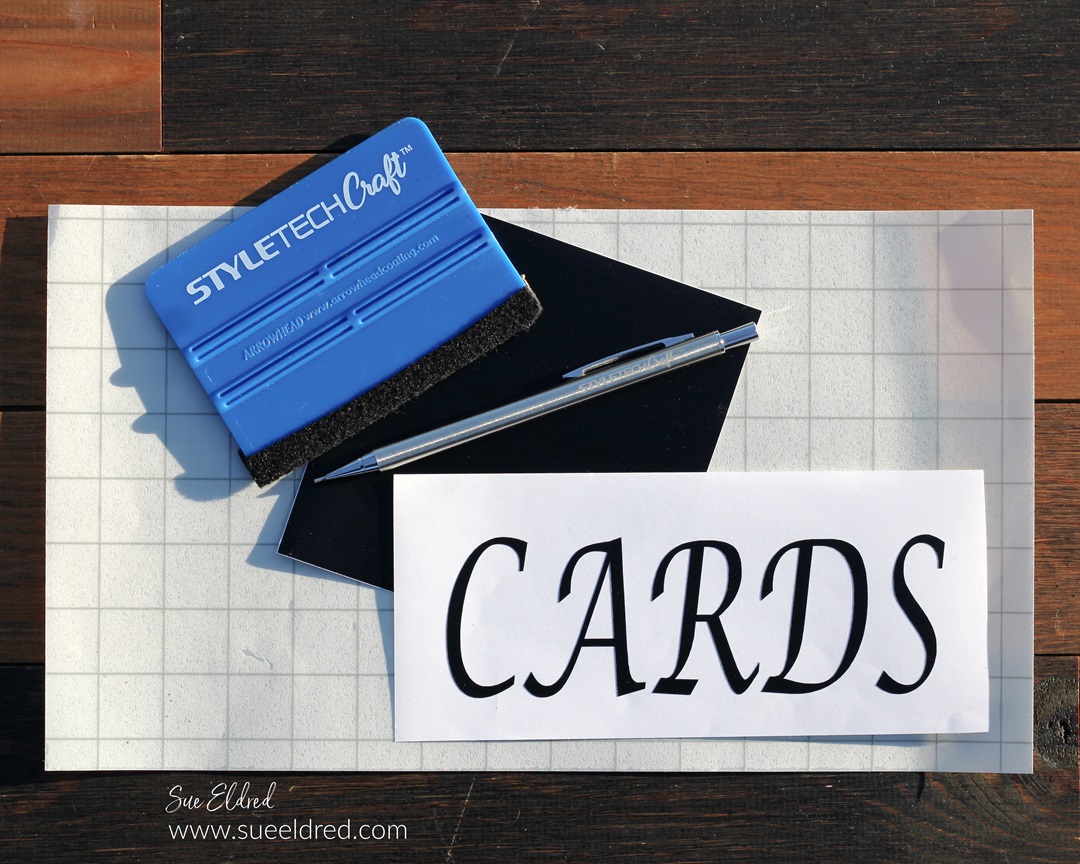
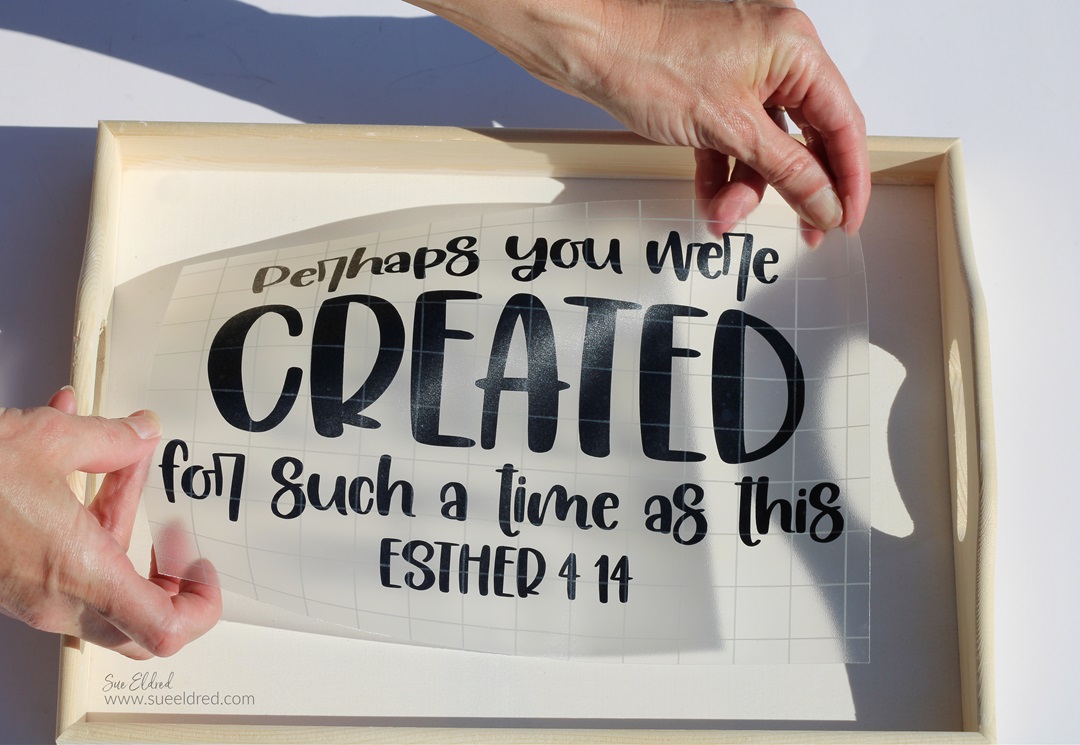
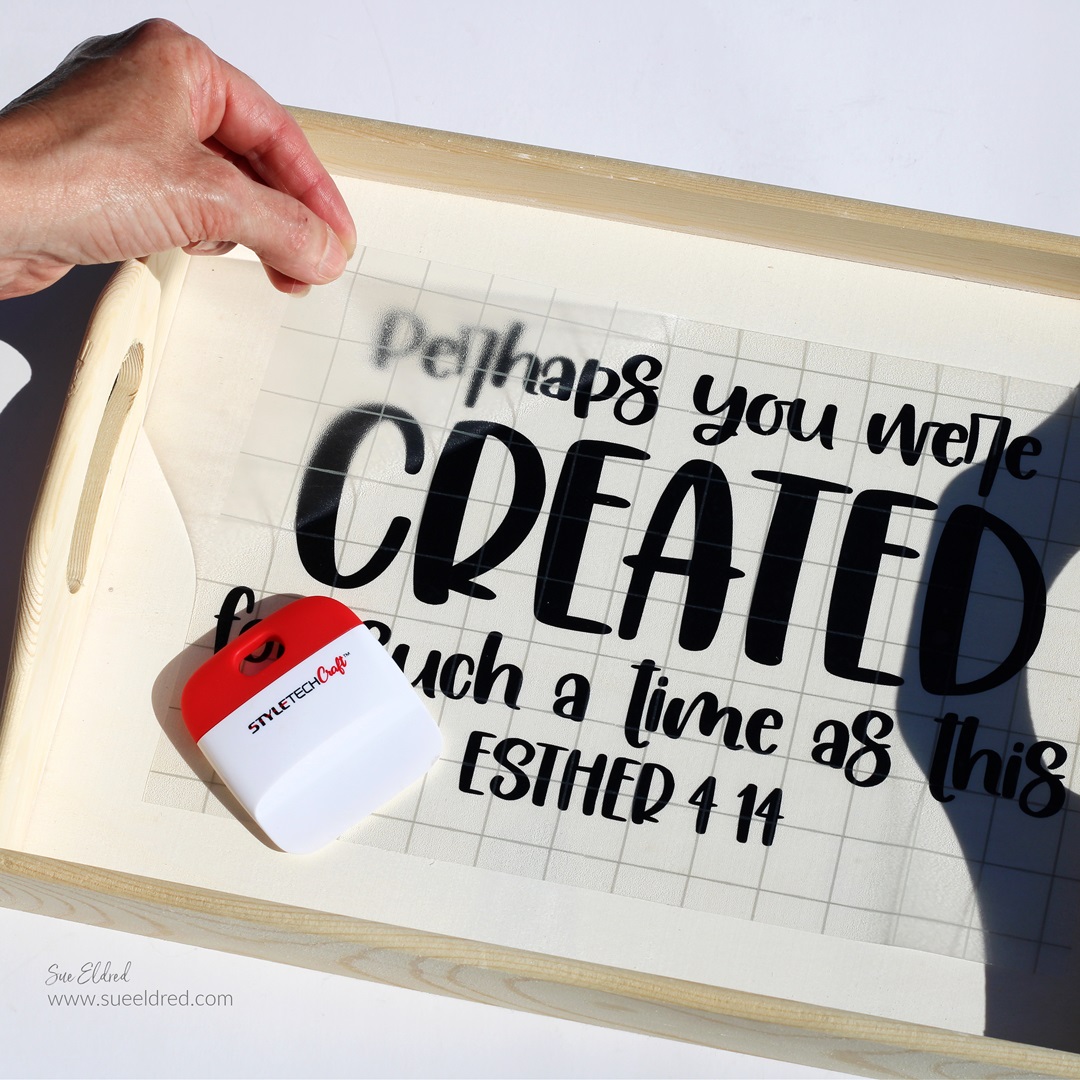
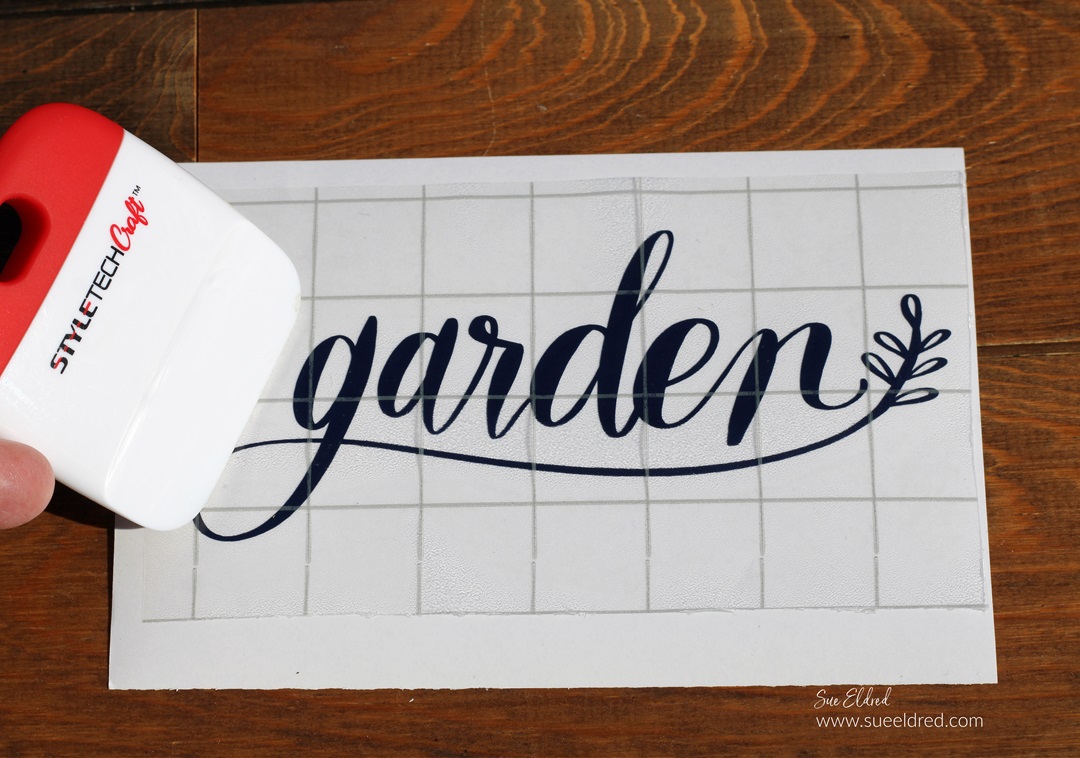
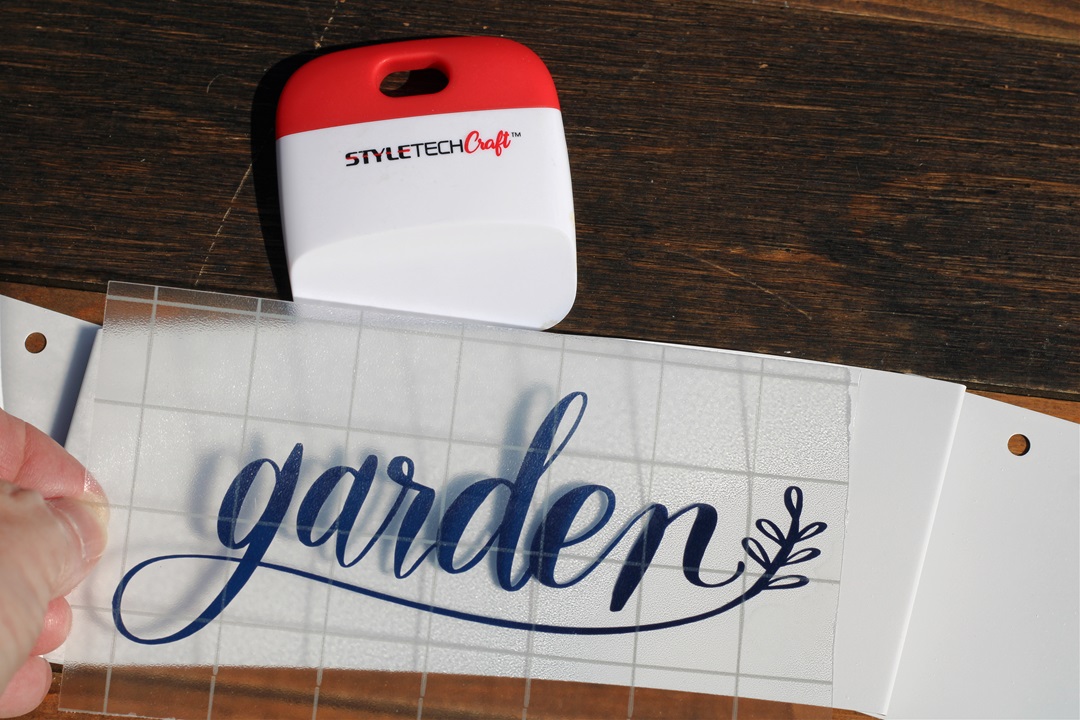
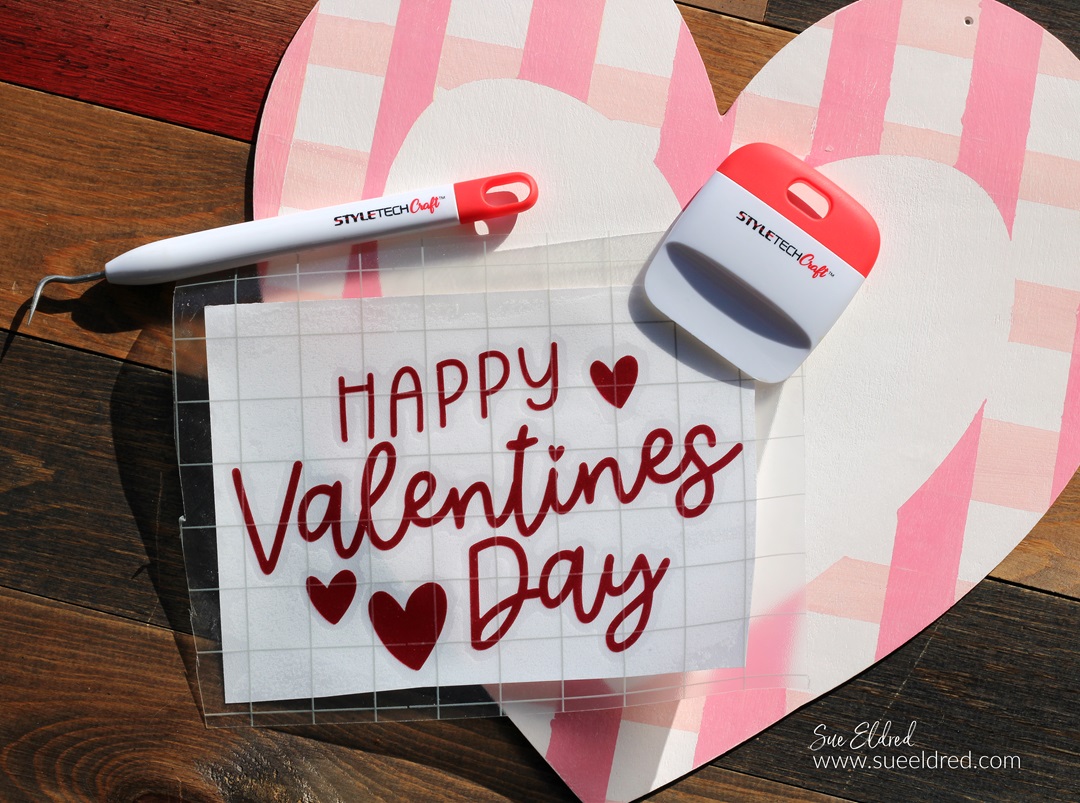
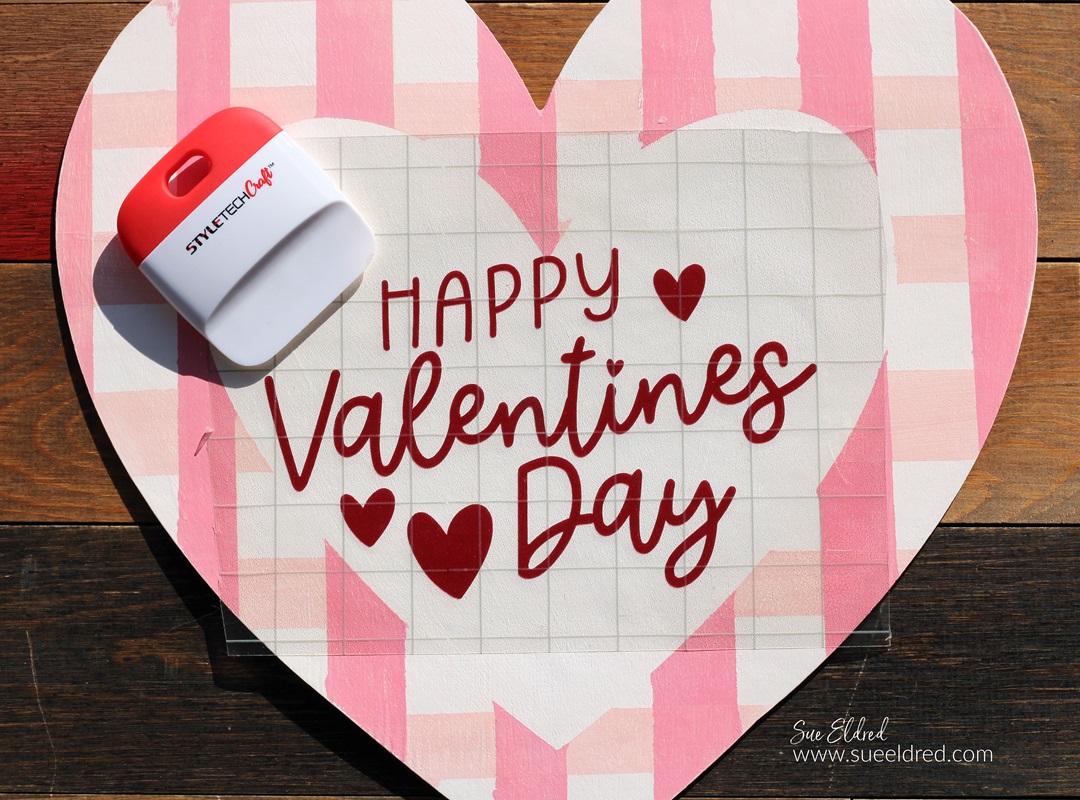
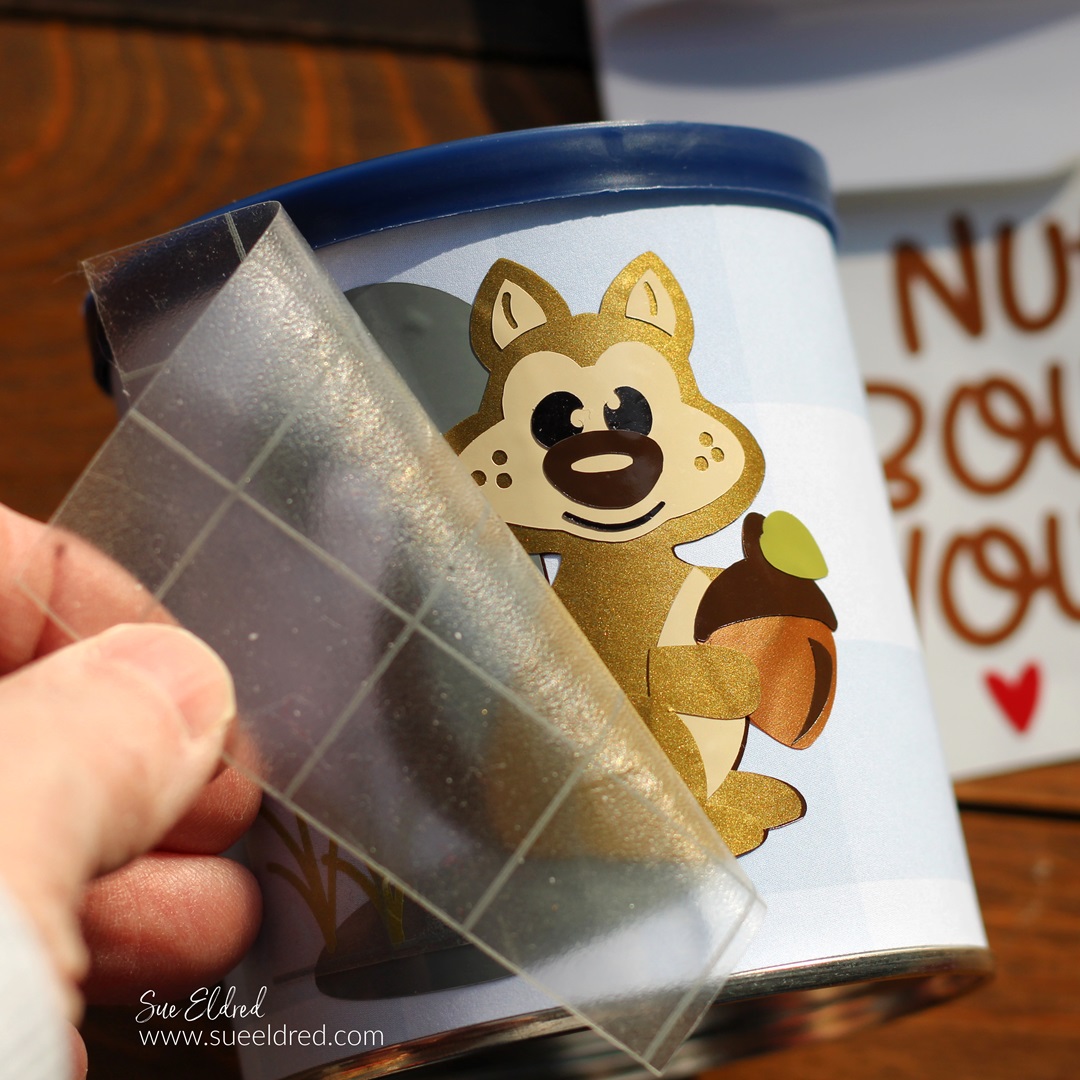
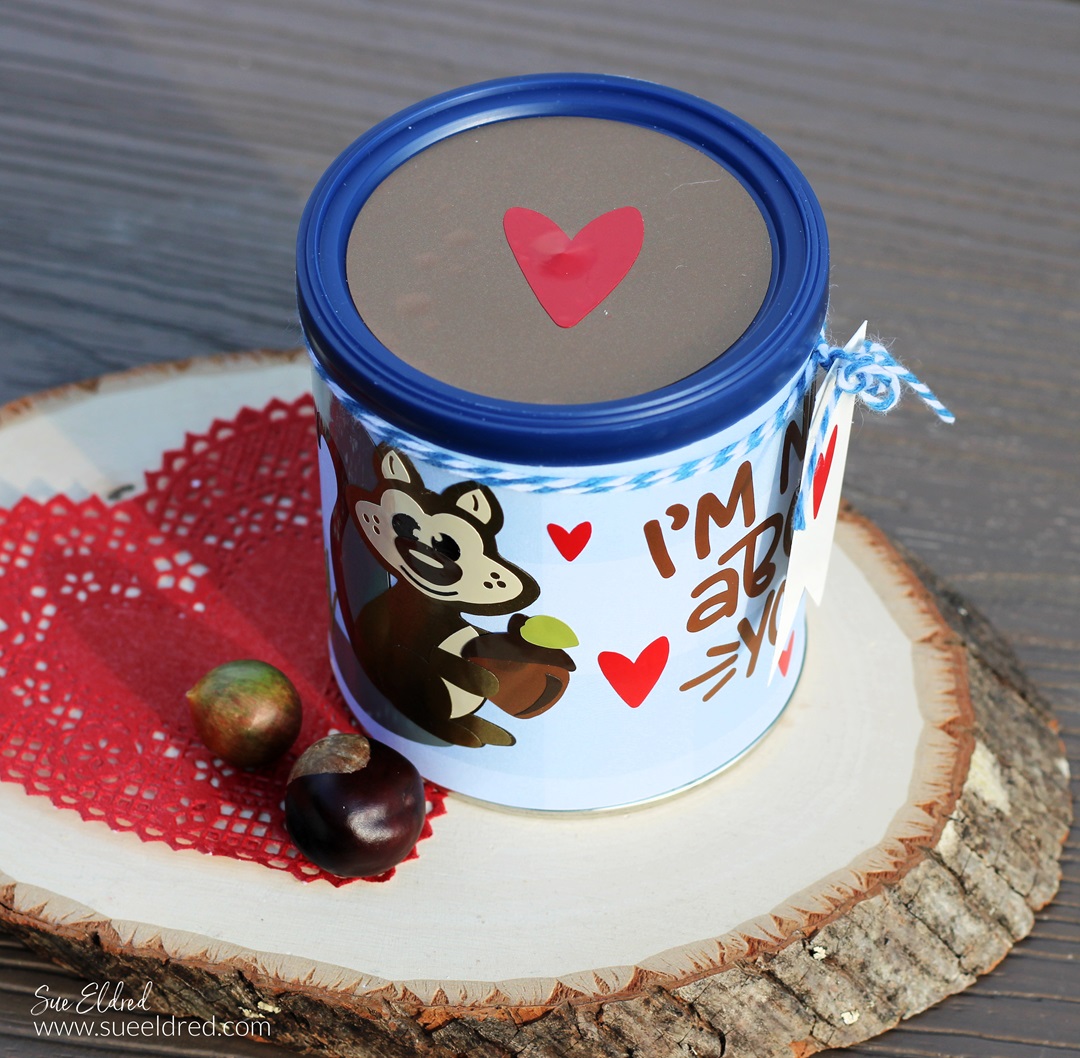
I used StyleTechCraft Black Matte Removable Vinyl*
and a Silhouette Cameo Electronic Die Cutting Machine*
to design and cut the letters for the Card Box.
Since I used removable vinyl, they can easily remove the letters
and use the Terrarium* for plants after the wedding.

StyletechCraft products brought to you by ATSM Craft*
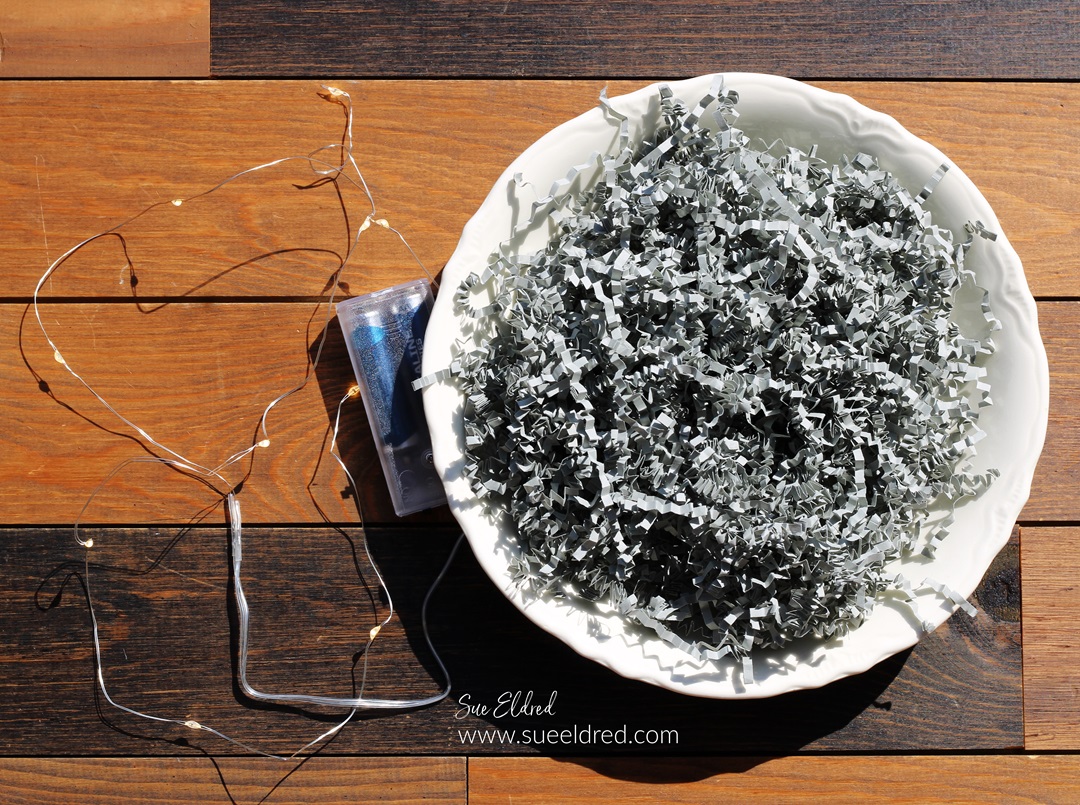
They added Shredded Paper* and Fairy Lights* to the bottom of the card box.

The Fairy Lights* made the card box glow. (until it was full of cards)
Materials Used: (*affiliate links)
- Glass Terrarium Planter*
- Fairy Lights*
- Light Gray Shredded Paper*
- StyleTechCraft Black Matte Removable Vinyl*
- StyleTechCraft Vinyl Tools*
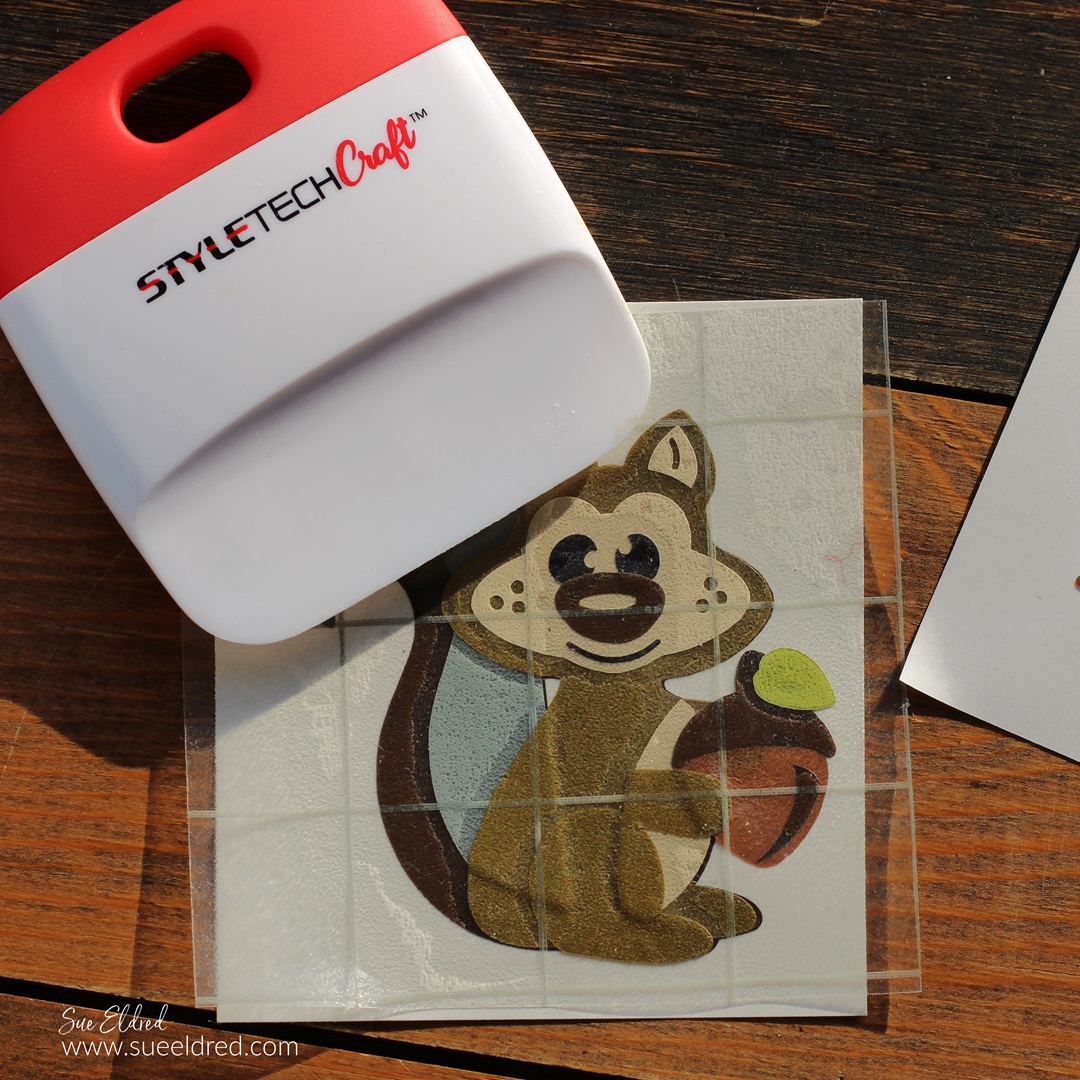
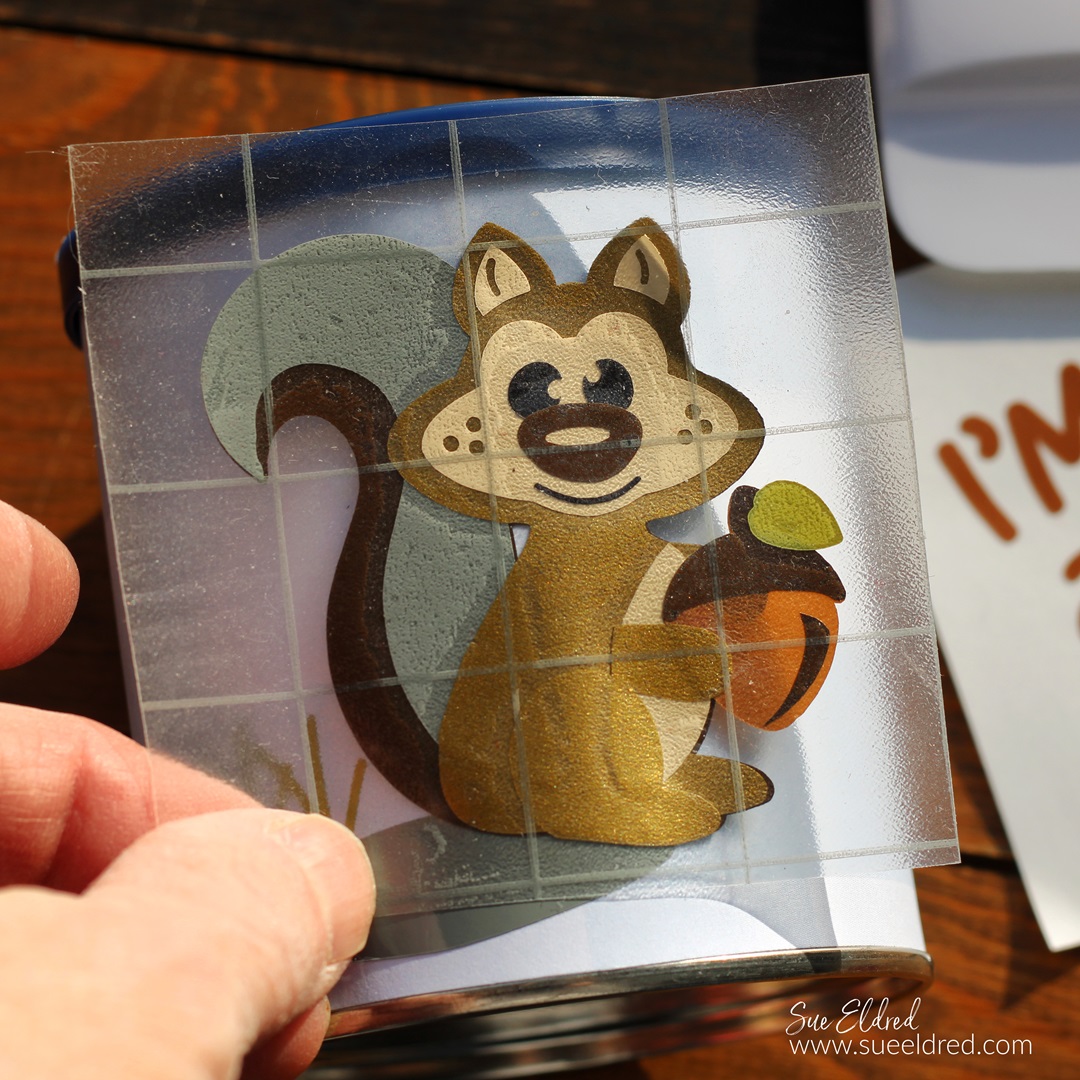
- StyleTechCraft Vinyl Transfer Tape*
- Silhouette Cameo Electronic Die Cutting Machine*
![]()
“This is a sponsored post. As a member of the StyleTechCraft Design Team I have been provided product and compensation in exchange for my creative ideas. The views and opinions are my own.


